
Following on from my last blog post. Here is a rough guide to how I batch painted my Landsknechts. I am using Warlord Games plastic Landsknechts. I assembled them in batches of 12 models and once assembled and cleaned up, I primed them in Army Painter Uniform grey. I had thought about using a white primer, which would have given the colours a brighter base to paint over but decide to stick with grey as I find it more forgiving if you miss a bit of painting on a figure!
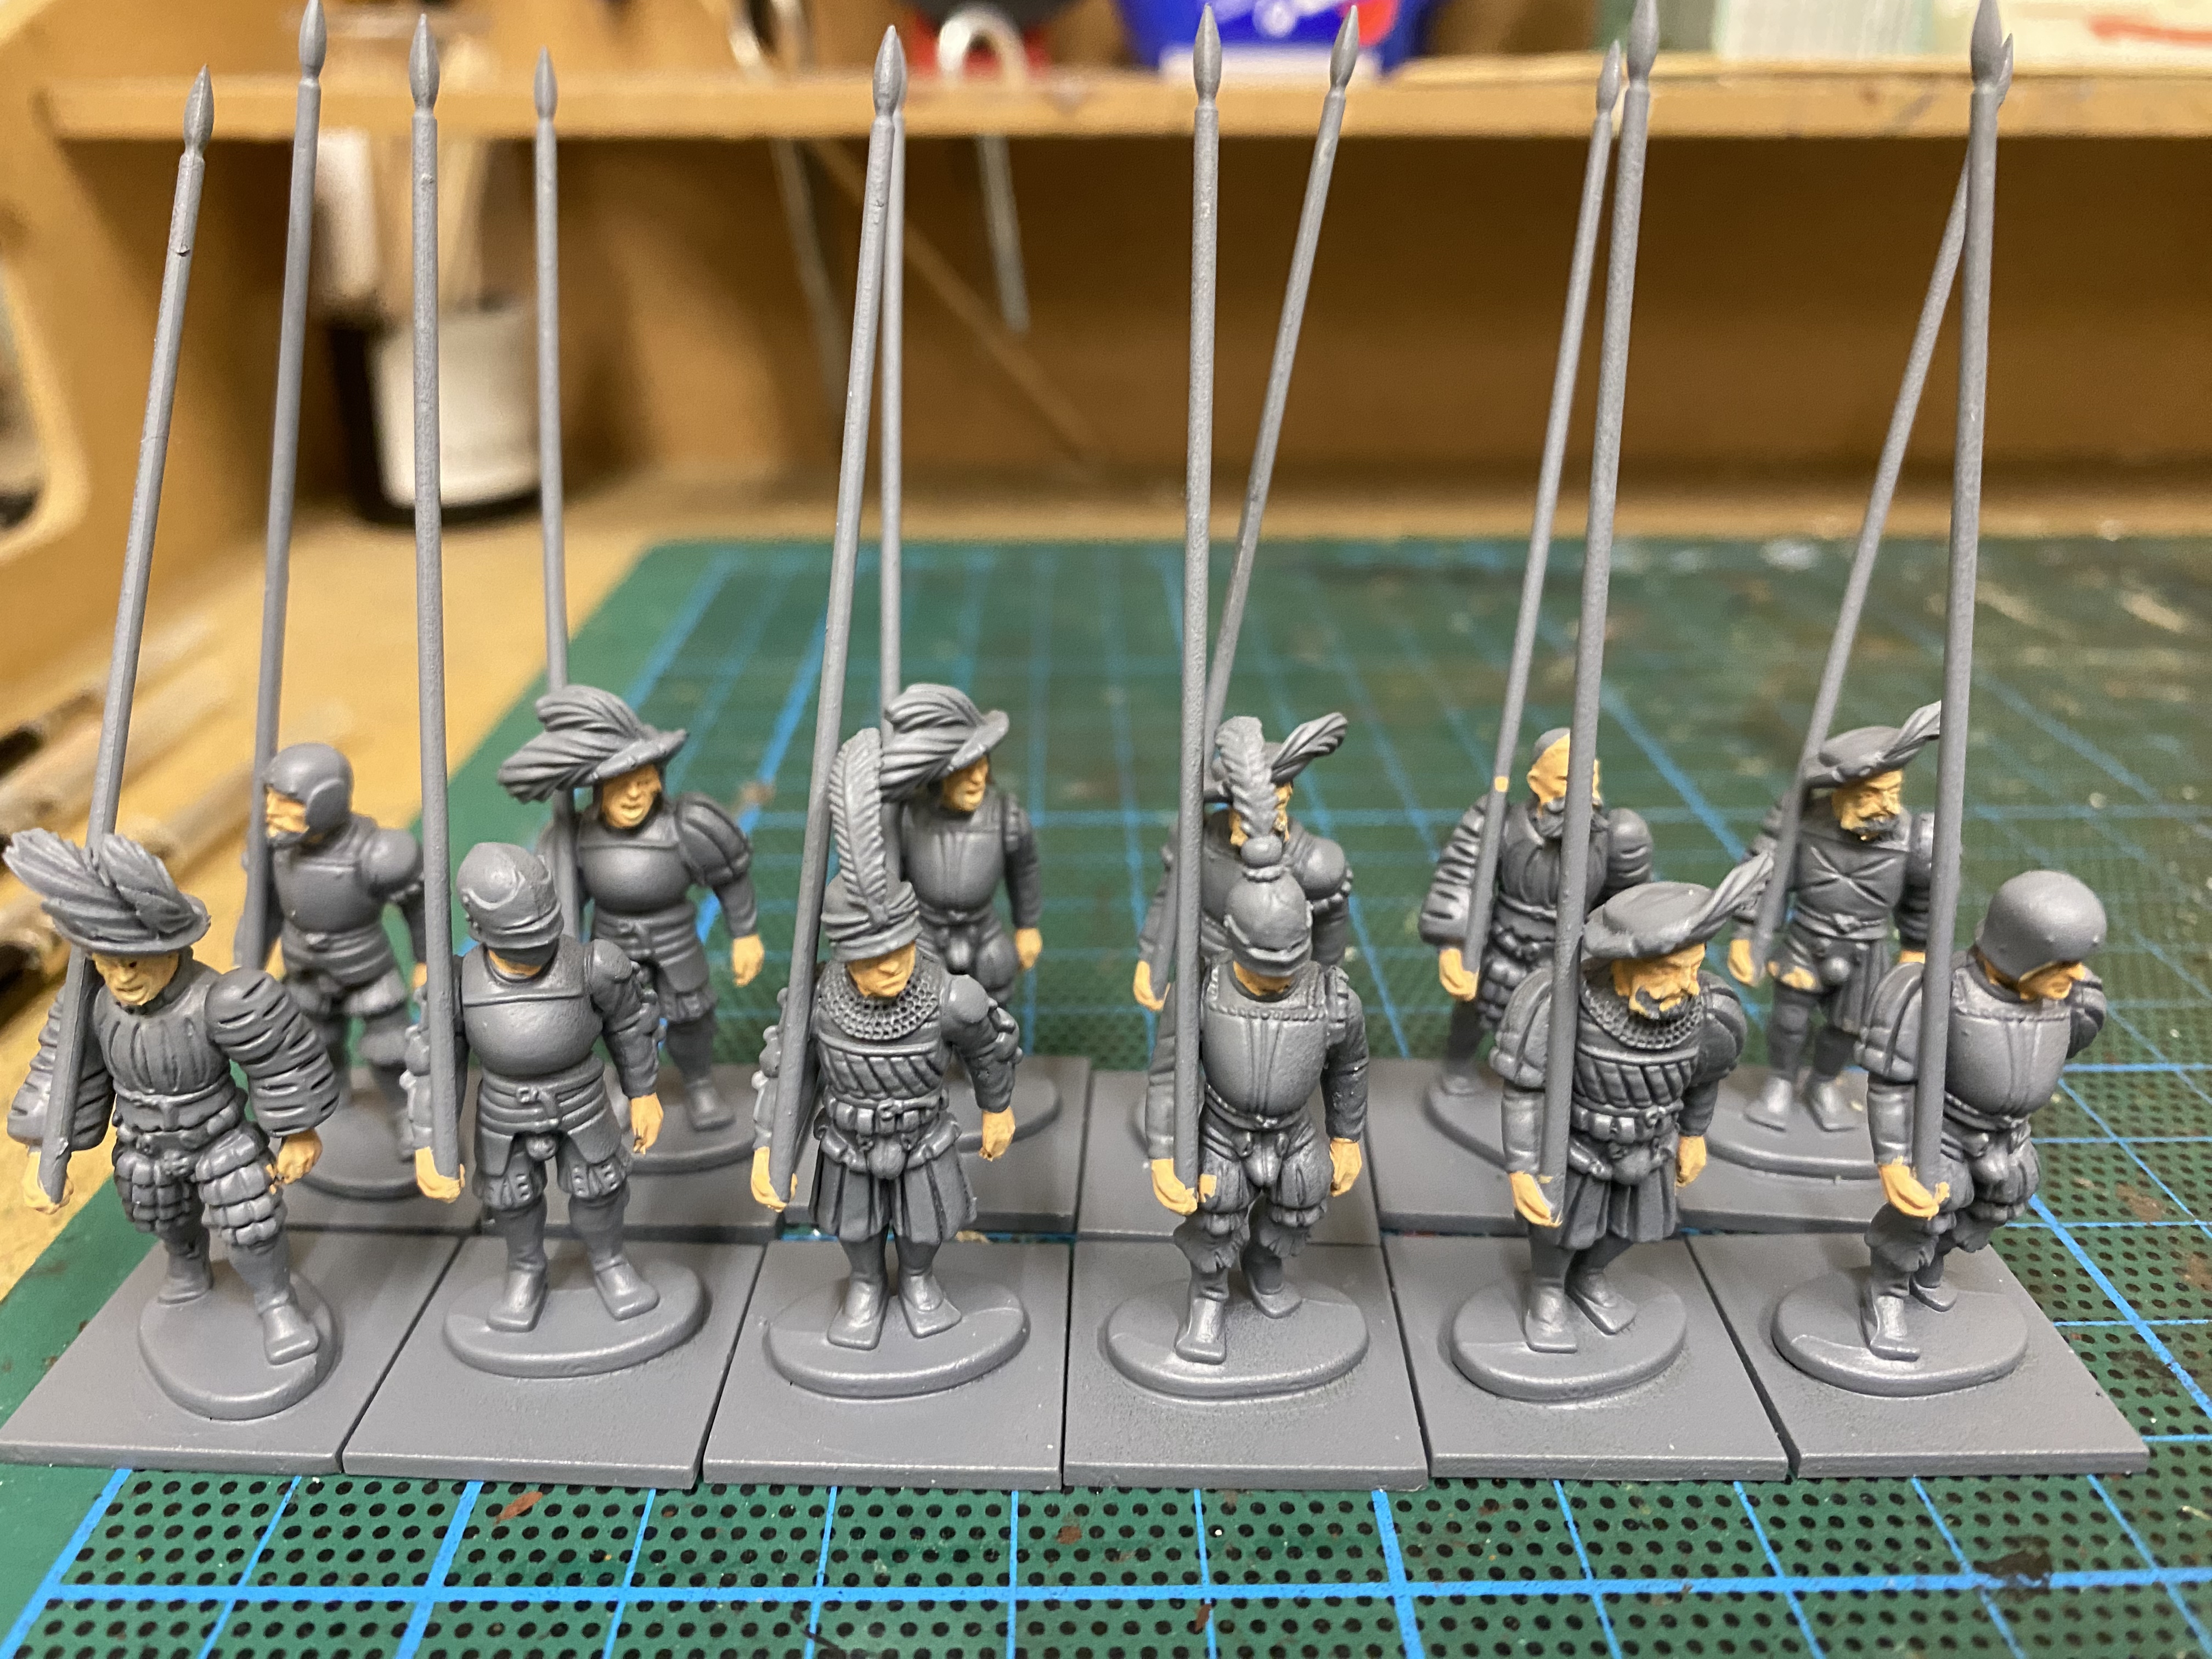
Once primed, I painted the flesh with Vallejo flesh 70955.
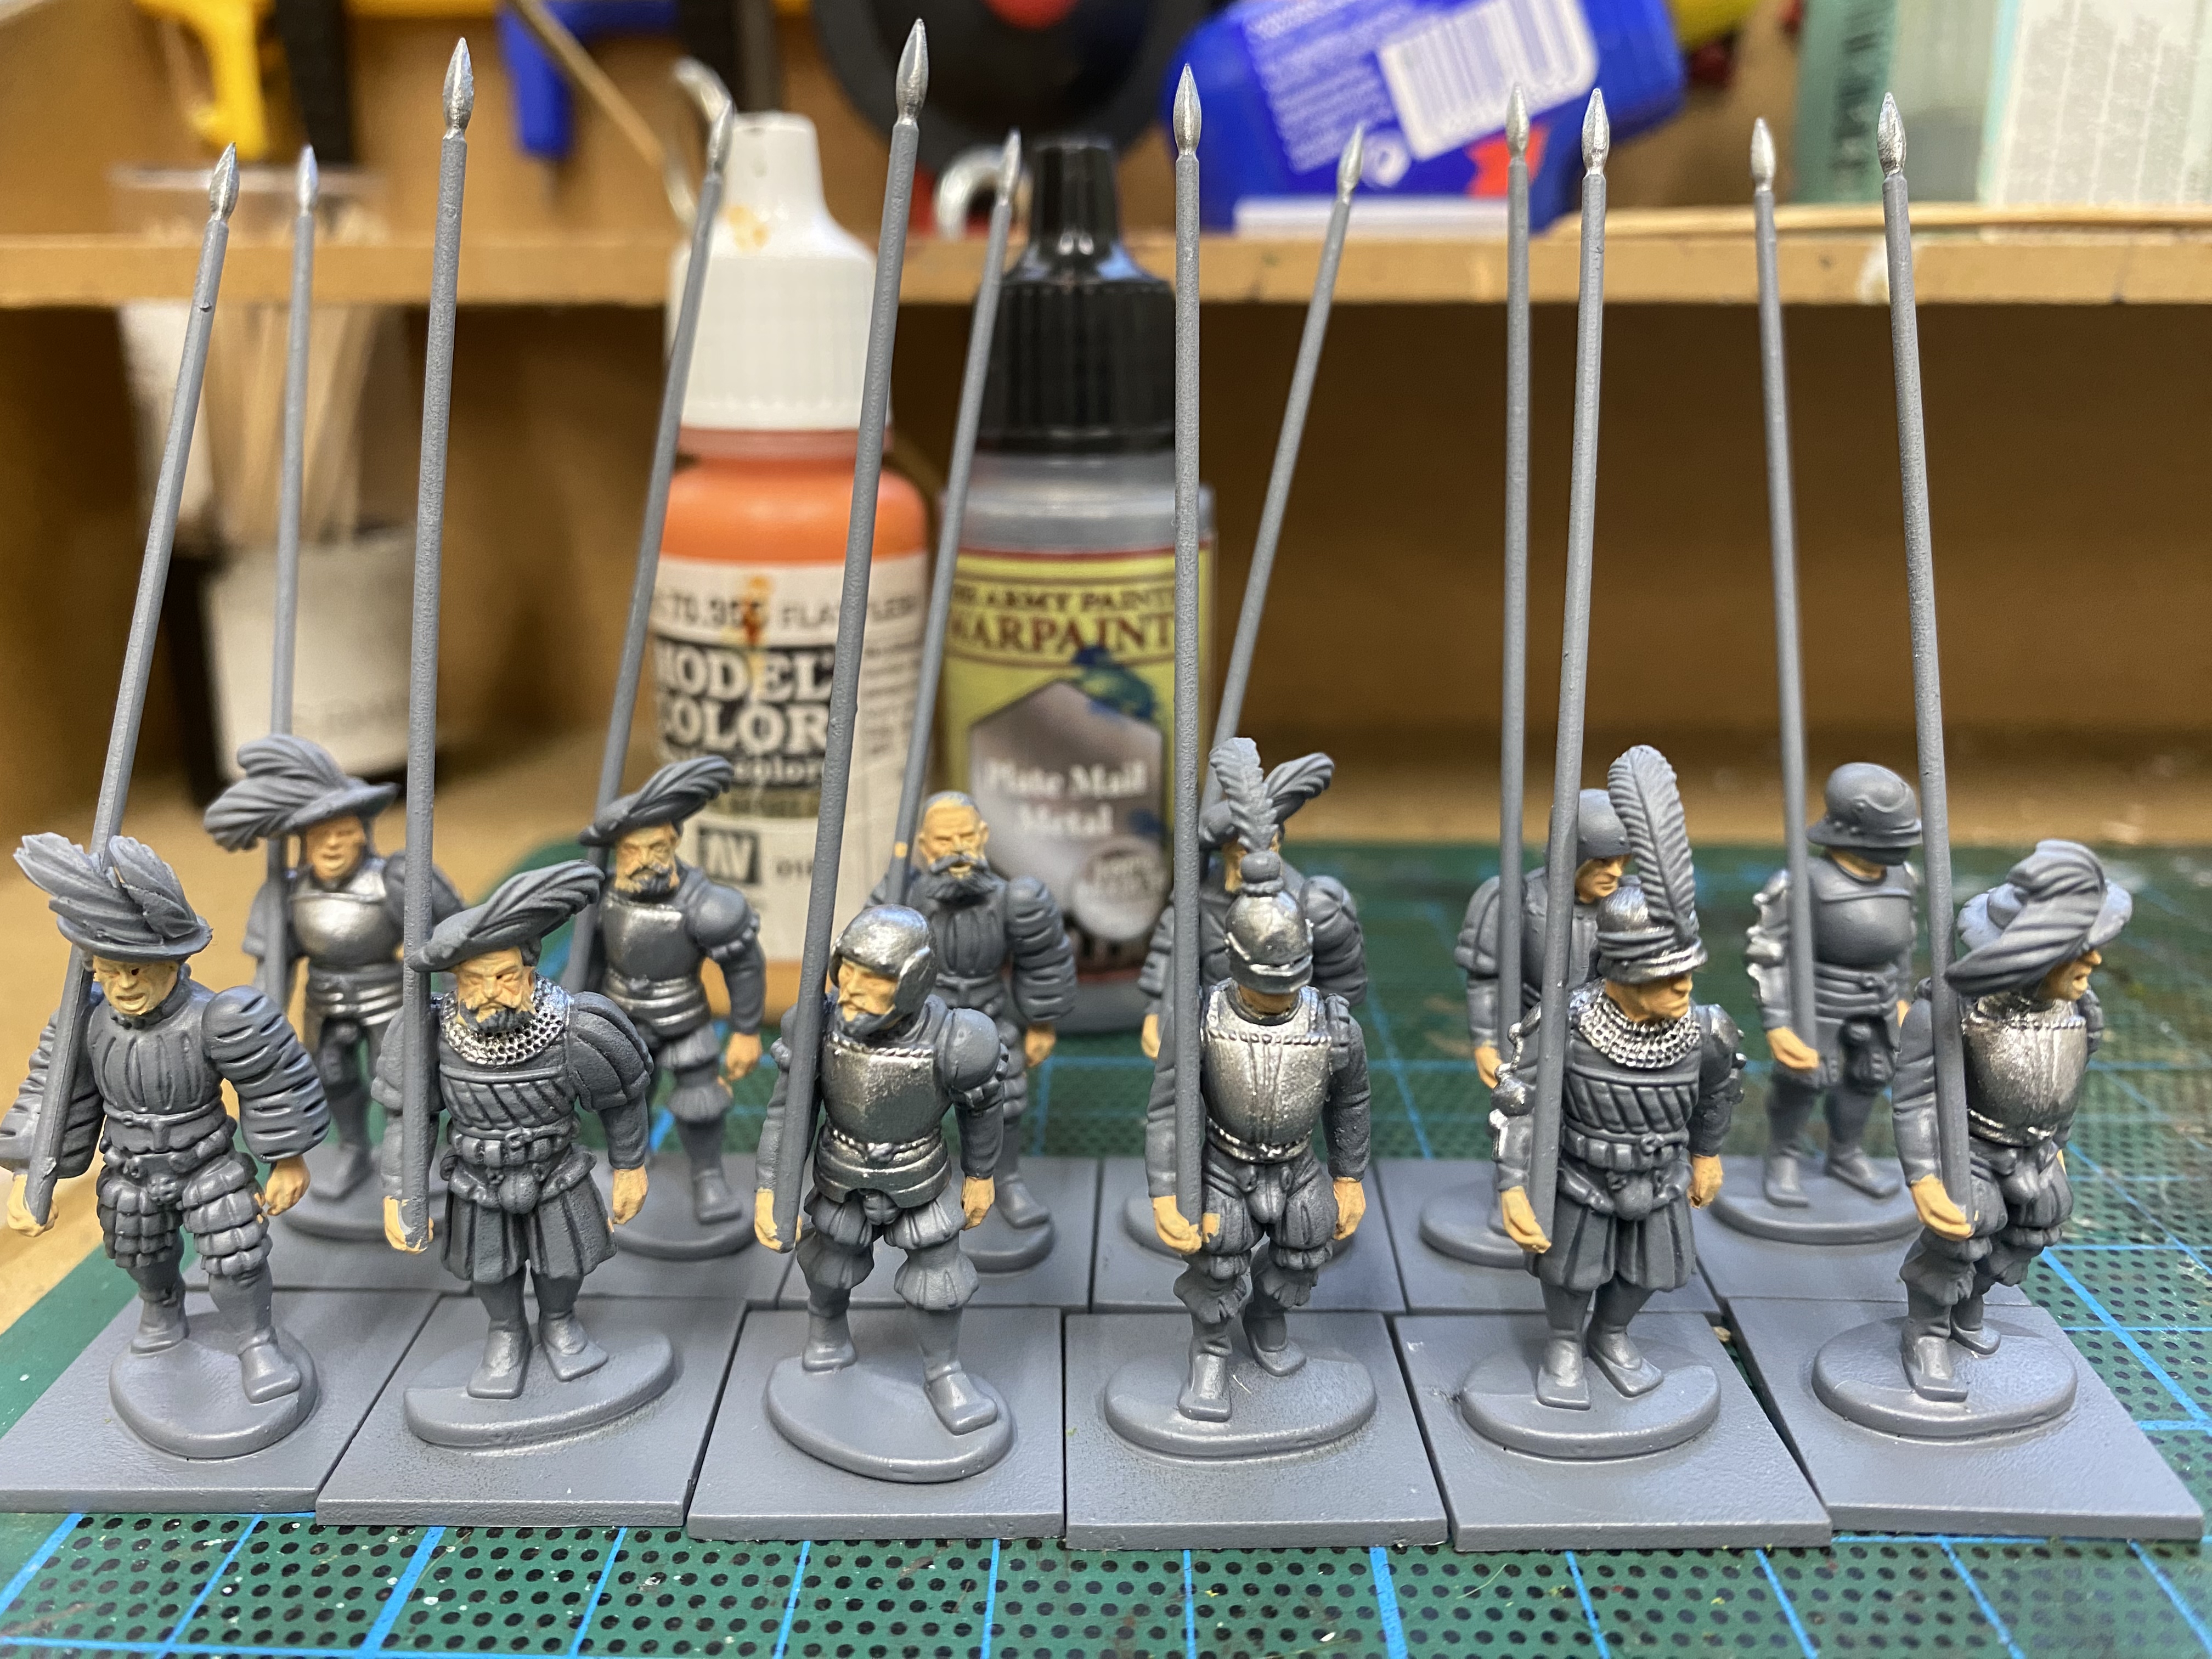
I then picked out the armour plates, chain mail and spear tips in Army Painter plate mail. There was one exception, The figures on the far right of the back rank was left as I intended to give him painted armour. I’ve no idea whether this is historically accurate but I had seen some pictures of helmets painted in this way.
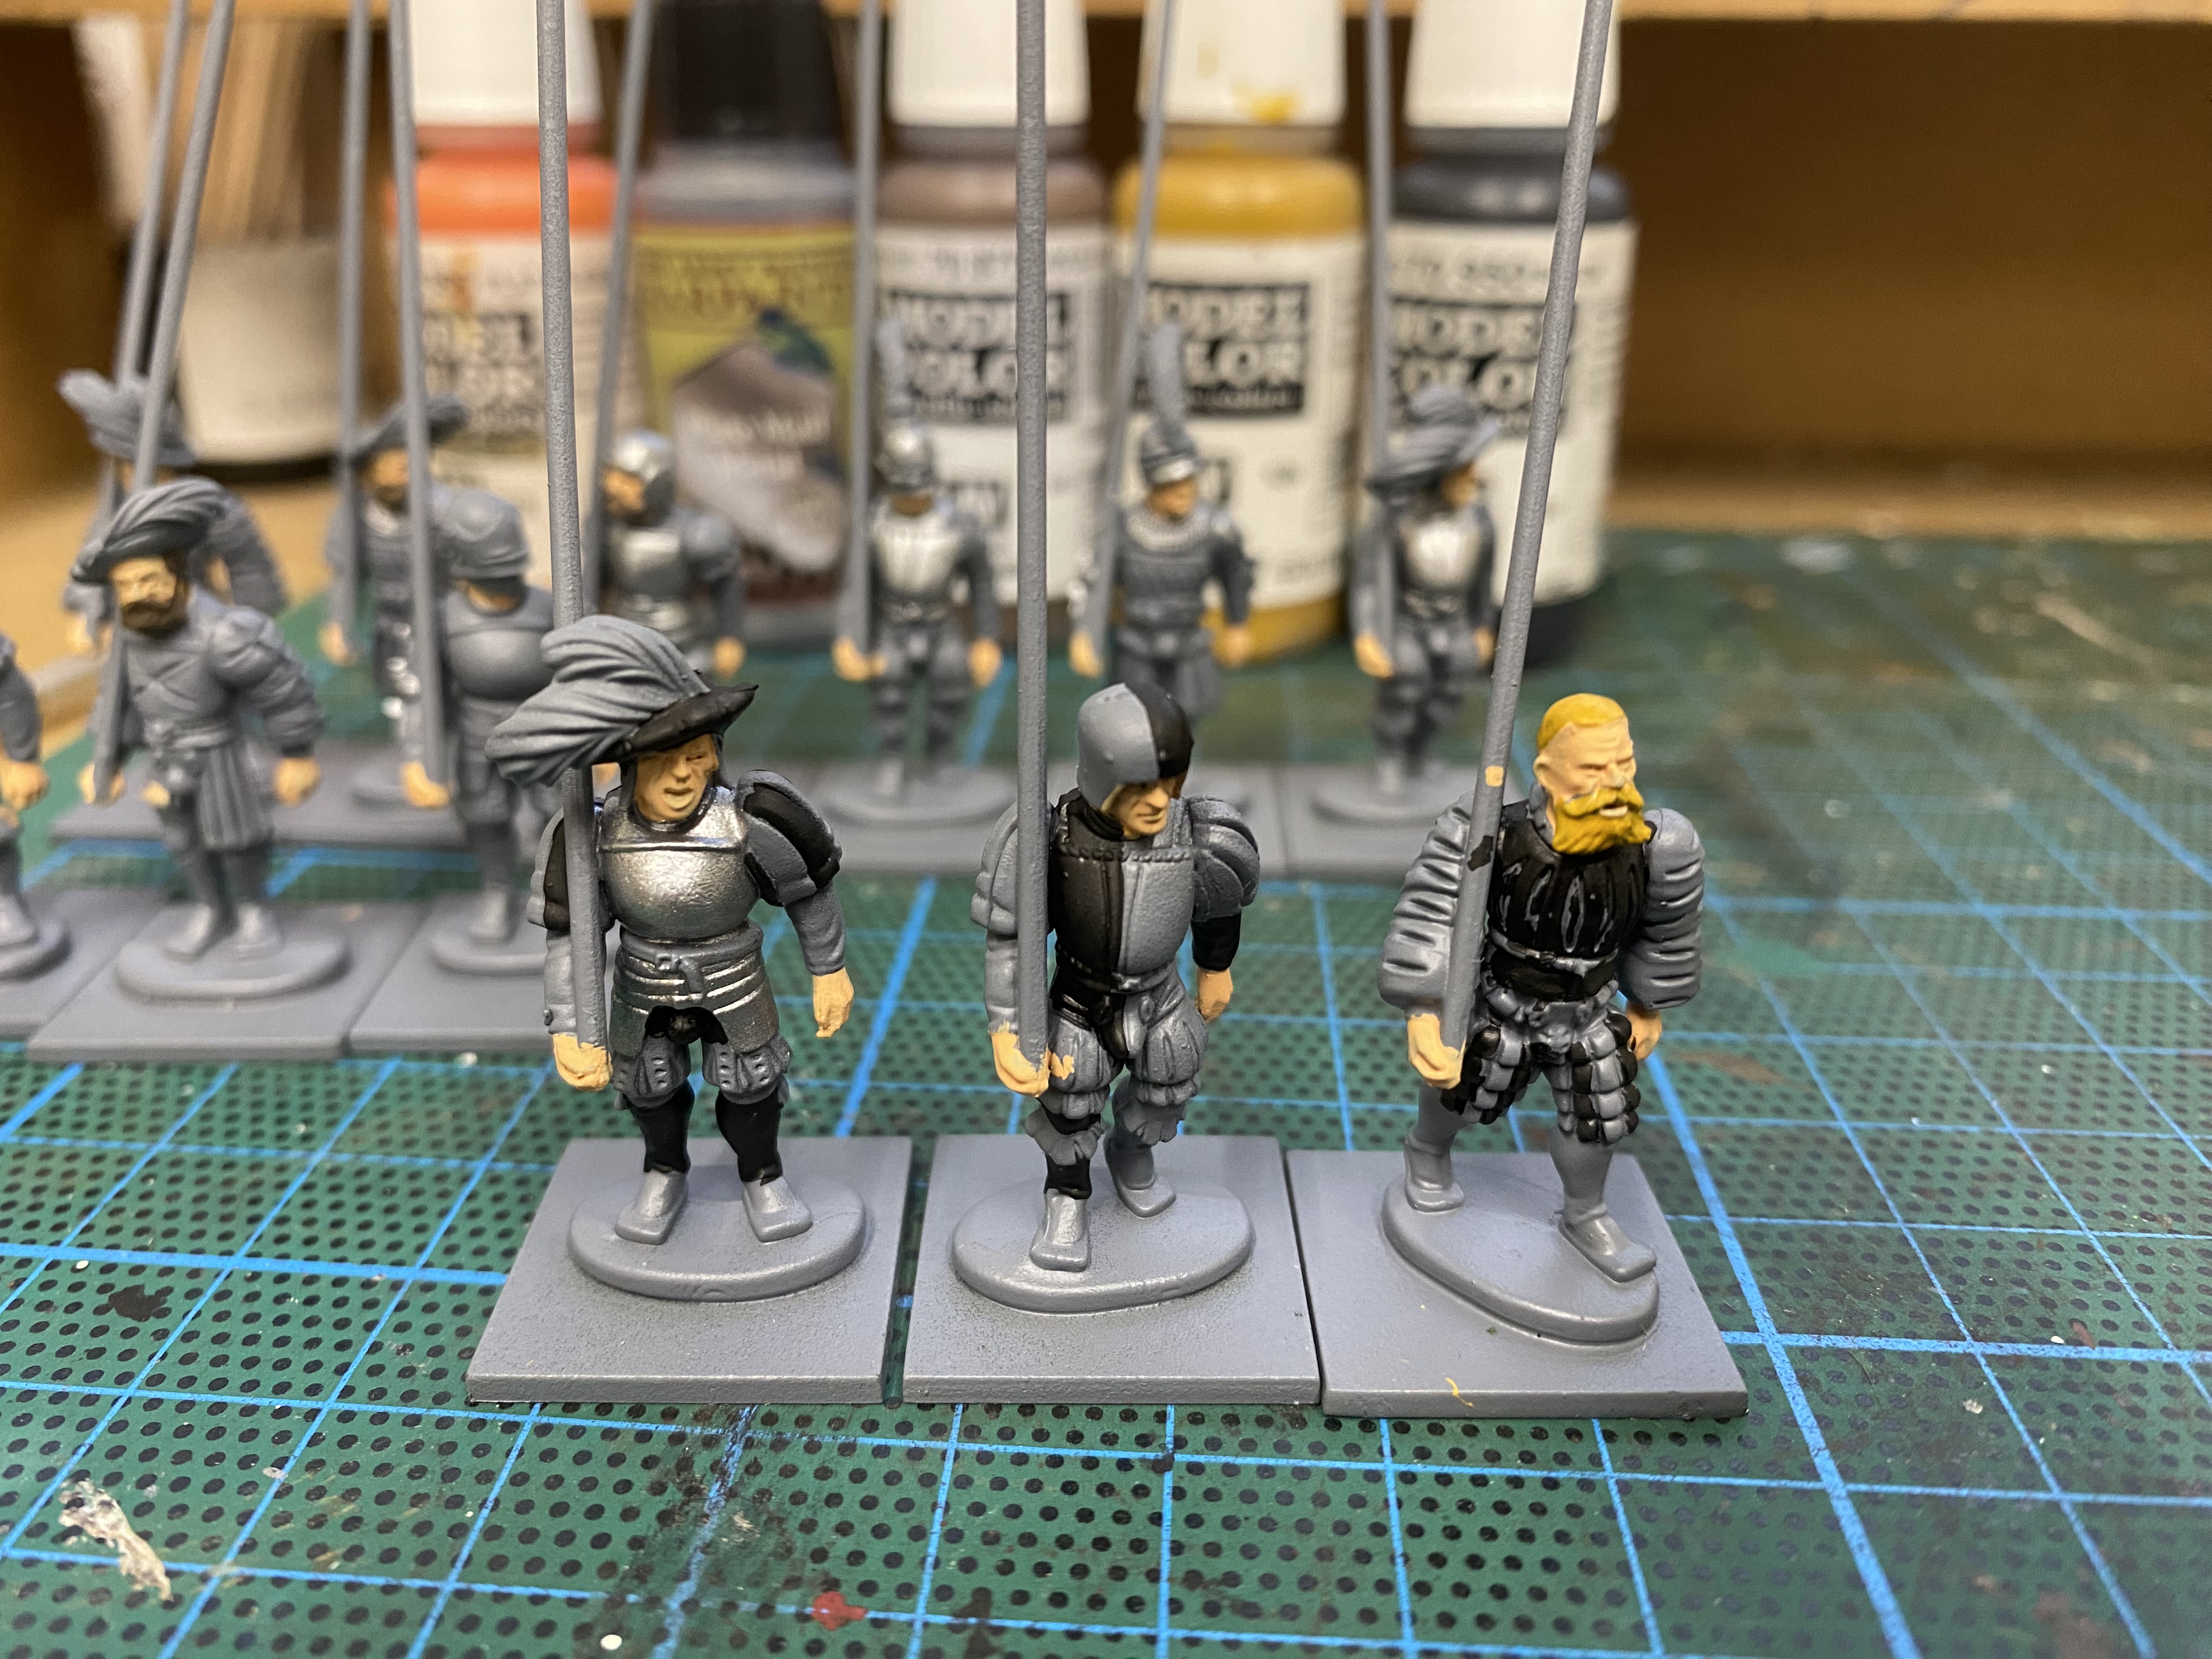
At this point, I decided that a batch of twelve wasn’t going to work for me, so I took three figures, painted the hair and then started to block paint the first colour – in this example 70950 Black.
Next, I added the red, 70957. It looks a bit messy at this stage but I tend to tidy up as I go. There’s no plan that I’m following – I just paint the block colours in as the mood takes me!
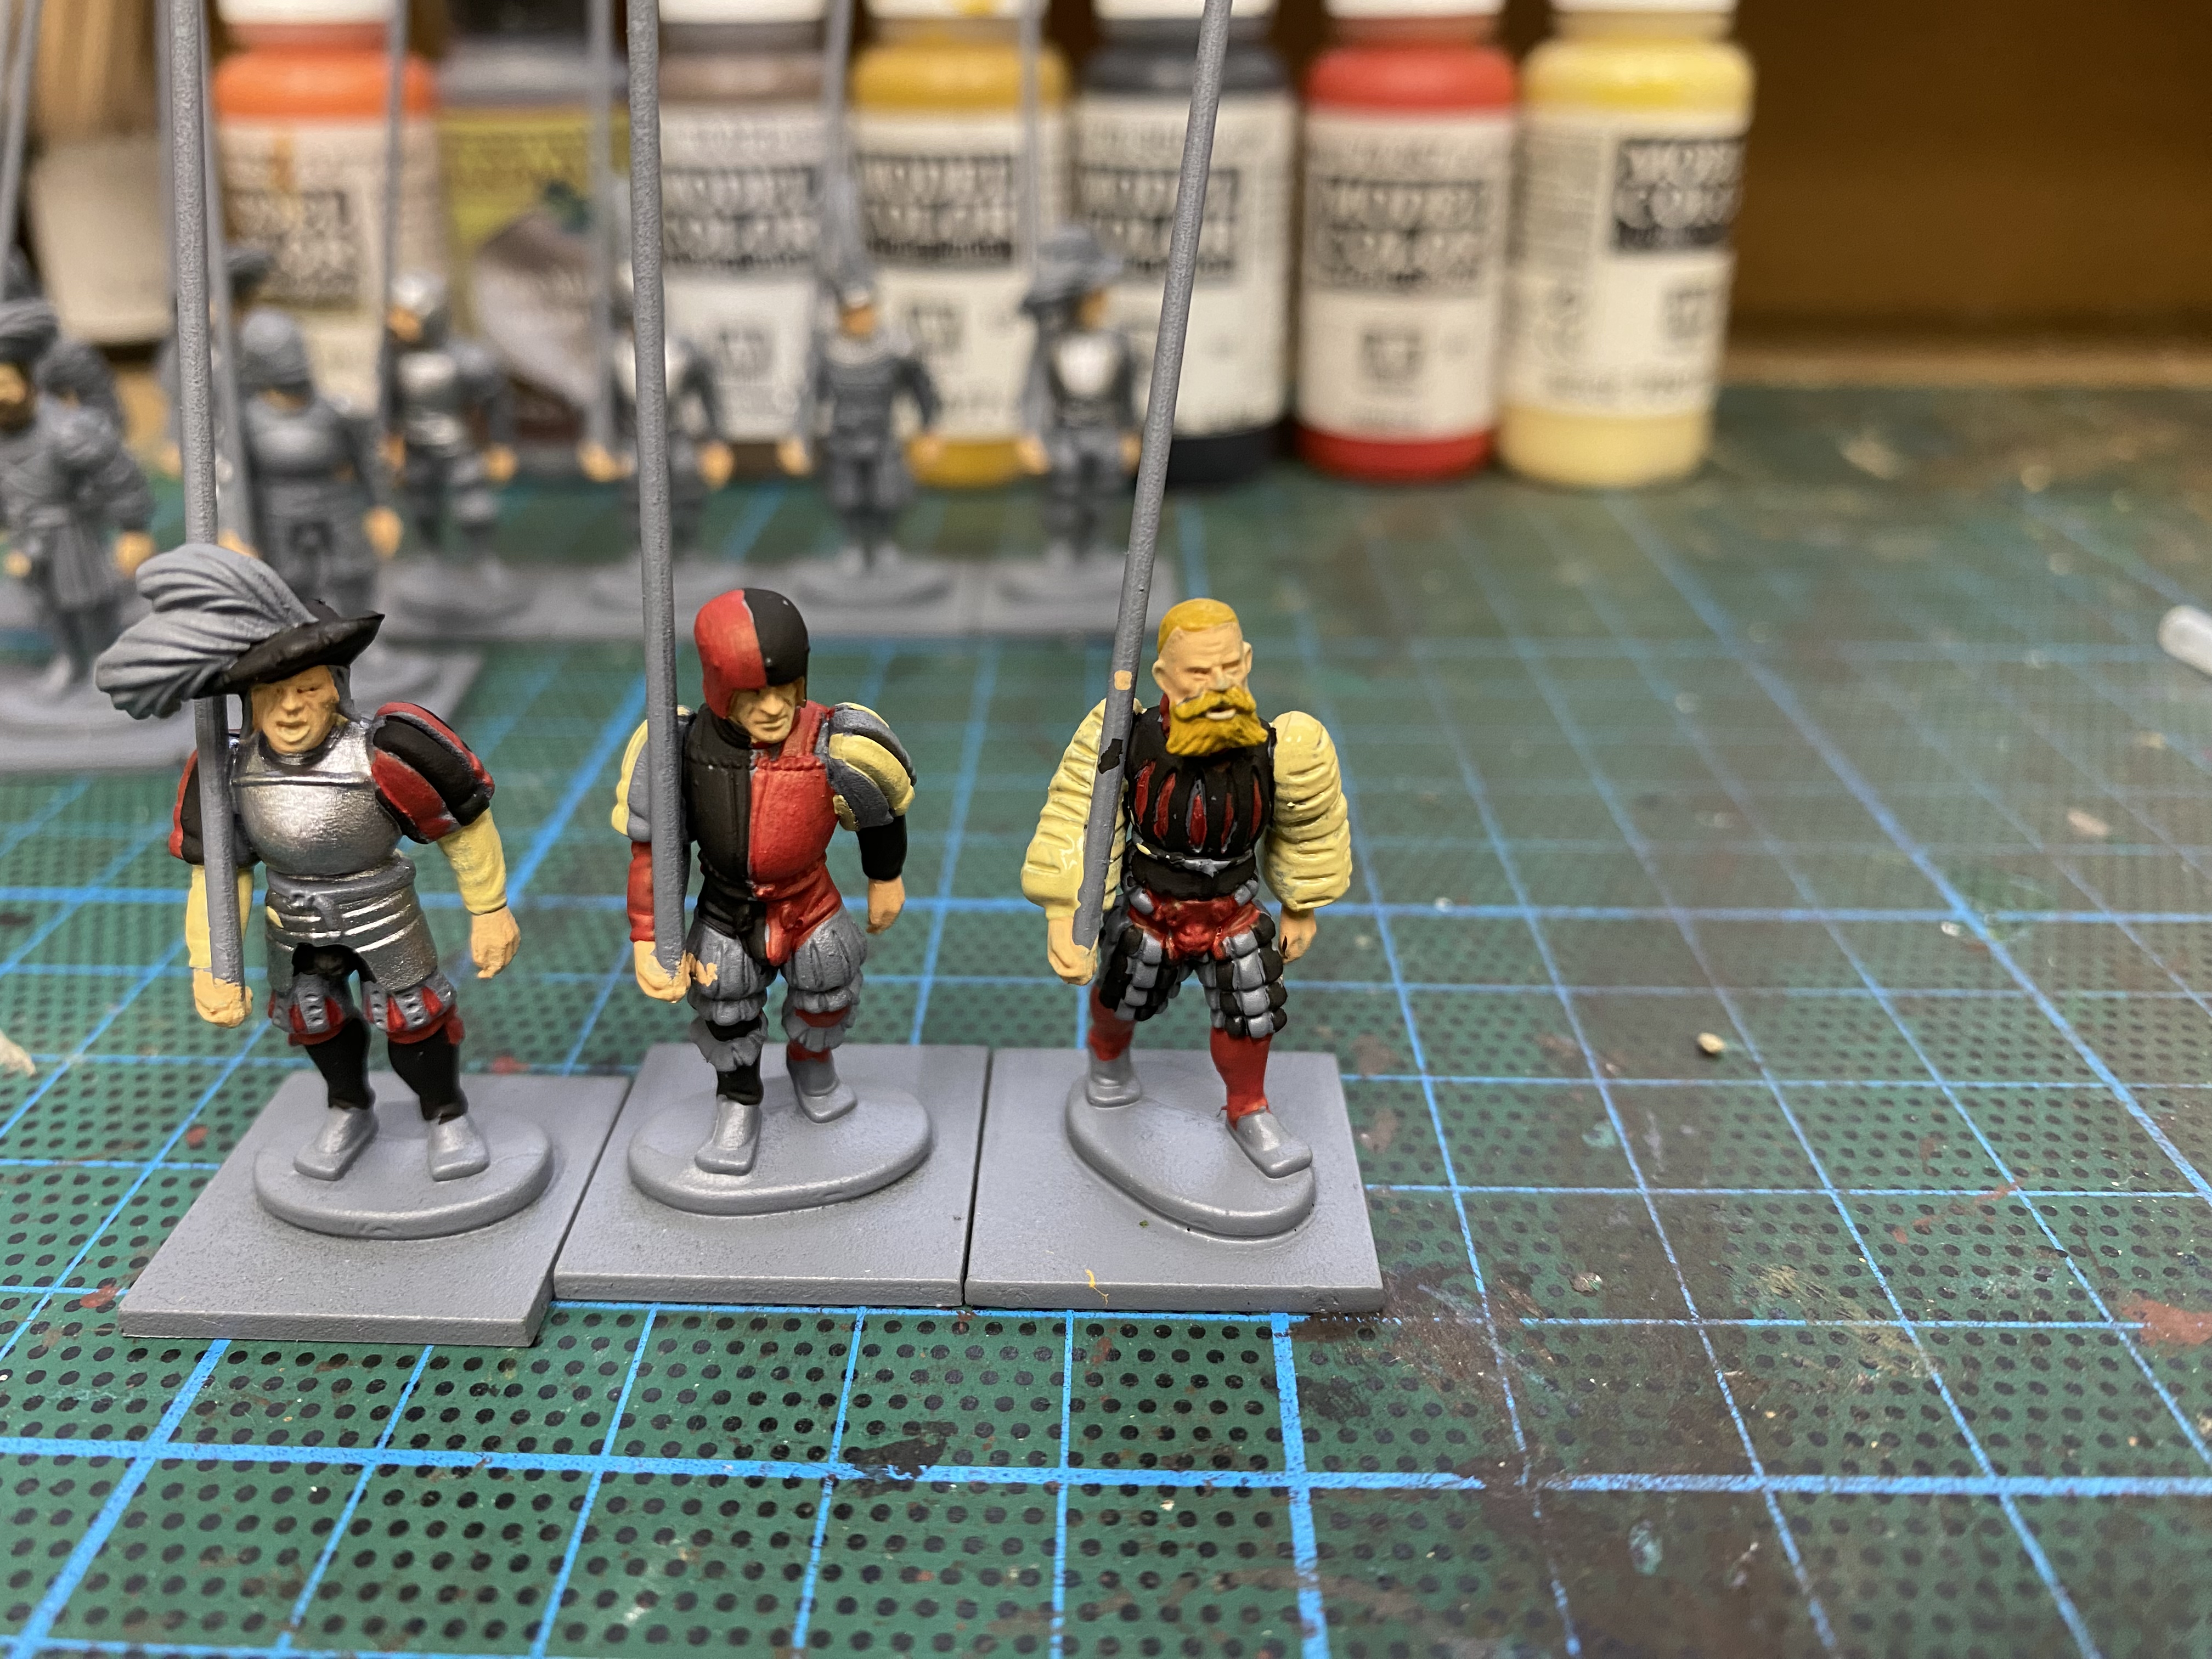
I’ve now added a third colour to the figures – 70917 beige.
The fourth colour is off white 70820 – we are nearly done with the block paint!

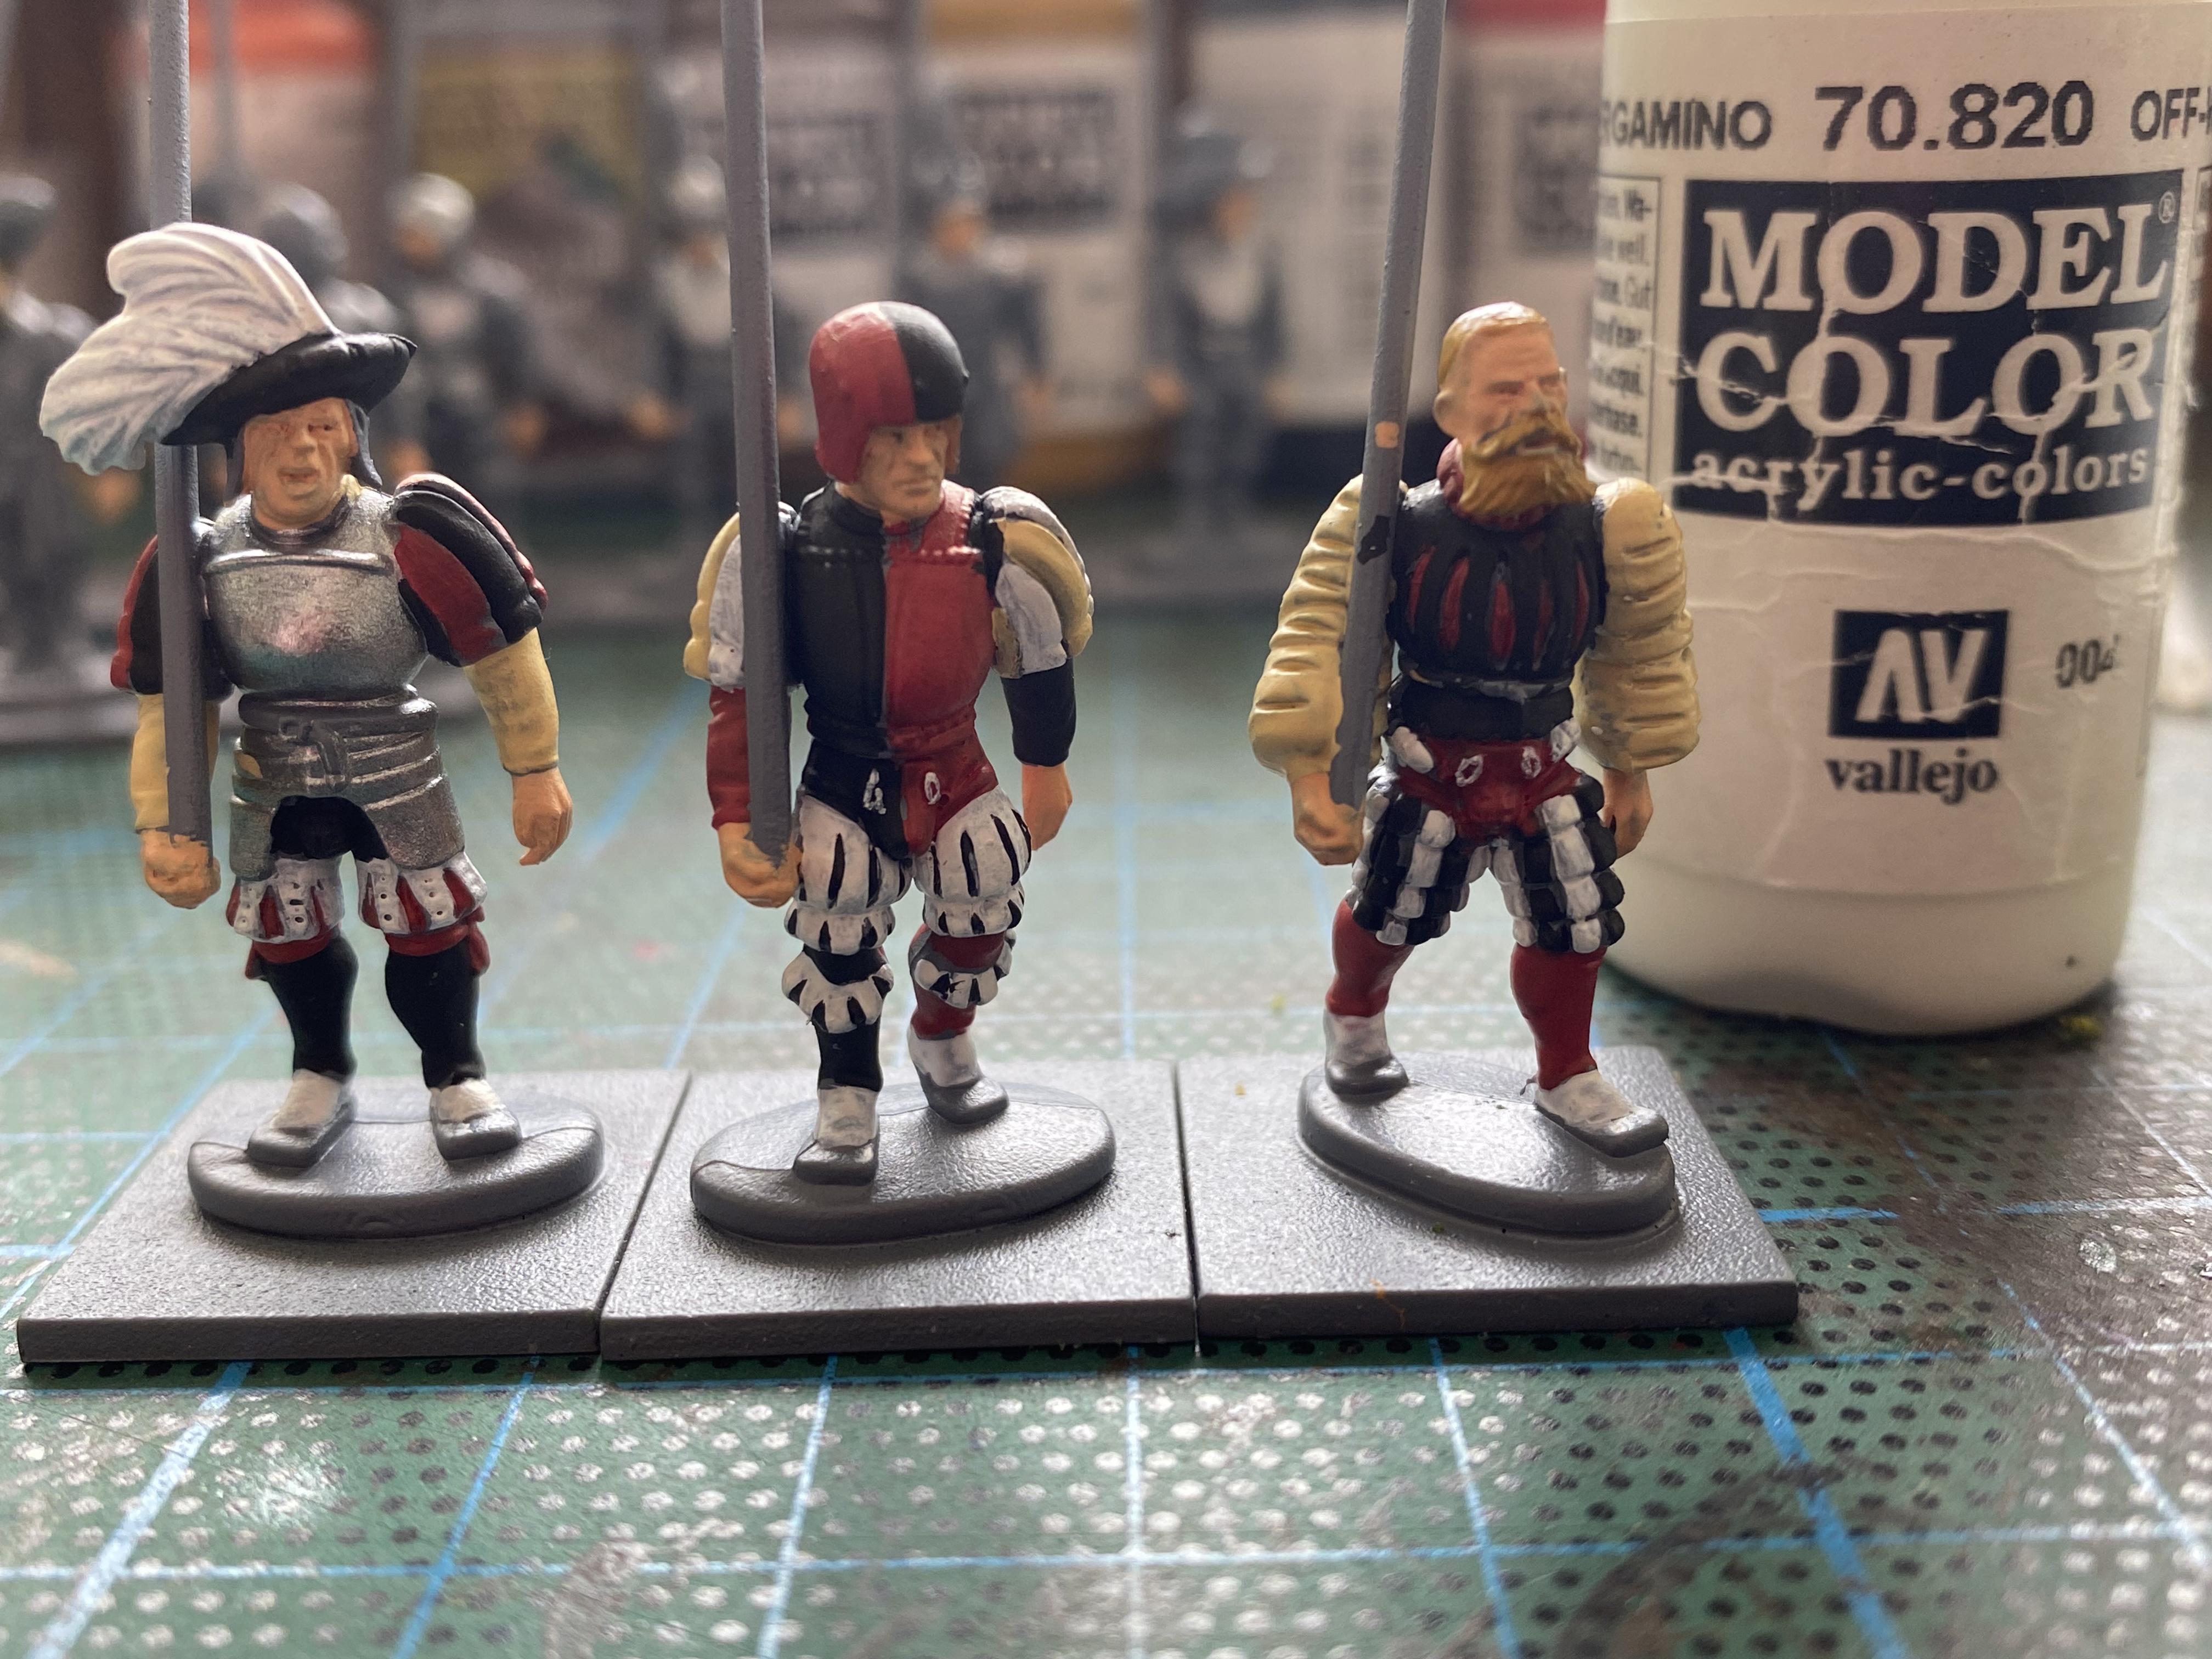
The belts ( front and back) and the shoes are painted 70871 leather. I used this on all of my figures regardless of the colour scheme chosen.
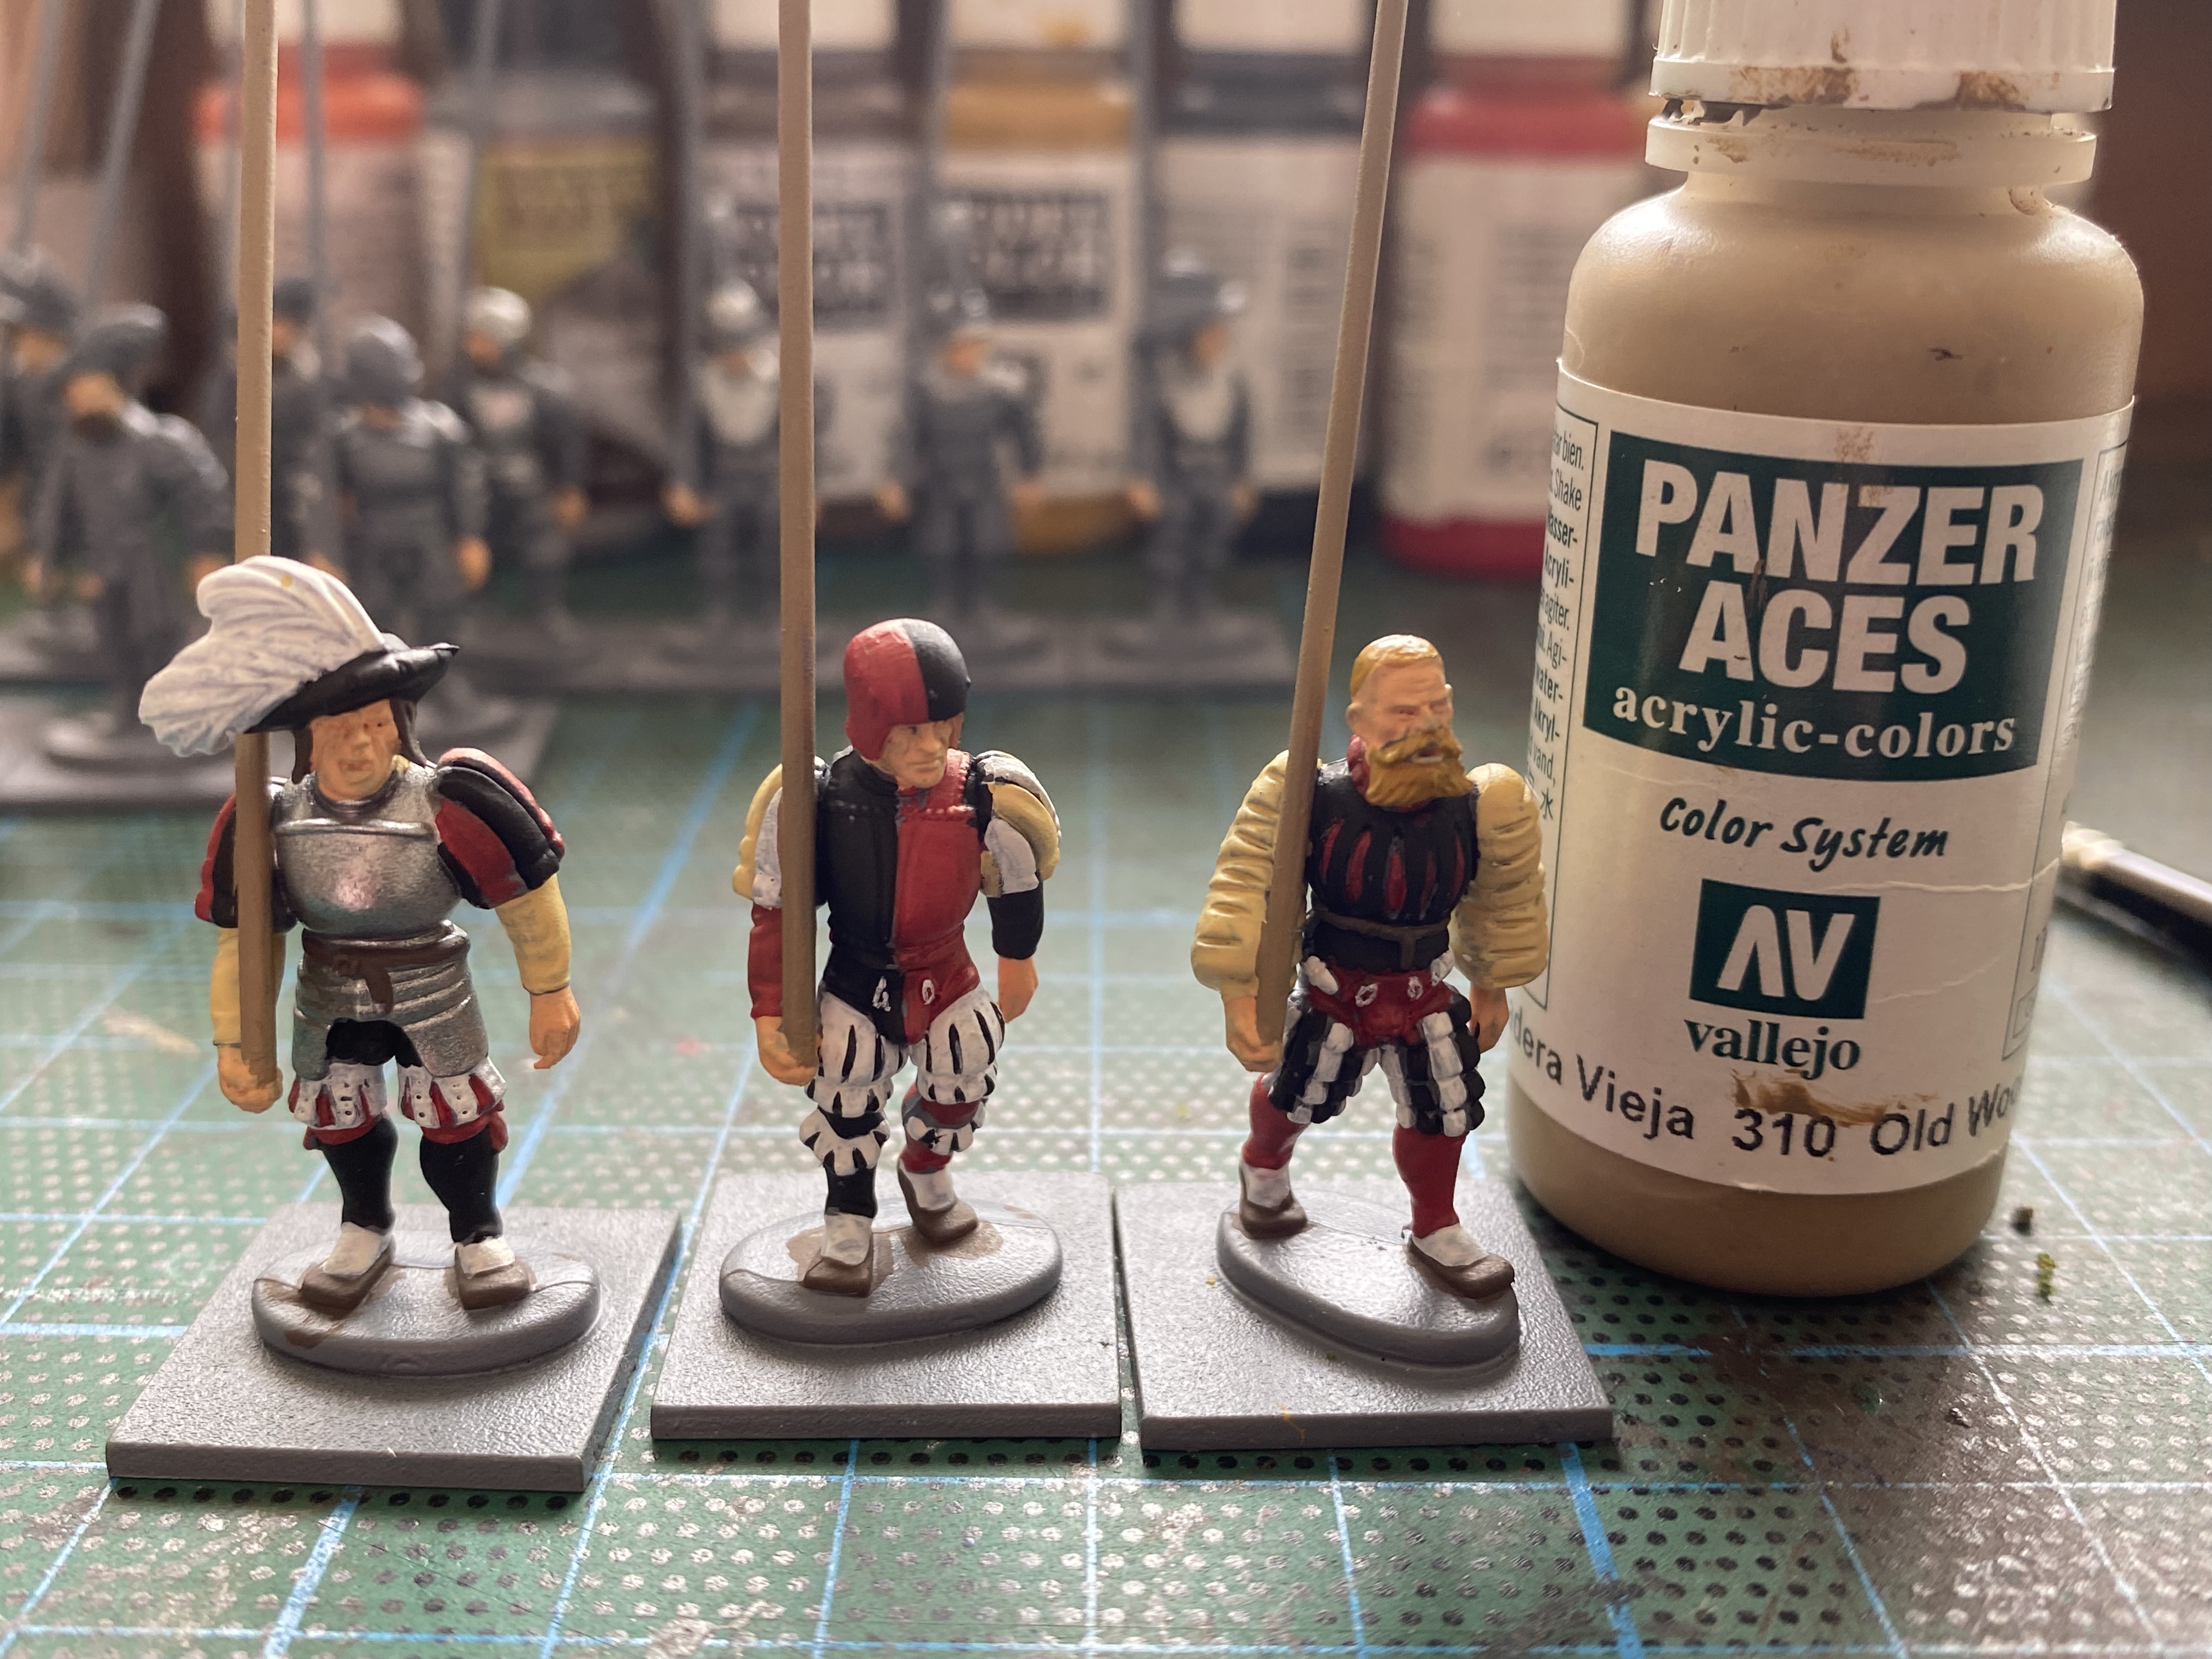
The pikes are painted with Panzer Aces Old Wood 310.
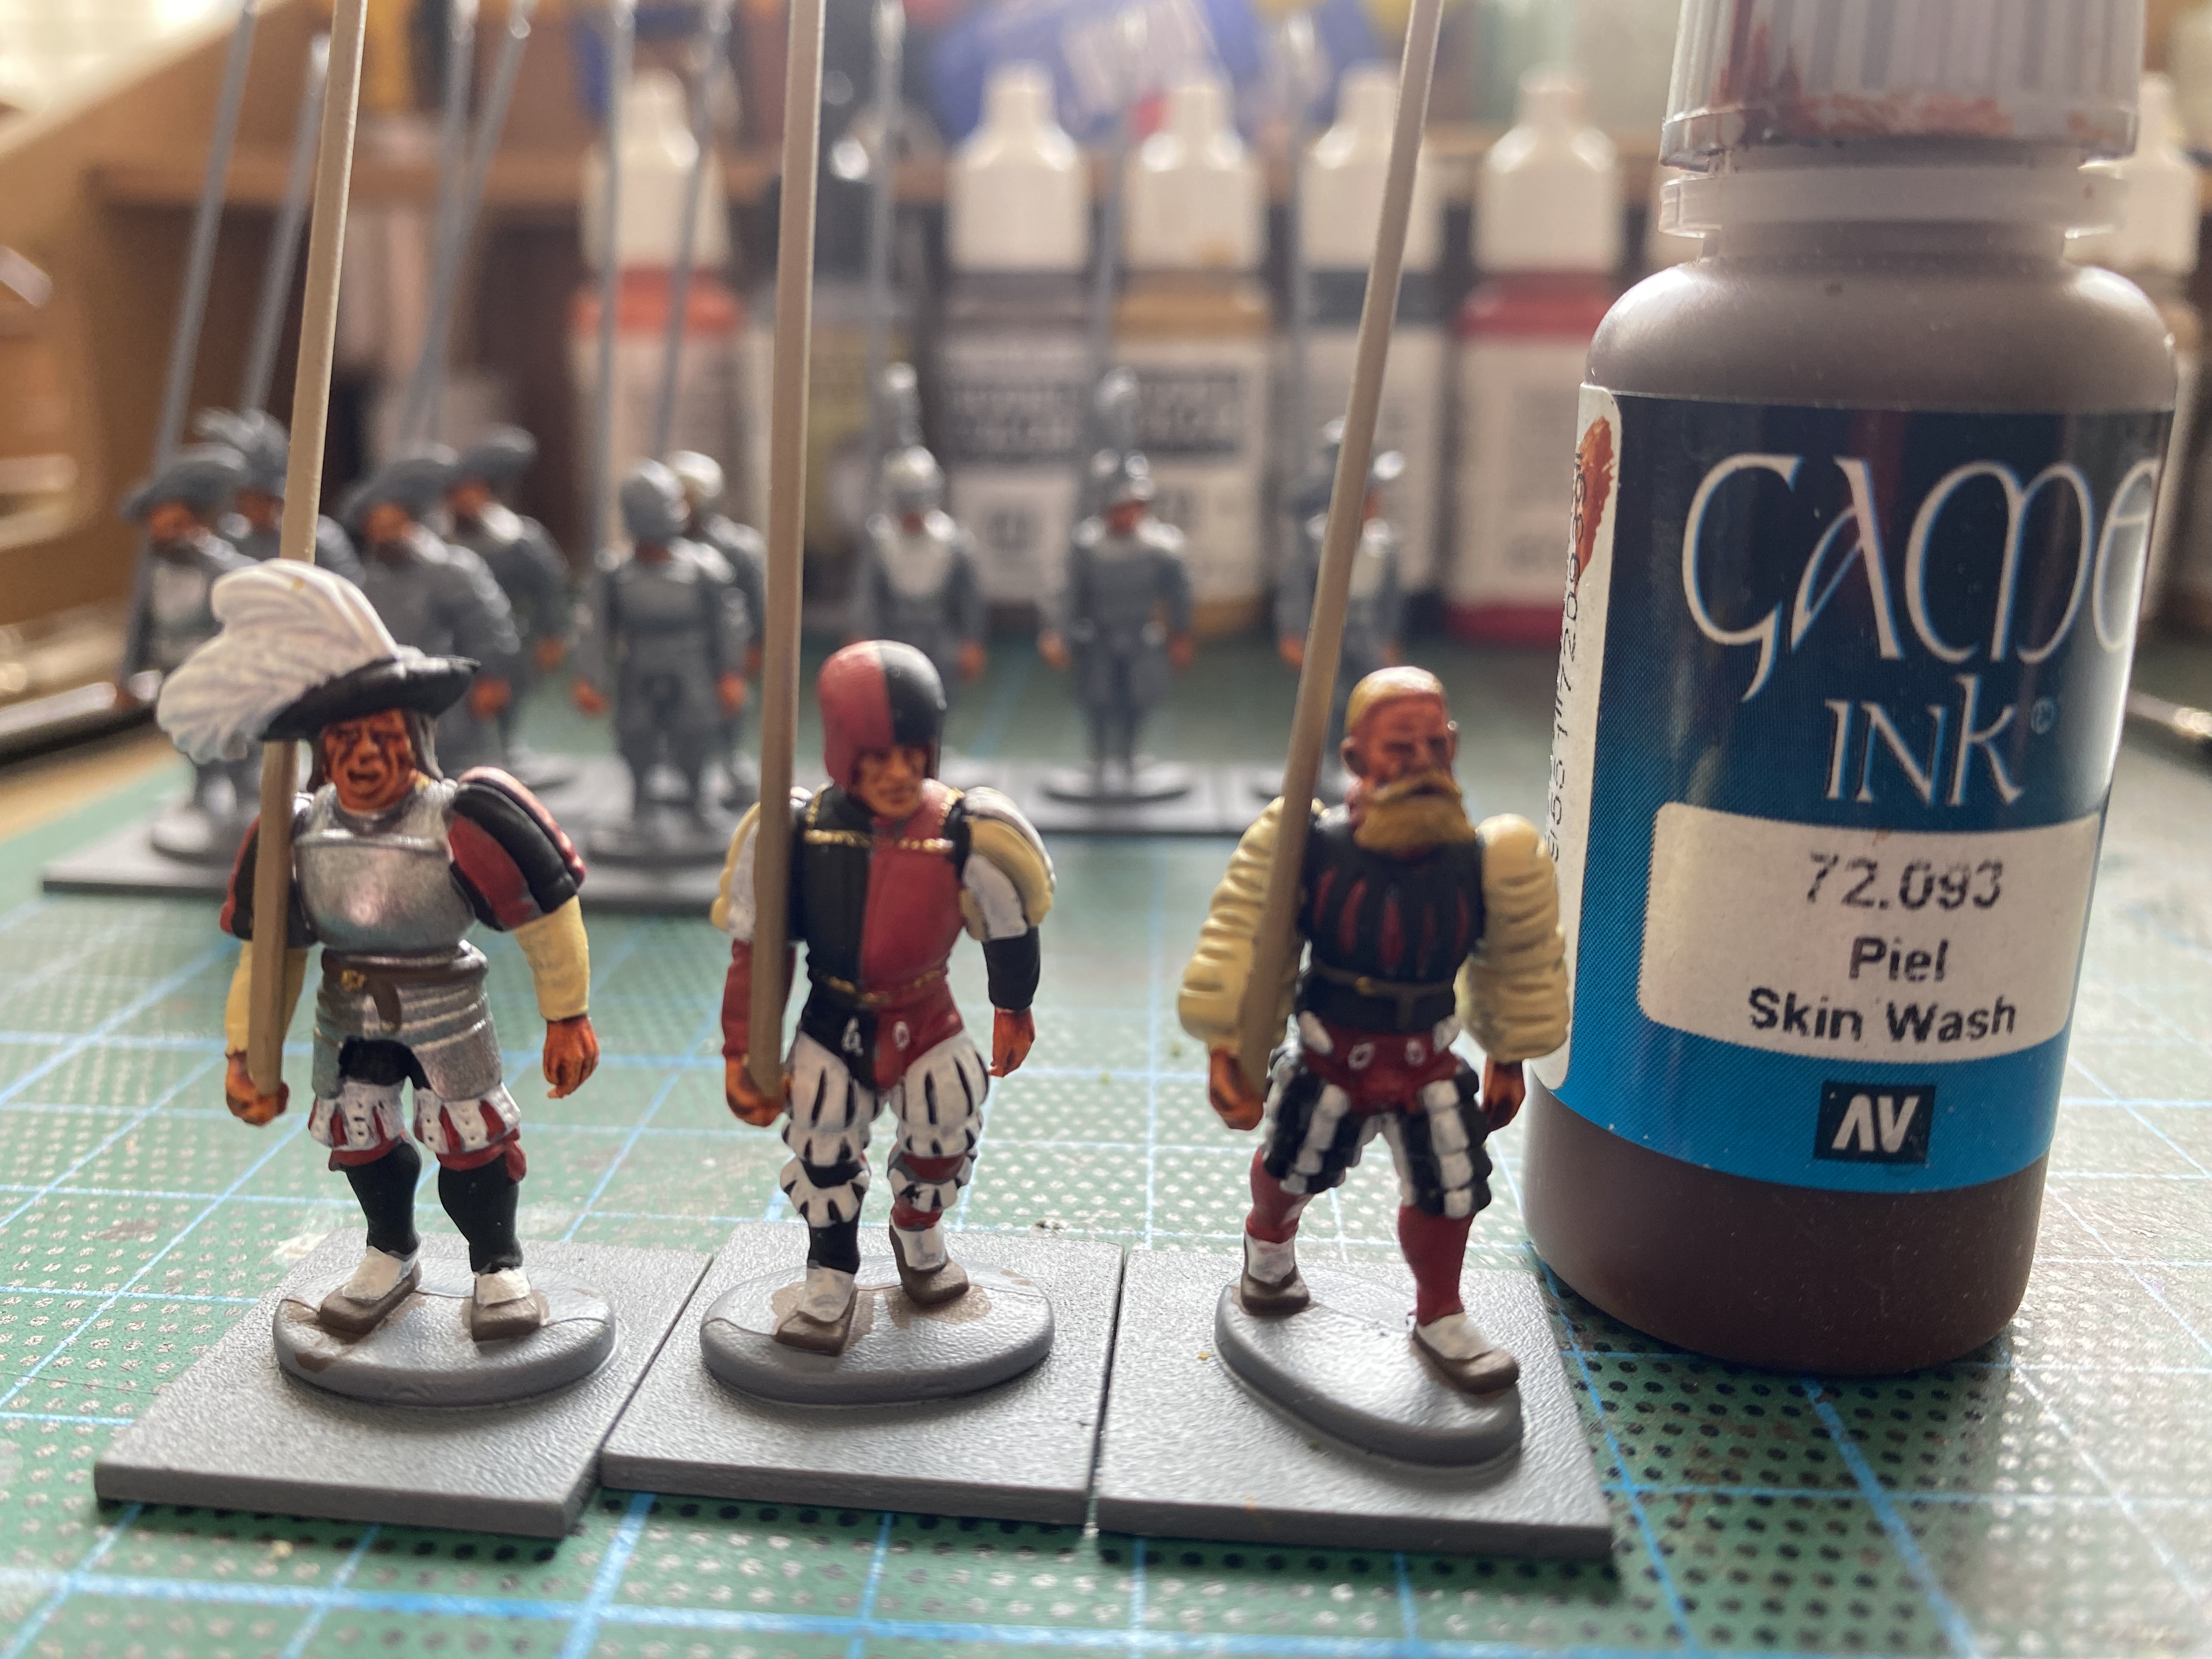
The flesh is now given a wash using Game Ink 72093.
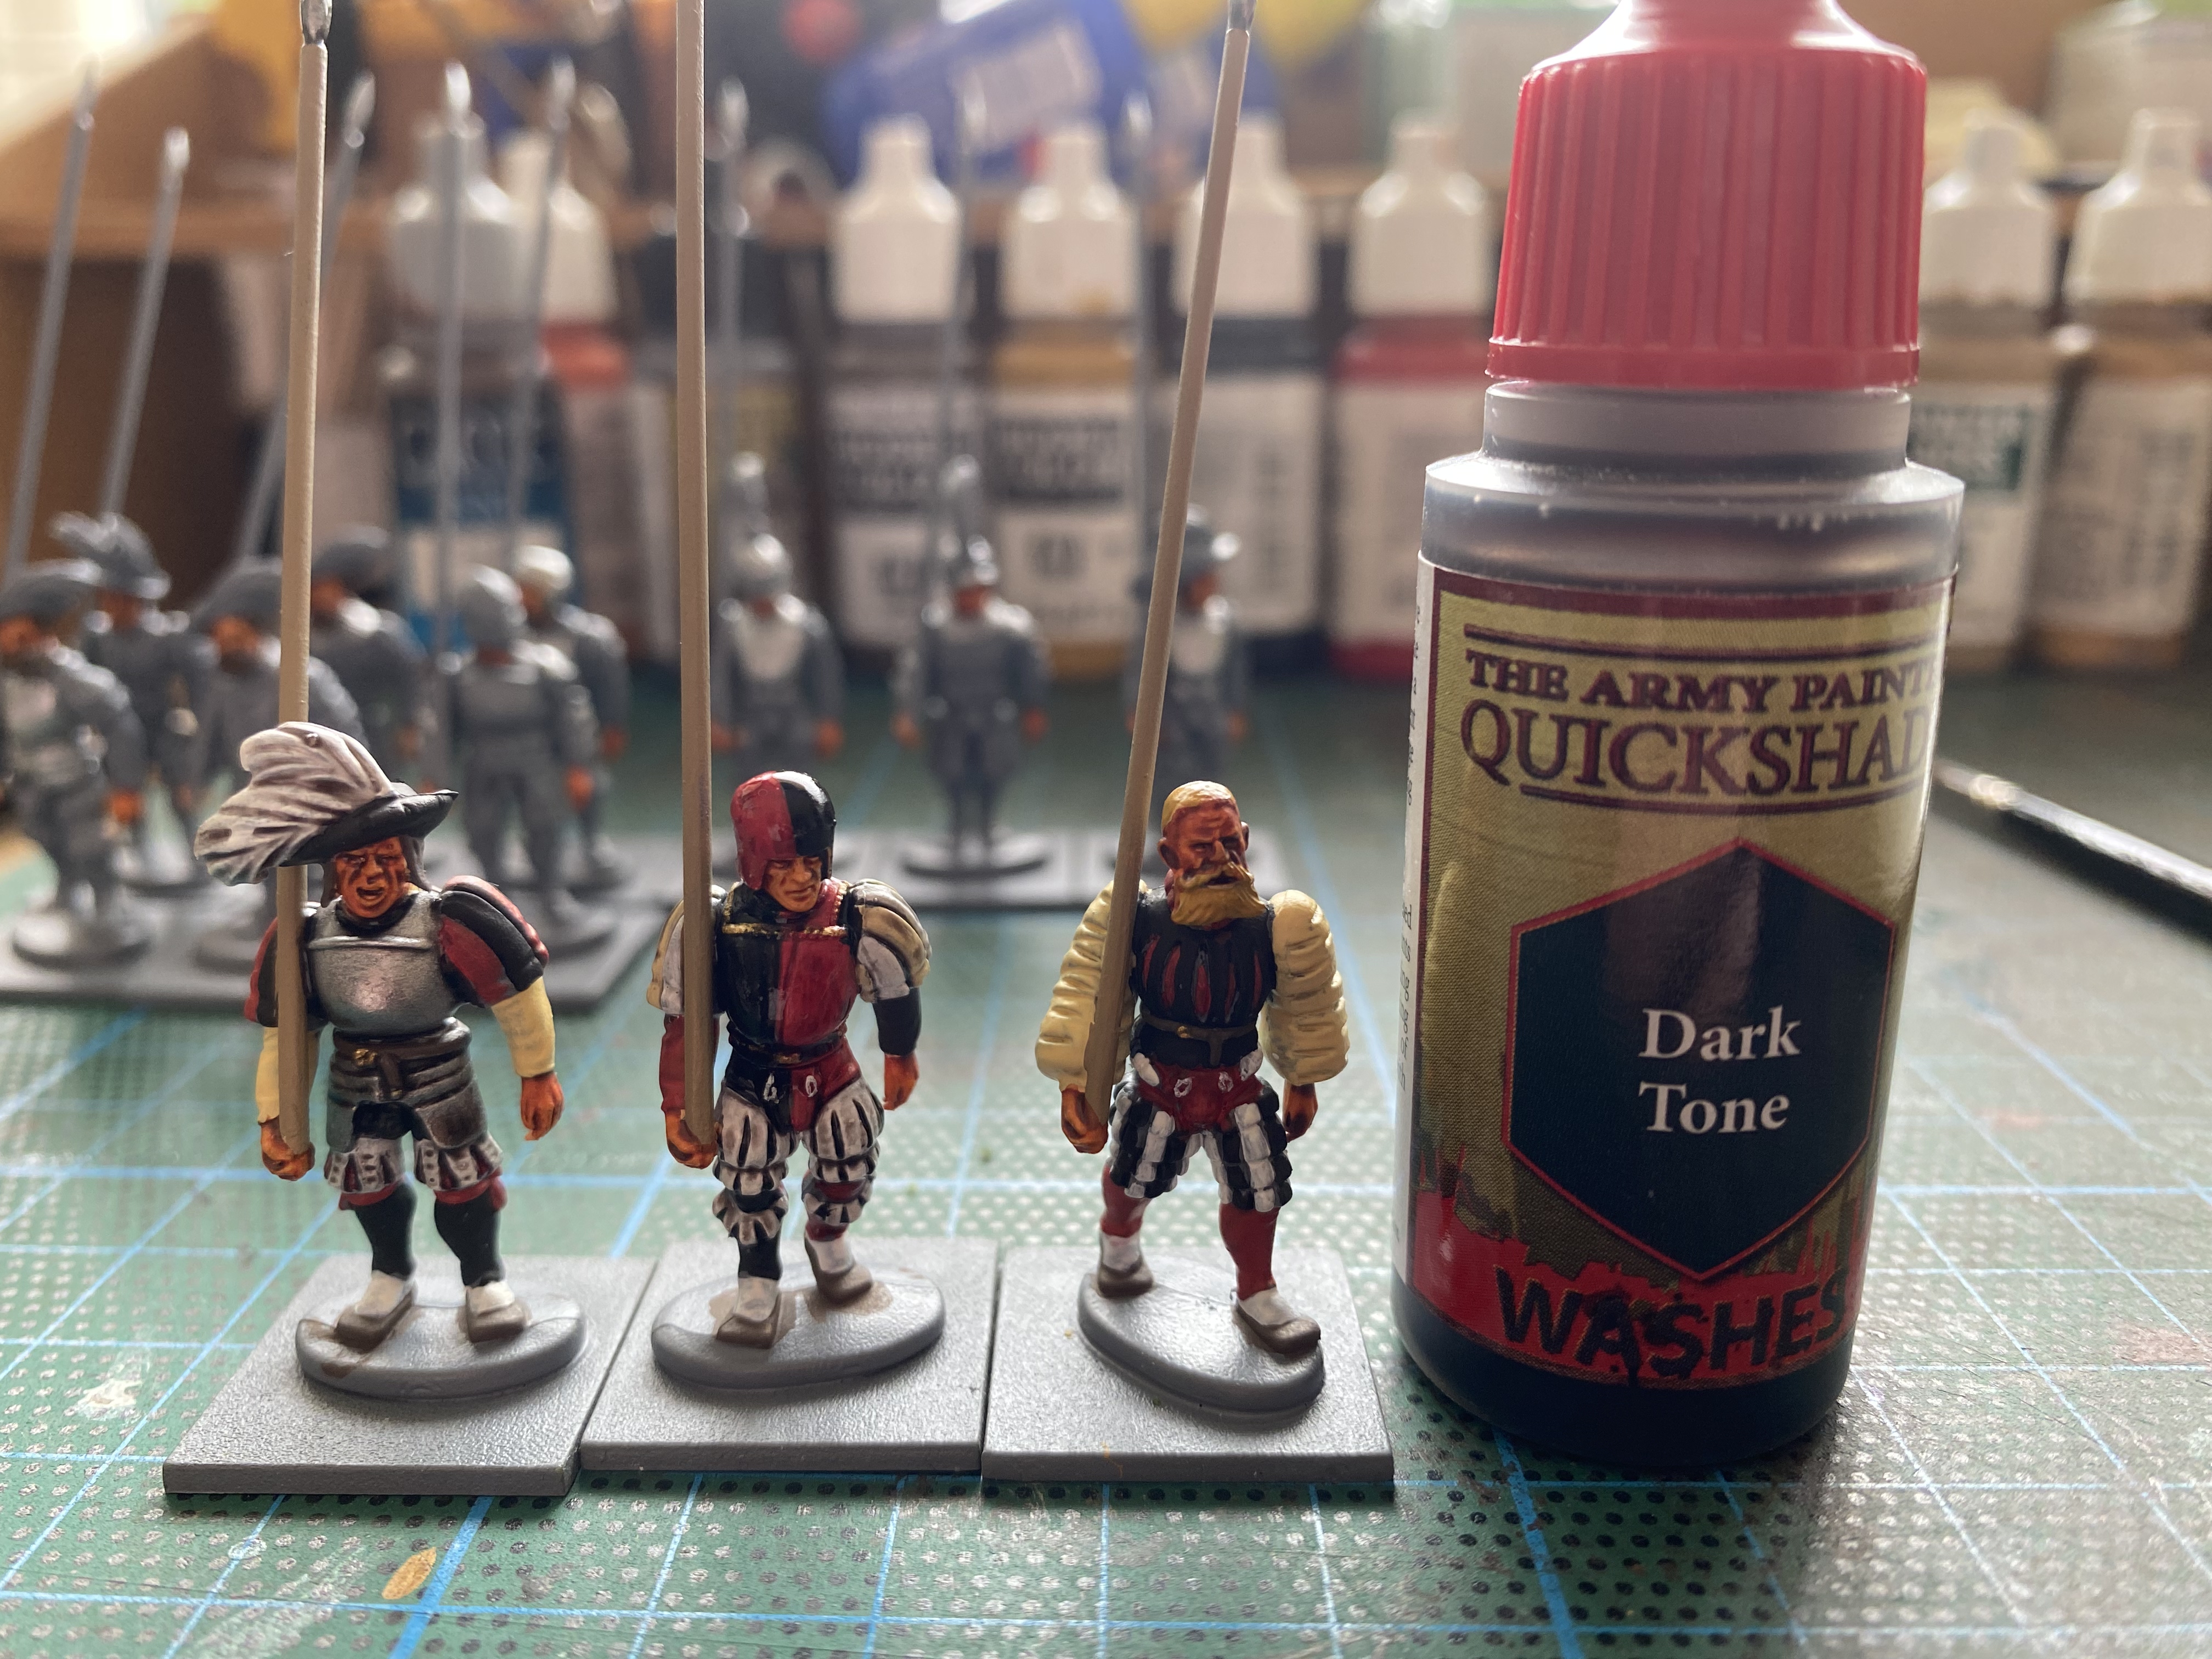
The Black, Red, Plate Mail and White ares are washed with Army painter dark tone – I thin this down slighty with water to make it a bit lighter and easier to flow.
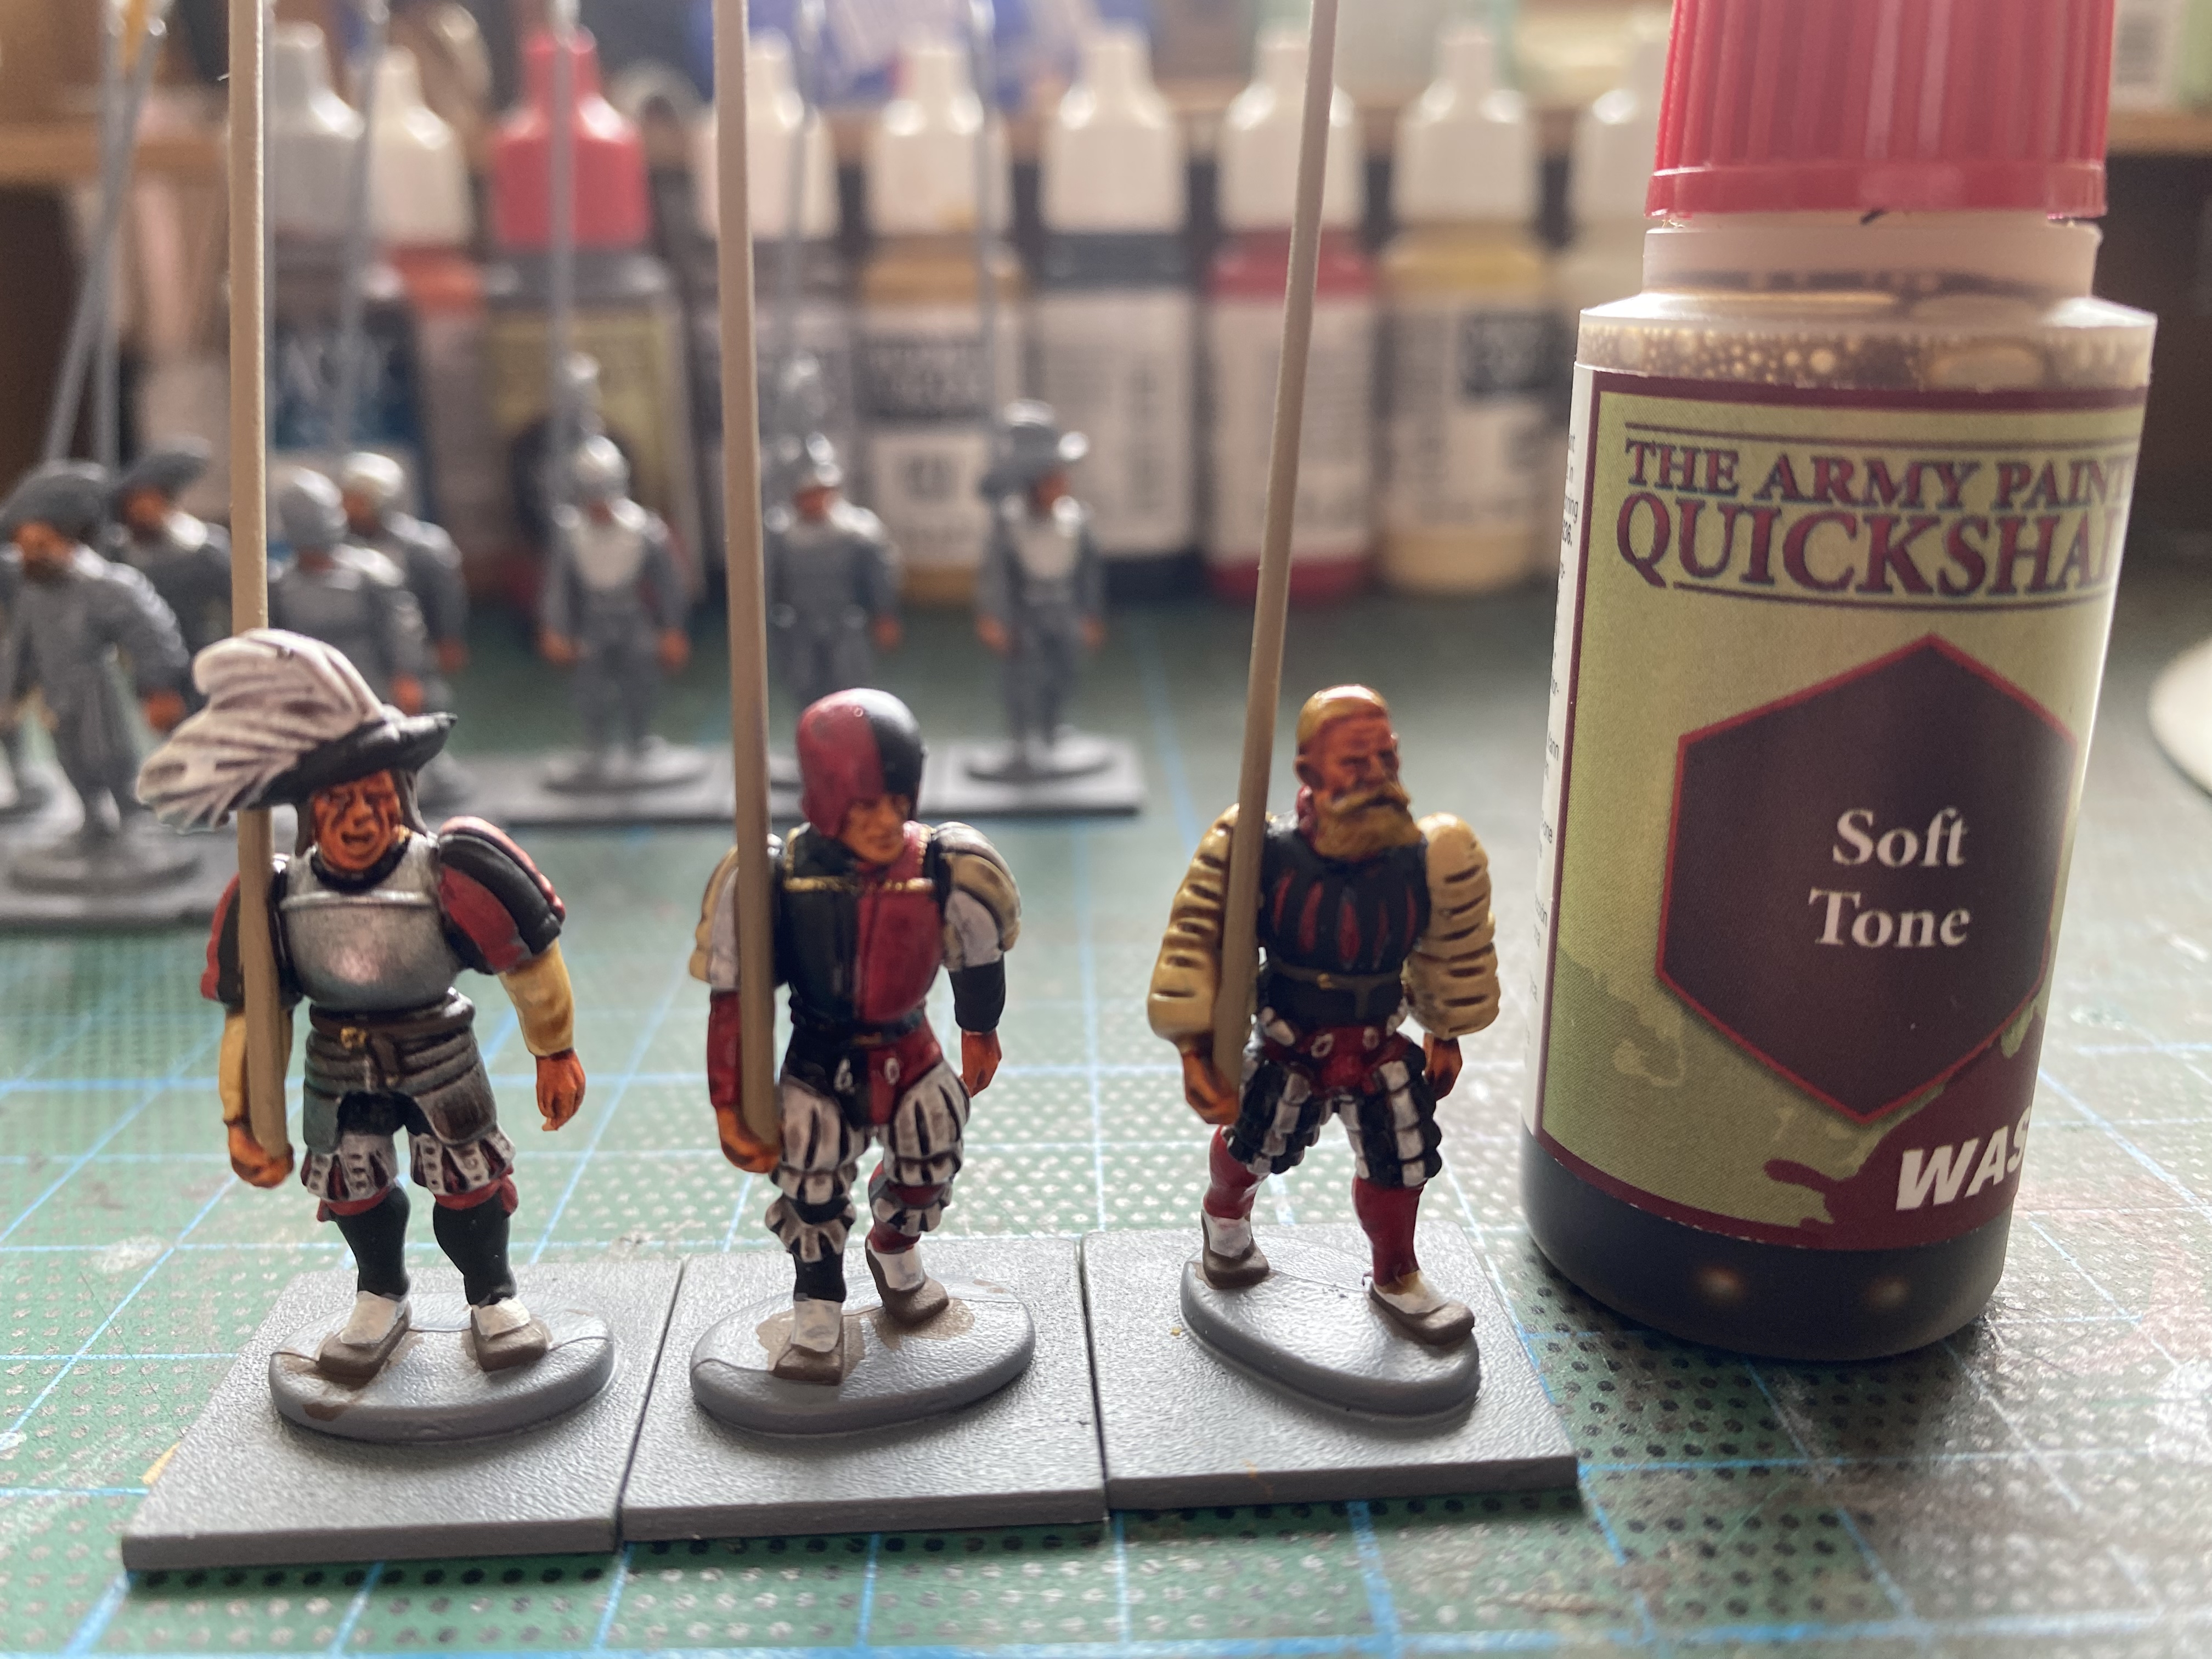
The beige and hair is washed with soft tone.
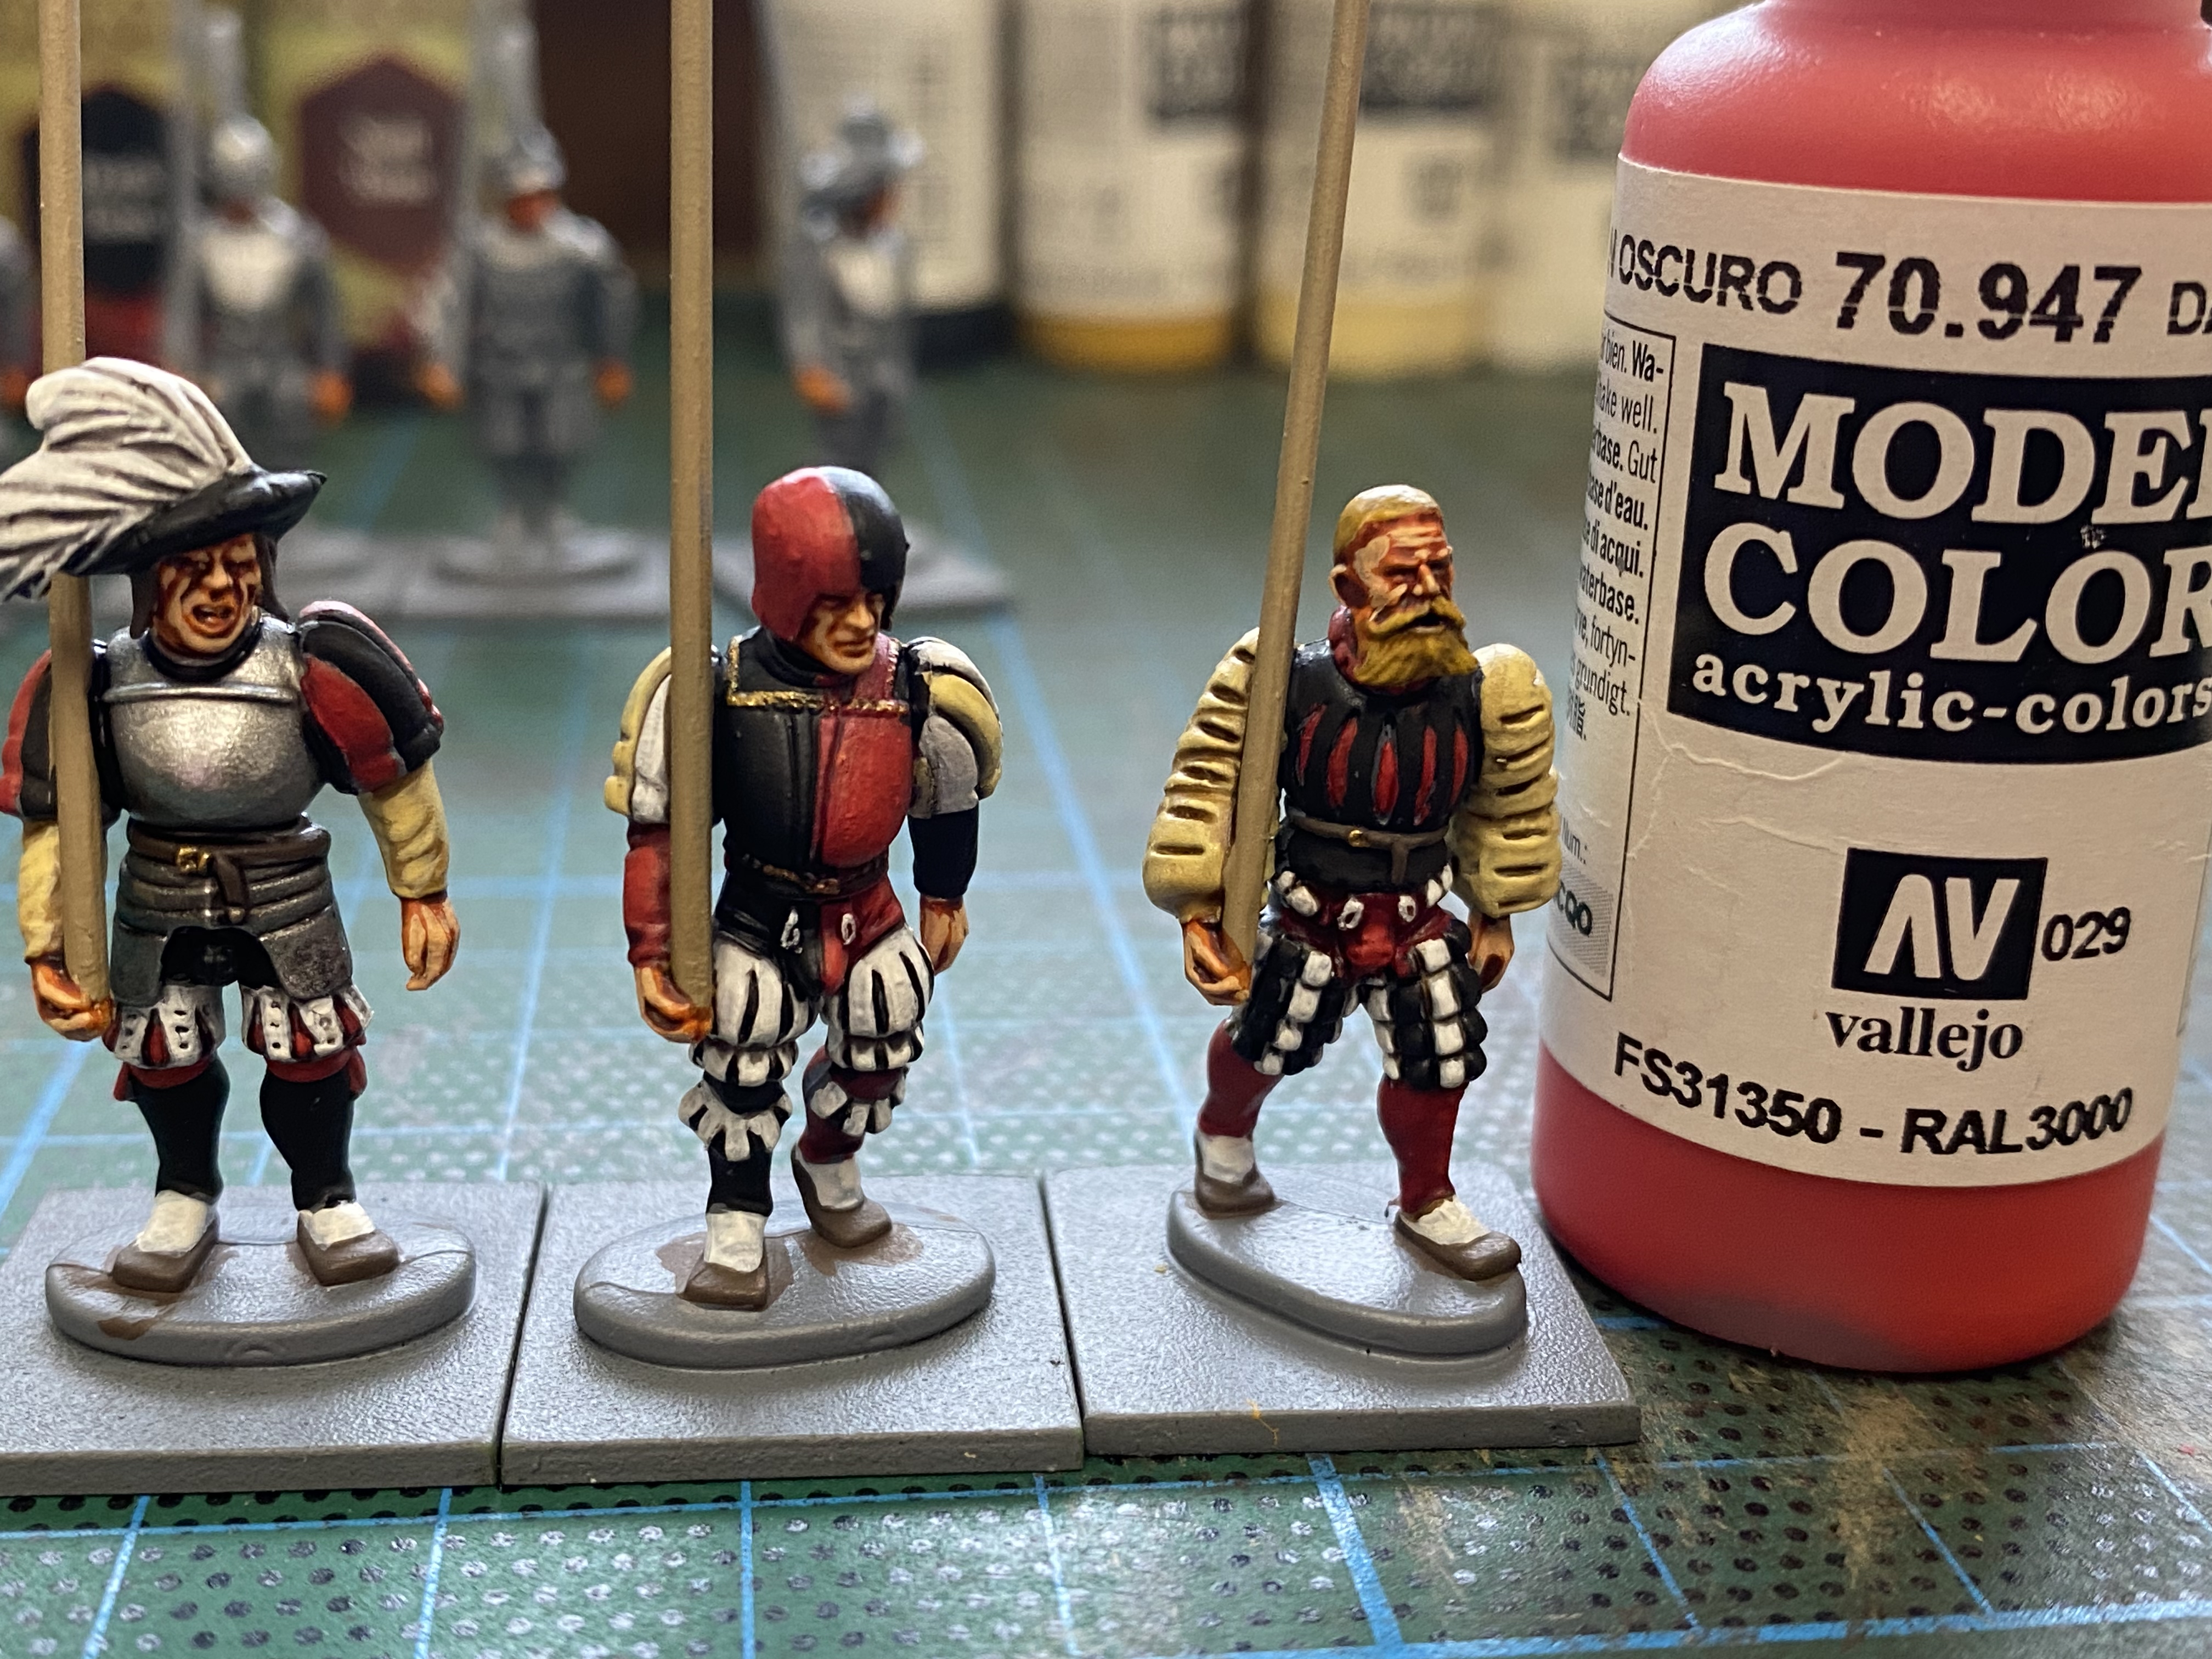
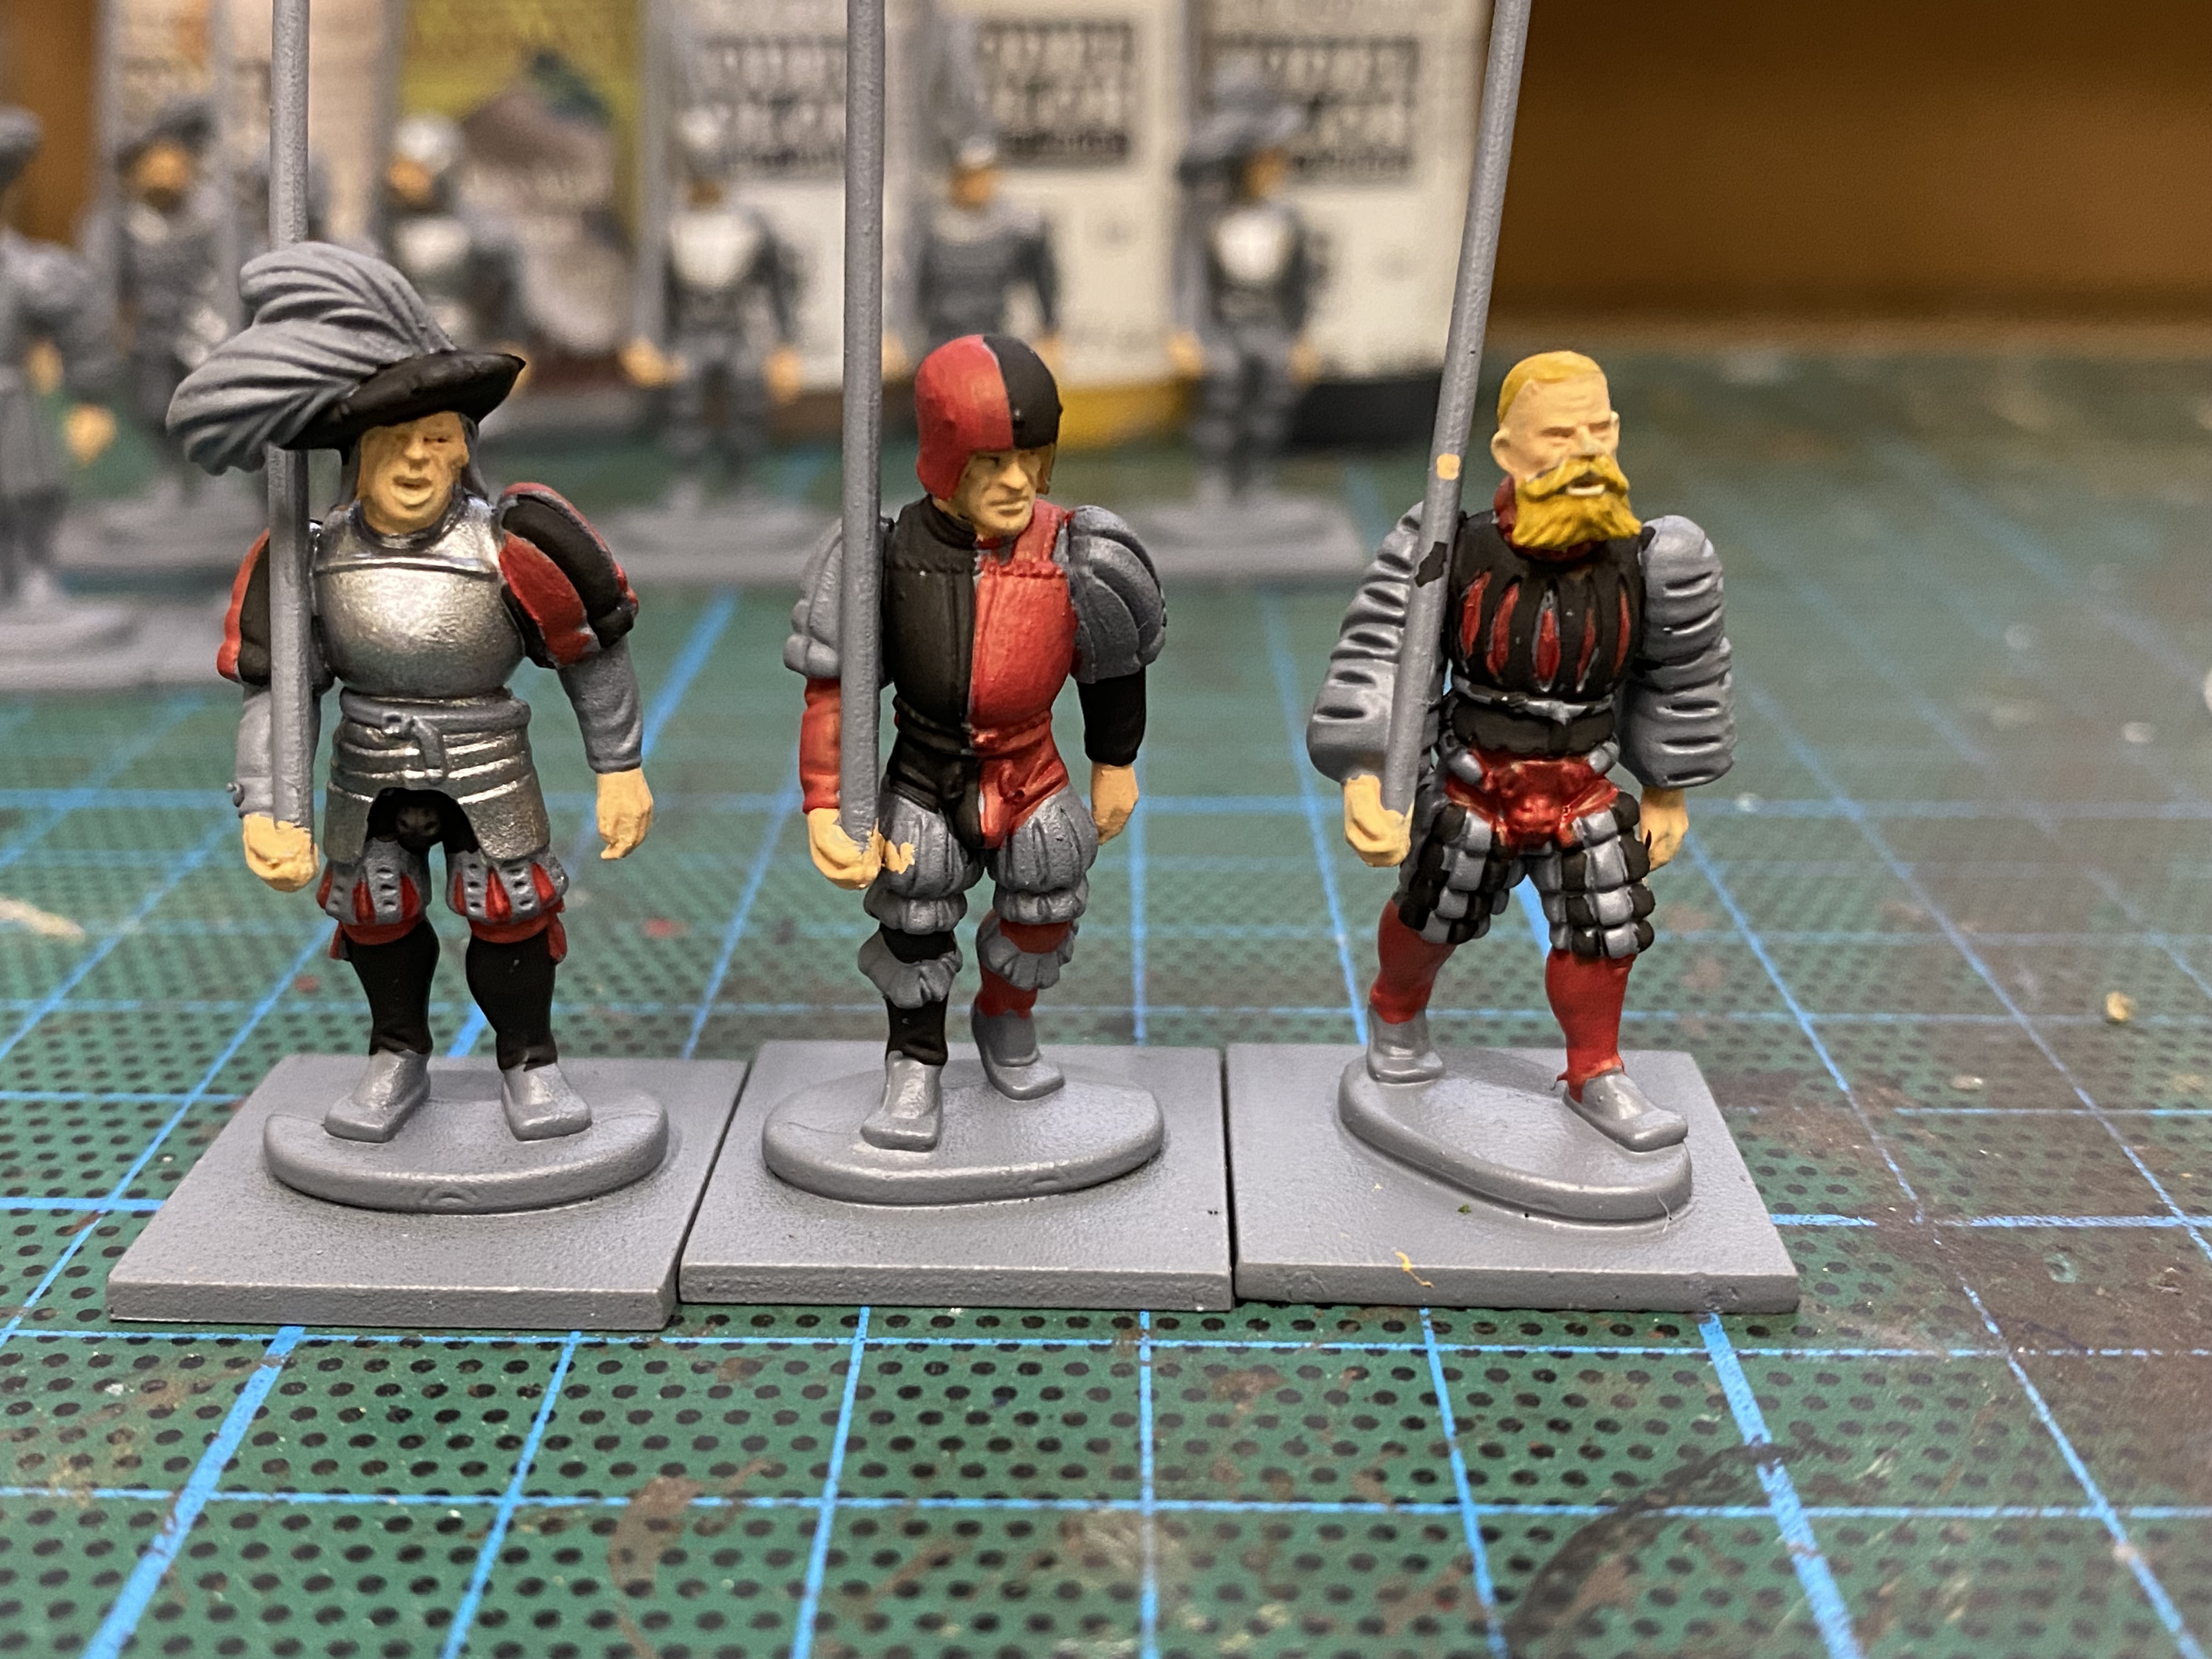
The next stage is to re paint over the washes with the original colours ( including the flesh) where needed, leaving the wash in the recesses as shading. This gives the colours that nice bright look that I like. If you prefer a more weathered look you could ignore this stage. However, it doesn’t take as long as you would think and if you dont retouch everything it doesn’t matter.
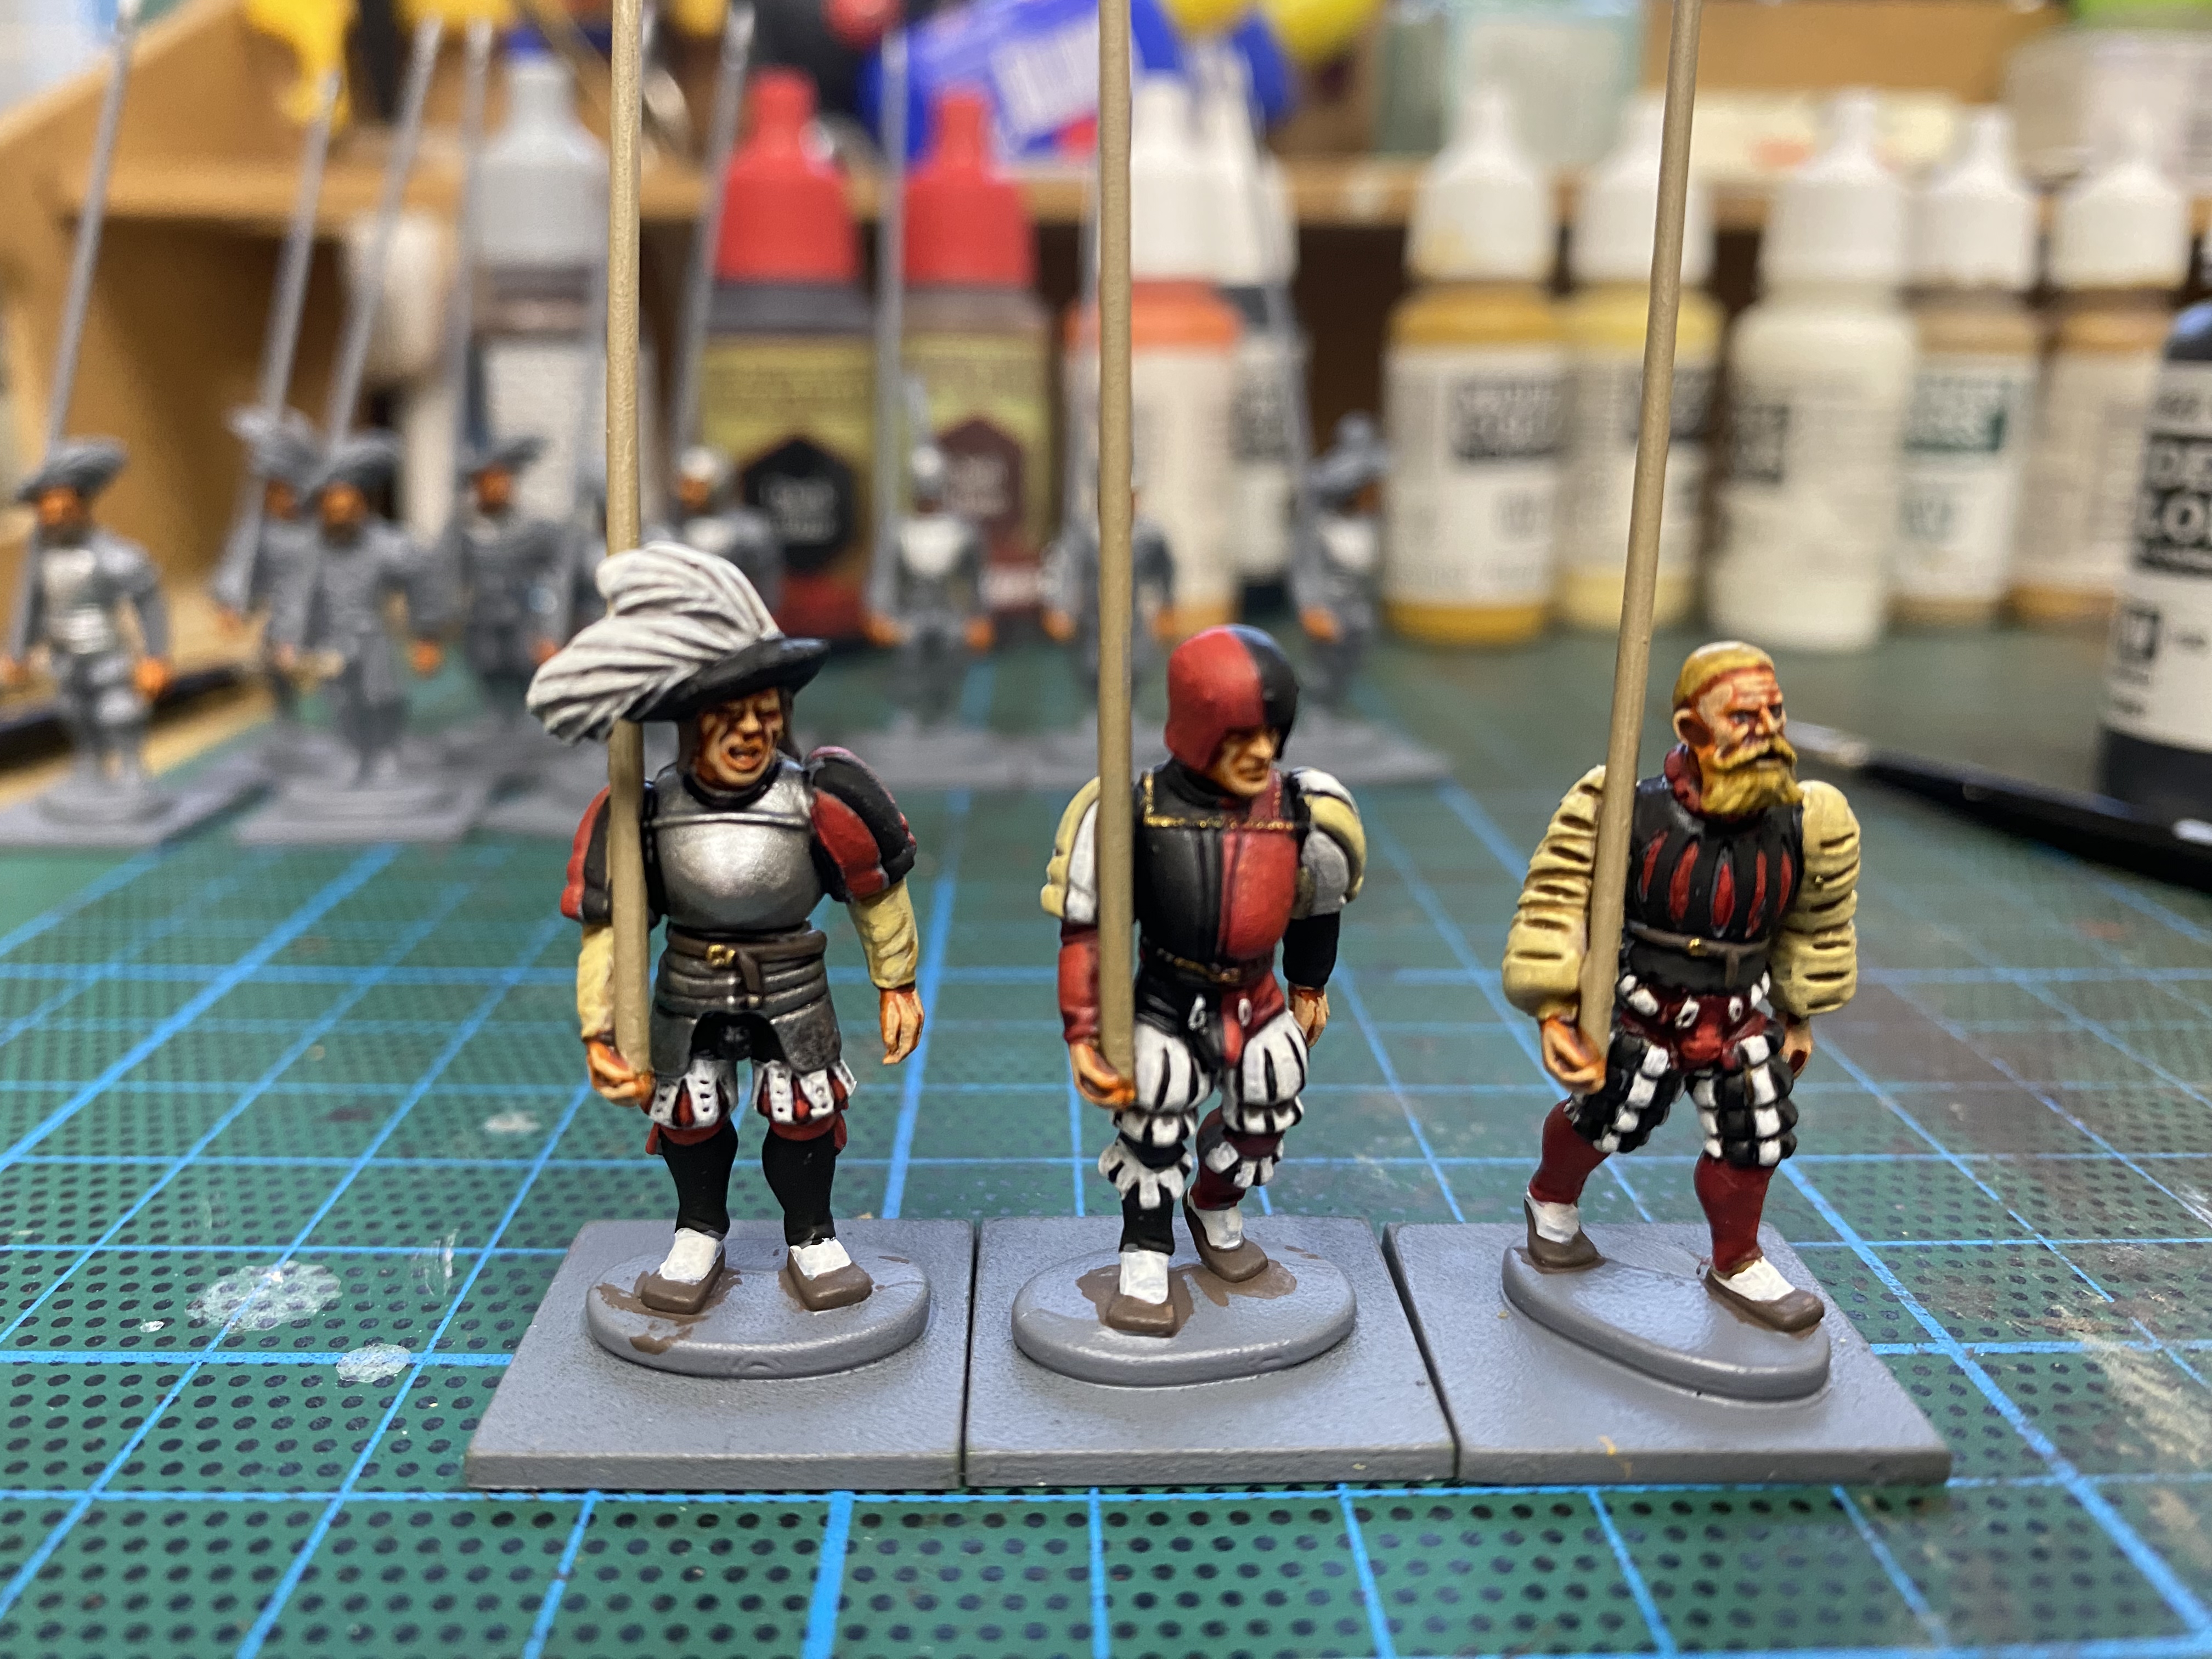
I added some detail by painting the belt buckles and the decoration on the armour with gold 70996 and retouched any errors that I’ve spotted.

I’ve started the basing process. I just spread vallejo dark earth texture paste 26218 and added some fine ballast for extra texture. I’ve covered my basing process in many previous blogs. It’s now just a question of painting, dry brushing, and adding some scatter and tufts.
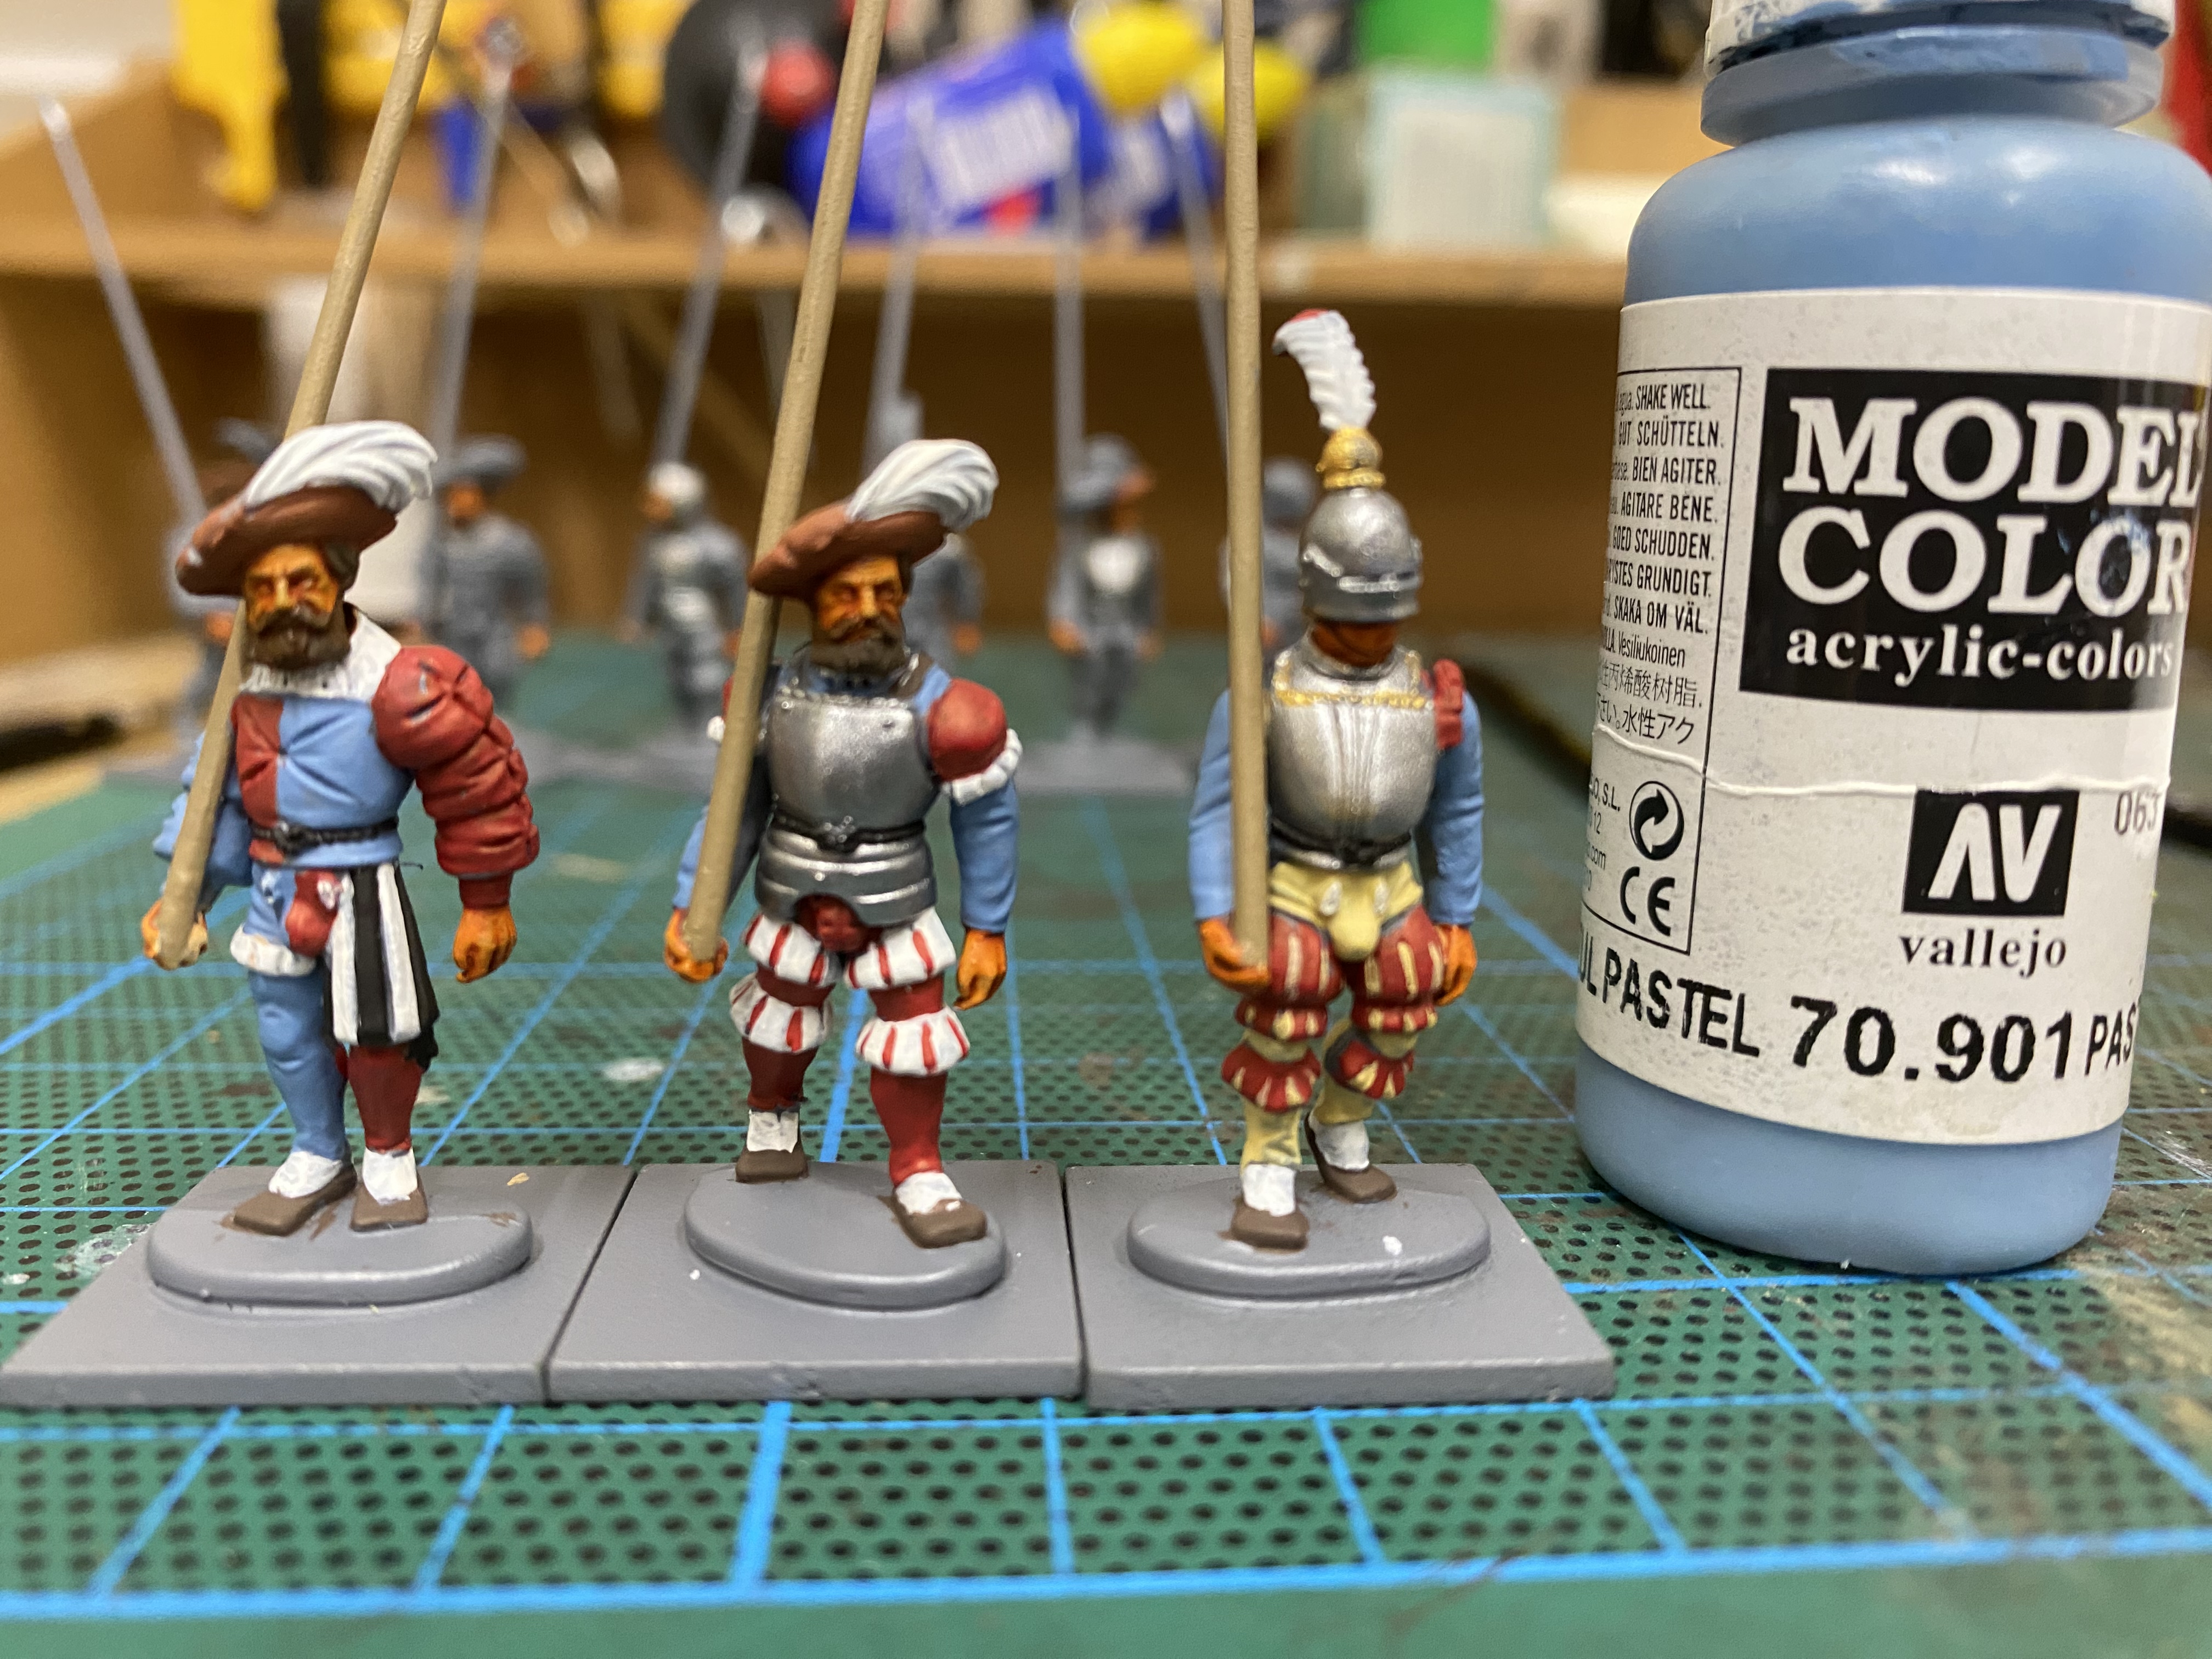
The next three figures are painted using the same process but I’ve used 70901 Pastel Blue instead of Black and the floppy hats are painted with red leather 70818 and varying the hair colour. By changing up the colours in this way, you get a variety of finishes.
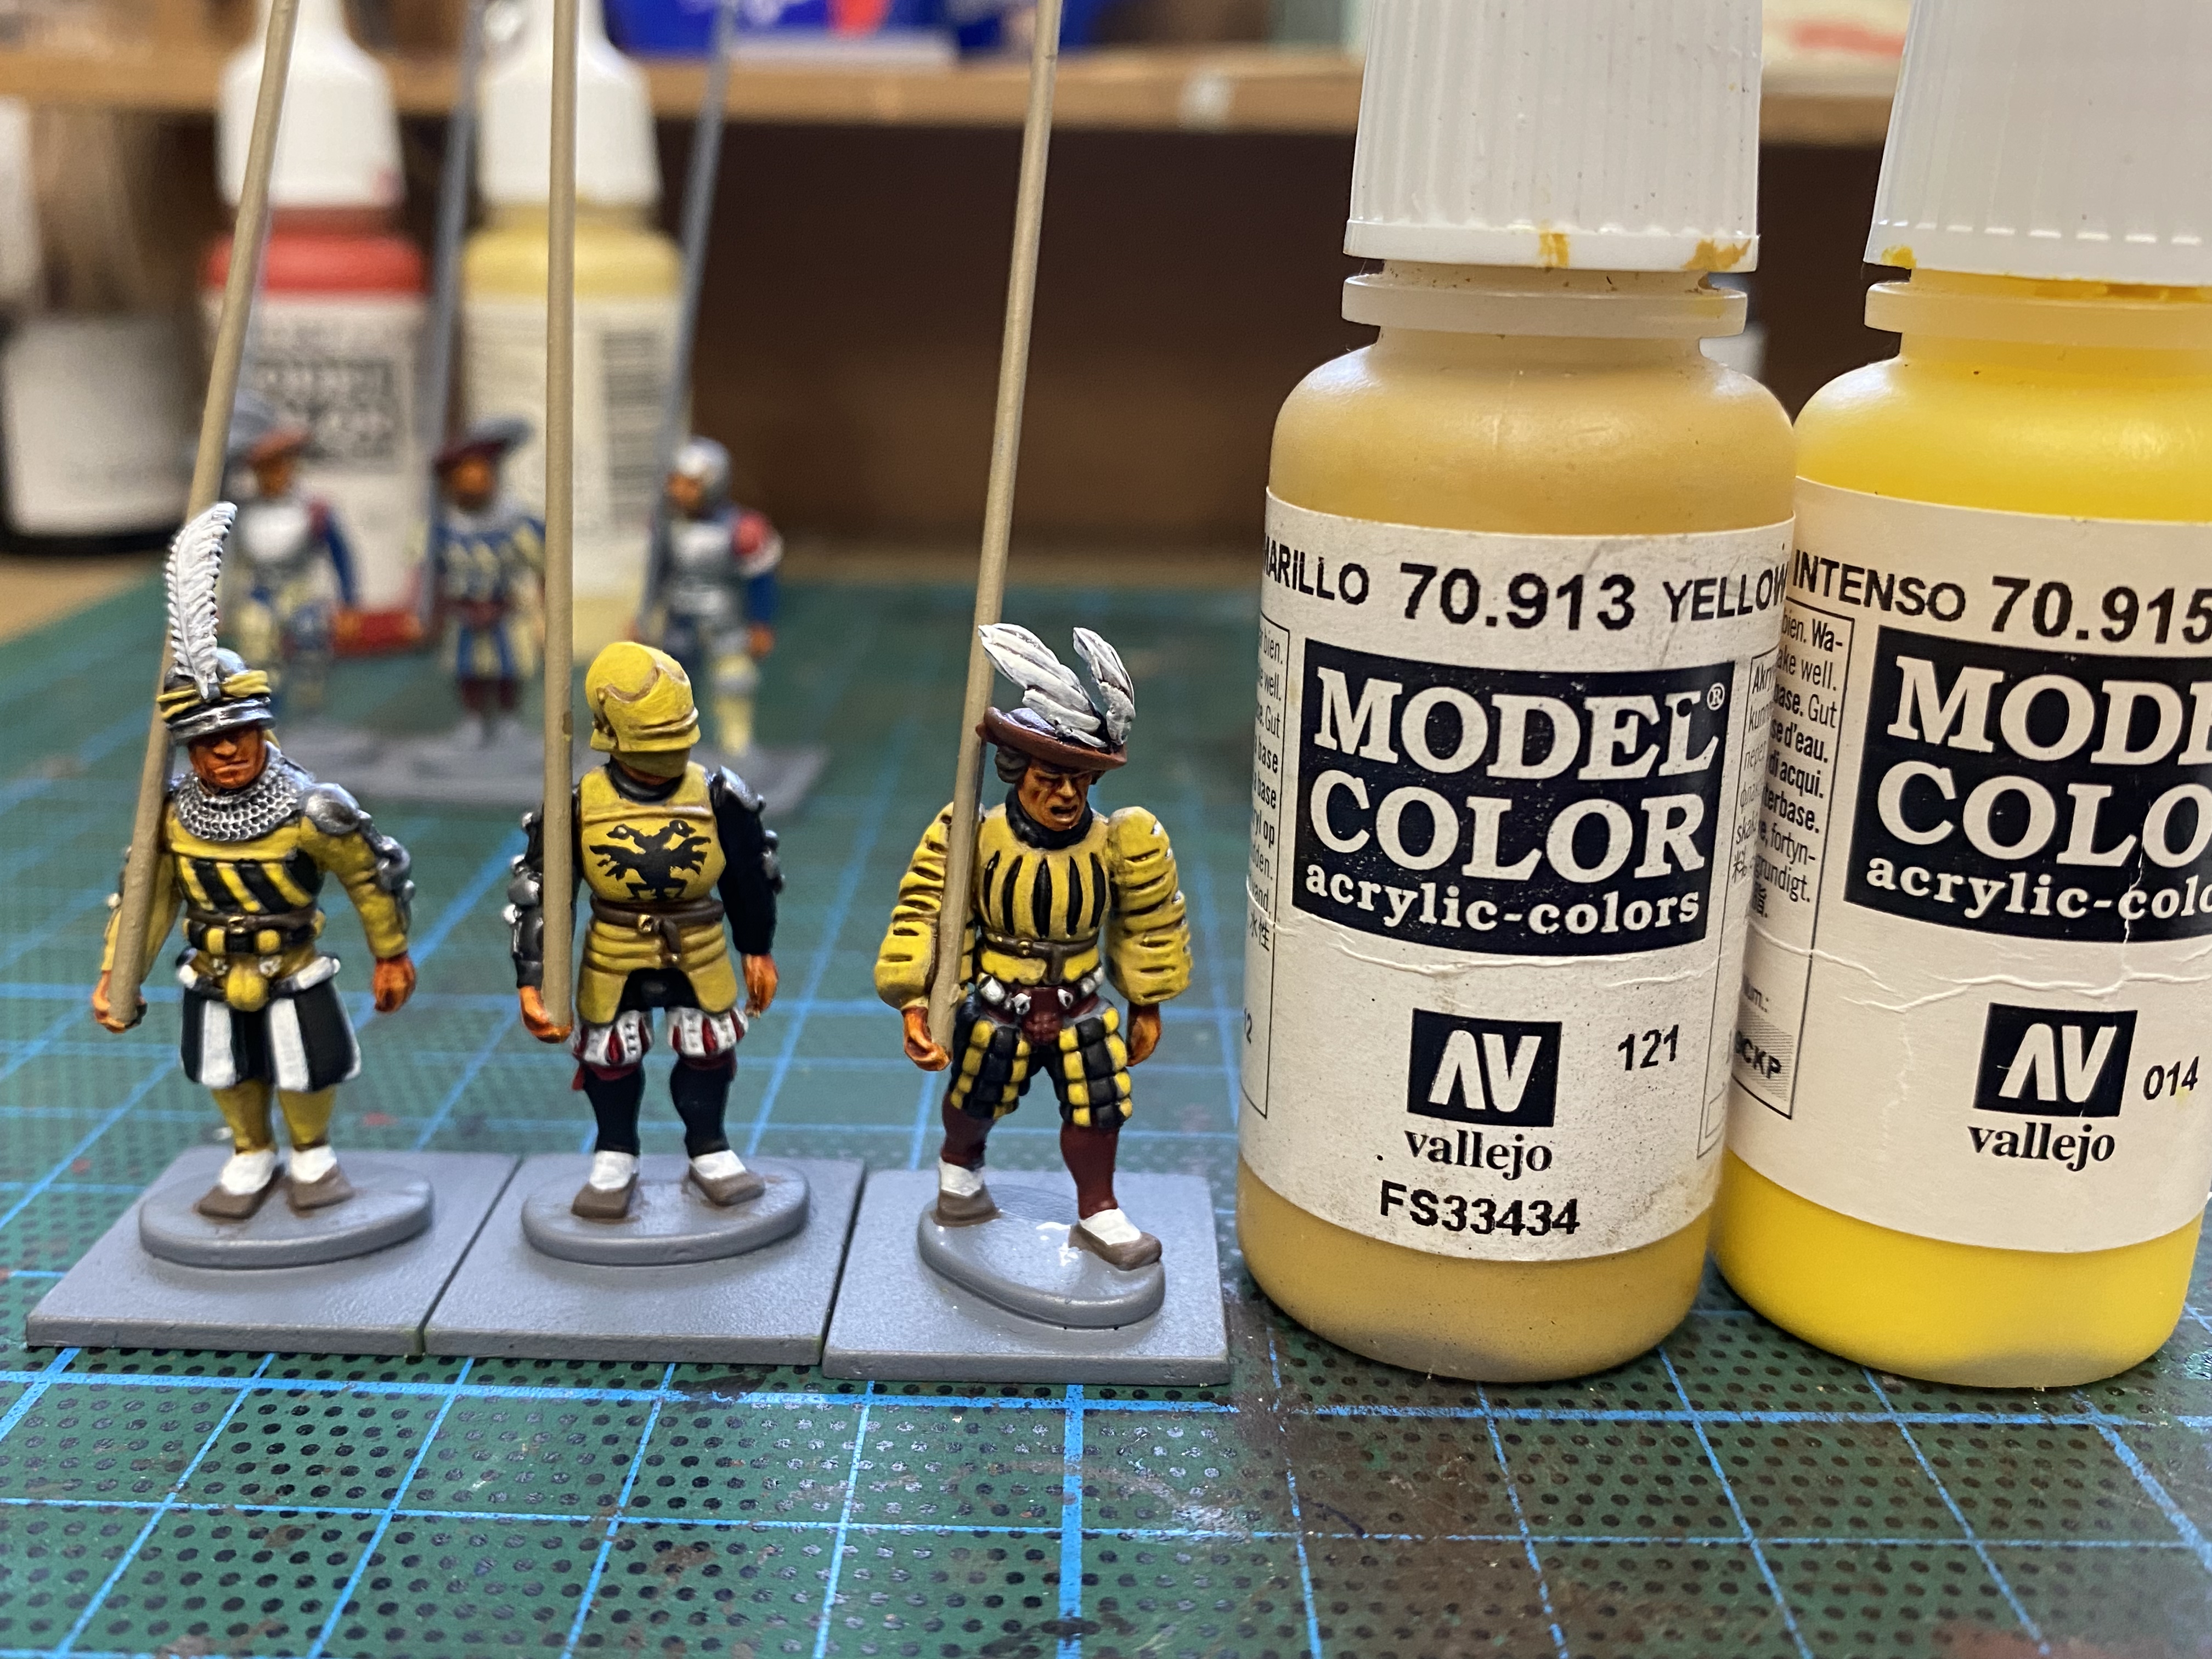
With these three figures I used a very simple yellow, Black and white scheme. the yellow was first painted as Yellow ochre 70913, shaded with Soft tone and then repainted withy yellow ochre before being highlighted with 70915 deep yellow. The imperial eagle is hand painted. It looks a bit rough up close but from a reasonable distance will pass!
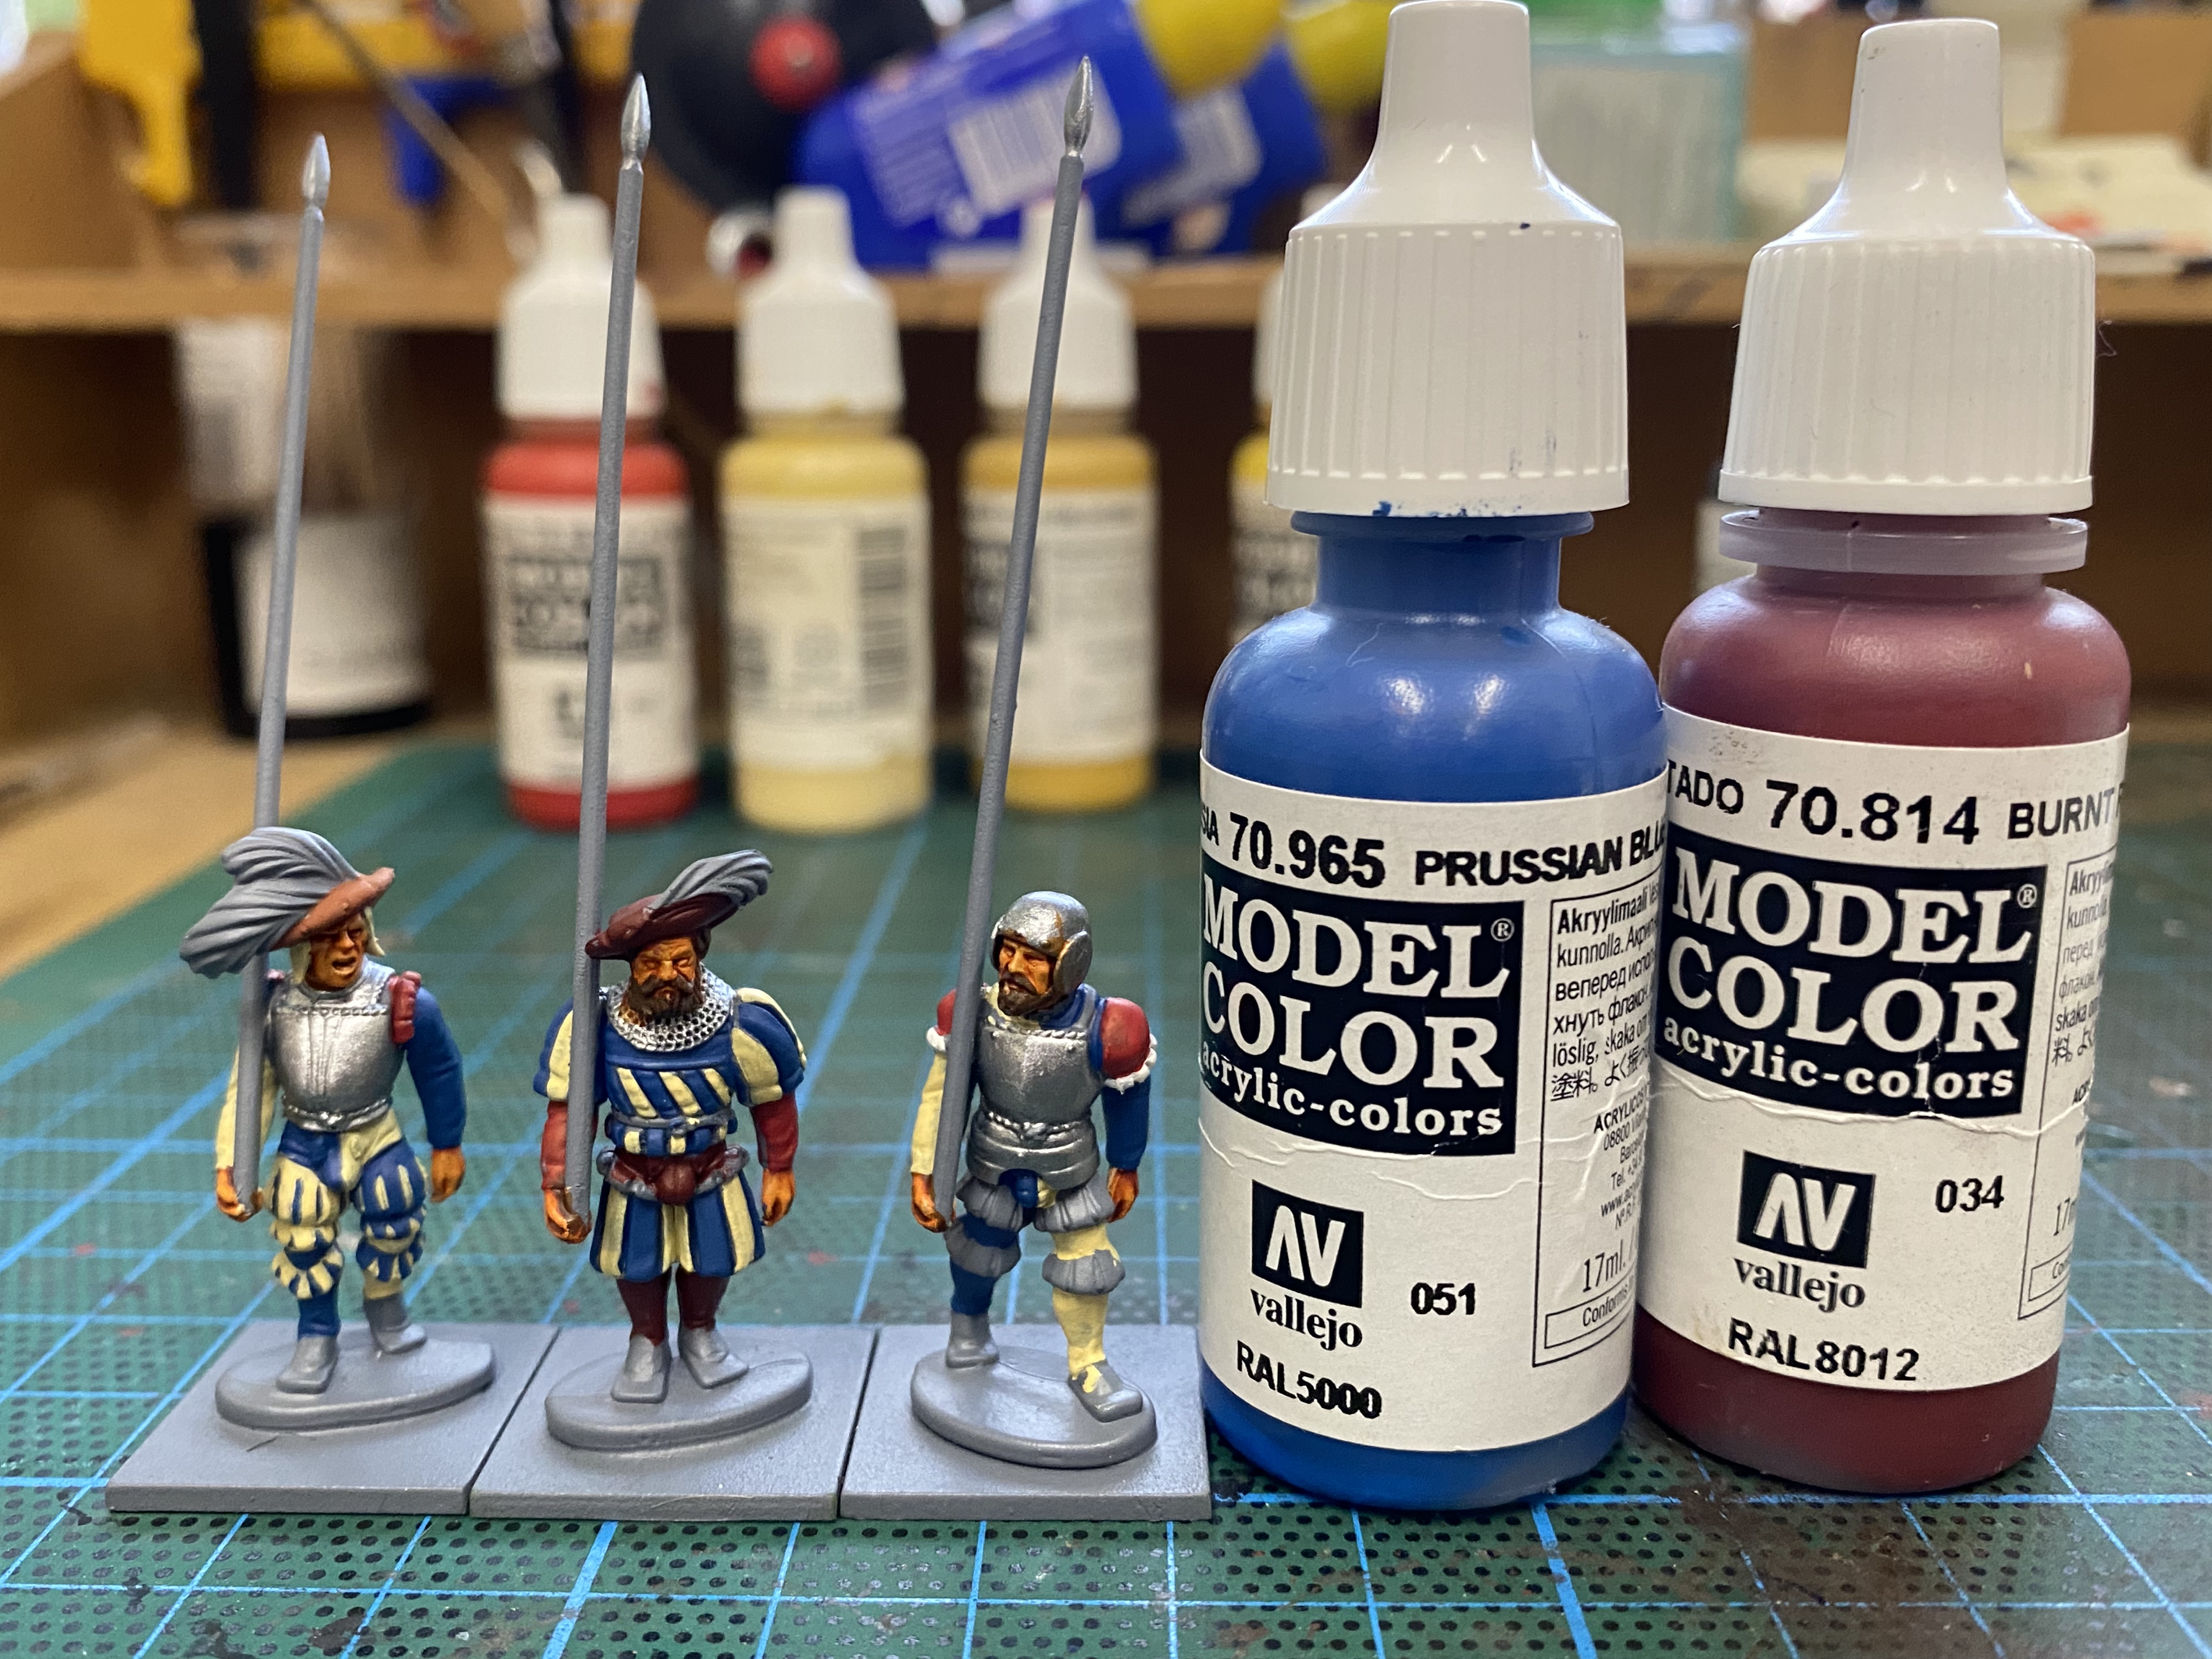
Another colour combo in progress. this time 70965 Prussian Blue with 70814 Burnt red and beige and white as background colours. There’s a multitude of choice when it comes to colour combo’s but I think that by limiting the colours for each batch, it makes painting faster and easier but the end result is still very colourful and varied.
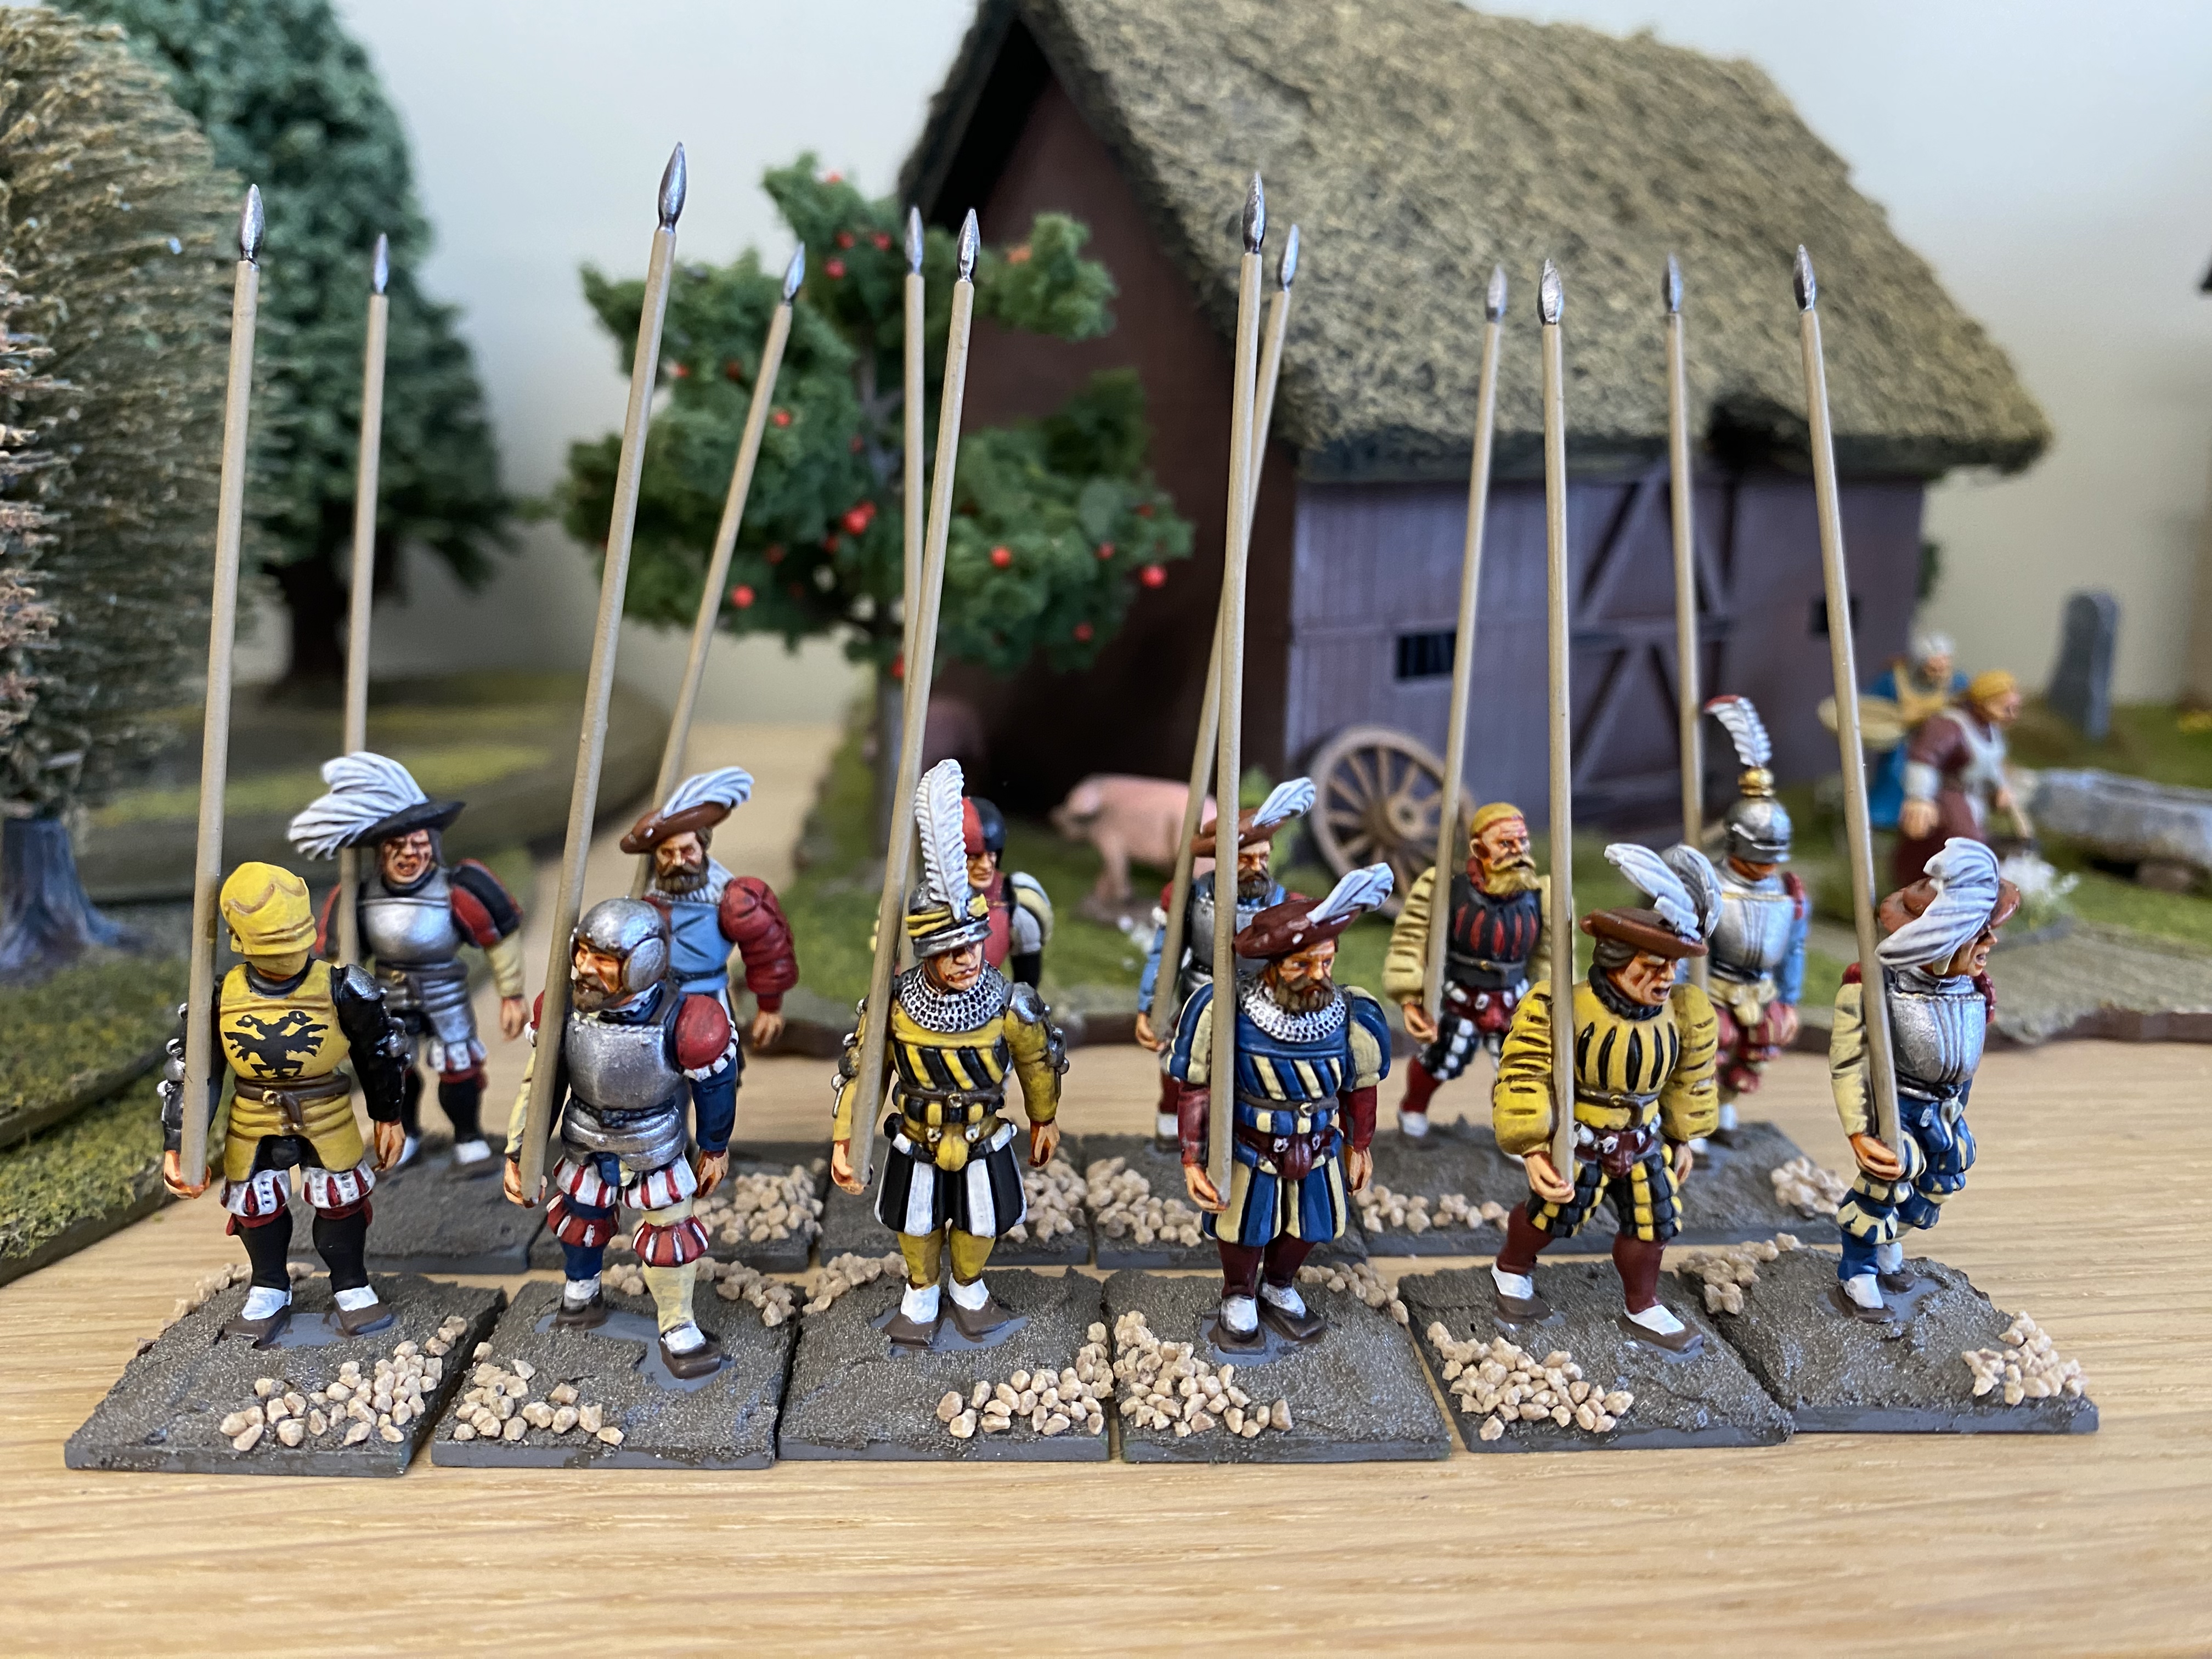
Here is the finished block of twelve prior to final basing. I hope that this is useful to anyone starting out or thinking of painting a Landsknecht force. It’s not a fast project but they do look nice, if I say so myself!
THE COMMERCIAL BIT
I hope that you all enjoy your hobby as much as I do – our web site will have much of what you need! Click here to see our shop.