A rainy bank holiday Monday should have been an excuse to get on with some painting and modelling but it seemed a shame to stay at home. So I persuaded Julie, my wife, that a trip down the road to Newark to do some shopping and call into the new National Civil War Museum would be a good idea.
The museum was a bit of a disapointment – perhaps I was expecting too much. First of all though, it’s a great idea that such a place should be built and perhaps overtime it really will grow into a tourist attraction that Newark can be proud of. The building has been beautifully refitted – it’s a bit telling that having visited, I have no idea what it was before it became a museum other than at some point in the long distant past it was a school.
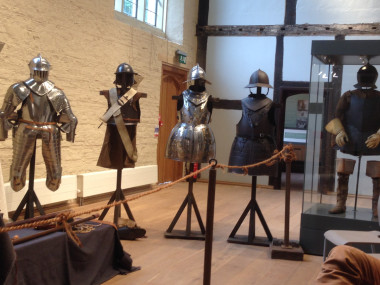
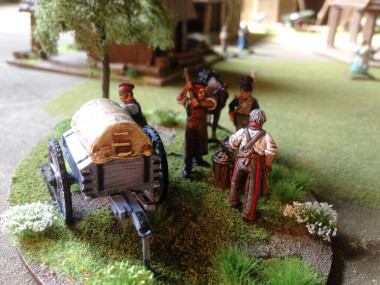
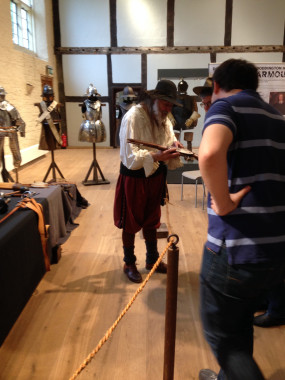
Costumes from the civil war
The staff get 10 out of 10 for enthusiasm and courtesy, they certainly were doing their best to ensure that visitors made the most of the visit. The final highlight was the presentation given by a Civil War re-enactor who gave a very entertaining and enlightening lecture on the roles of the Infantryman & Cavalryman during the civil war. The talk was illustrated with replica weapons, armour and clothing and delivered with knowledge, enthusiasm and humour.
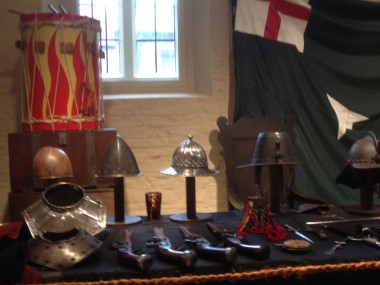
Weapons Display
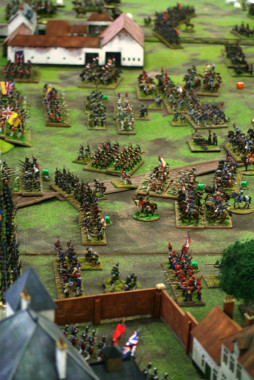
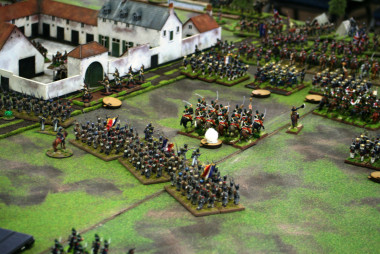
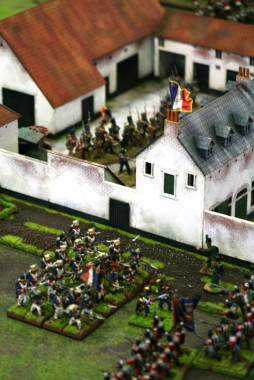
The museum itself was disappointing. There was one room devoted to the Civil War with the main focus being the seige of Newark. Attached to this room is a small cinema with a rolling presentation. There were two other rooms with exhibits related to the town of Newark. Upstairs, there were three or so rooms with a temporary display of photographs of recent civil wars around the world. Some of the photographs were quite graphic and at odds with the ‘child friendly’ ethos of the rest of the museum. The final room that we discovered (I use that word deliberately – the directional signage is not great) was an empty room that was once a dormitory for a school and the sole exhibits were the ancient graffiti left by the students.
The Museum has been lottery funded and most of that money seems to have been spent on the building and the technical gadgets that modern museums love these days. I’ve hinted that the museum was child friendly and there is a good ‘dressing up’ box so the kids can pretend to be soldiers of the time and there is a selection of interactive video displays. As to the displays themselves, it’s a bit like trying to solve a mystery by looking for the clues. The labeling is all over the place and difficult to follow, the logical sequence of the displays escaped me and the general layout seemed counter intuitive with no narrative. I think that it would be quite possible to visit the museum with no knowledge of the Civil war and come away with no knowledge of the Civil war other than it happened…
The cinema presentation was just as confusing. The films were of high quality and well acted but without context. One concerned the execution of Francis Hacker, the other the relationship between Charles 1 and Prince Rupert. If you didn’t know who they were before the films, I’m not sure if you would afterwards.
The final attraction is the augmented reality phone app that lets you follow the civil war trail around Newark. I didn’t try it as it was a rainy day, so I cant really comment as to how good this is. Newark Town and it’s surroundings has a fantastic history and heritage. I feel that the museum itself has missed the opportunity to tell the story and explain it all.
I guess my view is coloured by my hobby and as a war gamer with a keen interest in history, I found the museum disapointing and for it to claim to be the National Civil War museum is a bit of a stretch. My advice would be to save yourself the £7.00 entrance fee and go to the tourist information office and pick up a town trail leaflet and visit Newark Castle ( entrance free), go to the Queens Sconce (entrance free), go to the Polish Cemetery (entrance free) and spend your £7.00 in one of the historic coffee shops!