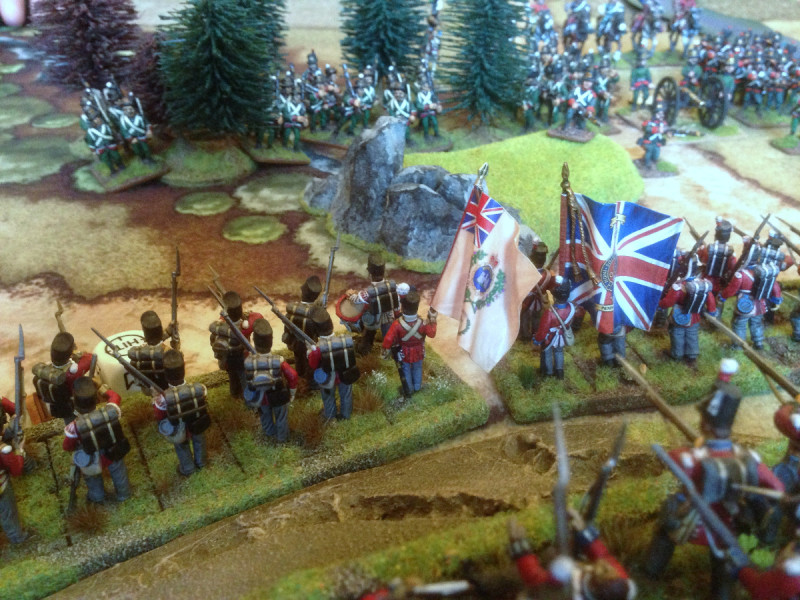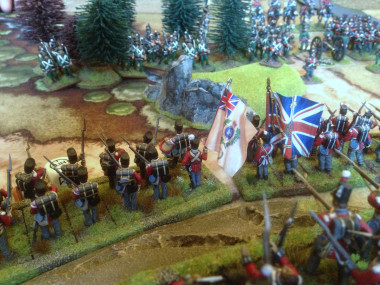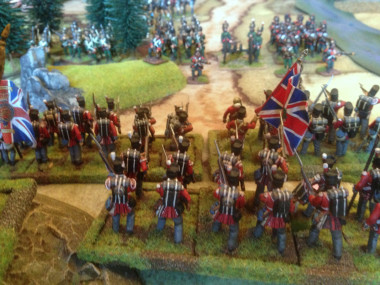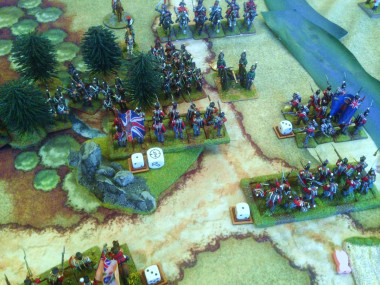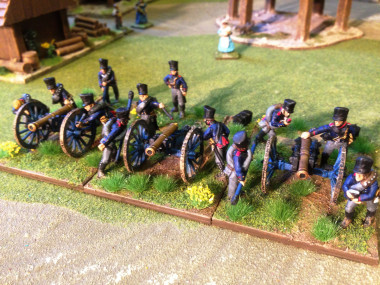
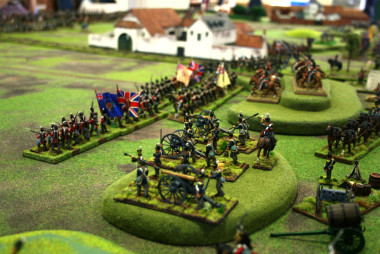
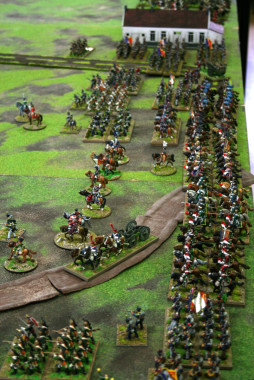
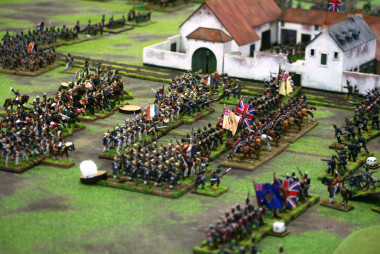
British deploy behind La Haye Sainte
The plan for this years ‘homage’ to Waterloo was to re-fight the battle on the biggest table that we could find, with as many troops that we could muster. It really was ‘all the toys on the table’! We were lucky enough to be able to secure the Polly Bowling Club hall as a venue. This is the home of the Mansfield War gaming club, and many thanks to Quinton Dalton for helping us to arrange this.
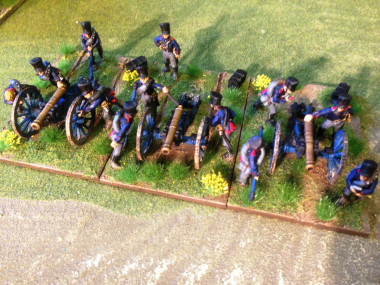
The view along the ridge to Hougomont
As for the players, there were just the four of us; Myself and John Grant playing as the British, Peter Harris and Mick Rood as the French. The latter have massive figure collections and as well as providing the French opposition, they were also able to provide reinforcements for the British and Prussians as well as some Brunswickers! We had thought about bringing more people to the table but the difficulty with this is that you then need a command and control system and getting a big group of war gamers to work in concert can be the equivalent of herding cats….. I think four to six is the optimum number of players, even for a game of this size.
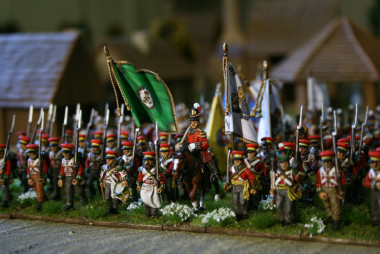
The Fench Troops advance past La Belle Alliance Inn
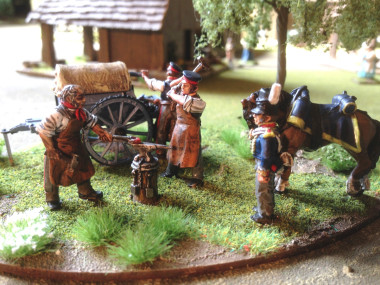
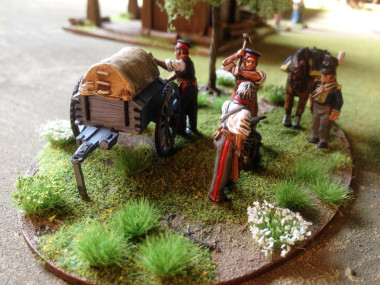
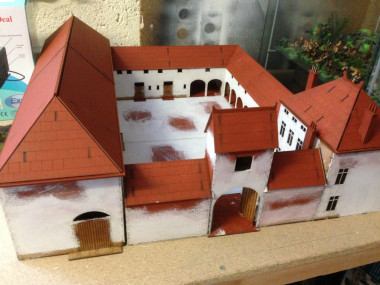
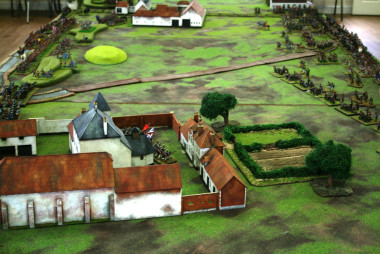
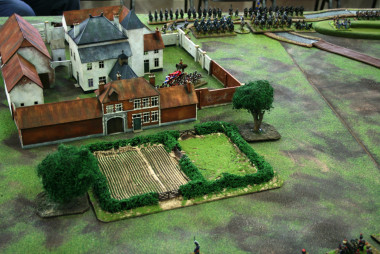
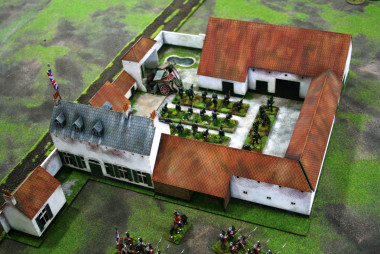
As for the tables, we had five 6×4 foot tables side by side to give a playing surface of 20 foot by 6 foot. On one end we had an additional table in an ‘L’ position to represent Plancenoite and as an entry point for the Prussians. As regards scenery, we were very lucky to be able to borrow the painted versions of all the main buildings from Sarissa Precision. So present on the battlefield were Hougomont, La Haye Sainte, Pappelotte farm, La Belle Alliance and for Plancenoite, the church and windmill, as well as a small farm made by Pete Harris. A few hills were used to make the ridge line at Mont St Jean and the Battlefield was ready.
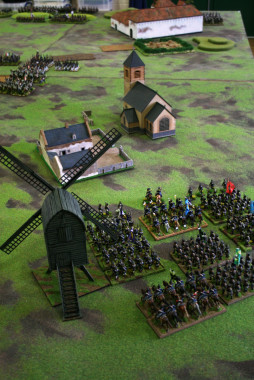
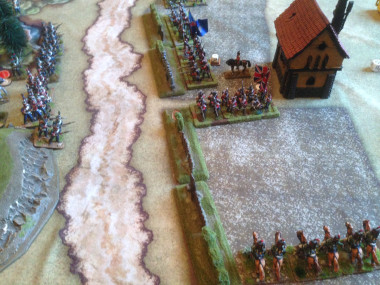
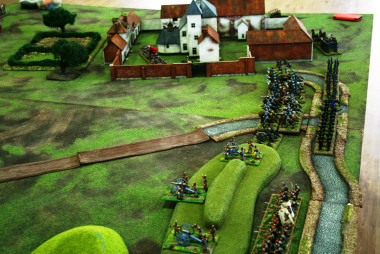
The Prussians Arrive at Plancenoite
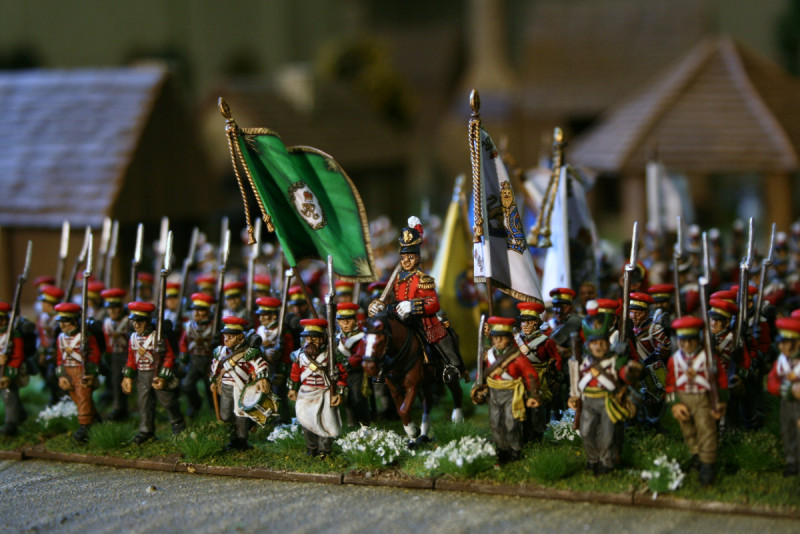
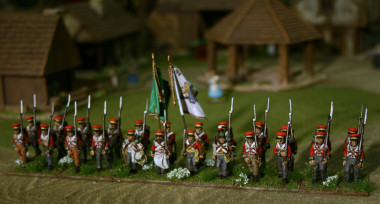
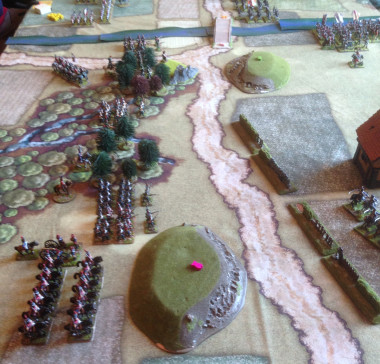
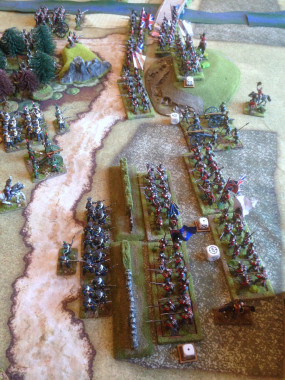
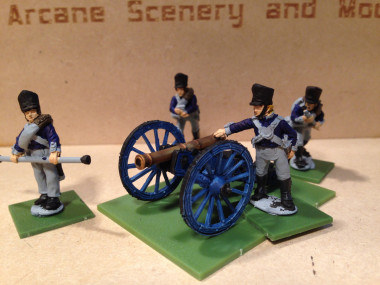
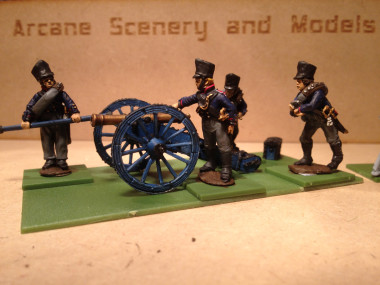
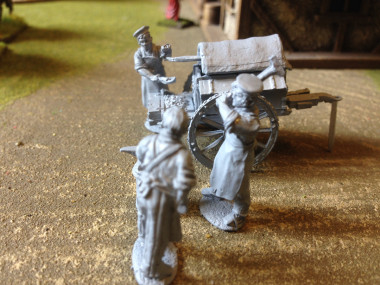
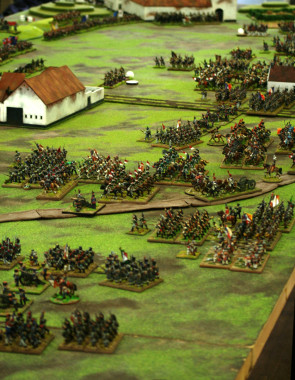
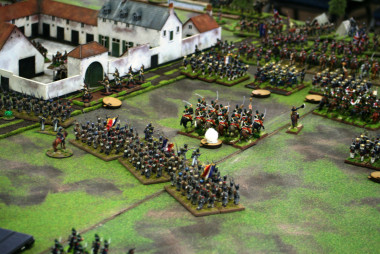
We then deployed the troops. There were approximately 2000 figures on the table! We deliberately did not count who had what or what the points value of each army was. It was clear that the French outnumbered and out gunned the British but the Brits had the stronger position and the buildings to defend, whilst the French had to go on the attack.
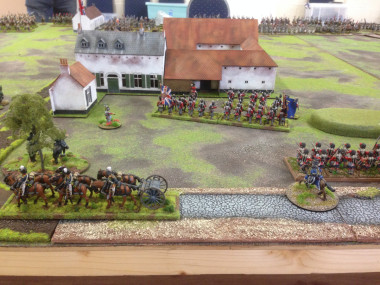
The British Defend the ridge to the left of La Haye Sainte
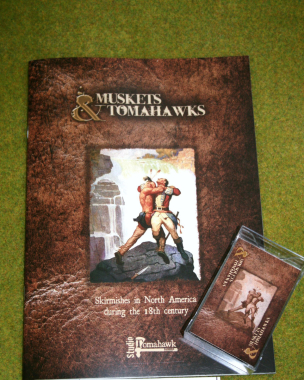
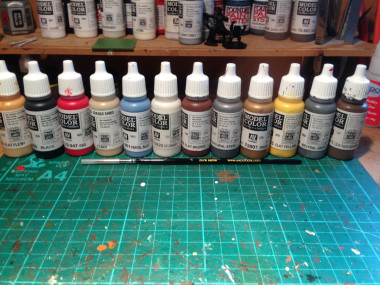
Finally, we were using the ‘vanilla’ version of Black powder with very few additions or modifications. Our reasoning being, that in a game of this size, trying to remember which unit has what attribute or special ability just slows things down. Let the dice decide who will be the heroes today!
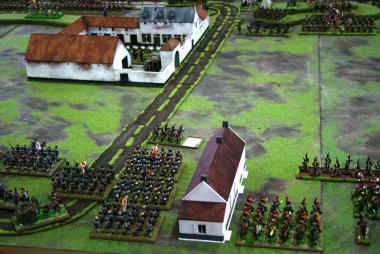
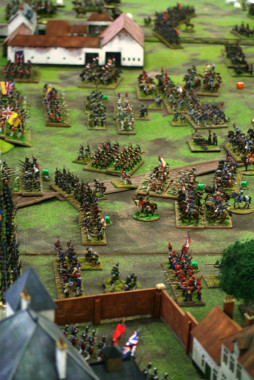
The view of the battlefield from Hougomont to La Haye Sainte
And so at 11.00 am precisely, the French players proceeded to attack. Pete Harris facing John Grant along the area from La Haye Sainte to Hougomont, I was facing Mick and defending La Haye Sainte to Papelotte. The British side had a brief meeting to decide on tactics. It went like this. John: what are the plans? Me: Hold! On reflection, less like tactics and more like Tic tacs…
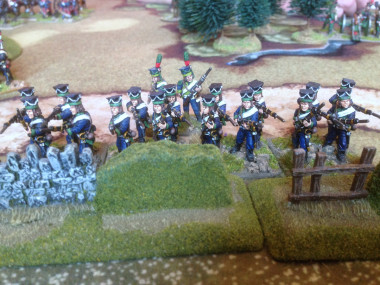
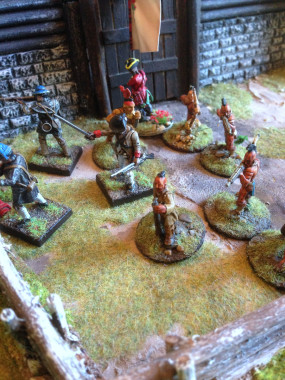
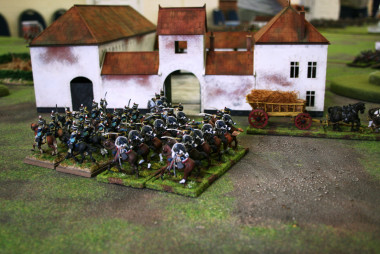
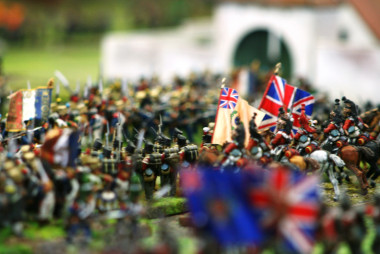
The Guards defend Hougomont
TheFrench prepare to Advance!
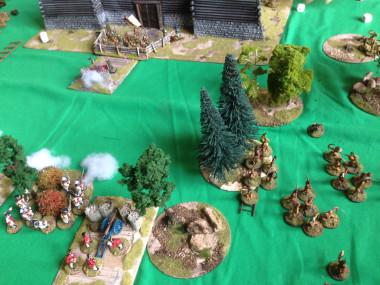
The first moves went largely without incident, the ranges being too far for effective artillery fire. The French were maneuvering to assault La Haye Sainte but it was clear that they intended to ignore Hougomont and focus on the British centre. At Papelotte, the British were attempting to use their cavalry to flank the French & draw them onto the defensive position of the farm.
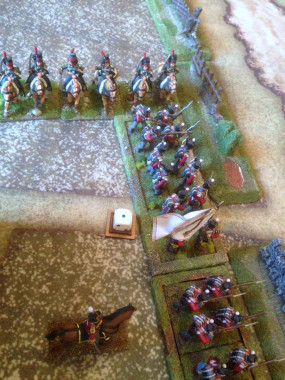
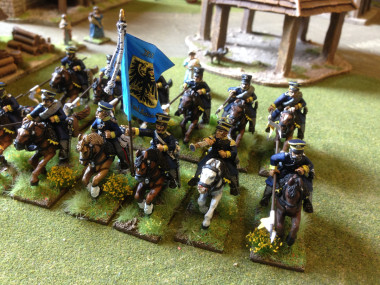
British Light Cavalry deploy behind Papelotte
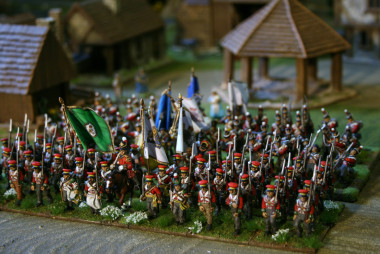
The French commence their advance down the main road to Brussels!
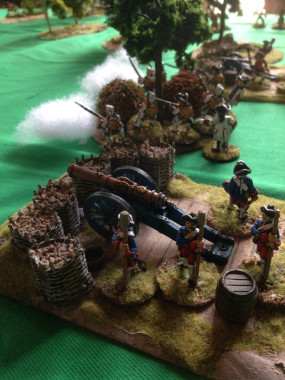
The British rocket batteries were actually very effective at this point, causing casualties in the advancing French Columns and throwing them into disorder, slowing the advance. However, confusion also occurred in the British ranks, as a result of a blunder, the 52nd Light Company defending the ridge towards Hougomont rushed forwards in a charge toward the enemy.
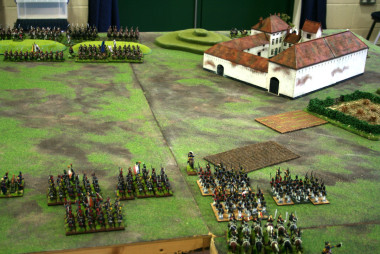
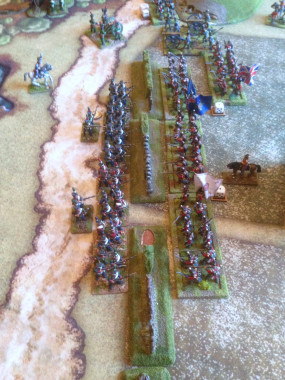
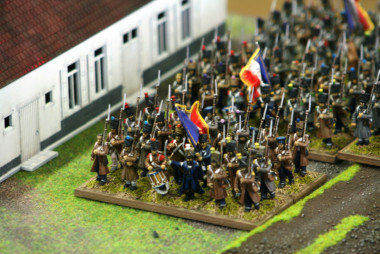
French Columns march against Papelotte.
The flanking move at Papelotte was under way but largely ineffective. As the morning moved on, the French artillery moved into position and started to take a heavy toll of the British defenders. La Haye Sainte was subjected to a fierce bombardment!
The Light Companies of the KGL and 95th Rifles hold on!
It’s fair to say that at this point, any real communication between the two wings of the British Army began to break down as they fought for survival! A flanking attack by Cavalry around Hougmont had been stopped by the French and the 52nd were now in square after a French cavalry attack. Despite the overwhelming odds, the British right was drawn off the hill in a desperate attempt to rescue the 52nd!

The British attempt to relief the 52nd!
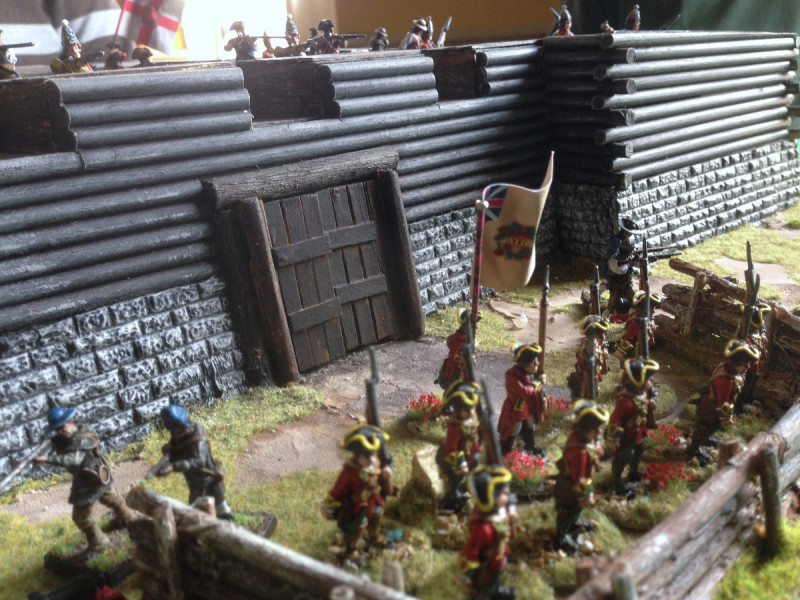
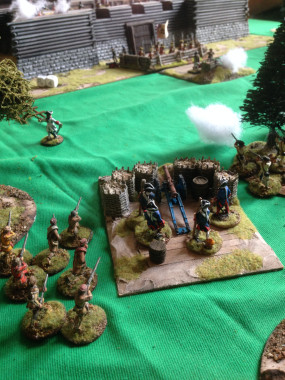
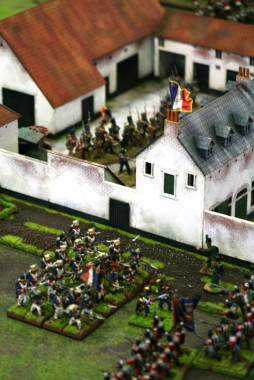
At La Haye Sainte, the French continued to pulverise the defenders, causing them to break. Fortunately, the British were able to move in a fresh unit. But they were being pressed hard by the French Infantry columns!
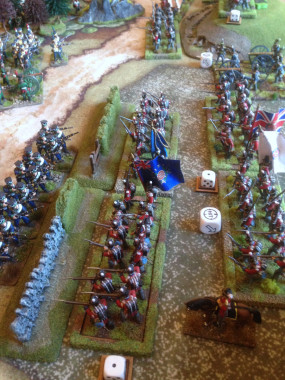
The French Army assaults La Haye Sainte
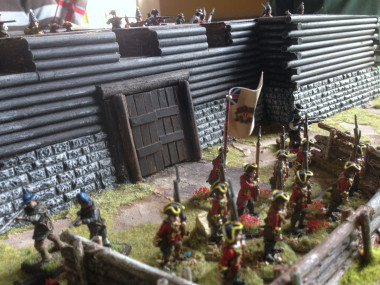
Difficult times at La Haye!
If things were hard pressed at the centre, at Papelotte, the British were not enjoying success either. A determined cavalry attack had been pushed home catching two French columns in the flank but despite this, the French were only forced to retreat, without losing their batalions. The British cavalry faired far worse, losing two regiments, one to artillery fire, the other to combat. As a result, the British cavalry in this sector became ineffective, with a further two regiments of heavy’s refusing to move all battle!
French Pressure begins to tell!
The Defence of La Haye Sainte
So where were the Prussians? They arrived on the battlefield at 1.00pm but despite all the encouragement from Blucher, they were tied up in Plancenoite. Although only faced by a smaller French detatchment, they were making slow progress and had yet to join the battle. Even their Cavalry were ineffective. When they finally did charge, they were roundly beaten by the French and fled from the table…
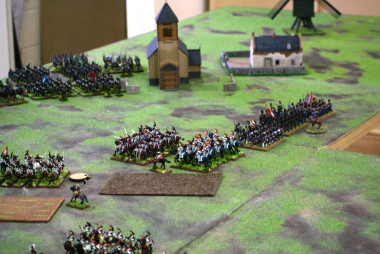
The Prussians had reached Plancenoite but would not move much further than this.
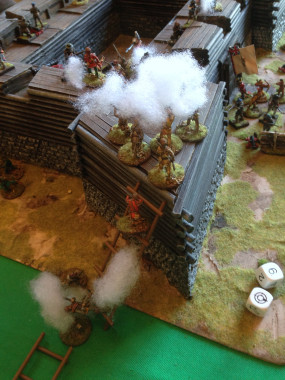
Desperate fighting at La Haye Sainte!
The French assault on La Haye Sainte and the centre of the British line was relentless. There was nothing to divert them and gradually the British were worn down. The 27th and 40th were shaken and as a result began to fall back with the rest of the brigade. At Papelotte, although resisitance was stuborn, a further disaster occurred when a Battalion of Hanoverians, rather than rally, enthusiastically charged the nearest French column only to be routed!
The French tide sweeps around Hougomont!
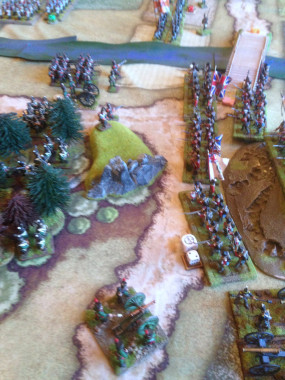
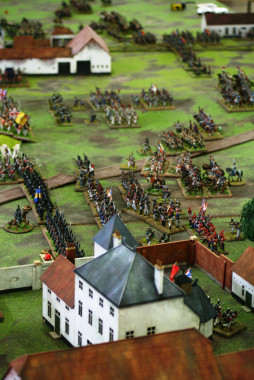
La Haye Sainte is by passed as the French advance towards Brussels!
The battle was lost! With the Prussians bogged down in Plancenoite and unable to reach the British, French numbers were begining to tell. Papelotte was holding on but in the centre, La Haye had now fallen! The road to Brussels was open. Hougomont was still held but all support was being driven back, it would be a matter of time before the Guards would have to retreat.
The French flag flies over La Haye Sainte!
And so the battle was lost! The French had a clear strategy of forcing the centre and were not to be diverted from this. On the other hand the British had spread their forces too thinly and engaged in diversionary attacks that just took valuable resources from where they were needed. At around 4.00pm, the British withdrew from the field leaving the French to march on Brussels!
A fantastic game, played in the true spirit of Black Powder! Thank you once again to Quinton for helping with the Hall, Steve at Sarissa for the loan of the fantastic buildings and of course to Pete, Mick and John for being such great gaming companions!