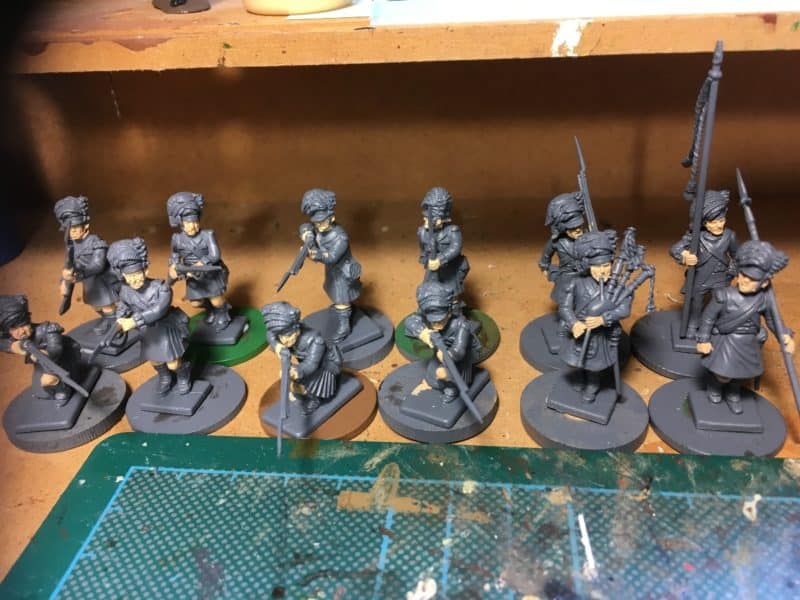
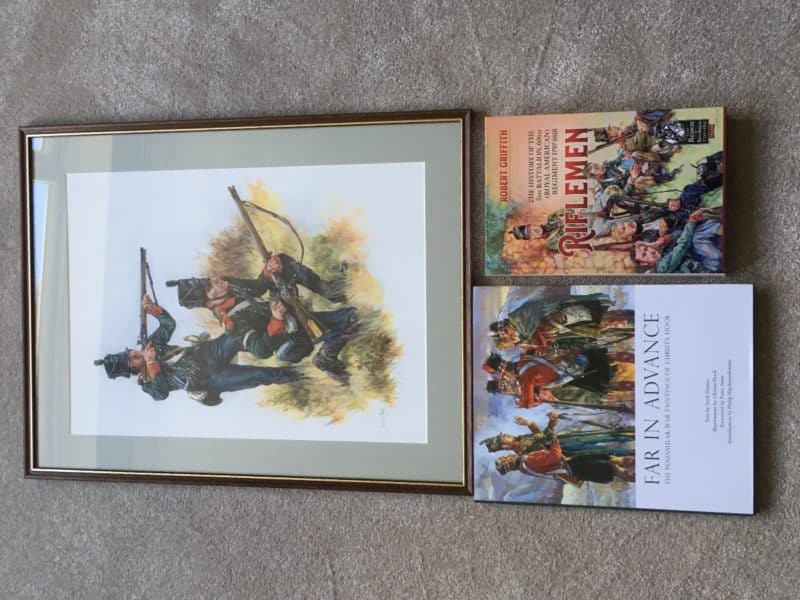
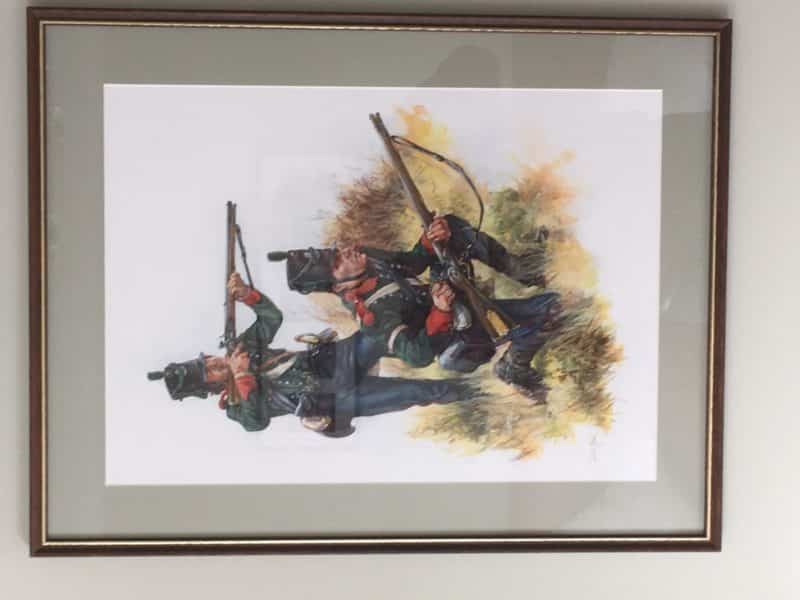
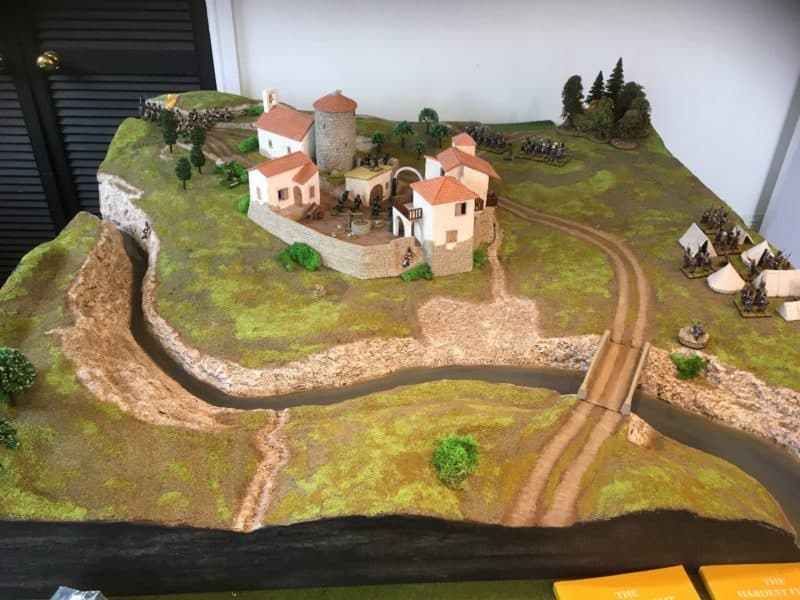
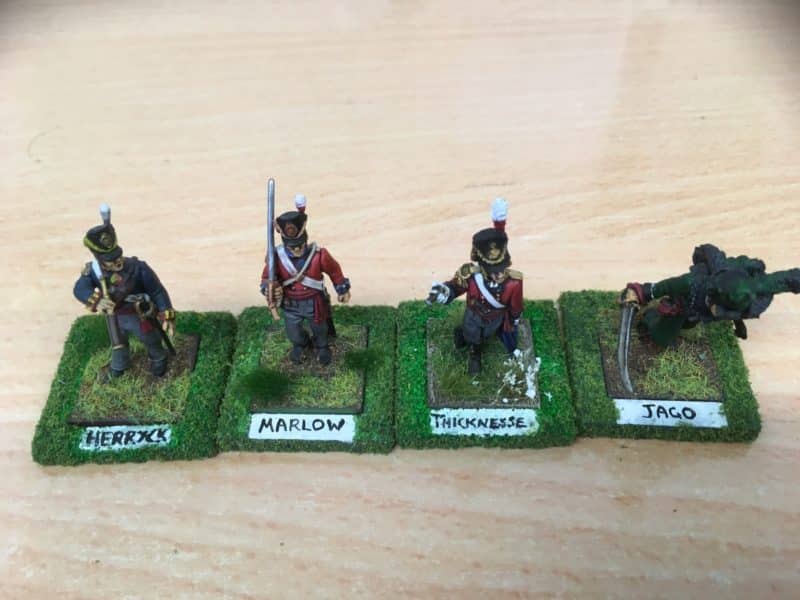
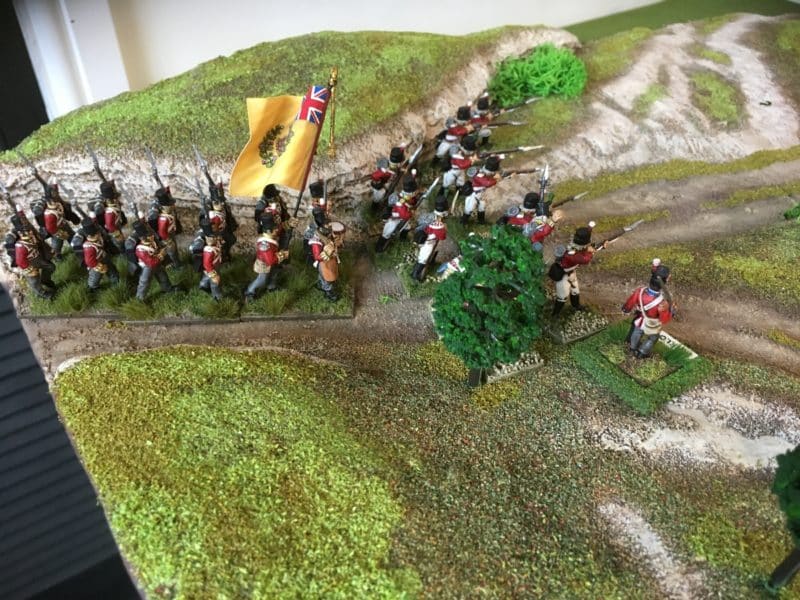
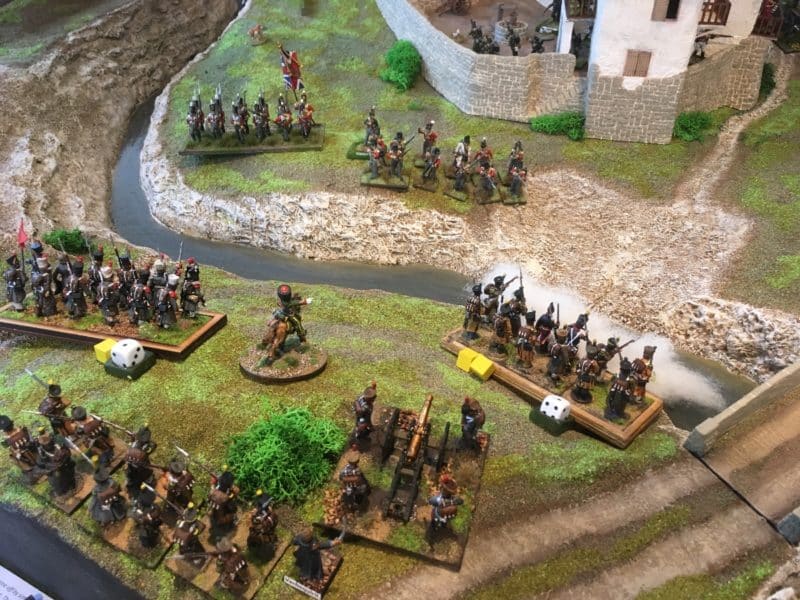
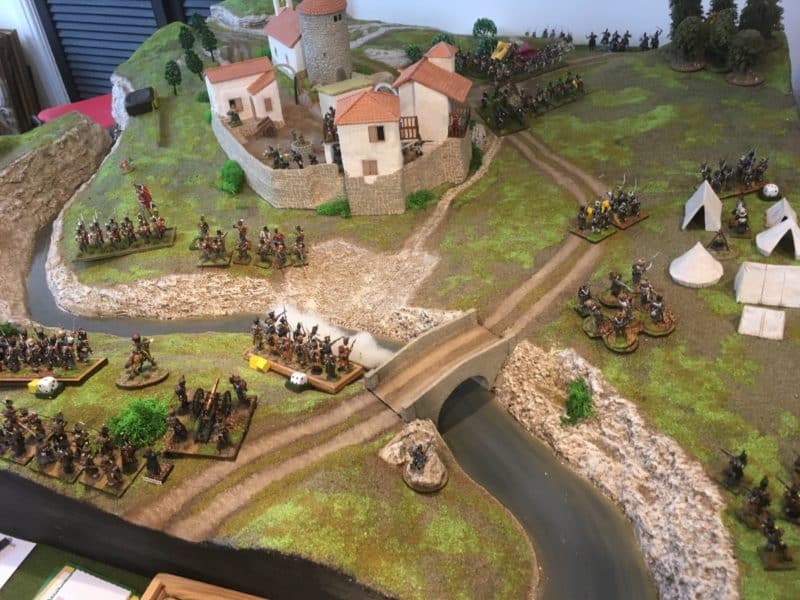
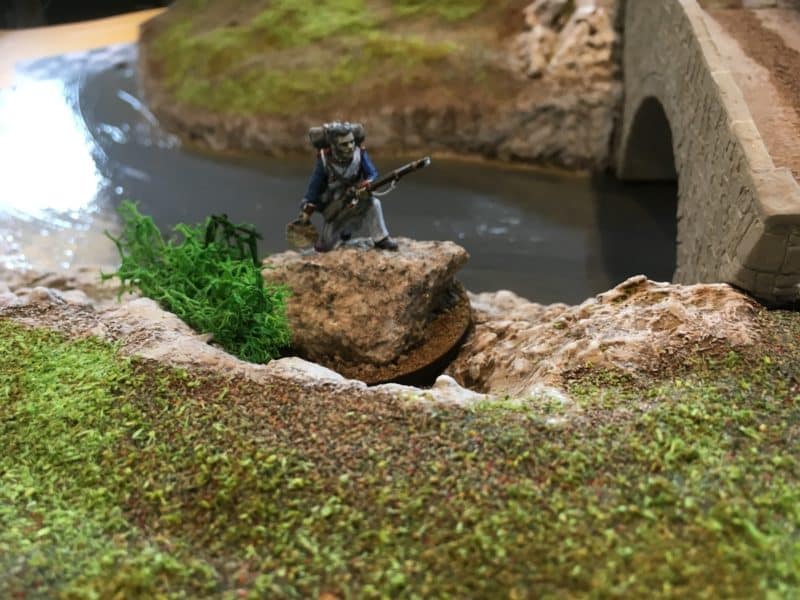
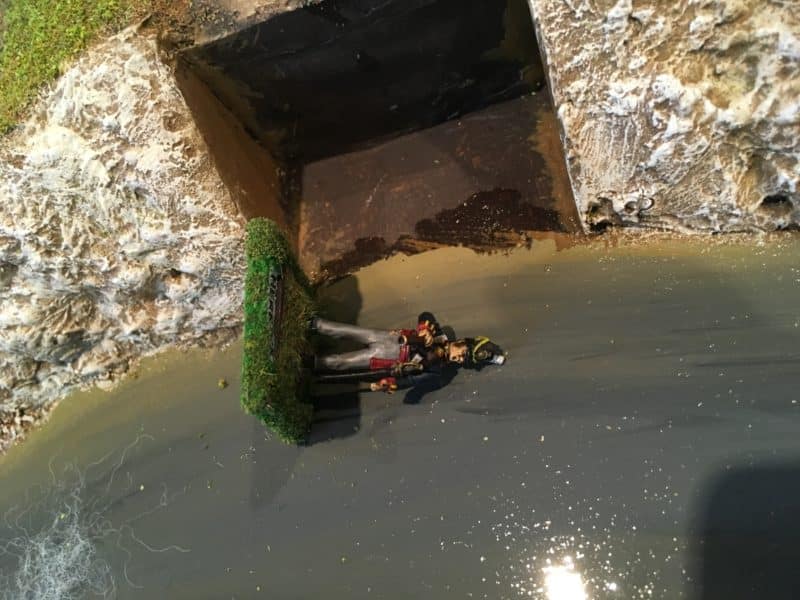
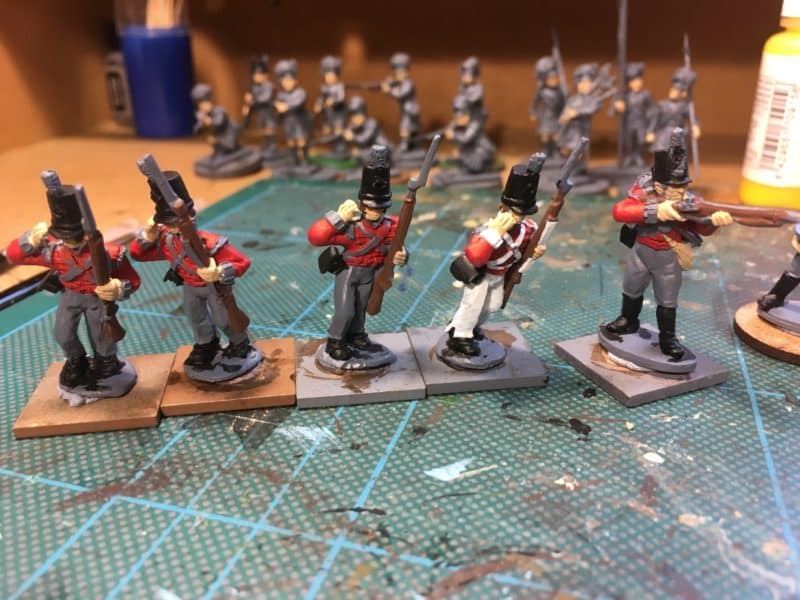
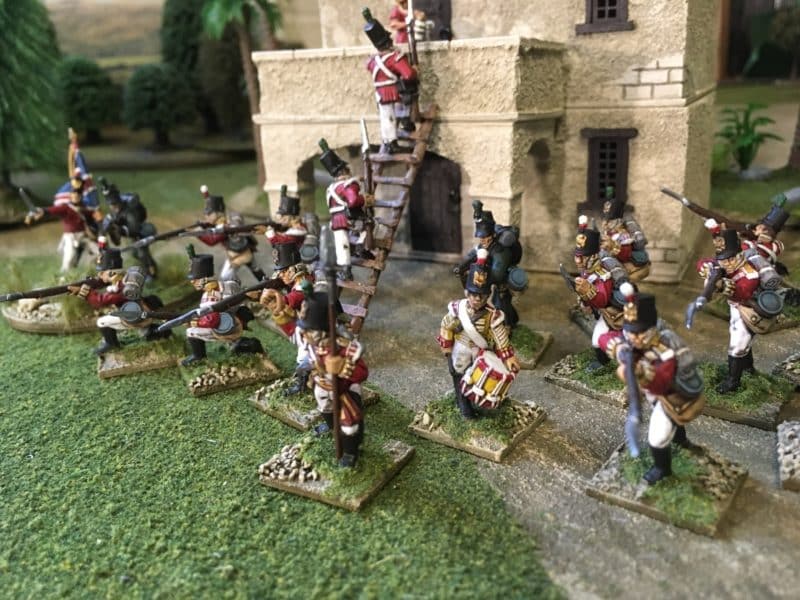
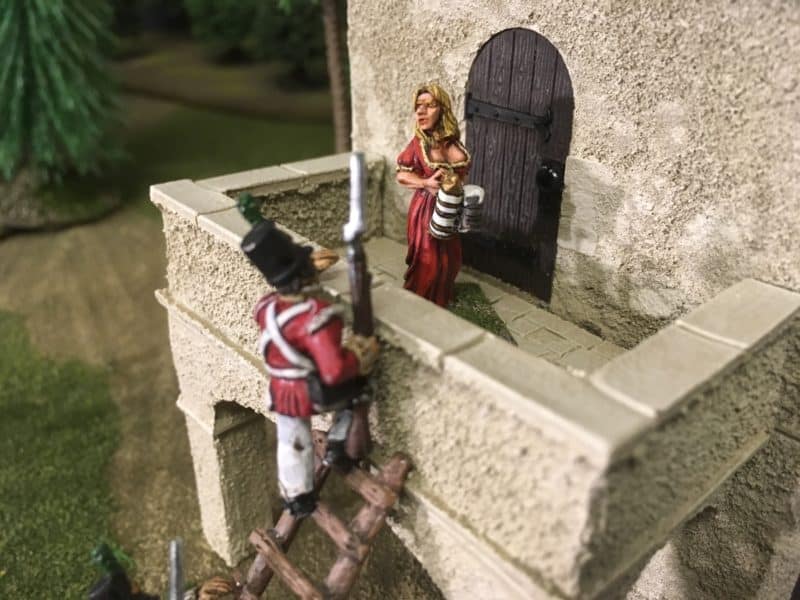
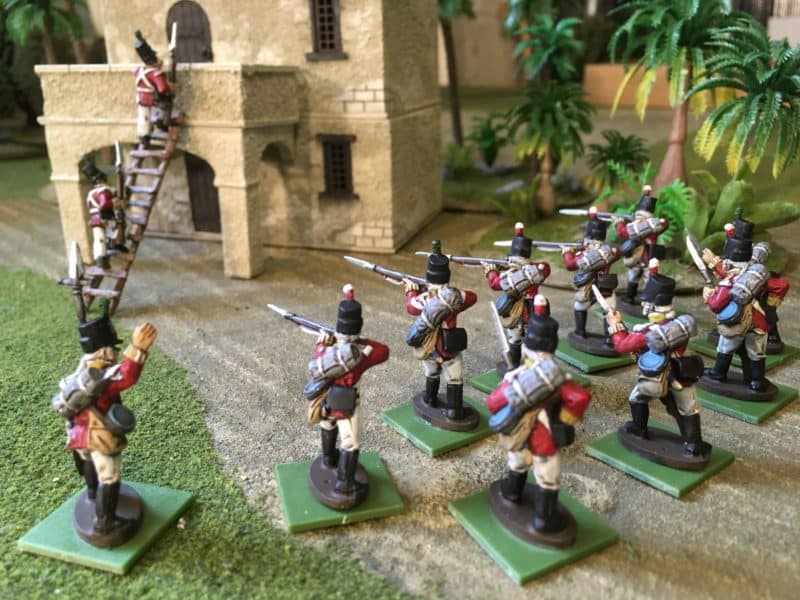
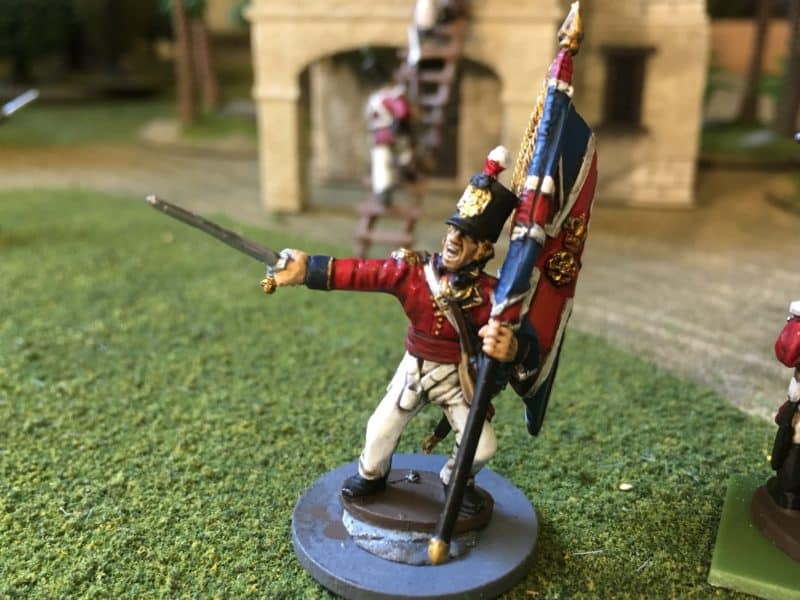
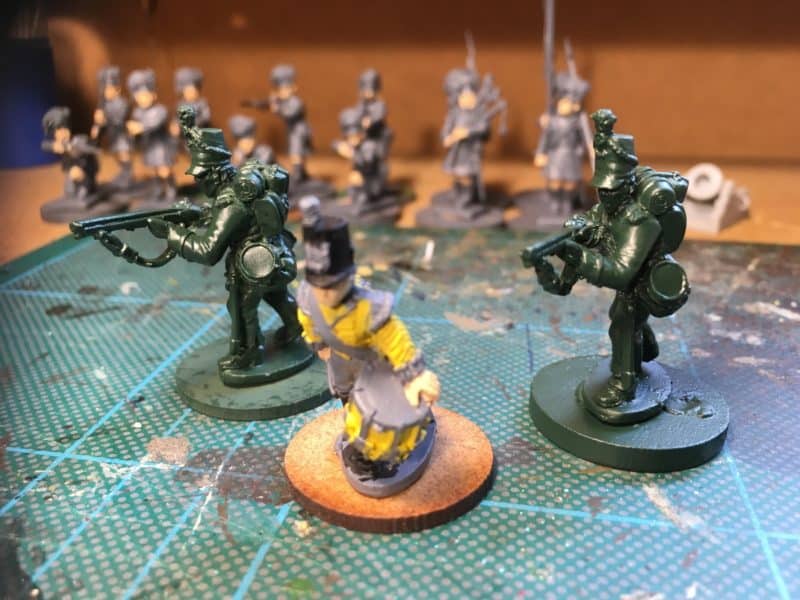
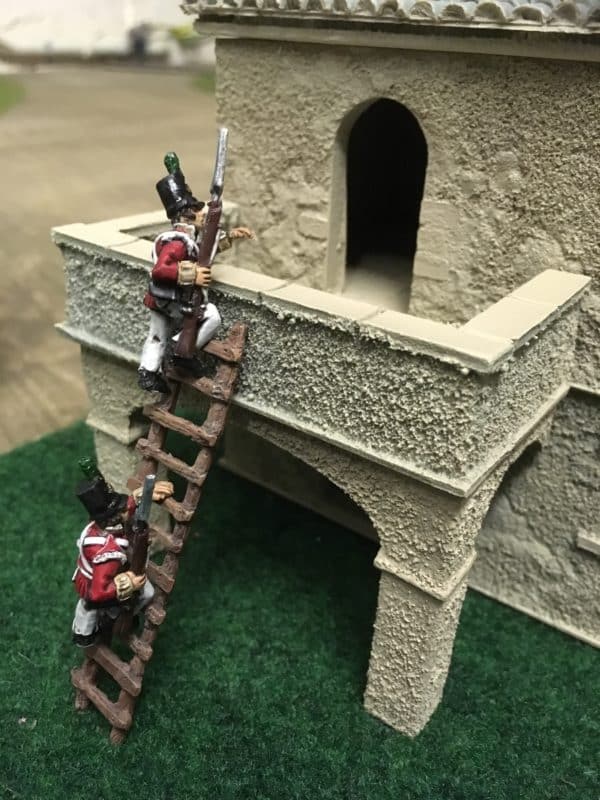
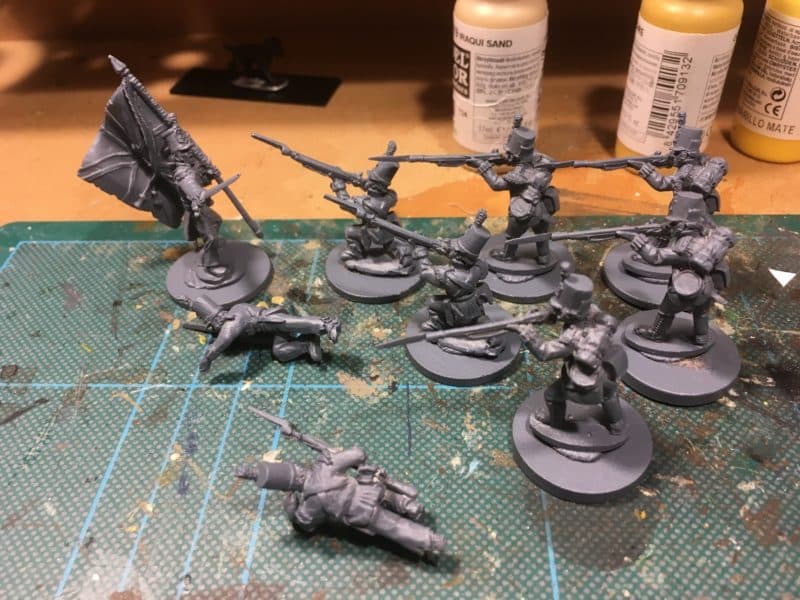
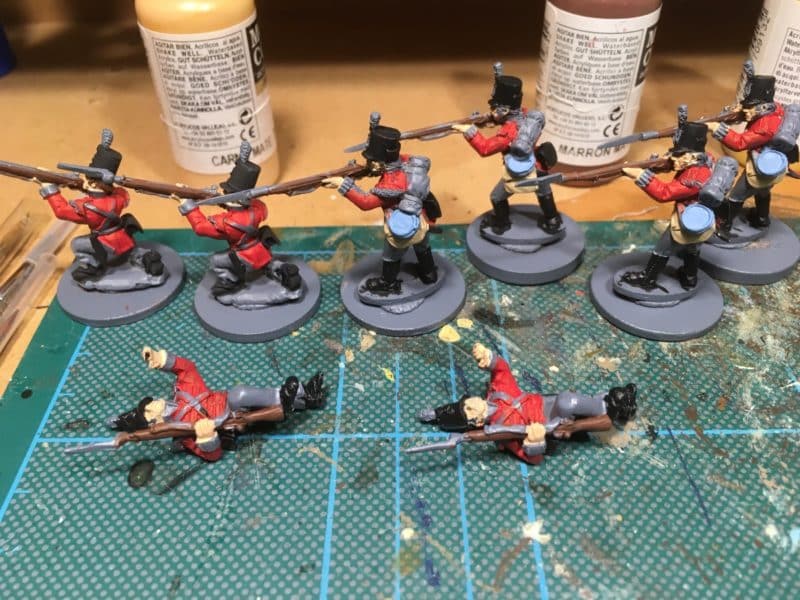
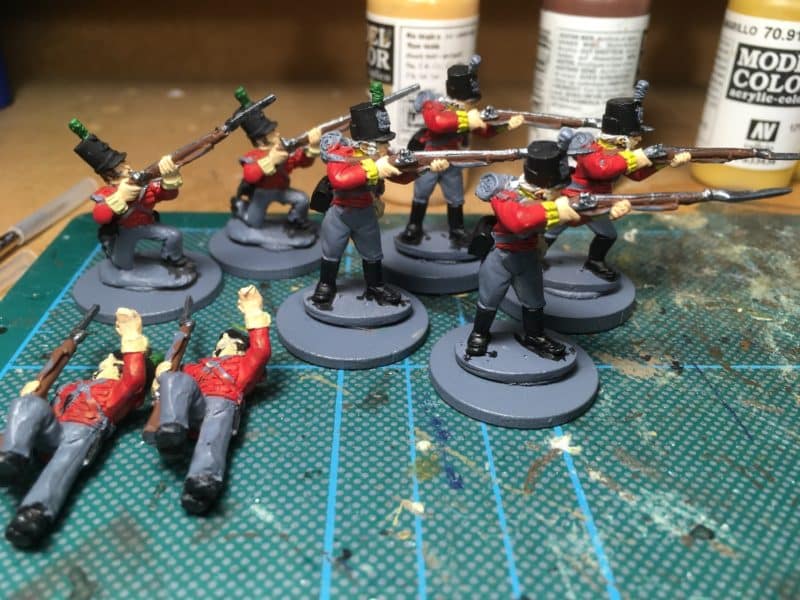
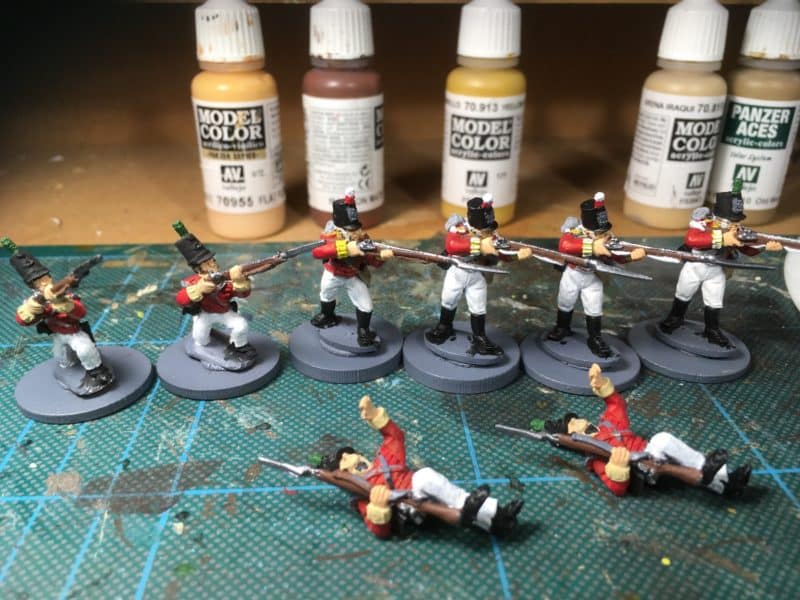
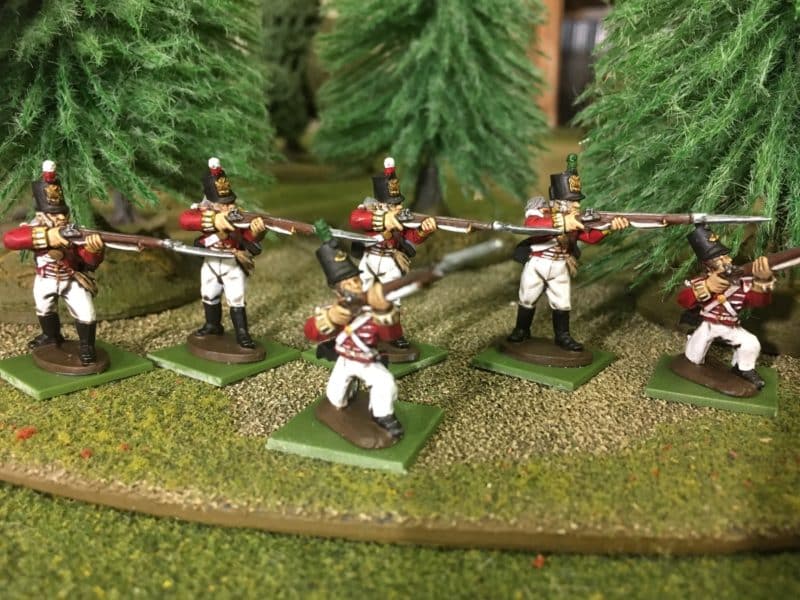
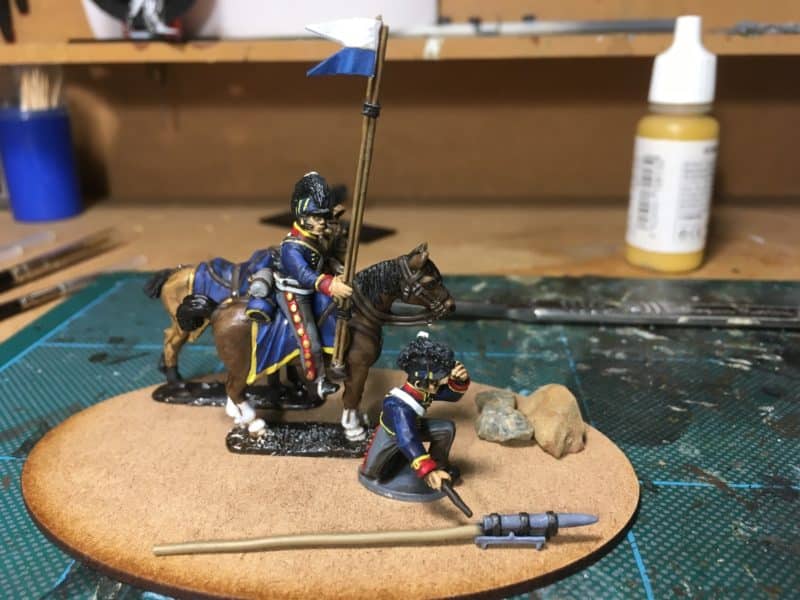
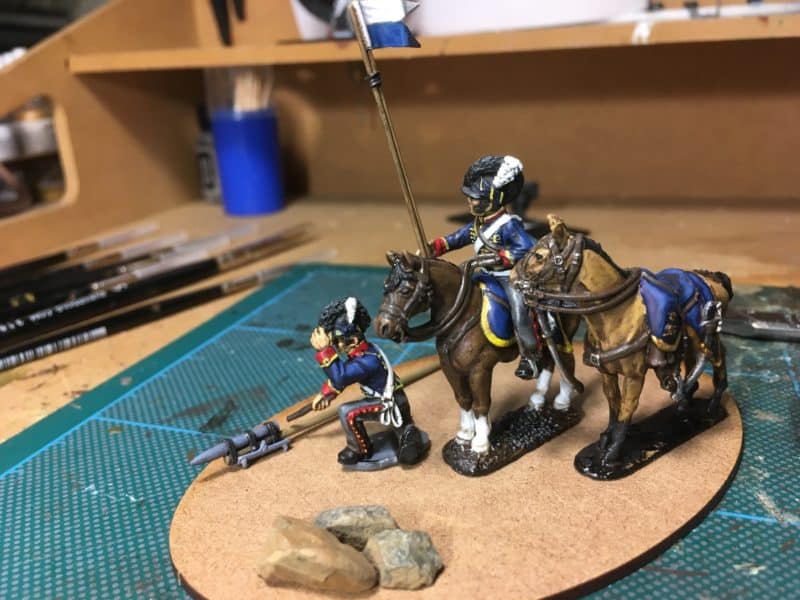
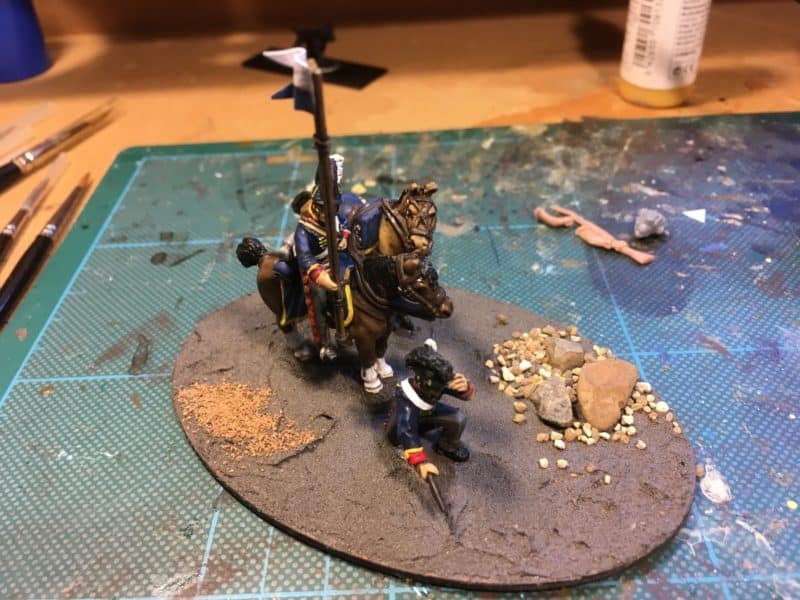
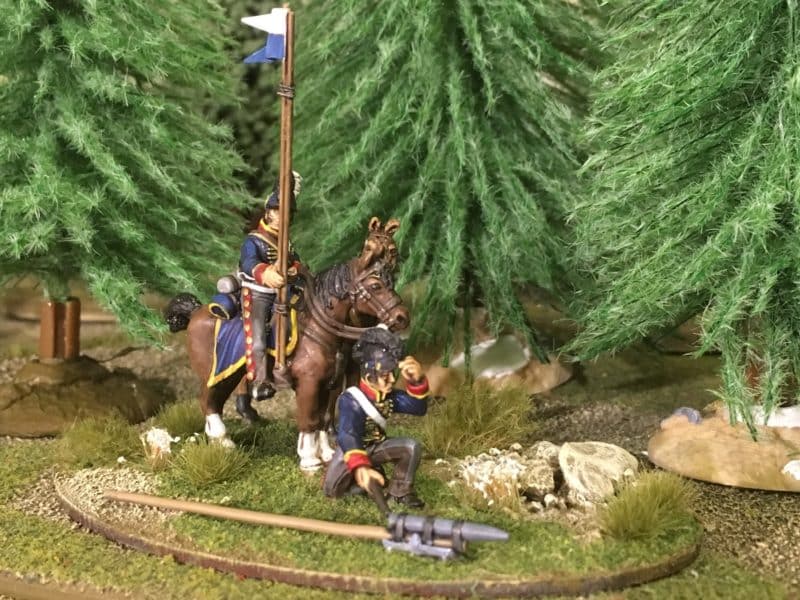
After Novembers paint challenge, I was expecting a drop off in my output. Finding just 30 minutes a day to paint, is in theory not too demanding a challenge but the assumption is that you are actually at home in the first place. With the onset of the festive season, I have been pulled away from my hobby by the various social activities and the many tasks that arise at this time of year. Work is also quite busy, so it’s not just about the time but also finding a clear space in my head so that I can focus on painting. My output has slowed and although I have yet another battalion on the work bench, it’s very much a work in progress as the picture below shows.
British Napoleonic Infantry in great coats – still a W.I.P.
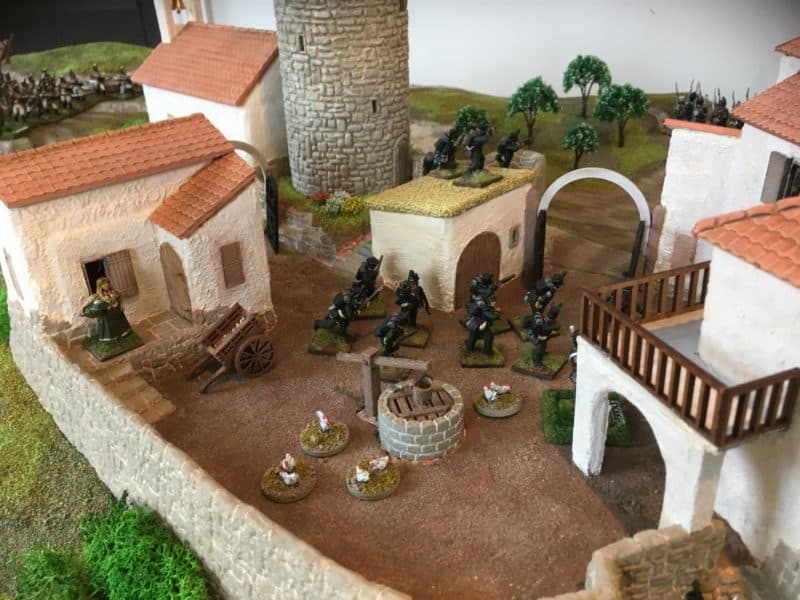
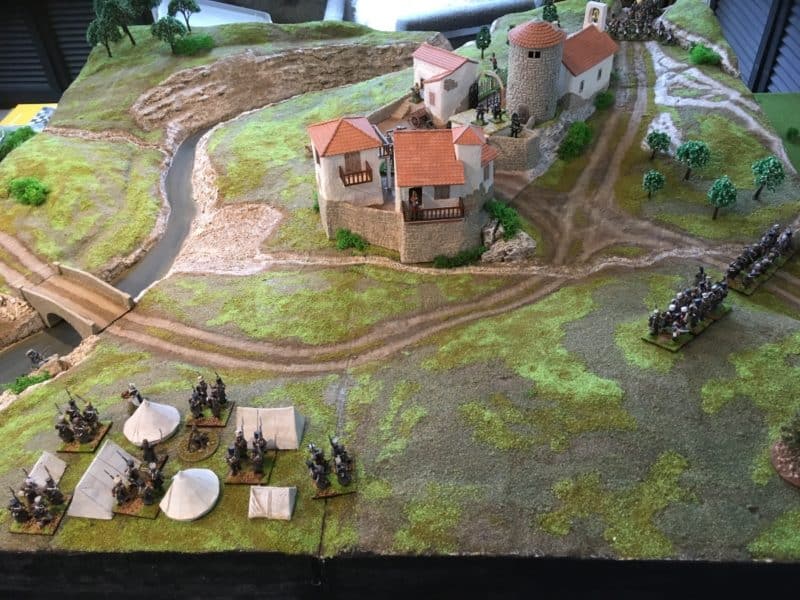
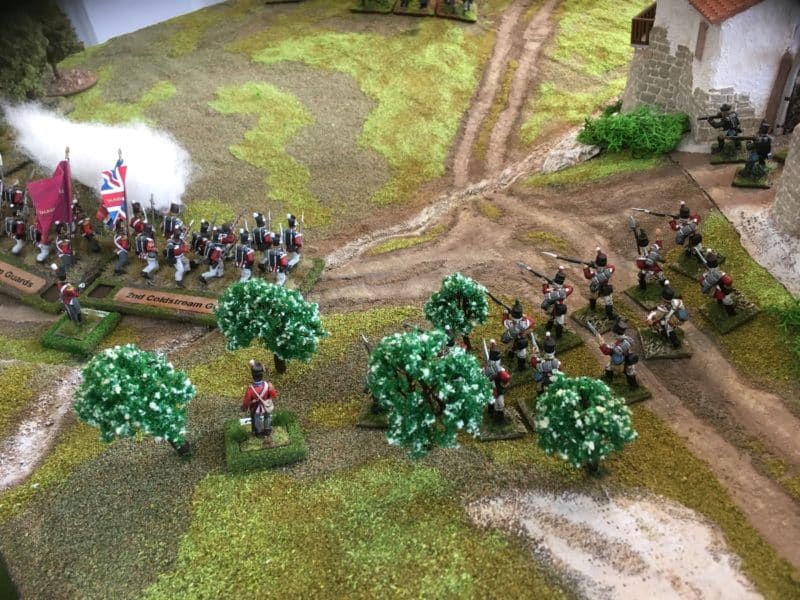
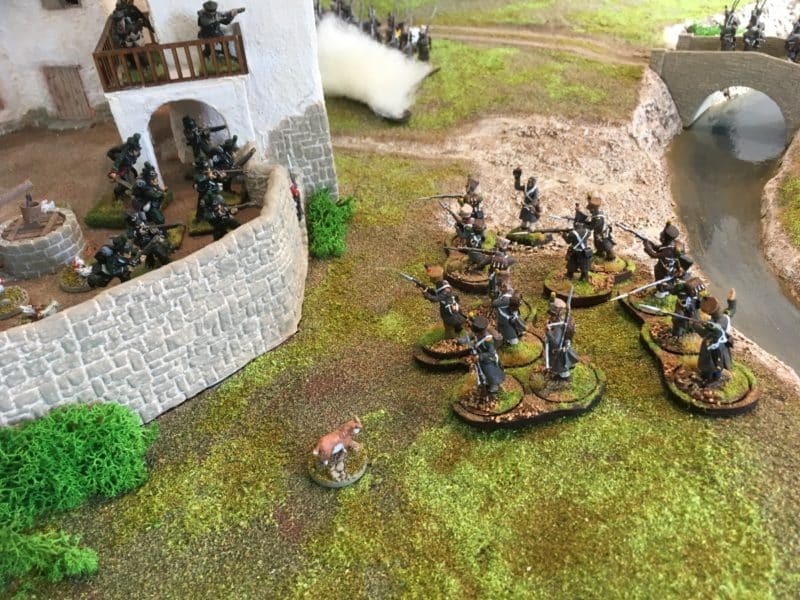
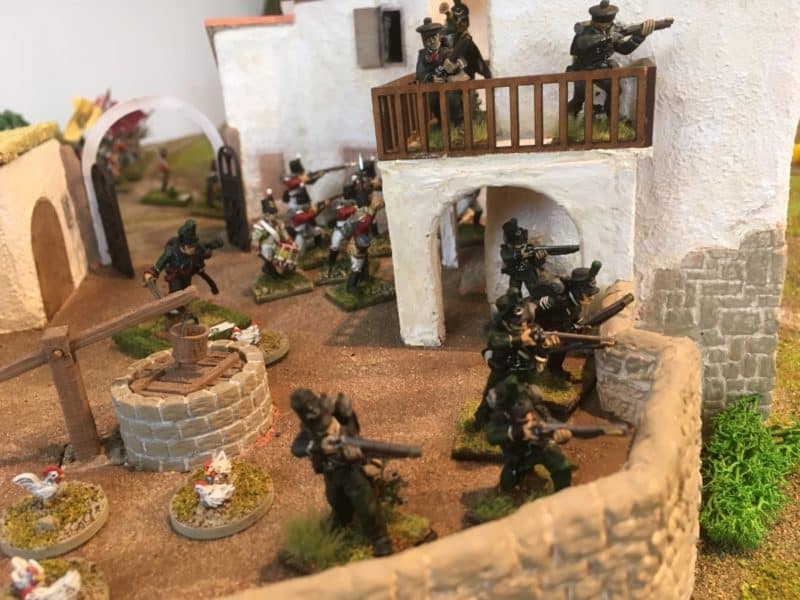
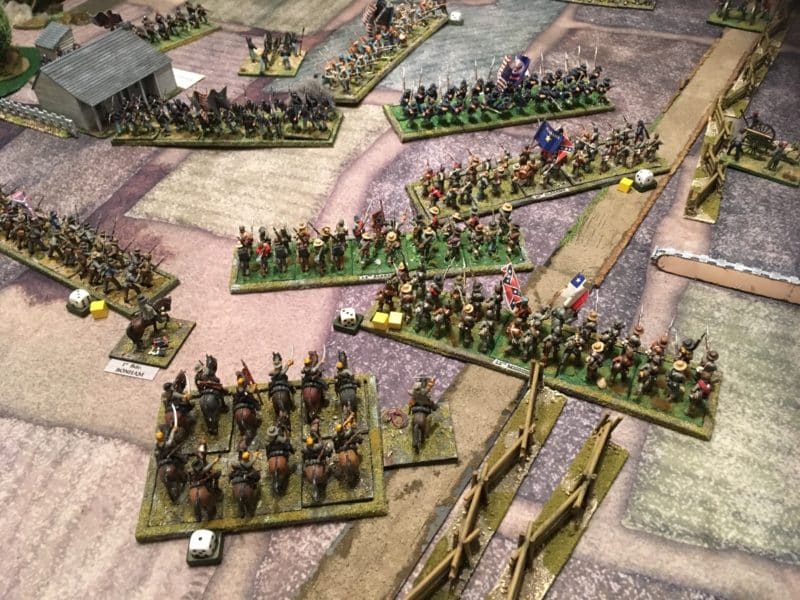
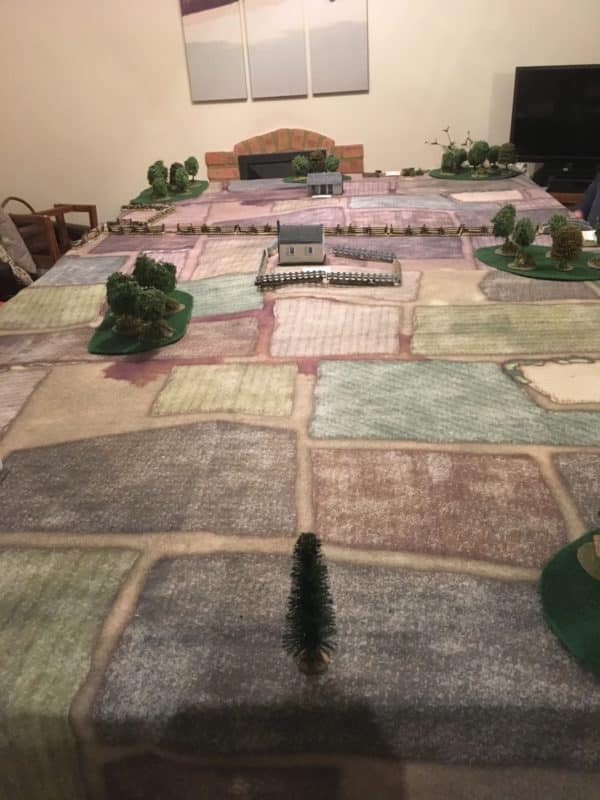
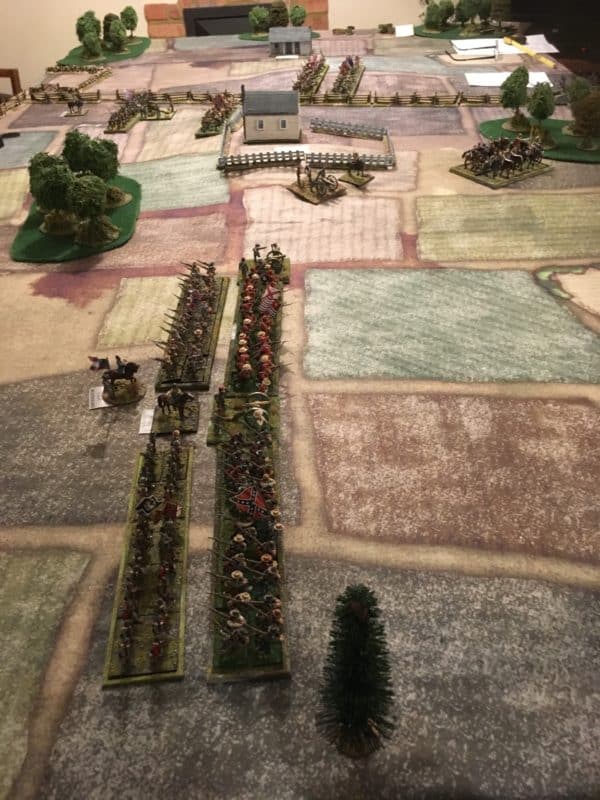
There is more to the hobby than just painting though! My regular Thursday nights gaming with my friends continues and last week Andy surprised us with a new army that he had picked up. Actually it was two armies, Union and Confederates from the American Civil war. So we played our first ACW battle using the ‘Glory Hallelujah’ Black Powder supplement rules.
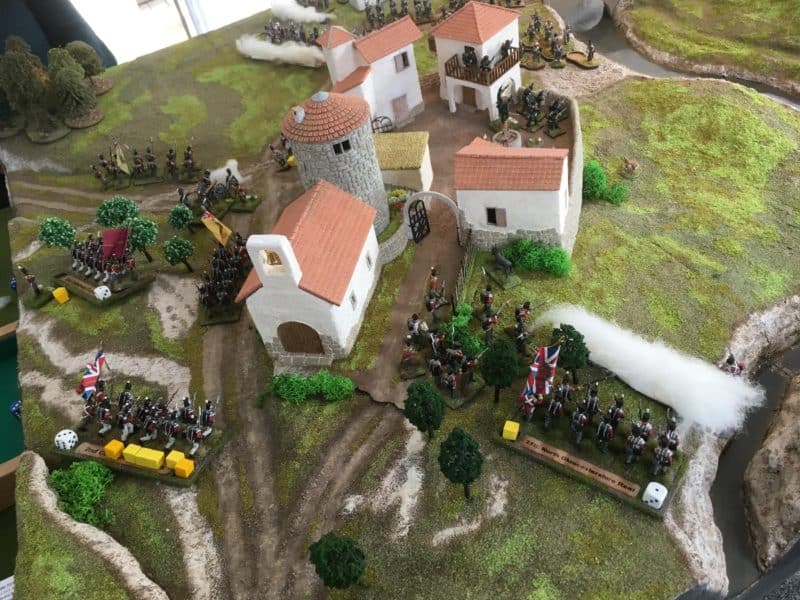
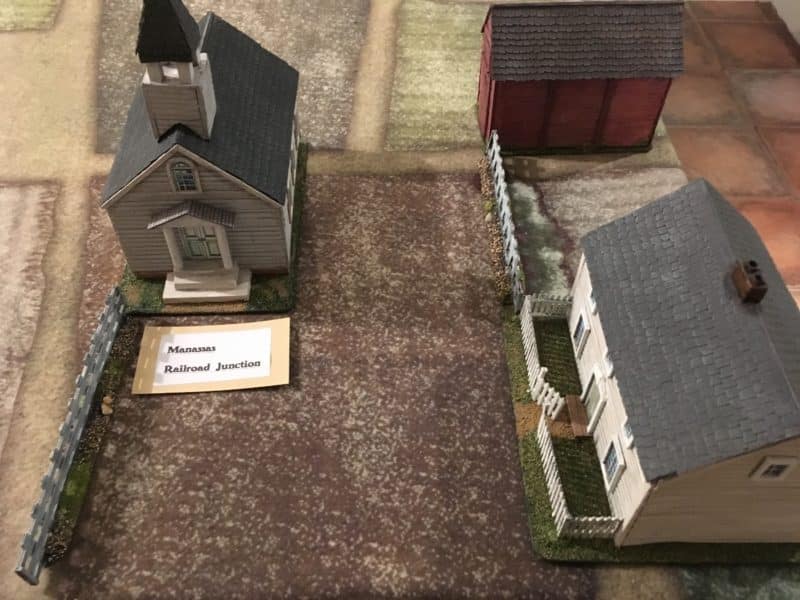
The scenario was fairly simple, a Confederate force was to surprise and capture a Union Village, hold it’s ground and push the relieving Union force from the table.
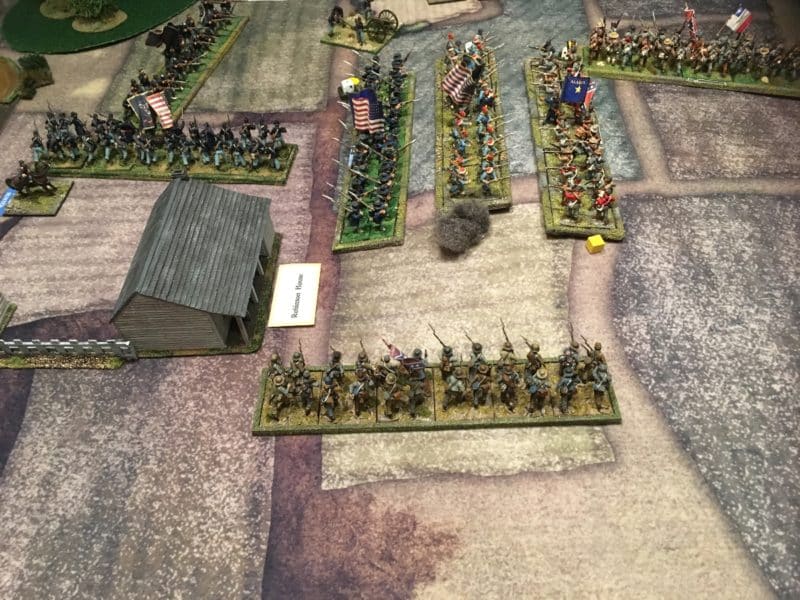
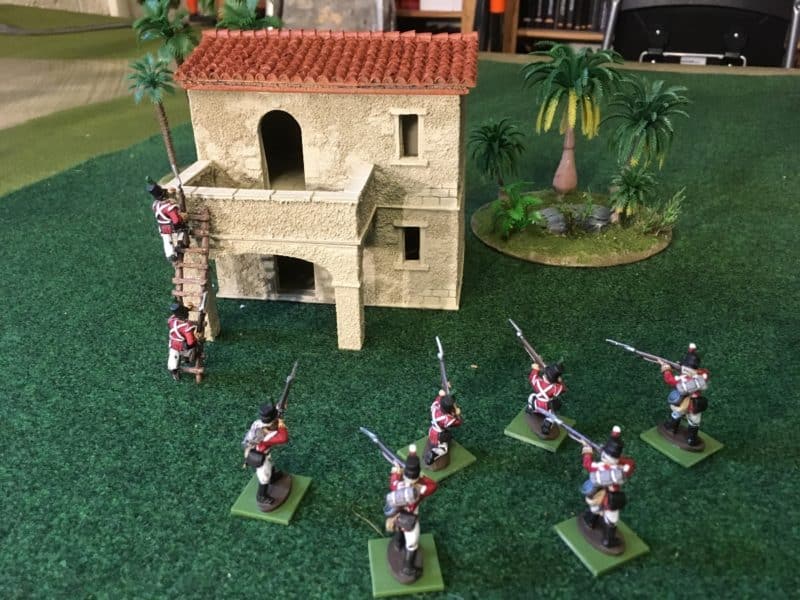
Confederates advance on the farmhouse
The battle initially went well for the rebels with a quick advance to the leading farm house on the right, securing a good platform to launch the attack on the village. However, the second Confederate Brigade on the left was slow to move in support and then surprisingly, found itself facing a superior Union force.
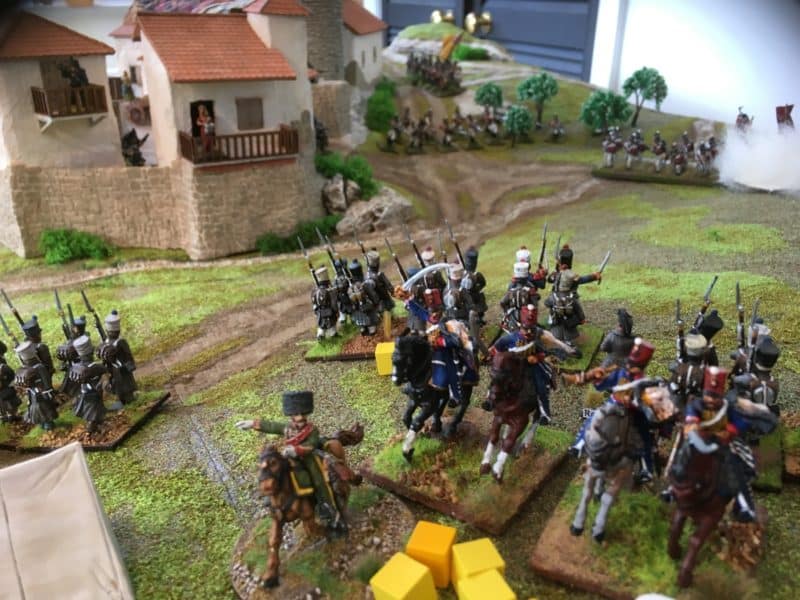
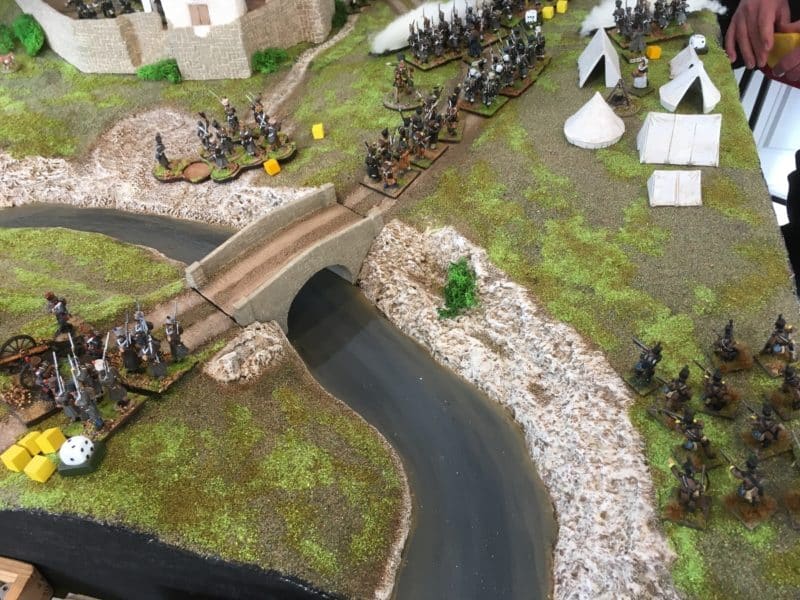
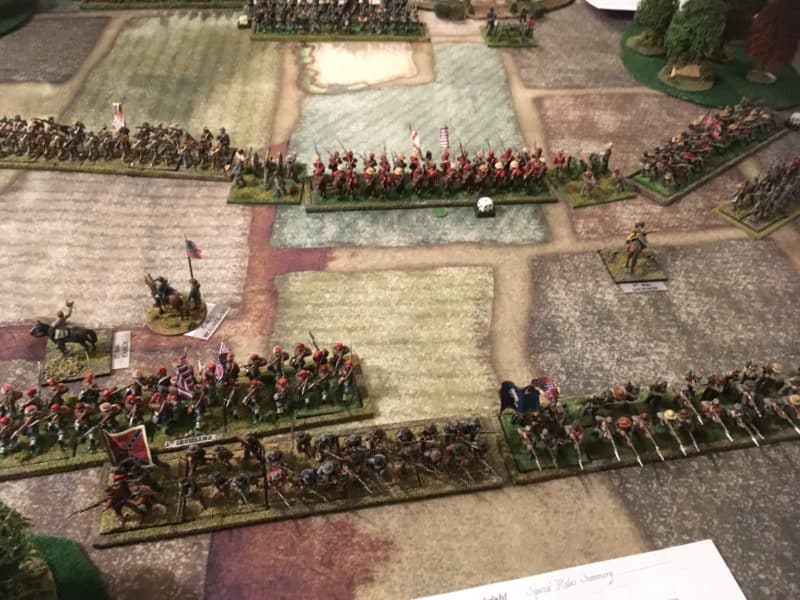
Although cavalry is not so effective in the ACW period as our usual Napoleonic games, the cavalry could skirmish quite effectively and a fast advance around the flank of the Confederates by a unit of Federal Cavalry was enough to cause consternation in the rebel ranks!
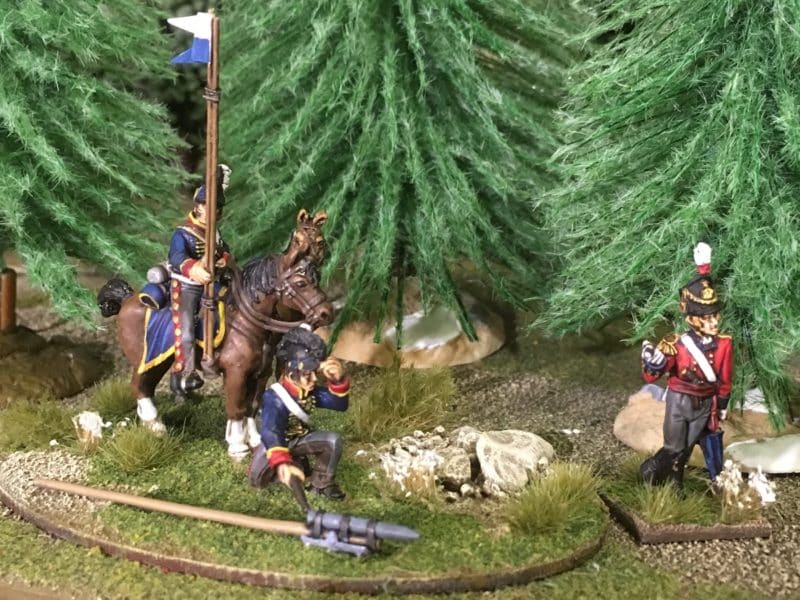
Union Cavalry advance!
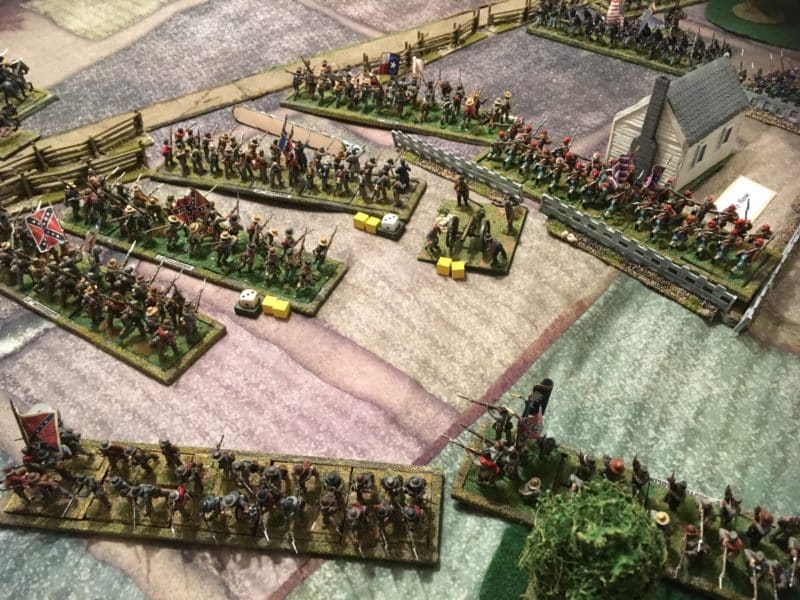
The Confederate response was to forge ahead and occupy the farm buildings but to detach a battalion to guard against a flank or rear attack by those sneaky Federal forces!
Confederates take position in the farm house
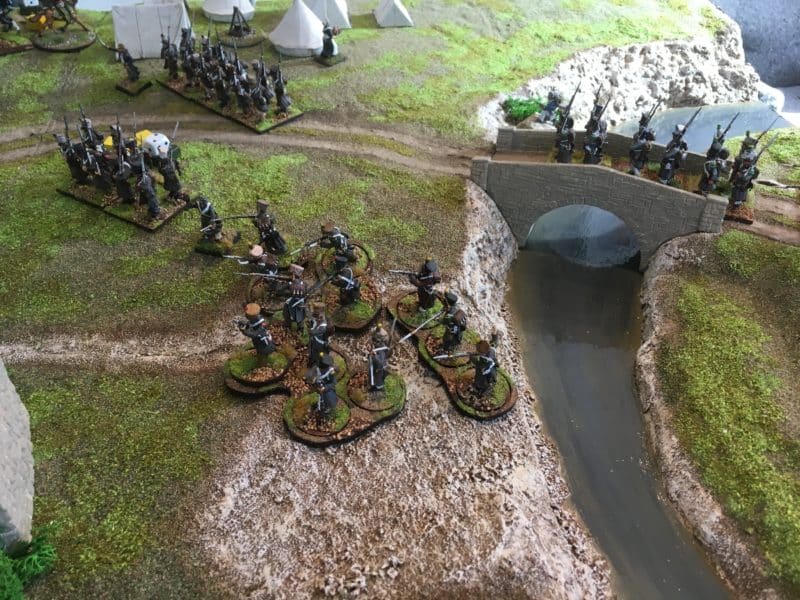
Sure enough, whilst the farm house became the centre of the battle on the left, the Union managed to slip around the sides, turning the Confederate flank.
The Confederate commander urges the troops on the left to advance!
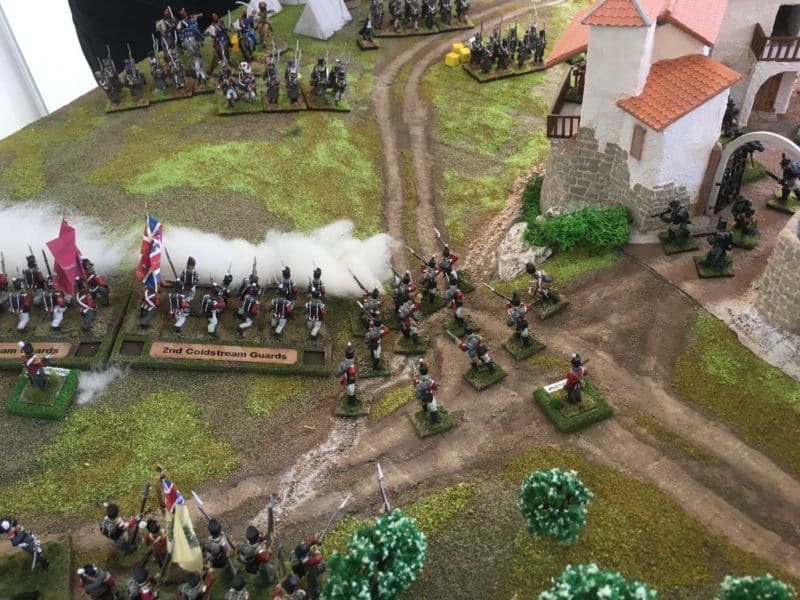
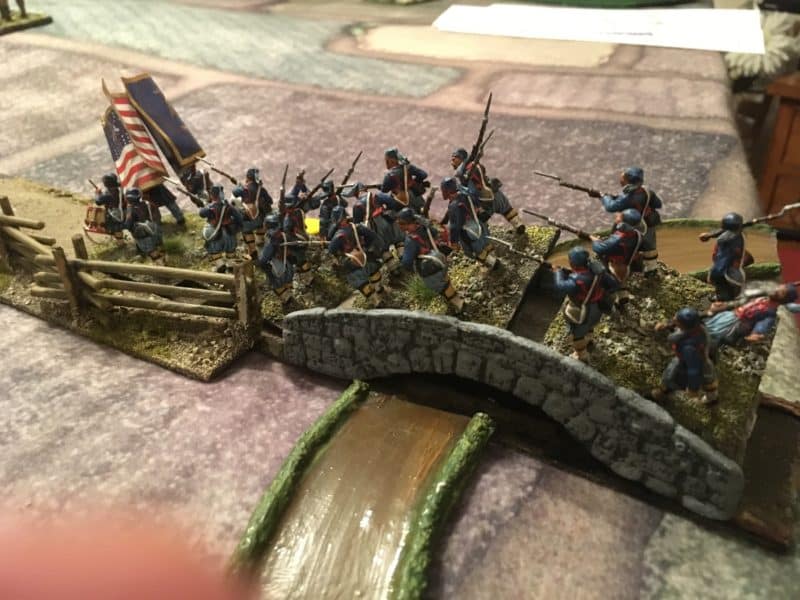
Meanwhile on the left of the field, the Confederates had pushed forwards, only to find that not only were they were facing a superior infantry force but were out gunned in artillery. Their advance was stopped dead!
Open fire boys!
The federal move around the flank of the farm house was causing havoc and the Rebel battalion holding the rear found itself out numbered. They were ordered to stand firm what ever the cost! The Confederate strategy hinged on being able to defeat the Union forces just behind the Farmhouse so that they could push on into the unguarded village. The Farm house was beginning to resemble the Alamo as Federal forces concentrated their artillery fire here. So with one battalion pinned in the Farm House and one protecting the rear of the brigade, the remaining forces were unable to create a local fire superiority.
Out gunned!
It was the end of the Confederate push. With the right flank stopped in it’s tracks and the Farm House about to fall, it was time for the Confederates to pull back. Their surprise attack had been thwarted!
Shaken on the flank – those boys wont hold for much longer!
The game had ended with a Union victory. As our first foray into ACW gaming, using Black Powder Rules, we were pleasantly surprised at how just a few rules tweaks could give quite a different feel to the game. No doubt we missed some of the subtleties in the Glory Hallelujah! supplement but as a first attempt, it was a good introduction into the period. The question is, will we be tempted to start our own ACW armies?
THE COMMERCIAL BIT
If I do become beguiled by the ACW period, there’s no doubt that my first stop for troops will be the impressive Perry’s plastic range. You can see them here:
Yes, it’s a horrible title, Paintvember, but it did capture my imagination and as a result of a challenge issued on the Painting and Sculpting facebook page, for once I joined in one of the social media challenges. I normally steer well clear of such nonsense (I’m talking social media challenges – not painting), regardless of how worthy the cause, so no moustache growing, abstaining from booze, chucking ice cold water over myself or any of the other mass madness that goes on. This was simple, just commit to painting, sculpting or modelling for 30 minutes a day for the month of November and post your progress up on the facebook group page. It seemed like a good way of focusing on my hobby and it would be interesting to see just what could be achieved if I spent some time everyday doing some painting.
Victirx Highland Infantry assembled ready for painting.
To be fair, it wasn’t a great stretch, I paint for a short period of time on most weekday evenings but usually have at least one evening off, if nothing else than to actually wargame! The weekends can be mixed. In the summer, there is plenty of other distractions and even on rainy winter weekends, there are things to do and people to see, meaning that my hobby is put to one side.
So what have I learnt?
The first thing was that it turned what can be a solitary part of the hobby into more of a social occasion. Social media can be useful when those contributing are not only giving encouraging feedback but also showing what they are painting as well. I looked forward to seeing how my facebook chums were progressing with their projects and the skill and variety of projects on show was certainly inspirational. Getting a few likes was heartening and helped to keep me focused.
Red coats on!
Batch painting is ideal for this sort of challenge. It helps that I have a work area that I can leave in a mess and know that it wont be disturbed. So if I am working through a batch of figures I can easily find just 5 minutes to get a bit more colour on a figure. I think that this becomes more difficult if you are working on a ‘masterpiece’, one figure to a high standard or trying to paint a larger model. When I was working through my Highlanders, I had a set sequence, Flesh, Hats, Boots, cartridge case, jacket, bread bag, water bottle and so on. So I always know which colour I would be blocking on the next model.
The 30 minutes a day (minimum – I often did more!) does keep a project moving and so even when I thought that I might stall or wimp out of the challenge, the small goal of just paint for 30 minutes meant that I picked up my brush and did some more. The ‘Elephant’ was eaten a spoonful at a time!
79th Camerons close up.
It helped that I had a couple of projects on the go at once. As well as painting the Highlanders, I was working on a new batch of movement trays for my collection. So if I wasn’t in the mood for painting or if I needed more than 30 minutes for a stage, I could switch from painting soldiers to the trays. I think that having a couple of different projects on the go at once is quite useful but would suggest that they do need to be different. Perhaps a scenery piece alongside a unit of figures is a good mix.
The 79th Camerons finishe as part of the Paintvember challenge!
The challenge also focused me on to the question of when could I find 30 minutes to paint as opposed to the oft reached conclusion that ‘I haven’t got time to paint today’. As a result, I have been grabbing short periods of time in the morning and evening to get my session in. The nights when I might have succumbed to watching the idiots lantern have been replaced with something more productive. It’s taken most of the challenge but I now have a completed Battalion of Cameron Highlanders, which in themselves have completed my representation of the 8th British Brigade at Waterloo, complete with their own new labelled movement trays!
Labelled trays completed as well!
I dont think that I will be quite so relentless with my painting over the next 30 days. Sometimes, a break can be refreshing – absence makes the heart grow fonder – but I hope to keep the attitude of looking for opportunities to paint rather than finding excuses not to. As a final thought, social media, when it is social, has been a great help to my hobby. I have been fortunate enough to part of groups that have either provided me with encouragement with my hobby or inspired me by showing me what can be achieved. So no commercial links below, just a few of my favorite facebook groups!
So, finally, a big ‘Thank You!’ to Alfonso Oclaf for posing the challenge. I’ve never met Alfonso but I am grateful for his idea and for helping me to get my Highlanders done!
Remember to like our page to receive updates of our latest releases, hobby news, on this day in history posts and you can follow my efforts at modelling!
Perhaps not the most glamorous part of our hobby but a topic that has interested me for some time. I see an awful lot of questions on social media with regards to the best method of basing figures, this is usually referring to the number of figures per base or the base size rather than the landscaping! There is of course no definitive answer to the question as different rules sets will often require different basing requirements – not only the size of bases will vary but the shape (round or square) can vary.
My new movement trays before assembly.
One solution is to use movement trays as a way of assembling units. This certainly helps bridge the gap between skirmish games, for example, Sharp Practice, and games that use larger units, say Black Powder. The problem is that by definition, the movement tray fixes the formation of your troops, making formation changes difficult duing the game.
Assembled trays
As my Napoleonic collection has grown, I also wanted a way of identifying the different battalions in my army. Yes, I know that they all have flags ( well most of them) but the more my battalions have grown, the harder it has become to remember who was who! So my solution was to design a movement tray system that allowed me to label my troops, but was flexible enough to facilitate different formations. The other benefit of movement trays is that they can help with transporting and organising your army.
As you can imagine, there was no simple solution and a compromise was required. This was made slightly easier by the fact that I play mostly Black Powder Napoleonic games, with the occasional foray into Sharp Practice! I came up with the following system, that has given me a degree of flexibility and solved some of the problems.
Grenadier Company based – four figures to a 40mm square base
First I decided to base all my Napoleonic infantry on 40mm square bases, four figures to a base. That said, some of my figures, usually the flank company’s, are based singly on 20mm square bases. This gives me some single figures to use for skirmish games if I need them. I’ve then built my Battalions in 12’s for a small unit, 24 for a standard unit and 36 for a large unit. However, the movement trays are designed to take 12 figures, so a standard unit will need two trays.
Flank Company on single 20mm square bases
This has the benefit of allowing me to split the unit into two, facilitating most formation changes but also allowing me to field the Battalion as two units of 12 for small club night battles. My new movement trays also have a name plate at the back allowing me to label each battalion. I was lucky with the design – the name plate is exactly the same width as a Dymo electric label printer, making labelling very straight forward. There are also two cut outs per trays to use for disorder and casualty markers – a simple 12mm D6 is used, different colours can mean different results according to the game being played. This allows any disorders or casualties to move with the unit rather than get left behind on the table as is sometimes the case.
Tray showing dice used for markers
I decided that I wanted to ‘landscape’ the trays to help them blend into the gaming table. Some of my colleagues prefer to leave the trays as they are – it again is a question of taste. There is another advantage to texturing the trays. It covers any imperfections when assembled but more importantly helps to hide any differences in basing on the troops. I have been building my Napoleonic army over six years now and occasionally have strayed from my standard basing formula, which any way has evolved as I have found new products to use.
Textured movment trays
To achieve a textured effect I simply coat the assembled trays with Vallejo Dark Earth textured paste as in the picture above. Once this is dry, I just run a sharp scalpel around the edges to tidy things up and remove any excess. It is then a case of painting with your preferred basing colour ( mine is Vallejo Chocolate Brown) and then dry brushing with a lighter mix to bring out the texture. Once the painting is dry, I add patches of green scatter ( woodlands scenic is now my preferred choice) and the trays are ready for use.
Movement tray textured and ready for use!
When it came to labelling, I decided on using the regiment name and number and only will indicate the Battalion number if there was more than one Battalion in service. It keeps things simple and allows me to use the largest font available for most of the labels. I used the Dymo Electric label printer to produce the labels on clear label material. As I said, I was lucky that the width matched my design exactly. The label maker was surprisingly inexpensive – just £14.99 from Aldi!
Landwehr battalions labelled ready for action
Of course the name plate is reversible, so if I decide to change the style – perhaps for a painted plate, I can do so!
British Infantry Division labelled and ready for action.
As you can see, from the front the name plates aren’t too intrusive, so my opponent shouldn’t be too distracted from the game. Another unintended benefit is that the name plate at the rear of the tray protects the bayonets of the units behind, helping to prevent damage.
Battalion in line!
Battalion in column – simply reverse rear tray to form square!
So the task now is to get all of my units into these trays. With nine battalions done, I still have another nine battalions, or eighteen trays to do, but it will be a nice project to do in between painting yet more battalions!
THE COMMERCIAL BIT
If you would like to use these trays, they are available from my shop here:
In last weeks blog, I showed you how I have gone about batch painting my Battalion of 79th Cameron Highlanders for my Waterloo project. In this weeks blog, I show how I went about breaking down the tartan into a process that I could cope with to produce a reasonable table top standard finish to my troops in tartan.
I am no artist, more of a paint by numbers man, so I hope that this blog is useful to other gamers that have perhaps, like me, been put off from attempting to paint this complicated pattern on their troops. The idea is to give a representation of the tartan pattern on the troops that will look nice when the unit is complete. It is entirely beyond my skill to reproduce anything other than this on a 28mm tall figure.
The 79th Cameron regiment of foot, Centre Companies.
I did look at a number of references for the actual tartan but decided on a simple version based on what I could actually see when I held the book away from my face rather than the close up scrutiny that would show every colour! I should also confess that I am slightly red/green colour blind, so although I can see close up that there are fine red stripes running through the cloth, my overriding impression is of blue, green and black with a fine yellow/beige stripe, so that is what I would paint!
Before I started on the figures, I tried my hand in a larger scale in my note book to see how things would work out. The base colours that I chose for the tartan was Prussian blue 70965 and Reflective green 70890. I tried painting blue over green and green over blue, but decided that I preferred the latter.
Tartan practice – just going through the process helps fix how I will paint the tartan.
Having had a little practice I jumped in and made a start. First job, paint the kilts prussian blue.
Blue kilts to start!
Next, I painted a series of vertical stripes in green.
Green stripes added
Followed by the horizontal stripes. I tried to keep the stripes as uniform as possible, letting the paint brush do the work and determine the width. Having the paint thinned to a milky consistency helps.
Horizontal stripes added
The next part of the process is to outline the green strips with a fine line in black. I did consider using a fine liner pen at this stage but managed with a fine brush again, thin paint helps the flow. It is obvious from the close up pictures that my brush work is a bit raggedy and the consistency in line width varies from figure to figure.
The green stripes are then outlined in black.
Finally, using 70913 yellow ochre, I painted a larger cross hatch to give the impression of the yellow thread that runs through the tartan. With the later figures that I have painted, I was a bit more careful with the placement of the yellow line, trying to ensure that it bisected the blue/green squares. I also have made the blue green squares larger to make the task easier. As I have said, I have chosen to ignore the fine red lines that are woven into the Cameron Tartan. This means that the tartan for my Camerons will be similar to the tartan used by the Gordons. Fortunately the facings are different, yellow as opposed to green, so I hope that will be enough to differentiate the units on the gaming table!
Tartan completed – or is it..?
So with the Tartan done, the next job was to paint the red cross hatching on the bonnet and the socks. Once again, I have cut corners to make life easy. The cross hatching on the bonnet should have small green squares at the junction of the checks – I’ve left these off.
Red Cross hatching added to bonnets and socks.
The next stage was to lightly dry brush the bonnets with light grey to bring out the detail of the feathers and then I carefully painted on the Army Painter Dark Tone quick shade. This really brings out the detail on the figures, covers up some of the smaller mistakes that I have made and seals the paint onto the figures.
Quick shade carefully painted over the models.
Once given a coat of matt varnish, I go back and re highlight the lighter colours, particularly the white. I also paint the bayonets in bright silver and paint the bases with chocolate brown to tidy things up.
Figures retouched and white highlighted.
The figures are now ready for basing. I may need to retouch some of the figures with matt varnish in places. I tend to be sparing with the varnish as I have had too many accidents with it in the past!
STOP PRESS!
After all that I had said about ignoring the red in the kilts, my OCD circuit was niggling away at me saying ‘the Camerons were the only one’s with red in the kilts – how could you leave it out…’ I also kept thinking that I didn’t want them to look too much like the Gordons, with their Yellow square pattern.
After much thinking I decided hell, just do it, and painted a red cross hatch pattern in between the large yellow pattern. I haven’t got a picture to show the close up of the technique – I was too busy just cursing myself and getting on with the painting! I even went back over the troops that I had finished. But painting red was the same as painting the yellow stripe, just exactly in the middle of the yellow grid. The result is below. My concern was that the tartan would look a bit ‘busy’ on the small figures but I think it looks OK.
Red added to the tartan!
This is typical of my approach to my modelling! I convince myself that I cant do something and then decide to have a go any way! So, with 16 of the troops completed there is just another eight to go to finish the battalion. Having learnt how to paint tartan, I suspect that the next eight will be a bit more straight forward, especially as the officers and ensigns aren’t in kilts! Give me a couple of weeks and I’ll show you the final results with the battalion all based and ready for action.
A close up of the Camerons – the red stripe is a bit broad on some figures!
Past experience has shown that once the basing is done, the figures will look even better. Having completed the Camerons, my intention is to paint the other two Highland regiments in kilts, the Gordons and the Black Watch. It looks as though the tartan for these two are actually less complicated than the Camerons and having now tackled one set of tartan, I’m hoping that these other two battalions will be more straight forward.
The Commercial Bit
Another lazy link this week…nearly everything that I use in my hobby is available post free from the Arcane Scenery shop. So Expo Brushes, Vallejo Paints, Victrix figures, Renedra bases, tools and sanding sticks – they are all there , just have a browse! Use the manufacturers category or the general category to browse products. If you want a specific paint or item, just type the number or description into the search box, hit return and it should appear!
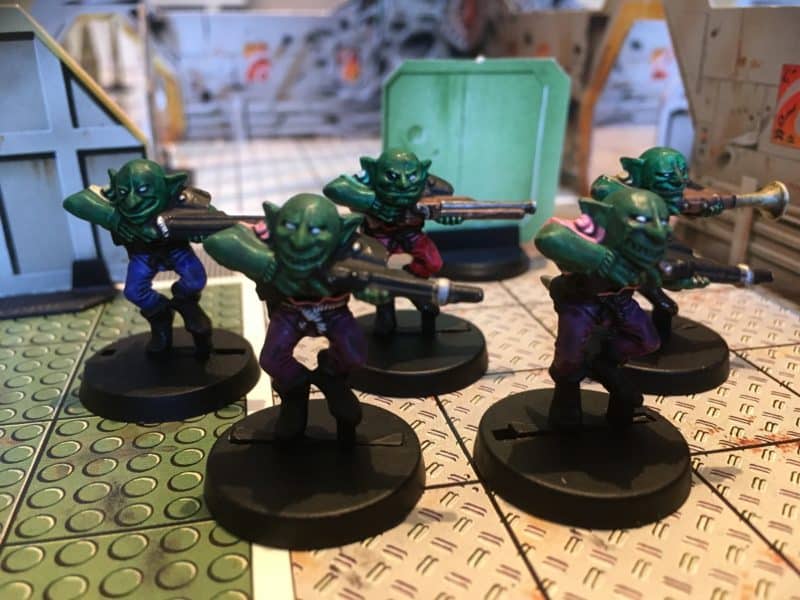
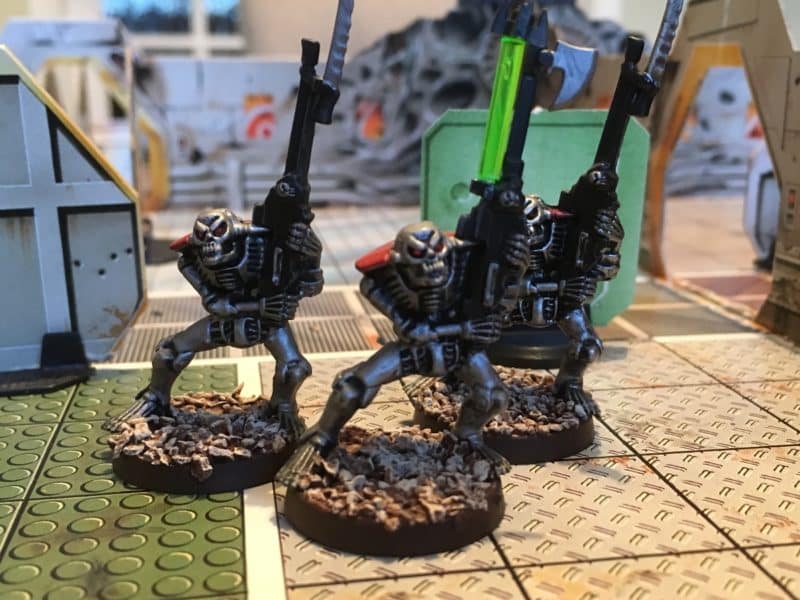
Last week I mentioned that I went along to a play test of the forthcoming Ancient Greek skirmish game, Mortal Gods – A test of Courage. I have on the work bench a small band of Greeks and Skeletons for this game and I will return to these in another blog – they are providing light relief from my ongoing Napoleonic project.
The next Napoleonic unit on the paint station is the 79th Cameron Highlanders. I have started to batch paint the 24 figures that I need for the battalion and the first 8 are about finished. In this blog, I’ll show you step by step how I went about the task of painting these eight. Incidentally, I had initially thought that I would paint 28 figures for the battalion but I have reined in my ambition and will go for the usual 24 figures. This isn’t quite the climb down that it looks like. Having painted the first eight, my confidence has grown and I have decided to paint all three Highland regiments at Waterloo, a total of 72 figures. The other reason for the smaller Battalion is that all the Highland regiments at Waterloo had been quite badly mauled in the fighting at Quatre Bras, two days earlier, so a standard sized unit makes more sense.
I’ll rely on the pictures to show the sequence in which I have painted the models, so a picture heavy blog – hopefully more use than me waffling on…I hope that the step by step method that I use will be useful.
Step 1 Flesh
Once the figures have been primed with Army Painter grey, I start with the flesh – face, hands and knees! Vallejo Flat Flesh 70815. I’m using an Expo sable ‘0’ brush for most of the painting.
Step 2 Black
Black 70950 for Hats, Cartridge Box, Bayonet scabbard and boots.
Step 3 – gaiters
Black grey 70862 for the gaiters.
Step 4 Hair and sideburns!
Chocolate Brown 70872 for hair, although I painted one as ginger haired using 70981 Orange brown!
Red coats on!
Flat red 70957 for the Jackets.
Food bags painted
Iraqi sand 70819 for the food bags – you could do these in white and I should really paint the strap in Iraqi Sand to match but I actually paint them white as it makes the front of the figure look better -call it artistic licence or laziness…
Water bottles painted
Pastel blue 70901 for the water bottles. This looks on the light side but when I use quick shade on the figure the colour will darken and the texture of the bottles will show. Painting the unit number on the canteen is beyond my skill, eye sight and patience!
Facings in Green – spot the ginger….
Flat Green 70968 for facings – collars & cuffs.
White lace & straps
The longest stint in one colour! 70820 Off white for tufts, turnbacks, belts, socks and lacing.
Muskets & Water bottle strap
Flat Brown 70984 for Musket stocks and I cheated and used the same colour for the canteen strap – leather brown 70871 would perhaps be a better choice. Some painters like to paint a grain effect on the wooden musket stocks – again, a step too far for me and I think unnecessary.
Metallics done.
Metallics! Steel 70864 for the musket barrel and other details, Brass 70801 for the buttons, belt plate and details on the musket.
Tartan Paint – it’s magic!
Vallejo Tartan paint….Well, not exactly but just to tease, I will explain how I went about painting the Tartan for the Cameron’s in more detail. This was the test shot and once I had gotten my head around the process I reverted back to the batch paint job.I’ll say up front that it is by no means an accurate representation, more a nod in the general direction of how Tartan looks. When it came to it, painting the tartan to this standard wasn’t as difficult as I had thought but it is time consuming. The first 8 figures that I have finished are looking OK for the table top, though I say so myself – you can an idea for yourself next week! But, there are a few steps yet to take, including the daunting task of painting the figures with quick shade and hoping that I didn’t lose too much of the detail.
I’ve also painted the red cross hatching on the hat bands and the socks. So until next week, you can see how I tamed the tartan terrors!
The Commercial Bit
A lazy link this week…nearly everything that I use in my hobby is available post free from the Arcane Scenery shop. So Expo Brushes, Vallejo Paints, Victrix figures, Renedra bases, tools and sanding sticks – they are all there , just have a browse! Use the manufacturers category or the general category to browse products. If you want a specific paint or item, just type the number or description into the search box, hit return and it should appear!
I was lucky enough to be able to attend the Mortal gods play test event at Boards and Swords in Derby last Sunday. The venue is well worth a visit and if you are anywhere near to the Derby/Nottingham area, you might consider using the venue for a gaming event or hobby day with your mates. There are plenty of tables and the venue is very easy to get to by car, with safe free car parking on site. I think that the growth of such venues is good news for the hobby. Not everyone can find a local gaming club but a venue such as this can soon provide contacts and of course opponents! We have ‘bookmarked’ the venue as a possible location for one of our future Black powder grand scale games! The web site address is at the bottom of the page.
As usual, I digress, back to Mortal Gods. The demo games were organised by Andy Hobday and Mark Farr of War banner, so there was plenty of expertise to help facilitate the games. The game is based on the same game engine as Test of Honour, with all the Samurai background and flavour stripped out and of course, plenty of Ancient Greek flavour added back in! If you are not familiar with Test of Honour, it’s worth explaining that the game is essentially a skirmish game built around small war bands. This makes the game an ideal entry point into a genre that perhaps you hadn’t considered before. I certainly had not planned to start a Samurai Army, but Test of Honour facilitated the start of my collection and allowed me to try the period without having to commit to buying and painting hundreds of figures before I could start gaming.
Test playing Mortal Gods
Test of Courage will do the same job for Ancient Greece. If you have been tempted by such films as ‘the 300’ – the Battle of Thermopylae – or other such or tales but never had the enthusiasm to paint a massive Ancient army, then this game will help to scratch that ‘itch’. A typical war band or Lochos will consist of around 20-30 figures, although it is possible to use more or less, depending on the scenario and the players involved. The other point to make about the game is that it is designed to be exactly that, a game. Whilst Test Of Courage is firmly set in the Ancient Greek realms, it is not designed to be a simulation or does not claim to represent an accurate view of combat in the Ancient world. Andy Hobday is very much focused on producing an enjoyable, cool game with some clever gaming mechanics, whilst Mark Farr and the War Banner team are steeped in the detail of the history and keep the game close enough to the period, with the appropriate troop types and weaponry, to make it feel like you are battling in Ancient Greece.
Not the best dice roll!
And so back to the play test game. I played two games, the games being superbly umpired by George and Jade, who were there to help with the rules and offer guidance when required. Having played Test of Honour, it was easy get get the general thread of the rules and we were soon focusing on the game rather than the rules. Your units or heroes are activated by drawing tokens and placing them on the appropriate card. The cards of course contain most of the stats and character rules that you need to play, so there is little need to refer to a rules book once you get going. Most of the action is decided by rolling the special test of Courage dice. Three swords will give you a pass, Medusa’s are bad news! One of the cool changes is the ability to form your hoplites up into a ‘mini phalanx’ making them very tough to take on from the front. However, if you can get around the back….. The other change I like is the ability of your Hero or commander to use activation’s to give orders to other close units. Another mechanic is the fate tokens that are much more influential on the game but easier to come to terms with than drawing extra cards as in Test of Honour. Fate affects everyone in the game – watch out!
Combat begins.
So when is the game released? Well actually not until March of next year. Which is another cool thing about the guys at War Banner. They are giving the basic game plenty of exposure to gamers and therefore the opportunity for the community to be involved in it’s development. The basic framework is there but in the light of play testing and feedback from gamers they are open to ideas. An example of this was on the day, the test for giving orders was moved from the receiving units stats to the hero giving the order, making it more likely that the order would be passed but still leaving the possibility of a fail occurring.
My Lochos is under way!
The other point to make is that whilst there may be some changes to the rules, Andy and Mark are working hard to ensure that the presentation of the game is top class. The Art work for the cards, rules tokens and all the other kit that you will need is already looking brilliant. With Stavros Zouliatis busy scuplting figures for the game to supplement the superb Victrix range that is already available and Sarissa Precision in the wings working on some evocative scenery, I can guarantee that the final product will be amazing!
THE COMMERCIAL BIT
If you would like to visit Boards and Swords here is the link to their website:
If you would like to make a start of a mortal Gods Locos, we have some great models in our range of Vitrix Models, available POST FREE to most worldwide locations!
One of the pleasures of the wargaming hobby for me, is watching my collection grow as I add each new unit. My Napoleonic collection is broadly themed around the Battle of Waterloo and the 100 days Campaign. This gives me a structure to work to when building my army. I don’t intend to make every unit that served in the Allied army, although sometimes it feels like that is what I am doing!
32nd Foot ready fo action!
I have been working on what I think is one of the most interesting of the British Brigades that fought both at Waterloo and at Quatre Bras, two days earlier. It is the British 8th Brigade, commanded by Major General Sir James Kempt. The brigade consisted of the 28th North Gloucestershire’s, 32nd Cornwall, 79th Cameron Highlanders and 6 company’s of the 95th Rifles.
As I have mentioned, the brigade fought well at Quatre Bras, with the Rifle Battalion occupying ‘Cherry Wood’ just north of the Namur road to stop the French encirclement. With just 550 men, they managed to throw the French into confusion and push back the 2e Leger, some 2000 men. The French unit ‘fled without awaiting the enemy and the rest of the division fell into disorder and, not content with abandoning it’s ground, did not stop, even on reaching the high ground beyond Gemioncourt.’
Lady Butlers painting of the 28th at Quatre Bras.
If the rifle battalion had performed well, so to did the rest of the brigade who were thrown into the battle against the French advance. They blasted away Bachelu’s leading regiment, 61e Ligne with their disciplined fire, again causing the French 5e Division to fall back. Later in the battle, in what seemed to be a rehearsal for the events that would occur two days later at Waterloo, The brigade formed squares to resist the French Cuirassiers, pouring volley after volley into them without breaking.
The Brigade went on to Waterloo and faced D’Erlons attack – but that’s another story – back to the modelling!
As well as their contribution to the 100 days campaign, from a modellers point of view, it is the variety of units in the brigade that interests me. The 28th were wearing Stovepipe shakos and had yellow facings as well as having an additional badge on the rear of their shakos. The 32nd Cornwall battalion was a standard battalion with Belgic shakos and white facings. The 95th, are of course the famous green clad rifles, which leaves the 79th, a Tartan clad Highland battalion with green facings.
I have already completed the 28th and 32nd – you can read how I went about modelling them in my earlier blogs. Here are two of the articles to get you started!
I had decided to use the Victrix Plastic Highlanders to make the 79th Camerons. I am happy with plastics as opposed to metals and like the process of putting plastics together. It also means that my army is lighter when it comes to moving them around! The other benefit of the Victrix set is that you get 60 figures plus plenty of spare pieces, so conversions are straight forward. The Victrix Highlanders come as either a centre company boxed set or as a Flank Company boxed set. I went for the Centre company set as I have a box of Flank company line infantry and I will use the arms from this set to make my Flank companies.
Victrix Centre Companies Highland Infantry.
Assembly of these models is quite straight forward, there is minimal flash and mould lines to remove. As always, I use polystyrene cement to glue them together. This gives plenty of working time and results in a much stronger bond than using super glue. You will also find that the joins fill if you let the cement soften the plastic for a minute before you press the pieces together.
Victirx Highland Infantry assembled
The assembly instructions are sparse but do make it reasonably clear what arms go with what body. There is a choice of heads. Some have a peak on the highland bonnet, some do not. I am told that the highland troops were ordered to remove the peaks for the Battle of Waterloo but I haven’t worried about this level of detail and my unit has a mixture of peaks and no peaks! I know that some modellers will find this casual attitude unacceptable but I am happy to mix it up. My troops aren’t meant to be frozen in time to one Battle and I’m happy to believe that whilst the troops may have been ordered to remove the peaks, what they actually did at the battle when the sun came out may have been different to what they were ordered to do!
The 79th Cameron regiment of foot, Centre Companies.
I have assembled 28 figures. The main Battalion will be represented by 24 figures, this includes the Grenadier Flank Battalion. I have also put together an extra four figures to represent the detached light company so that I can use them either for skirmishers in Black powder or as separate figures for Sharp Practice.
So I’m almost ready to start painting. Indeed, I have undercoated the first batch of eight figures. I will use the Mont St Jean reference sheet ( shown above) as my main painting guide but I will also have a quick scan of my other references, Franklins British Napoleonic Uniforms, The Companion to Waterloo, the appropriate Osprey and of course pinterest/google. I don’t expect this to be a quick project as I am concerned that the Tartan and detail around the head band and socks will really take time. If all goes well I’ll update my blog with my progress. I have half a mind to carry on and paint the other two highland regiments but one step at a time….
THE COMMERCIAL BIT
If you would like to get hold of the Victrix Highland sets, we carry them as part of our Victrix range here:
We supply post free to most worldwide locations. If you are looking for glue, paint, tools or basing materials just click the link into our shop – we have a huge selection!
I’ve been bitting and bobbing this week, finishing off one project, my British Artillery, starting the next, Highlanders and being distracted with Greeks!
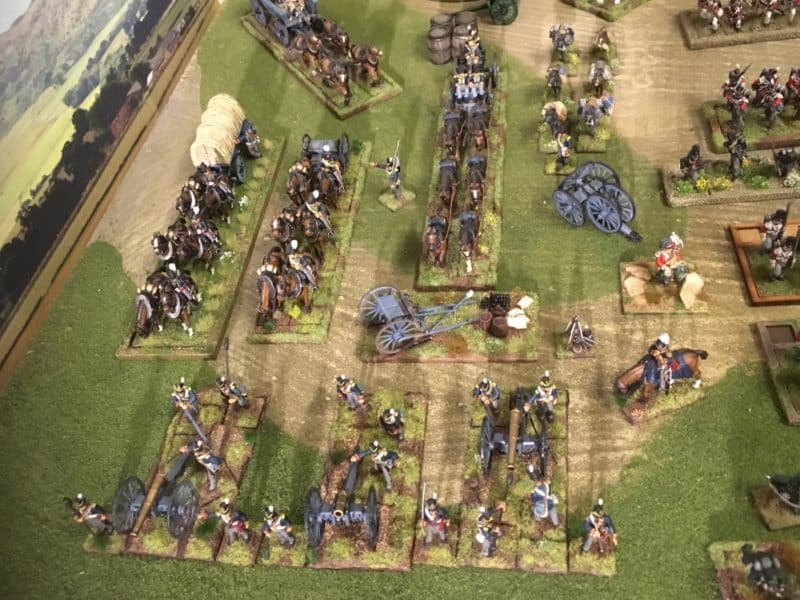
My Artillery Project Completed – well nearly!
The above picture shows that both my limbers are now completed, with traces added and all five cannon are completed and based. There’s just some tufts to add to the foot artillery limber and two of the guns, although at the time of writing, this has all been done and the figures are now safely in my cabinet ready for battle.
Foot Artillery Officer and Surgeon
I also have a Foot Artillery Officer and a surgeon to finish basing. This will be done over the next evening. I tend to complete my basing in short bursts due to drying time and I’m happy to finish this sort of job when ever I get a spare 5 minutes. Incidentally, the surgeon was a limited edition figure given away free with one of the Painting war magazines. He is a bit on the small side, compared to other figures but he paints up well and it’s not too noticeable. With hindsight, I should have put a bit of plasticard under his feet to give him a lift. Clearly he is more Tom Cruise than Clint Eastwood!
Beware of Greeks but watch out for those skeletons!
I’ve also been working on a ‘test shot’ of Greeks for the up and coming game of Mortal Gods. It’s not actually released until next year but having seen the development that is taking place, I thought that I would put together a small Locos. I’ll give these models a separate blog in the future, perhaps with as much detail about the game as Mr Hobday will let me give away!
Highlanders!
And so to my next Napoleonic project. I will be making the final unit, 79th Battalion, to complete Kempts 8th British Infantry Brigade at Waterloo. As you can see I’ve started assembly, using the Victrix plastic boxed set. I very much like plastics and prefer these to the metals available, despite the need to assemble them and the perceived lack of legacy value that some of my colleagues talk of. Once again, I’ll revisit the background to this project in a future blog.
The thought of painting the tartan is quite daunting, so I’ll take it slowly ( more so than ever!) and show you how I get on. So, A short blog this week as I gather my thoughts to focus on the next stage of my painting projects!
THE COMMERCIAL BIT
Again, very brief! Most of the models, paints, tools bases and basing products are available post free, to most Worldwide locations, here:
I have previously noted that I have been reading John Husseys’ splendid book, ‘Waterloo, Volume 1’ covering the Campaign of 1815. Although somewhat drier than some accounts, the book is a detailed account of the campaign and new to me, was the forensic detail in which Hussey has examined the lead up to the more familiar Battles of Ligny, Quatre Bras and of course, Waterloo. Inspired by what I had read, and motivated by the delivery of my copy of the second edition of Black powder rules, I put together a very simple scenario, very loosely based on the French attack into Belgium, prior to the main battles that were to come later.
The briefing to the players was as follows:
You are commanded to lead the advance Corps into Belgium to split the Allied and Prussian Army. Having crossed the Sambre successfully and moved past Charleroi you have encountered a small force of Prussians that are holding the route onto Brussels as well as preventing access to the Brussels – Liege road. You must push on and brush aside these defenders. Time is of the essence.
Your scouts have informed you that the Prussians consist of approximately 2 brigades of Infantry, some artillery and a small brigade of Cavalry. There are other Allied and Prussian units in the area but you are confident that it is unlikely that they will give support.
The Prussian detachment has already deployed and is barring your advance.
You have one brigade of 3 regts of Light Cavalry already in position as well as one brigade of Infantry (including one light infantry battalion). These units do not have artillery. They are deployed as you wish anywhere within 8 inches of your table edge.
As the attacker, you will have the first move.
On your turn two you may deploy an additional brigade of 4 Battalions of infantry + One Artillery piece OR a brigade of 3 regiments of Cavalry + One Artillery piece of your choice. They must enter the centre of the table through a 12″ window depending on orders thrown. All French units within 12″ of their own table edge (on or off the table) will benefit from a re roll in the case of a failed order. Blunders excepted! Your command level is 8 – no ‘pa de charge’ but column movement bonuses apply.
On turn three you may repeat the above, and so on until the end of the game.
It is not possible for the French Army to be Broken….French Brigades that are broken will Rally automatically at their table edge and any casualties reduce by one and any disorder removed. Routed units will be removed and will not return.
All French INFANTRY units will roll off disorder on a 5+.
Victory will be achieved if you can remove the Prussian barrier before turn 5….
I had anticipated the battle would be between myself, playing the Prussians and Pete Harris, playing as the French. I knew that the table that we would be playing on was 8’x 4′, so I was concerned that the scenario might favour the French, with their ability to advance so quickly in attack column.
However, a new dynamic was introduced when we were joined by a couple of extra players! So Andy Callan took control of the Prussians with no other briefing than the above and Jaz Storey-Smith took command of the advance guard of the French, with Pete commanding the reinforcements as they arrived.
I had thrown in a bit of mis information in the briefing, hinting that Allied units might be available – they would not be.
The Prussian deployment, the two Lancer regiments are to the far left of the artillery, out of camera shot.
Having seen the Prussian deployment, the French then deployed their units. The first surprise was that the French commander decided that the main threat was to the advancing flank and so deployed the entire advance column of 4 battalions of infantry and three regiments of cavalry to the far left flank facing just two regiments of Prussian Lancers.
Initial French deployment – the coffee mat was not there to inhibit the move to the flank!
Turn one saw a very cautious advance by the French…It was at this point that Napoleon (well me) sent orders reminding the French that the object of the battle was to clear the Prussians from the table by turn 5. This had the effect of galvanising the Prussians into action and their Lancers charged the French Light cavalry.
Prussian lancers charge home!
The Lancers charge was devastating! The first unit of French cavalry lost the combat and failed their morale check routing from the table. One of the supporting units also routed and the final unit was shaken by the sweeping advance that followed. So turn one and the French infantry were isolated on the flank, the French Cavalry had run away and the Prussian lancers were confidently holding the flank!
There’s Jaeger in those woods!
Turn Two and the French brought on the next brigade which advanced in the centre toward the woods. The French Brigade on the Flank, continued with it’s slow advance but perhaps stunned by the loss of their Cavalry made little progress, being pushed into square by those pesky Prussian Lancers. The Prussians, in reply simply blocked the pass engaging in combat with the leading French unit.
Prussians hold the road to Brussels!
Turn three saw the French bring on a brigade of Cavalry to try and put pressure on the Prussian right Flank. However, despite orders to the contrary, the cavalry appeared to be in no great hurry… In the centre, the deadlock at the road junction continued with the Prussians holding firm and the French throwing more units into trying to dislodge the small unit of Jaegers in cover and force the road through the trees. On the left, the French continued with a rather ineffective advance whilst the Prussian Lancers smugly looked on! The Prussians were happy to hold, whilst in the French camp there was growing disquiet at the lack of progress.
Here come the cavalry.
Turn Four and at last the French, in some desperation brought on the next brigade and force marched past the woods to threaten the Prussian Landwehr. The cavalry had moved out to the flank, pushing the Prussian infantry there into square but deadlock remained at the woods! Still the French on the left were unable to move!
The French Column pushes forwards
The Prussians were now feeling quite confident of winning the game, if not the battle and the French morale was somewhat shaky.
At last, the French engage the Prussian
Turn 5. At last the French columns closed with the Prussian Infantry Line in the centre and although casualties were heavy on both sides the Prussians were now under pressure. With the right flank tied up with cavalry and now facing artillery at close range, something would have to give. However, despite numerous rounds of close combat the Prussians at the road held on, stopping the advance here. As to the left flank, well the Prussian Lancers were still in the ascendancy whilst the French infantry here were unable to progress.
The French march to Ligny!
It was a tactical victory for the Prussians! The French would march on but somewhat delayed by a stout Prussian defence.
POST BATTLE ANALYSIS
My concern was that with the quick movement rates in Black Powder, the game would have been over by turn three. However, a combination of some timid decision making by the French Commanders combined with some unlucky orders rolls meant the it was only turn in turn five that the French really managed to push though and engage the Prussian infantry.
With hind sight, the French were overly concerned with the brigade of Prussian lancers on the left (Although to be fair – they did soundly beat the French lights in combat) and taking the narrow road through the woods was asking for trouble. Had they bypassed them as they eventually did so, the French would have engaged the Prussian far more quickly than they actually did.
That all said, there were two other factors that made the battle more difficult for the French. The commanders natural caution to preserve their forces as with ‘normal’ battles meant that perhaps they could have taken more risks with their troops. There were plenty of reinforcements available and they couldn’t be broken as an army, whereas the Prussians would have to accumulate any casualties and could be broken.The second factor was the time limit and the umpire (me!)goading them to go faster! this added to the pressure and lead to some errors – forgetting to give units orders, forgetting to rally off casualties and even forgetting to order units to fire, all in the ‘heat’ of battle!
I think that the players enjoyed a different type of battle. The Prussian commander went home happy and I certainly had some fun. May be next time for the French!
THE COMMERCIAL BIT
Just a reminder that orders from Arcane Scenery are post free to most worldwide destinations!
If you would like a copy of Black Powder or any item from the Warlord Napoleonic range, we are offering 10% off plus free delivery worldwide for the next week until 19/10/2018. Enter black2 into the coupon code as you go through checkout – click here for Black Powder:
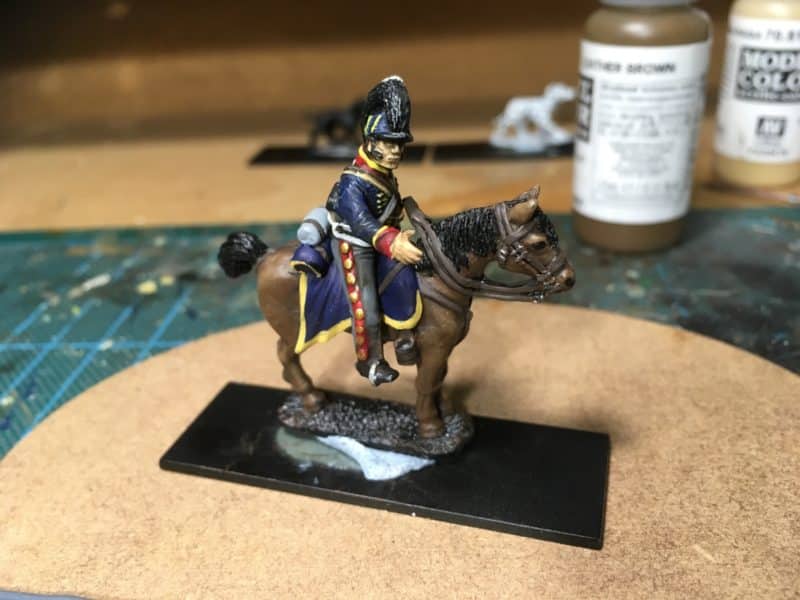
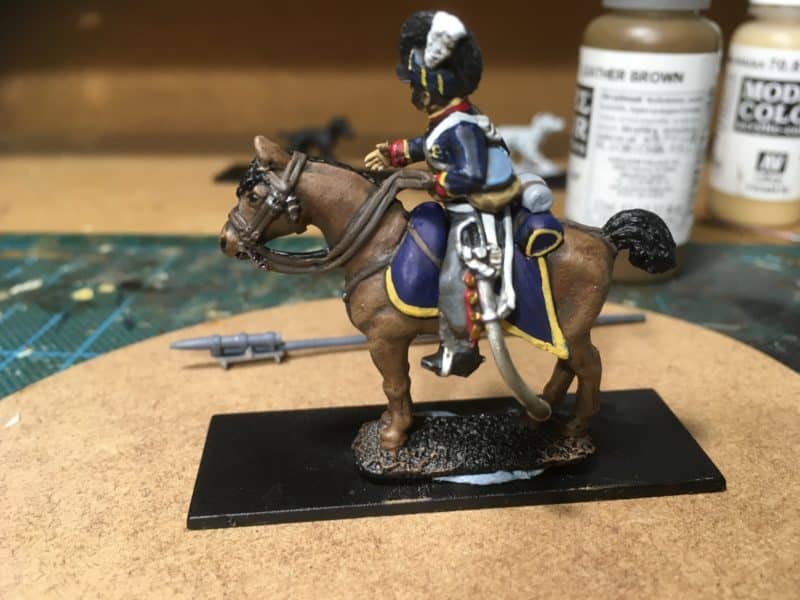
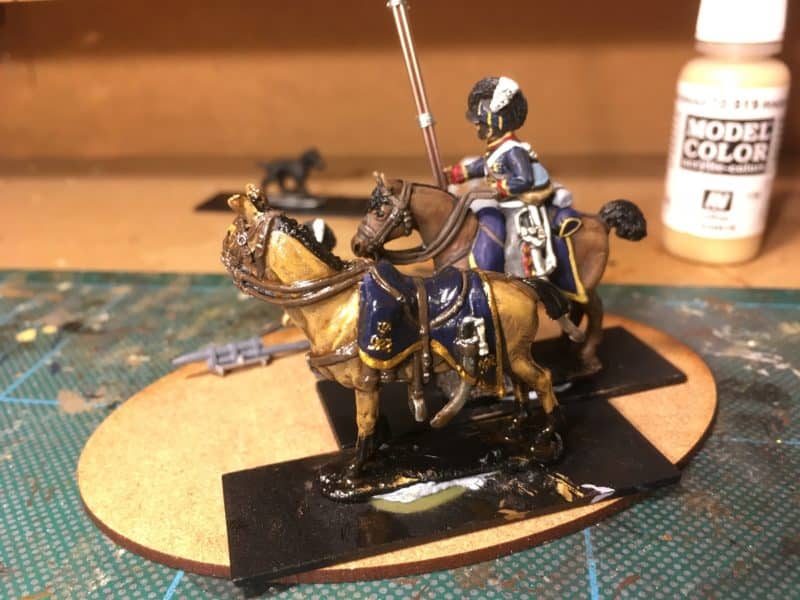
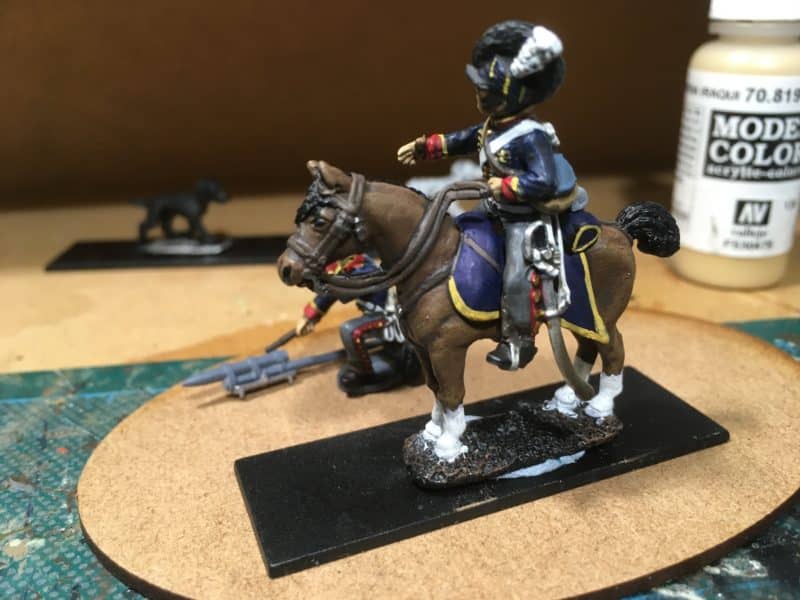
A short and mixed blog post this week. Just to record that my Royal Horse Artillery Battery is now complete and ready for action!
Royal Horse Artillery moves into position!
I have been very busy though, but the projects that I have been working on have yet to come to full fruition so I’m not in a position to write them up!
Another shot of my Royal Horse Artillery Battery
I have completed an article for the next issue of Wargames Illustrated, reviewing the new Black Powder rules but I don’t do spoilers so if you would like to read it, you will have to grab a copy of the mag – incidentally, Arcane Scenery send the Magazine out post free, worldwide, so no excuses for being able to get a copy. Mind you, I wont be offended if you decide that my article isn’t a big enough draw…
Black Powder 2ed. has arrived!
Inspired by my current reading, I have put together a small Black Powder Scenario to start to use the new rules with my gaming friends. We are due to play this through tonight and so I am not yet able to bring you the battle report. I am concerned that it is overly ‘asymmetric’ but as I am playing the Prussians, It should be OK…. Here’s the briefing for the players:
Dear General Reille,
You are commanded to lead the advance Corps into Belgium to split the Allied and Prussian Army. Having crossed the Sambre successfully and moved past Charleroi you have encountered a small force of Prussians that are holding the route onto Brussels as well as preventing access to the Brussels – Liege road. You must push on and brush aside these defenders. Time is of the essence.
Your scouts have informed you that the Prussians consist of approximately 2 brigades of Infantry, some artillery and a small brigade of Cavalry. There are other Allied and Prussian units in the area but you are confident that it is unlikely that they will give support.
The Prussian detachment has already deployed and is barring your advance.
You have one brigade of 3 regts of Light Cavalry already in position as well as one brigade of Infantry (including one light infantry battalion). These units do not have artillery. They are deployed as you wish anywhere within 8 inches of your table edge.
As the attacker, you will have the first move.
On your turn two you may deploy an additional brigade of 4 Battalions + One Artillery piece OR a brigade of 3 regiments of Cavalry + One Artillery piece of your choice. They must enter the centre of the table through a 12″ window depending on orders thrown. All French units within 12″ of their own table edge (on or off the table) will benefit from a re roll in the case of a failed order. Blunders excepted! Your command level is 8 – no ‘pa de charge’ but column movement bonuses apply.
On turn three you may repeat the above, and so on until the end of the game.
It is not possible for the French Army to be Broken….French Brigades that are broken will Rally automatically at their table edge and any casualties reduce by one. Routed units will be removed and will not return.
All French INFANTRY units will roll off disorder on a 5+.
Victory will be achieved if you can remove the Prussian barrier before turn 5….
Good Luck – the Emperor is watching….
I will report back if it works.
British Foot Artillery and …..
Back to the painting desk, I have the Foot Artillery crew on the go to complete my Artillery project. Some progress was made before a certain new game started a new itch to scratch! I am lucky enough to be close to the new games in development at Lenton in the heart of the Nottingham lead belt, and rarely comment on anything before it is released. However, The new game from Warbanner, Mortal Gods, A Test of Courage, is currently being play tested and I just happen to have an old box of War Games Factory Greeks on the Kit pile… It wouldn’t hurt to put a few test pieces together now would it?
More to follow!
THE COMMERCIAL BIT
To order your wargaming magazines, post free to most worldwide locations, Click Here:
A somewhat appropriate combination you may think, but merely coincidence that I am reading one and watching the other! I will explain more later. My Artillery Autumn is still rumbling on and to be honest, I have been suffering from painting fatigue. To be fair, painting yellow is always difficult but trying to paint yellow piping and lace has left me somewhat frustrated. I had forgotten how difficult it is and this probably explains why it has taken so long to add to my artillery collection.
Artillery Collection – still plenty to paint!
Nevertheless, I am making slow progress, with three horse artillery crews now painted and awaiting basing. Also on the go and nearing completion are the three cannon to go with them. As usual, I am block painting the figures, then painting over with Army painter quick shade, coating with matt varnish and finishing by re painting the lighter colours and metallics. Oh Joy! This means that I have actually painted most of the piping and lace in yellow twice to try to make it stand out.
Move that Howitzer!
Some of the lace work doesn’t bear close scrutiny but from a distance, the figures are looking OK. Once they are based with the cannon, I think that I will be happy with them.
Battery ready for action! – Well…. nearly!
Painting yellow is always fraught with difficulties. I have tried undercoating with white first, and Orange and sand yellow ( which is almost acceptable on it’s own) and I have tried many different manufacturers to find a yellow that covers in one coat – Vallejo is the best that I have used, albeit with some difficulties.
The cannon are also still in progress. I’ve stuck to my original method and paint scheme despite reservations as to how ‘accurate’ it may be. However, I have taken on board comments made regarding the wheel rims and despite initially painting them black, along with the other iron work, I will heavily dry brush with natural steel. I’ll also apply a light weathering of ‘mud’ to the wheels and spokes.
You will see from the pictures that I have some foot Artillery crew also waiting for their turn on the paint station. Whilst my painting mojo is being severely tested, I have decided to plough on regardless and finish all the artillery that I think that I will need for my army over the next month or so. I am being ‘helped’ by both my current reading and of all things, a drama on TV.
Vanity Fair…really?
I knew that Vanity Fair was set around the Battle of Waterloo but most TV productions have ignored the battle. So I thought that this was a program more likely to appeal to Mrs W than to me. However, to my surprise, I have very much enjoyed it. The costumes and uniforms look fantastic (as do those wearing them), the acting is excellent ( Martin Clunes steals the show for me) and the modern take on the story has worked very well as far as I am concerned – even the soundtrack is excellent. The new ITV production has very much included the battle, with some excellent action. The scene where the infantry form square to fight off the Cuirassiers was excellent. I know some have raised eyebrows at the fact that the dismounted Cuirassiers attempted to press home their attack on foot but I wondered if it did happen. Who knows? What does one do when the blood lust is up, you’ve had your horse shot from beneath you and the bastard that did it is loading his gun ready for the next shot. Running away clearly isn’t going to work….
As if this wasn’t good enough, the next battle scene showed the French Old Guard, in all their glory, marching up what they thought was a deserted hill, only for the English to stand up and pour fire into them. Well, my imagination went into overdrive and I couldn’t wait to get back to painting my army!
John Hussey Waterloo Campaign
On a more serious note, I am currently working my way through John Hussey’s first volume of the Waterloo campaign. There’s very little action in it so far – having reached page 373, we are just at the 15th June 1815 and the first encounters between the French and Prussians. BUT John Hussey has done a superb job with his forensic research and analysis of the campaign. Having read many accounts of the battles of Quatre Bras and Waterloo, so far, this book has been the best that I have read in helping me to understand how and why the battles took place.
This isn’t the place for me to do a full review but one rather simplistic impression stands out. If Wellington was trying to herd Cats to get the allies in place to fight Napoleon, Napoleon at times seemed to be herding snakes! There’s no evidence of a conspiracy in the French camp – they just don’t seem to like each other! Once again, each time I read a chapter, I am inspired to get painting again. I want my army ready to fight the French!
Black Powder 2ed. has arrived!
Finally, my copy of Black Powder 2ed. has arrived. Just in time to provide a tonic for the troops! I’d better get painting!
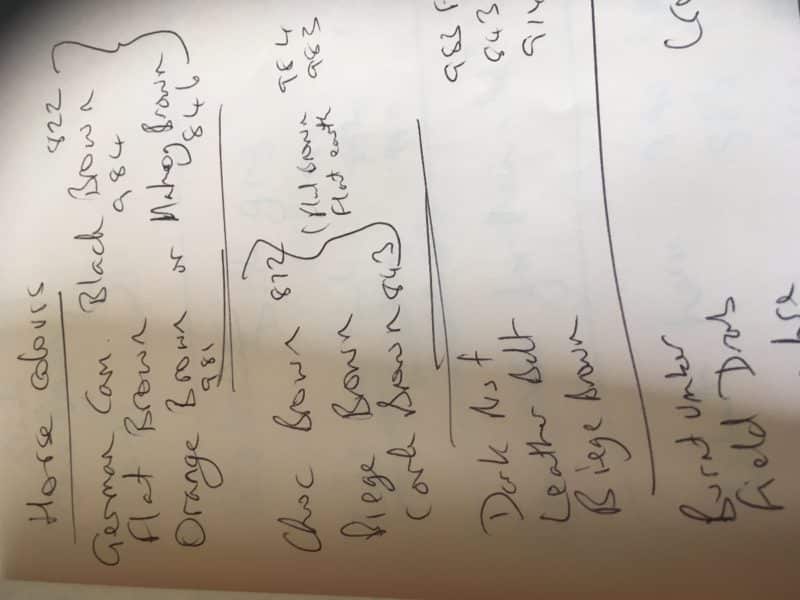
Horse Artillery colours.
Back to painting – the colours that I have used for the Royal Horse artillery are as follows:
70955 flesh; 70950 black; 70899 dark Prussian blue; 70984 flat brown; 70901 pastel blue; 70871 leather brown; 70992 neutral grey; 70947 red; 70953 yellow; 70801 brass; 70864 steel; 70997 silver. That is also pretty much the sequence in which I have painted as well.
Happy painting!
THE COMMERCIAL BIT
All of the paints used are available post free from my shop here:
Use the search function if you are just looking for a specific colour
At the time of writing, you can still pre order Black Powder second edition through my shop and get the free figure and of course it will be sent out post free on 6th October, the official launch date. Hurry up though, I am running out of the preorder stock with the figures!
One of the pleasures of the hobby, that I spend most of my time so immersed in, is the different facets that can be enjoyed with other people, family and friends. We are very lucky in this country to be surrounded by history that is very accessible and often set in the beautiful English countryside. So a casual walk with the family can still be a source of inspiration for my hobby.
A walk in the country
We were in Dorset to celebrate my Brothers 60th Birthday and after a nice meal, a few drinks and countless games of Pool on the previous night, a nice walk to blow away the cobwebs was required. Pete had discovered that Maiden Castle, the largest Iron age hill fort in the country, was just a stones throw away from where we were staying. Even better, although being looked after by English heritage, entry is free!
Rather than include the history of the castle here, I’ll add some links at the end of the blog so if you are interested, you can start your own research. In the meantime, here’s a pictorial tour of the castle from my perspective. I’ve added in pictures of some of the story boards, so you can see the official commentary.
The View as you approach the Western Entrance
As you approach the Entrance to the Castle, the scale and size becomes more apparent. In it’s time, Maiden Castle must have dominated the area as a seat of power.
How the Western Entrance might have looked
Maiden Castle – the view from the top
The views of the surrounding countryside were certainly impressive on a clear day!
Maiden Castle – story board 2
The fort started out as a Neolithic gathering place and over the course of the years, developed into the massive complex that we see today. There are stories of the Romans laying siege to the hill but it seems that there is no firm evidence to support this. I certainly would not have fancied trying to climb over the mounds and ditches whilst the locals were throwing sticks, stones and harsh words!
Maiden Castle – the complex banks and ditches protecting the summit.
Maiden Castle – Burial Grounds
Maiden Castle -The Eastern Entrance Story Board
Whether the Romans fought their way into the fort or defeated the occupying people in battle elsewhere isn’t clear. What is for sure is that the Romans did take over here in Dorchester and the hill fort became the site of one of their Temples.
Maiden Castle – Roman Temple Ruins
Maiden Castle Roman Temple
Maiden Castle – an Aerial View
An aerial view of the castle shows it’s complexity and size. As I walked around it, I couldn’t help but think of the history and events that had taken place there. I have ambitions to build a Roman Army and I have been very tempted by the Victrix range of Imperial Romans available. Like wise, the Footsore Romano – British range would make a lovely warband. I’m sure that if King Arthur did exist, he would have at least ridden by this area!
This website uses cookies to improve your experience. We'll assume you're ok with this, but you can opt-out if you wish.AcceptRead More
Privacy & Cookies Policy
Privacy Overview
This website uses cookies to improve your experience while you navigate through the website. Out of these cookies, the cookies that are categorized as necessary are stored on your browser as they are as essential for the working of basic functionalities of the website. We also use third-party cookies that help us analyze and understand how you use this website. These cookies will be stored in your browser only with your consent. You also have the option to opt-out of these cookies. But opting out of some of these cookies may have an effect on your browsing experience.
Necessary cookies are absolutely essential for the website to function properly. This category only includes cookies that ensures basic functionalities and security features of the website. These cookies do not store any personal information.