I had a most enjoyable weekend at the Bingham Napoleonic Days event, organised by the Author and Bingham resident, Peter Youds. The Saturday was spent playing in a Napoleonic demo game based around the action at Foz d’Arouce in the Peninsular War on a beautiful table, designed and built by Peter Harris. On Sunday, I attended a number of talks on Napoleonic subjects, the highlight for me, being a talk on the ‘personalities’ in the 5/60th rifles given by author Robert Griffith. In this weeks blog, I’ll give you the battle report from the Saturday, whilst it is still fresh in my mind and next week, I’ll cover the event itself.
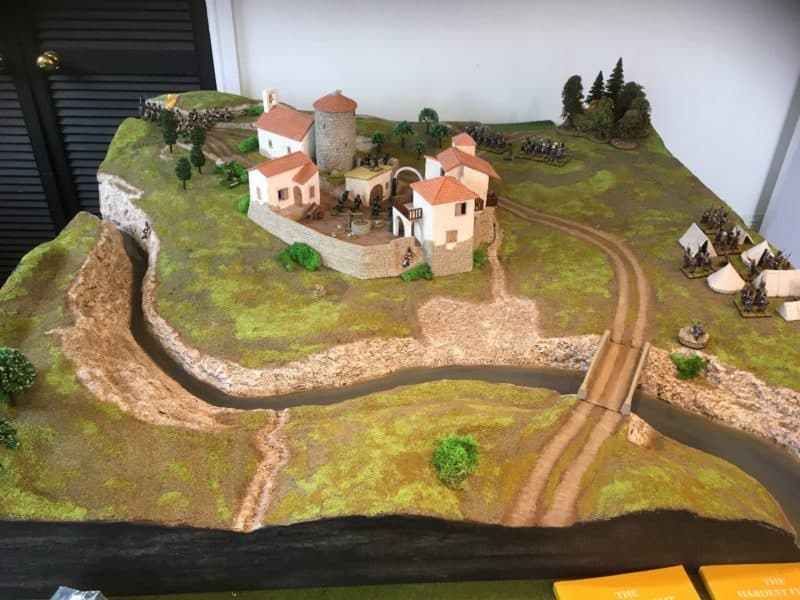
The Village of Foz d’Arouce – Table built and designed by Pete Harris
Andy Callan had come up with the scenario and the rules that we would use to pay the game. In the attachments below, you can read the actual account of the battle from Oman, the scenario for the game itself and the briefing handout for visitors. It’s worth taking the trouble to have a read – the links are PDF’s which you are free to use should you wish to – they should open in a separate tab on your computer.
I’ll also include a link to the rules at the bottom of the blog. We have been a bit easy going when it came to the actual figures used. You will see that the figures on the table don’t quite match the actual regiments present. I should also say that the battle account is very much from a British perspective (me), so if you ever get to chat to my opponent, Pete, dont be surprised if he has a slightly differing version!
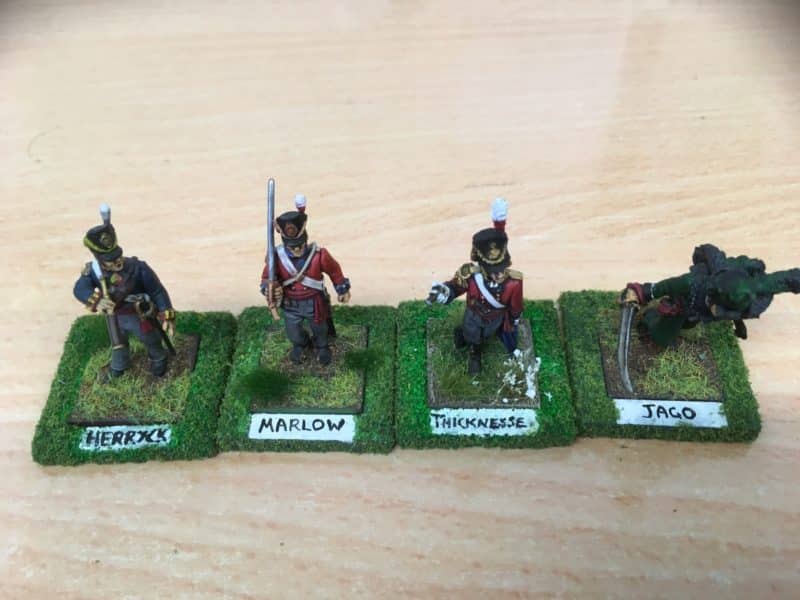
The British Officers are all Characters from ‘The Hardest Fight’ by Peter Youlds.
The British force was led by characters from Peter Youlds novel, ‘The Hardest Fight’, whilst the French Officers were all named after cheeses! The battle started with Captains Jago and Herryck a company of the 95th Rifles already in place in the village, with two companies of British infantry, led by Marlow entering the field of battle at the top of the board.
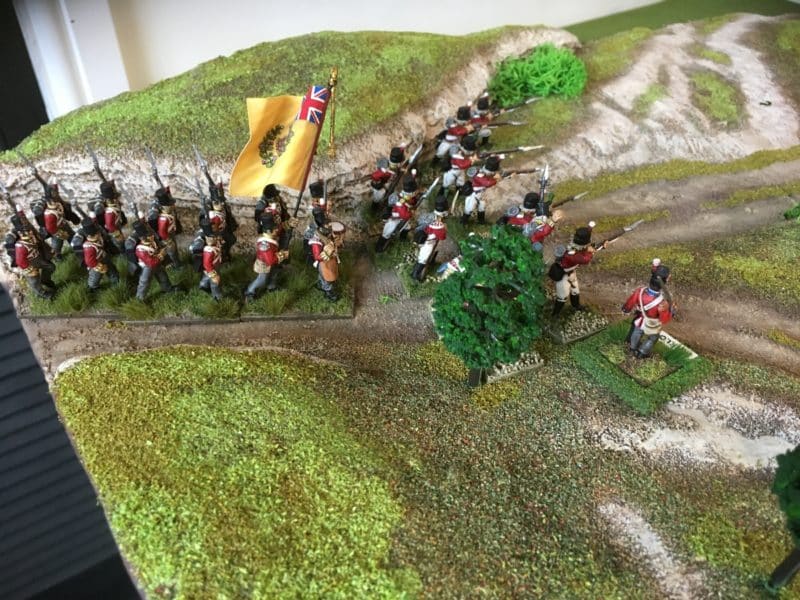
Marlow leads his troops onto the field of battle
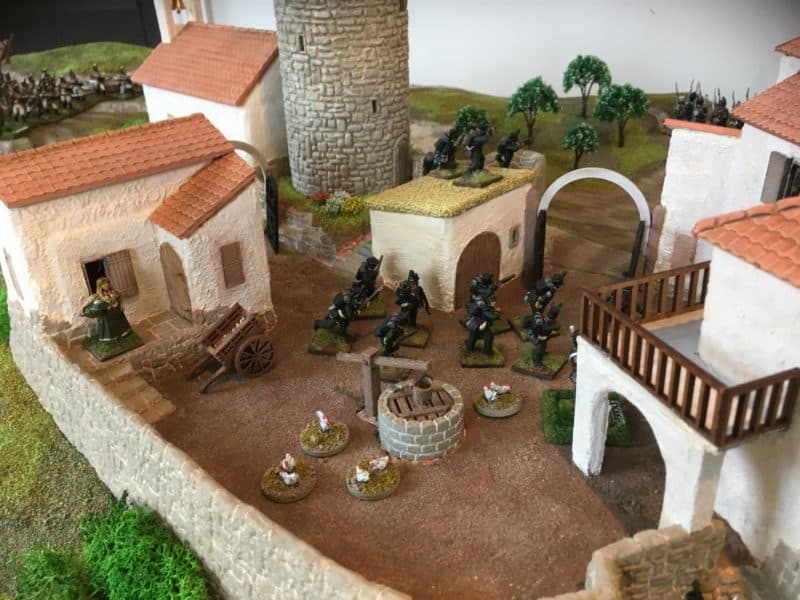
Rifles sneak into the village!
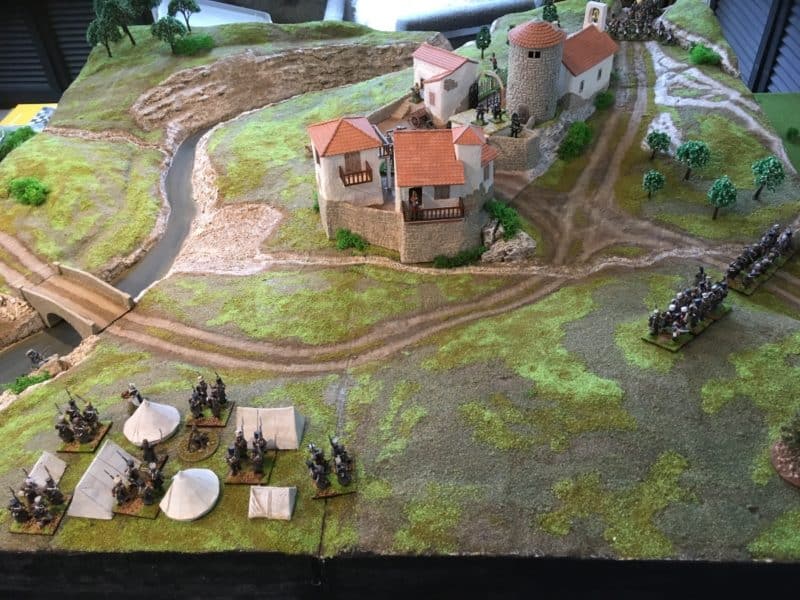
The French encampment – they are defending the wrong road!
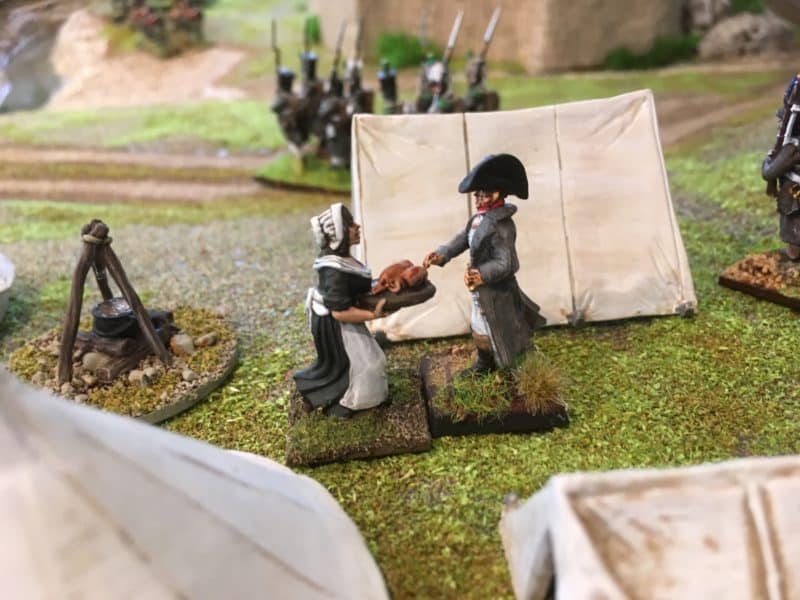
Breast or Leg Sir? – Just give me the chicken, I have a battle to fight!
The first turn saw the British suprising the French and opening fire on both the camp and the companies defending the road at entry point b. Captain Rocquefort decided to pull back from the road and defend the camp, with Captain Vachequirit abandoning his lunch to join him on the hill. In the subsequent exchanges of fire, the French were temporarily driven back, one company suffering badly and failing it’s morale. To add to the French discomfort, Lt. Thicknesse had arrived with two more companies of red coats to put more pressure on the French.
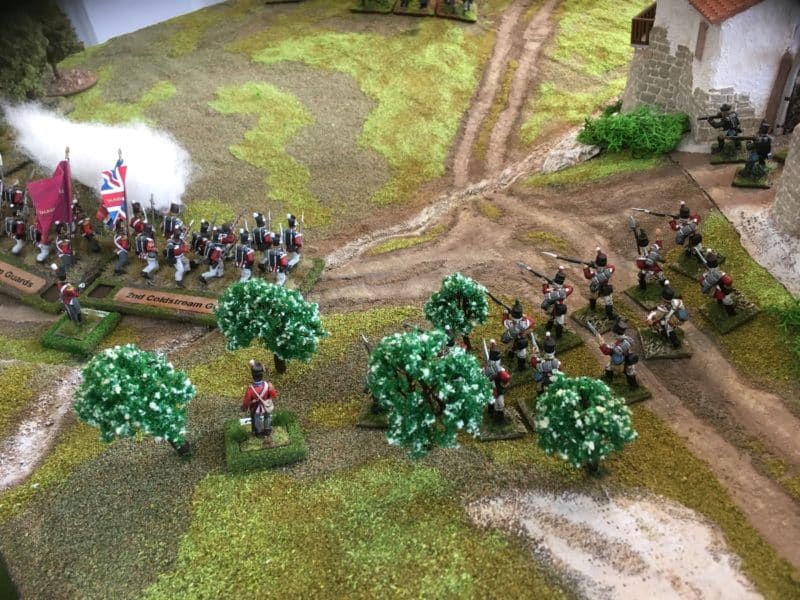
British Reinforcements push the French back up the hill
It all seemed that it was going well for the British but in their over exuberance, the commanders had lost touch with some of their units which meant that the British were unable to follow up their early success. To add to their woes, the French had received reinforcements, with Sgt Camembert leading a company of elite Voltigeurs and Lt Brie leading his squadron of Hussars. Lt Brie charged straight into the action.
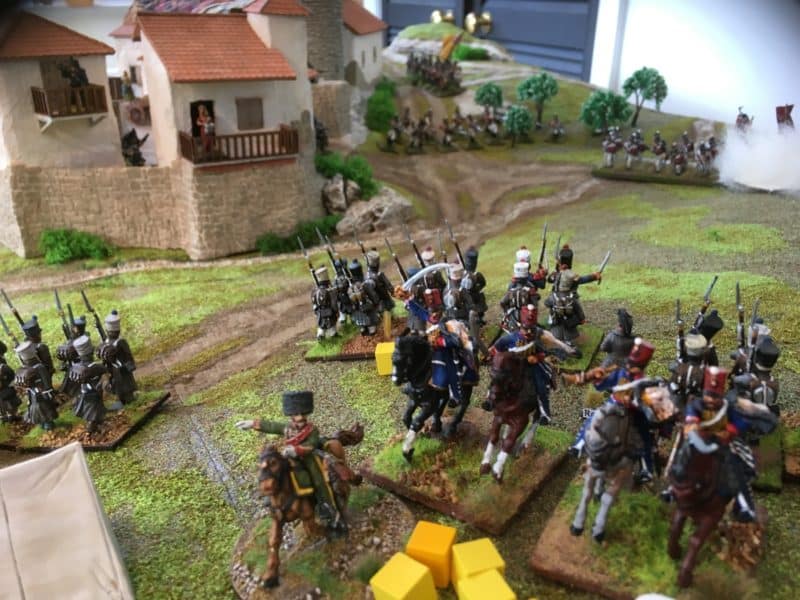
Lt. Brie withdraws having mauled the British Infantry
Lt Brie caused havoc in the British lines, severely mauling one company and pushing it back off the table, which caused further confusion in the British lines. The French Cavalry were stopped by a furious musket volley and having suffered a number of casualties, Lt Brie retired to the rear. The French had recovered from the initial shock of the British advance and were further able to halt the British advance with some excellent musketry, which left the British in disarray and in need of re organisation.
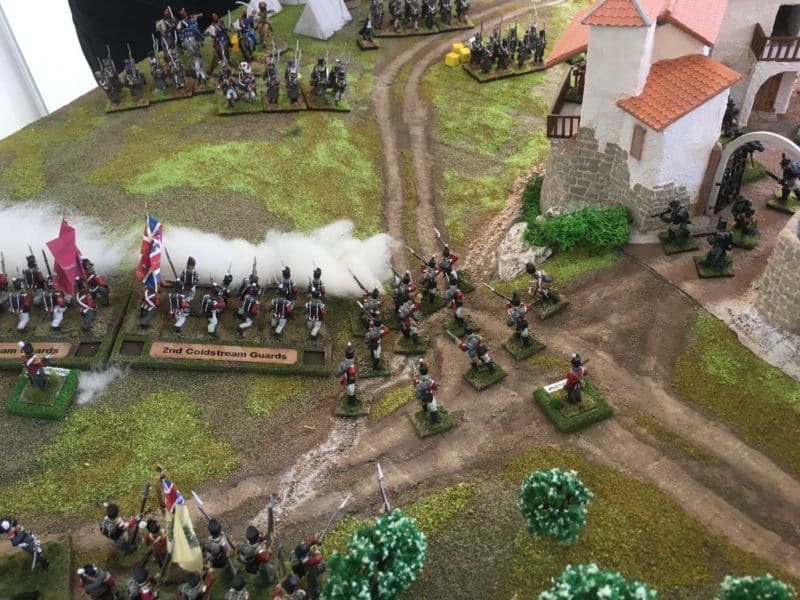
The British form up again!
For a short period, the French appeared to have the initiative, with Sgt Camembert attempting to sneak around the side of the village whilst taking on the 95th Rifles.
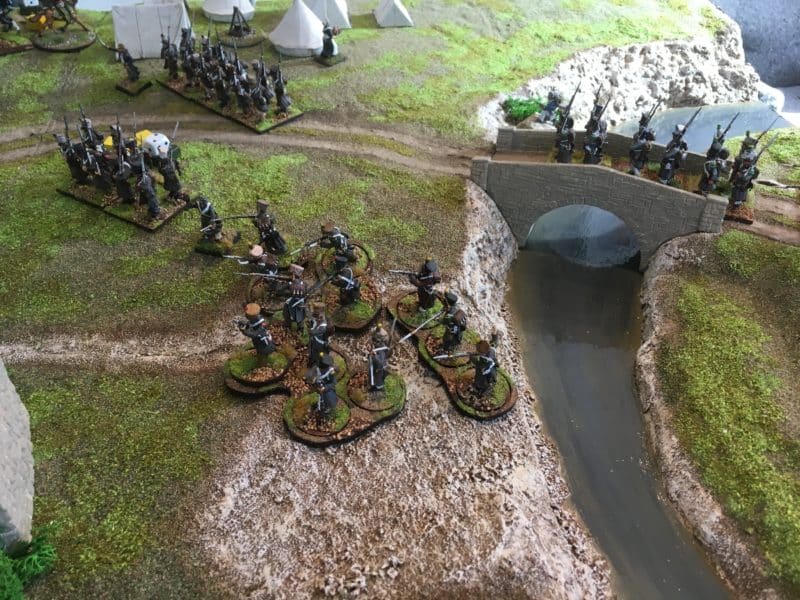
Voltigeurs skirmishing around the rear of the Village whilst more French reinforcements arrive.
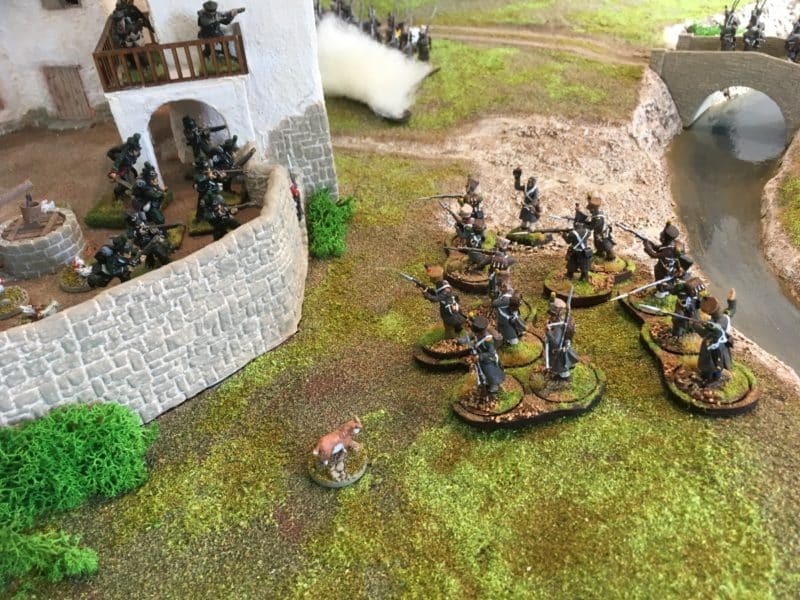
Take the Village!
The tide turned again, with more British reinforcements arriving. A battery of Horse artillery had arrived and immediately went into action against the French infantry and Cavalry. A further two companies of infantry had appeared at the top of the village. The British had by now sorted out their command, with Captain Herryck leaving the village to take control of the newly arrived infantry and advance on the French around the other side of the village. Captain Jago had also taken command of an additional light Company and brought them into the village to secure it from the French.
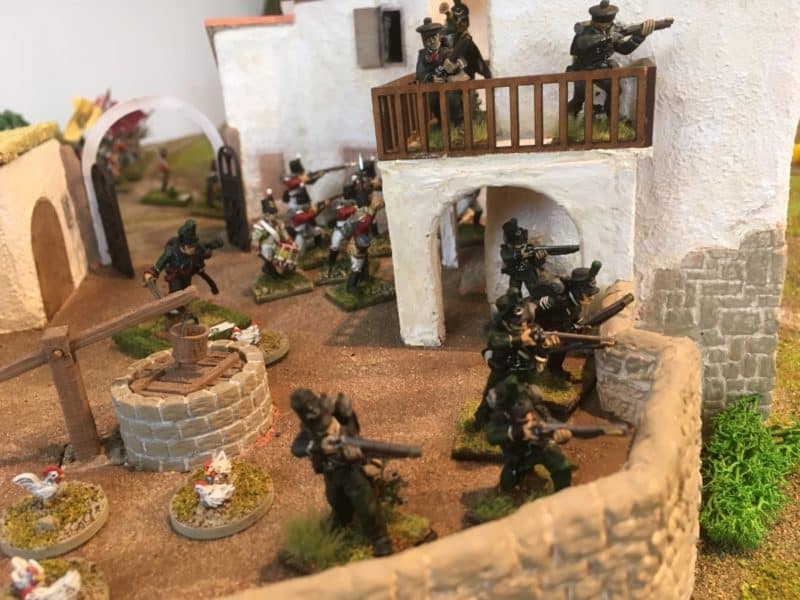
Light Infantry secure the village.
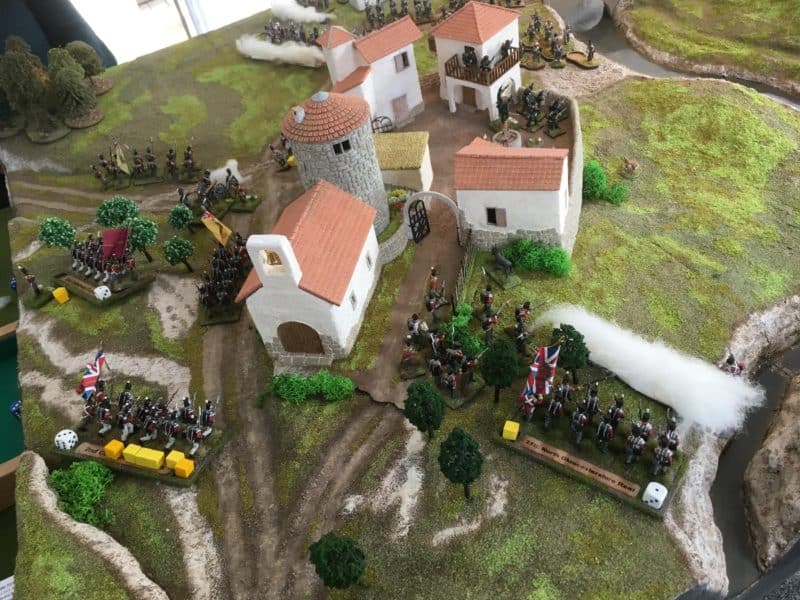
British superiority is re-established!
A desperate attempt by the French Voltigeurs to storm the village was easily repulsed and the British were now able to go onto the offensive again. Just to add the the French Commanders woes, a company of Cacadores appeared on the bluff to his rear and started harassing the now retreating French columns.
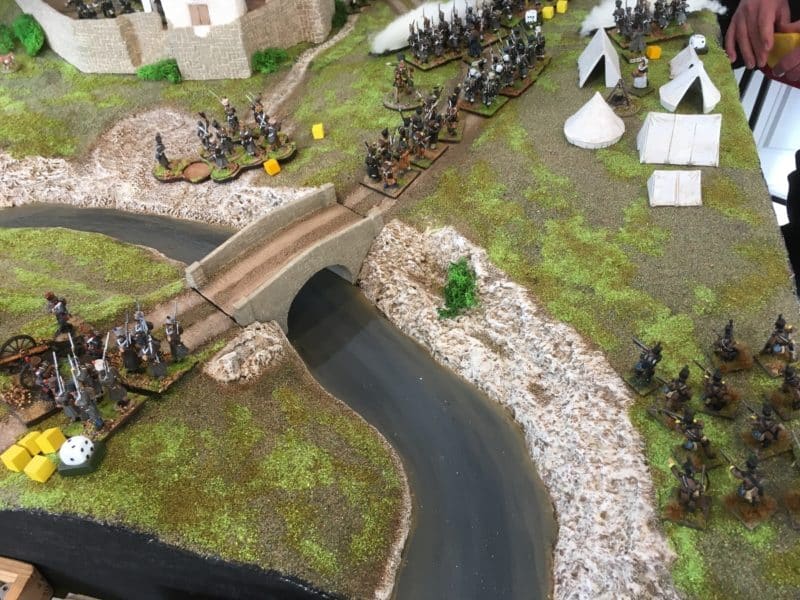
Cacadores! Where did they come from!
The French were now facing superior fire power and having been worn down by the British attack, realised that retreat was their only option. With the bridge choked, one retreating unit was forced into the river at the ford and suffered further losses to the treacherous current. Some order was restored on the far bank and the French prepared to blow the bridge.
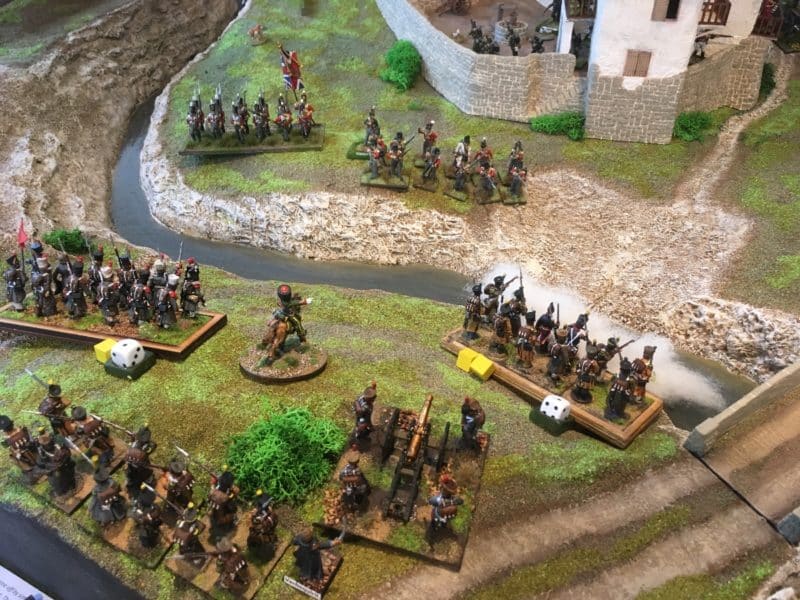
French in new defensive position
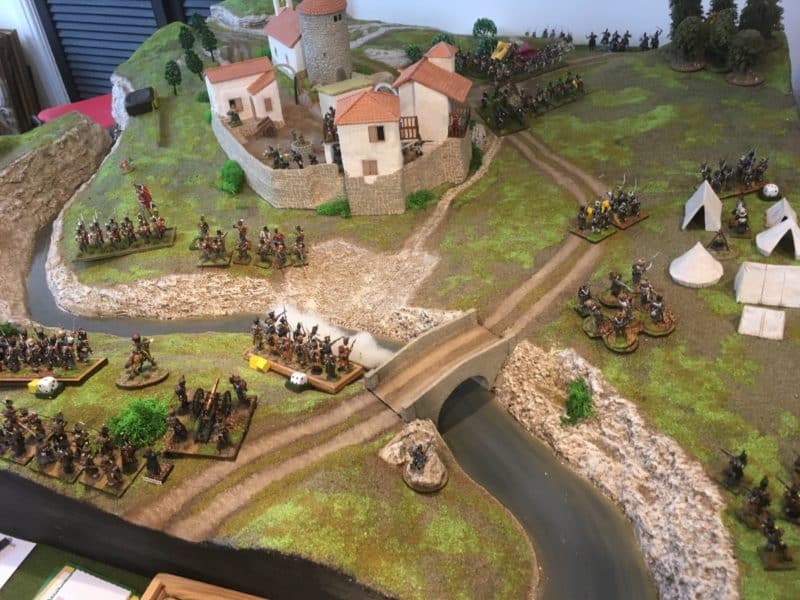
The British hold the field!
The umpire decided that the French would need to roll to see if the explosives had been placed correctly and on which side of the bridge the charge had been set. A 1,2 or 3 would mean that the charge was on the British side; 4,5 or 6 it would be on the French side. Pete, the French commander, managed to roll a 2. The race was now on! Could Capt. Herryck reach the bridge and diffuse the explosives before the bridge was blown?
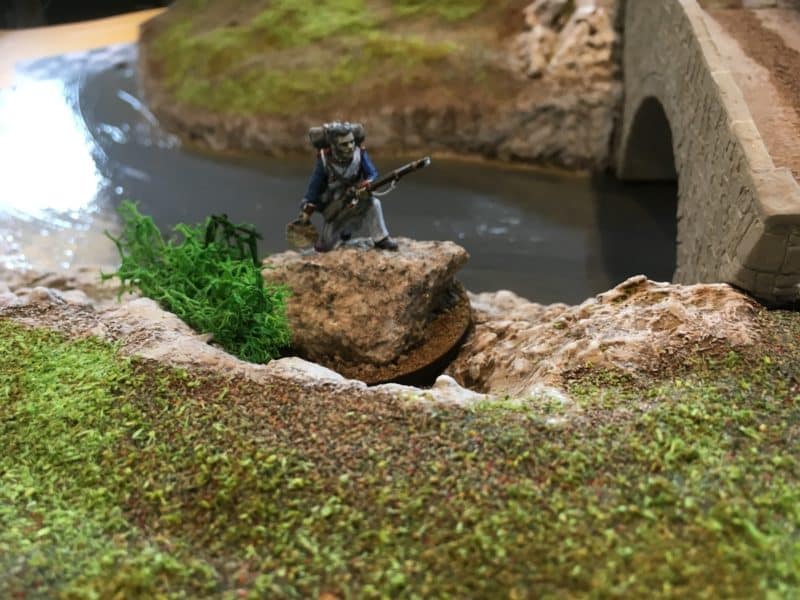
A solitary French trooper was sent to light the fuse!
The fuse was lit, anything but a 1 on a D6 and the bridge would blow before Herryck could get there. Pete rolled the dice…a 1! The charge had failed to blow, the British were delighted! But wait! The French had a re roll card to play. The umpire obliged and we held our breath as the dice was rolled again…a 1! The British once again celebrated in a most unsportsman like way… Herryck rushed to the bridge to difuse the charge, a 2,3,4,5,6 would make him the hero of the day. A 1 would mean that the charge was booby trapped and the whole thing would blow after all. I rolled a 1! As I looked at the dice in disbelief, willing the spots to change, the French commander was badly concealing his glee. Bloody wargaming!
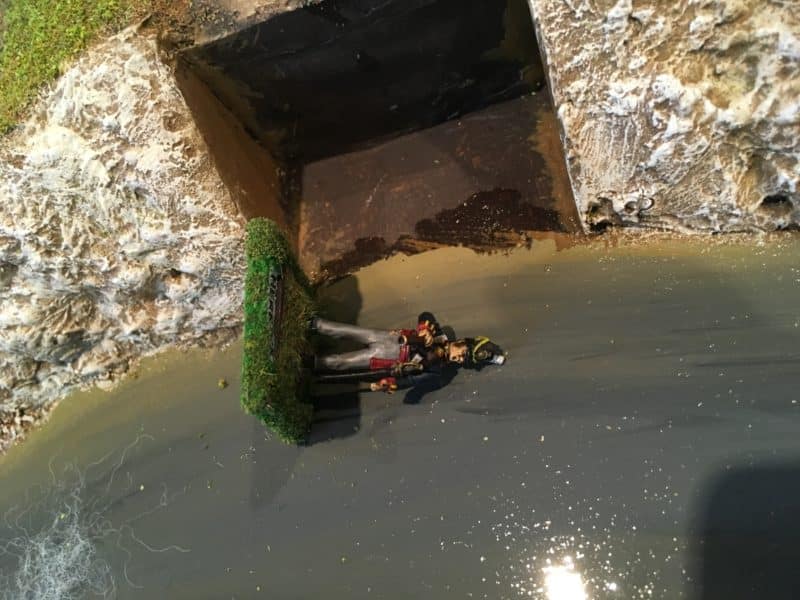
Oh No! He’s killed Herryck!
I would now have to tell Peter Youds that I had killed off his main character. Oh well, these things happen, time for a pint, I think.
THE COMMERCIAL BIT
As I hope that you can see we had great fun with our game. The rules are a mash up of the original Sharp Practice rules and Muskets and Tommahawks with some extra ideas from Andy, hence Sharp Tomahawks. The sub title of ‘Rules for old wargamers with short attention spans’ is a clue as to why we like them. We have used them before and they are available here as a brief PDF. The new Sharpe practice rules would have worked just as well and if you are not familiar with them, I recommend them as one of the best set of skirmish rules around.
We sell many of the figures, scenery, rules and accessories used in the game – if you would like to visit our shop and see the huge range that we have, click the link below. At the time of writing we send orders post free!
Happy Modelling!
