Our journey through the American Civil War battles continued this week with a refight of the First Battle of Bull run. Just to put the game in context, Andy Callan had recently acquired a superb collection of ACW figures that he has added to, and as well, built a very nice selection of scenery and buildings. His plan is to refight the major battles of the American Civil War over the next year or so, more or less in the sequence of the war itself.
We are using Black Powder Rules, modified with the Glory Hallelujah! supplement, as well as some house rules that enable each battle to reflect some of the challenges that the Commanders faced on the day. For this battle, the First Bull Run, Andy was to be the umpire. Pete would play the Union side, commanded by Brigadier General Irvin Macdonald, I would command The Confederate forces under Brigadier General P.G.T. Beauregard. Whilst the individual units in our game weren’t strictly accurate, the main Brigades involved were represented, as was the general disposition of the battlefield. This was after all an evening club game not a full blown demo game!
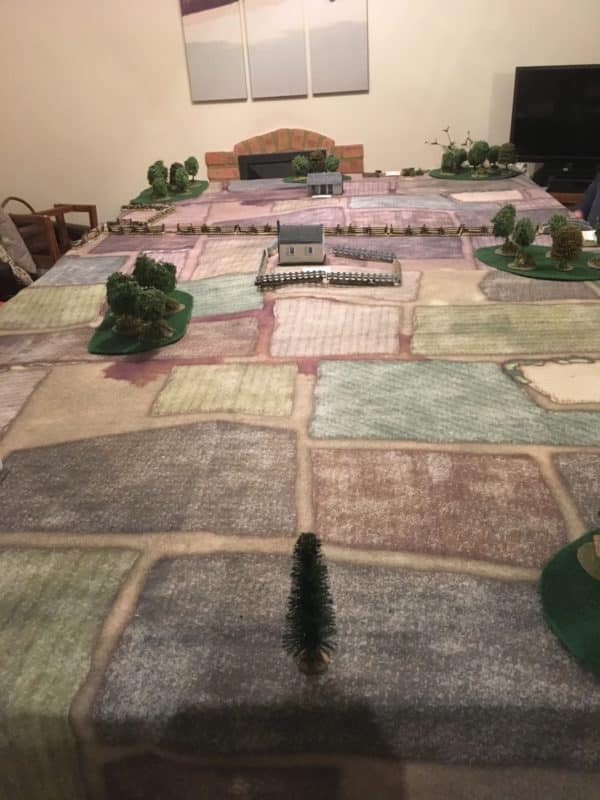
The Table set up
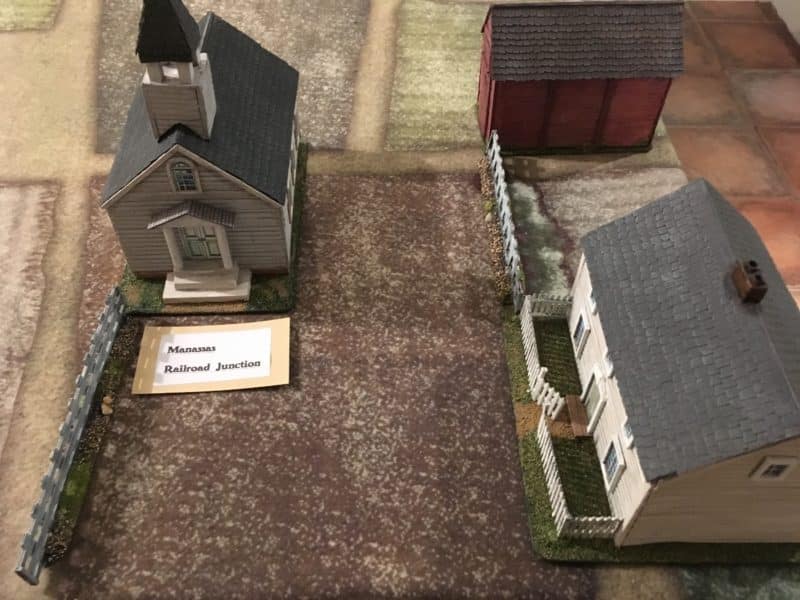
Manassas Junction – all the main features of the battlefield were identified.
Neither Pete nor I were aware of the details of the battle but we were supplied with a basic briefing for our troops. Neither player knew exactly what the other had in terms of troops and guns available, that would only become clear as the battle progressed. Having won the initial dice off, the Confederates were allowed to deploy two infantry brigades and a cavalry brigade onto the table. I knew that a third Confederate Brigade would be arriving via the rail road junction , just not when it would appear. With this in mind I deployed Jacksons 2nd Brigade in line to defend the railway junction ( resisting the temptation from the umpire to detach pickets to guard the bridge crossing). They would be supported by Jeb Stuarts Cavalry Brigade in the centre, with Bonhams 1st brigade assigned the left of the battlefield.
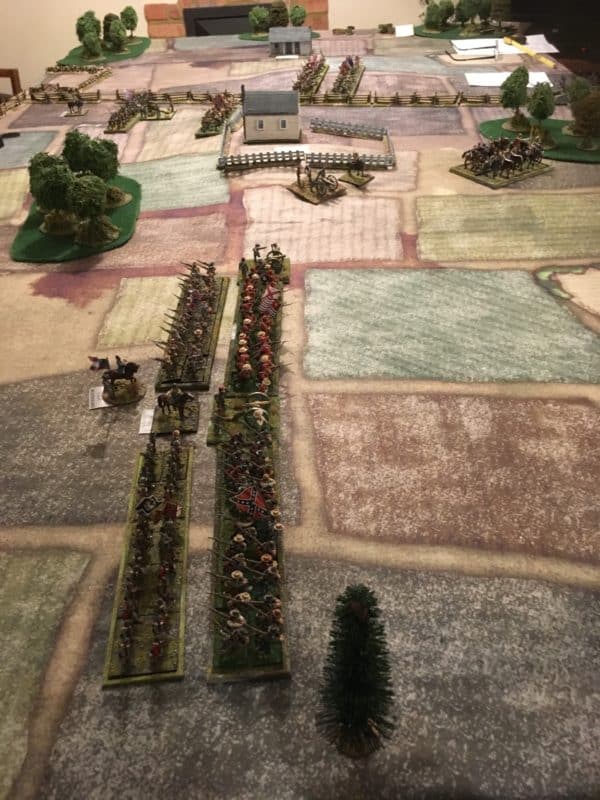
Confederate Deployment
The Union forces then attempted to deploy onto the battlefield using the three entry points over the bridges. As they had lost the dice off, they were considered to be ‘under fire’ and so a command point was deducted for the initial turn. This made the deployment a slower process for the Union forces and combined with some poor command rolls from Pete, only the leading Regiments from two of the brigades managed to deploy onto the battlefield.
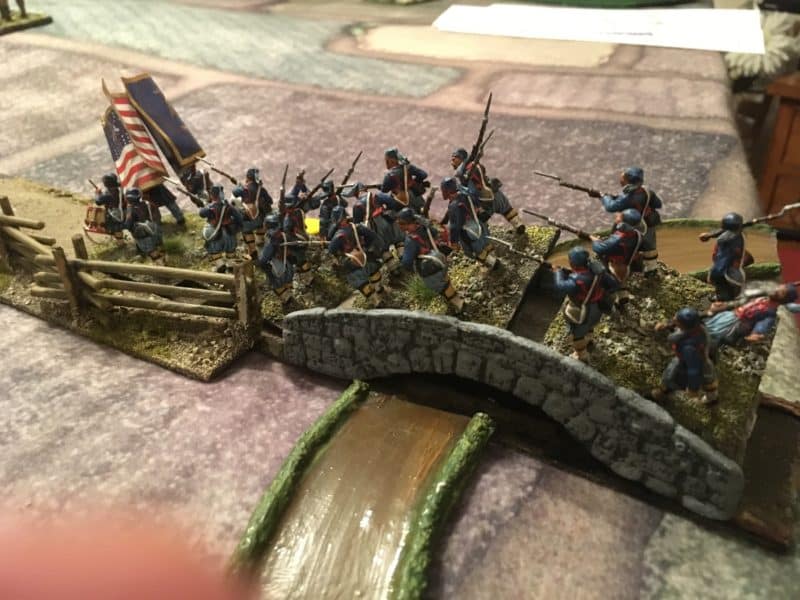
Union Deploy – the bridge slows the advance.
Pete’s unfortunate dice rolling was to be a major factor as the battle progressed. Not only were the Union forces finding it difficult to deploy in strength but the dice results meant that they suffered heavily when under fire. To make matters worse, their own shooting was in the main, ineffective. This was perhaps best illustrated as the Second Union Brigade under Hunter attempted to cross the river in front of Jacksons brigade. Artillery fire and accurate musketry took a heavy toll of the leading Union regiments, whilst true to form, Jackson stood firm!
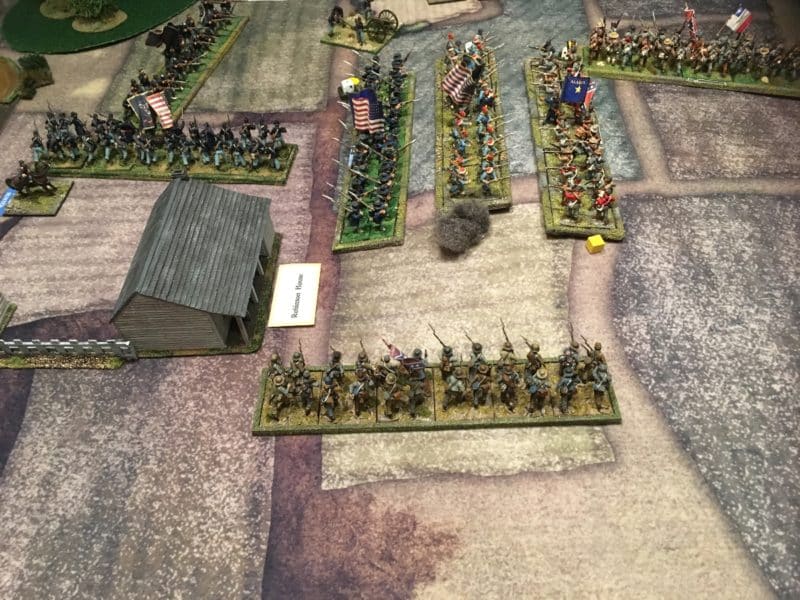
Bonhams Brigade under pressure!
If the battle was going well for Jackson, on the left, at Robinson House, Bonham found himself out numbered, out flanked and in some disarray. The union forces under Sherman had found a ford across the river that helped with deployment and a strong flanking force, of two brigades had appeared at the bridge at Robinson House. Jeb Stuarts Cavalry, were ordered to redeploy in support of Bonham to shore up the flank until more reinforcements could arrive.
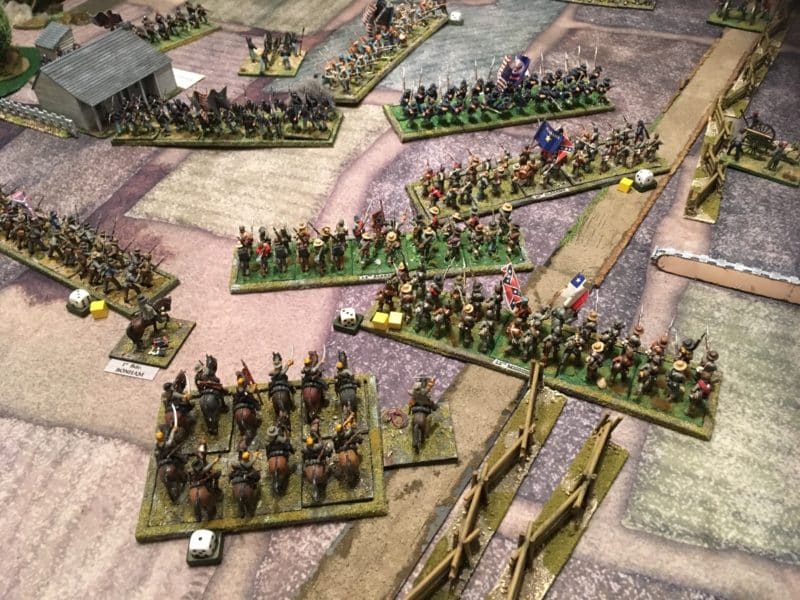
The fighting is intense around the Robinson house!
As Bonham was pushed back, the third Confederate Brigade, under the command of the somewhat mis-named Colonel Early had arrived at the Railway junction and rushed to the left to rescue Bonham. Jackson had pinned and all but defeated two Union Brigades, In a desperate move to break the Confederate left the remaining Union regiments in front of Jackson attempted to move to the Left Flank to support the Union force there.
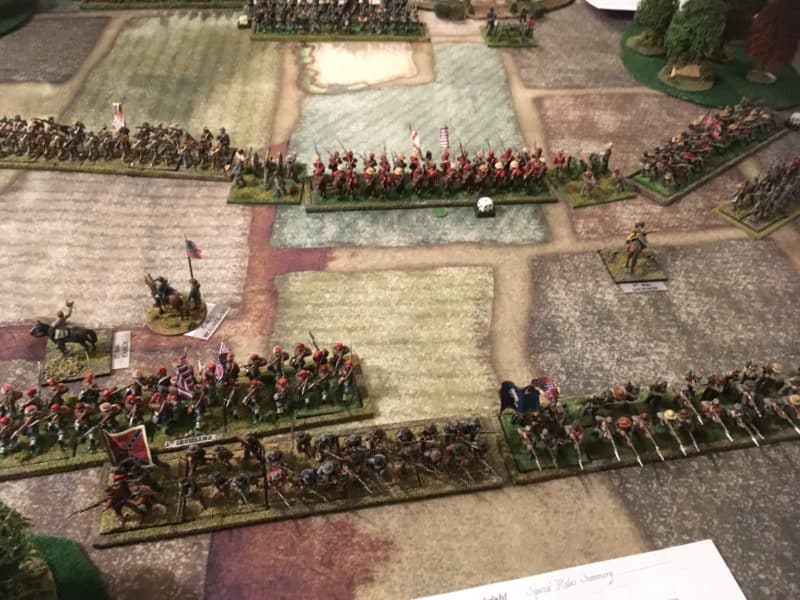
Colonel Early marches to support Bonham!
Although Bonhams Brigade had now broken under the Union pressure, they had inflicted a heavy toll on the Union forces. Jeb Stuart had led two successful cavalry attacks, crashing into the flanks of exposed Union regiments during the confusion of the battle here. Colonel Early had managed to get his brigade in position around Henry House, joining with Jackson to beat off the final Union push. With more brigades broken than effective, the Union were forced to concede the battle.
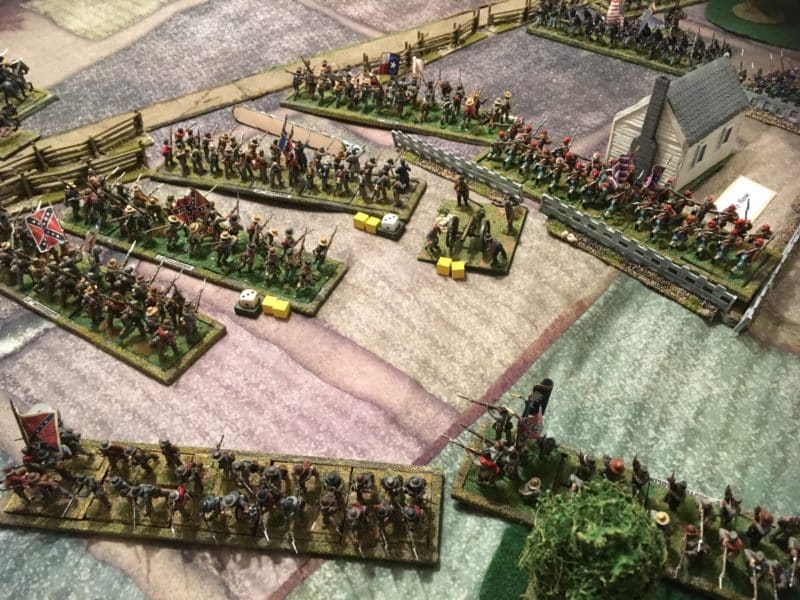
Colonel Early moves to defend Henry House and covers Bonhams withdrawal.
So the Confederates whooped with joy as the Union fell back from the battlefield. There is no doubt that the Confederates had benefitted from some very fortunate dice rolls whilst the Union were hampered by the opposite. The result of the battle was of course very similar to what happened in history and despite not knowing the details of the battle, it was strange how somehow key moments were reflected in our game.
Andy had done a tremendous job organising the evening and providing us with great entertainment. It is worth pointing out that much of the scenery and buildings that were used have been scratch built by Andy – I need to persuade him to do a tutorial for the blog!
THE COMMERCIAL BIT
If you fancy a go at the ACW, there’s no doubt that a great place to start your army will be the impressive Perry’s plastic range. You can see them here:
The Warlord Games Glory Hallelujah! Supplement is available here:
Of course, we have a massive range of wargaming, modelling and painting accessories in our web store, all post free worldwide at the time of writing!
