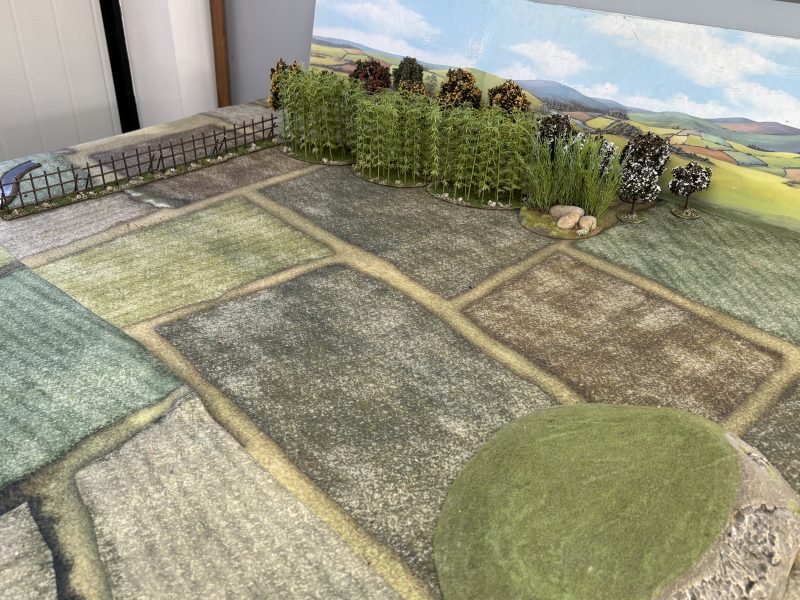
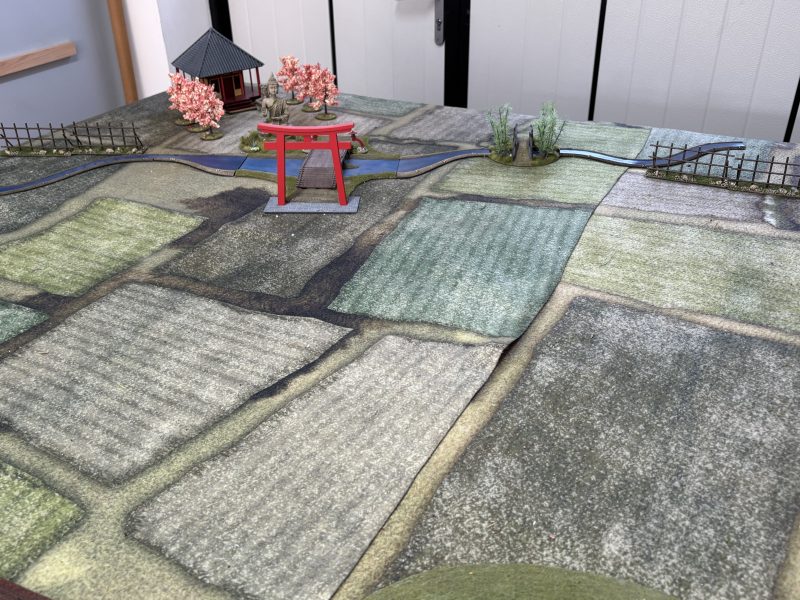
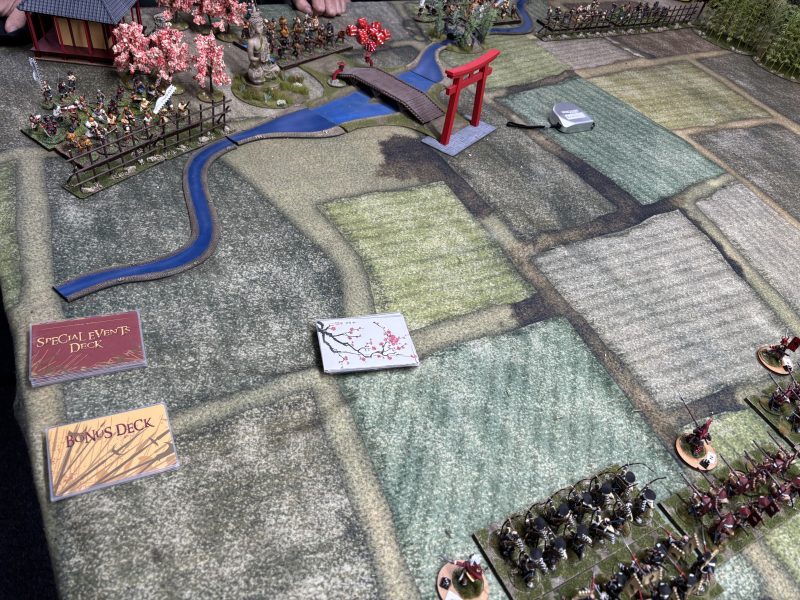
I have been promising to publish a battle report featuring the scenery that I have made for my Samurai collection. I did actually publish such a report, but on Facebook rather than on my blog. I thought that it might be useful to put a slightly expanded battle report into my blog featuring the details of the scenario and forces involved. So this is a slightly more ‘wordy’ blog than usual as I will publish the scenario over view as well as the two briefing documents for the players. I hope that you find these useful.
Temple Dogs
Scenario notes for both players
Both attackers and defenders may cross the large bridge without penalty or disorder if they can clear the bridge in one turn (2 actions). They may charge on the second move if permitted to do so ( Samurai and Sohei).
Neither side can cross the wide areas of the river.
Only skirmishers can use the small footbridge.
Units may cross the narrow lengths of the stream but will become disarrayed as per our usual games.
Artillery may fire over the heads of units that are 9 inches away from the gun and 9 inches away from the target without penalty provided that the gun is on a hill.
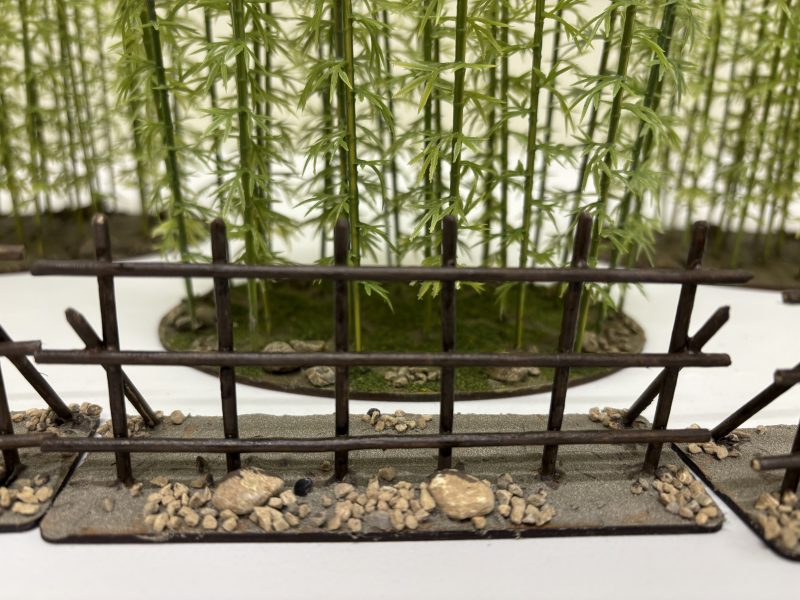
If artillery roll 2 or more sixes in a turn, it will destroy a section of the bamboo barricade as well as inflicting the normal casualties on the sheltering unit.
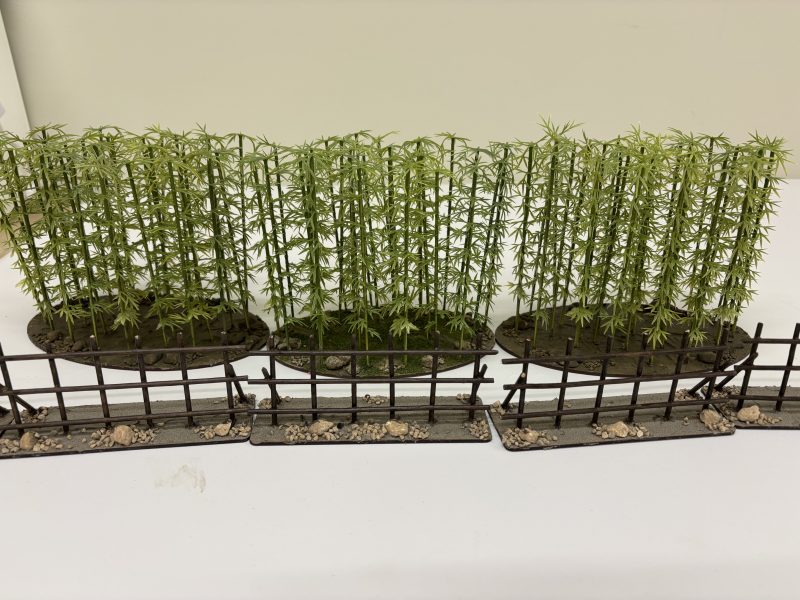
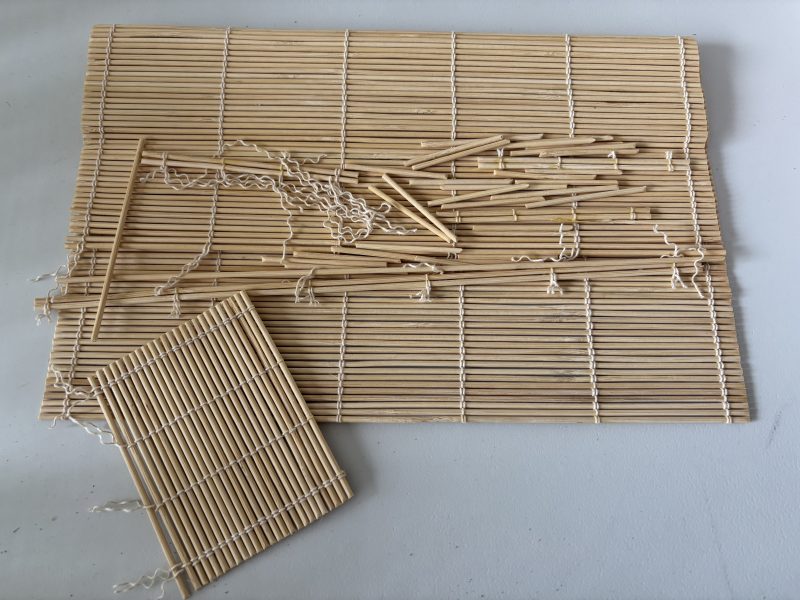
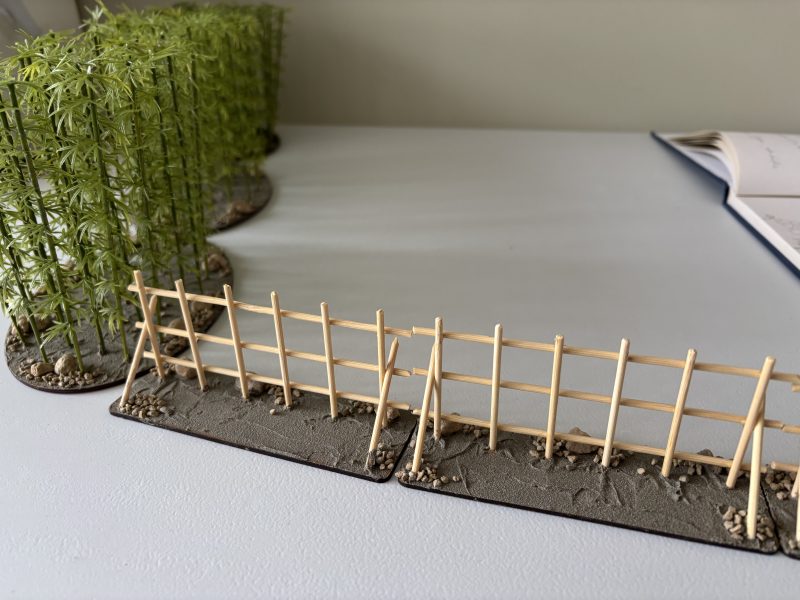
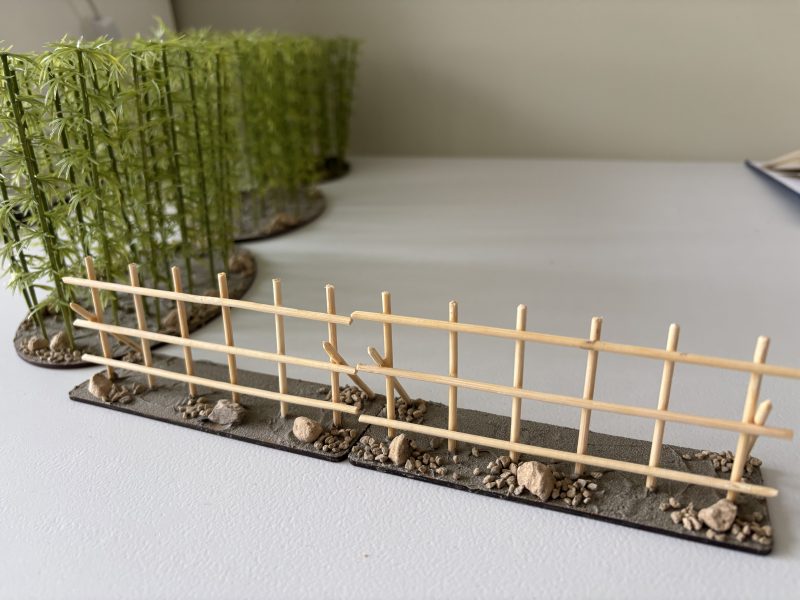
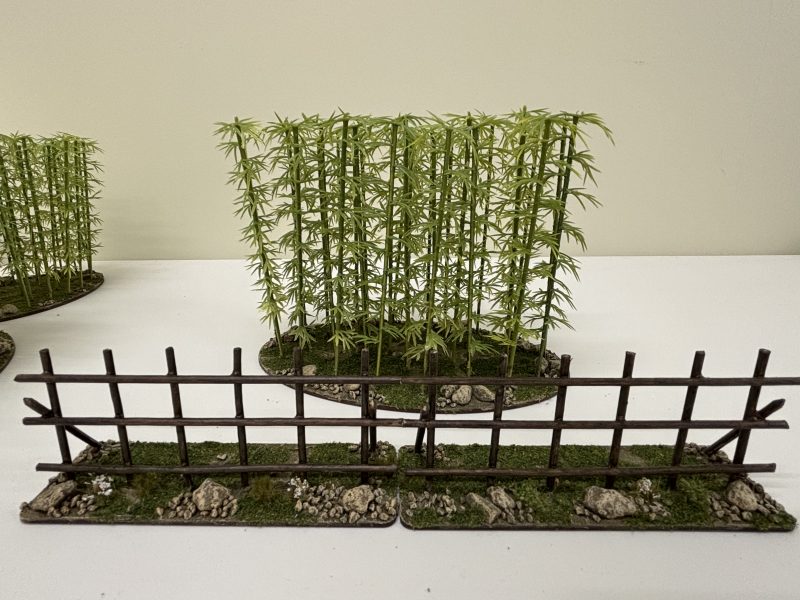
The Bamboo barricades confer a+1 save for any troops sheltering behind them ( except for artillery!). All charge bonuses are lost when attacking units immediately behind this barrier. In melee, both sides hit on a 5+ from the start. There is no additional armour save in melee. It’s harder to hit someone behind a fence but if you do it is assumed to be just as effective! You can’t cross a fixed bamboo fence but will have to fight through it. Or go around it!
A an attacking unit that moves up to a barricade may attempt to hack their way through it. It will take one full turn to do so and during this turn the unit may not take any other action. They will benefit from cover from the barricade if shot at but if engaged in melee before the end of the turn, they will fail to breach the barricade and instead fight the melee as detailed above.
You may not spot or shoot at a target that is inside the bamboo thickets unless they have moved to the edge and shot at one of the attacking units outside of the thicket.
The range for shooting and spotting inside the thicket is 4 inches. All units benefit from a +1 cover save.
The Samurai have no interest in taking Ikko-Ikki heads as trophies and the Ikko-Ikki player may refuse all single combat with leaders without penalty. So it is unlikely that additional morale tokens to be won in this way. The Ikko- Ikki player could attempt to initiate single combat if they choose to.
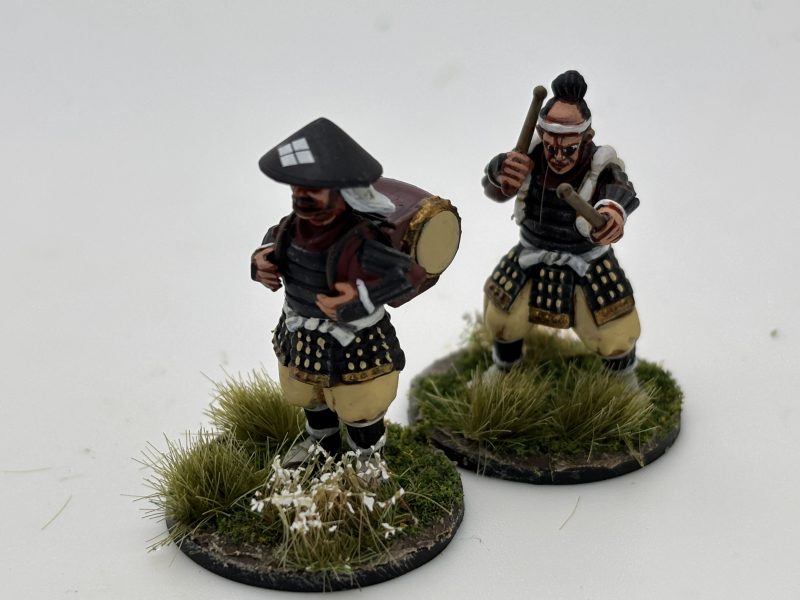
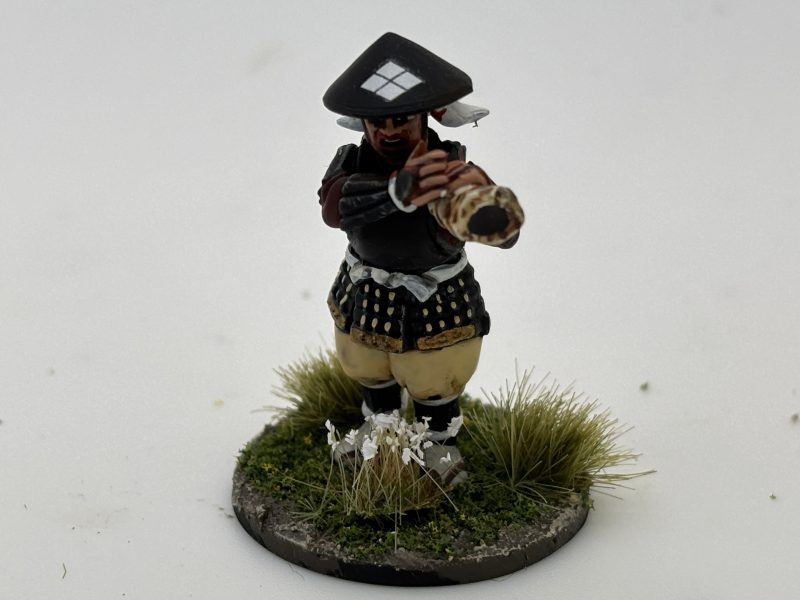
Ikko- Ikki Player
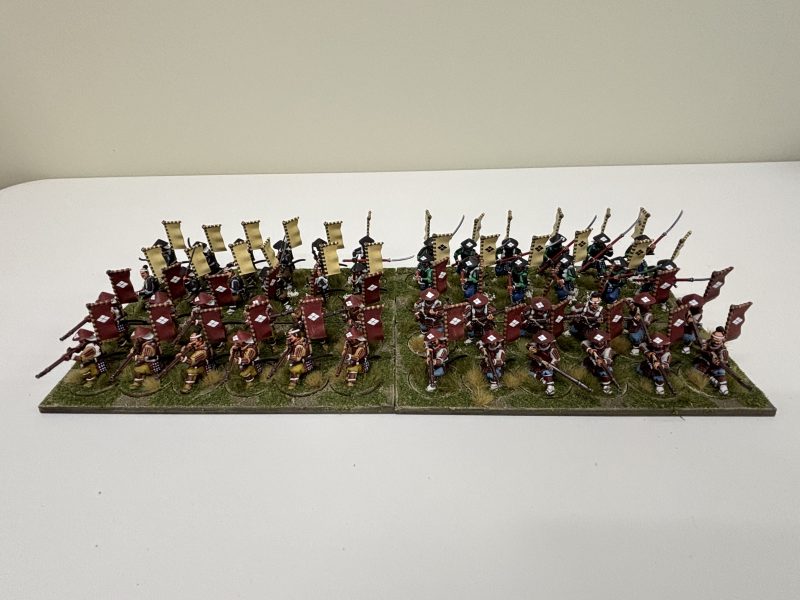
Troops
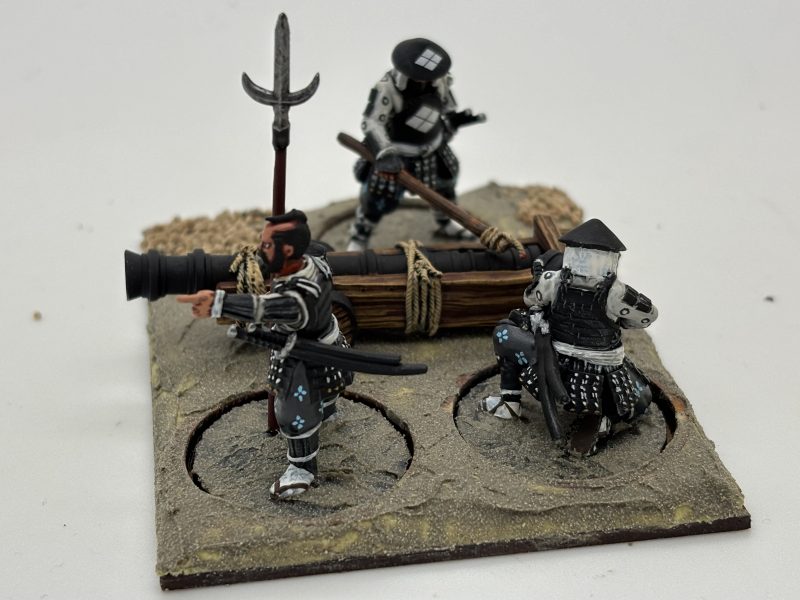
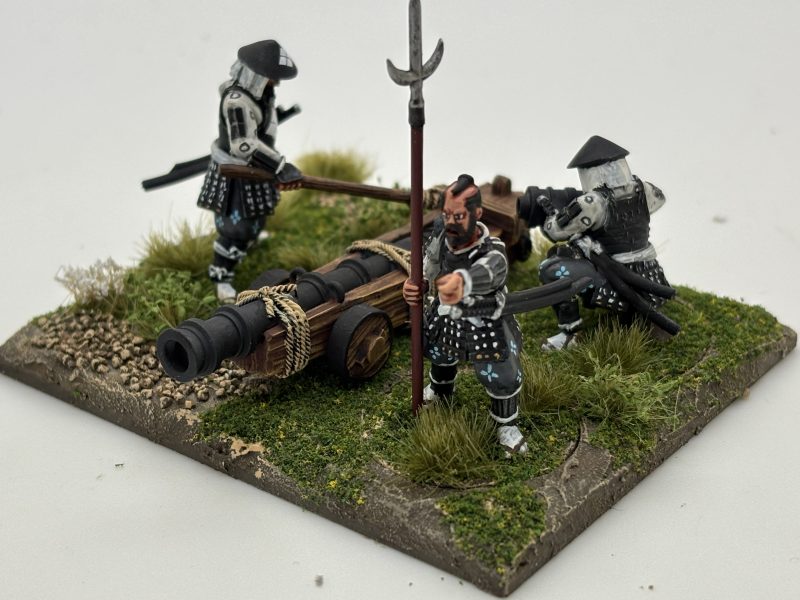
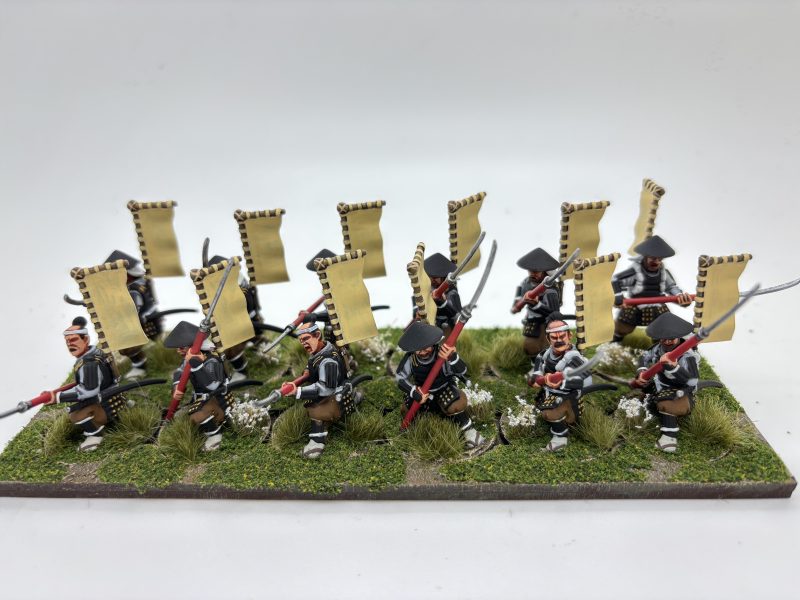
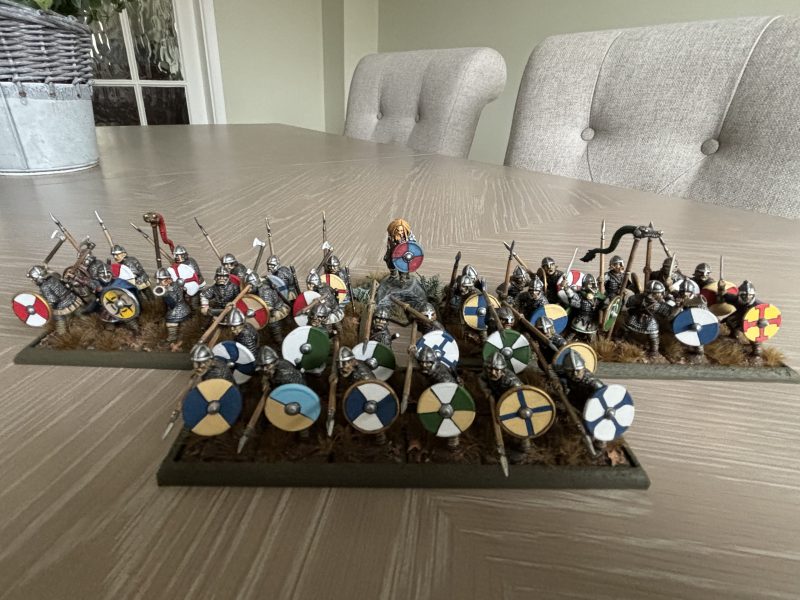
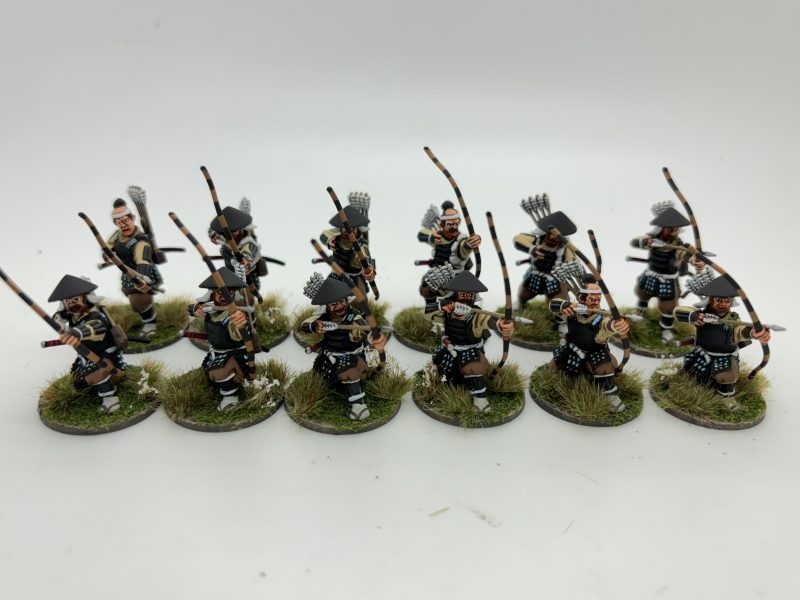
1 unit of Sohei Monks (armoured) 24 points
4 units of armoured Ikko-ikki 48 points
6 units of Unarmoured Ikko-Ikki (pointed as levy) 54 points
2 units of skirmishers 12 points
Bamboo Barricades 18 points
Total 156 points
Note that you have one samurai leader for the Sohei Monks that you must roll for his leadership – he cannot be a dolt! You have five leaders for the Ikko-Ikki units. Roll for leadership as normal but note that you may refuse single combat in melee without penalty.
You may deploy and arm your Ikko-Ikki units as you choose, either as blocks, lines or single units. Normal command distances apply.
You have NO Daimyo card.
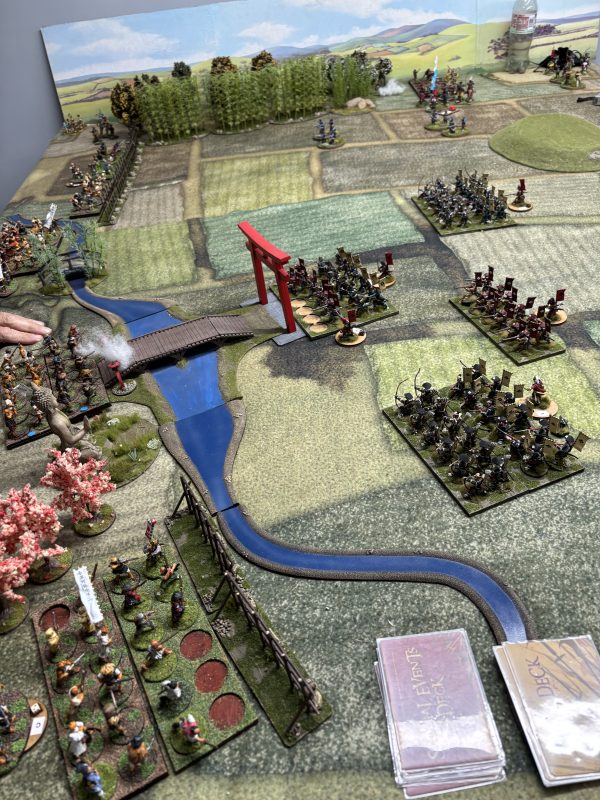
You may deploy any unit up to halfway across the table and you may deploy hidden units in the Bamboo thickets using a marker to indicate the position of the lead unit.
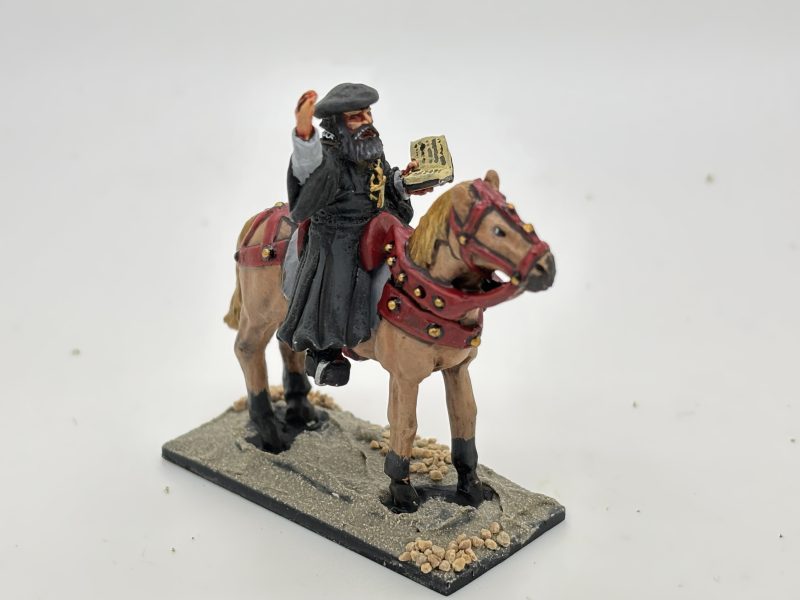
The Sohei Monks may be concealed in the temple shrine. They may not be deployed in the Bamboo and will become disarrayed if they move into it.
Your formed Ikko-Ikki units may move and attack as normal through the bamboo thickets and wood and will not be disarayed.
You must hold the Temple for at least 6 turns. If you loose the Temple, you loose the game regardless of morale tokens lost.
The challenge for the Ikko-Ikki player is of course to hold out for 6 turns. Half of their army is unarmoured levy. However, they have the advantage of being able to move freely through the wooded terrain and have protection from the barricades.
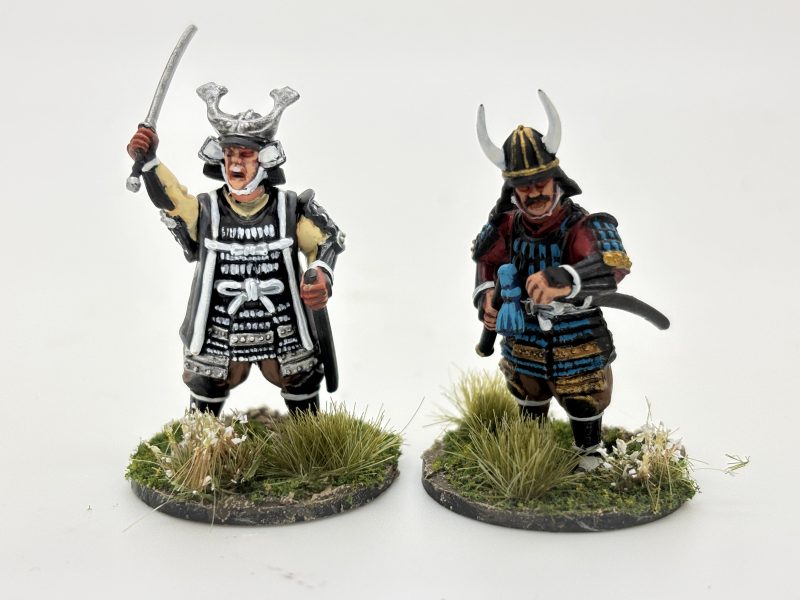
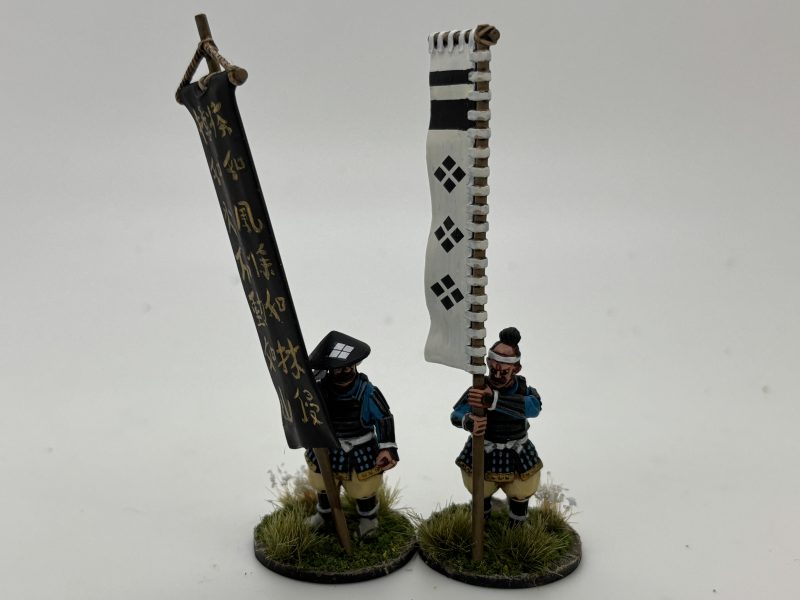
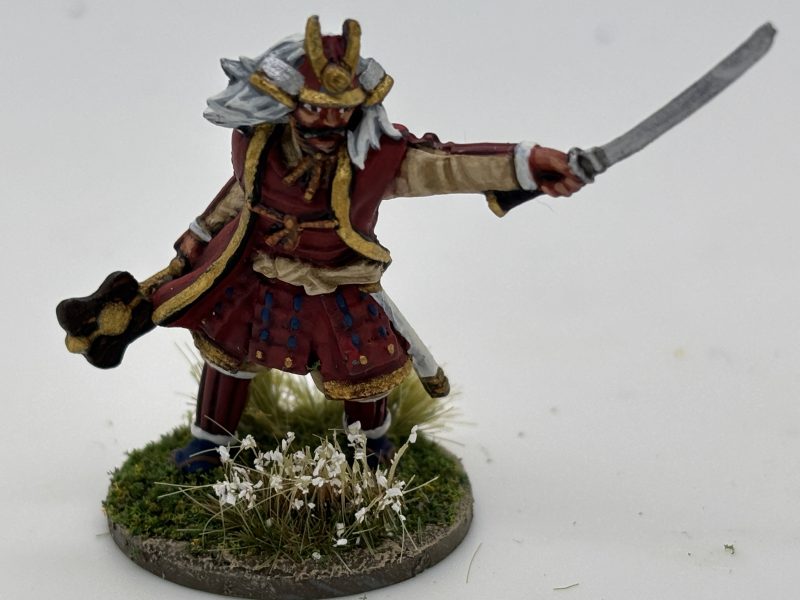
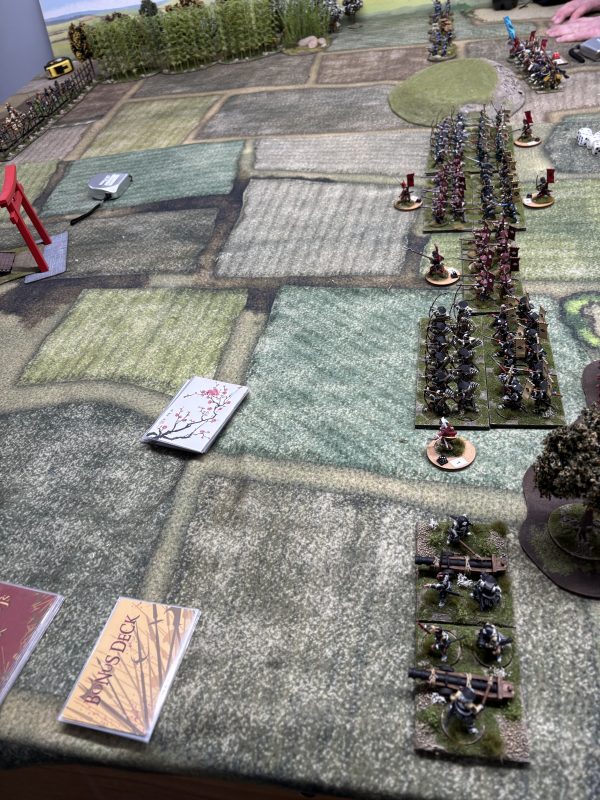
Samurai Player
Troops
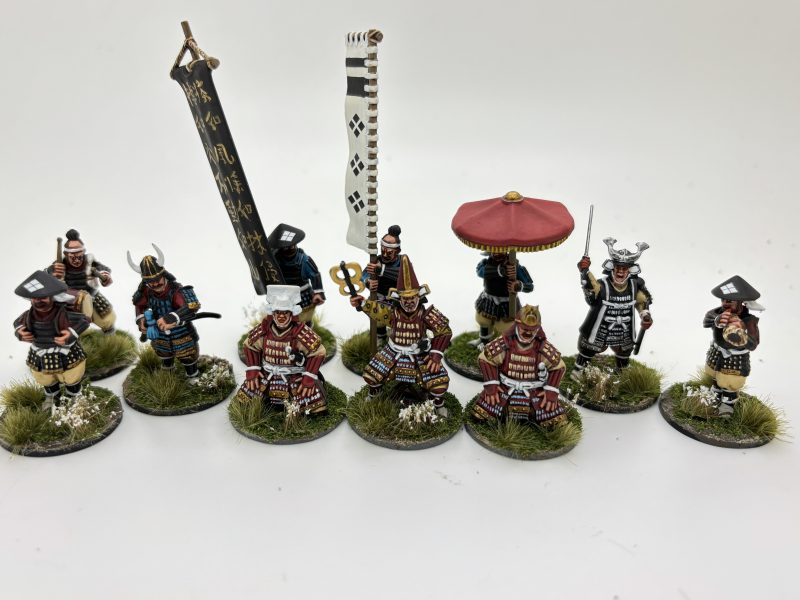
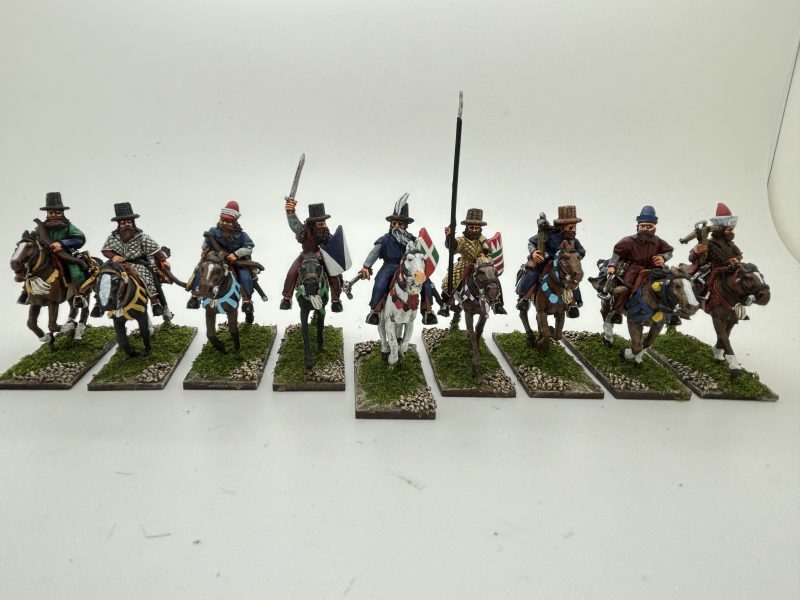
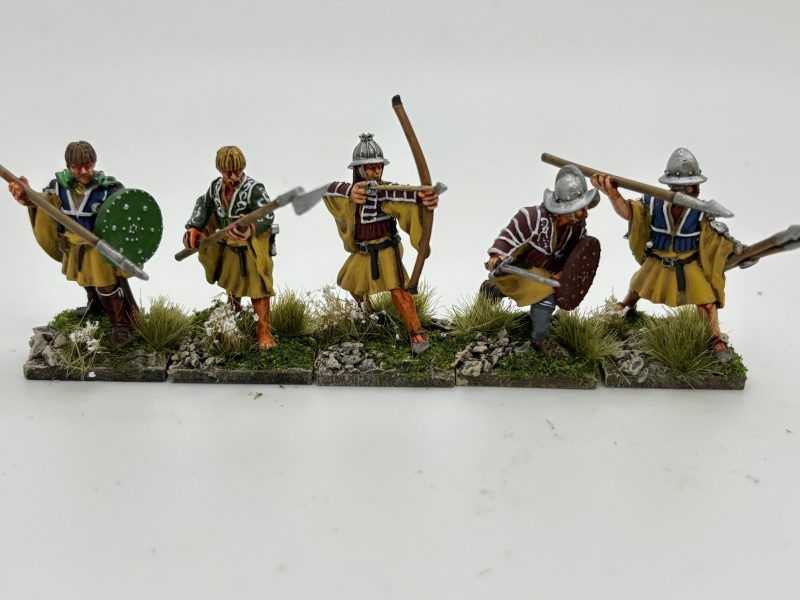
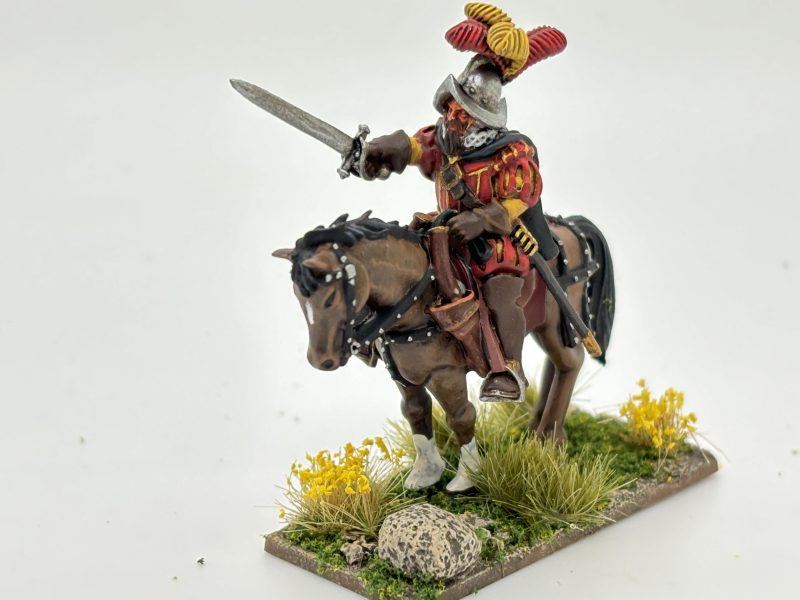
1 unit of mounted Samurai Archers 24 points
1 unit of Samurai Foot 24 points
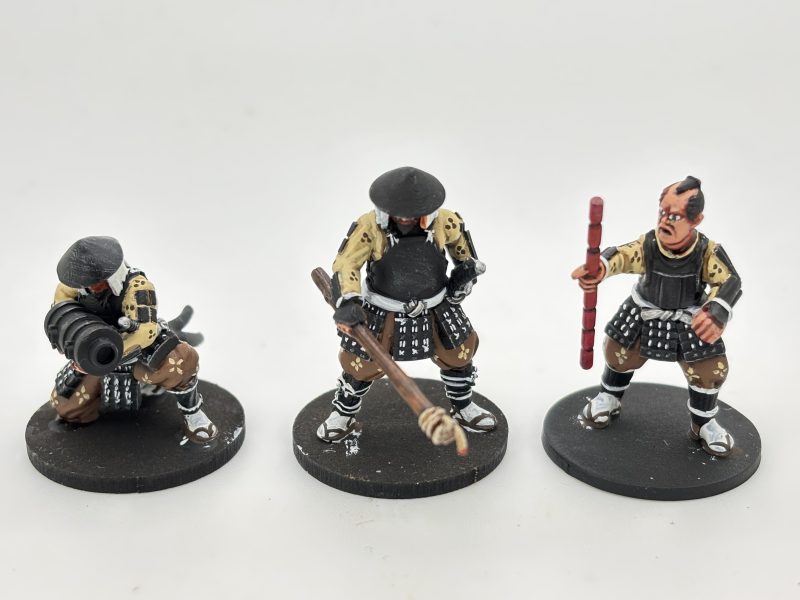
2 blocks of Ashigaru Bows & Naginatas 48 points
2 units of Ashigaru teppo 24 points
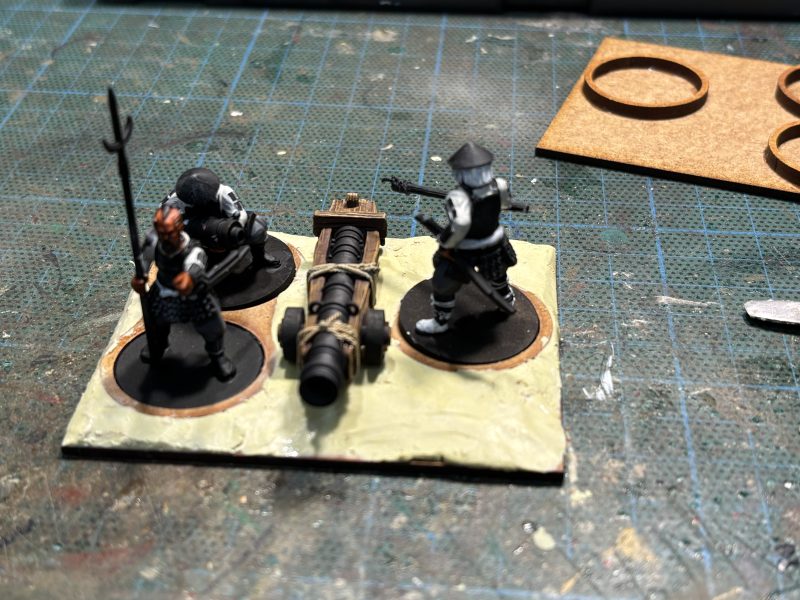
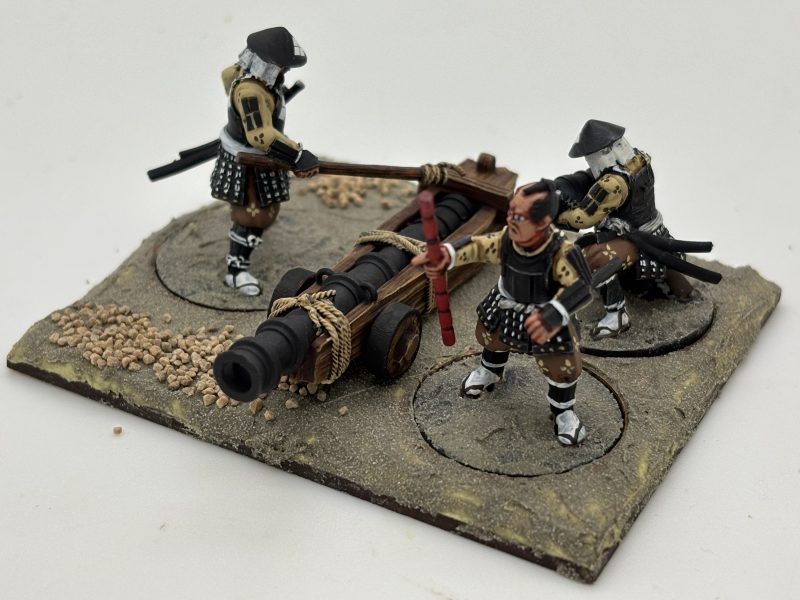
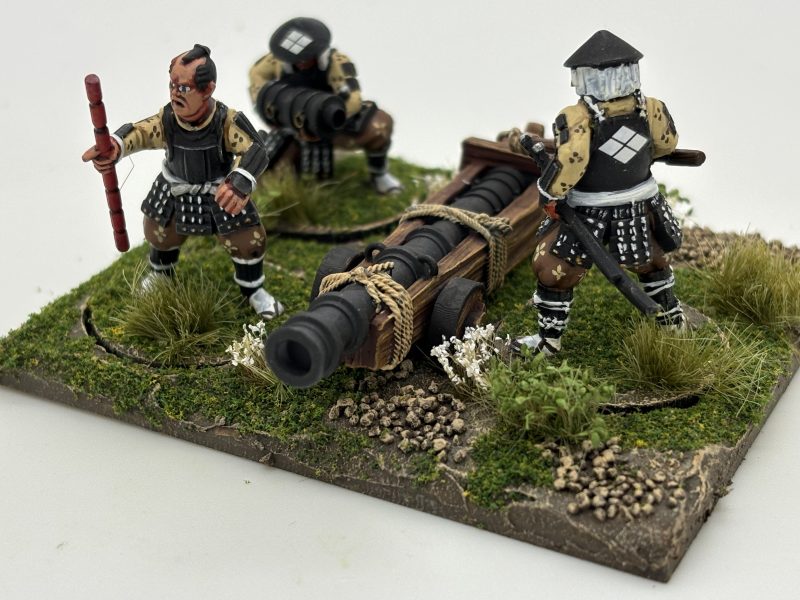
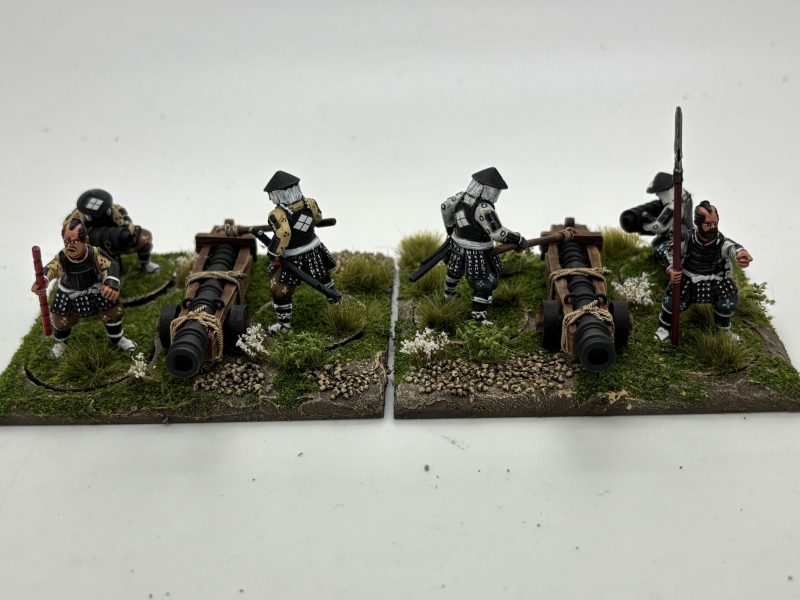
2 Cannon 18 points
2 skirmishing teppo 12 points
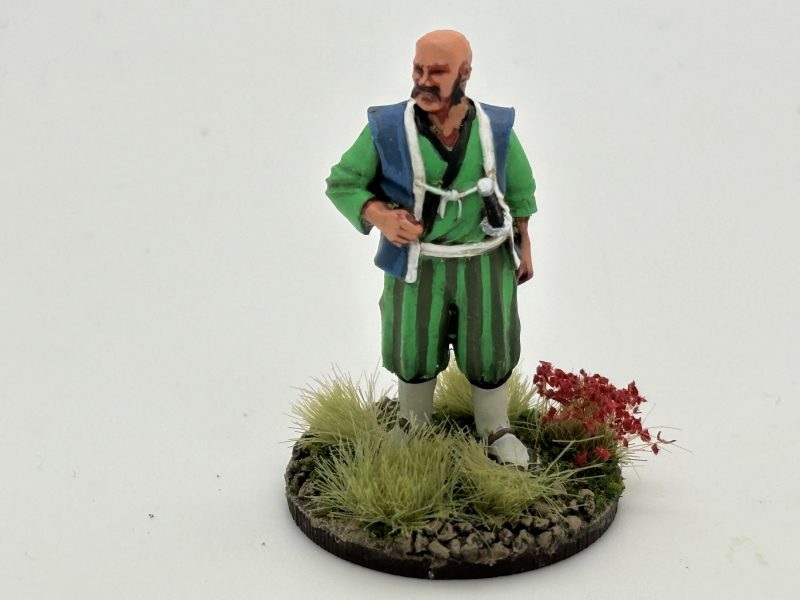
1 unit skirmishing Ronin 6 points
Total 156 points
Notes
If your guns roll 2 or more sixes in a turn, you will destroy a section of the bamboo barricade as well as inflicting the normal casualties on the sheltering unit.
Your formed units may enter the bamboo thickets and woods but will immediately become double disarrayed and stay as such without being able to remove the disarray until they leave the cover. They may only move at half speed inside the thicket and may not charge or counter charge.
You may not fire your artillery at the temple shrine!
Capturing the Temple will win the game regardless of morale tokens claimed. You must capture the temple within 6 turns or lose the game.
You can see that the Samurai have a much stronger force but are under time pressure to capture the temple. They cannot afford to hold back and try to out shoot the enemy. They are also hindered by the terrain and of course, the risk that their guns may self destruct when firing! The Daimyo card gives them a bit more flexibility when issuing orders as well as an extra morale token
Here is a brief battle report from the game:
Last night we played through a scenario for Never Mind the Naganitas with Ikko-Ikki defending a shrine from a local Samurai Warlord. Ian Callan and Austen Kime were the defending Ikko-Ikki commanders, with Andy Callan, Robert Andrew Kime and Wayne Ellington as the attacking Samurai. The scenario had a few traps built into it to challenge the players and to add to the pressure on the Samurai, they had six turns to achieve their objective and capture the shrine.
The game started badly for the defenders with an early foray by their hidden troops and skirmishers chased off and daunted. Add to that, the initial bombardment by samurai artillery was taking its toll, inflicting casualties on the Ikko-Ikki teppo men lining the barricades. The Samurai advance was focused and relentless! Add to that, Wayne, managed to win Six bonus cards in a row by rolling six sixes!
Of course, no Bill Hooks (or for that matter, Naginata) game follows a script and the game began to turn when the Ikko-Ikki pulled a special event card that enabled them to deploy a band of Ninja, who made swift work of destroying the Samurai artillery. However, the artillery had done its job and brought down two sections of barricades leaving the way to the shrine nearly open- a stream being the only barrier. Meanwhile, over at the bamboo, the Ikko-Ikki skirmishers brought down the Samurai cavalry with incessant gunfire. The Ikko-Ikki were feeling there was a chance as the turn count moved up!

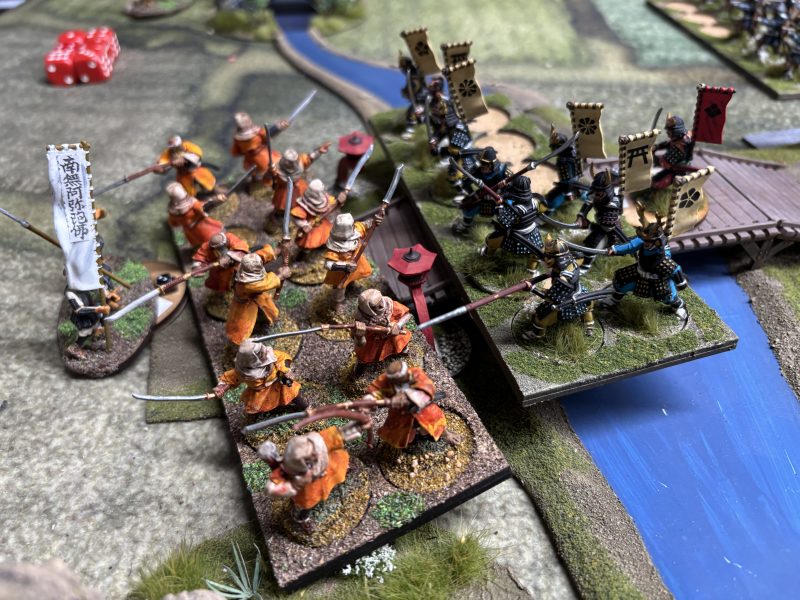
By now Wayne’s Samurai were in a position to assault the main bridge to the temple and successfully charged and routed the defending block of Ikko-Ikki. The response was a furious charge from the Sohei Monks that were concealed in the shrine that resulted in almost wiping out the Samurai and they retreated utterly daunted with just one man remaining!
It was still going to the wire. The Ikko-Ikki were fast running out of morale tokens and Andy had methodically moved his troops into position to deliver the killing blow. It all came down to turn 6!
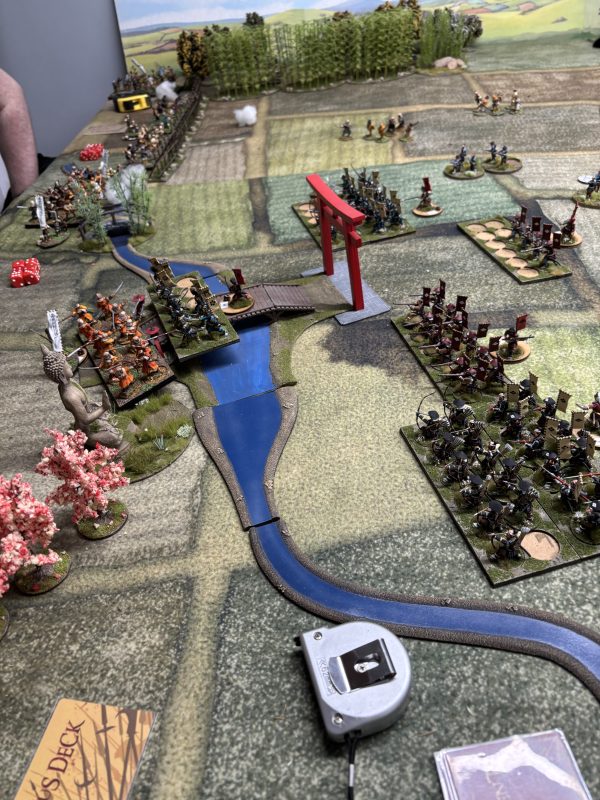
Somehow, by clever use of a forfeit card to thwart the Samurai advance the Ikko-Ikki prevailed in a tense final turn. The Samurai warlord had run out of time and as night fell he was forced to acknowledge failure. Well done to Ian(Ikki) and Austen(Ikko). Victory was theirs!

The plan is that the full adaptation of Never Mind the Naginata’s will be published as part of the next Bill Hooks redux book later this year. If you fancy playing a Samurai skirmish/battle then I hope that you will enjoy the rules. In the meantime, there is a few months for you to paint your army in preparation – the lists above will give you some idea of the troops that you will need!
As always – Happy modelling!