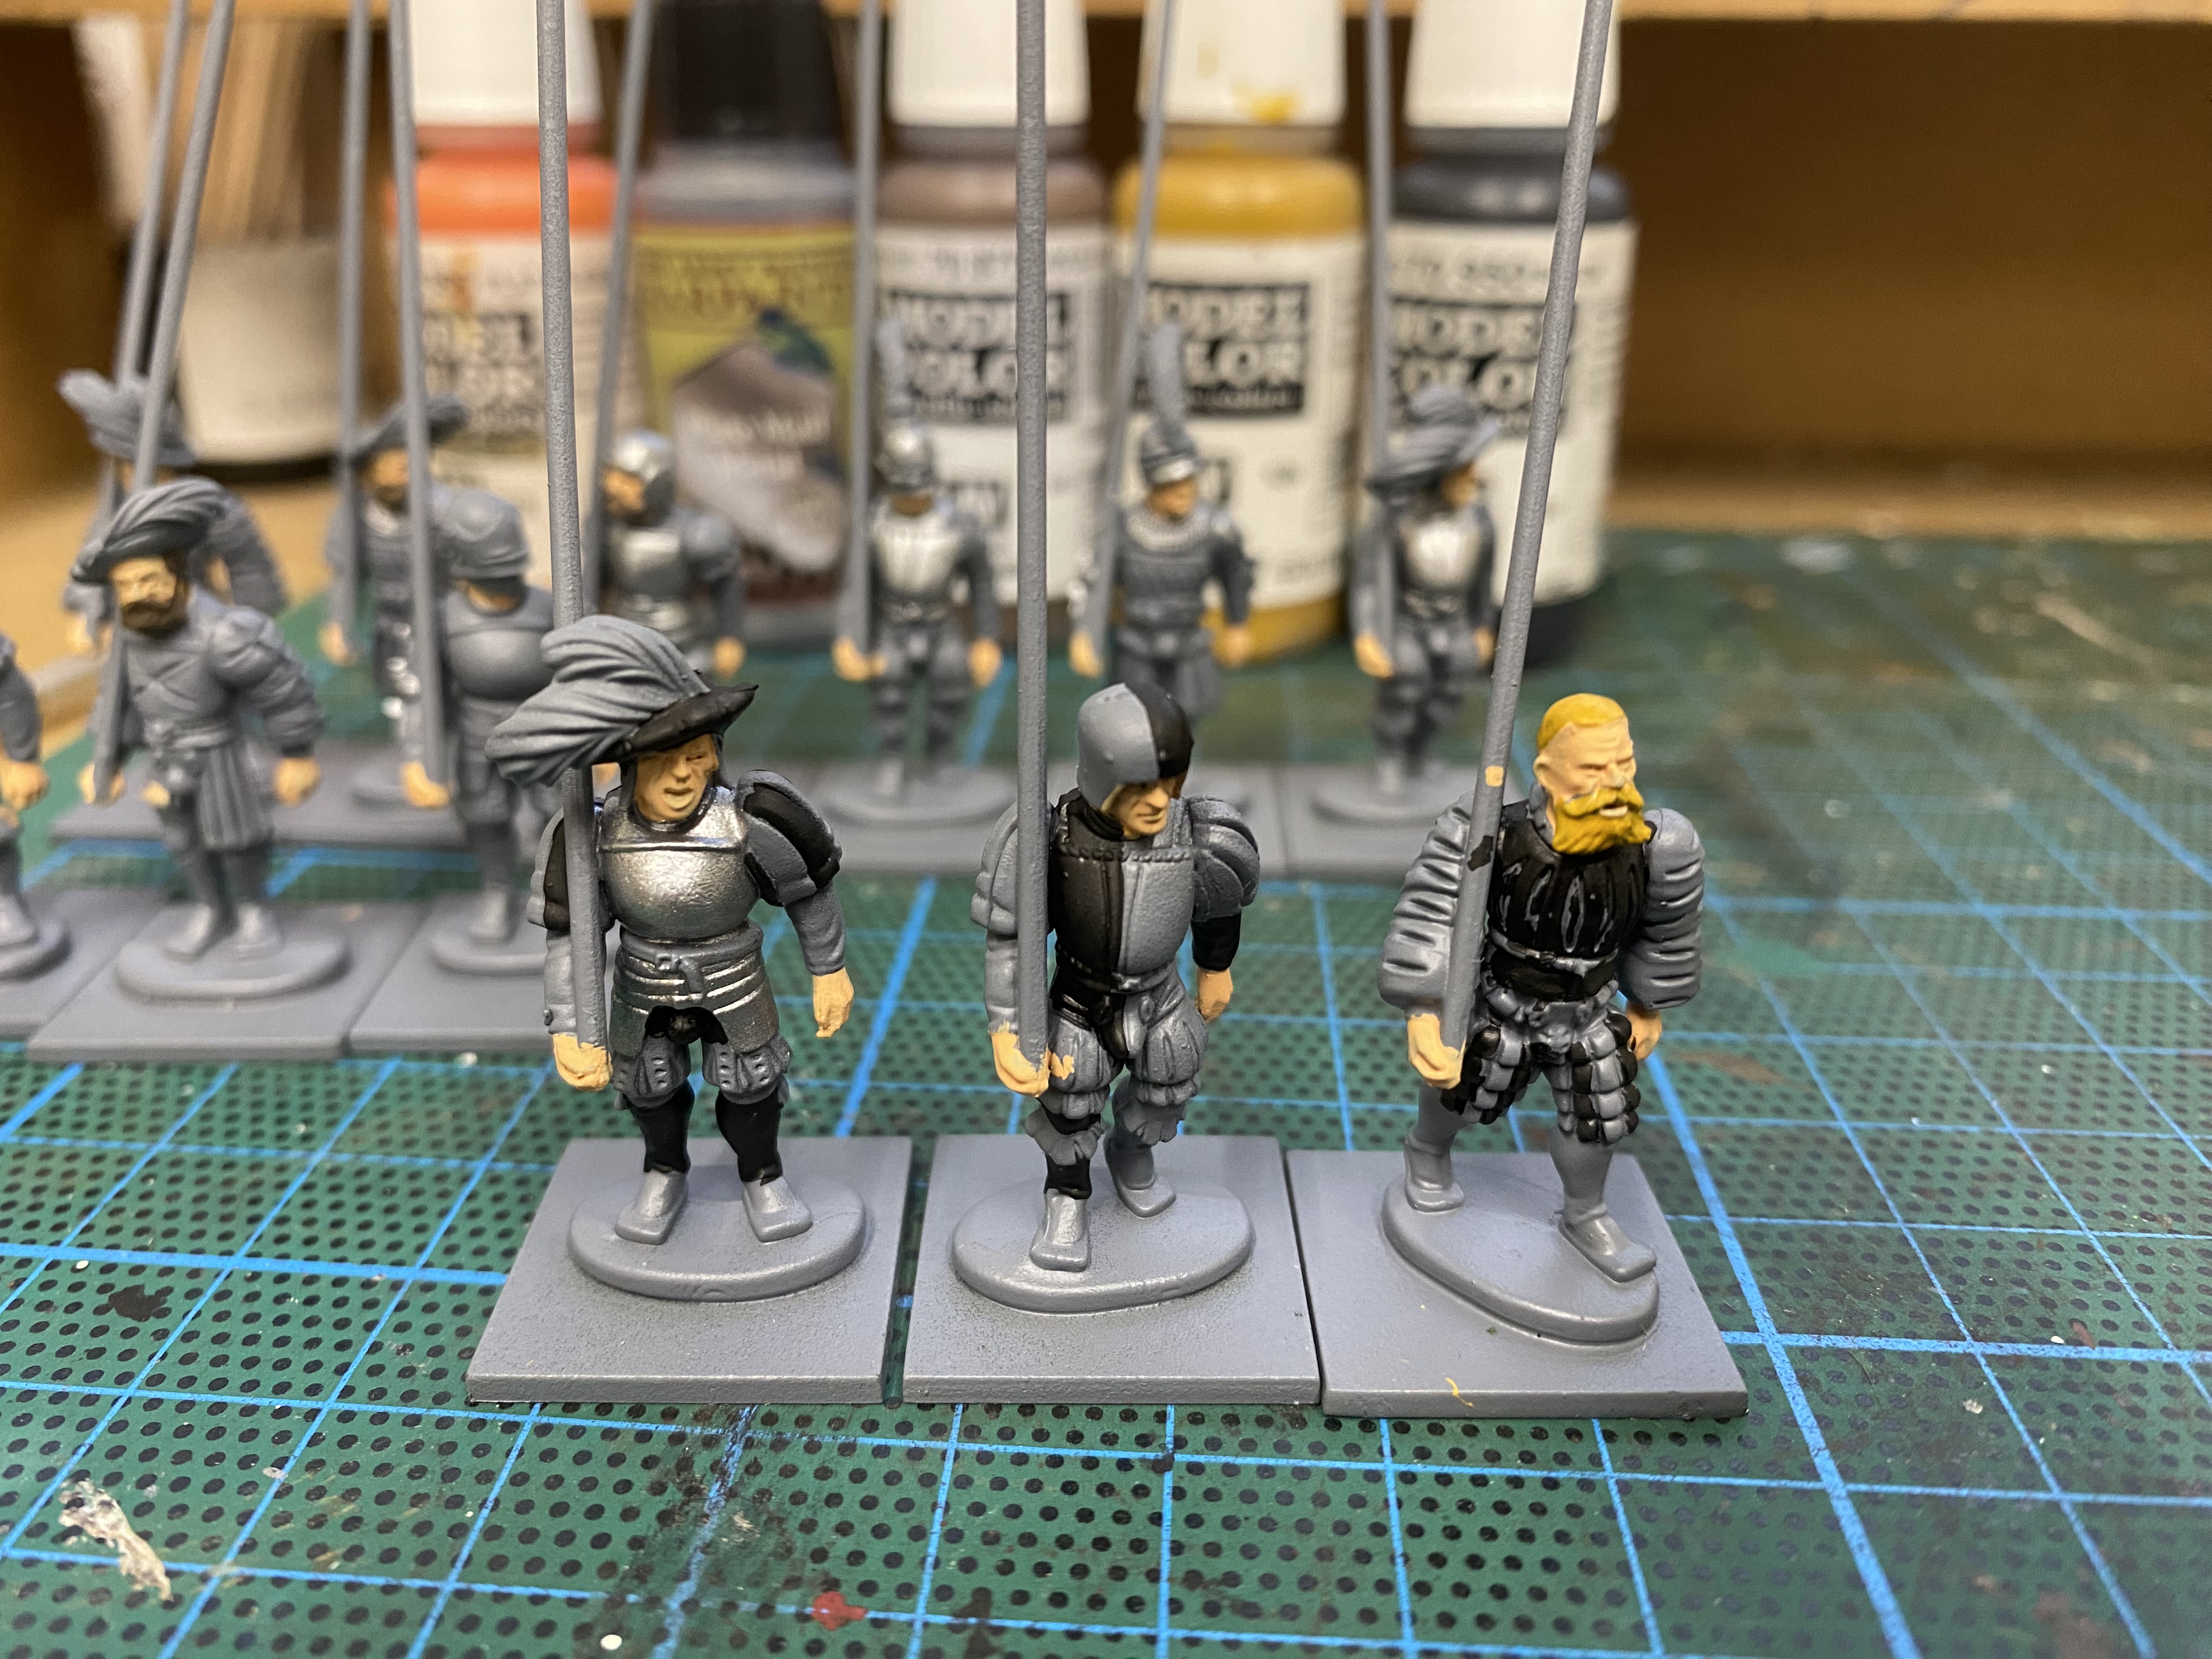
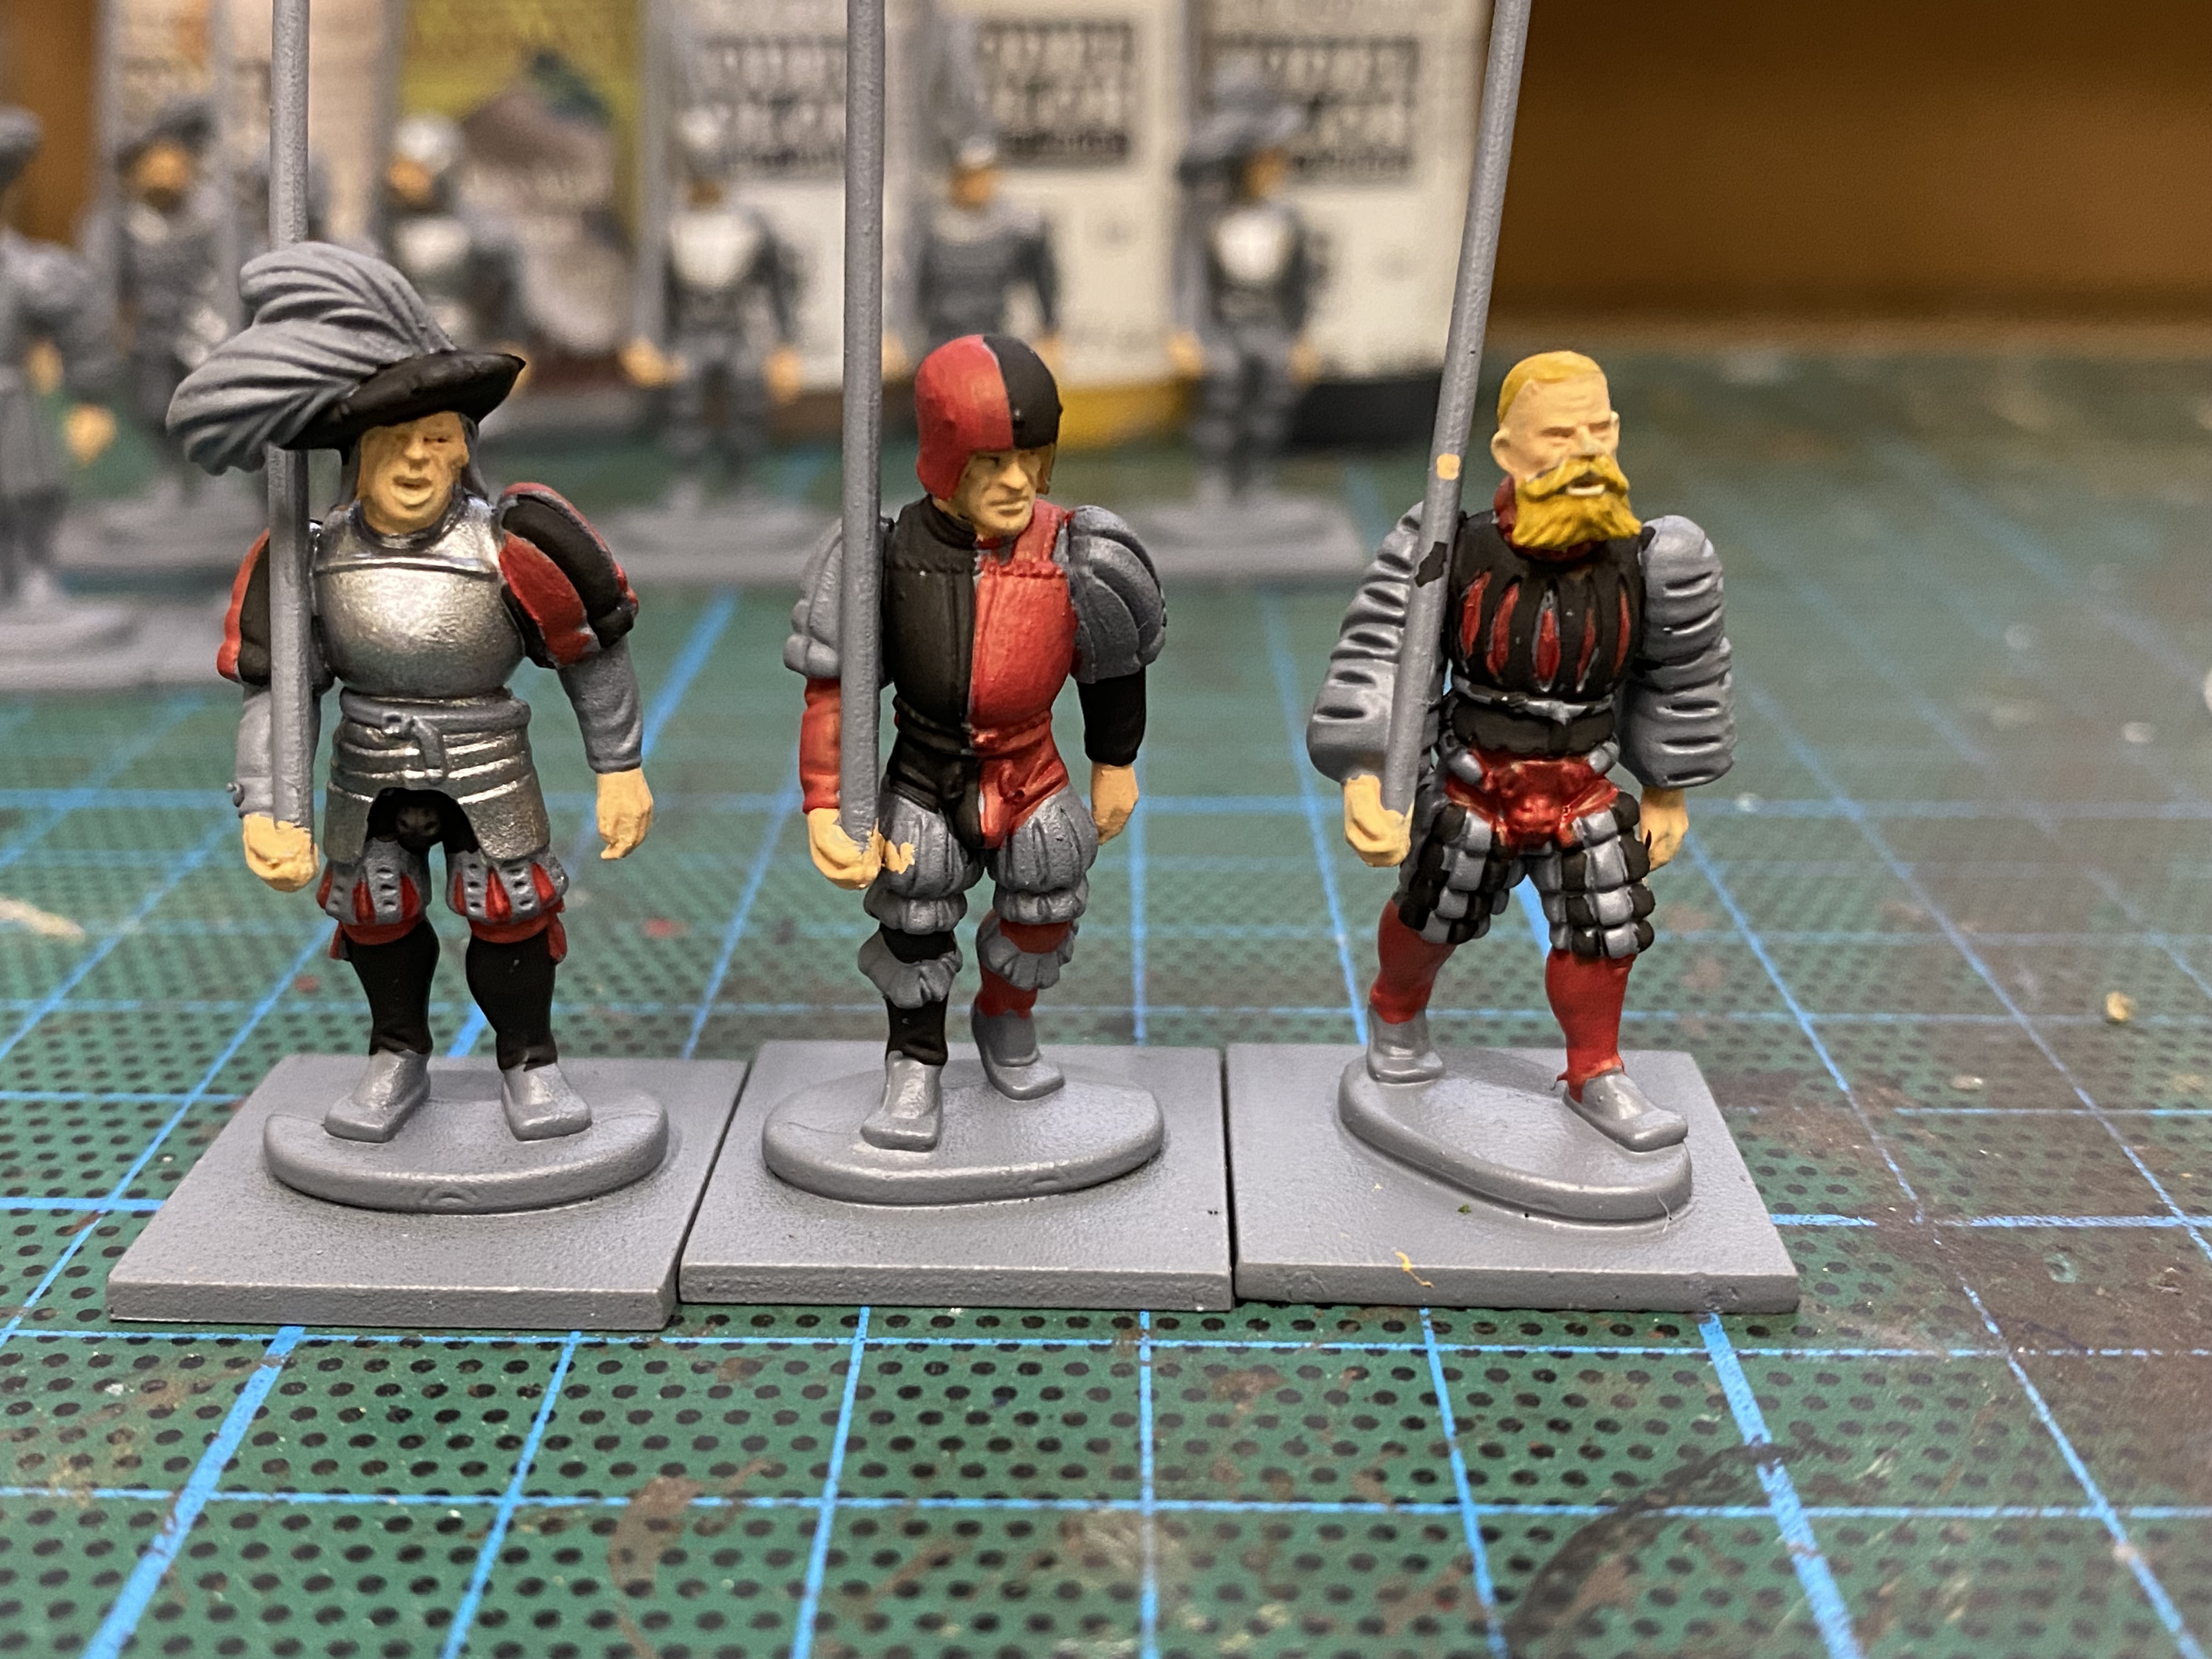
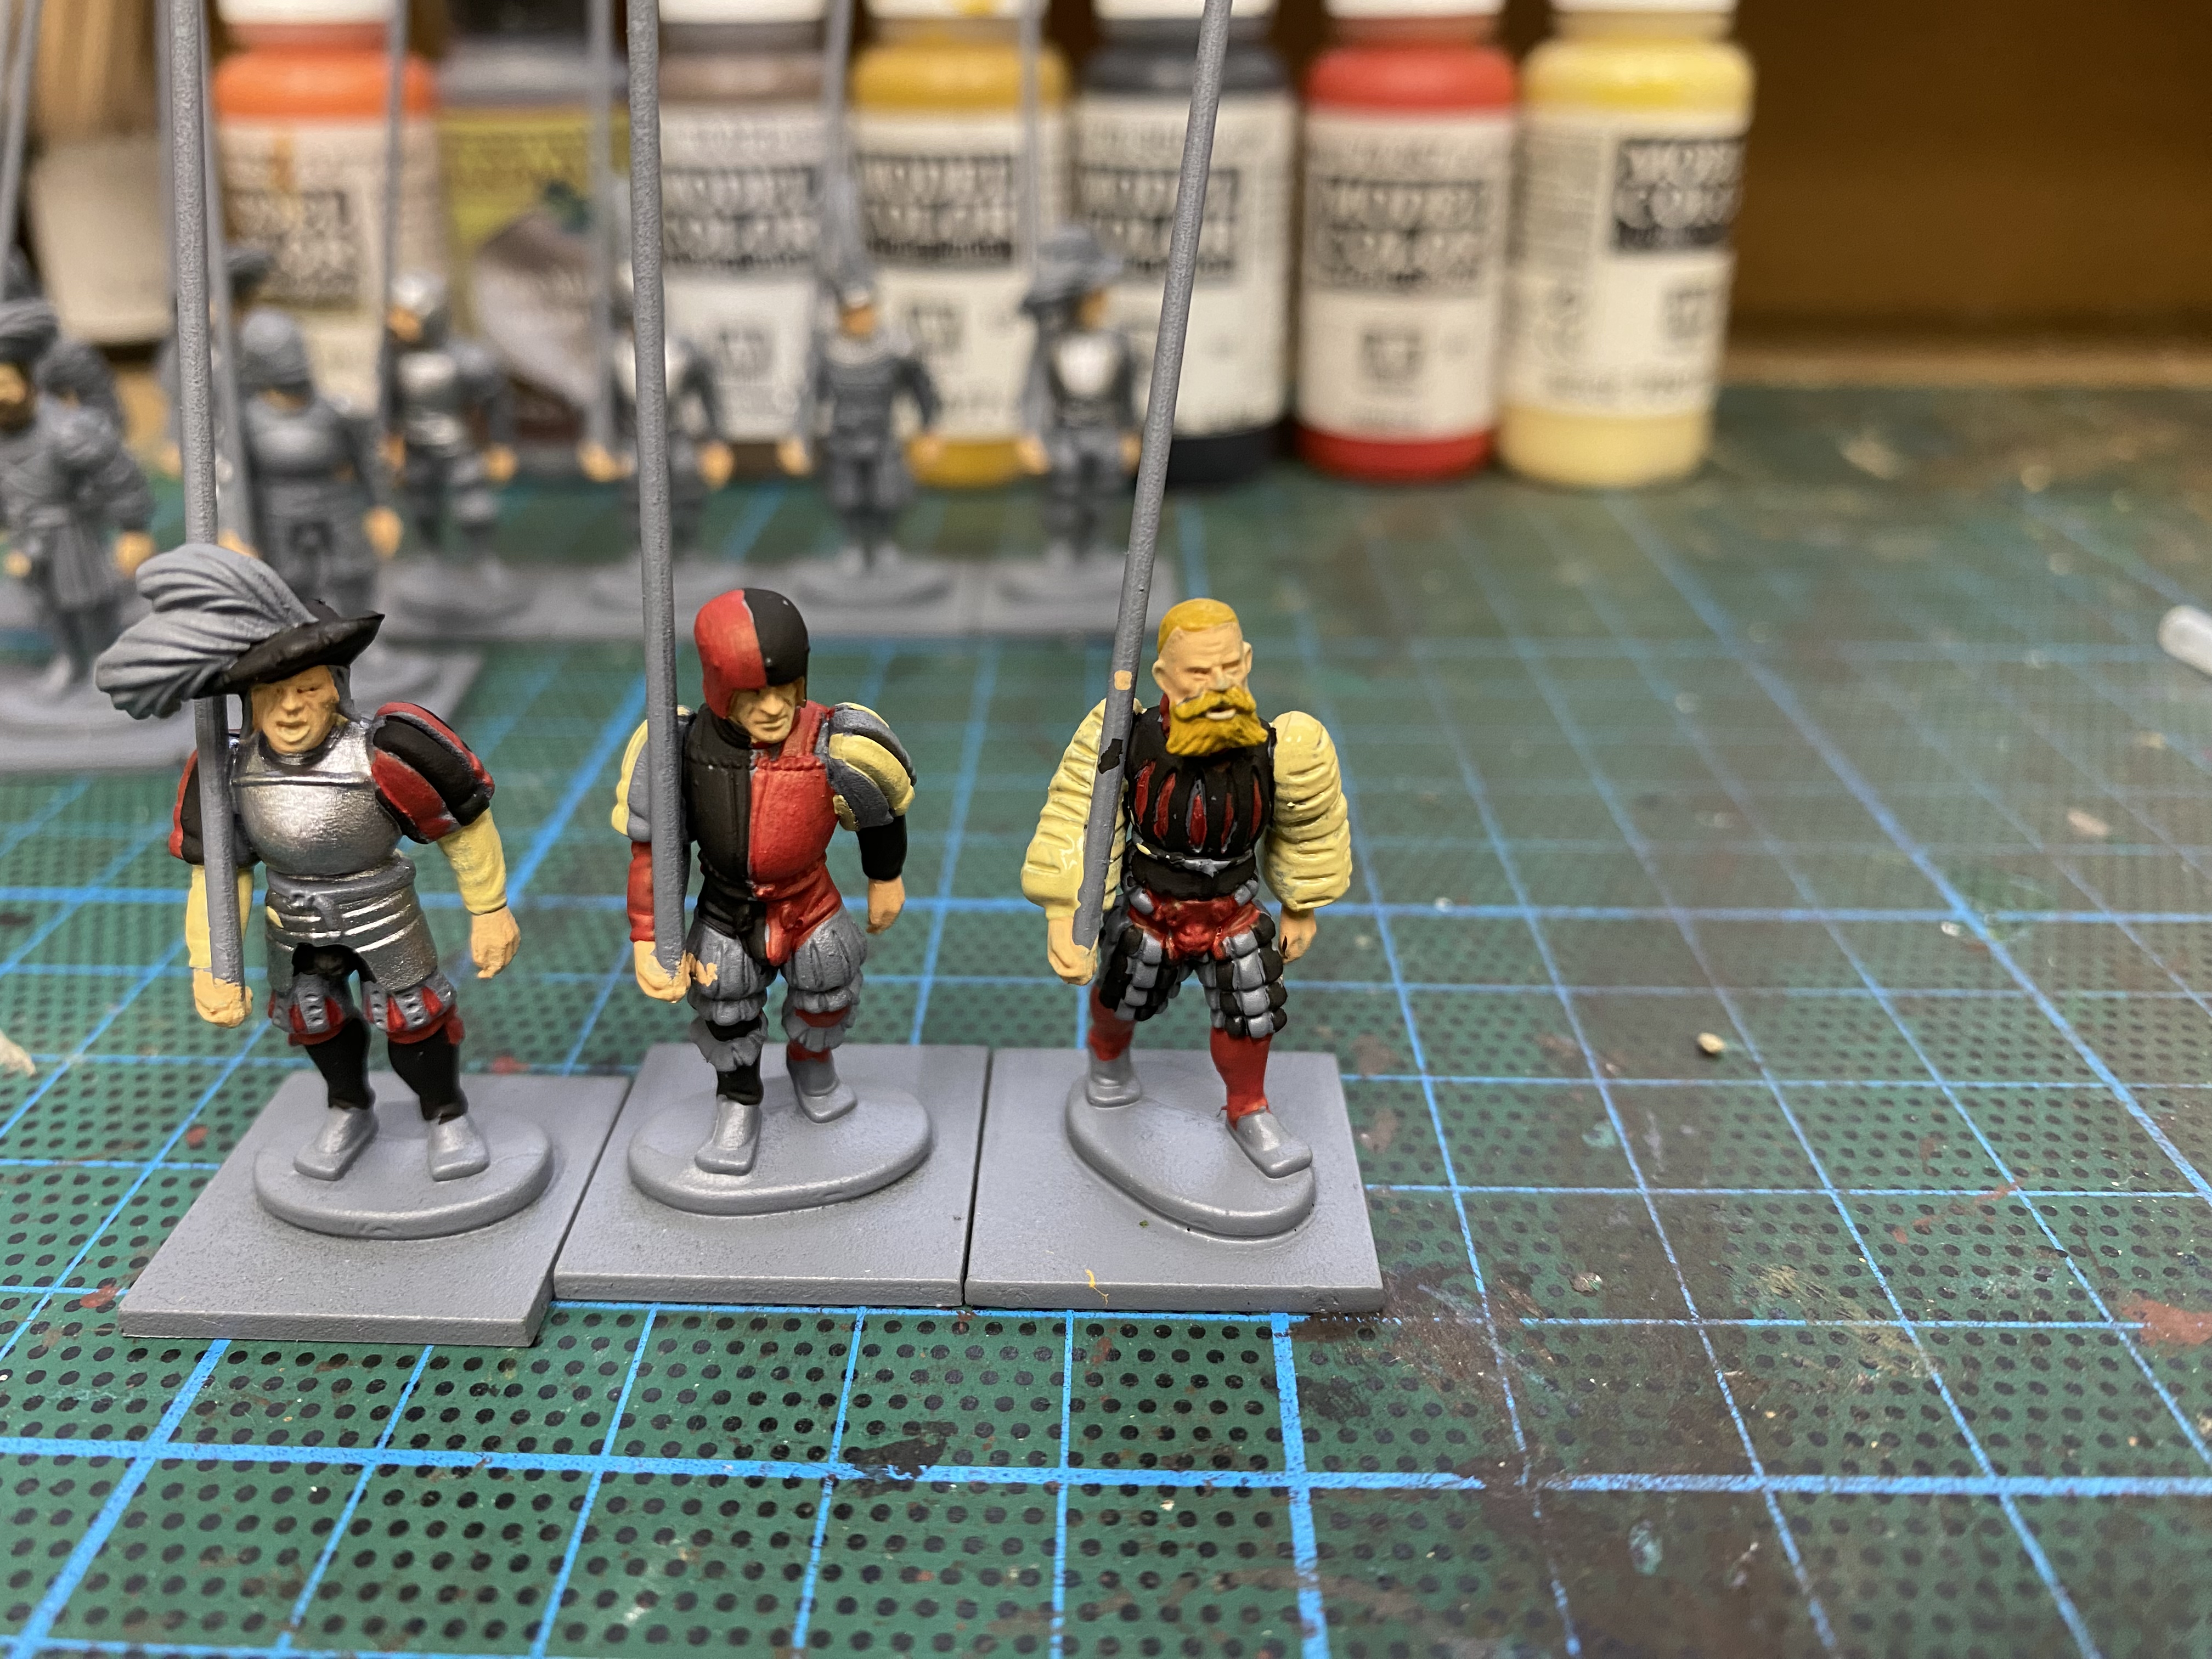
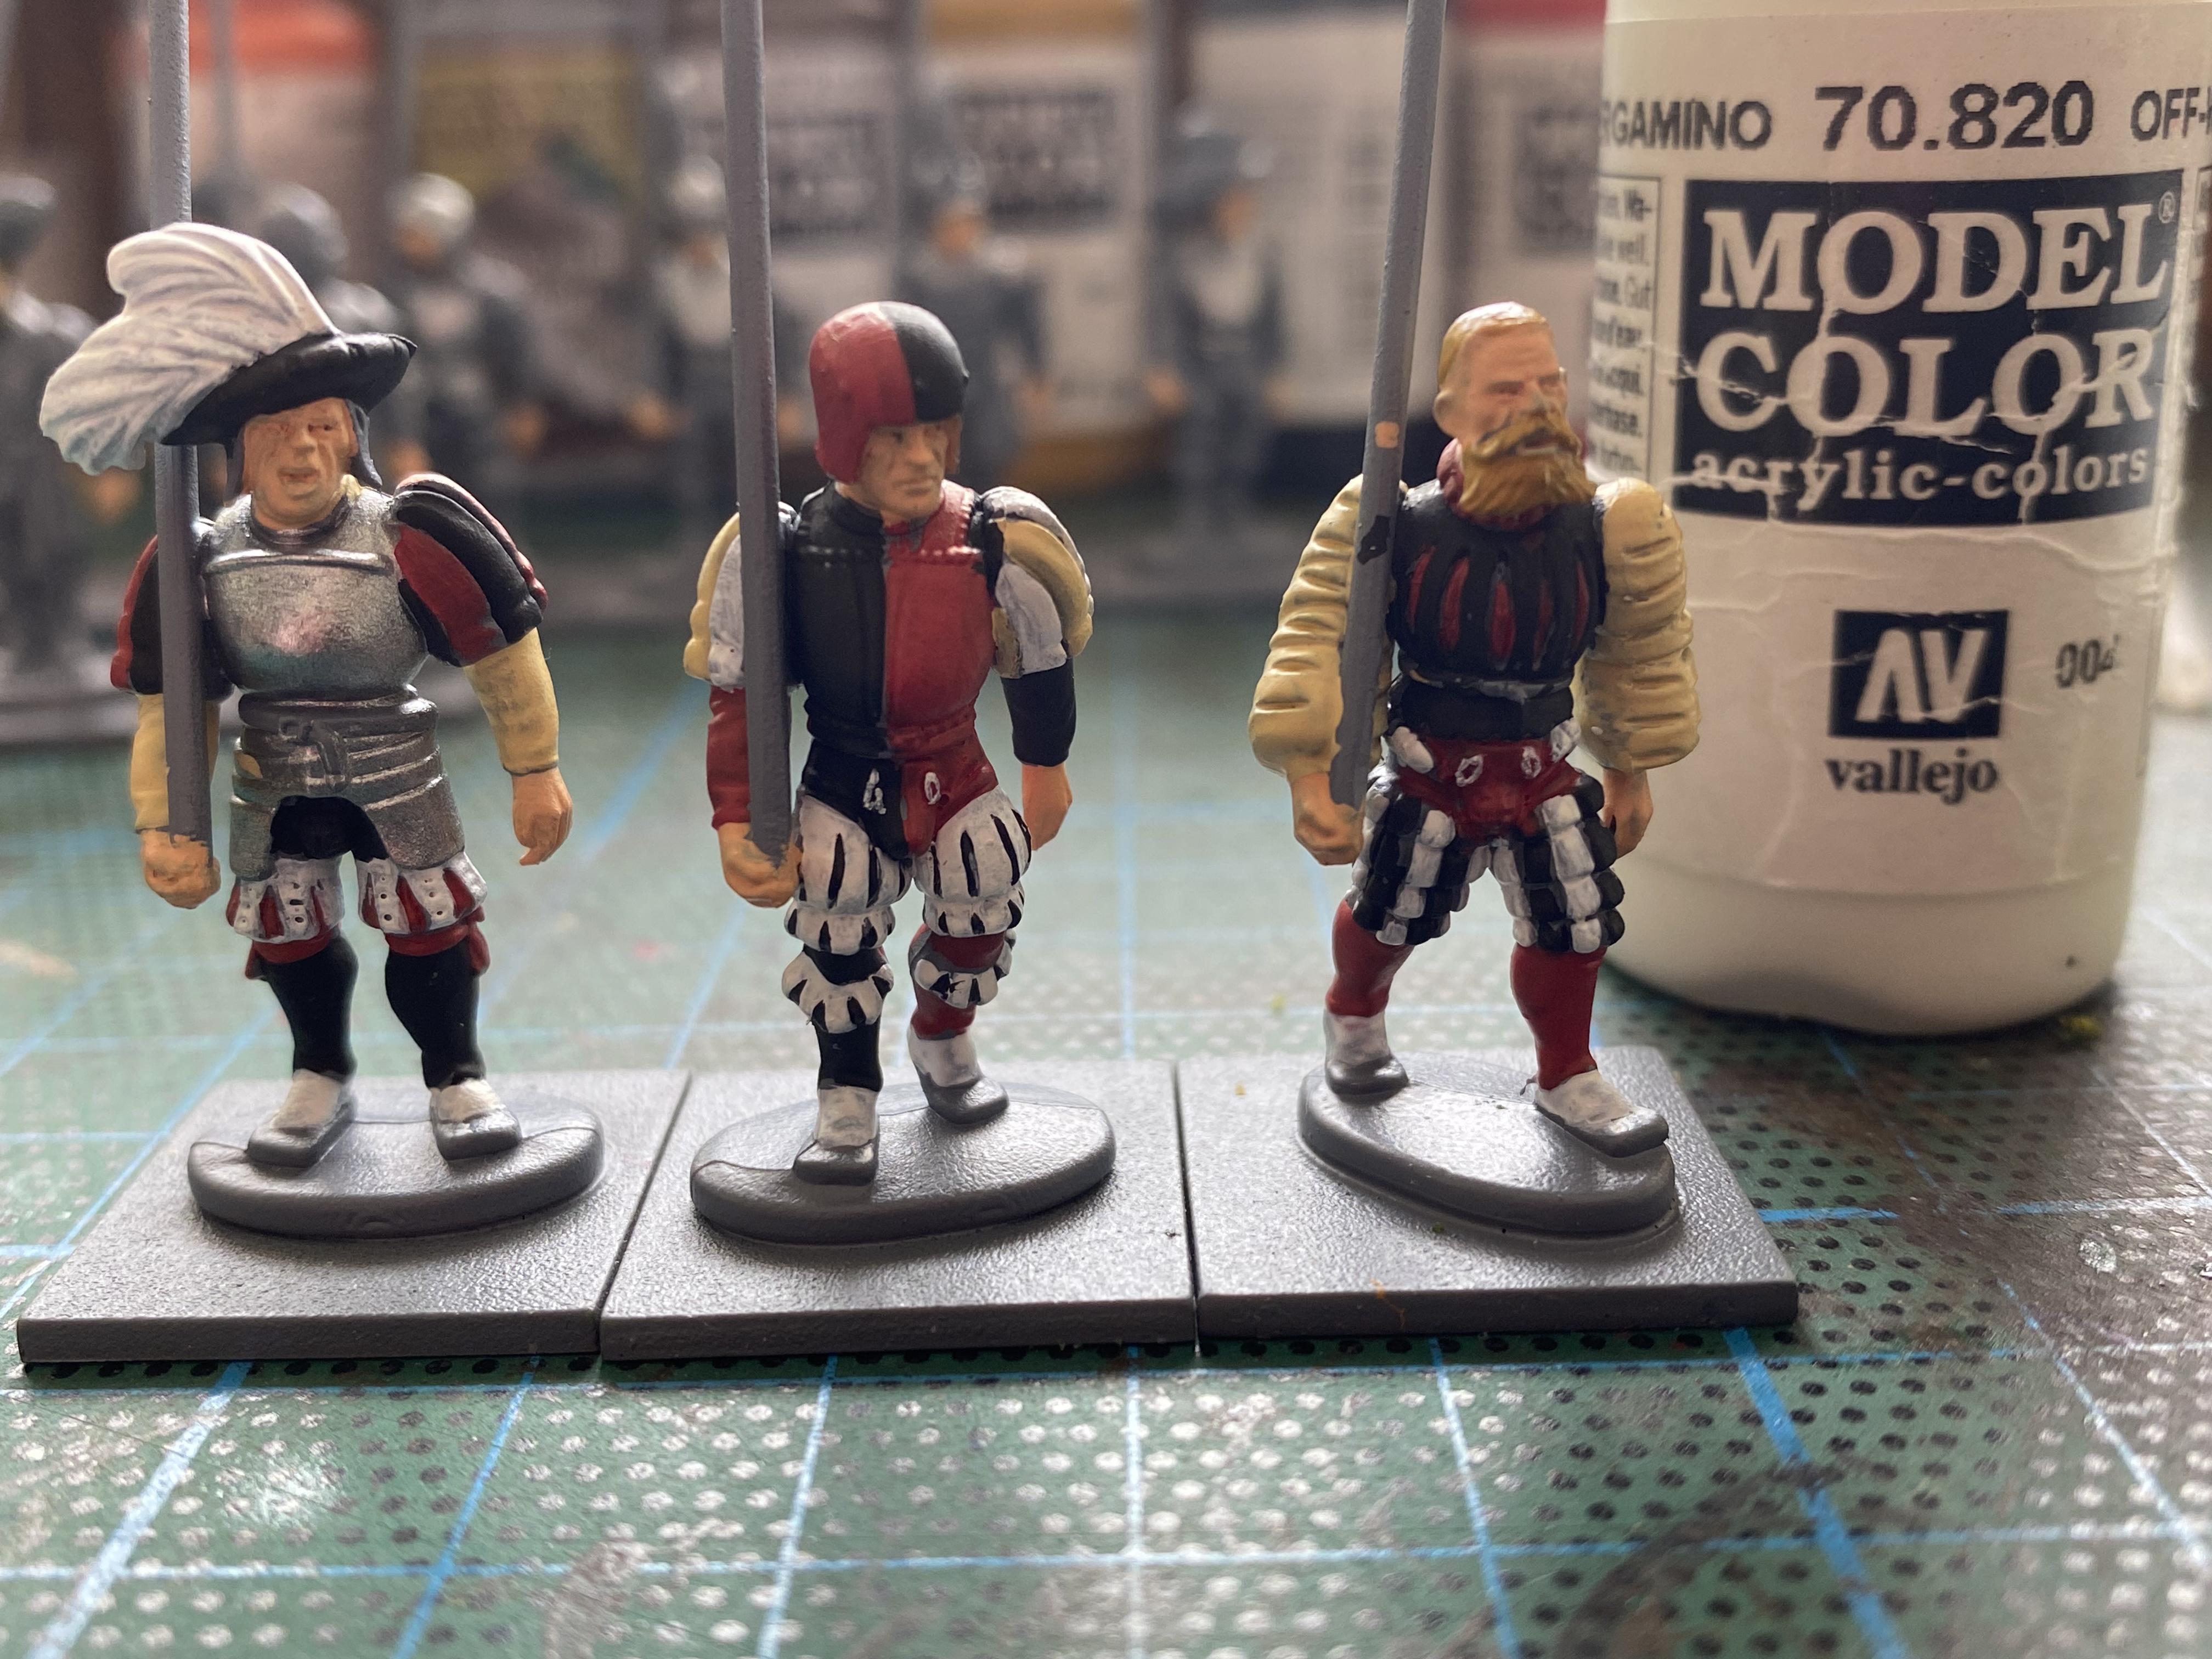
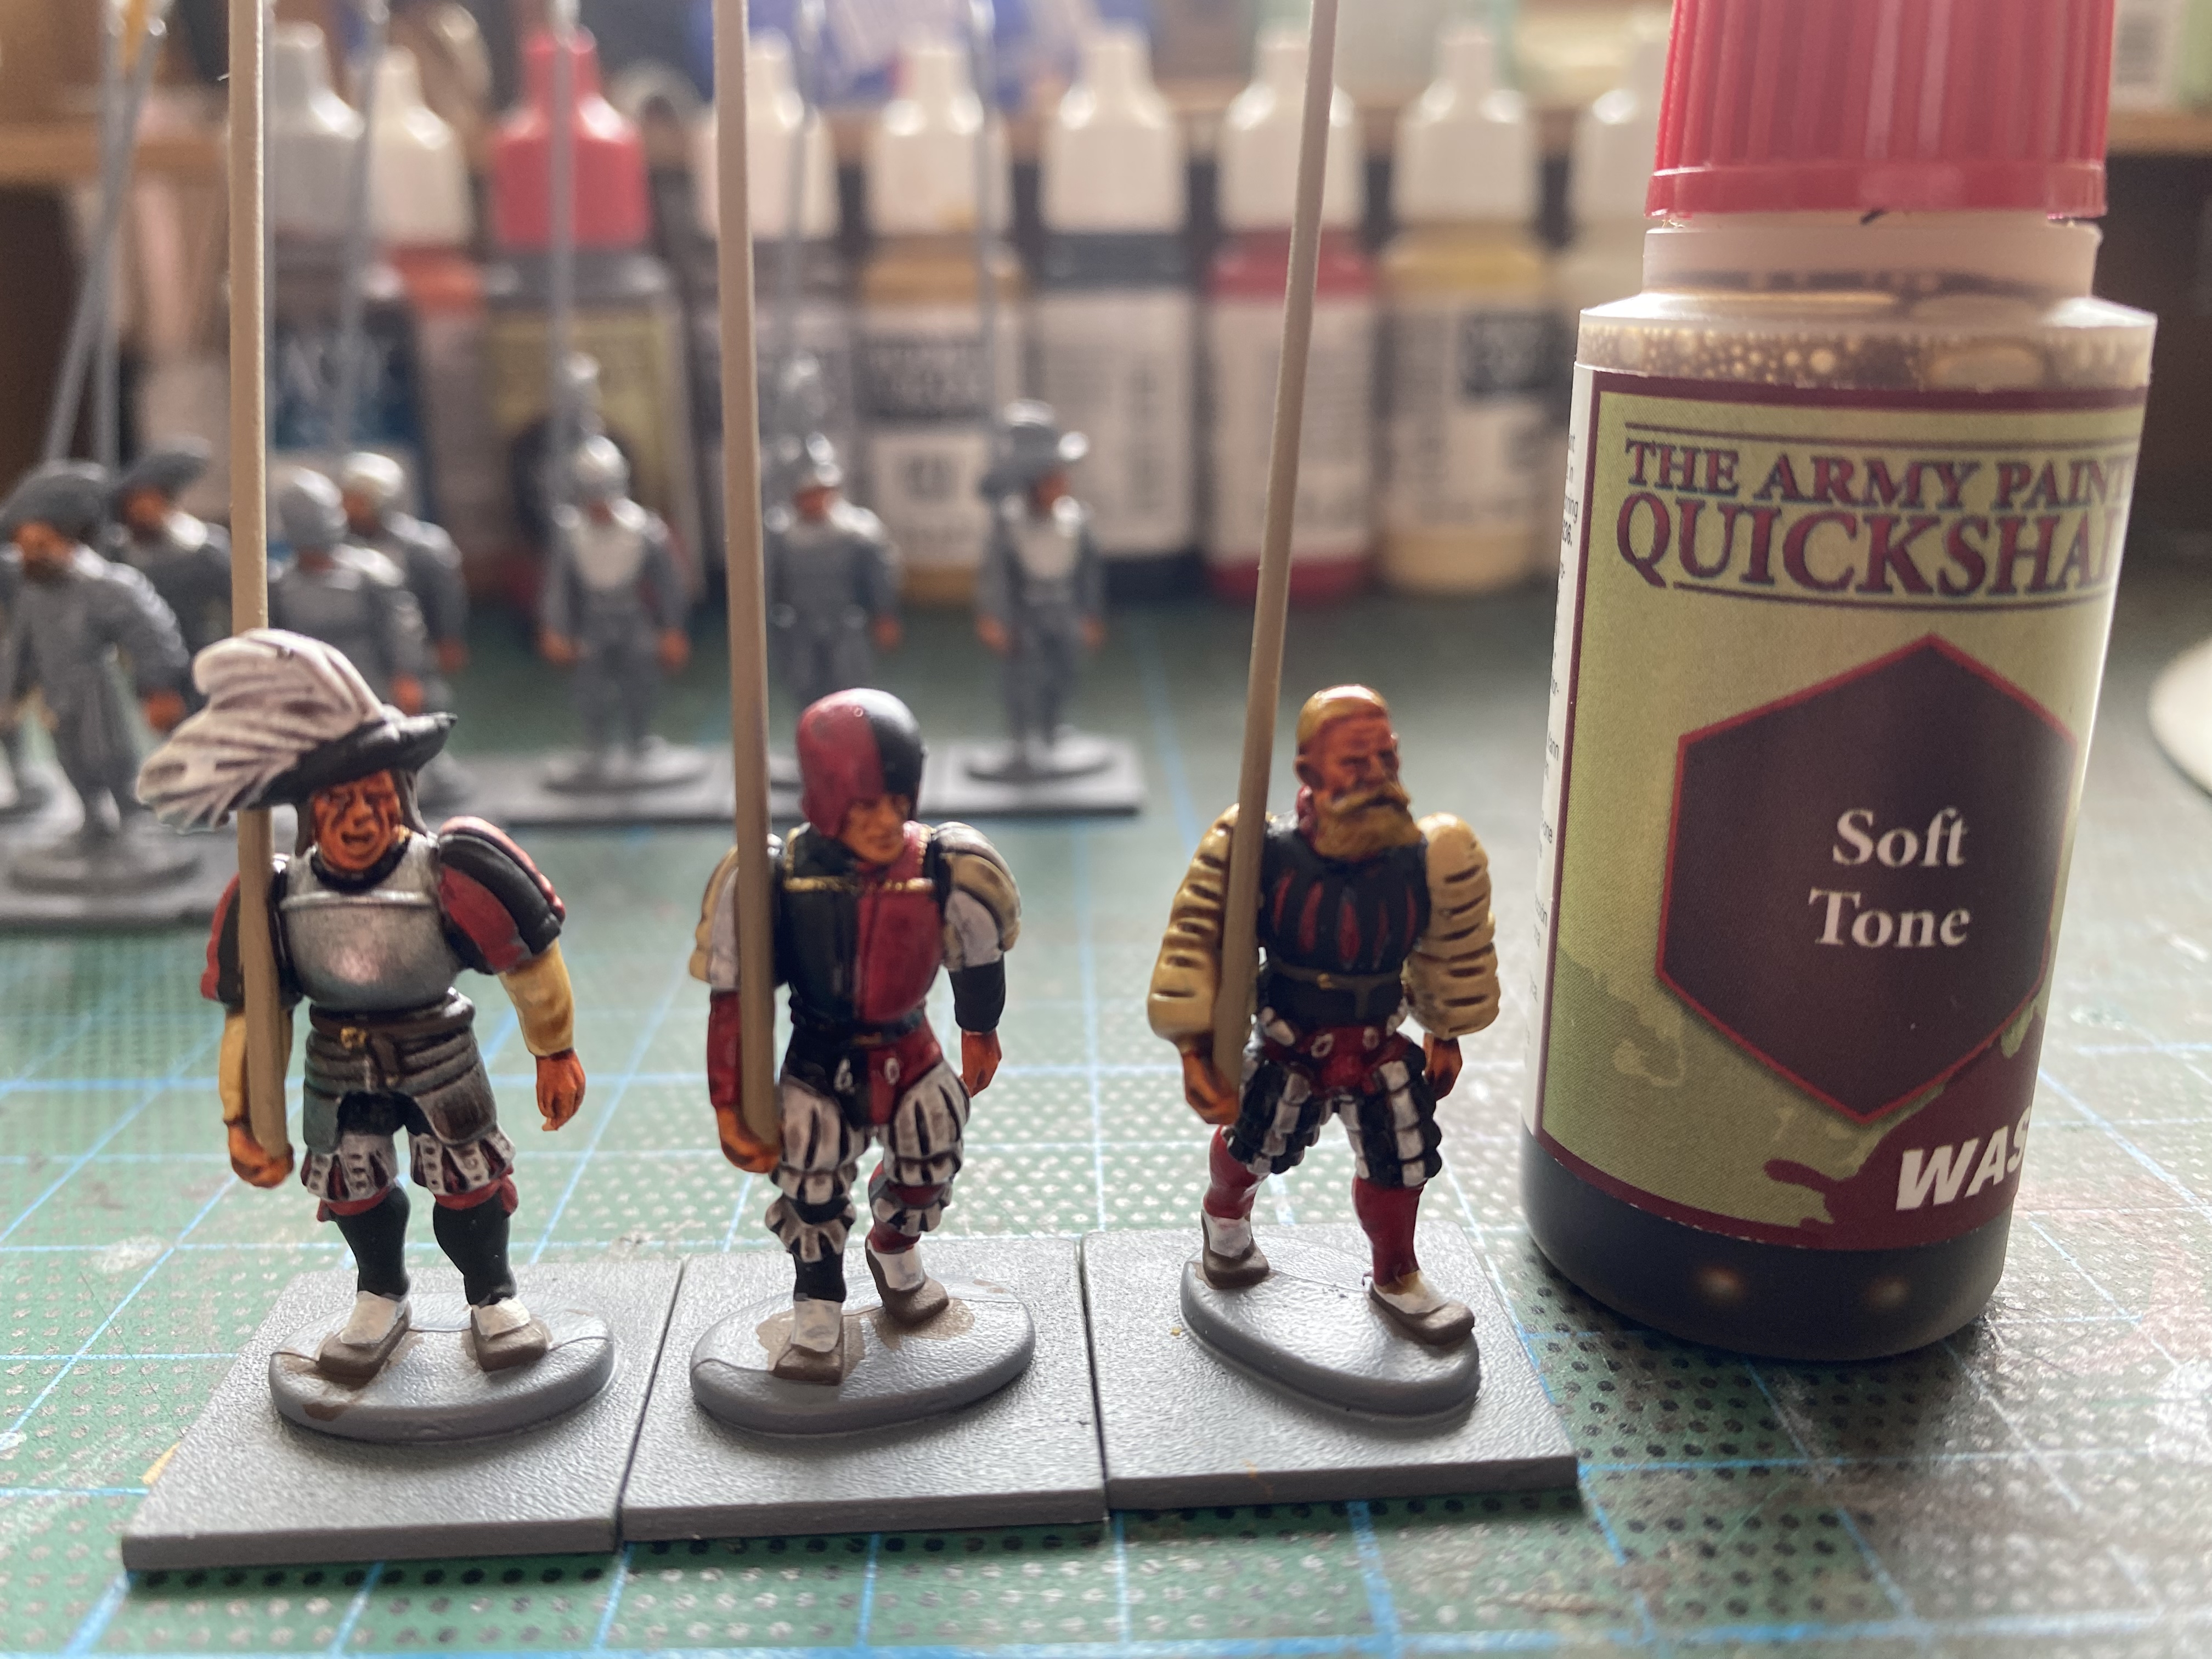
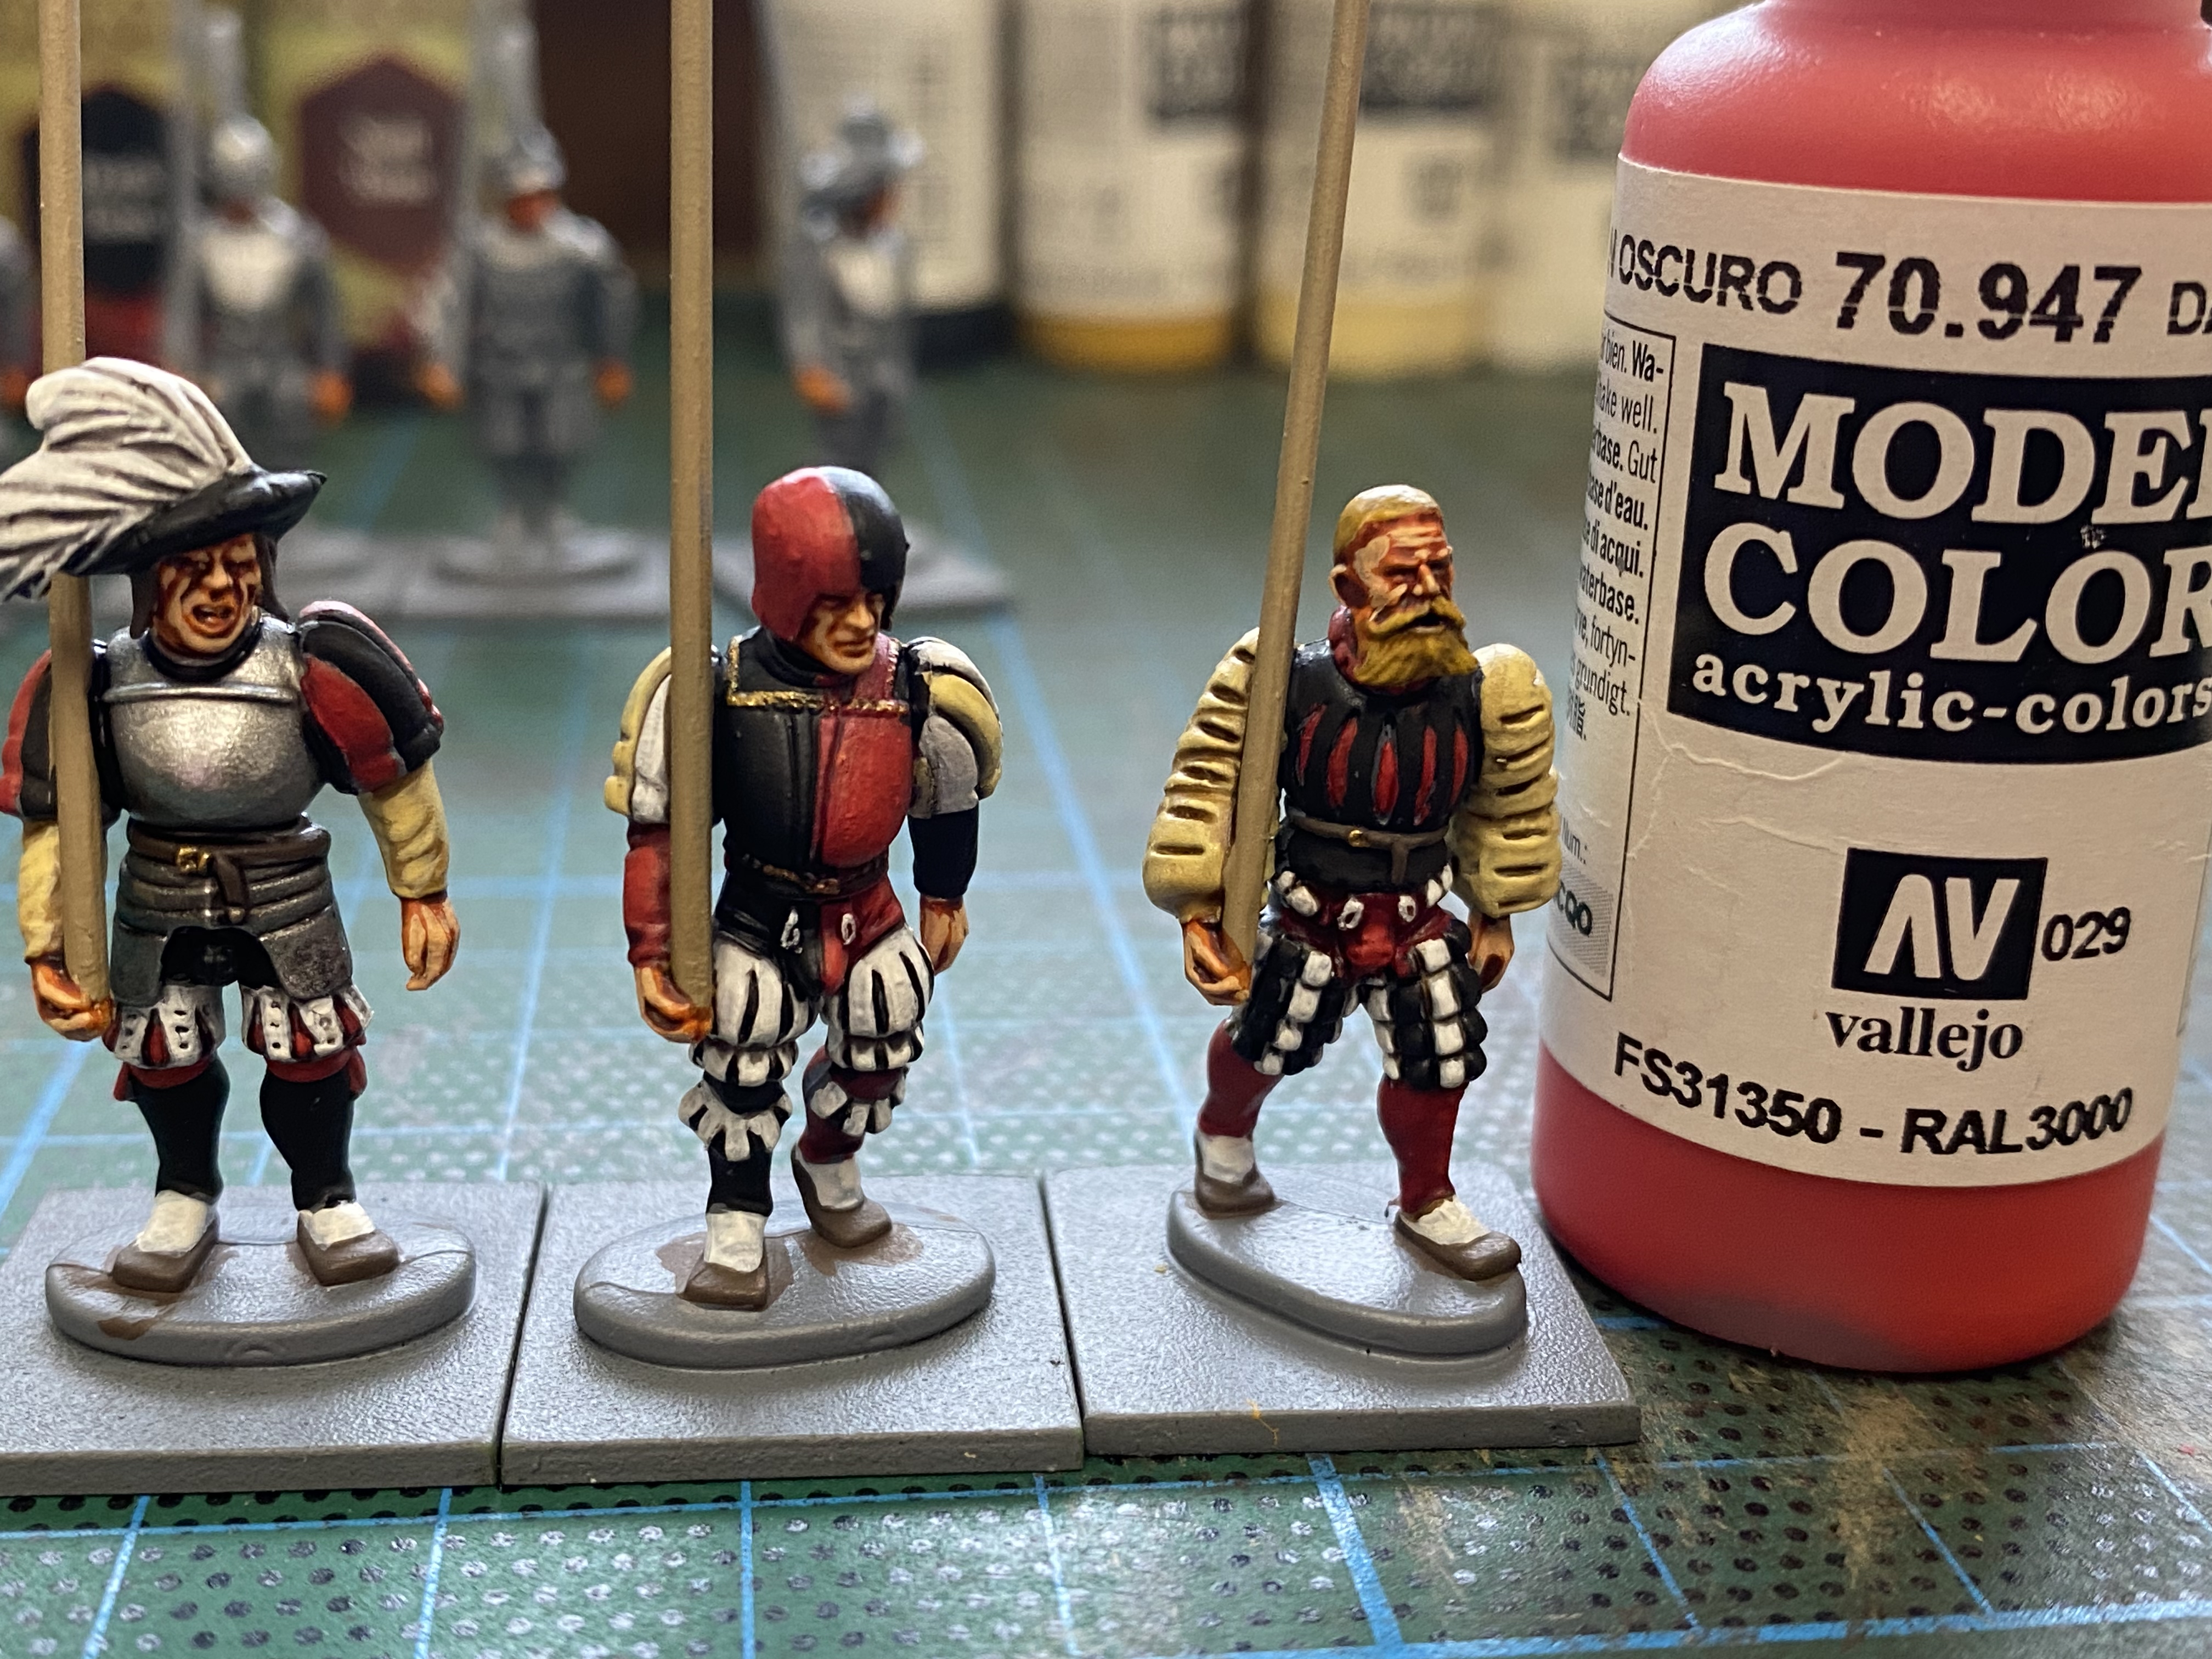
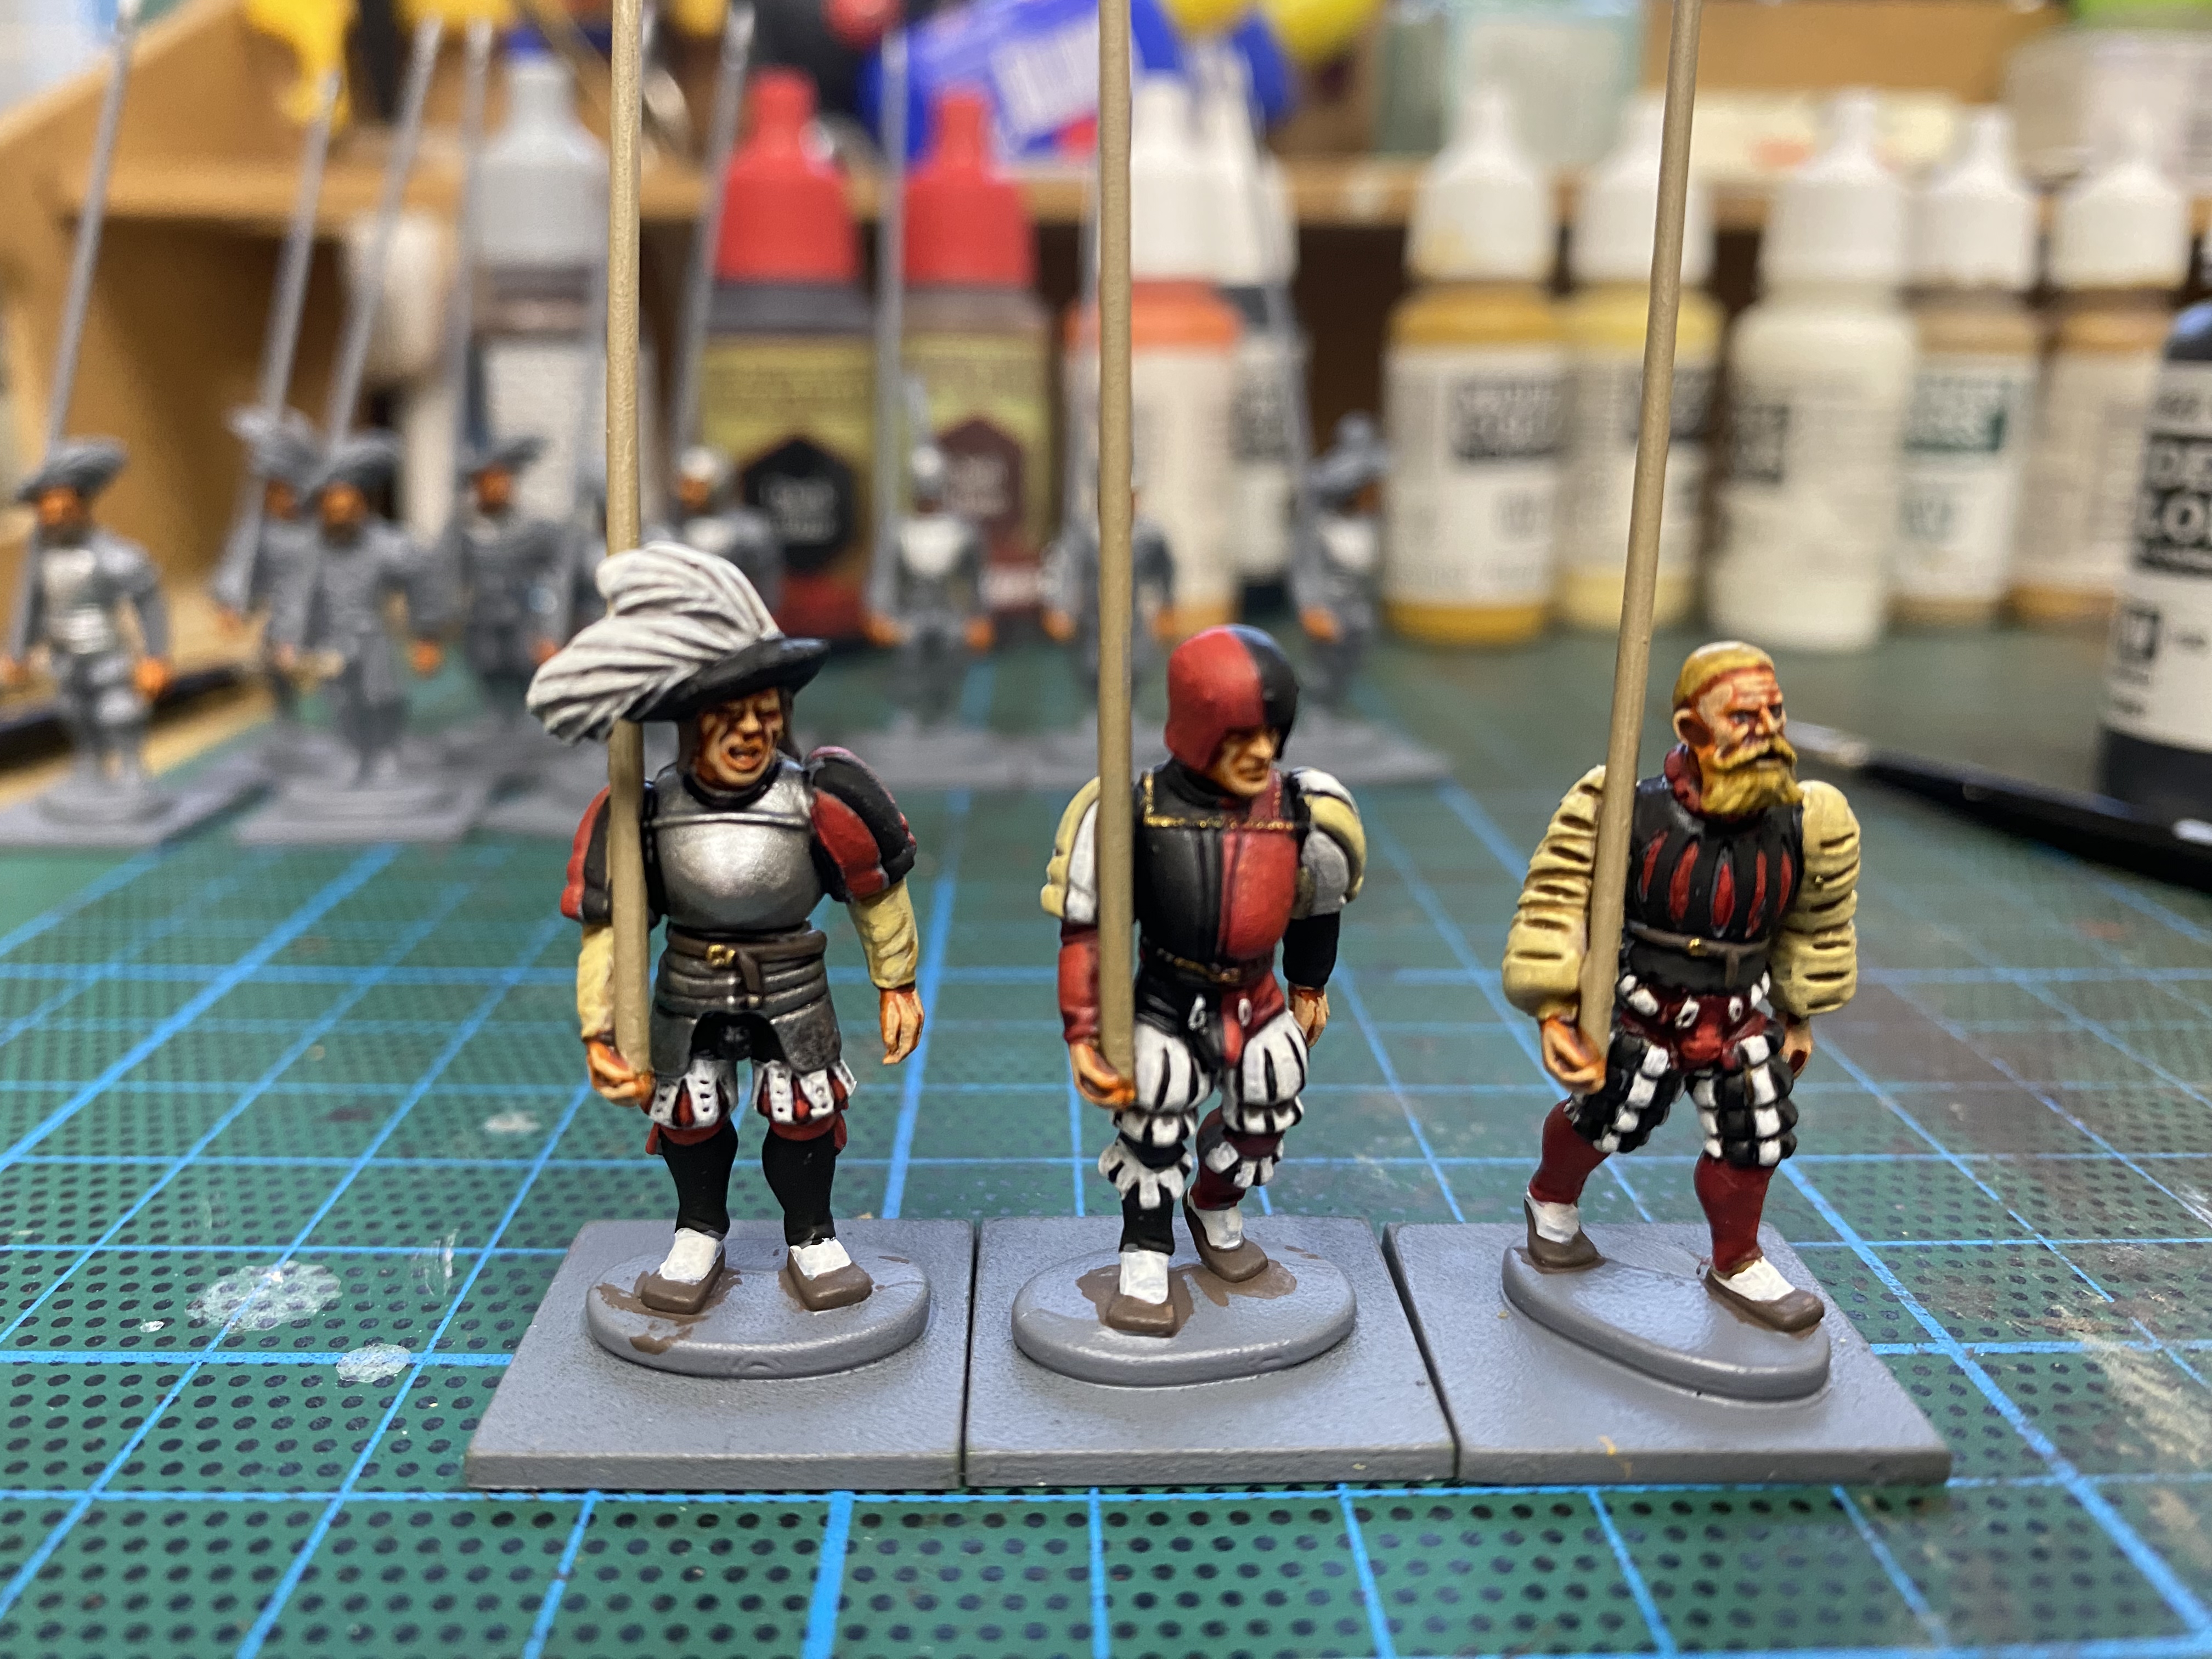
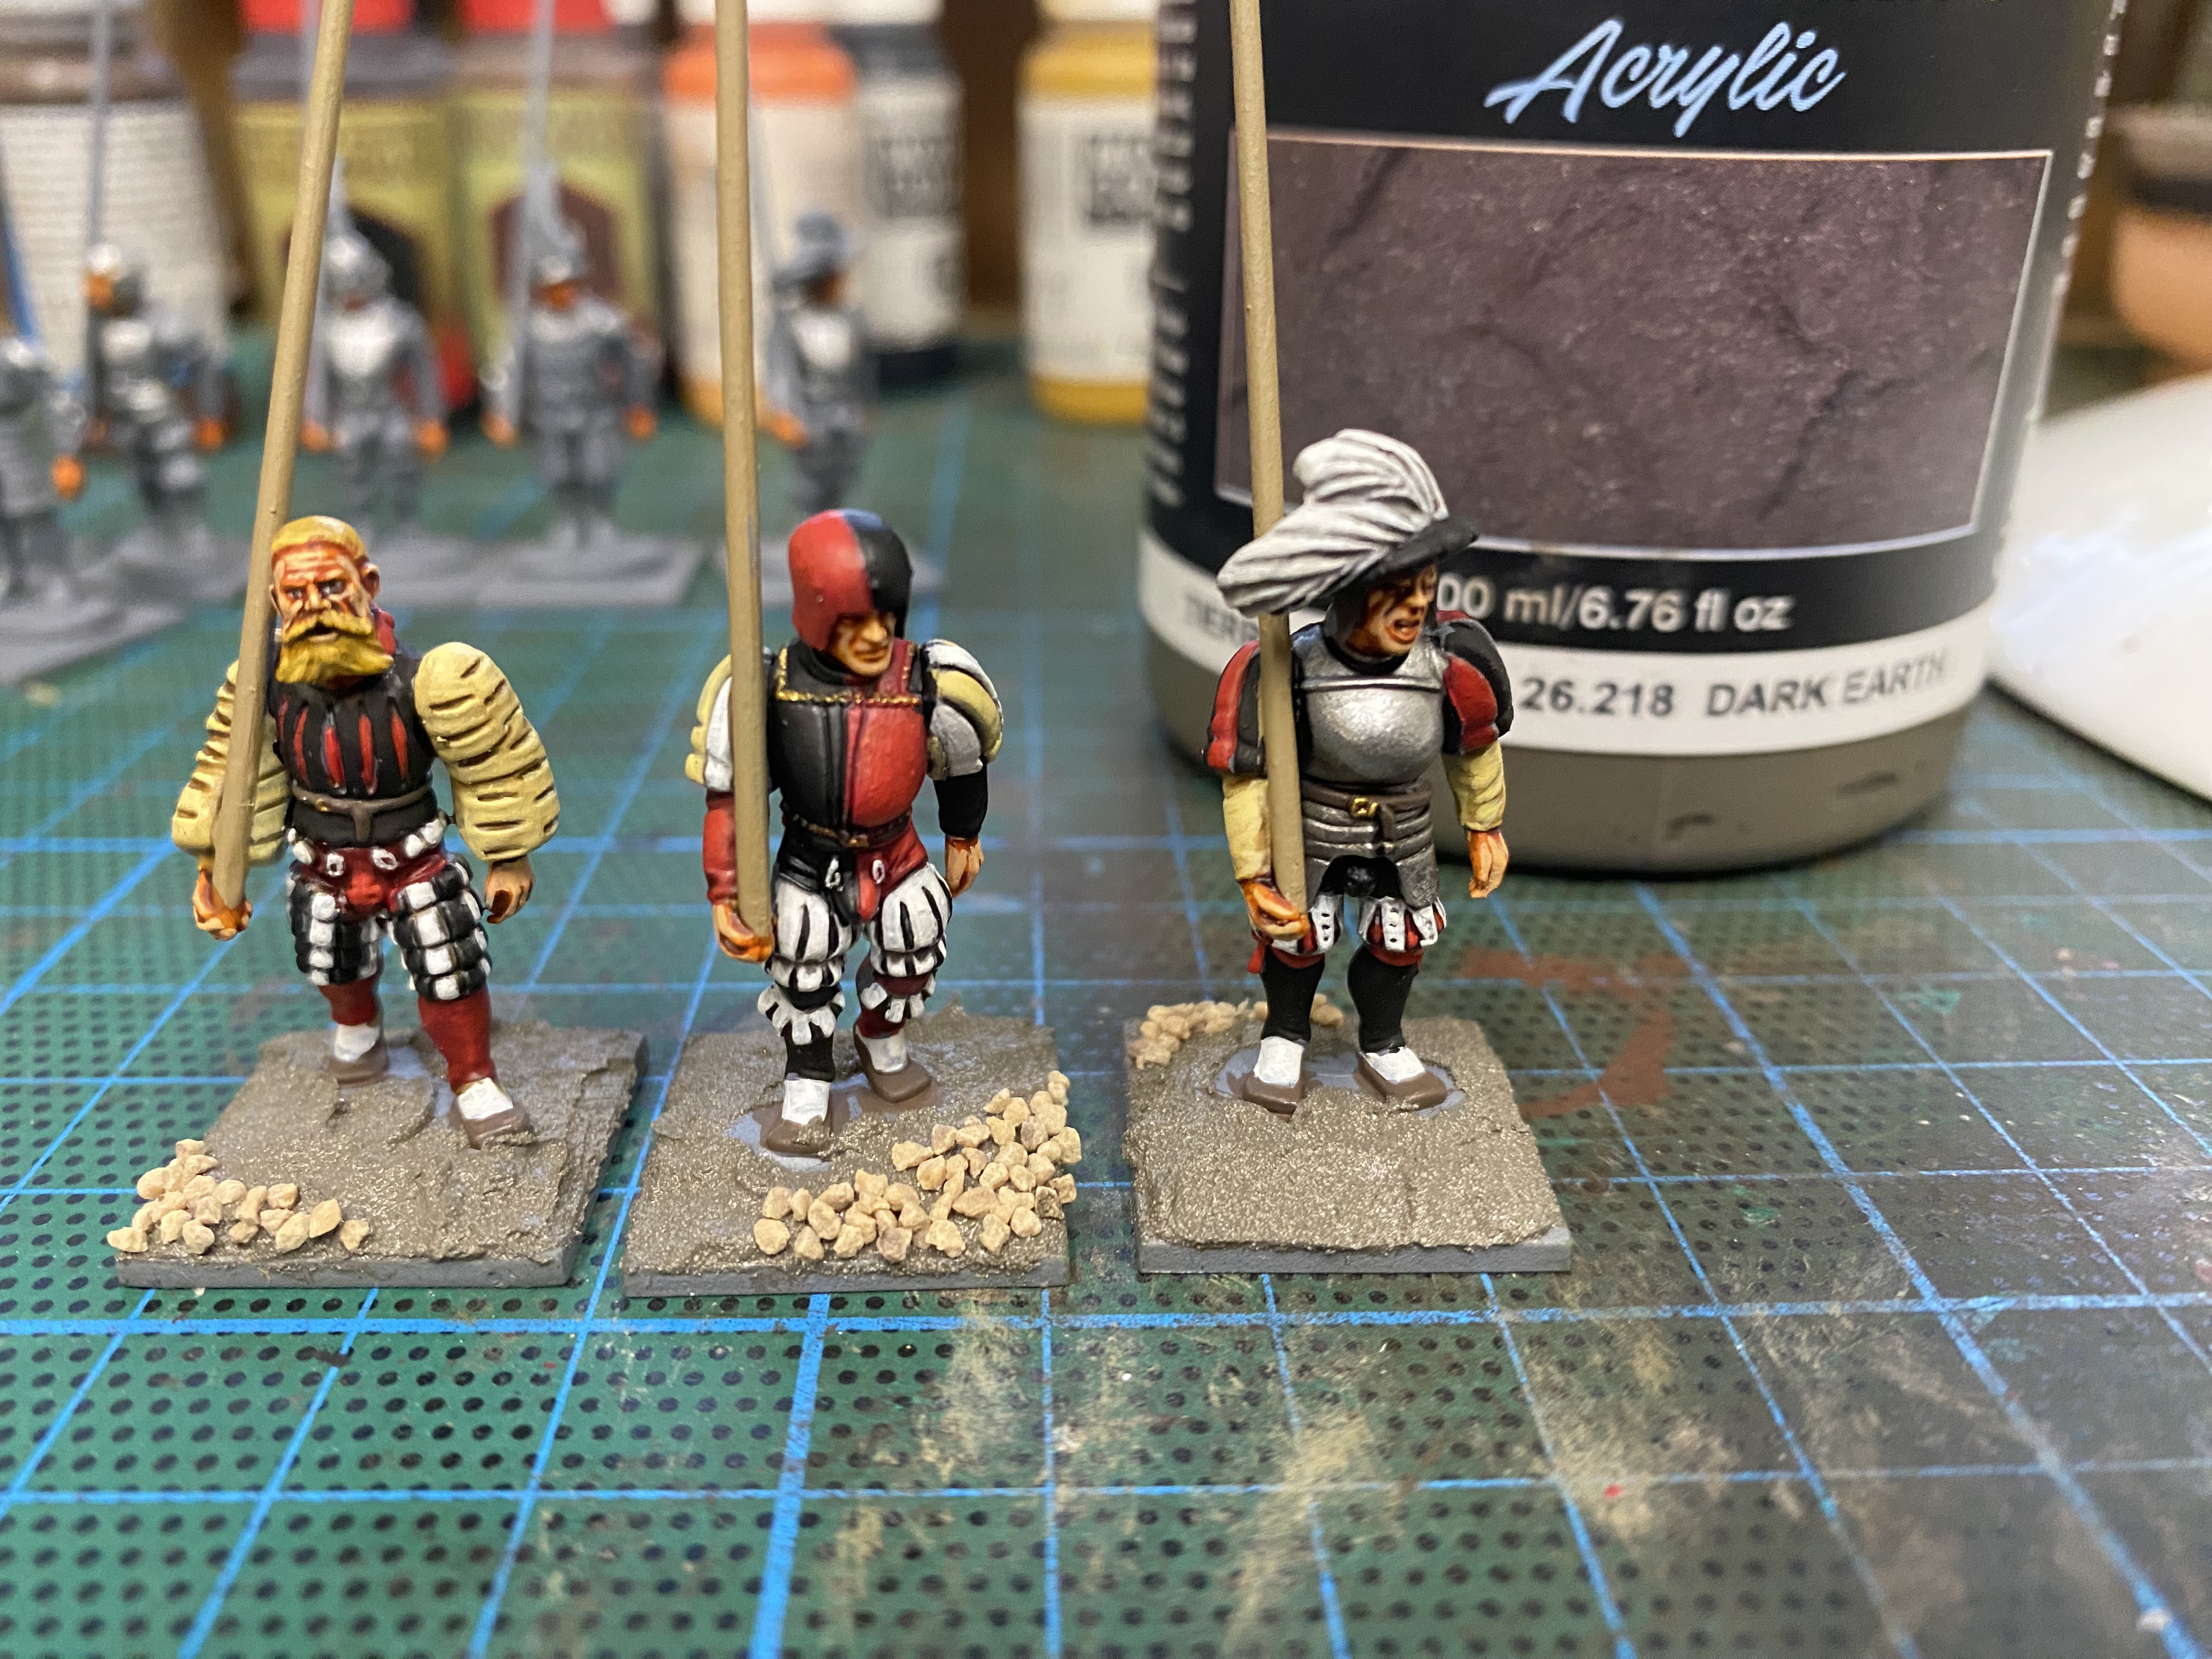
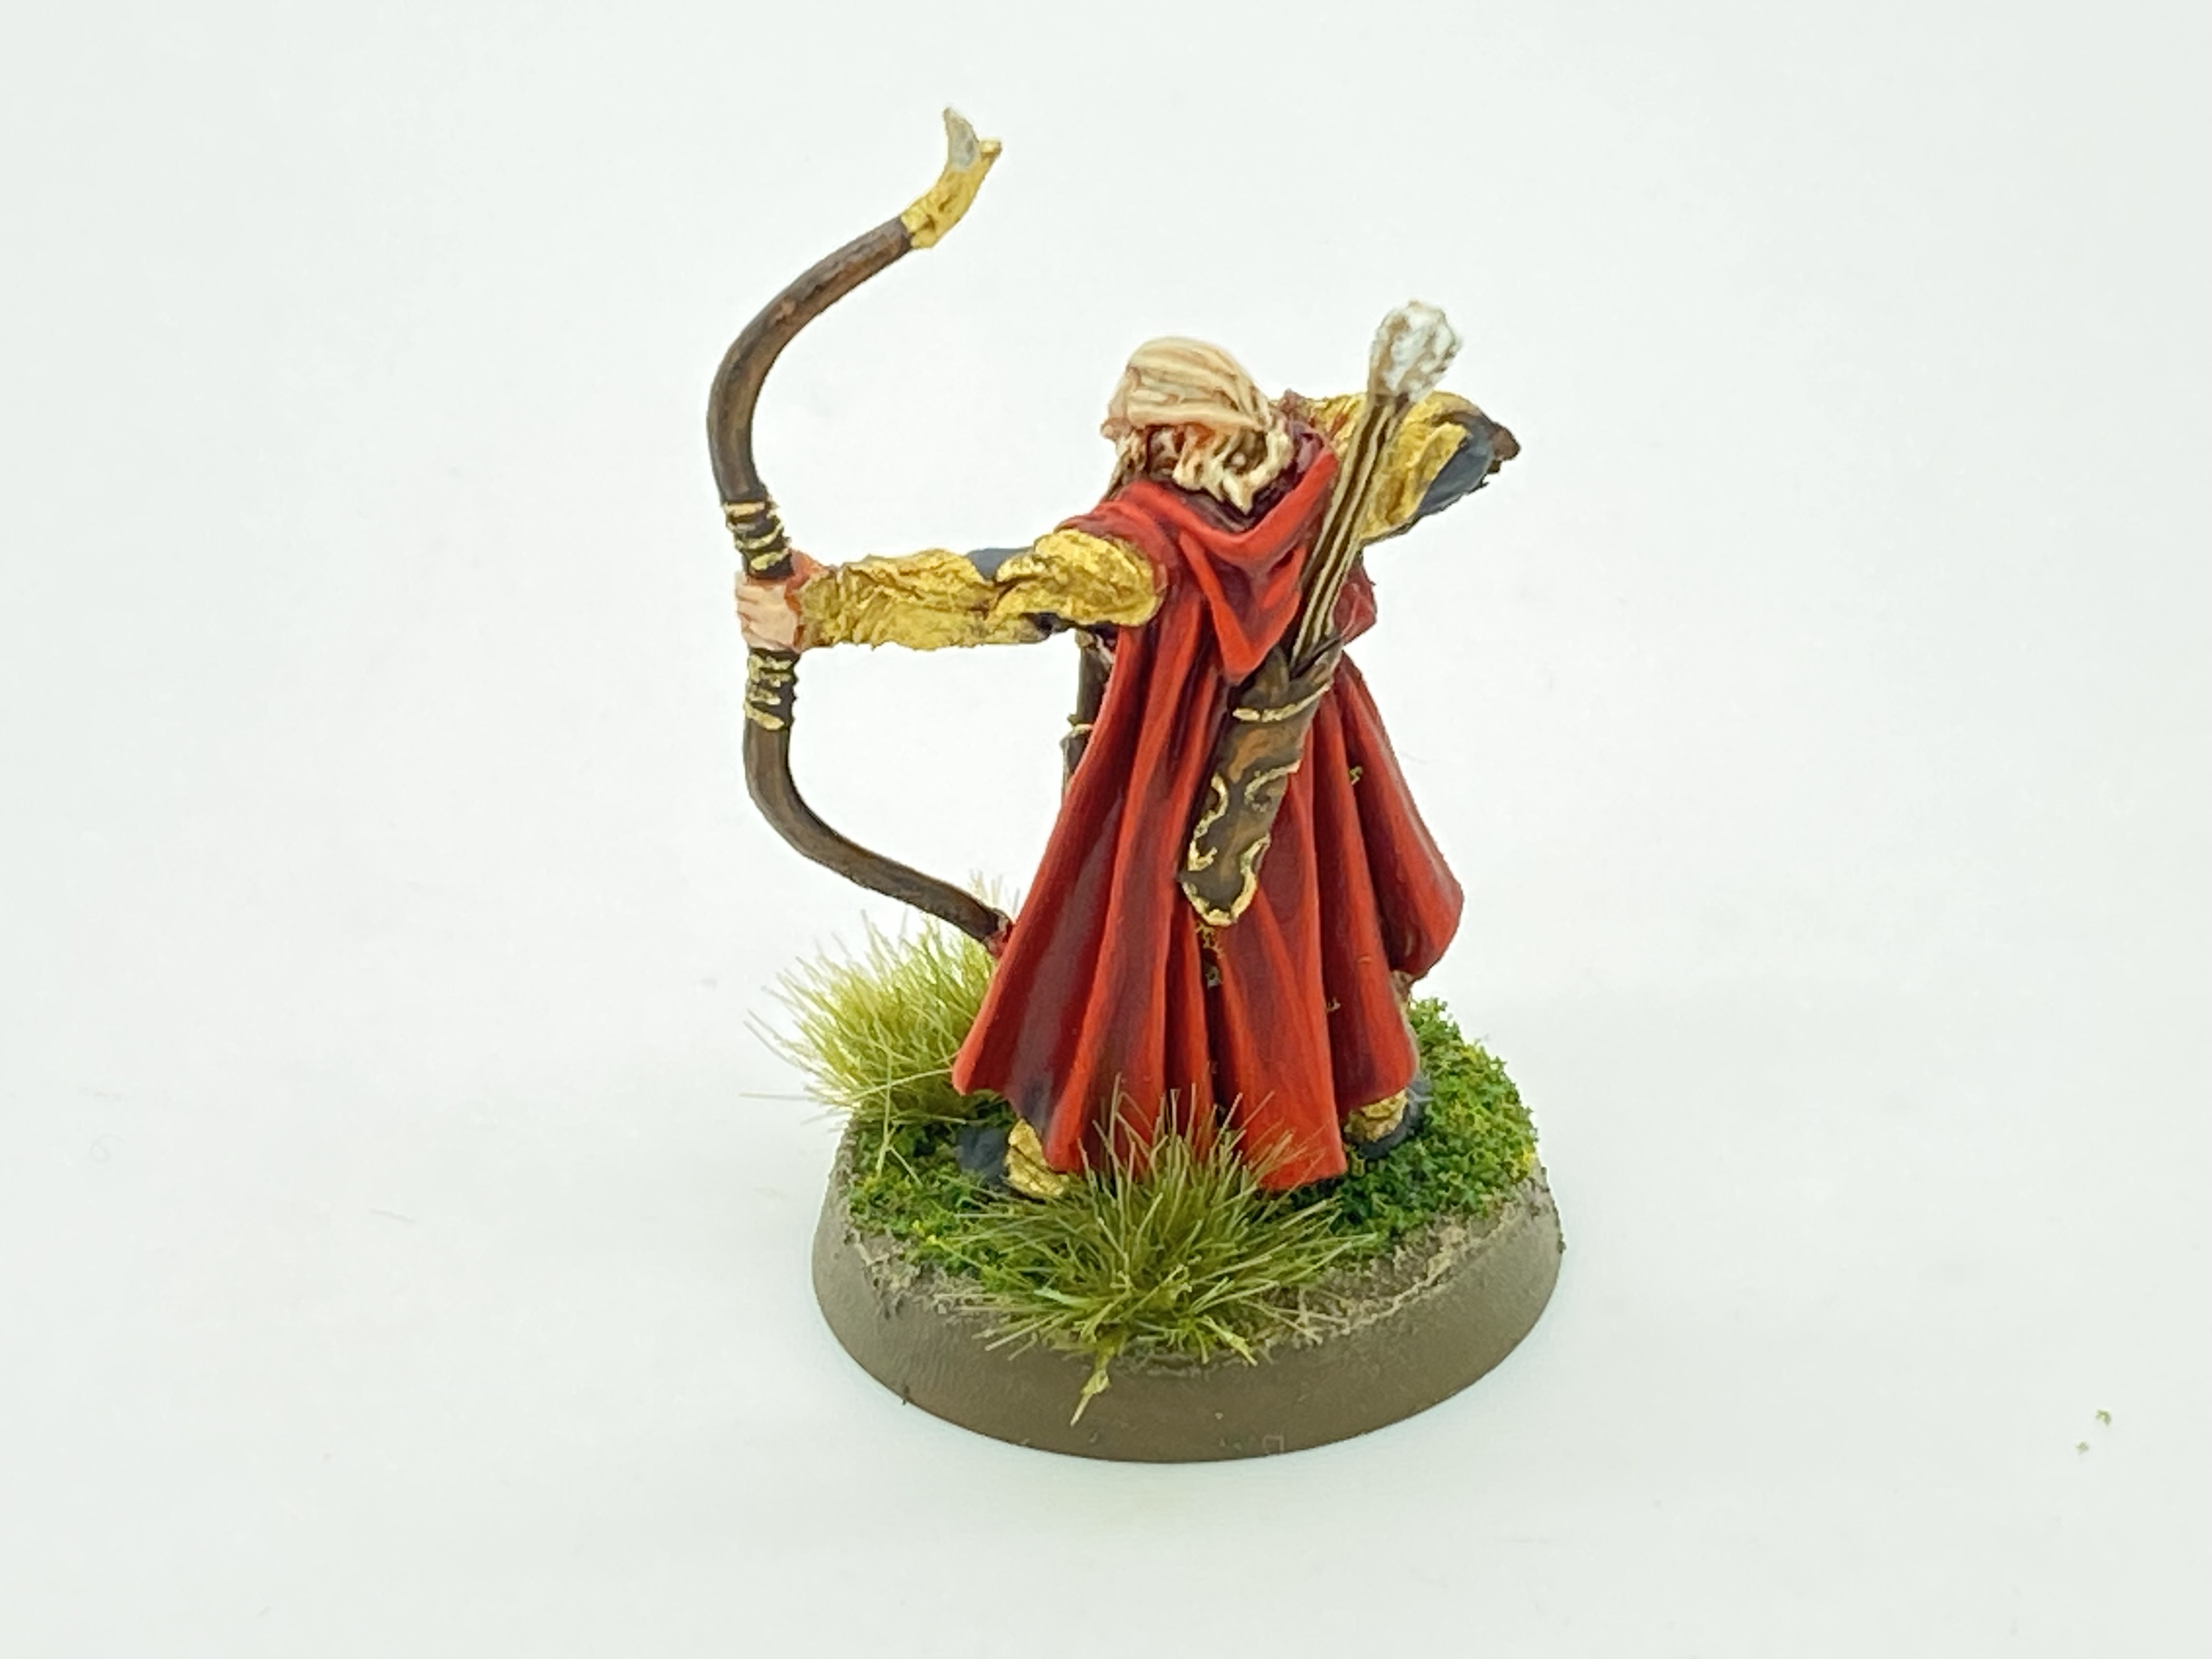
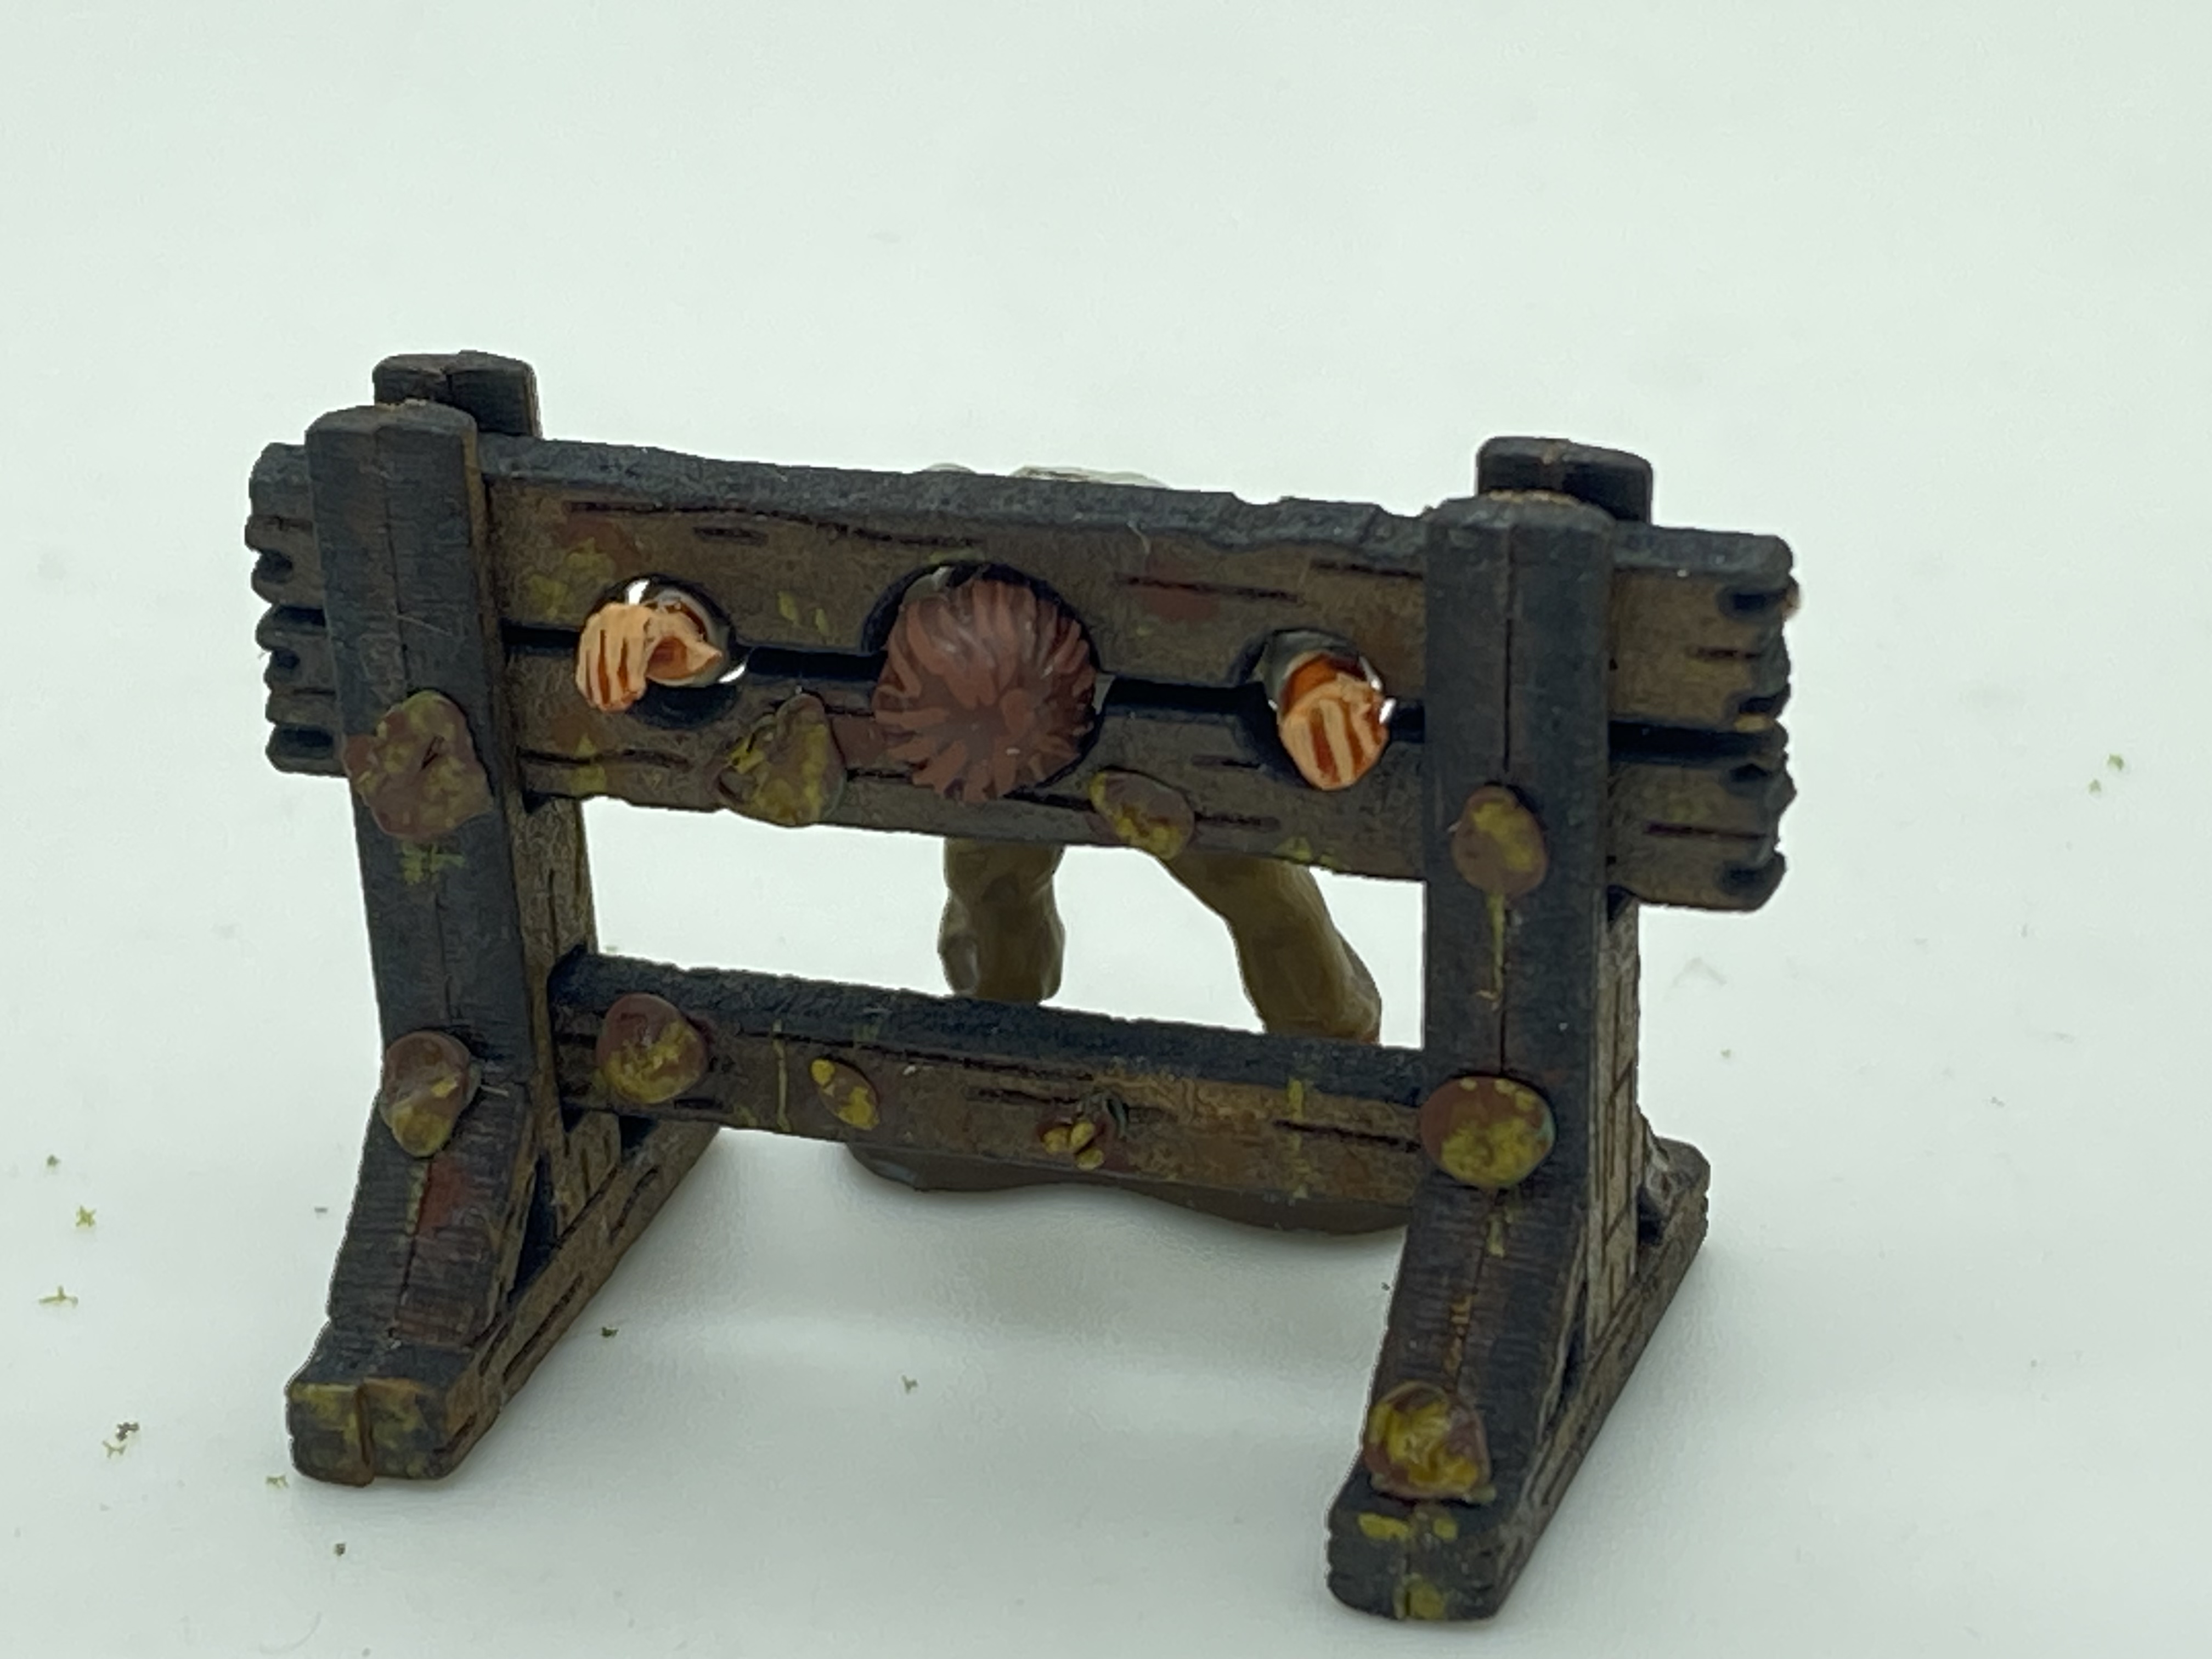
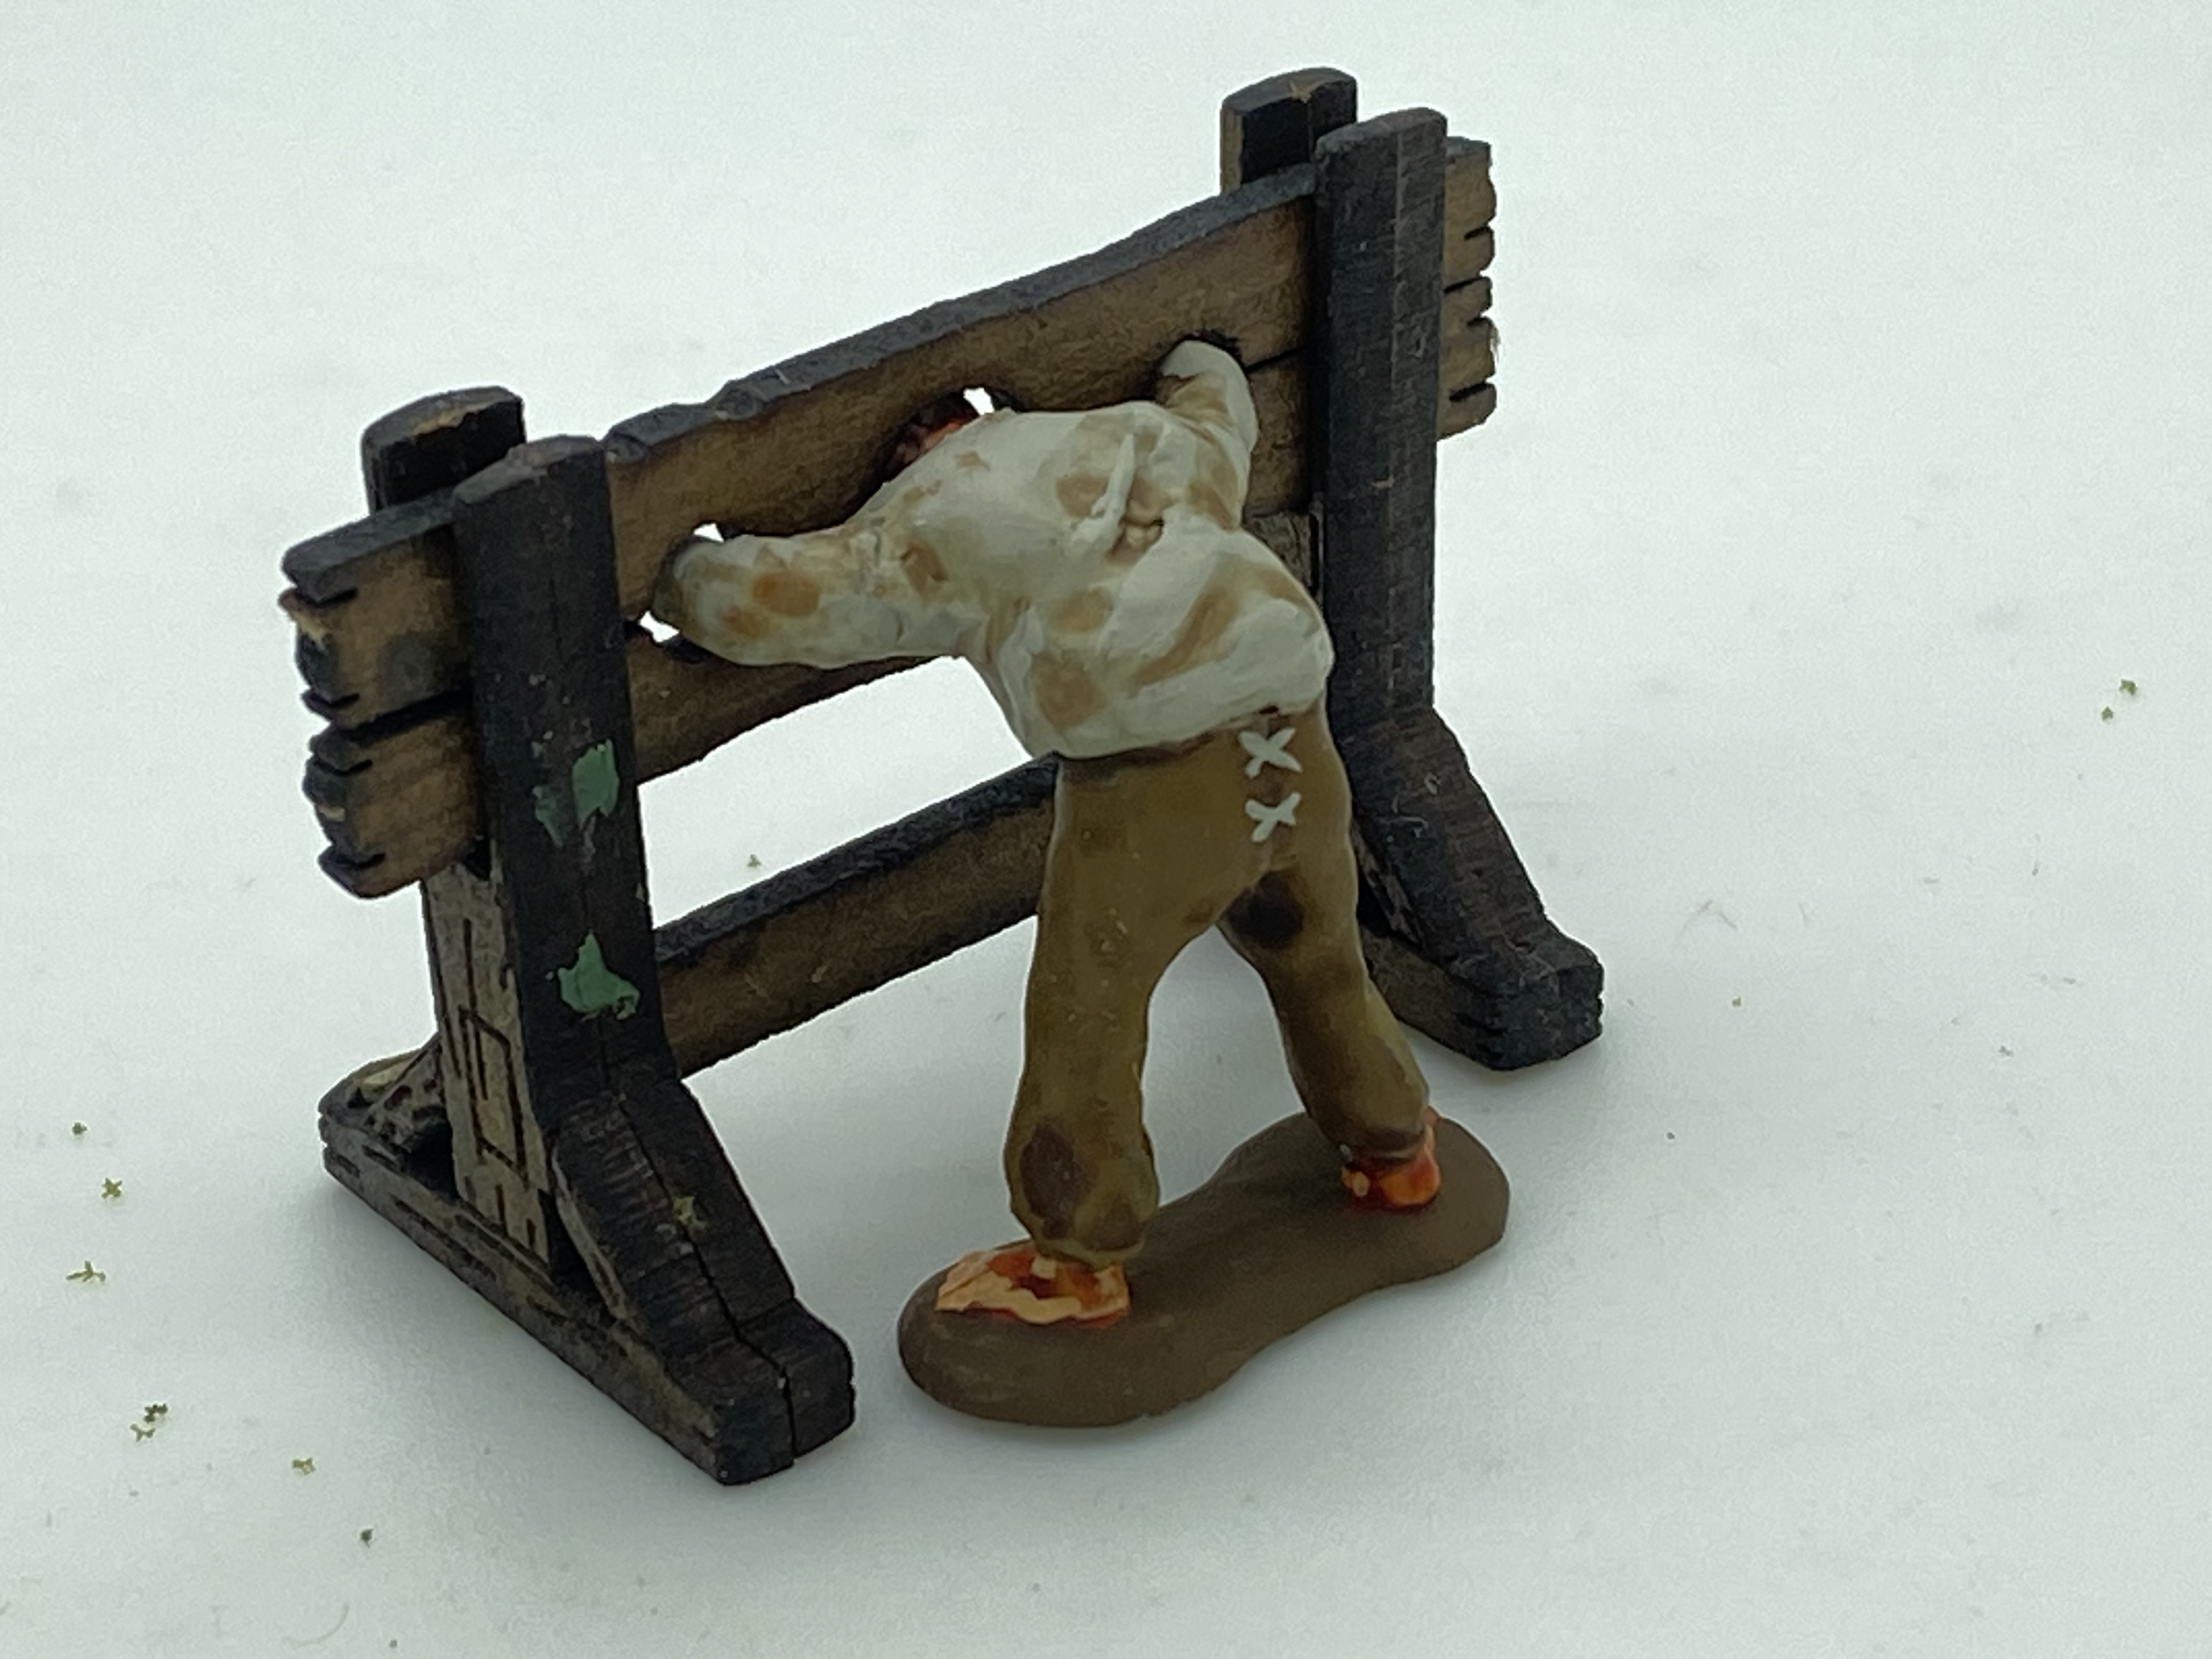
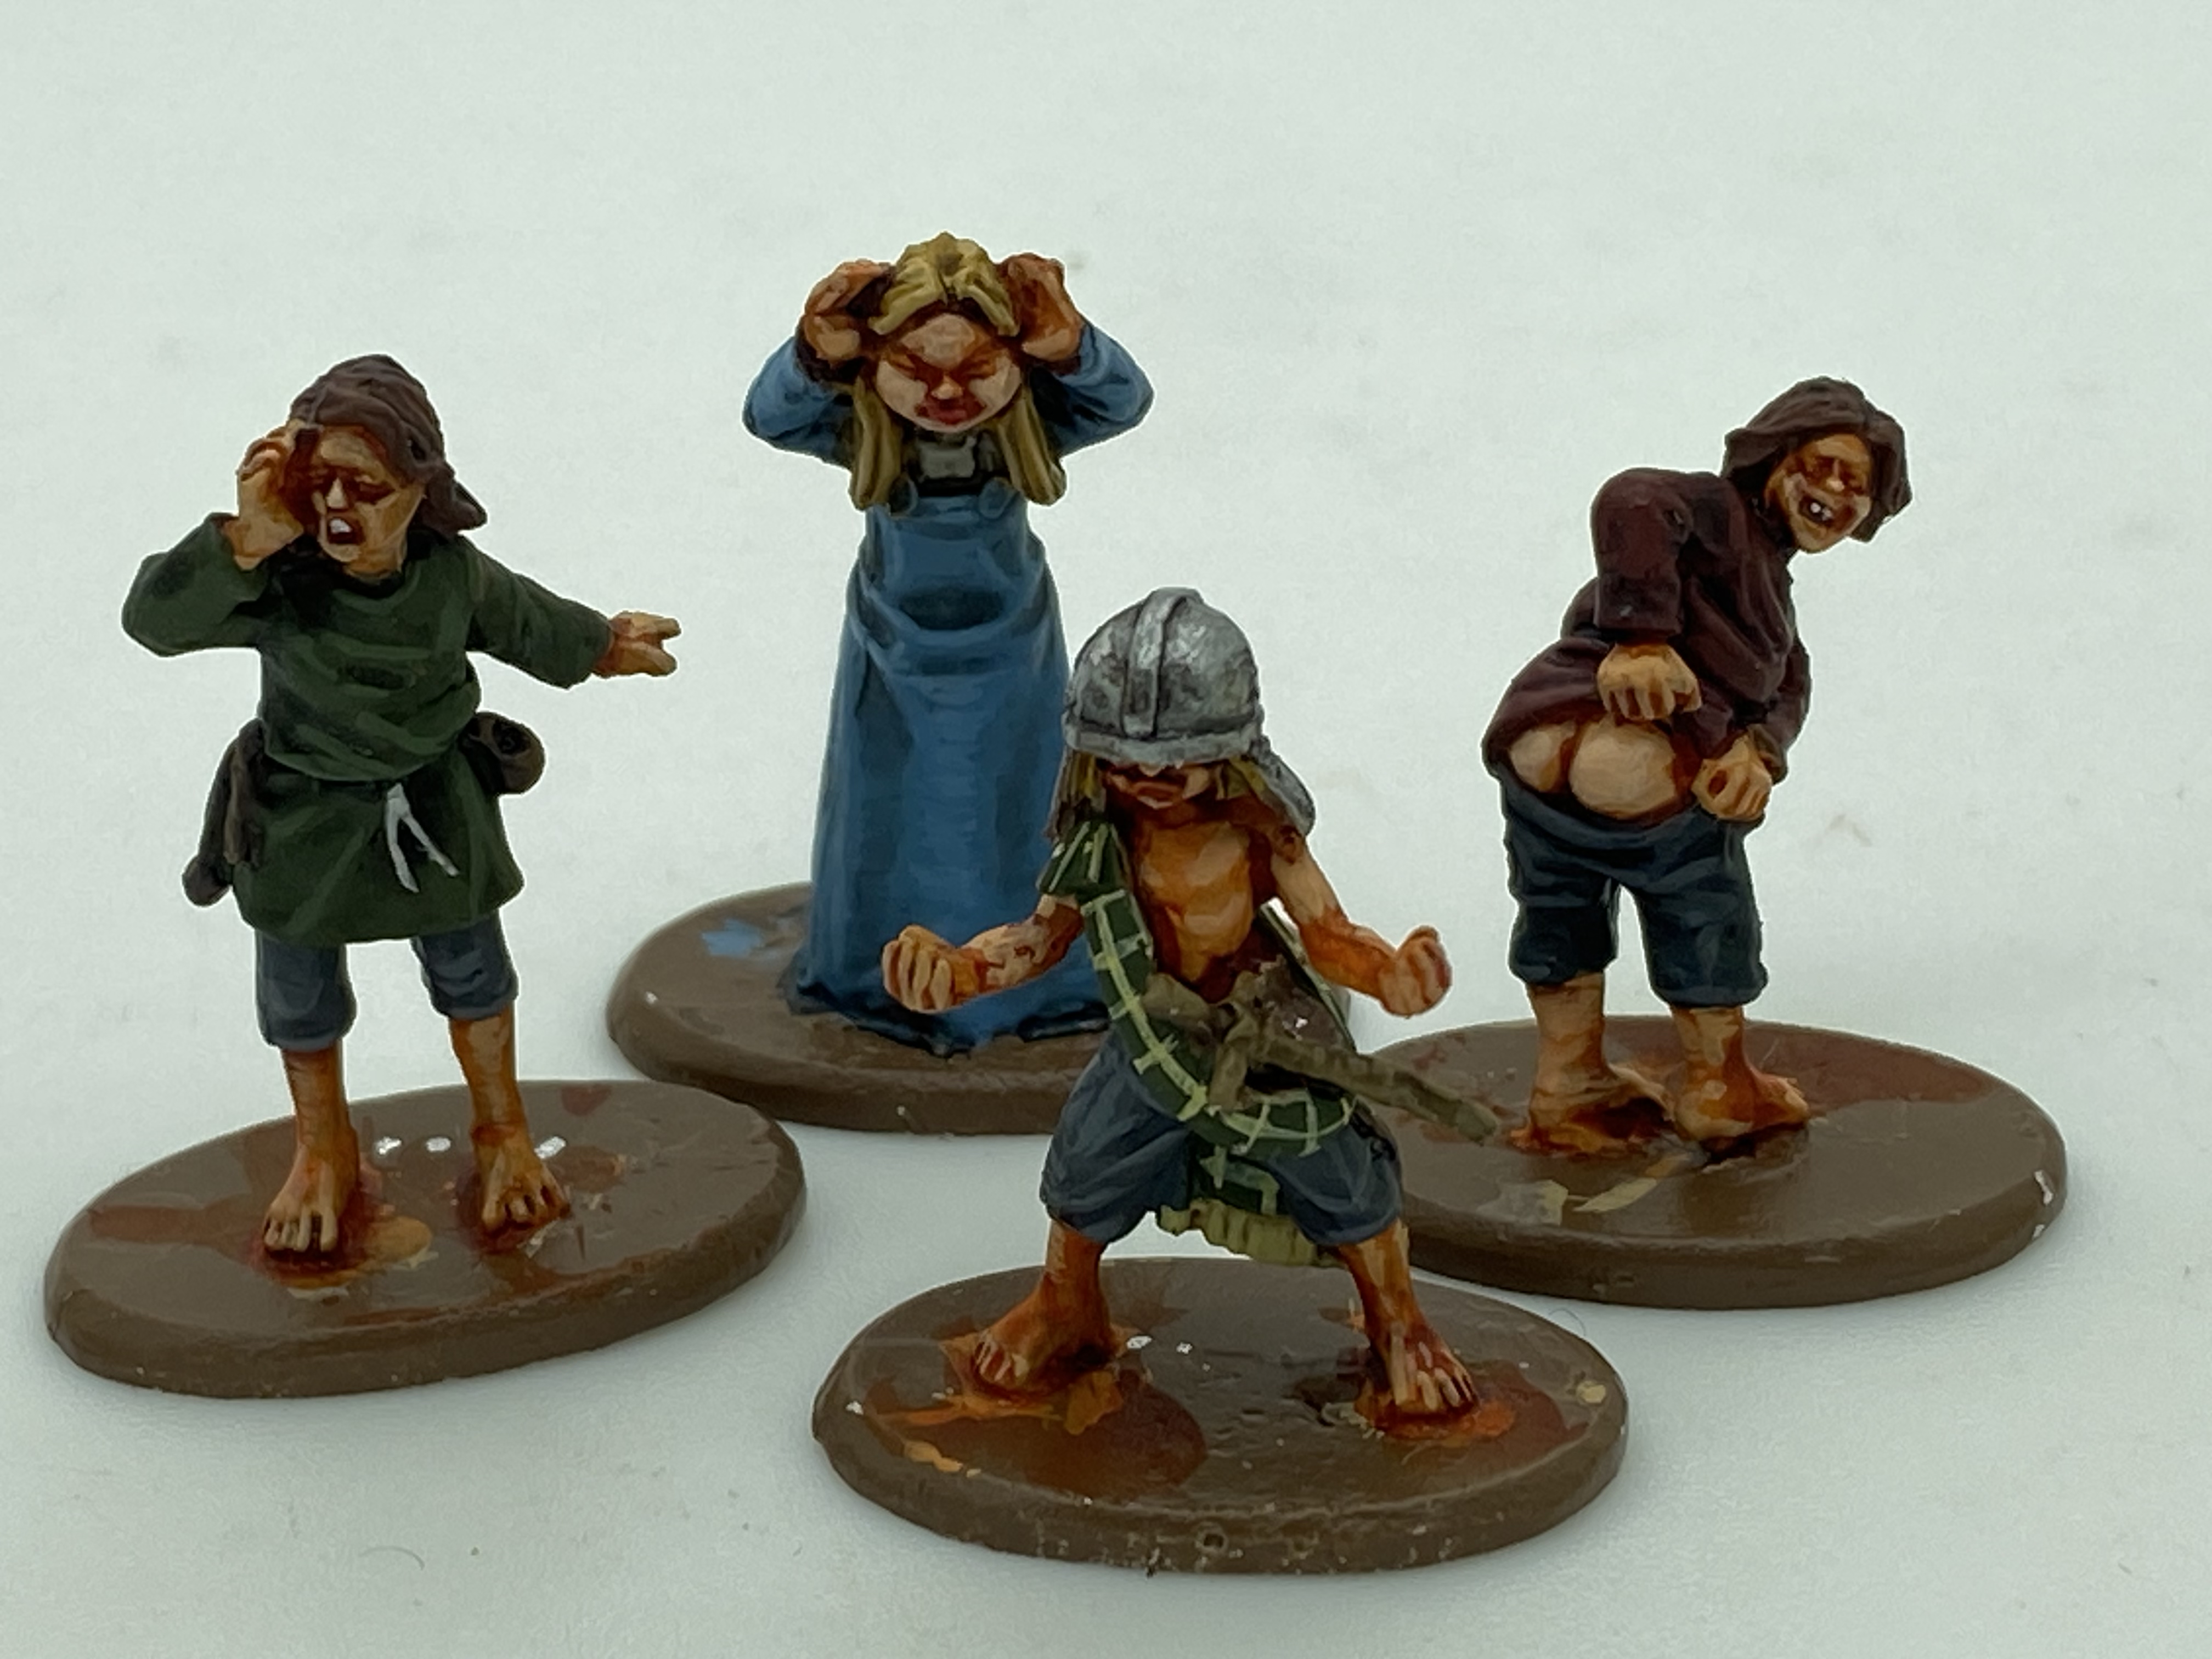
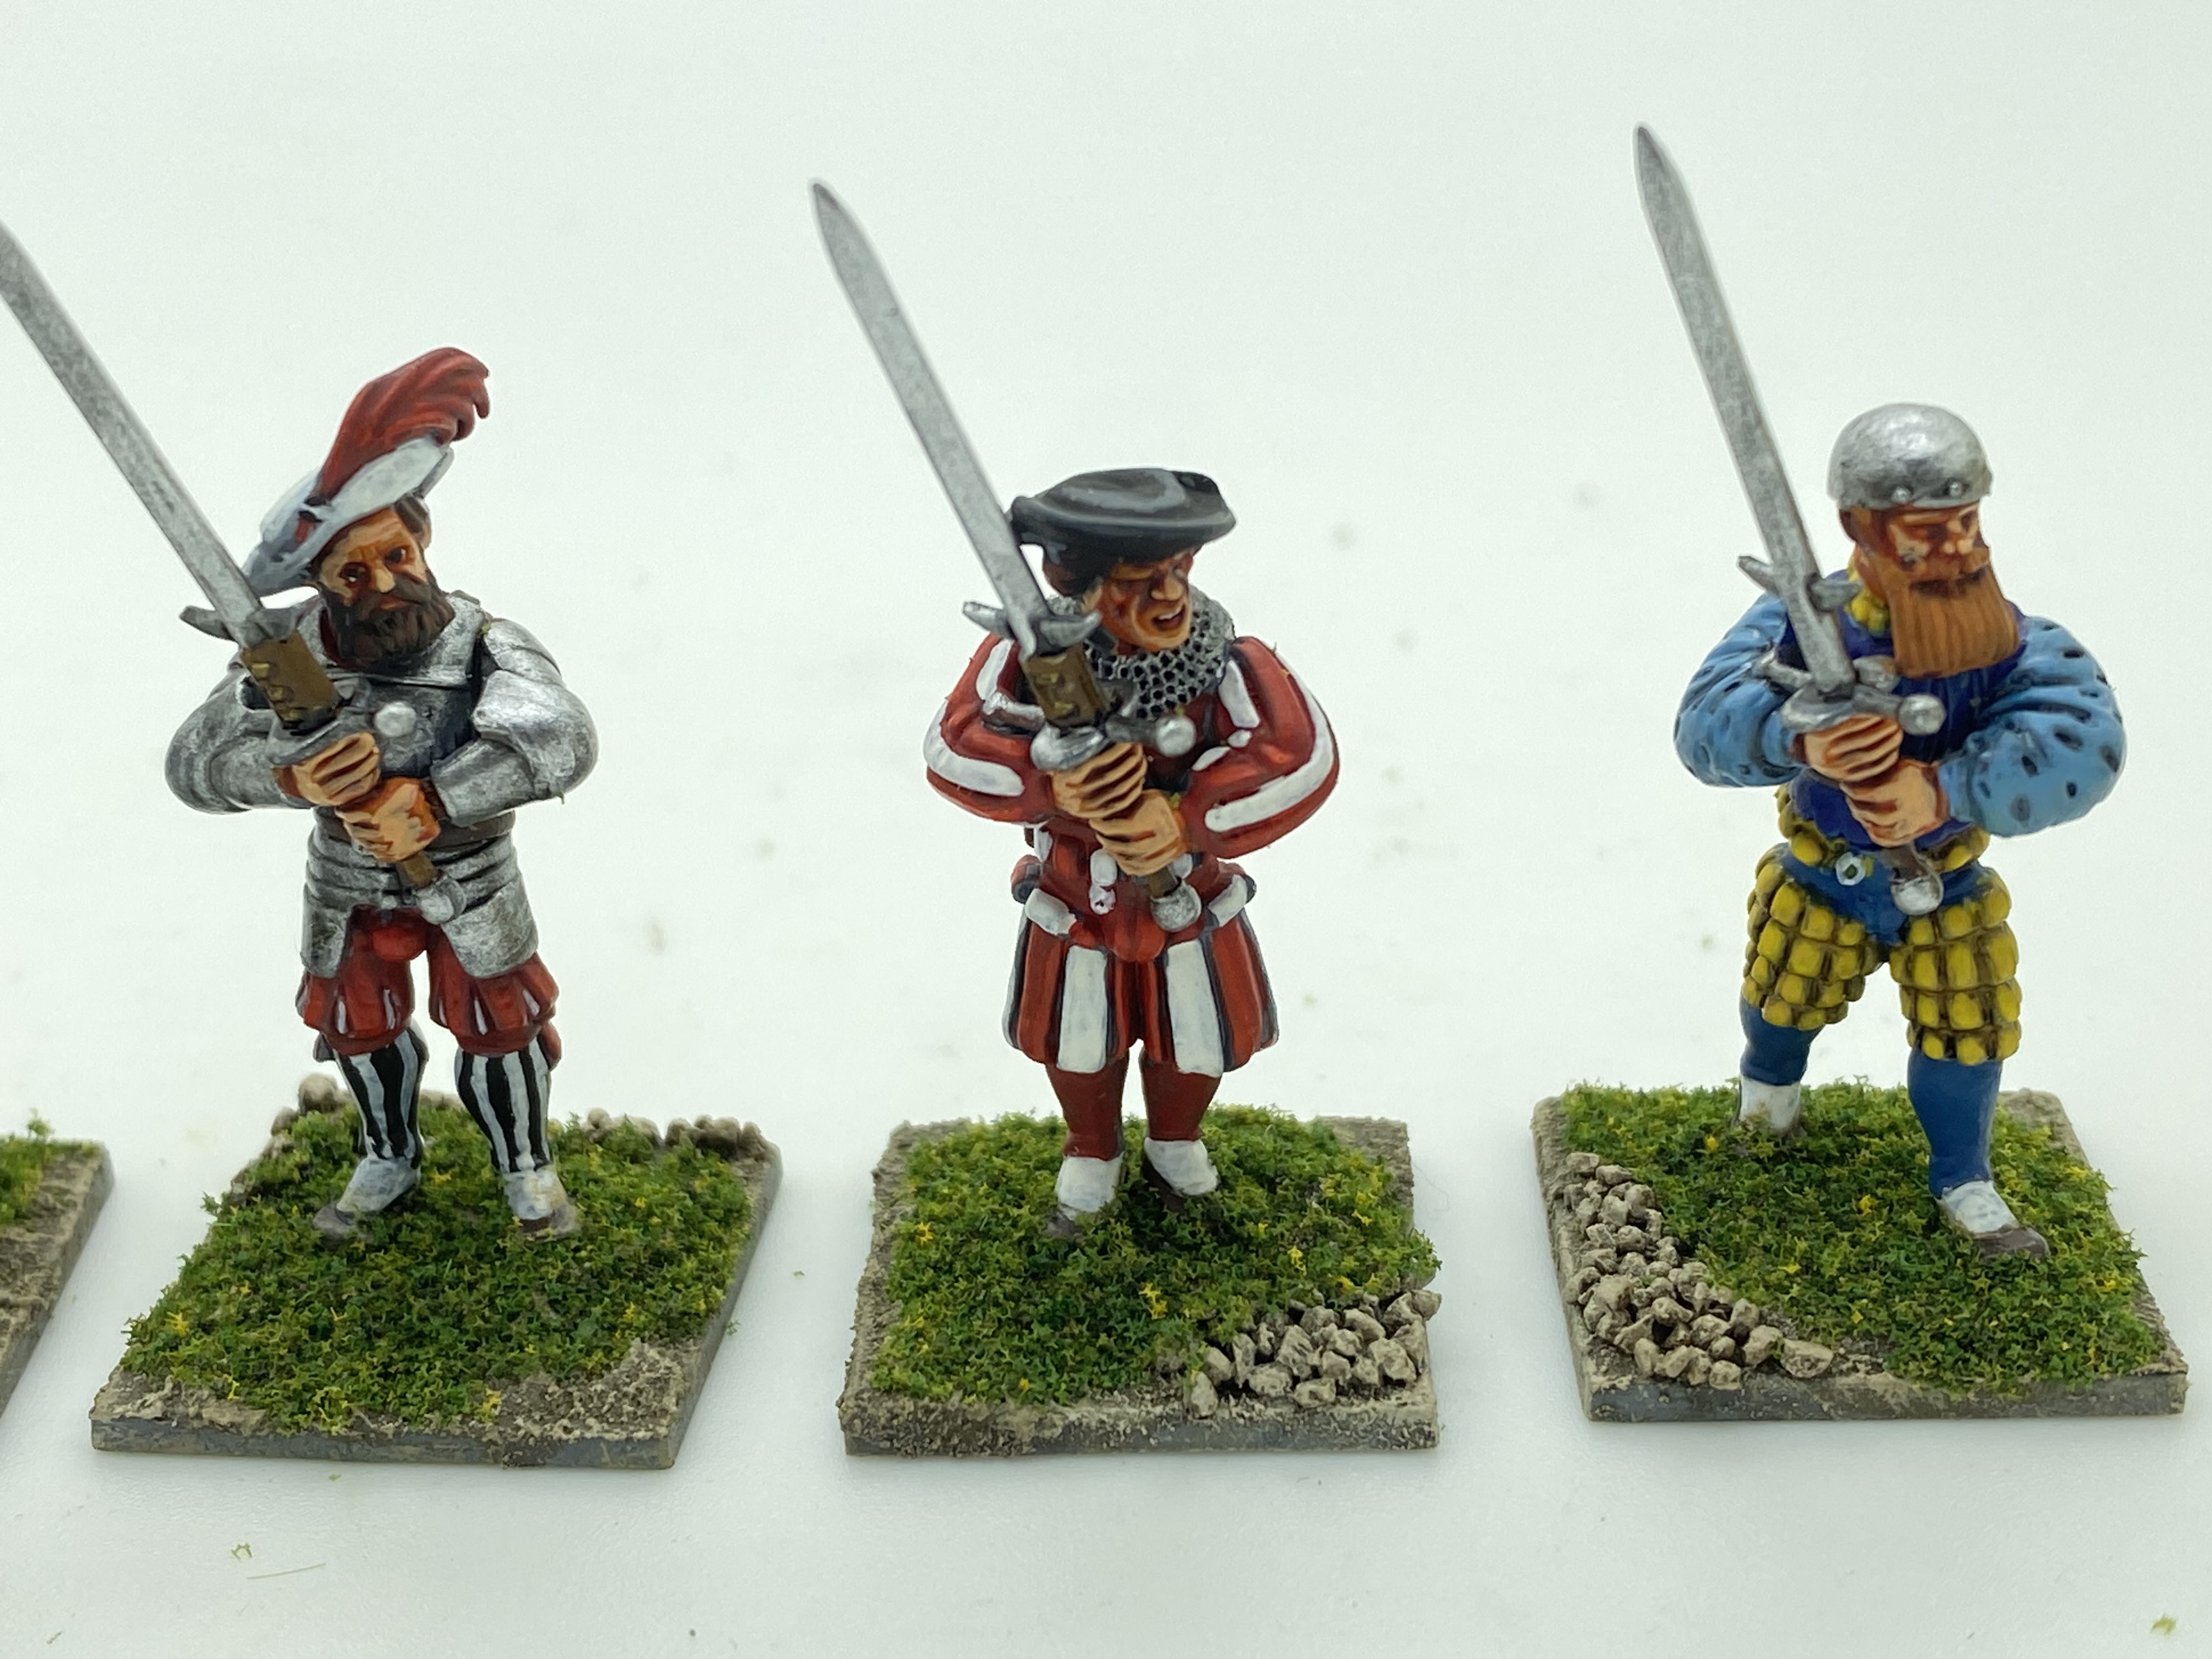
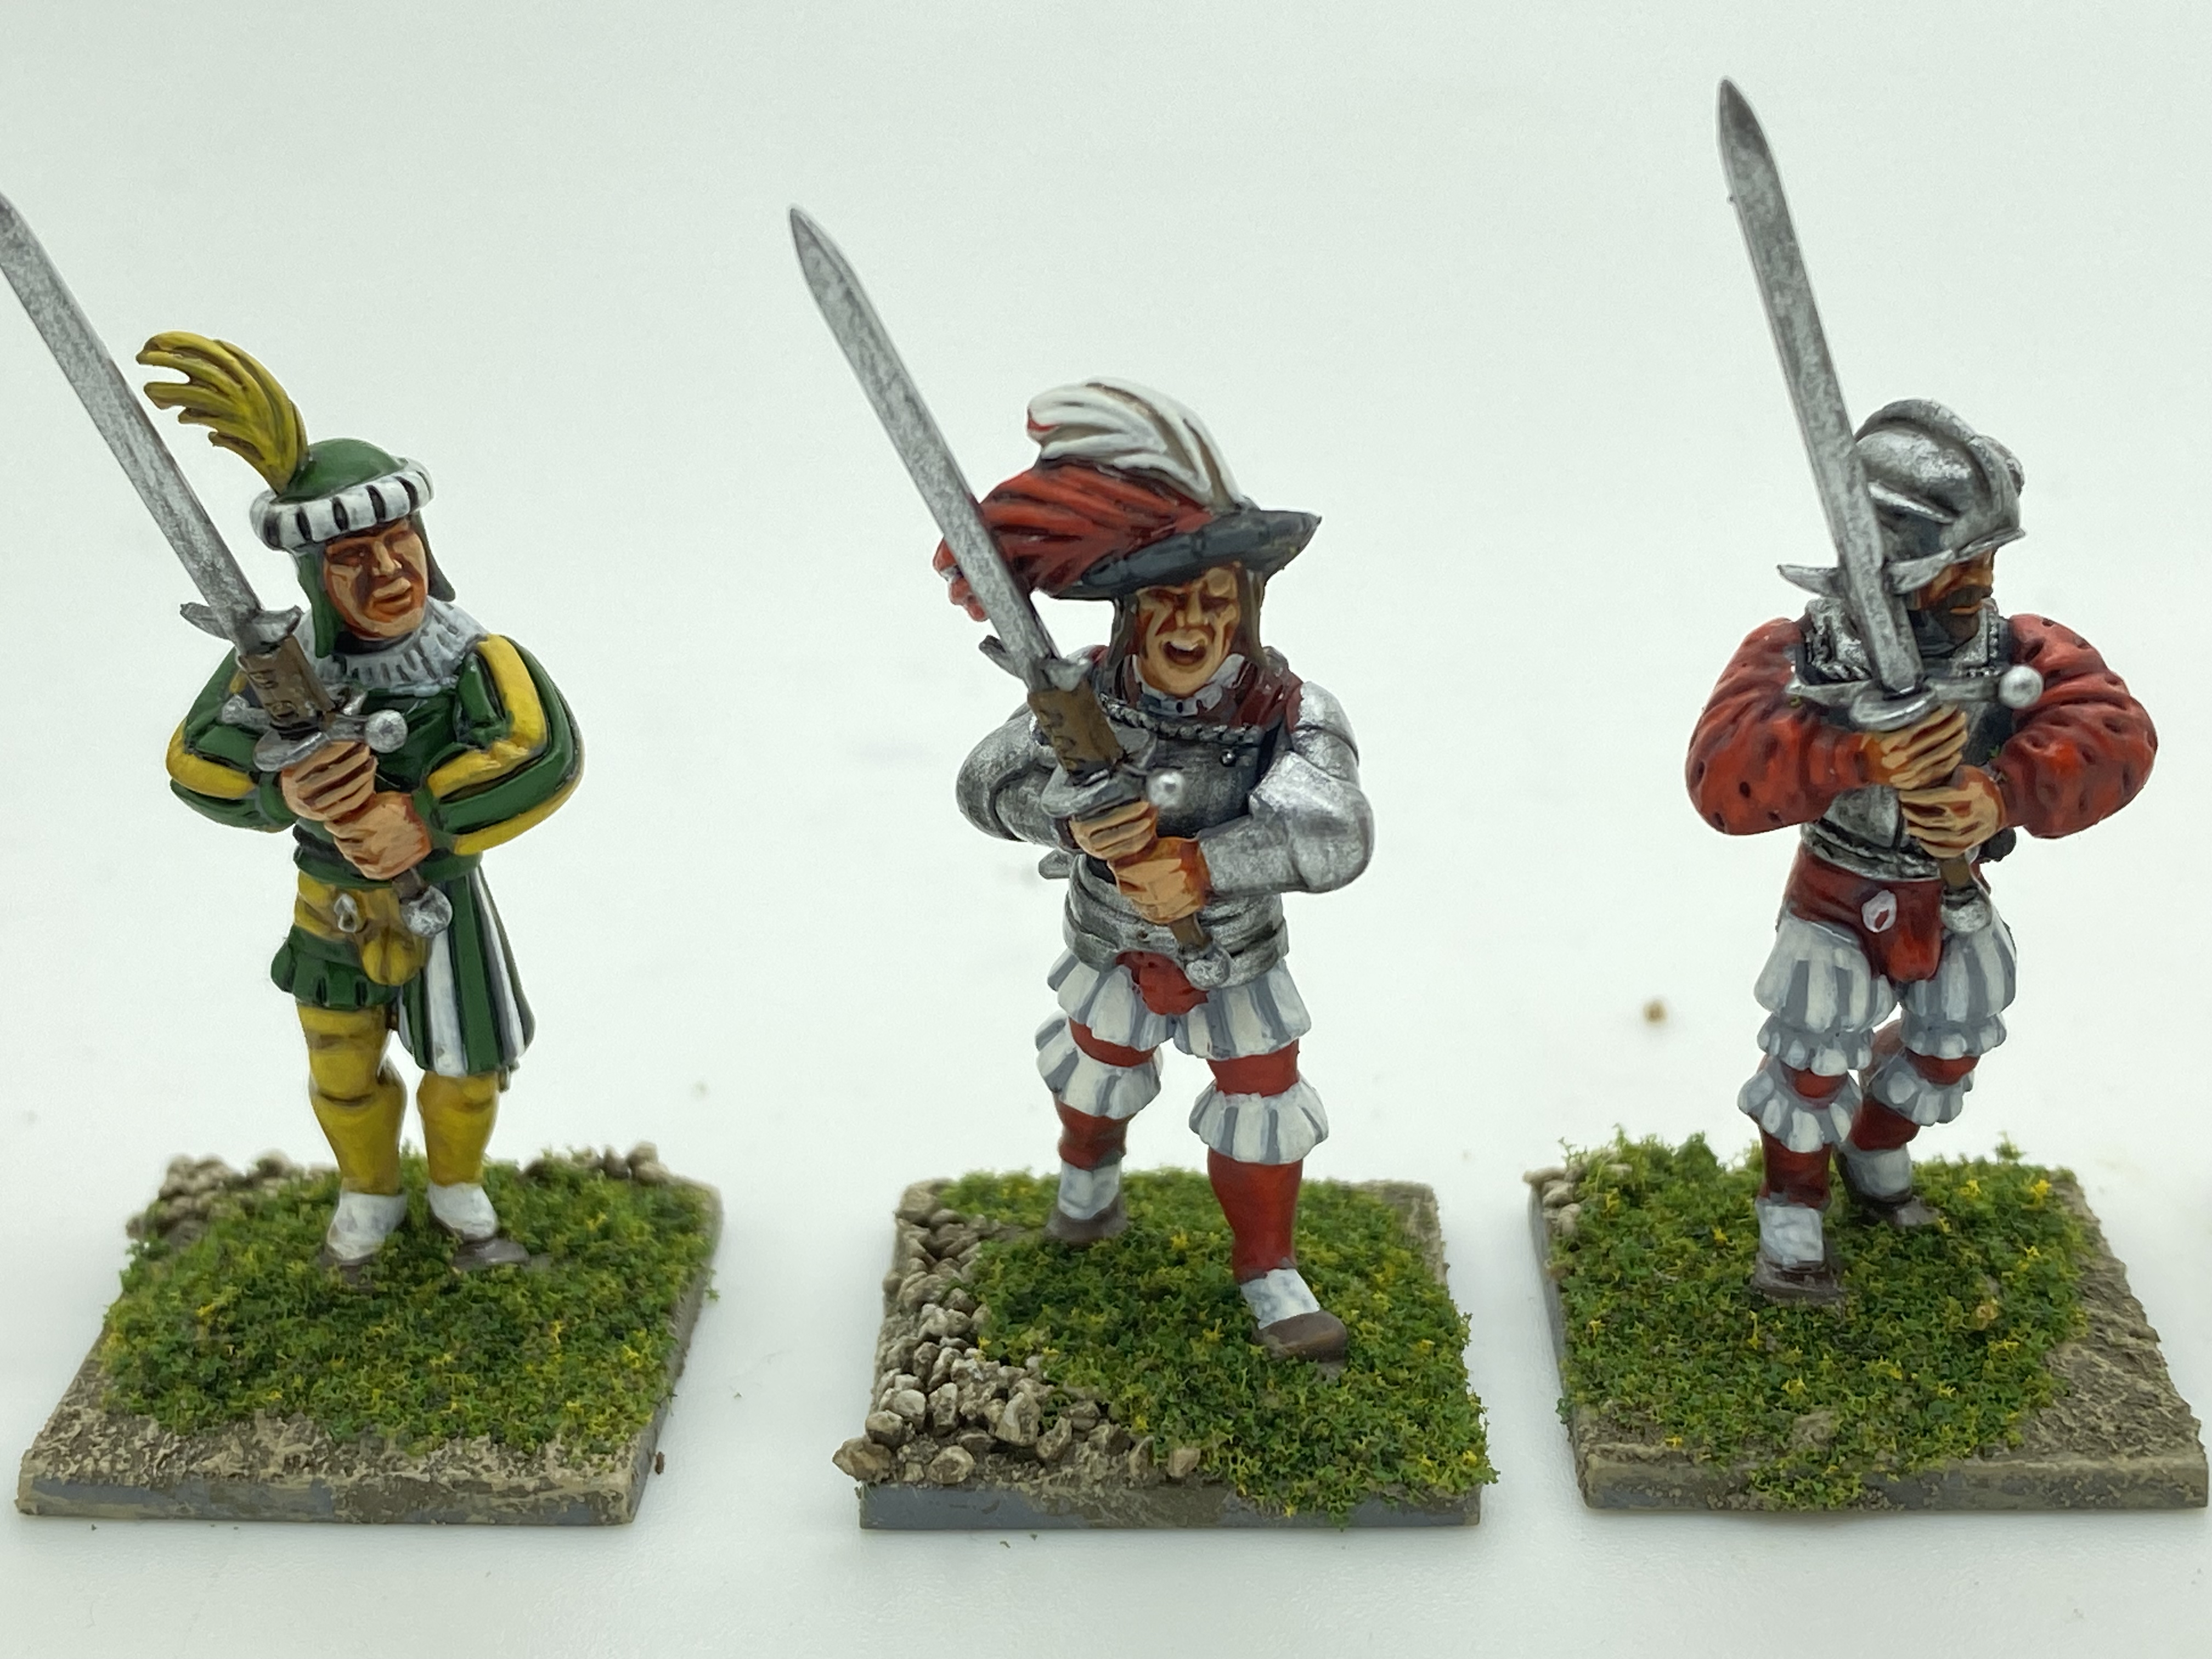
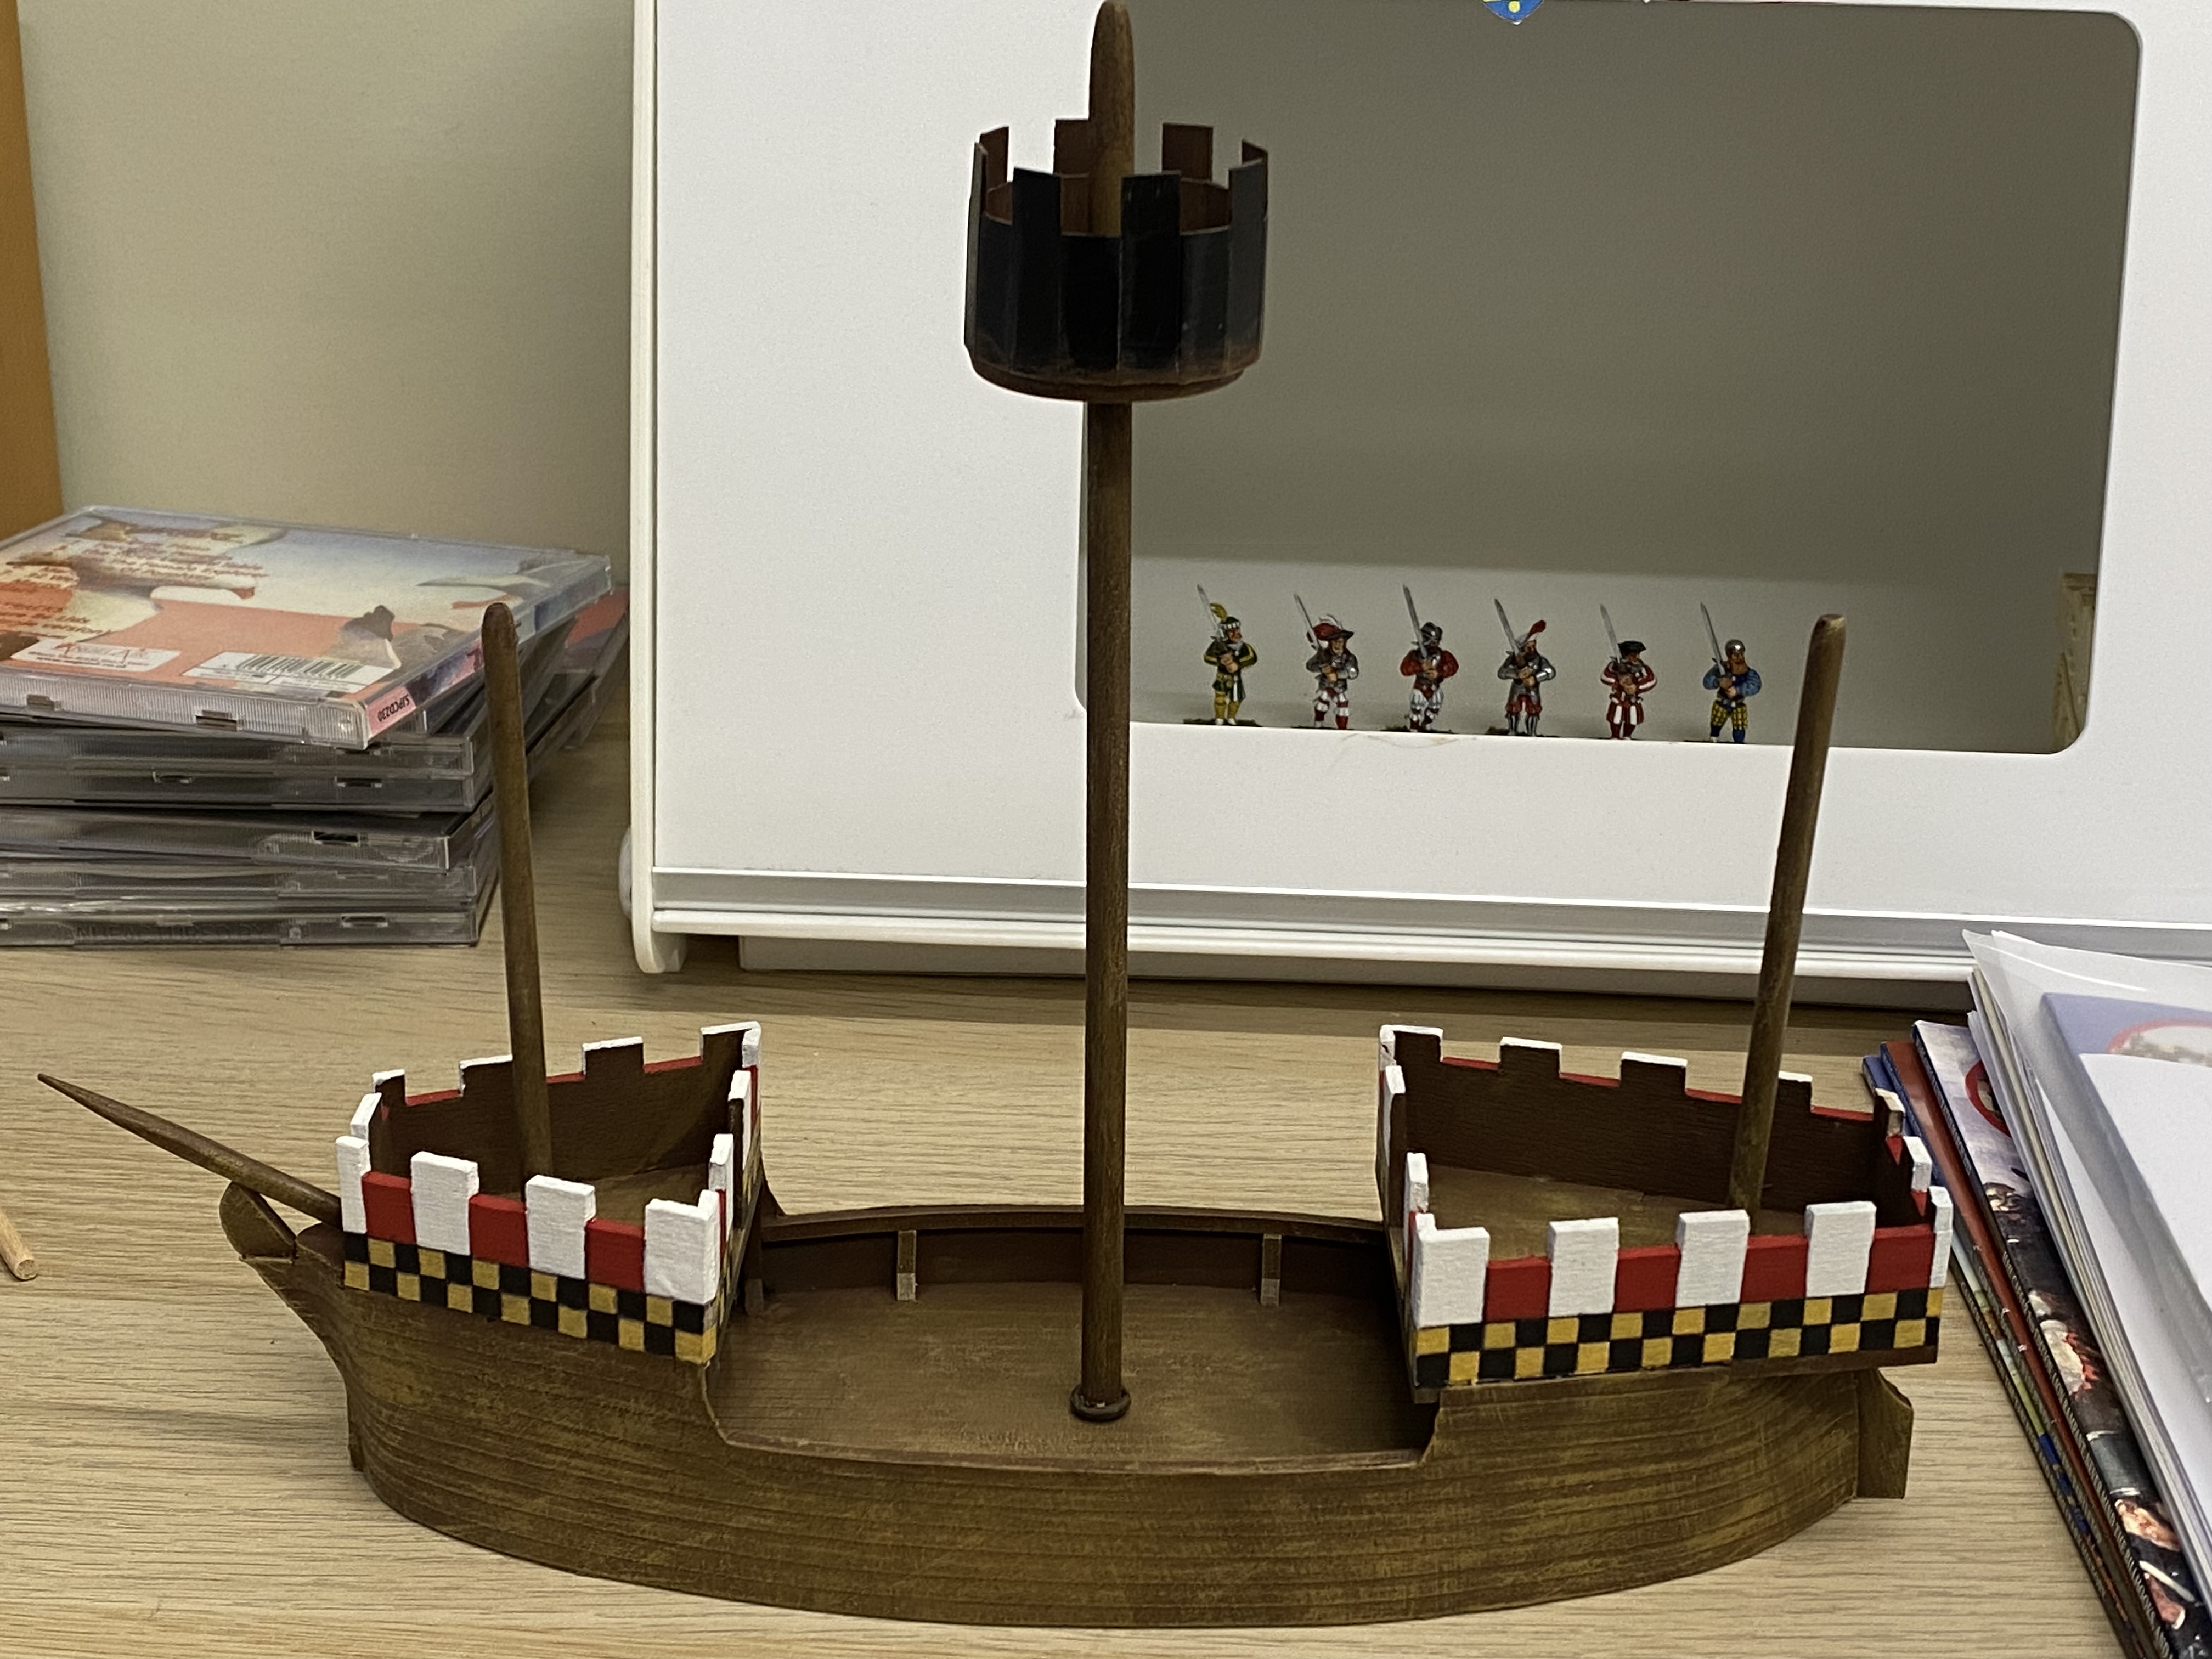
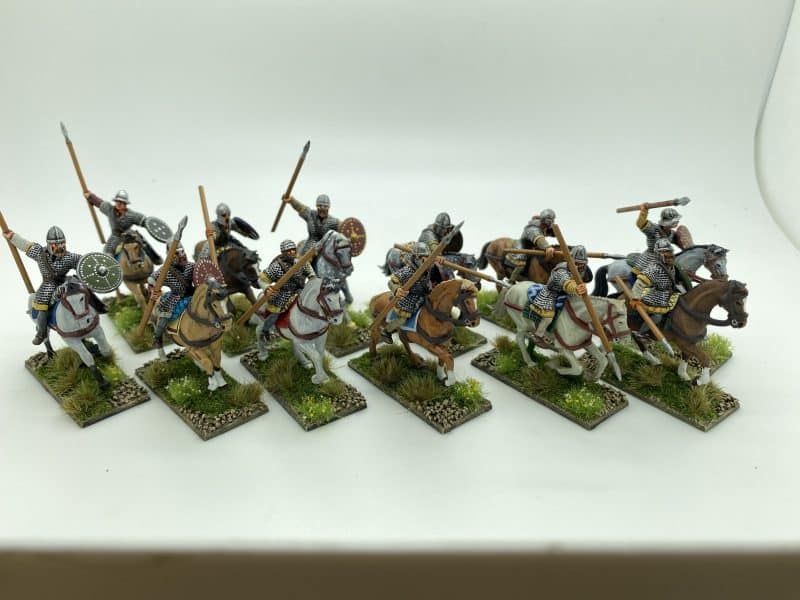
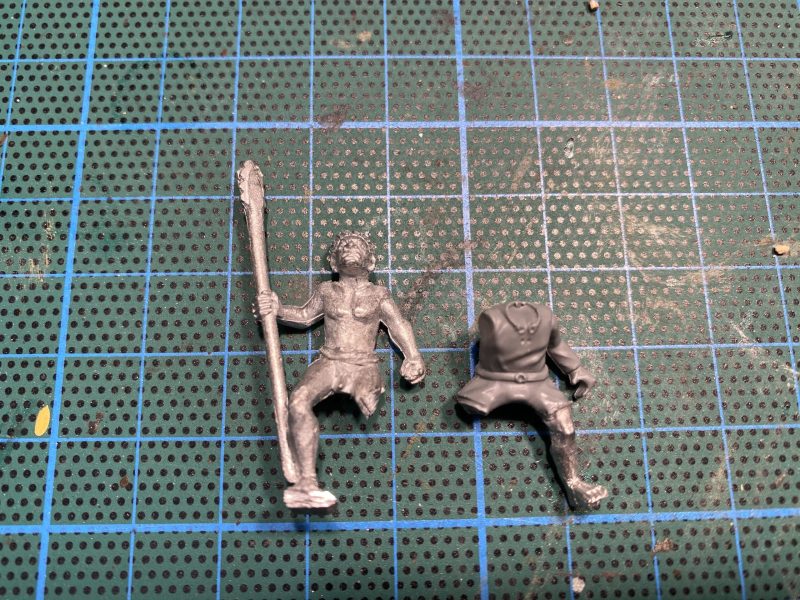
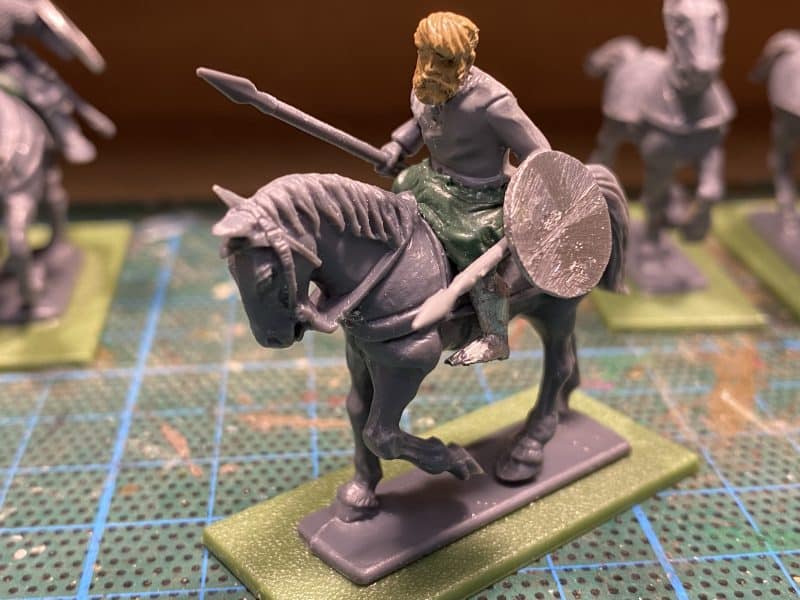
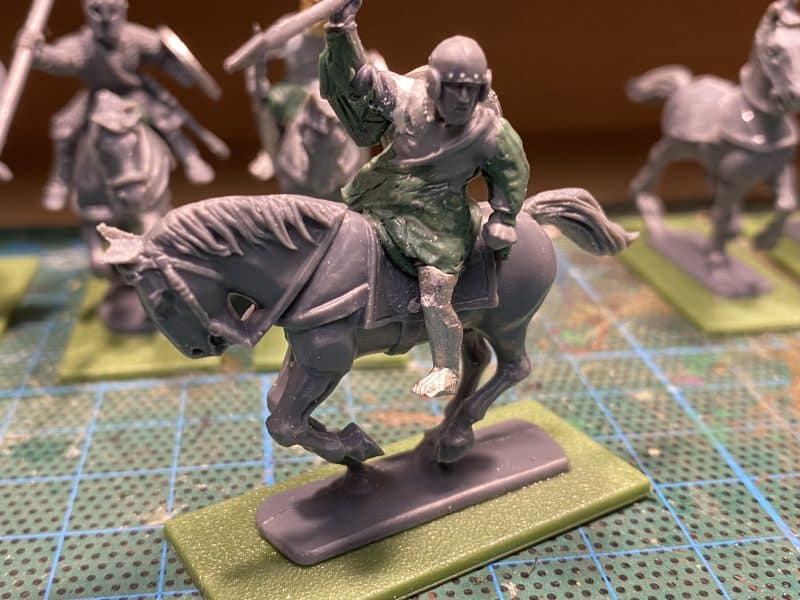
The work on this lovely model continues. As I finished each block of figures I placed them into the boat, ready for the final assembly. Once the sailors were completed, it was onto the soldiers.
The next set of figures after the Officer party was the two sentry’s at the front of the boat, and the drummer and trooper to accompany the officer party. I had decided to paint the soldiers with dark blue facings as they will probably have flags from one of the guard regiments.
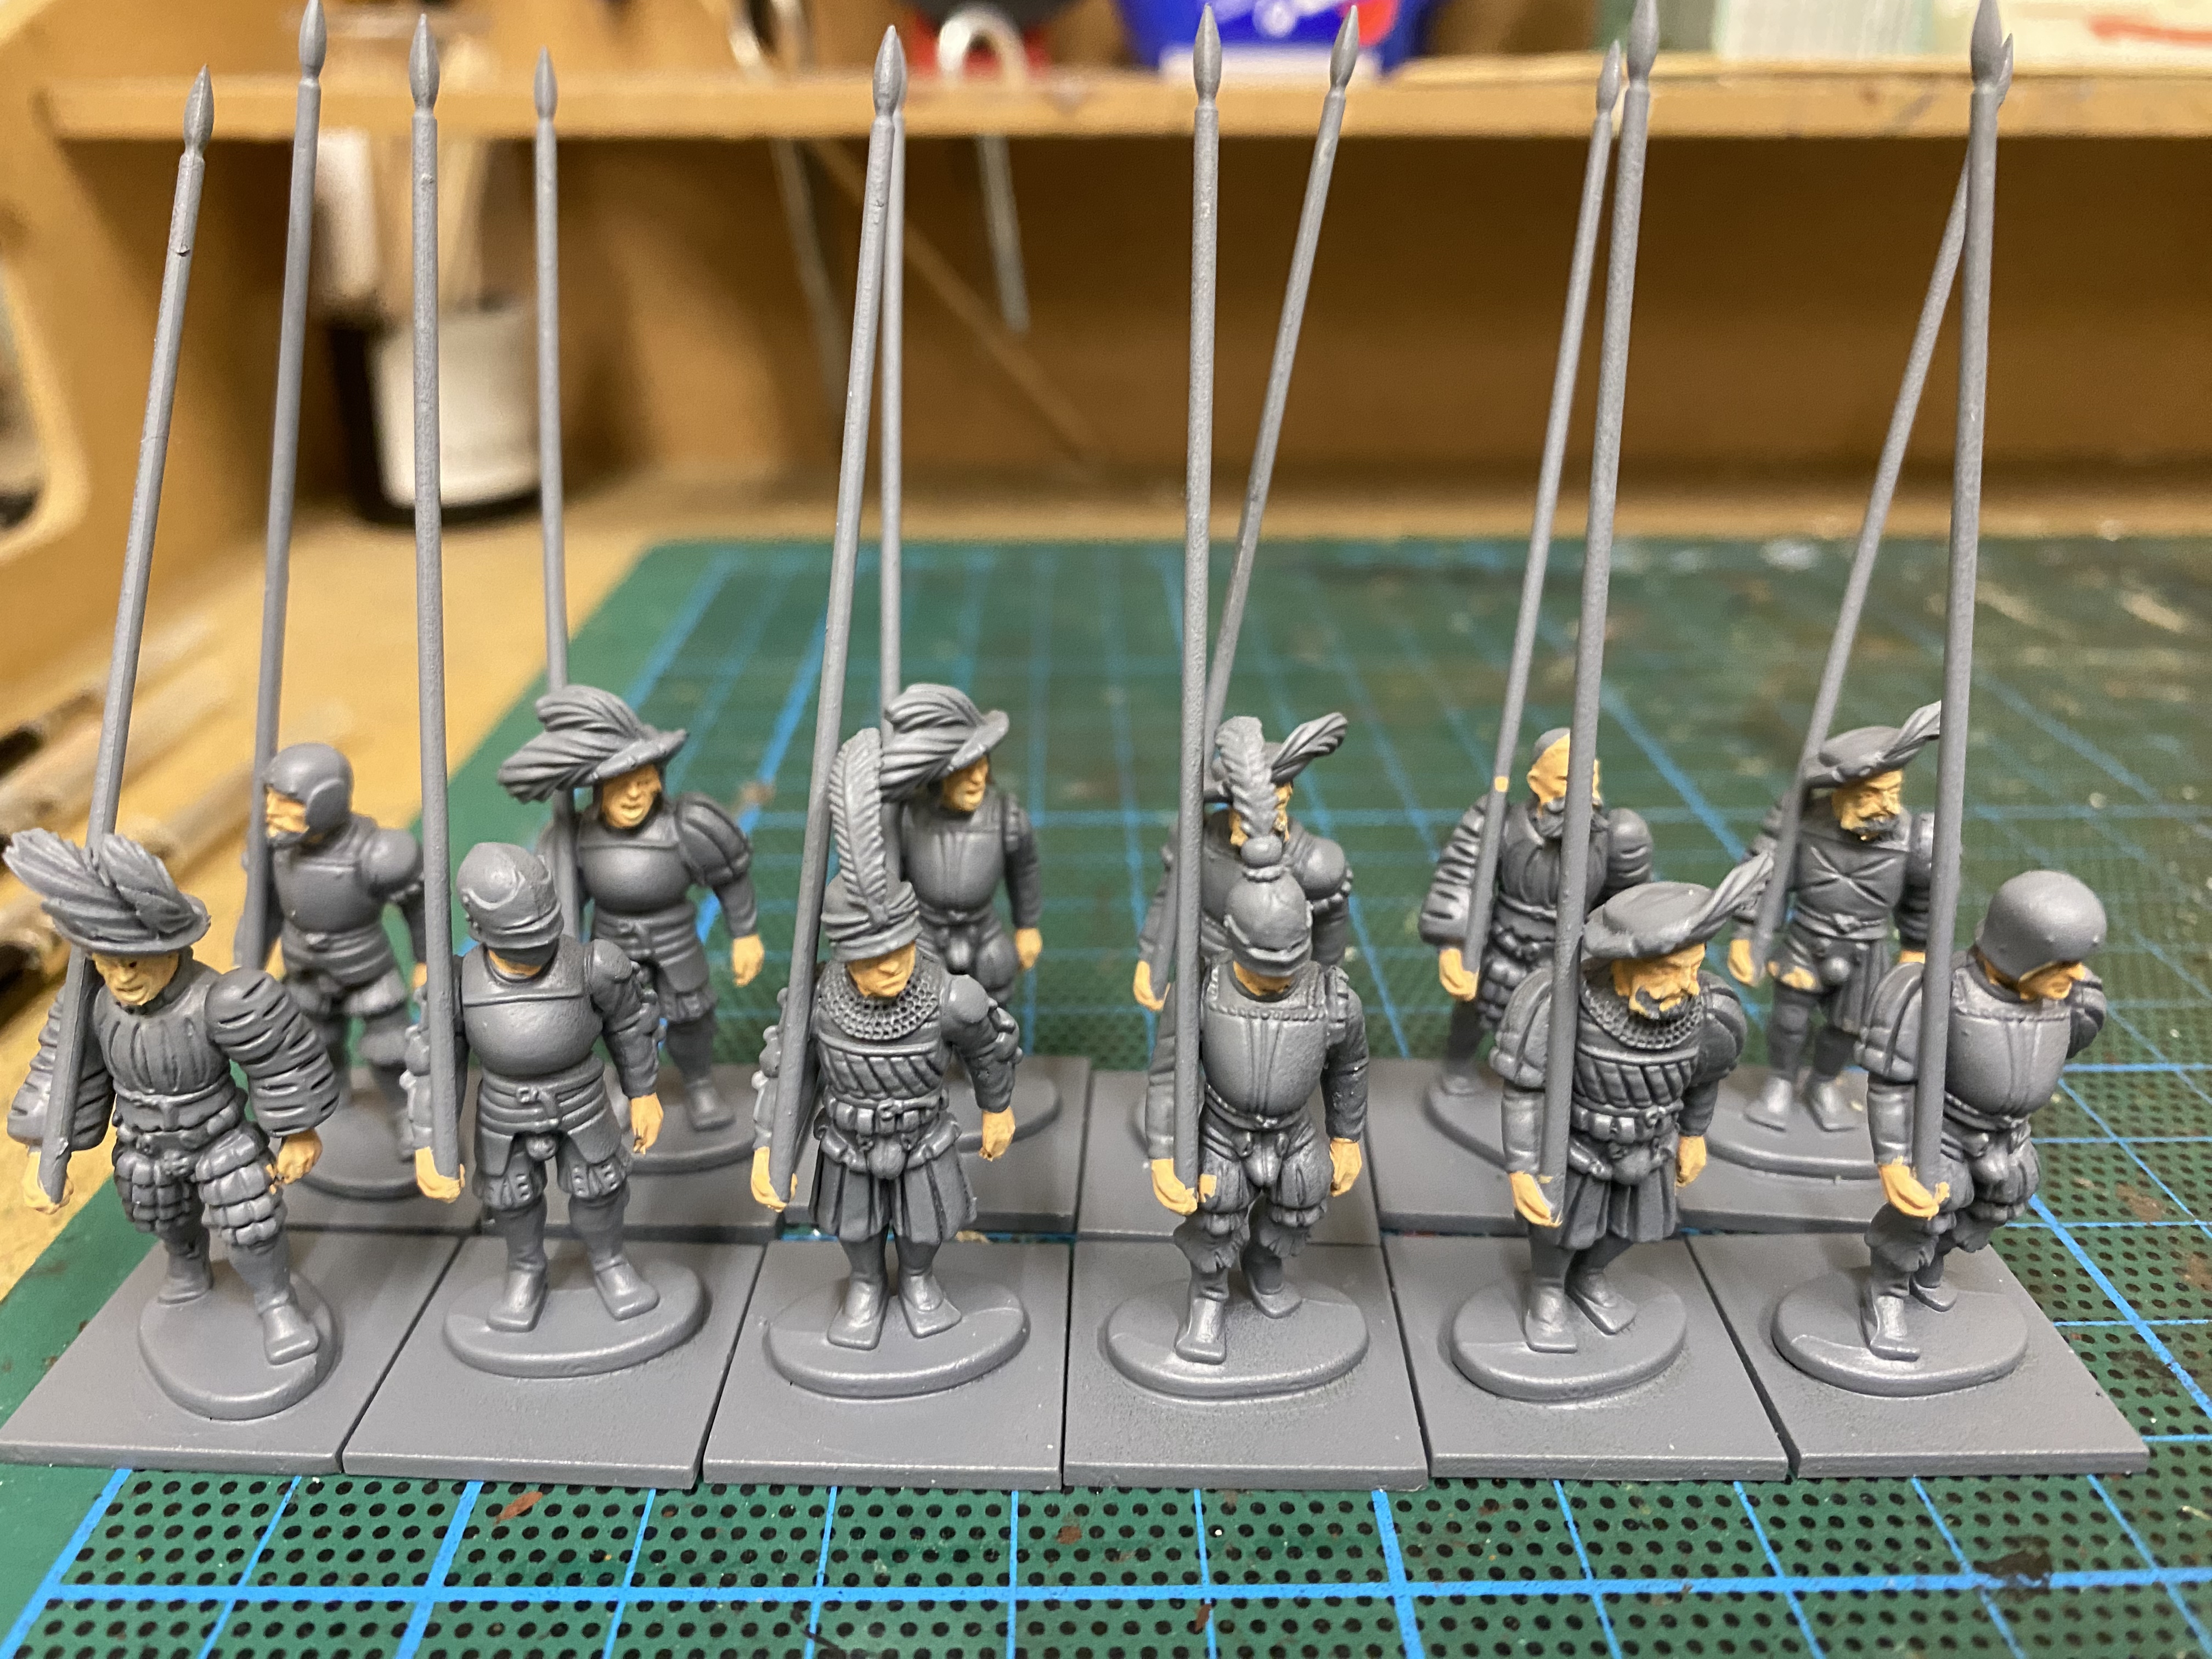
You can see from the picture above that the four blocks of sitting troops are primed and ready for painting. I once again tackled these in two small ‘bites’ – the two block of four troops first, then the larger blocks of five troopers afterwards. I found that this was easier and with each of the sub assemblies that I finished, the more encouraged I was to continue.
The first batch of troops were then added to the boat.
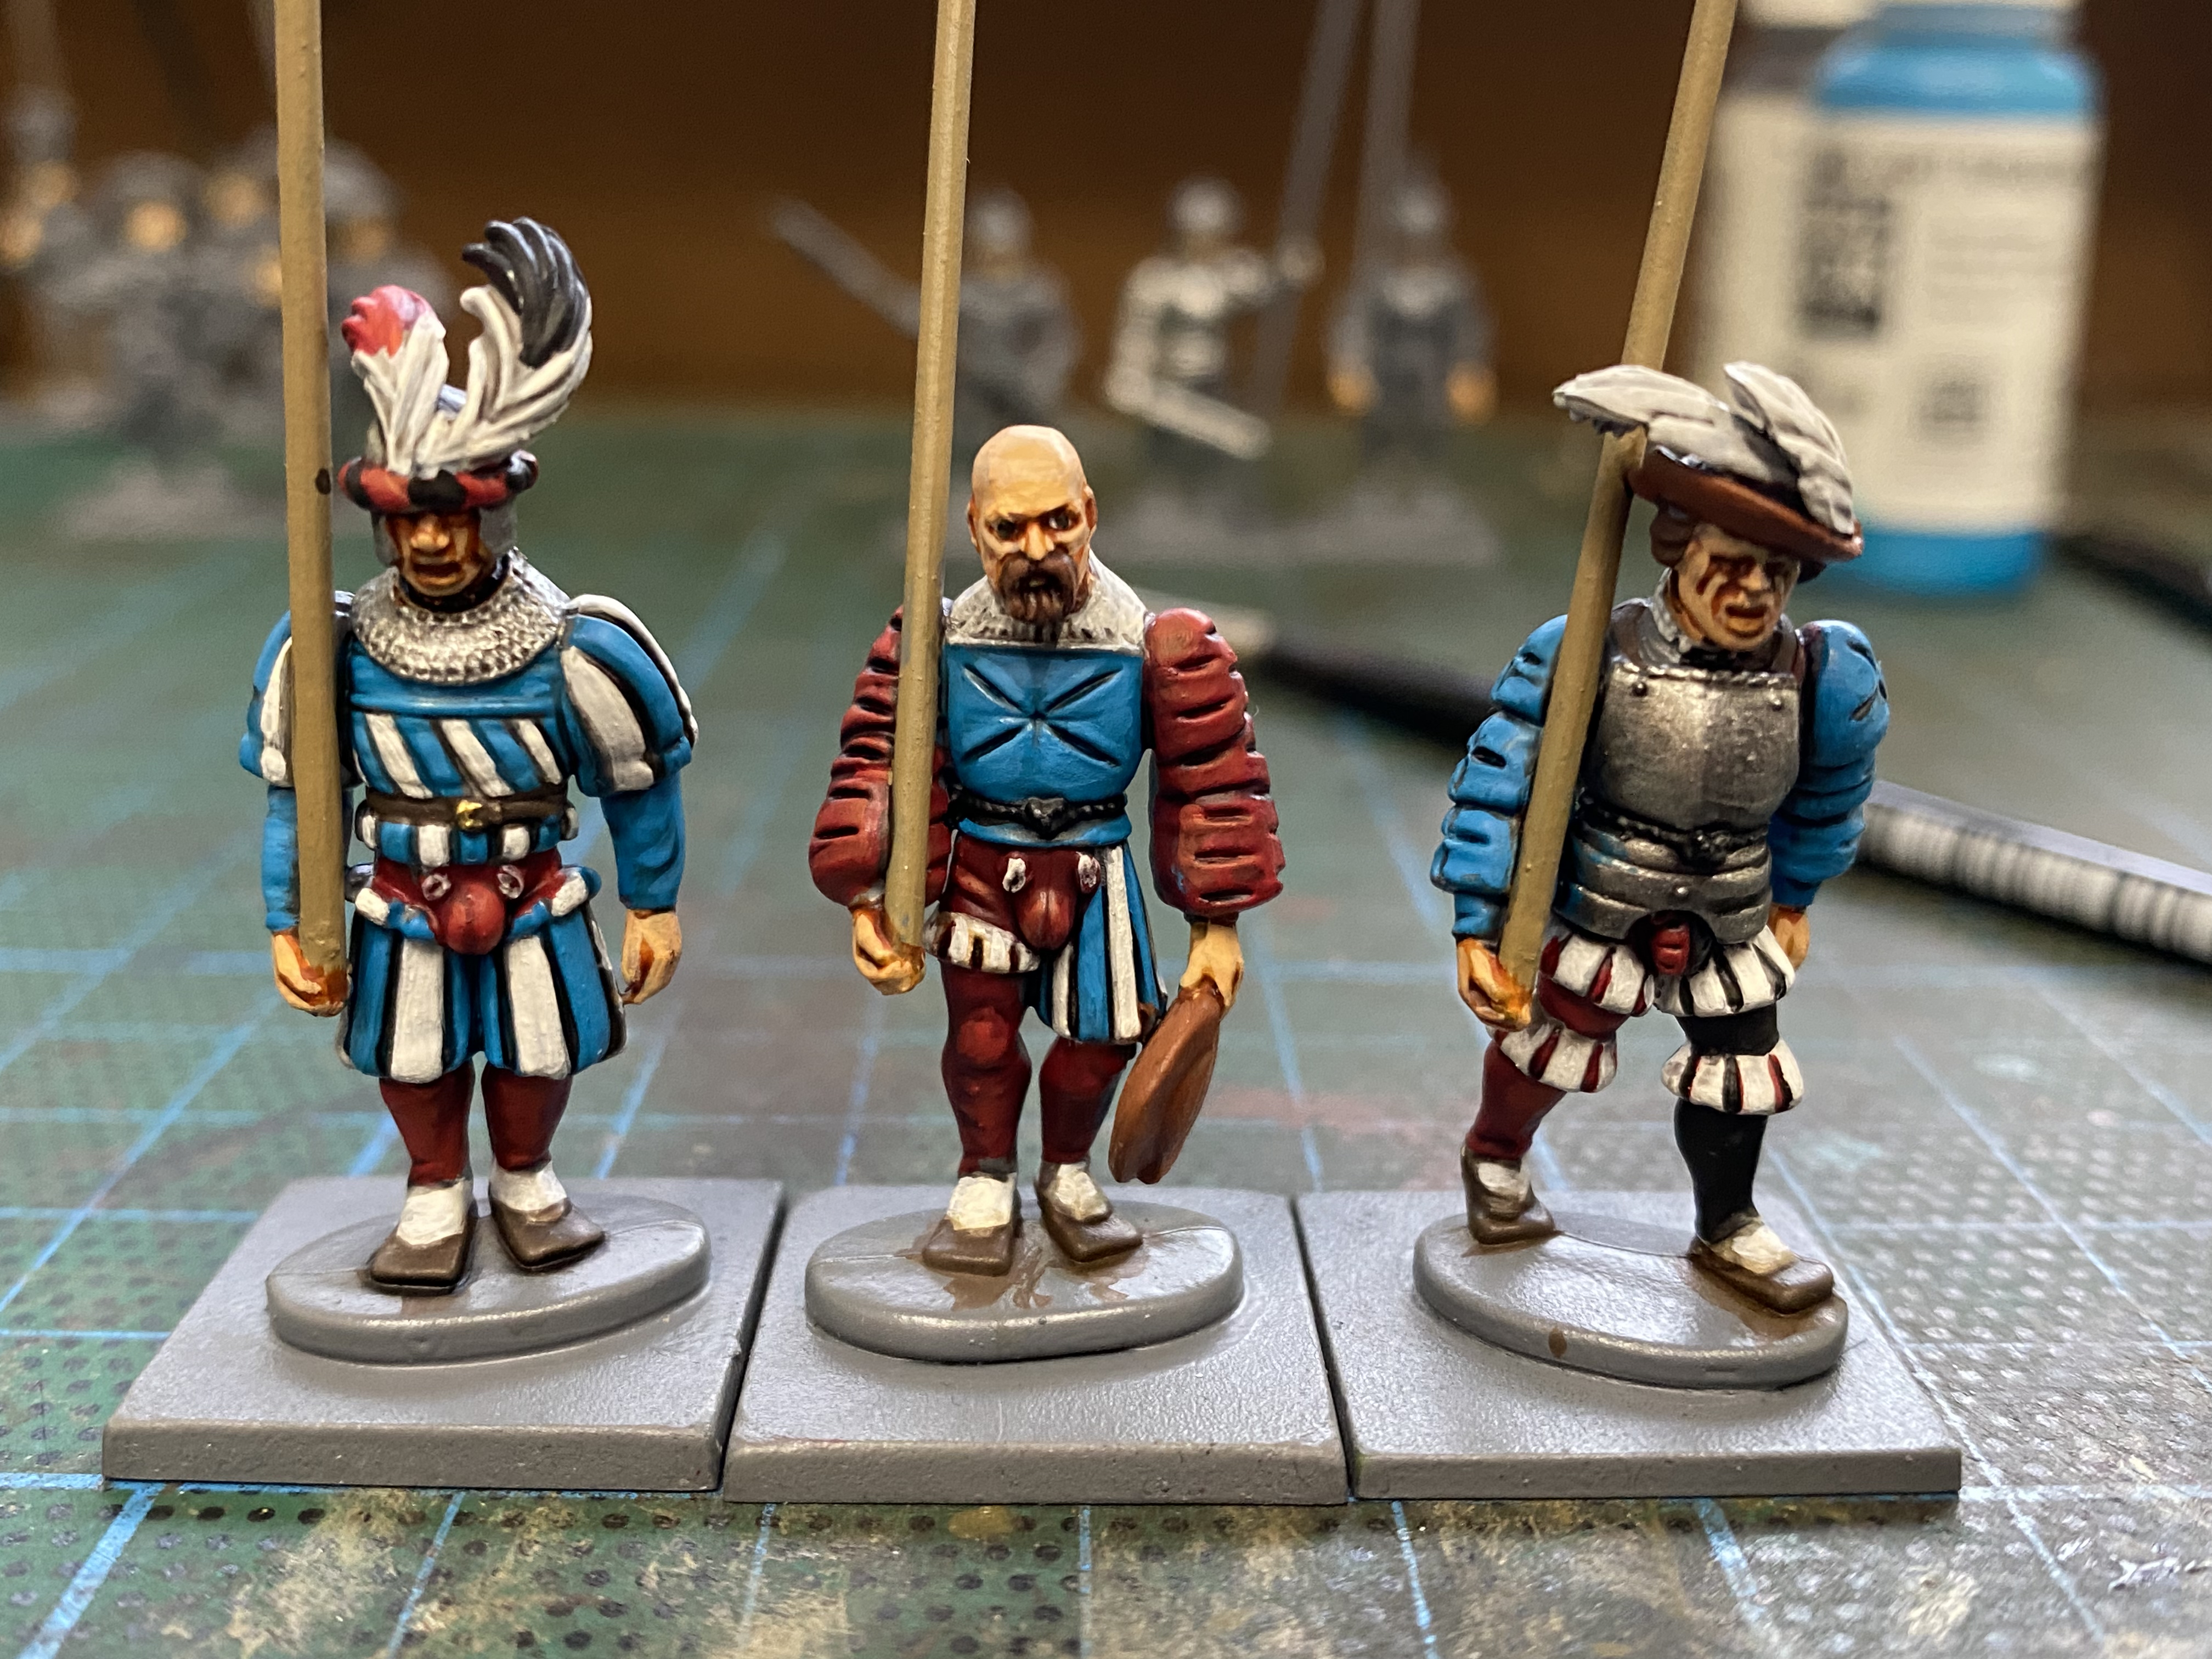
next, the two batches of five troops were painted
These were then added to the boat. It’s getting a bit crowded!
I also took the time to repaint the boat itself, giving it a black gunwale and repainting the rudder white and black. With all the main pieces now painted, the next step will be to add the missing oars, The sergeants spontoon, flags to the ensigns and make a base. That will come in part three of the blog! I’m currently waiting on the flags but here is a sneak preview of everything else in place.
All aboard!
THE COMMERCIAL BIT
I hope that you all enjoy your hobby as much as I do – our web site will have much of what you need! Click here to see our shop.
Having attended ‘The Other Partizan’ at Newark back at the beginning of October, I picked up the latest free personality figure, The Empress Matilda. Rather than putting the model into the lead pile , Matilda was promoted to the front of the painting queue! Whilst I was painting one figure, I thought that I might as well add another in from the lead pile. In this case, it was Rosa Luxemburg, the German communist revolutionary, otherwise known as ‘Red Rosa’.
Matilda on the left, Red Rosa on the right….possibly the only time she has been there….
Once the figures were cleaned up – not that they needed much in the way of cleaning – They were temporarily based and primed in grey.
I usually copy the pictures on the Partizan program but I wanted to paint Matilda differently and I didn’t have a reference picture for Rosa. (Although her nick name gave me a clue).
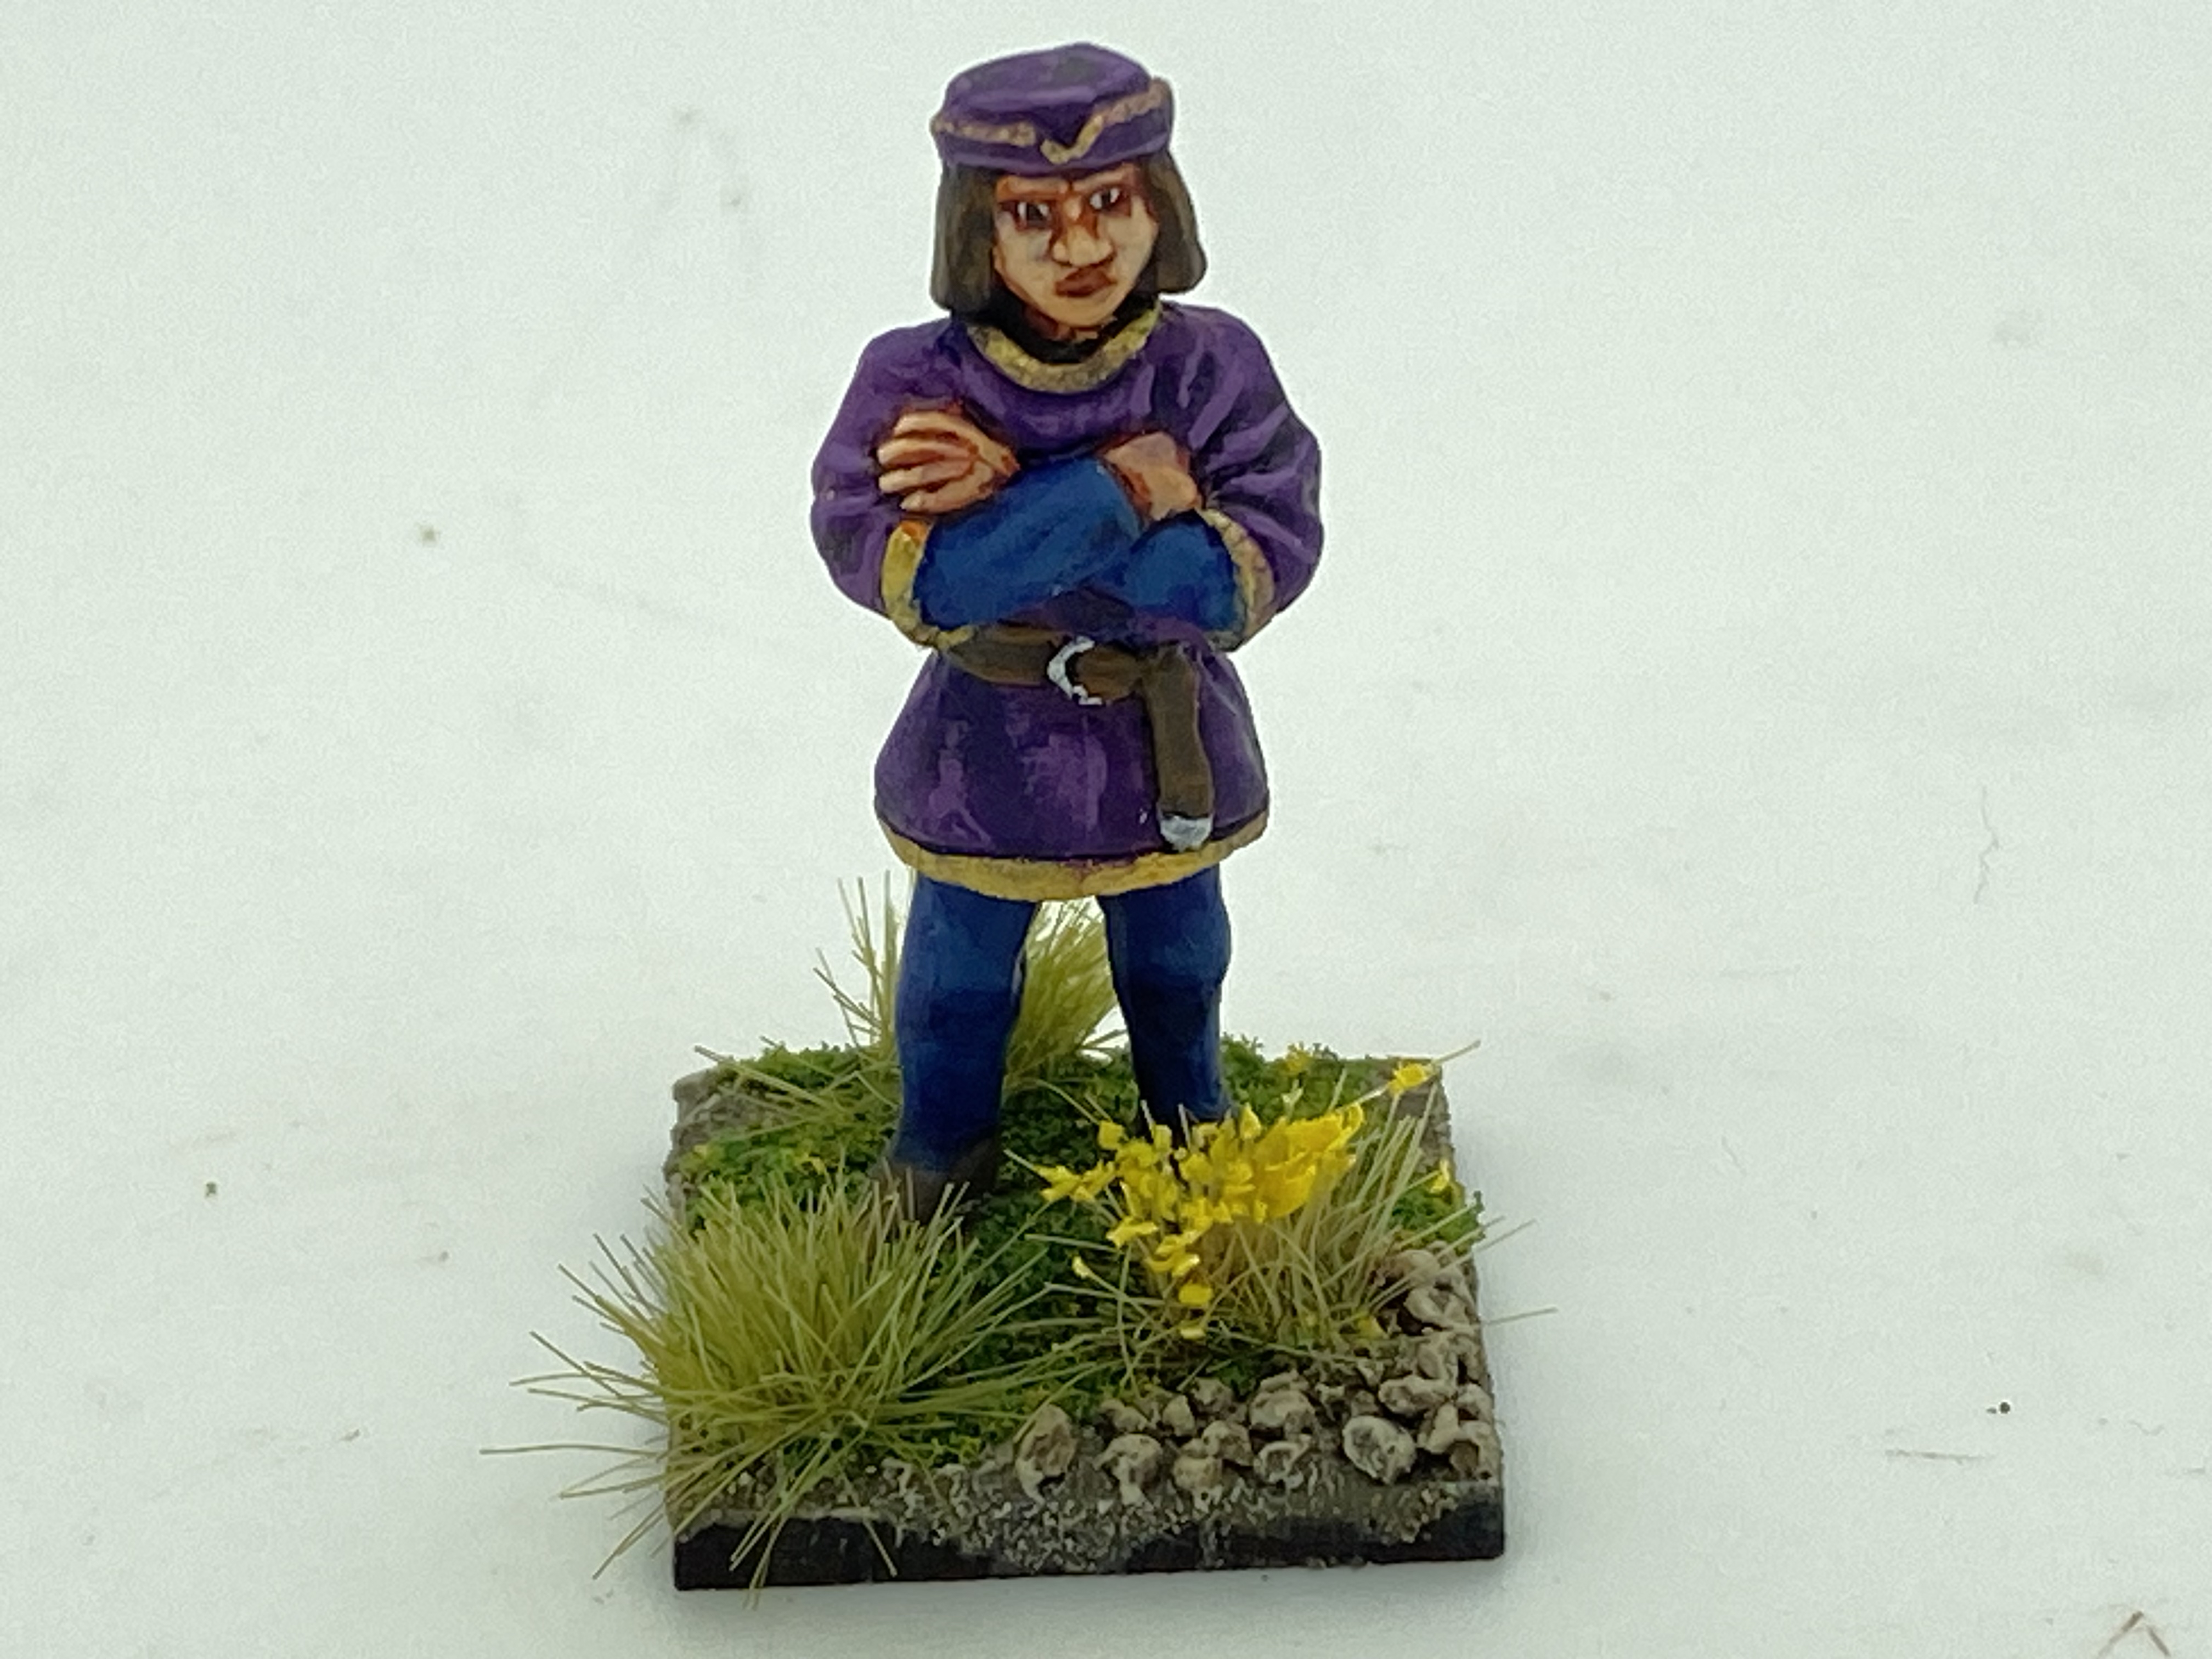
I went for a Yellow and purple scheme for Matilda with some gold edging to the cloak. The partizan model looks a bit angry (their own description), so I tried to give her a softer expression.
I gave Red Rosa a nice red dress and attempted to paint the hat as a Straw hat. I’m not sure that I actually achieved the effect that I wanted but it will pass for a first attempt.
The two finished models
I based the models as normal – perhaps Rosa would have been better on a paved base but there would have been a good deal of cutting and filing to get her to stand correctly and I should have thought about it before I painted her! I’m quite happy with the result and another two figures come off of the lead pile and go into the cabinet.
THE COMMERCIAL BIT
I hope that you all enjoy your hobby as much as I do – our web site will have much of what you need to finish your models! Click here to see our shop.
Before you ask, yes, we do have a definite date for the publication and release of the new Bill Hooks deluxe rules set, so read on for more information! And for those of you not familiar with what Bill Hooks deluxe is, here is the definitive sales pitch!
The cover of Never Mind The Bill Hooks Deluxe!
THE DESCRIPTION
Billhooks is a fast-action game of late medieval European warfare, set at the small battle/big skirmish level – think Nibley Green rather than Towton.
You will need around 100 figures a side, lots of D6, and a 6 x 4 foot table – everything else you need to play the game is included in this book. A typical game can be played through in around 90 minutes (or rather less if the Dice Goddess wills it!).
Billhooks Deluxe gives you a ‘Core’ Wars of the Roses ruleset and then expands that to cover six new Theatres and Conflicts from across Western European Christendom c1350-1525. So you will find troop stats and special rules for Irish Gallowglass, Hussite War-Wagons, and Landsknecht Pikemen along with all the other troop types to be found on battlefields of the period, from 100 Years’ War France to Renaissance Italy.
The game uses a card-driven turn sequence and many tried and tested combat mechanisms to produce battles that are full of period flavour but always unpredictable.
Play one game of Billhooks and you’ll want to play another!
The following are the Theatres and Conflicts you can find in this book:
Albion – The Wars of the Roses
Gallia – The Hundred Years’ War
Bohemia – The Hussite Wars
Helvetia – The Swiss-Burgundian War
Italia – The Italian Wars
Northumbria – The Anglo-Scottish Border Reivers Lusitania – Late Medieval Portugal
Hibernia – Warfare in Ireland
Finally, there is a Modelling Masterclass chapter with a comprehensive guide to painting, modelling, and kitbashing 28mm plastic figures.
FORMAT
Perfect bound, Softback, full colour. 180 pages.
If that has whetted your appetite, your can place your pre order here:
We expect to be shipping orders in the last week of November – please read the full listings for details.
The last play test for these rules actually happened at Partizan in early October. Although the manuscript was completed and was actually about to be sent to the publishers, it was decided that we would have a couple of games involving the public to see if we had missed anything obvious.
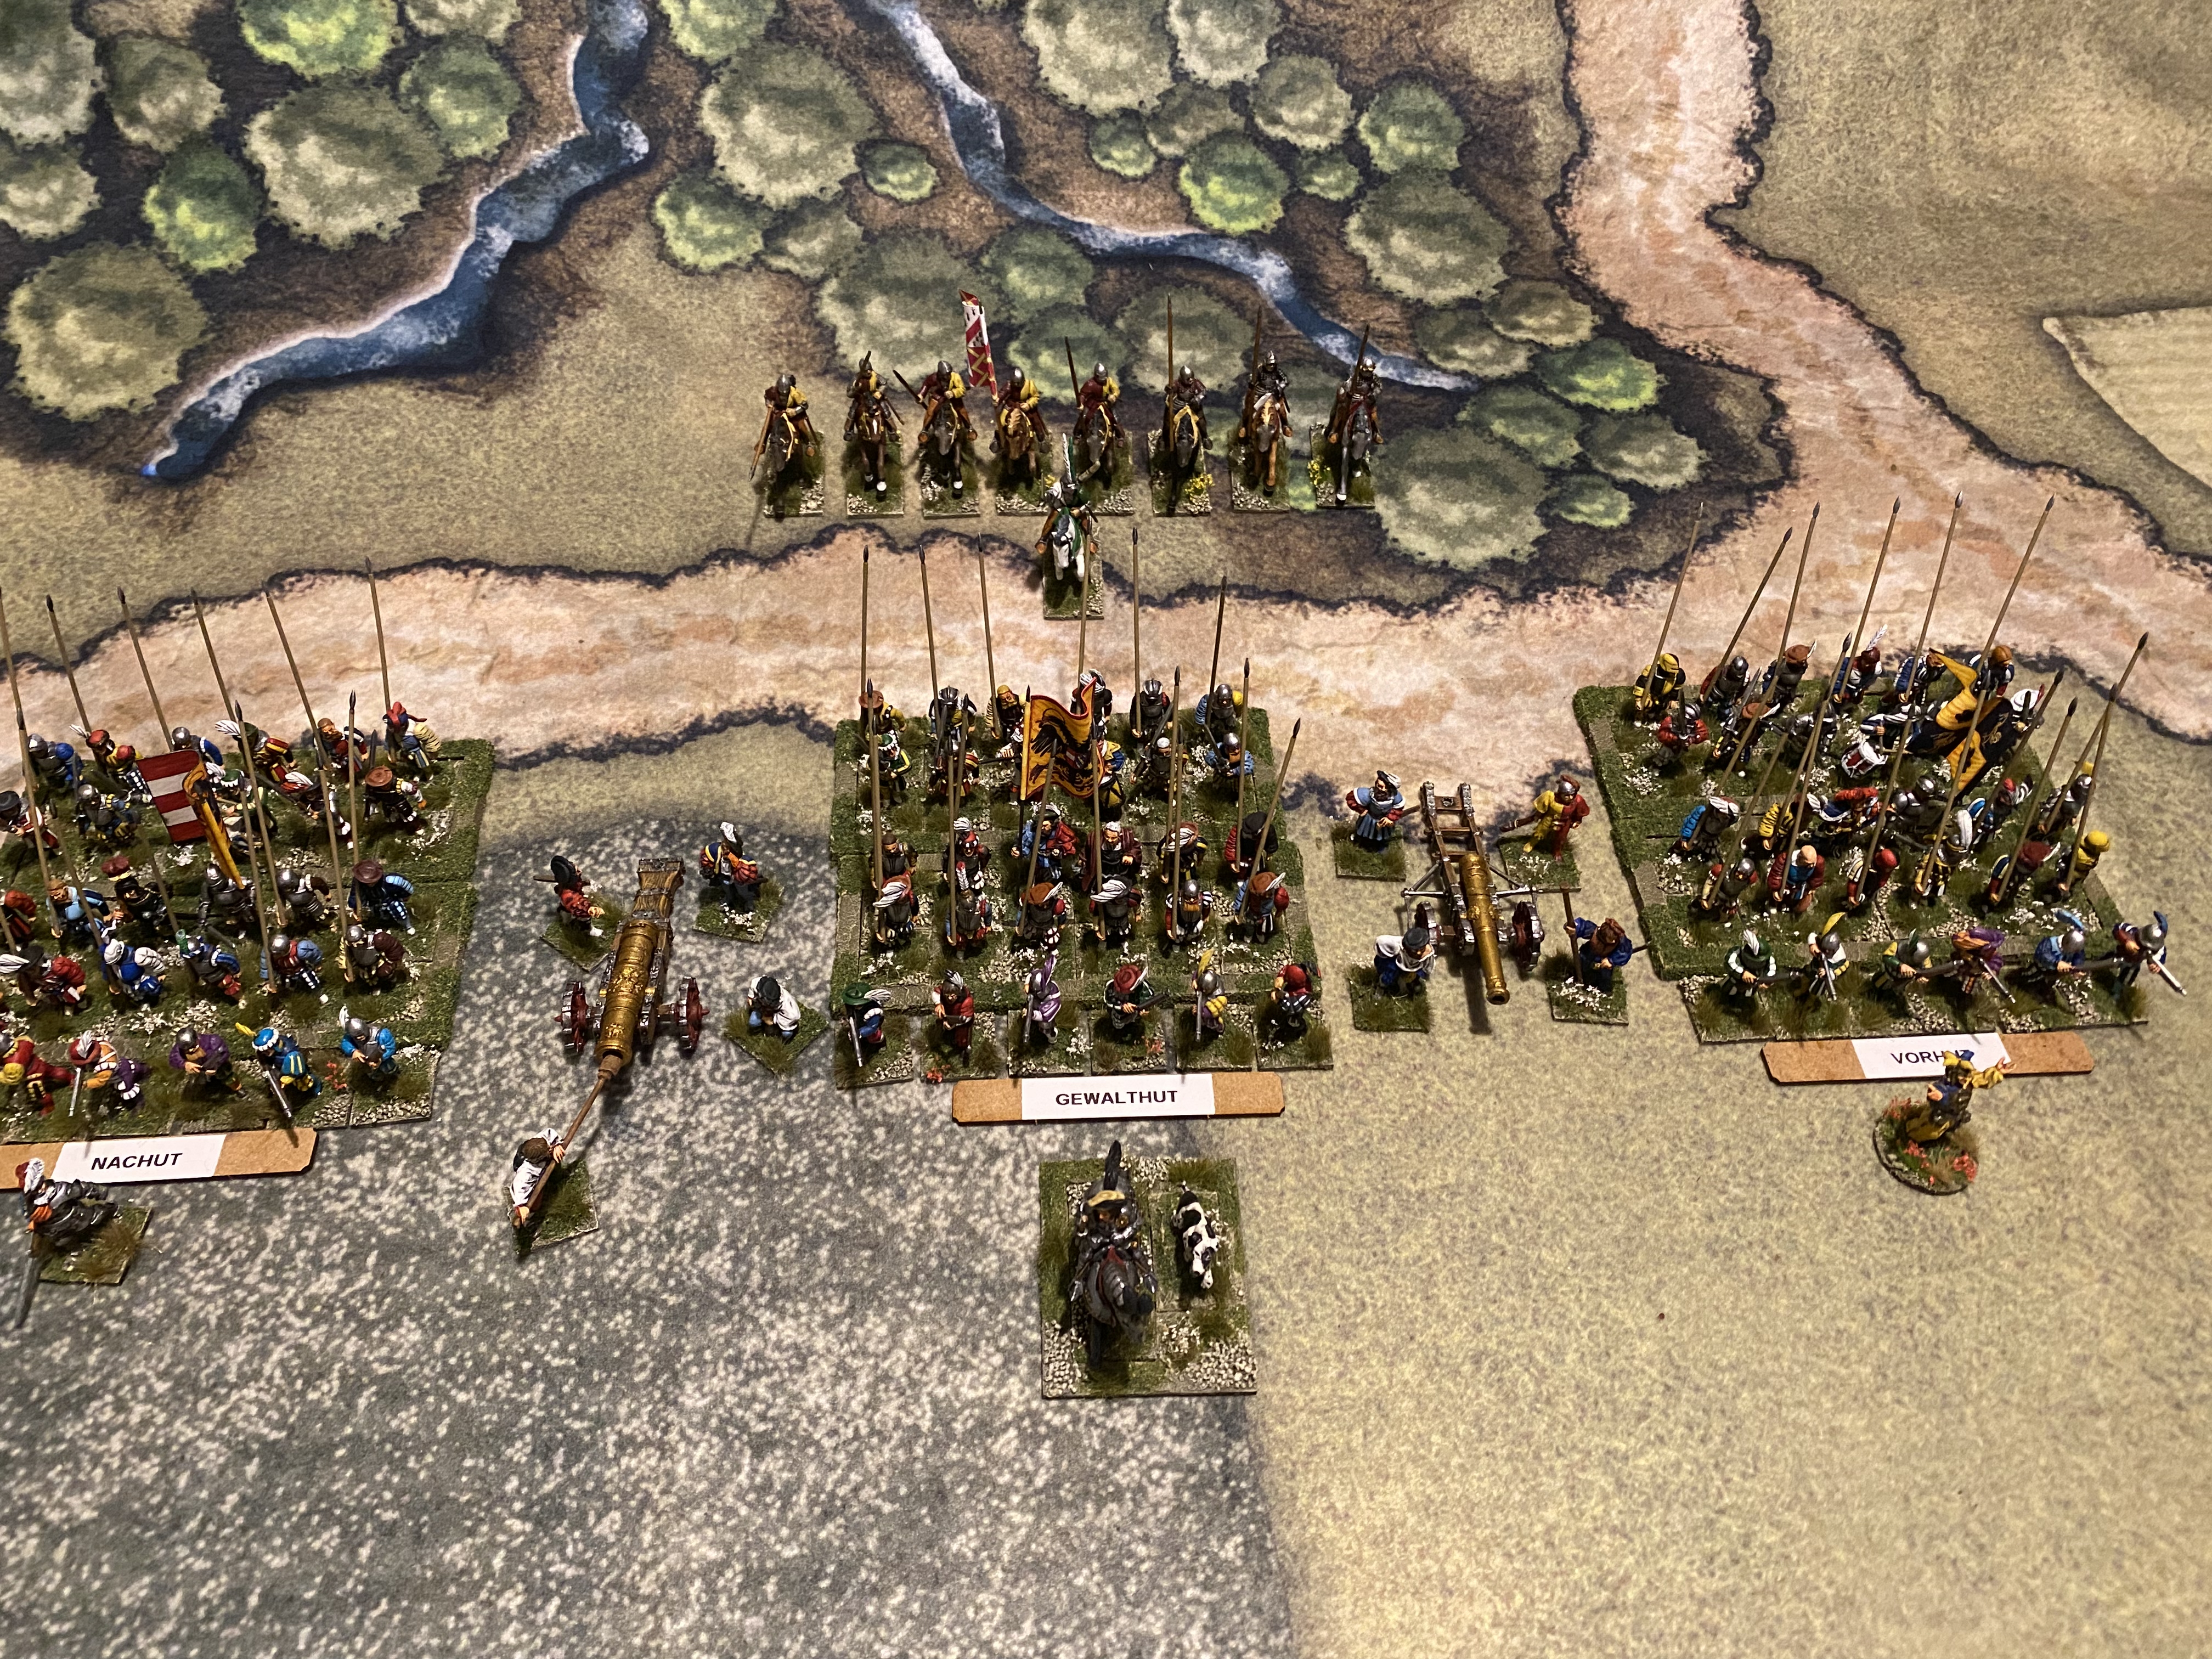
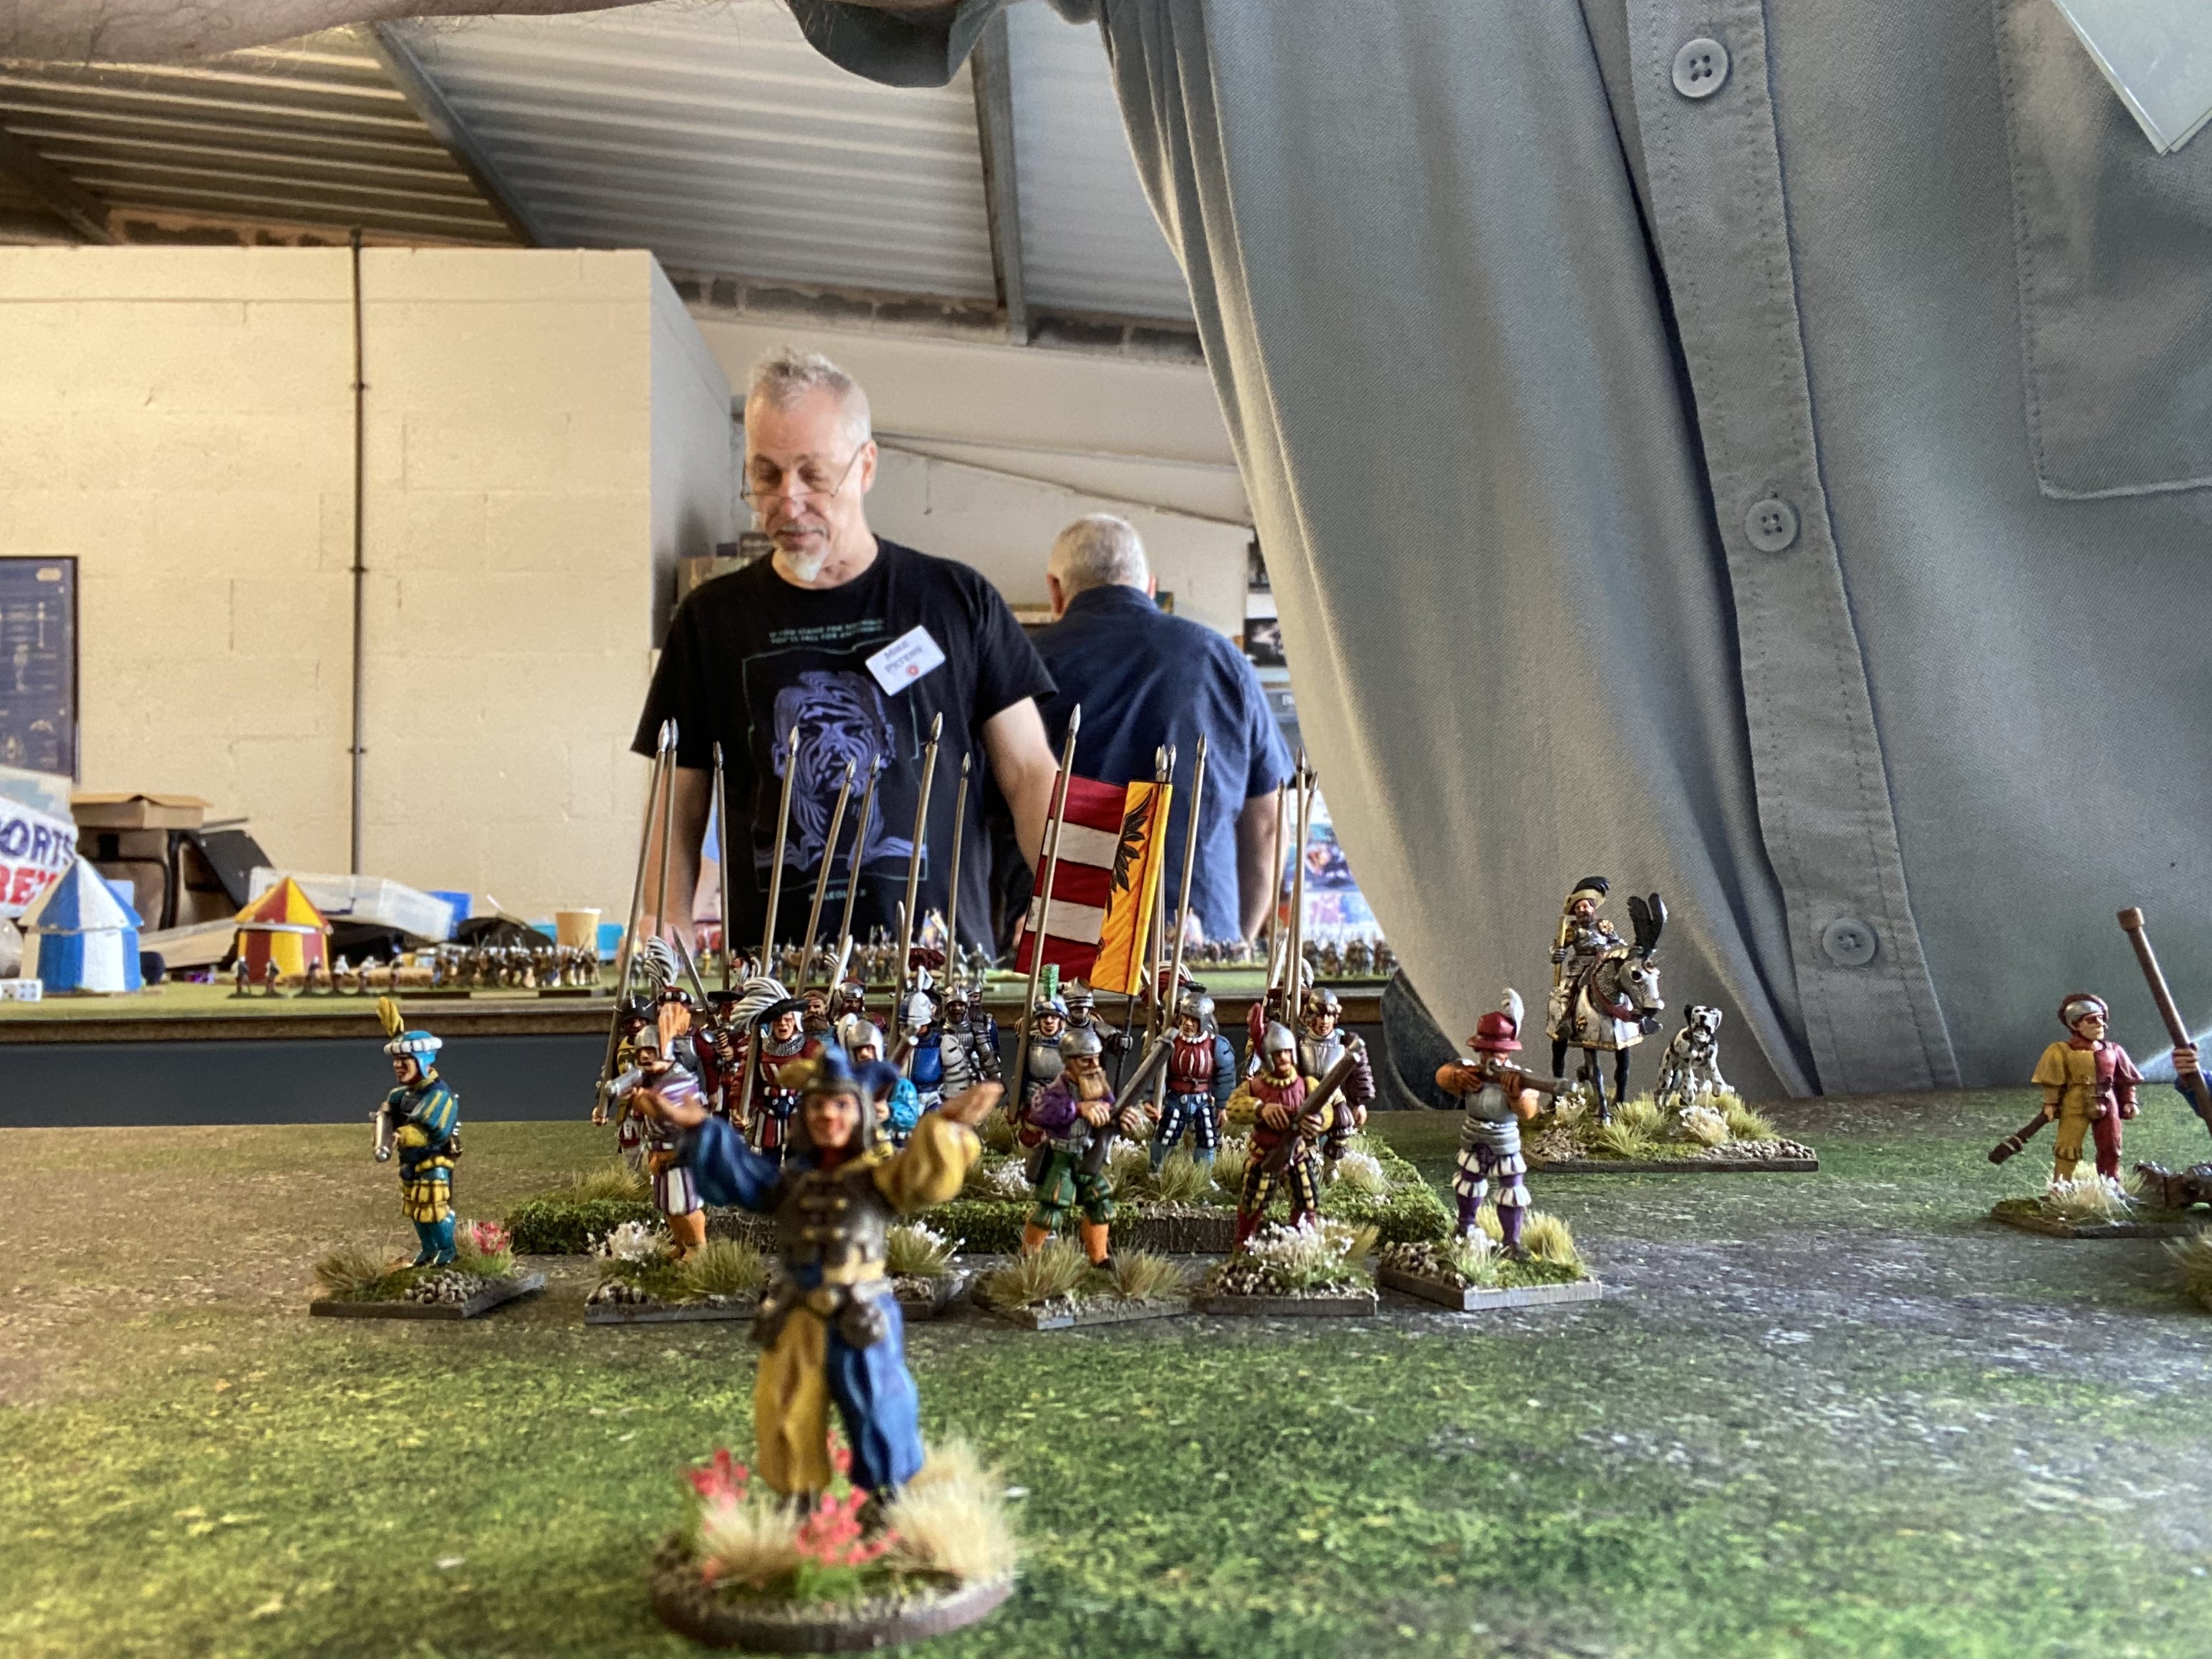
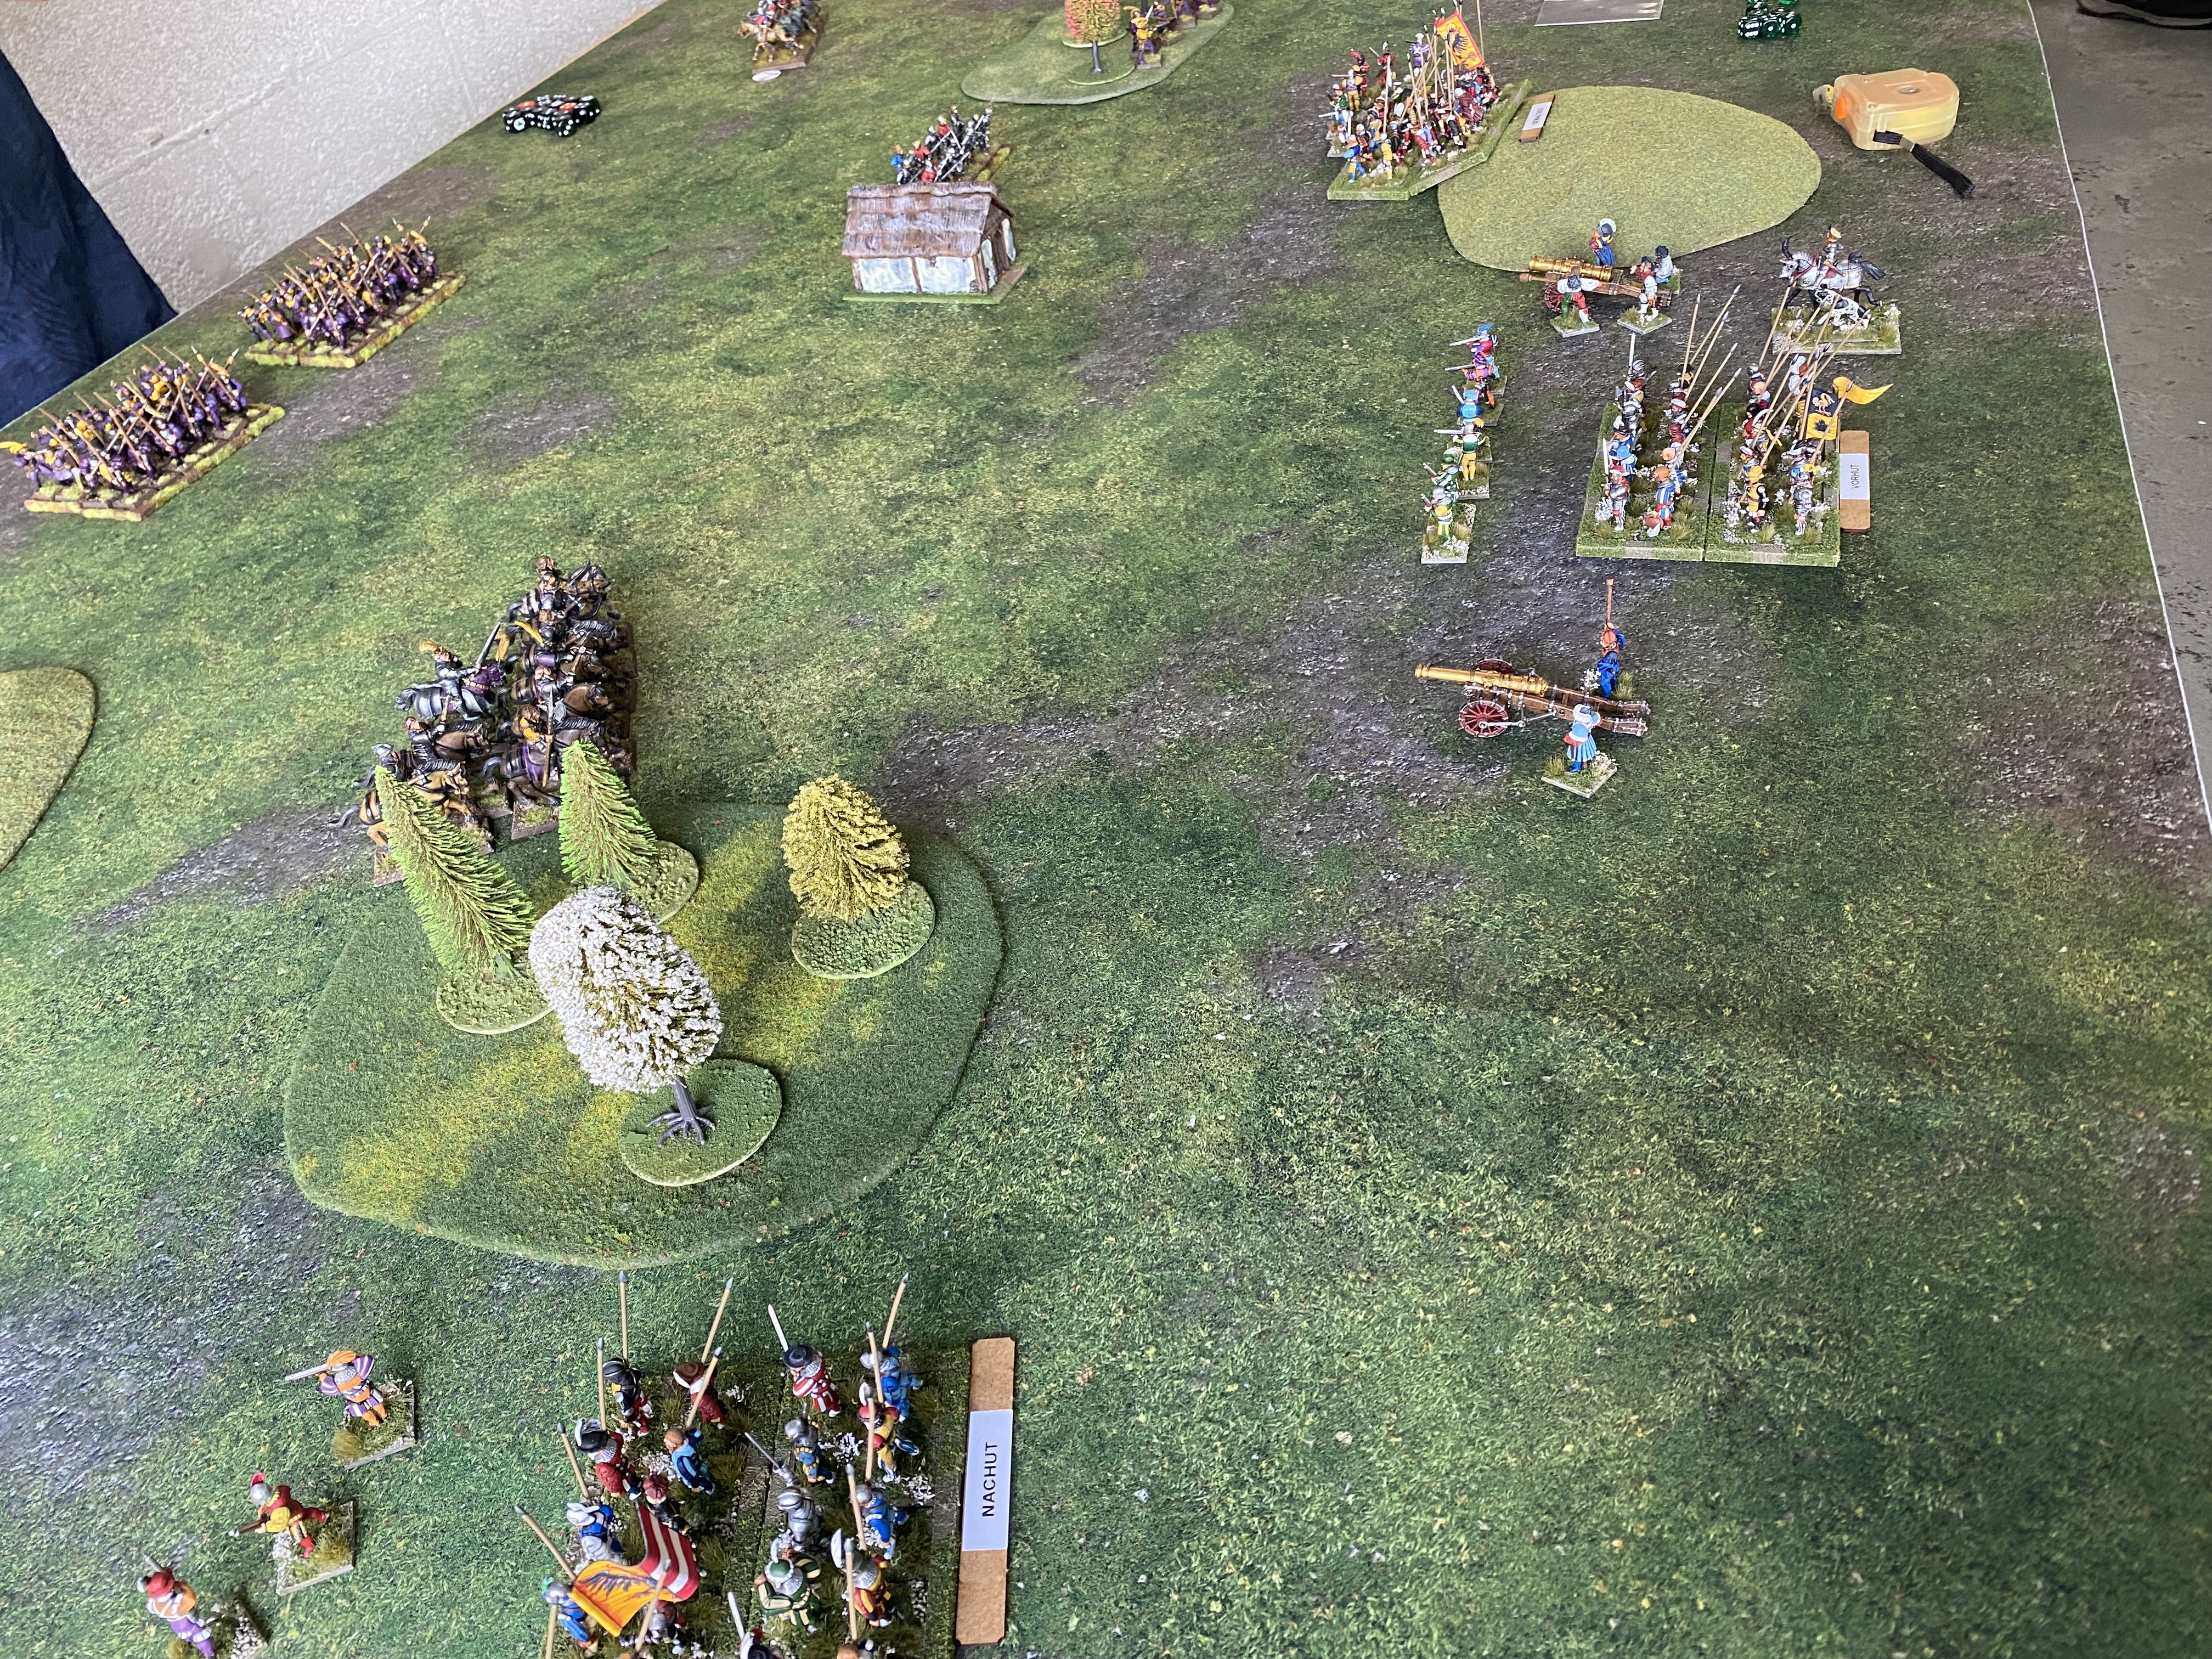
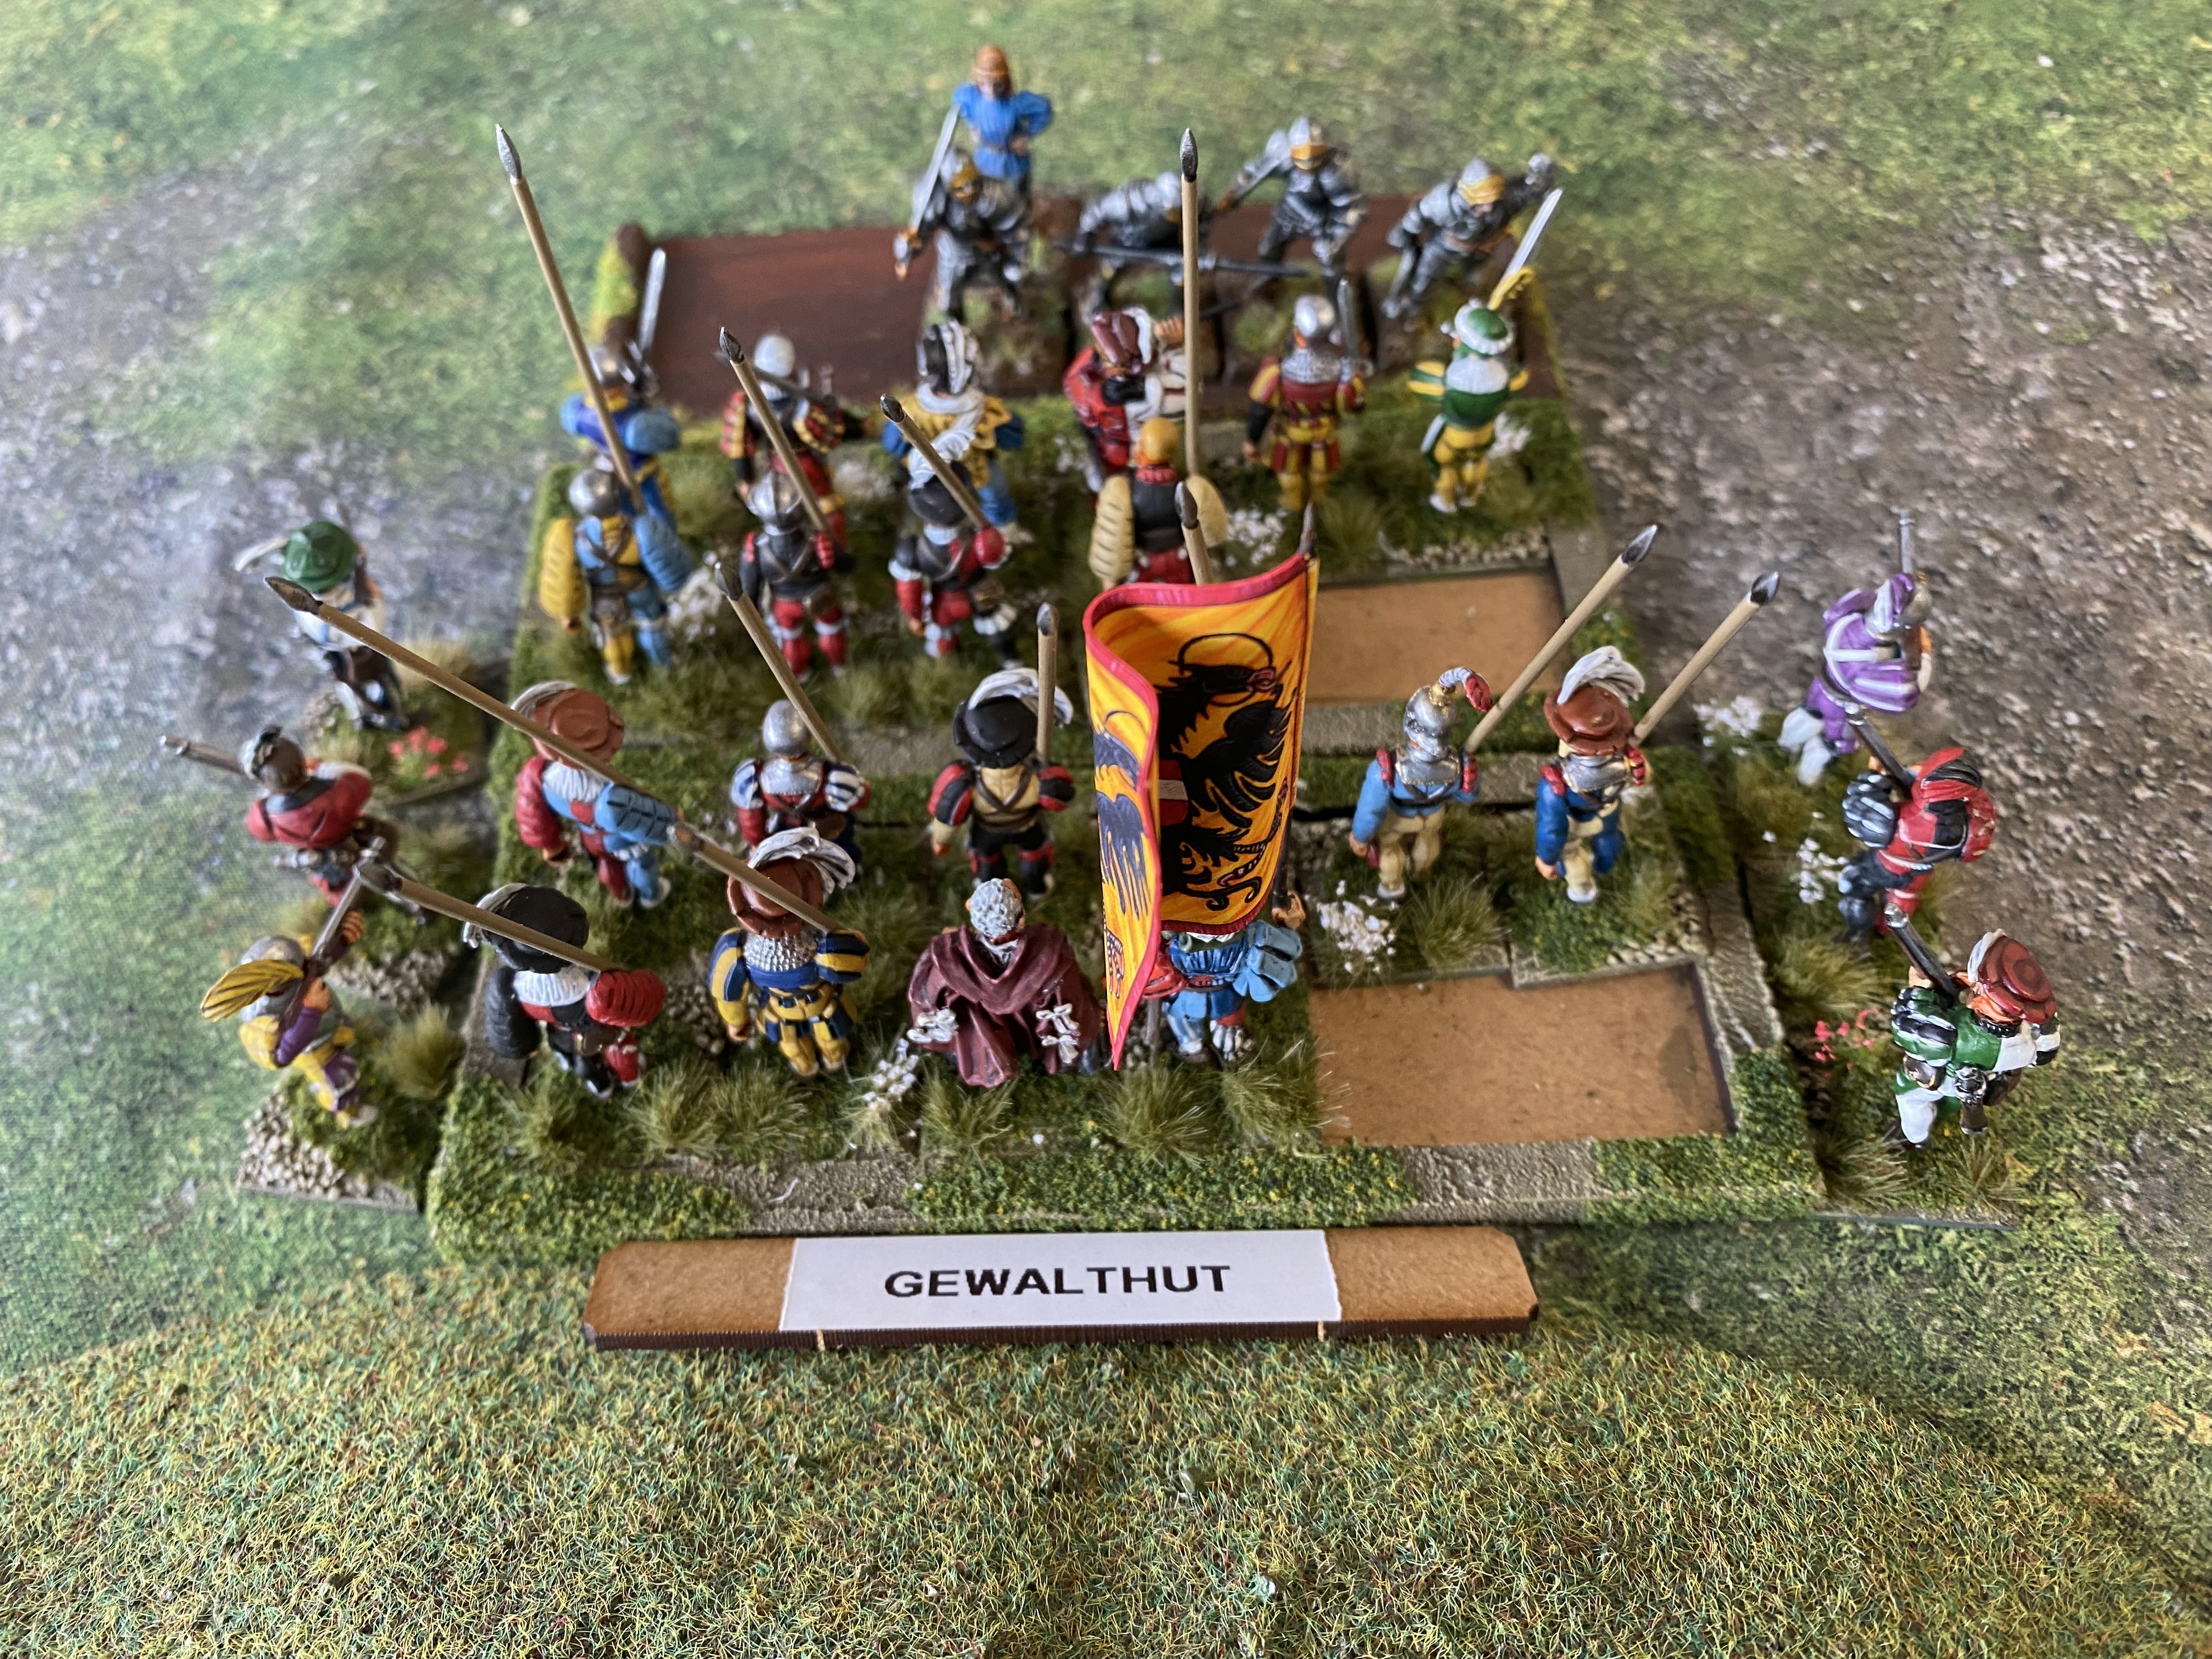
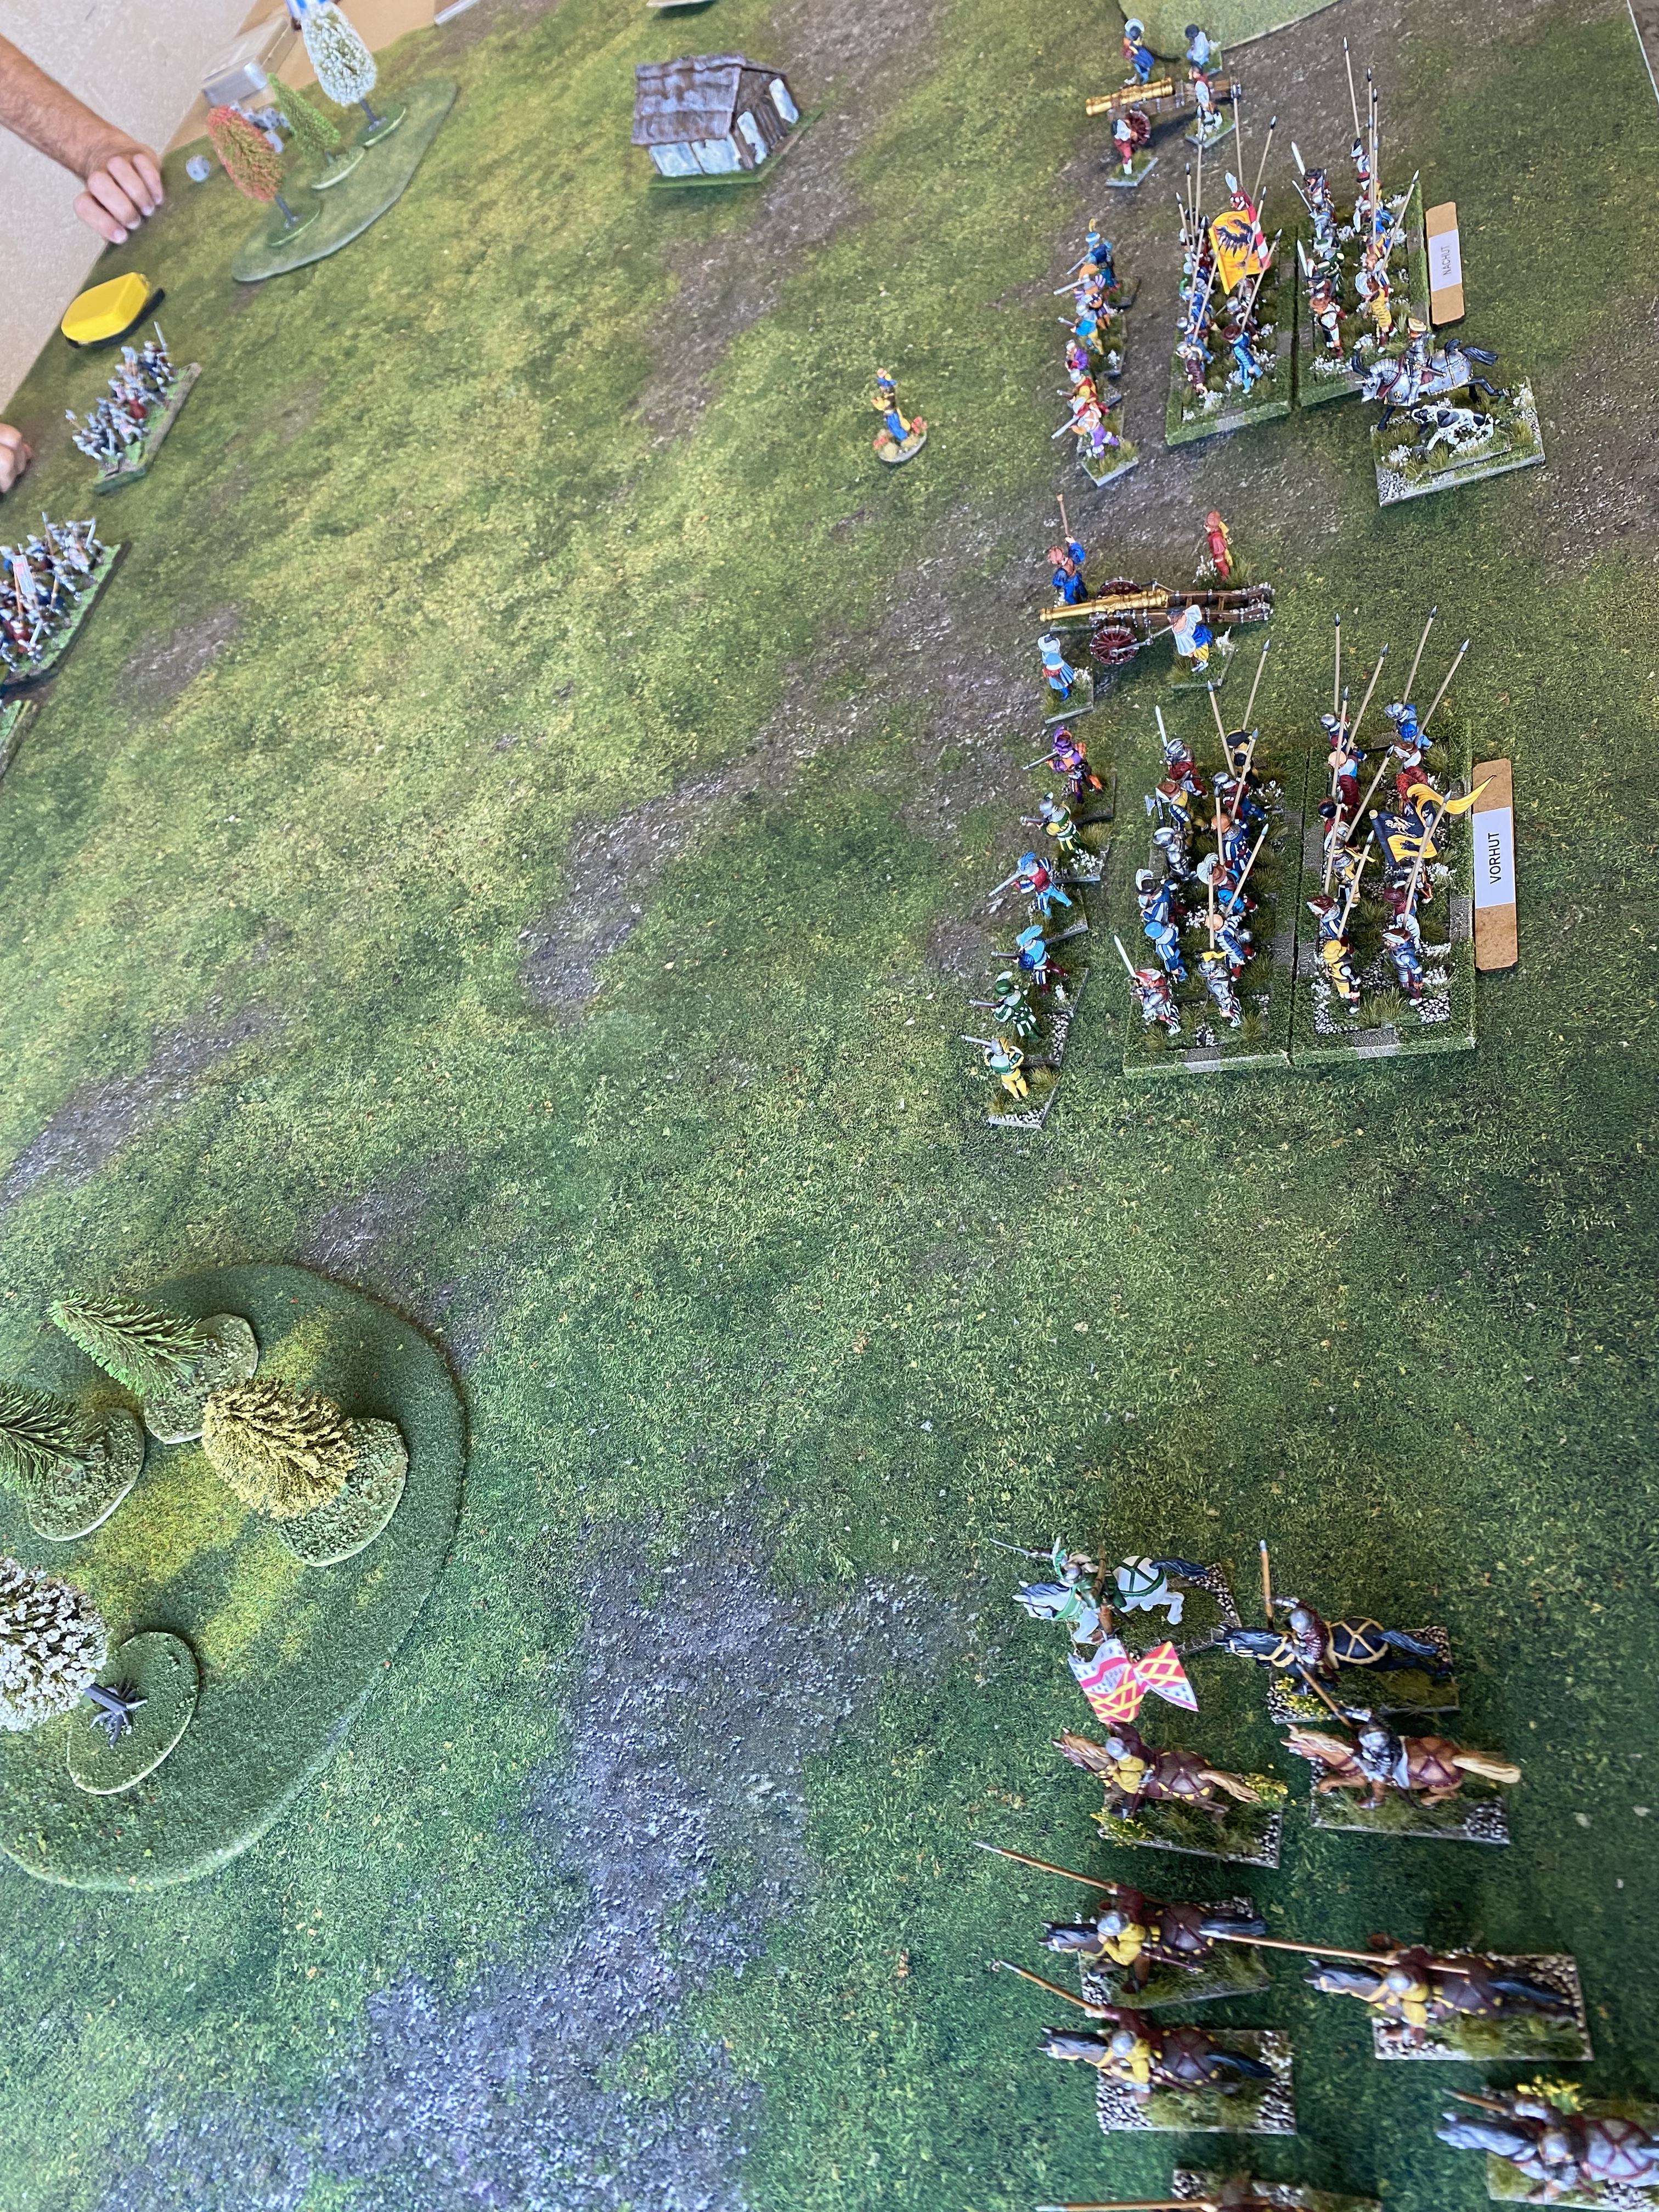
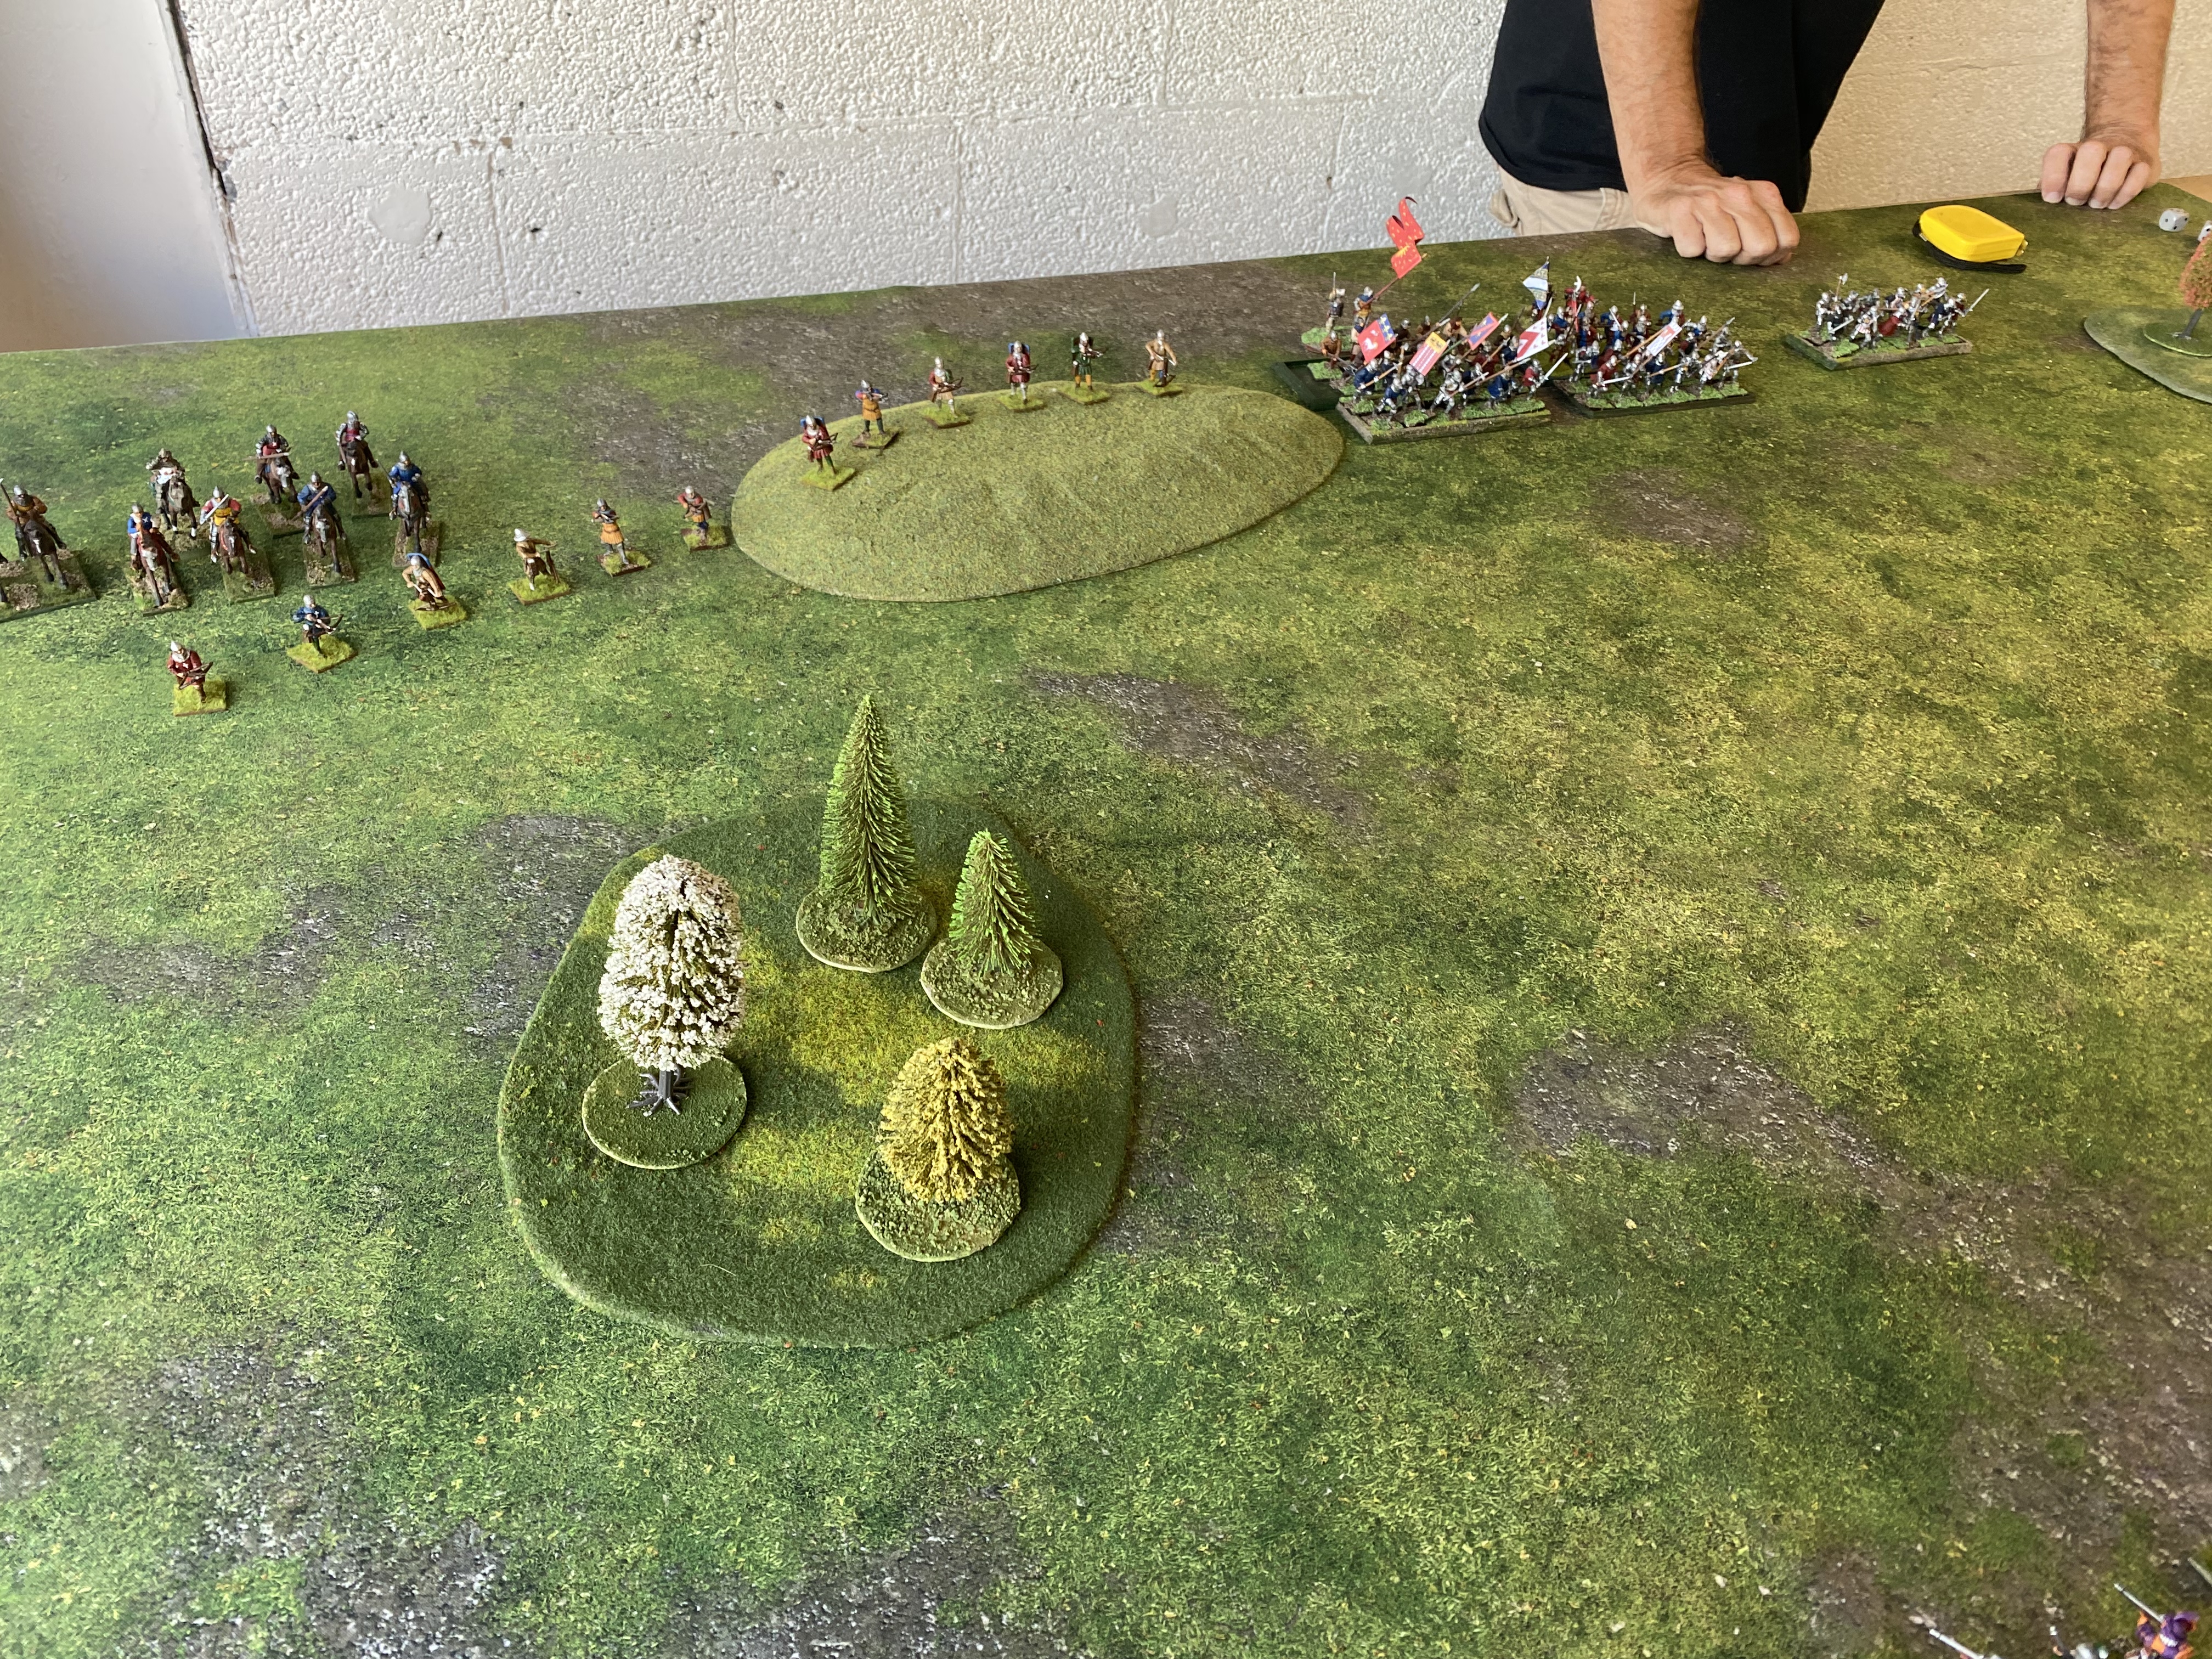
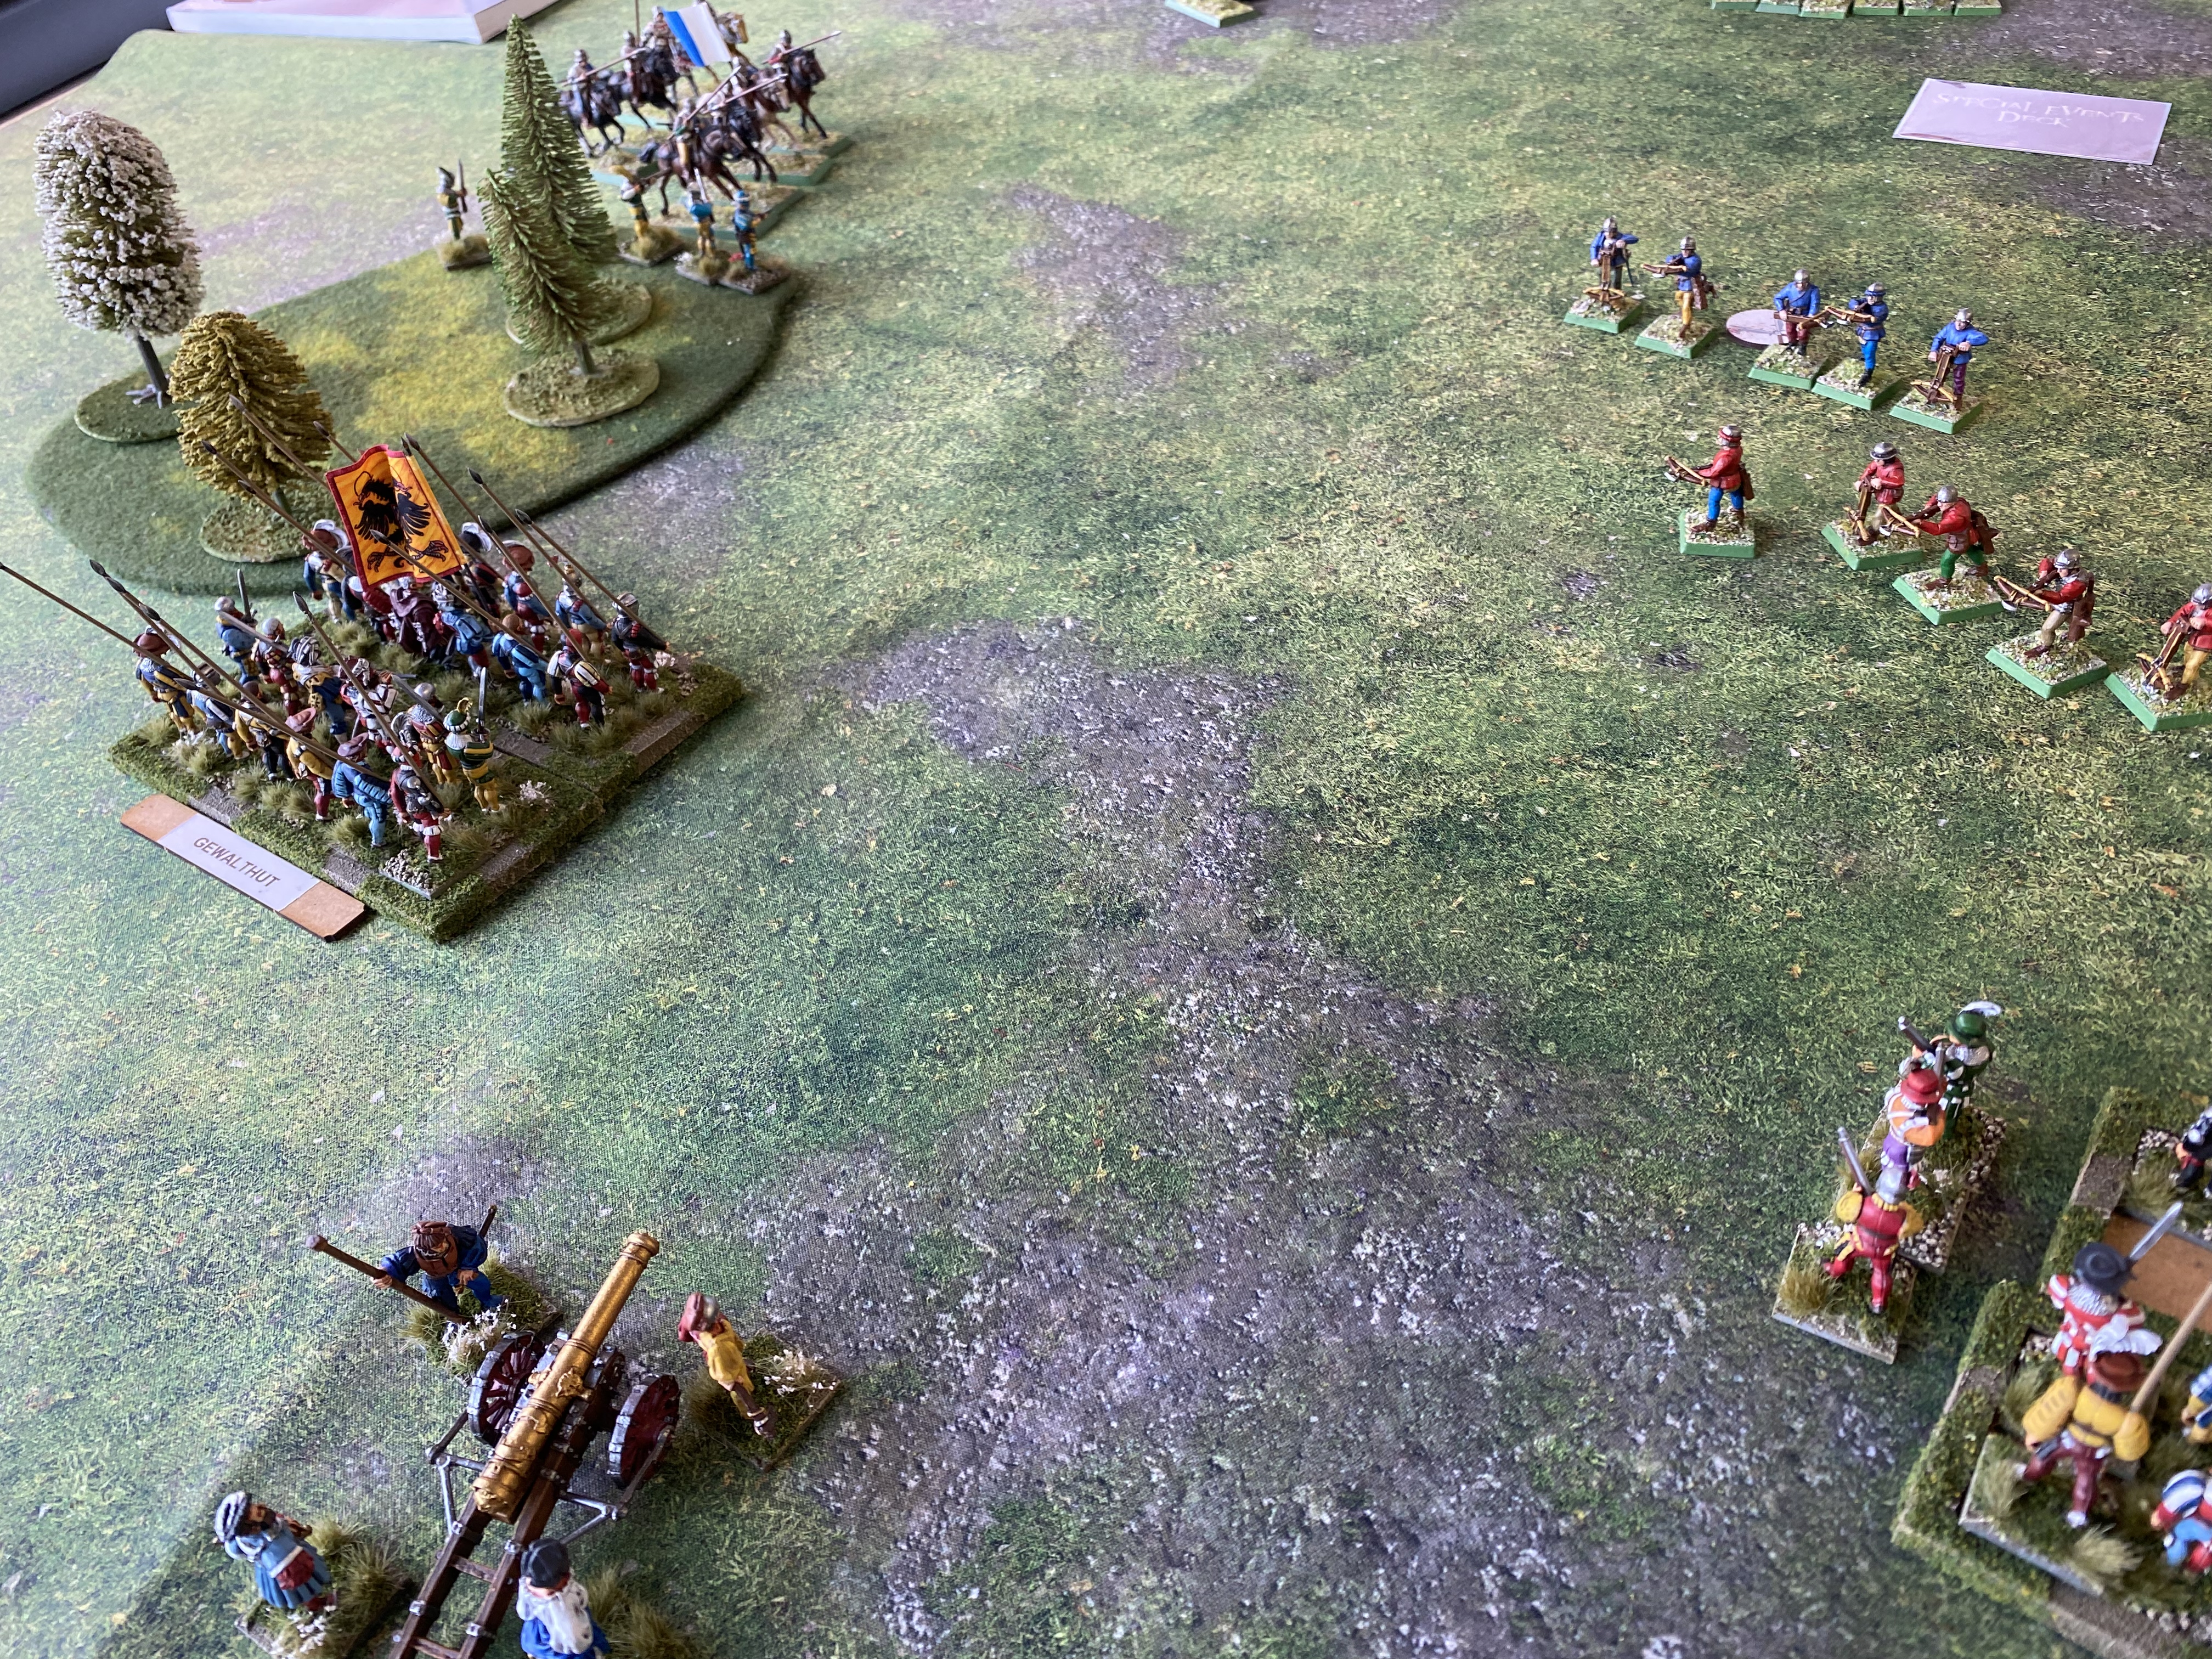
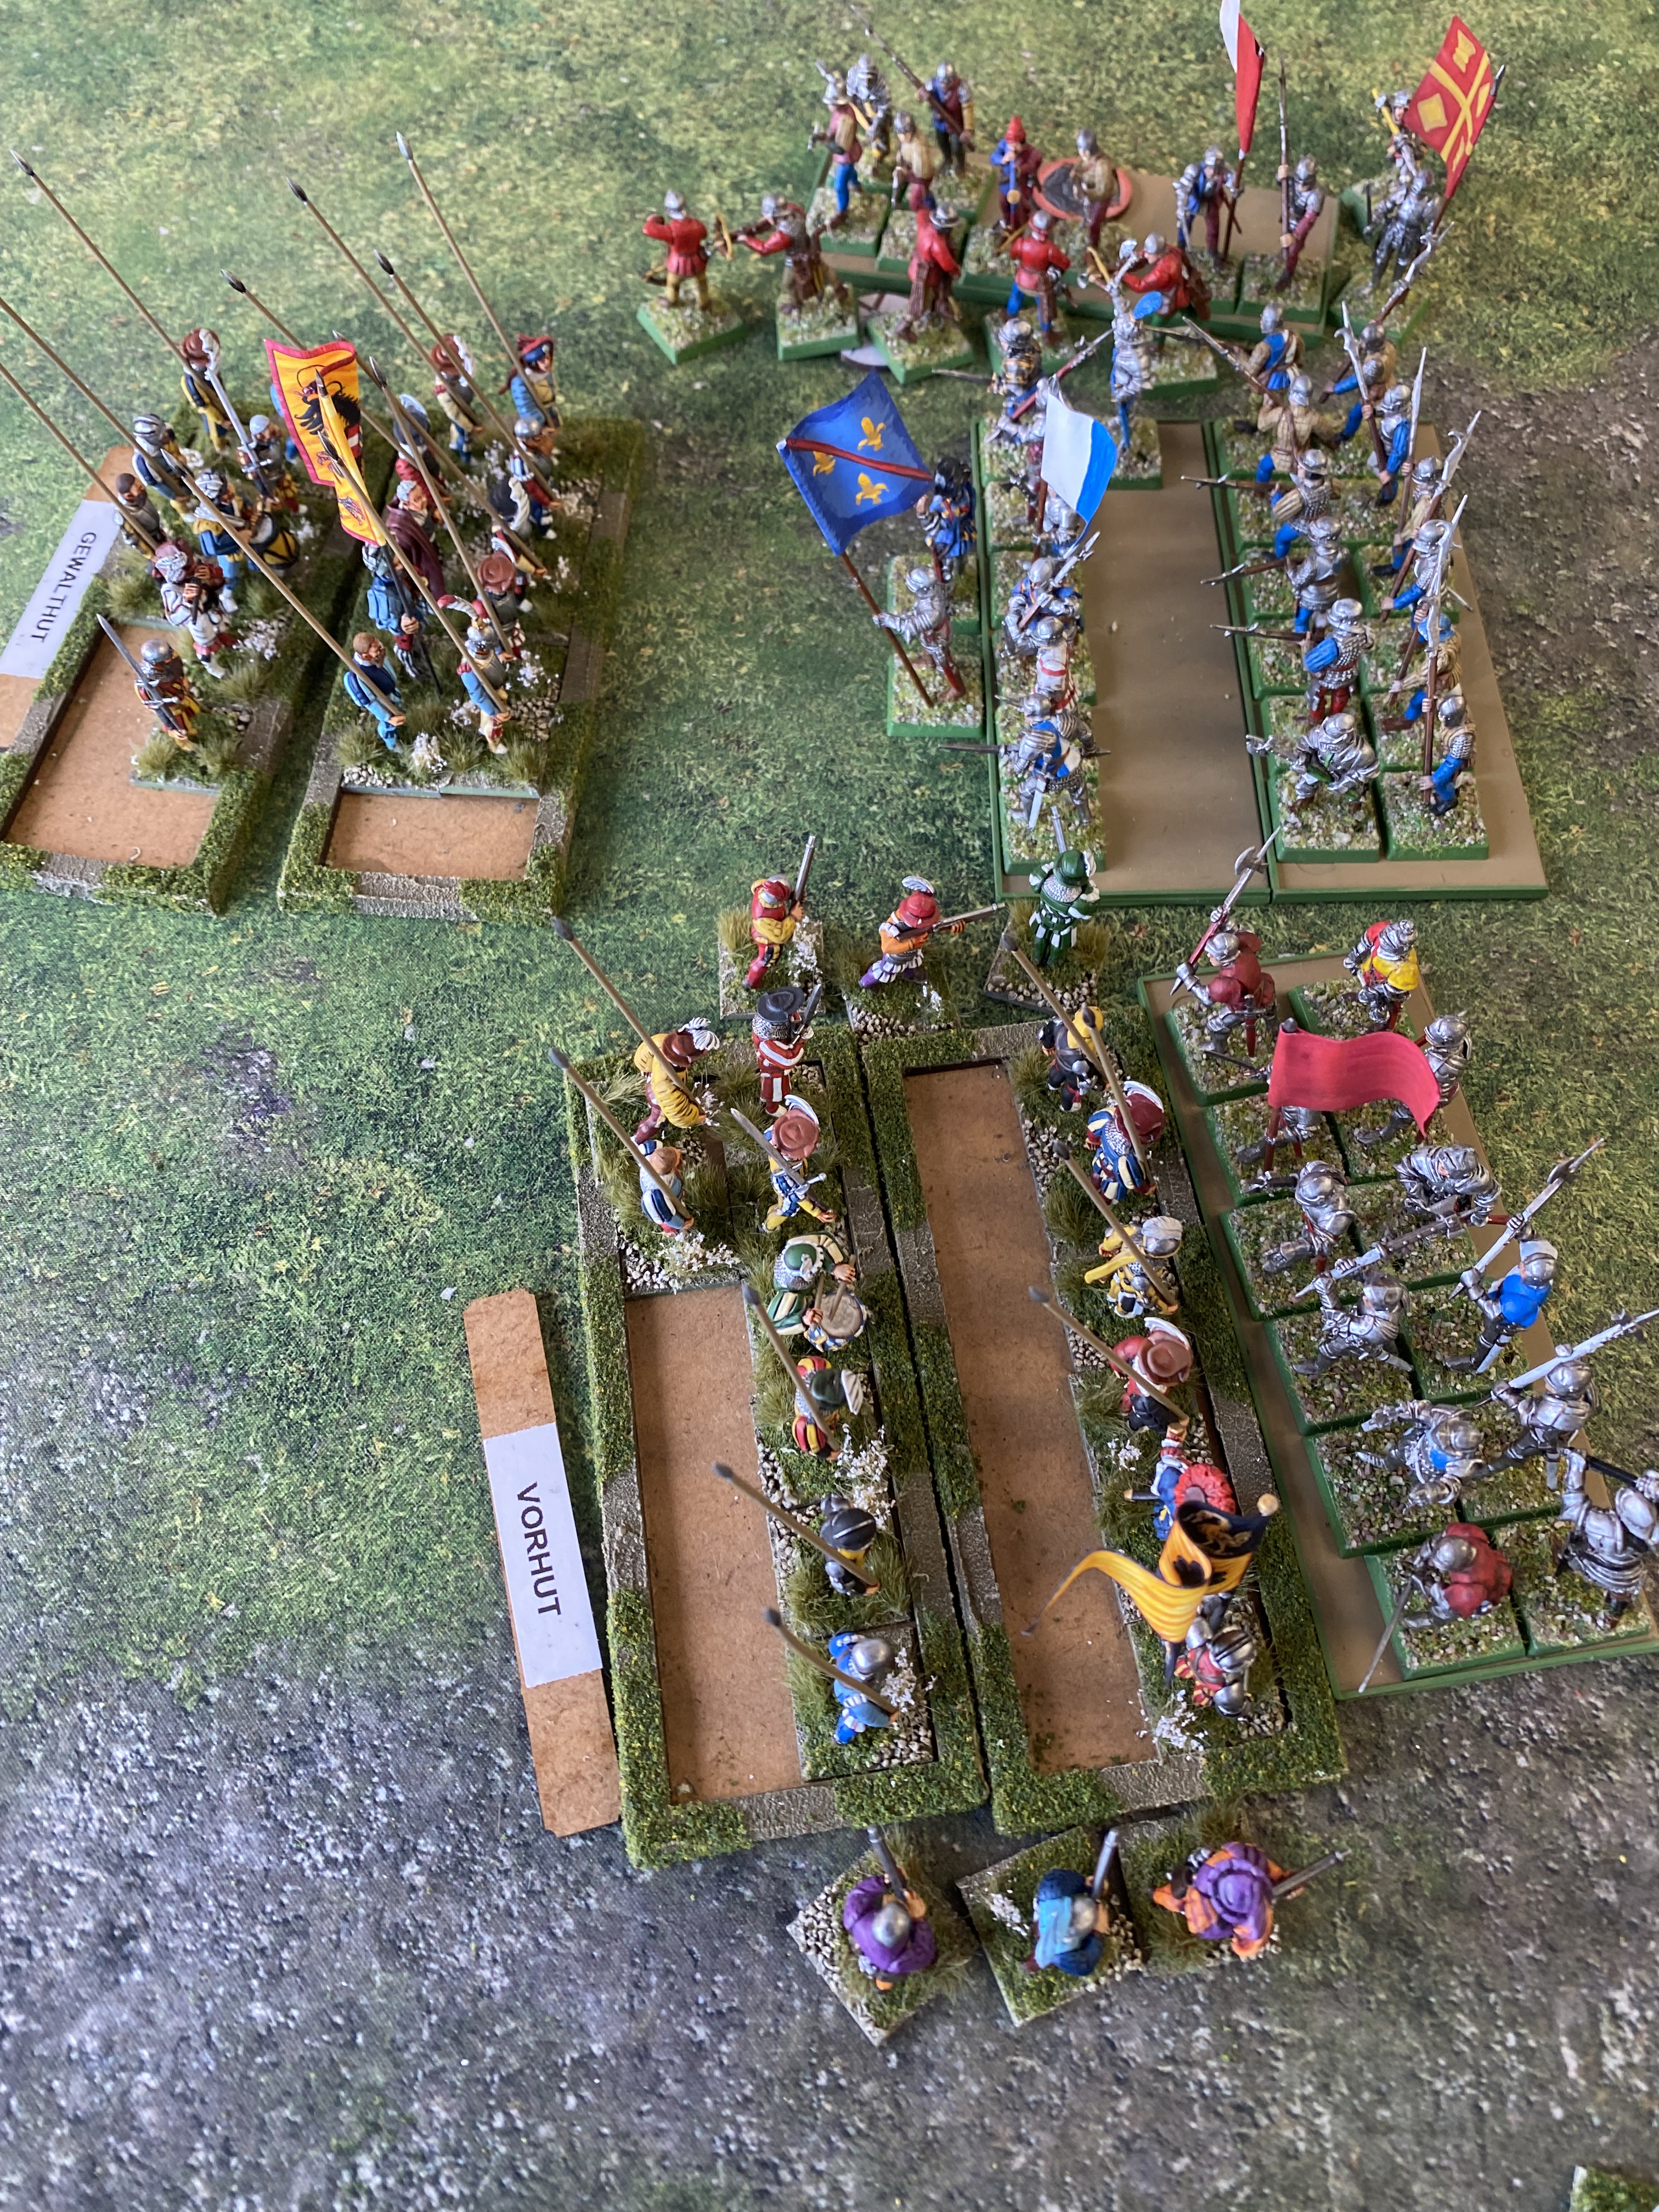
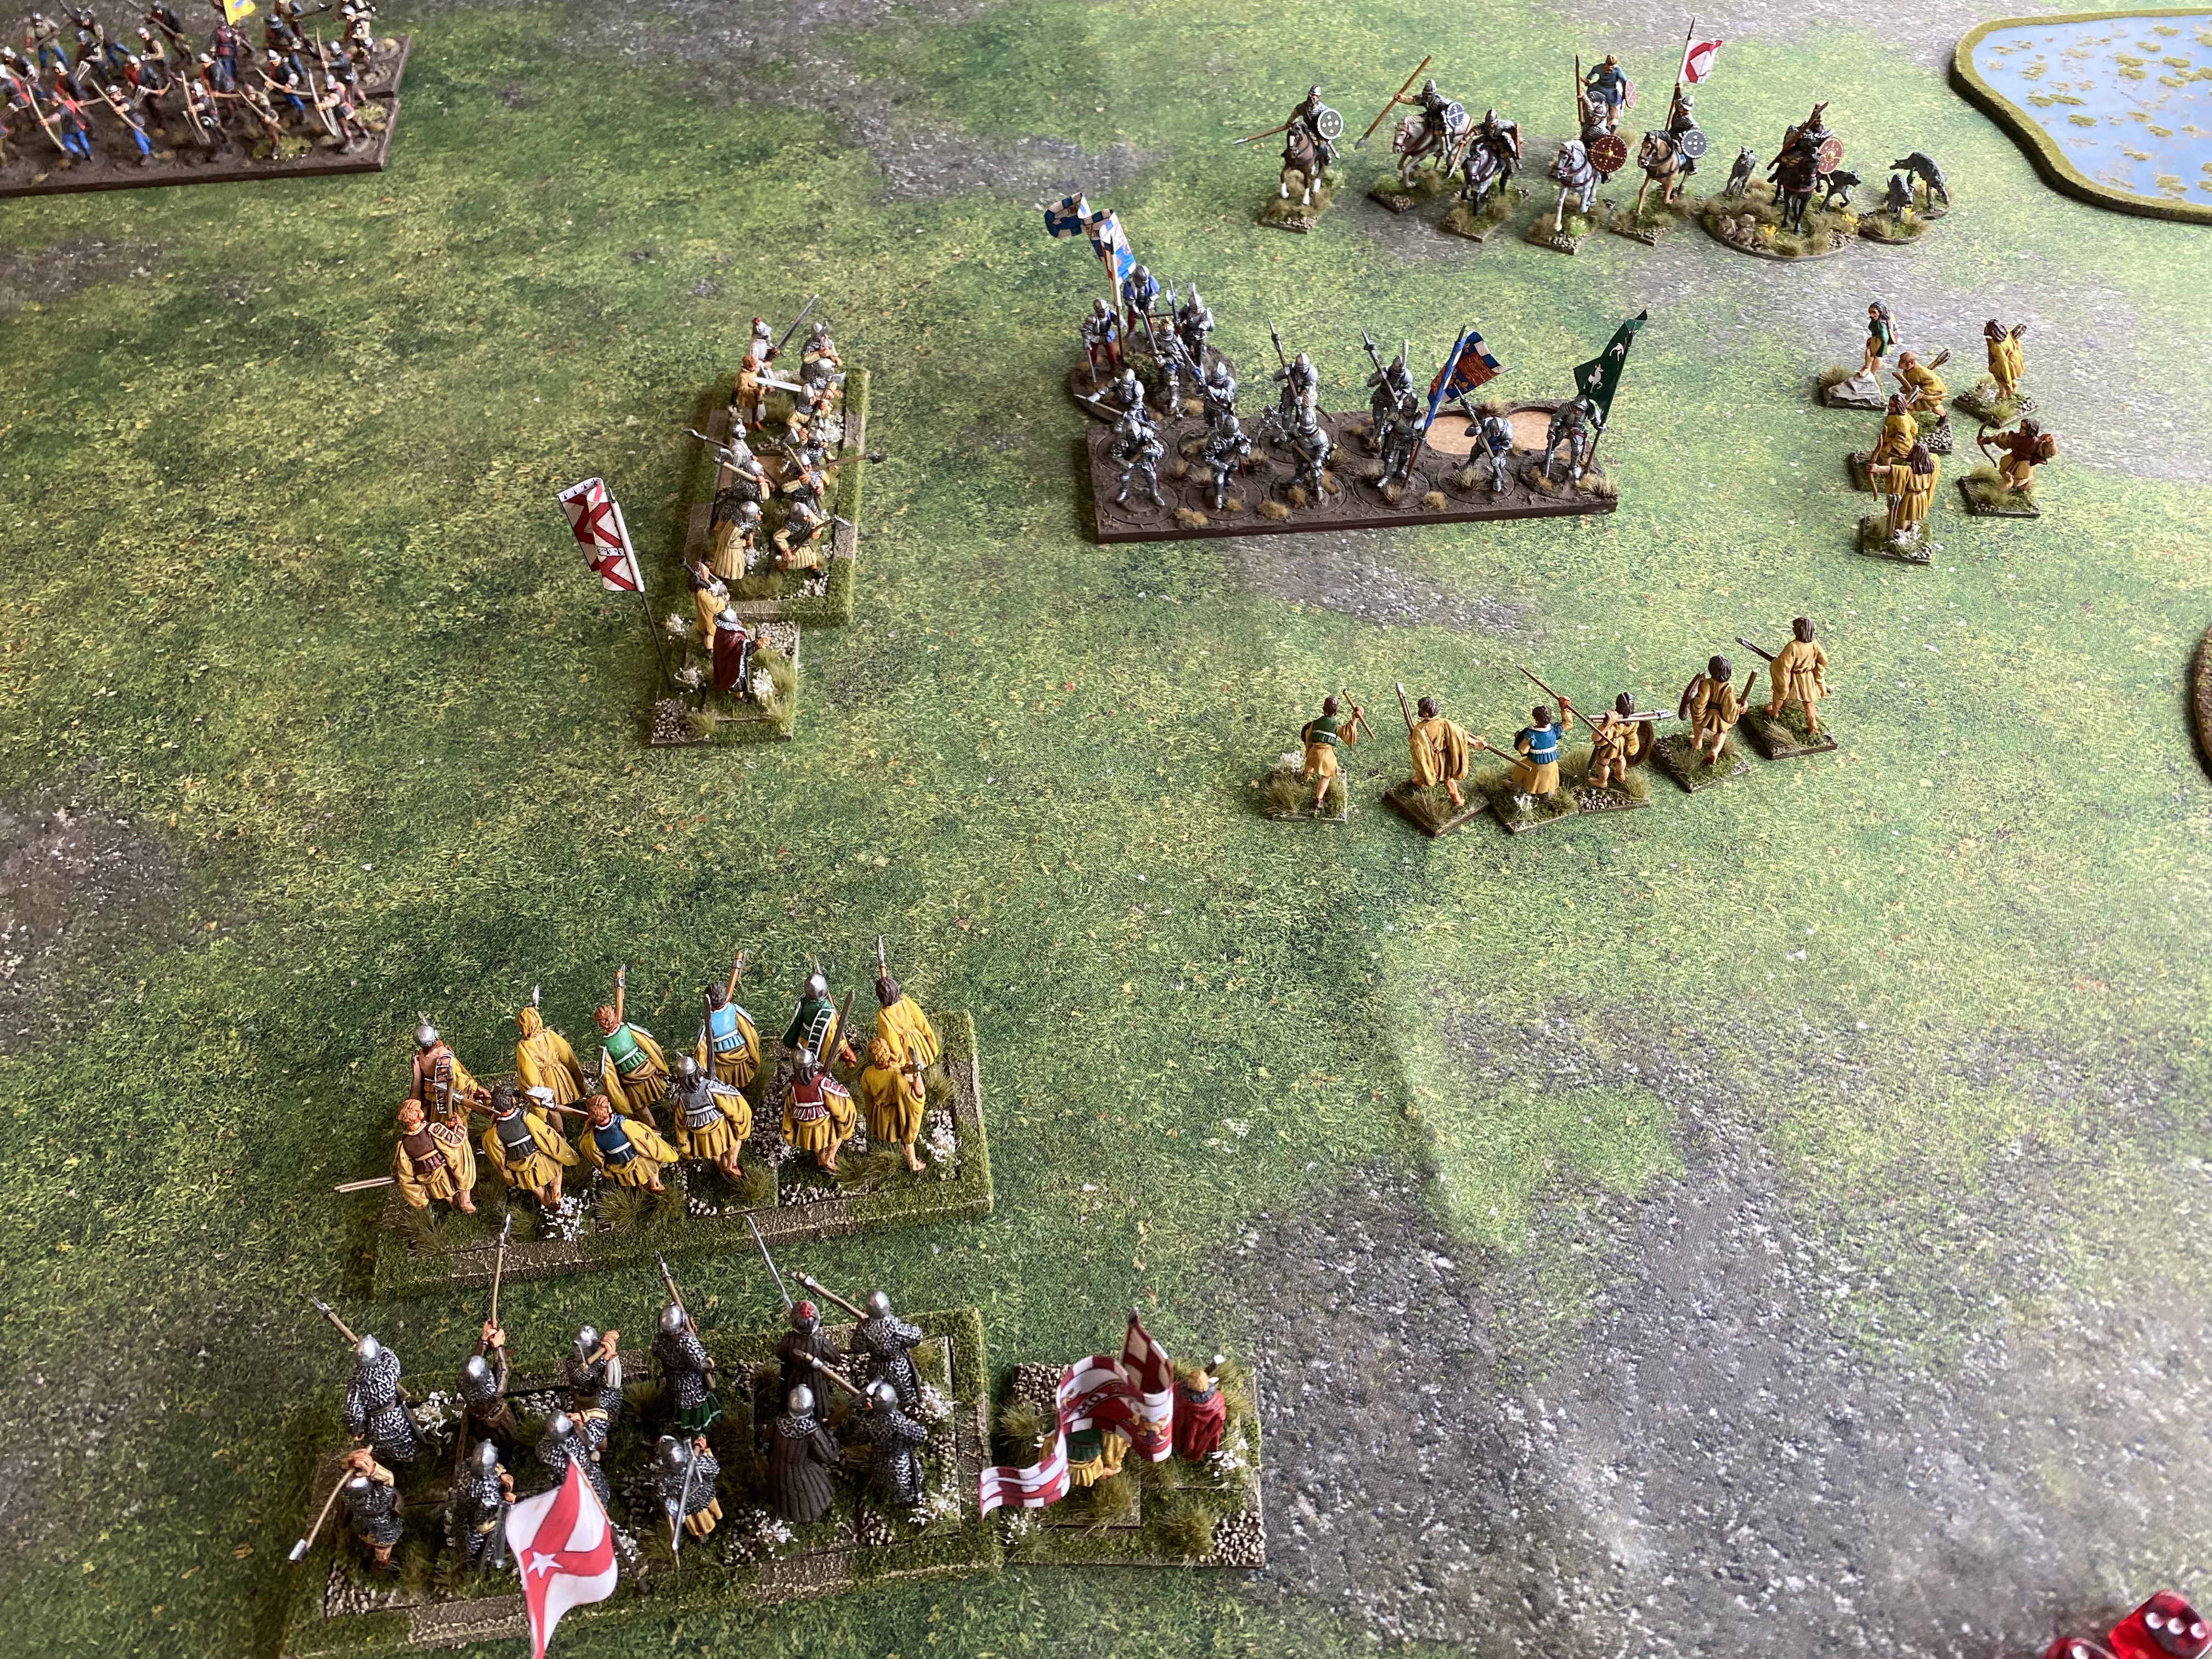
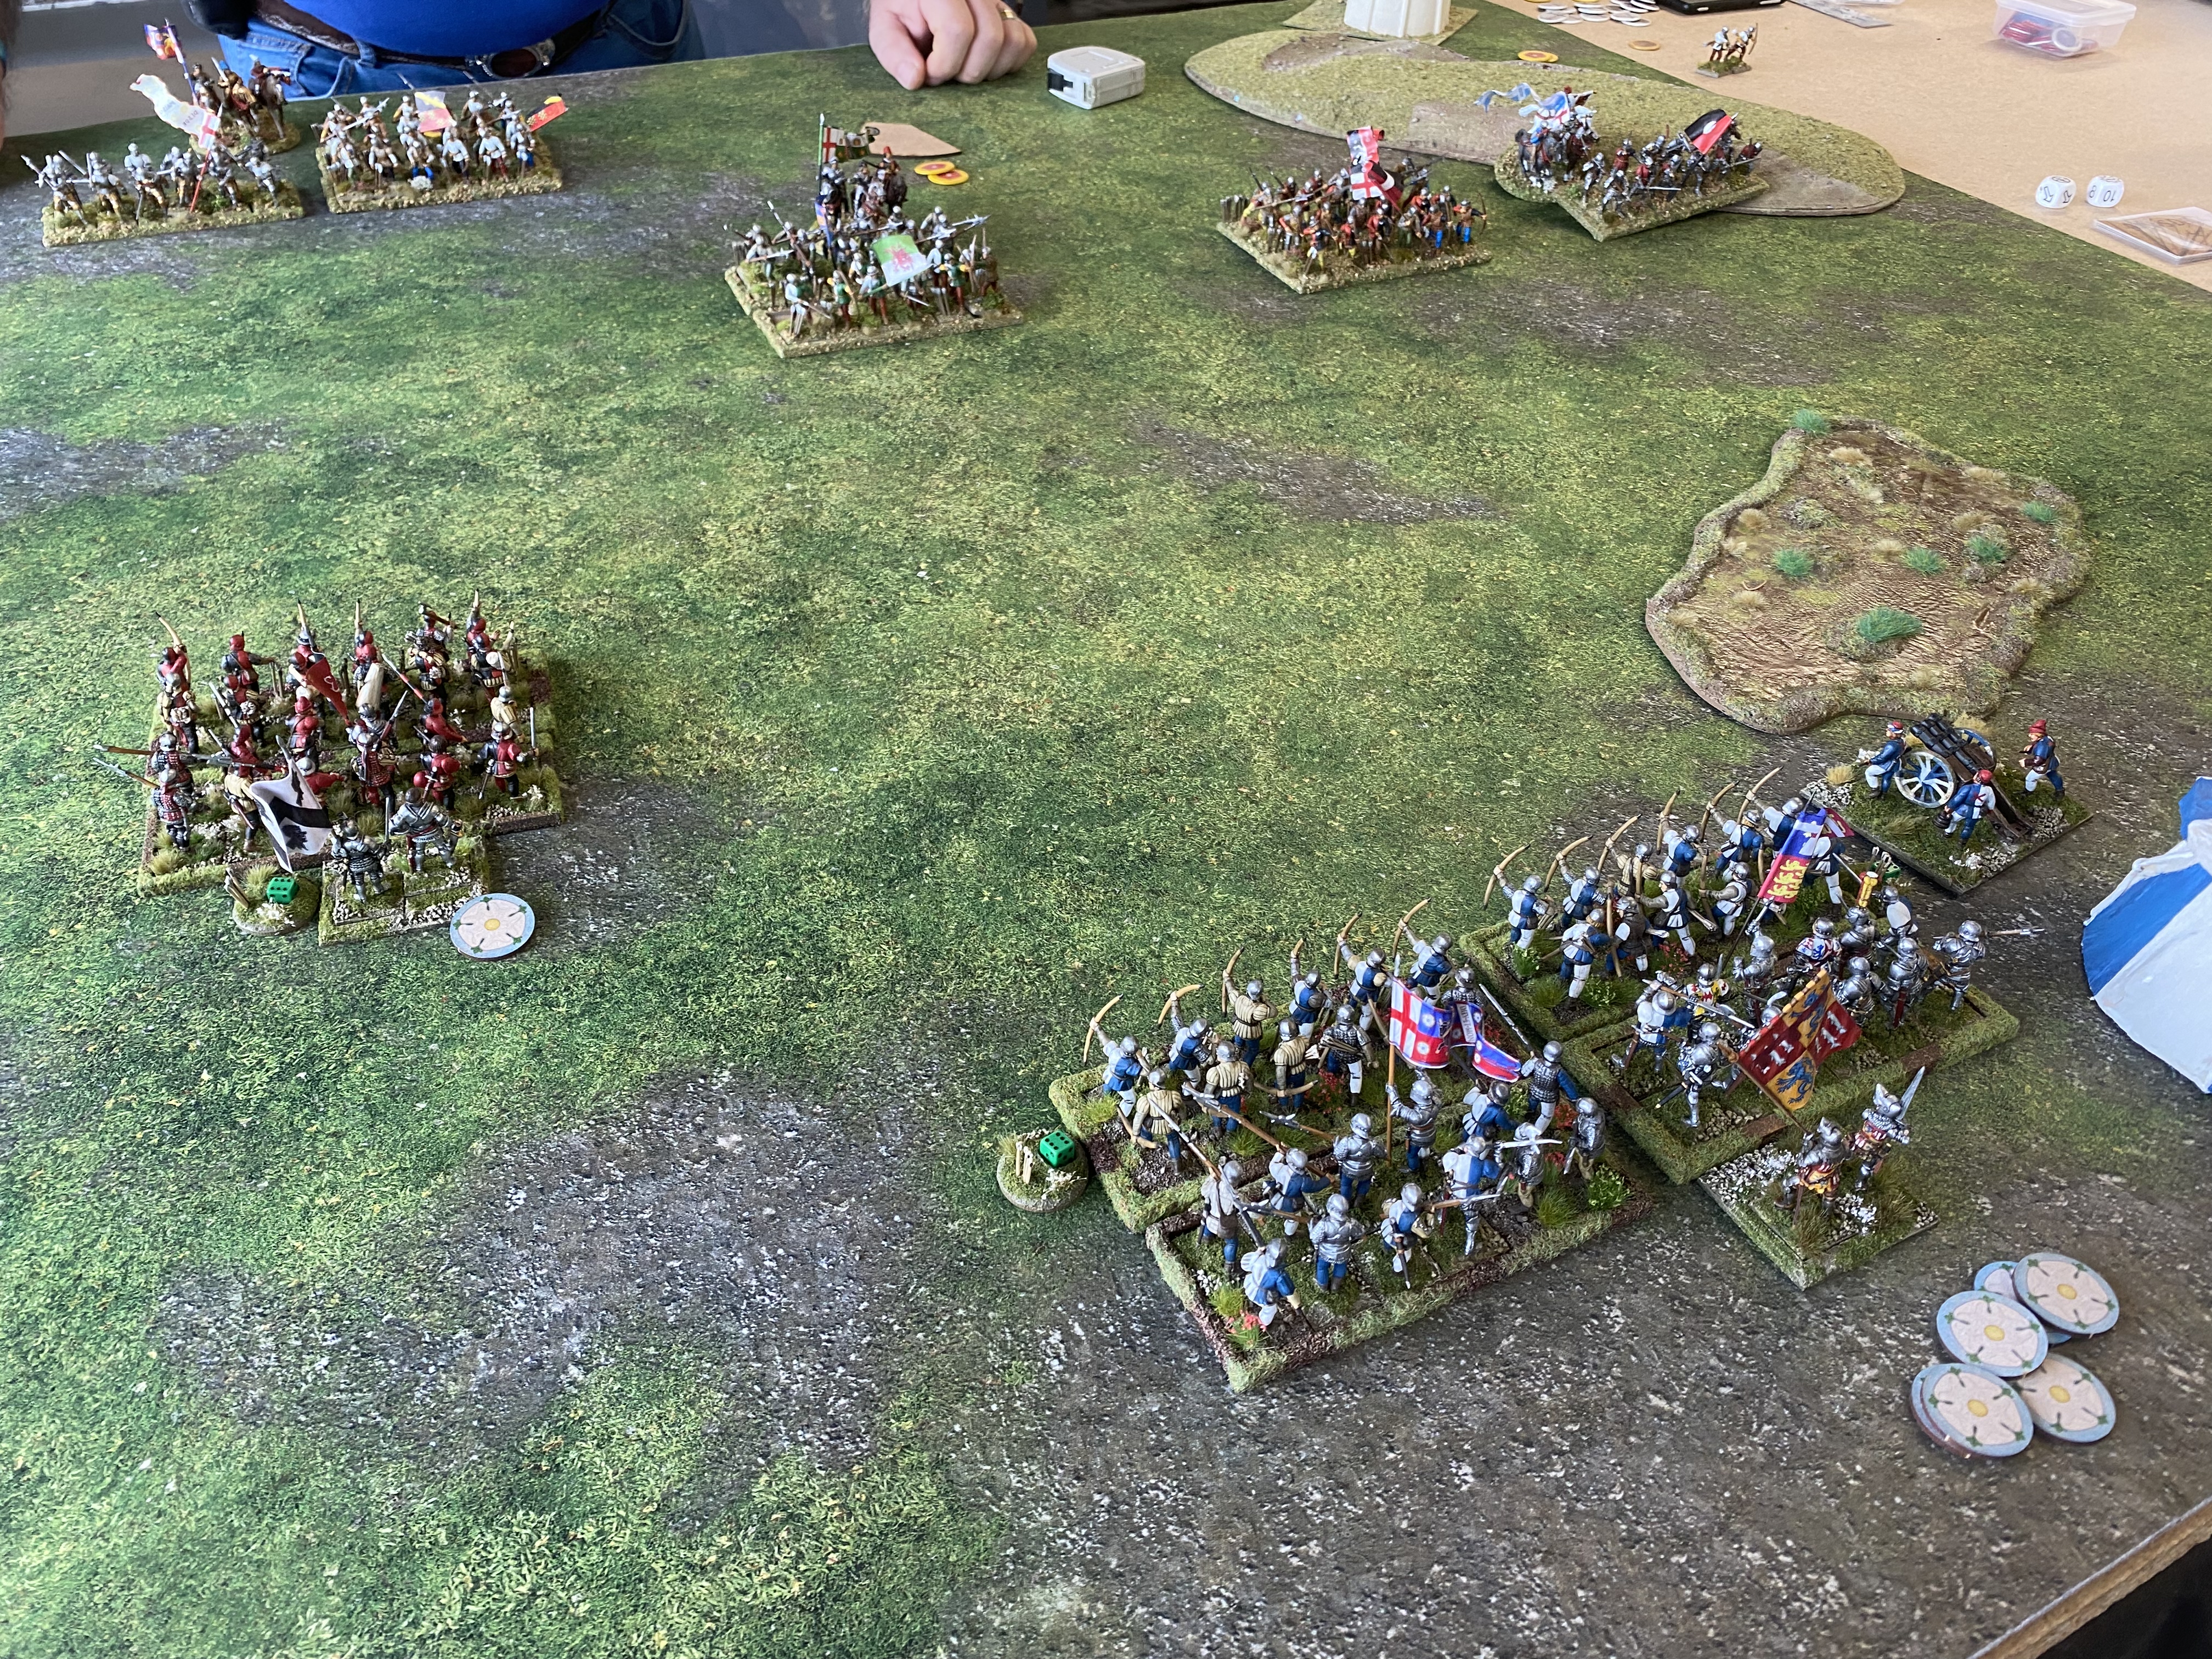
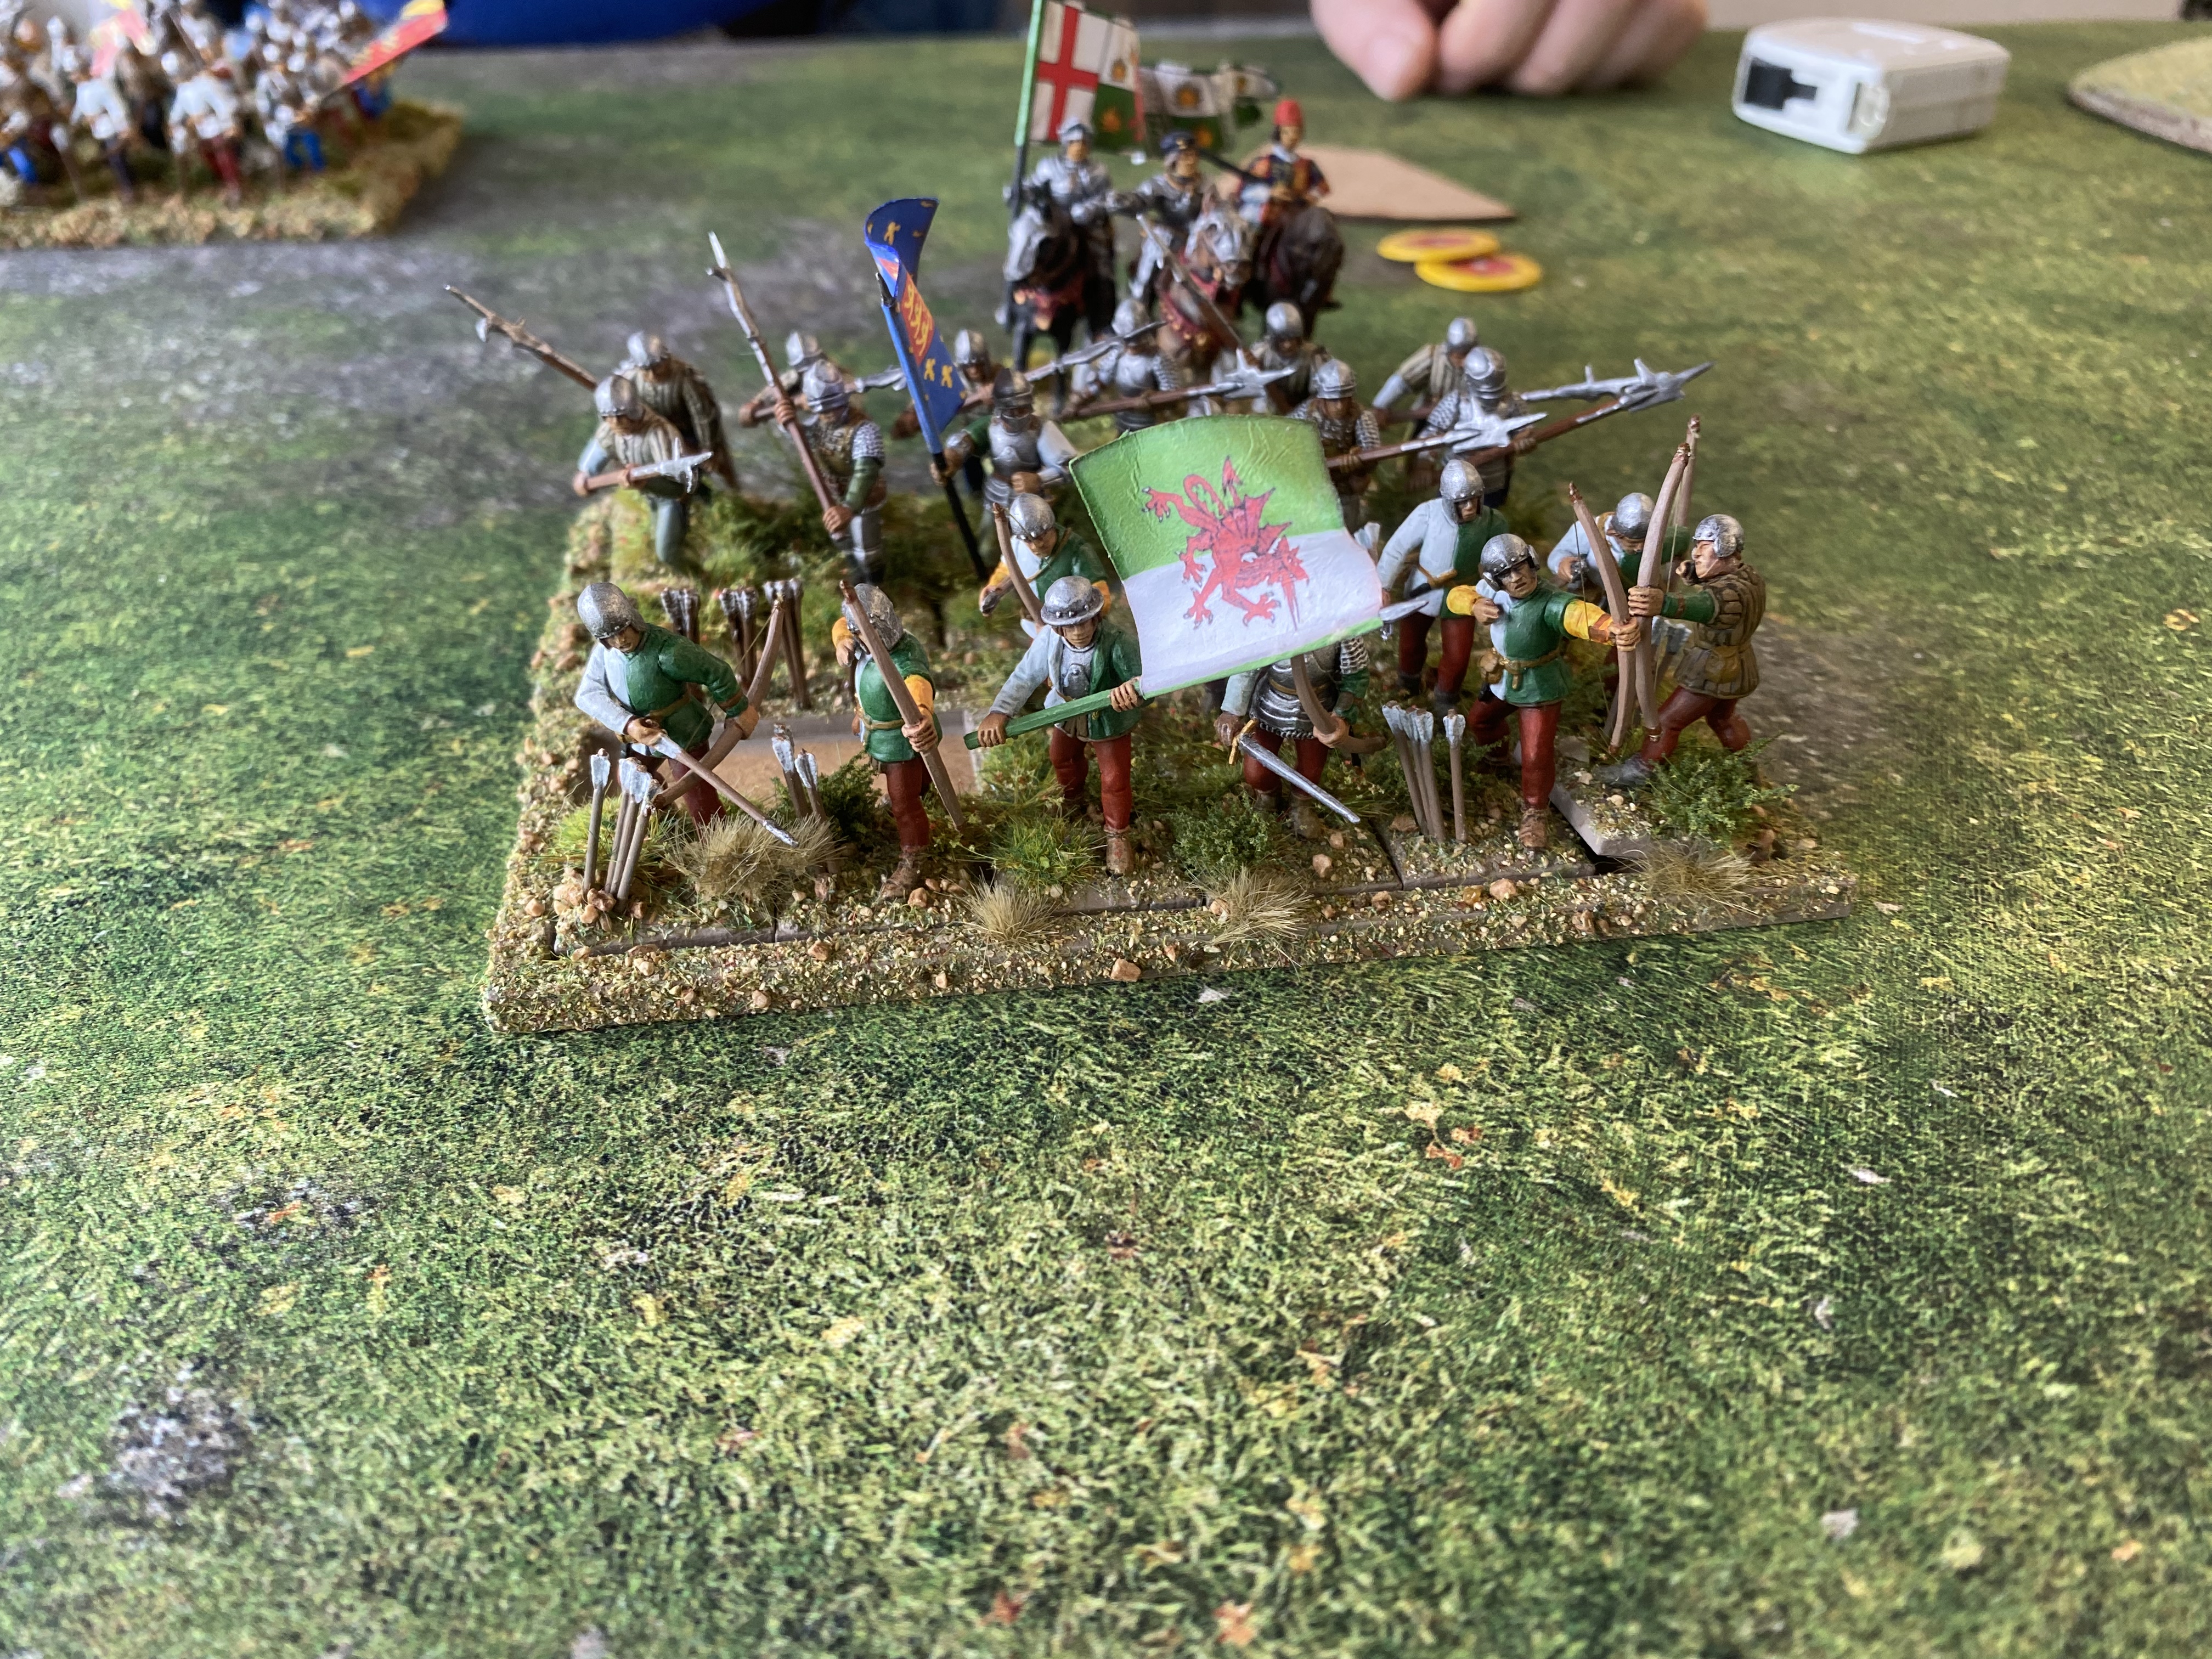
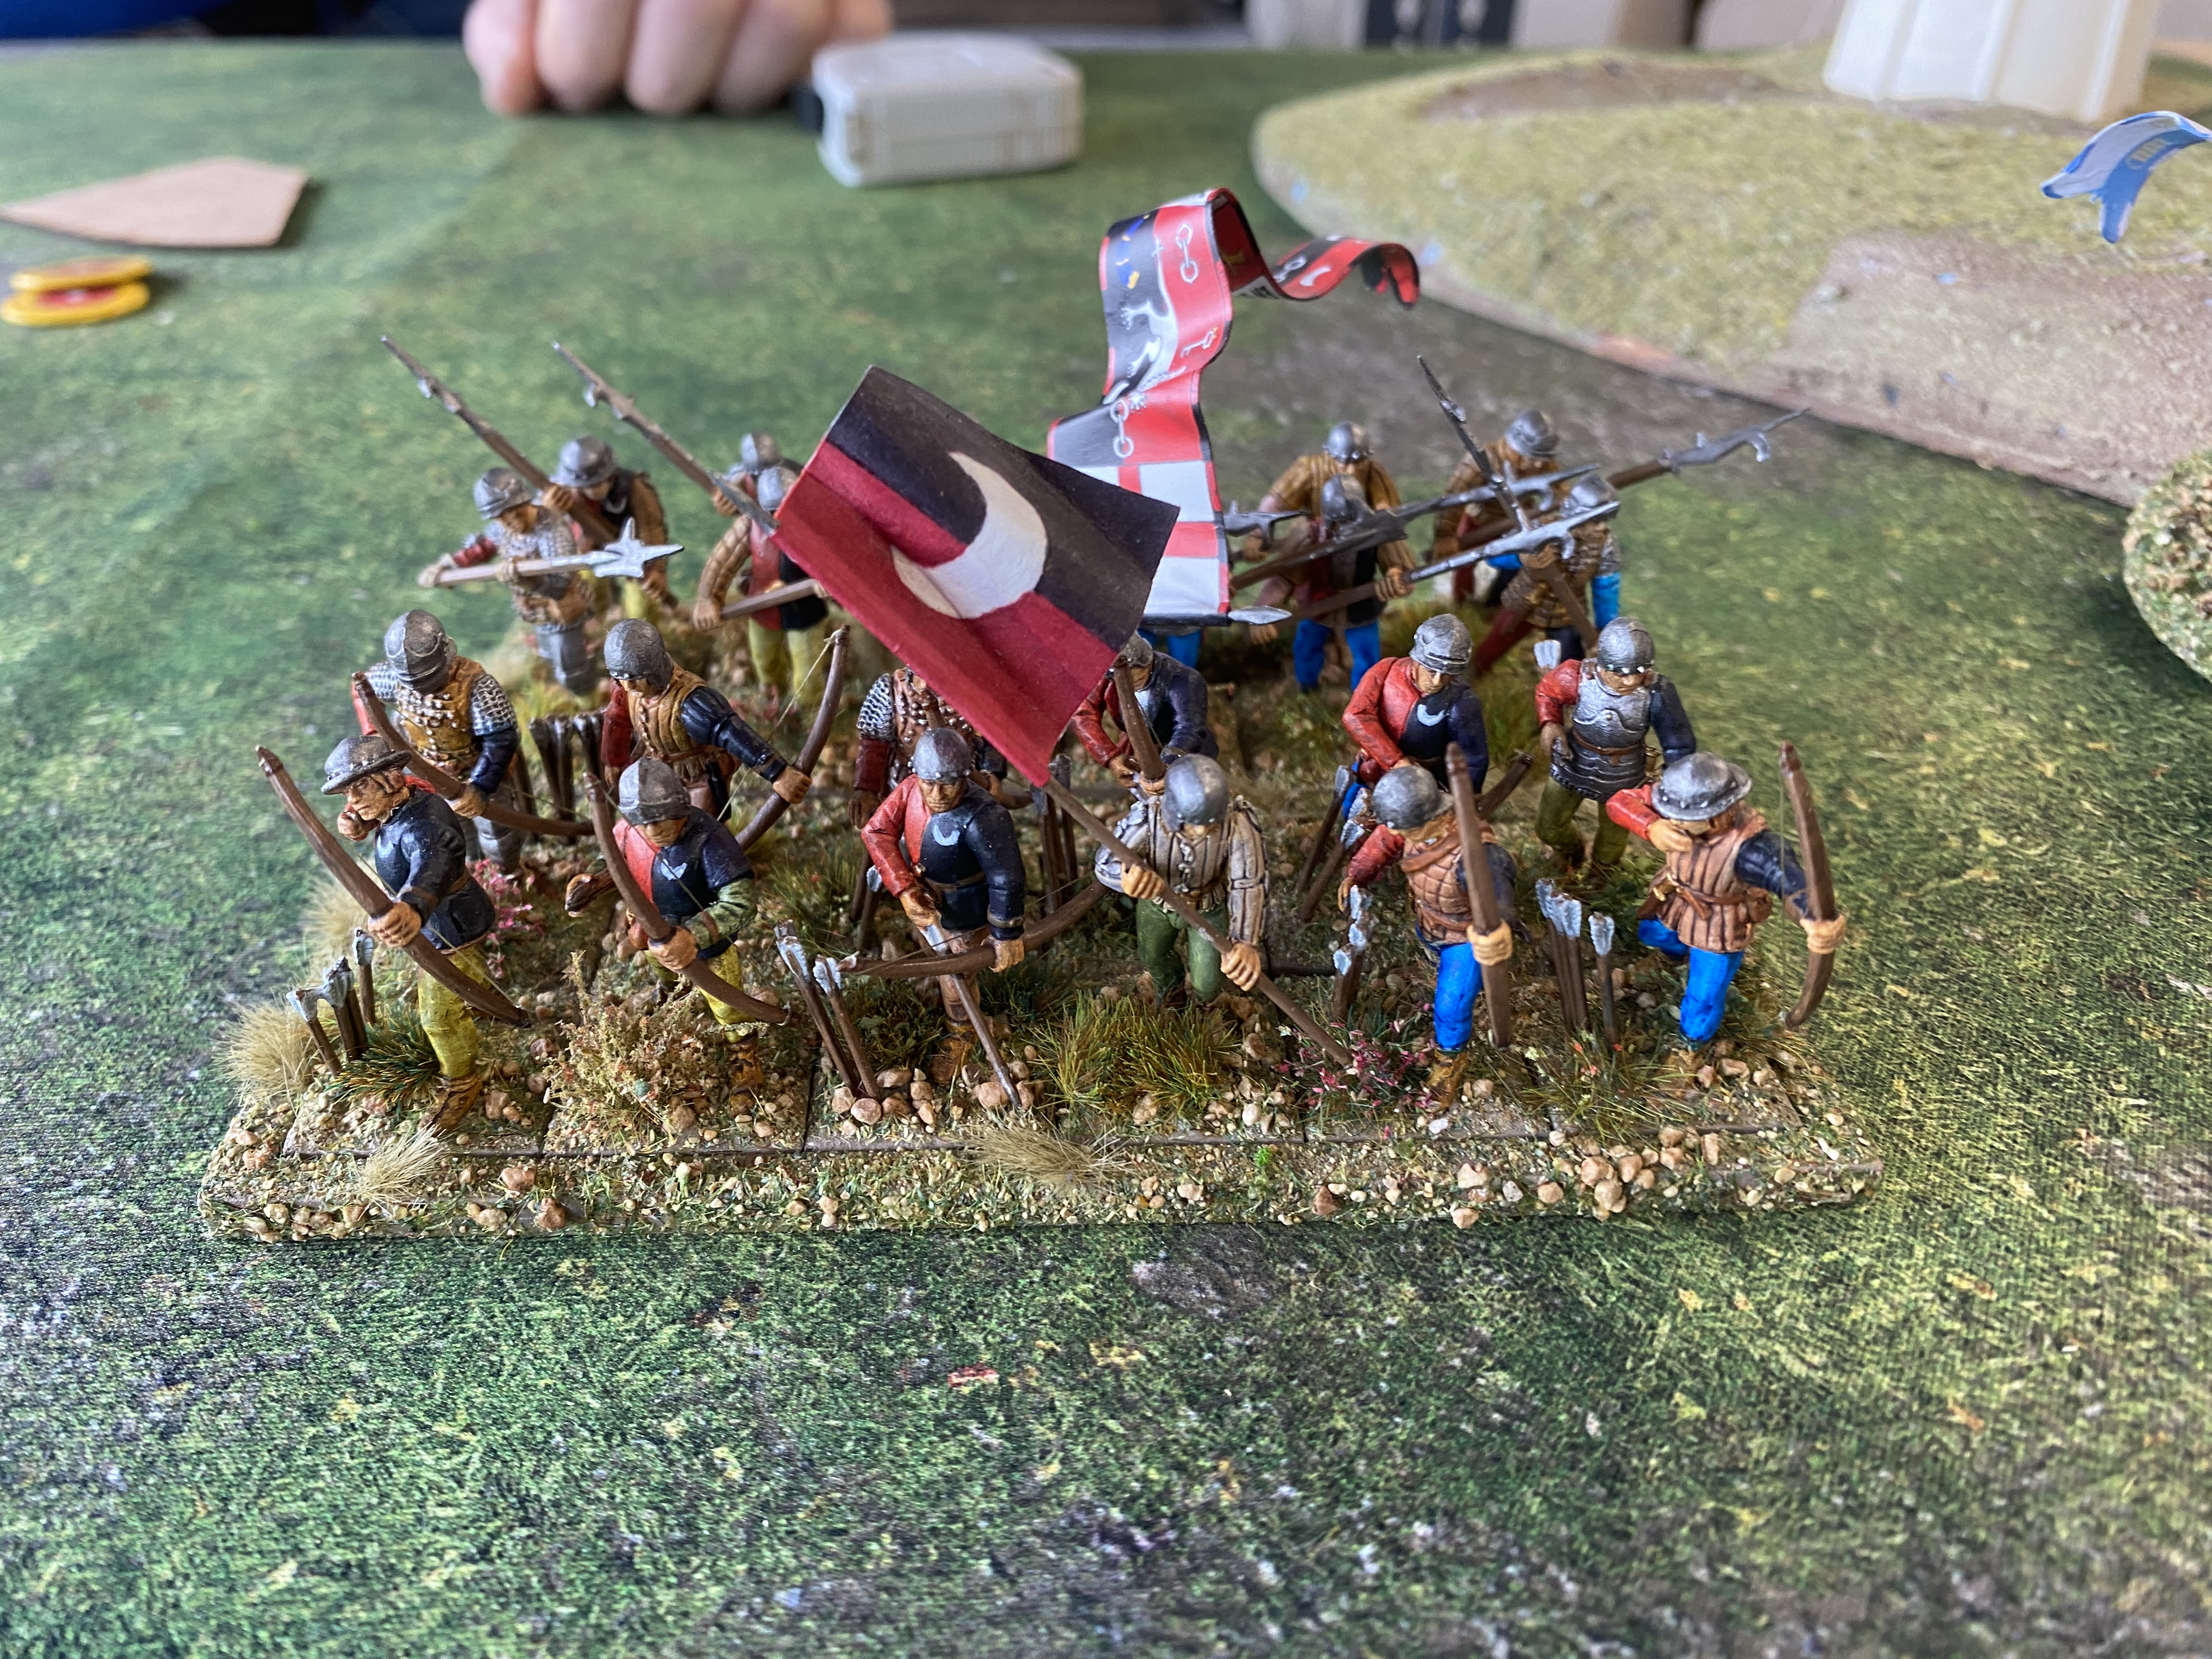
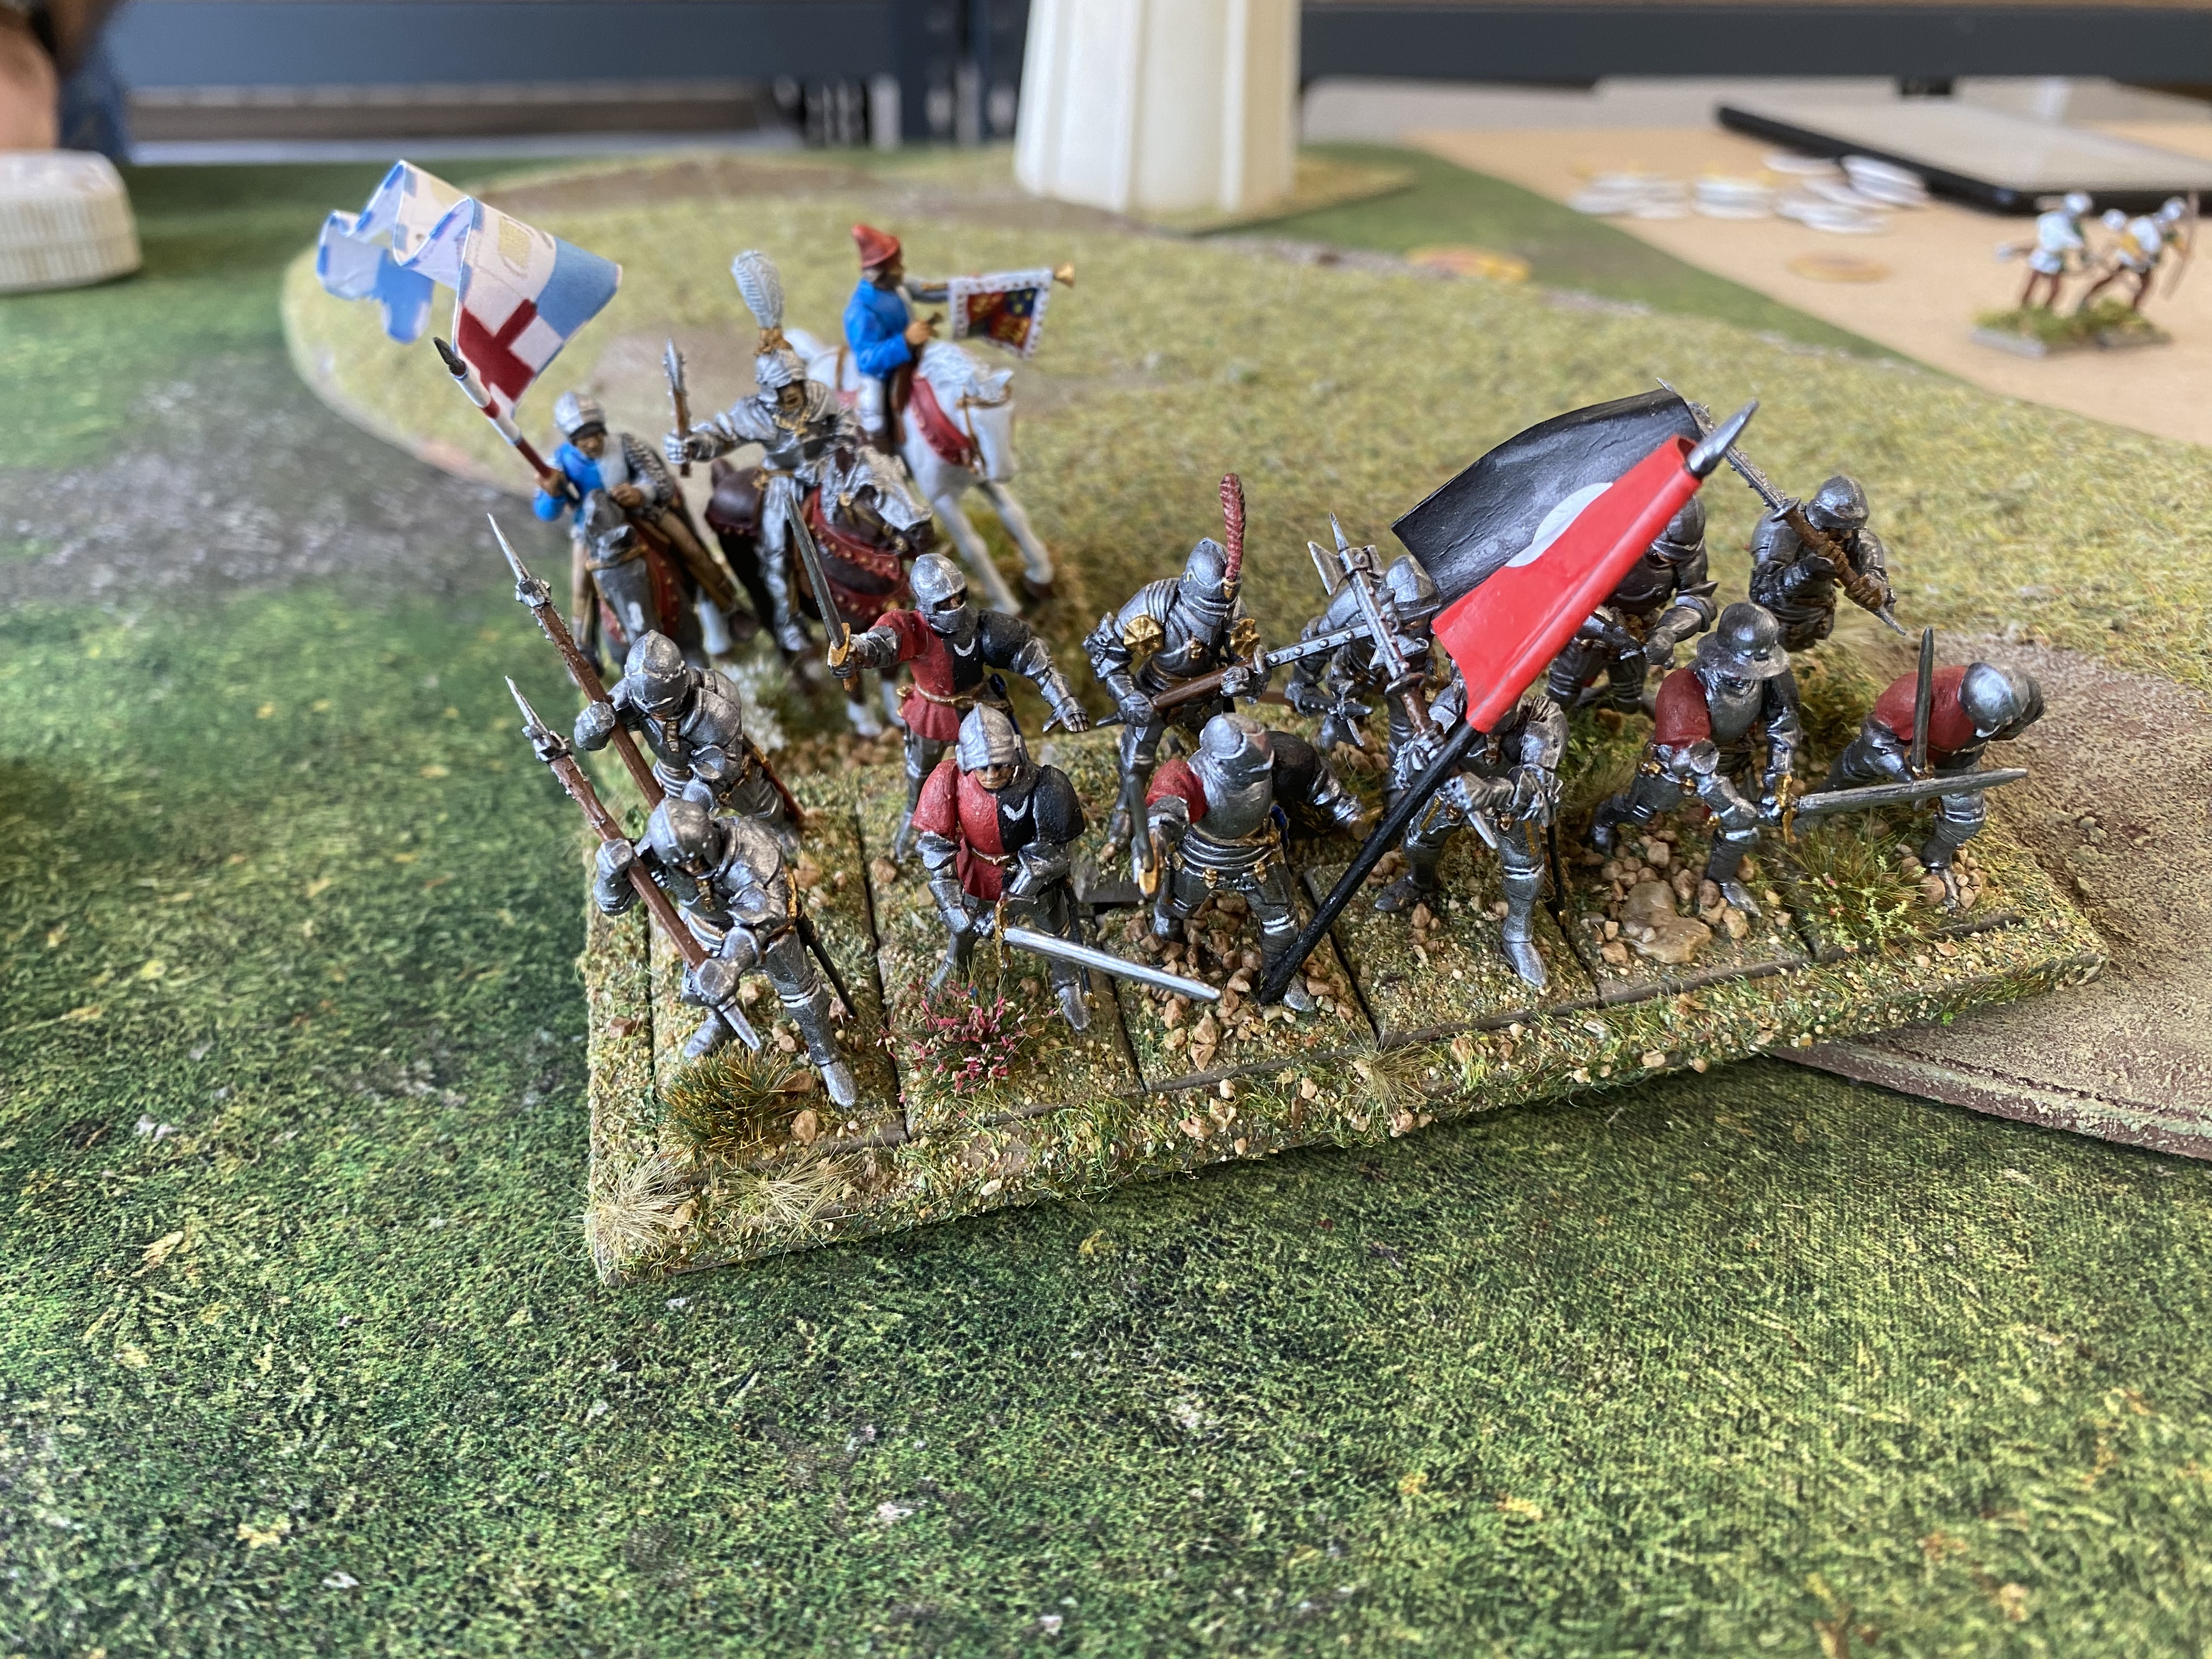
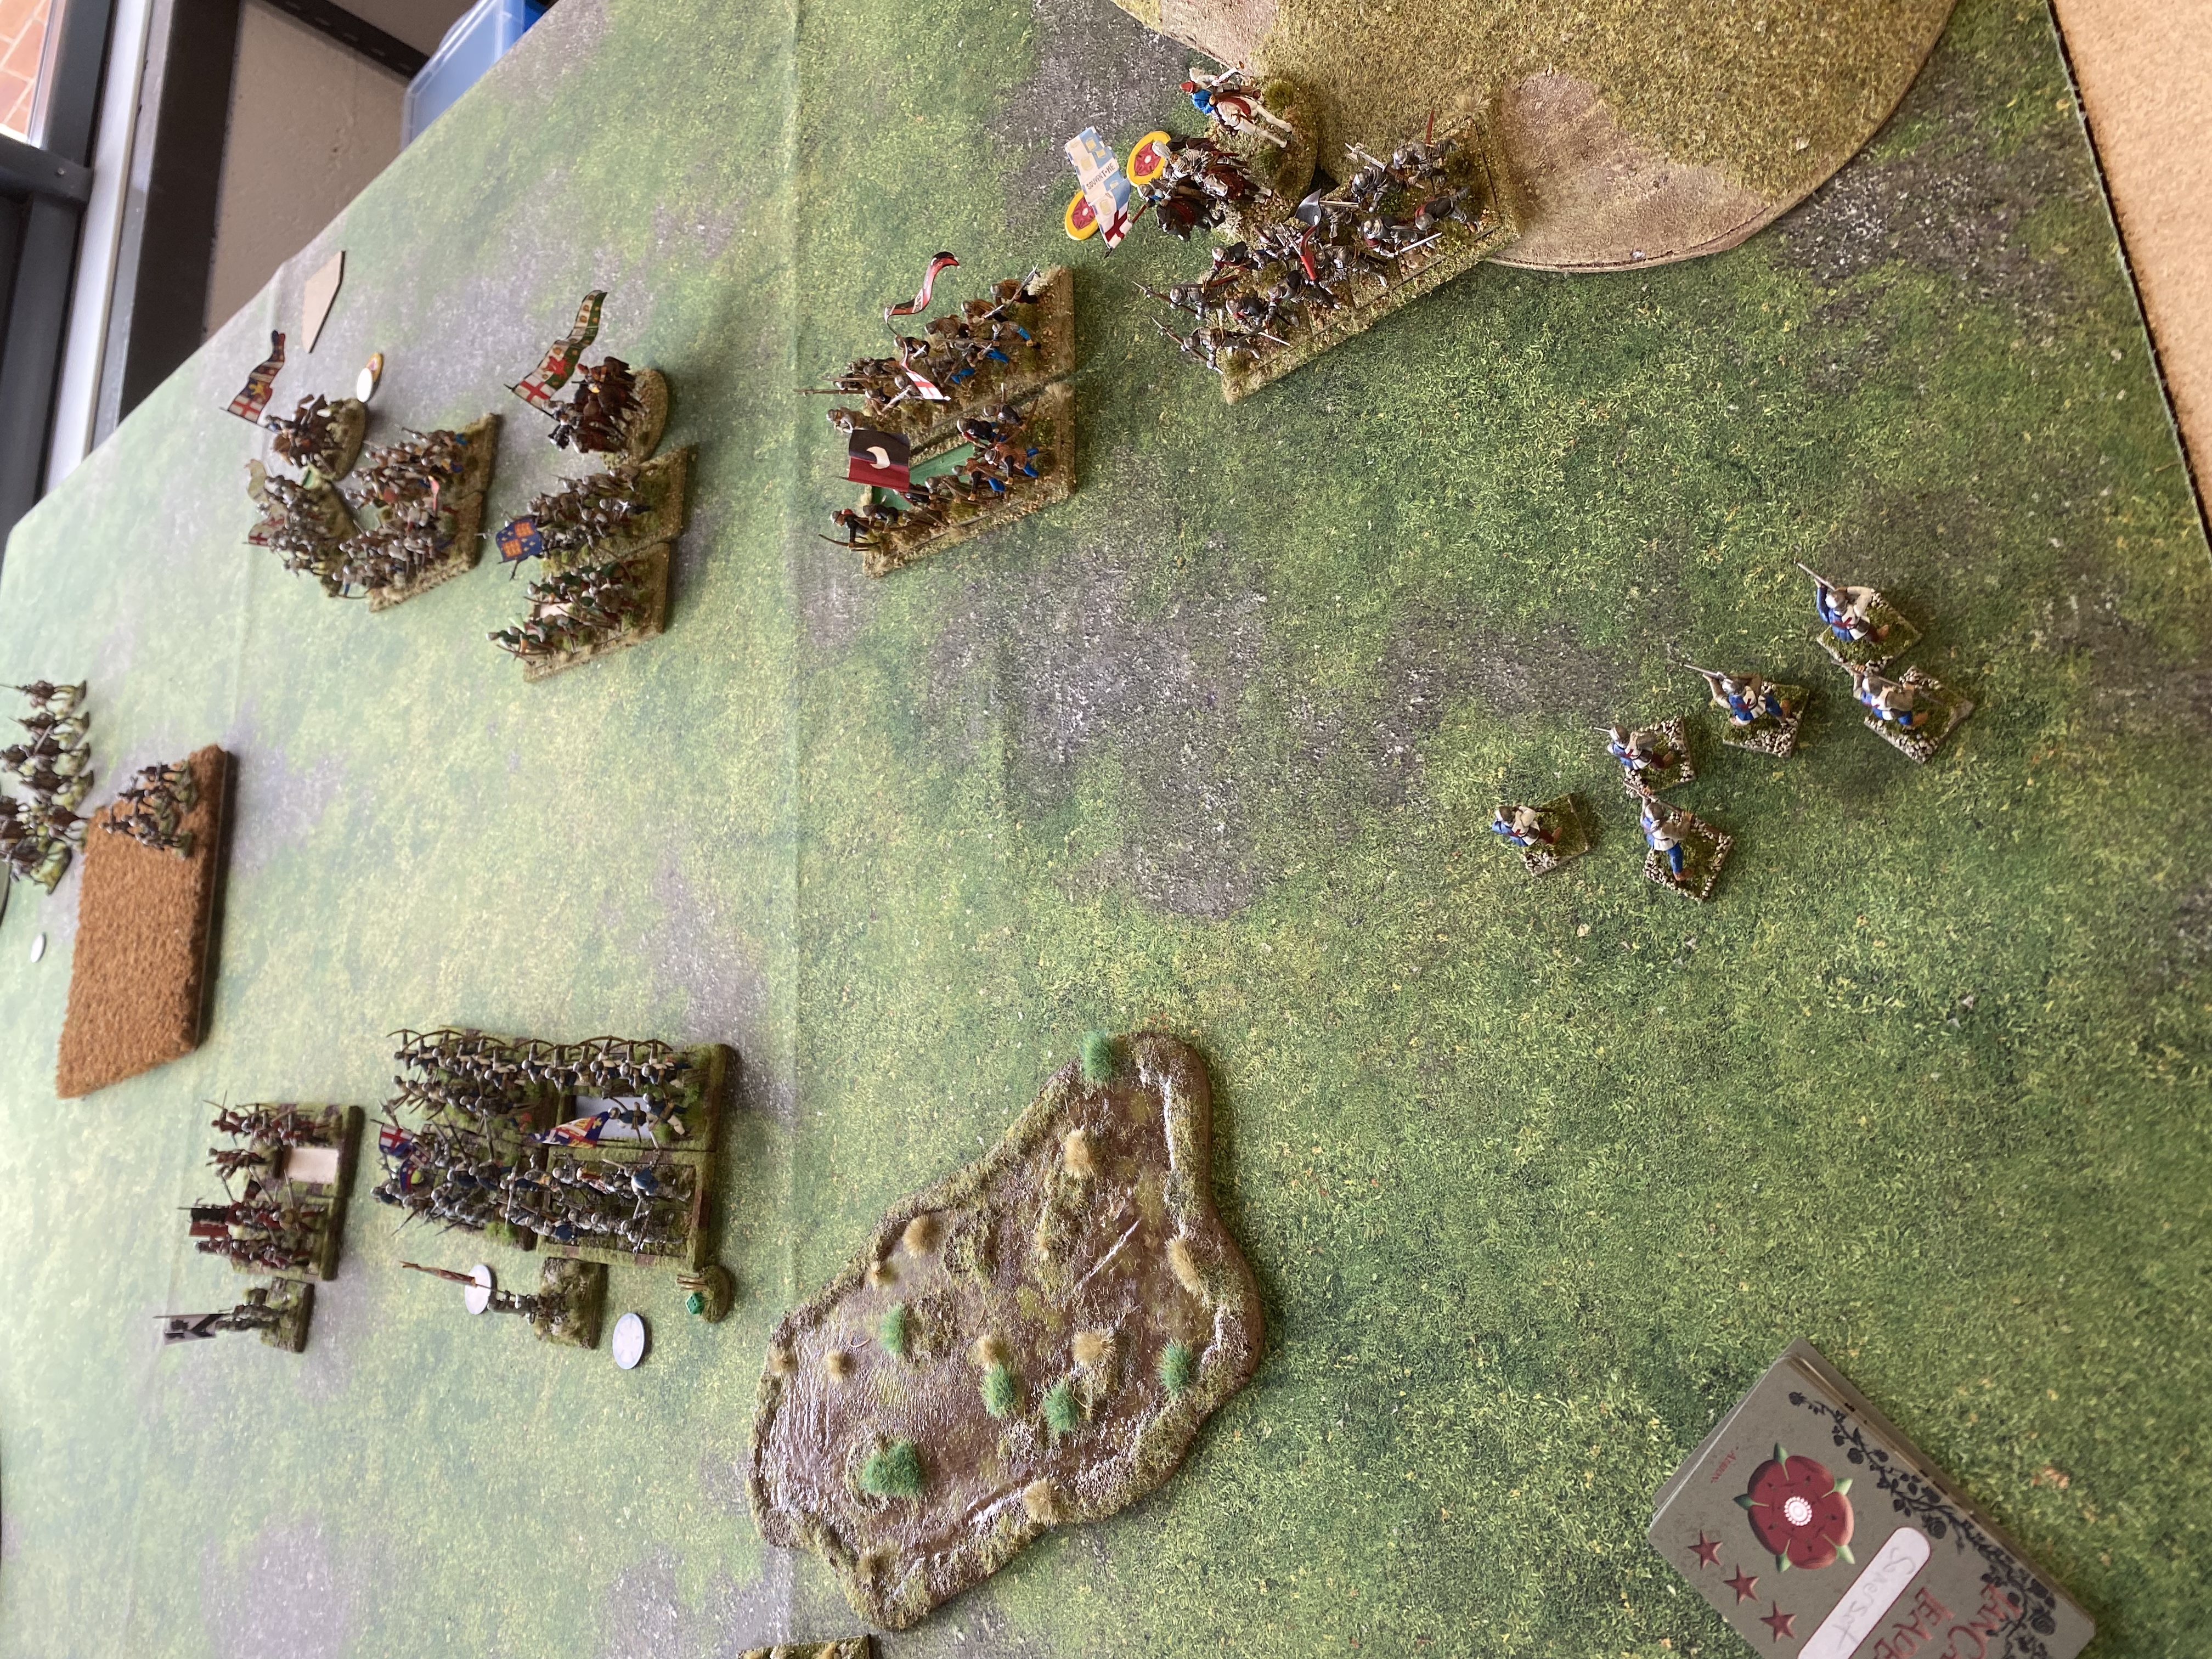
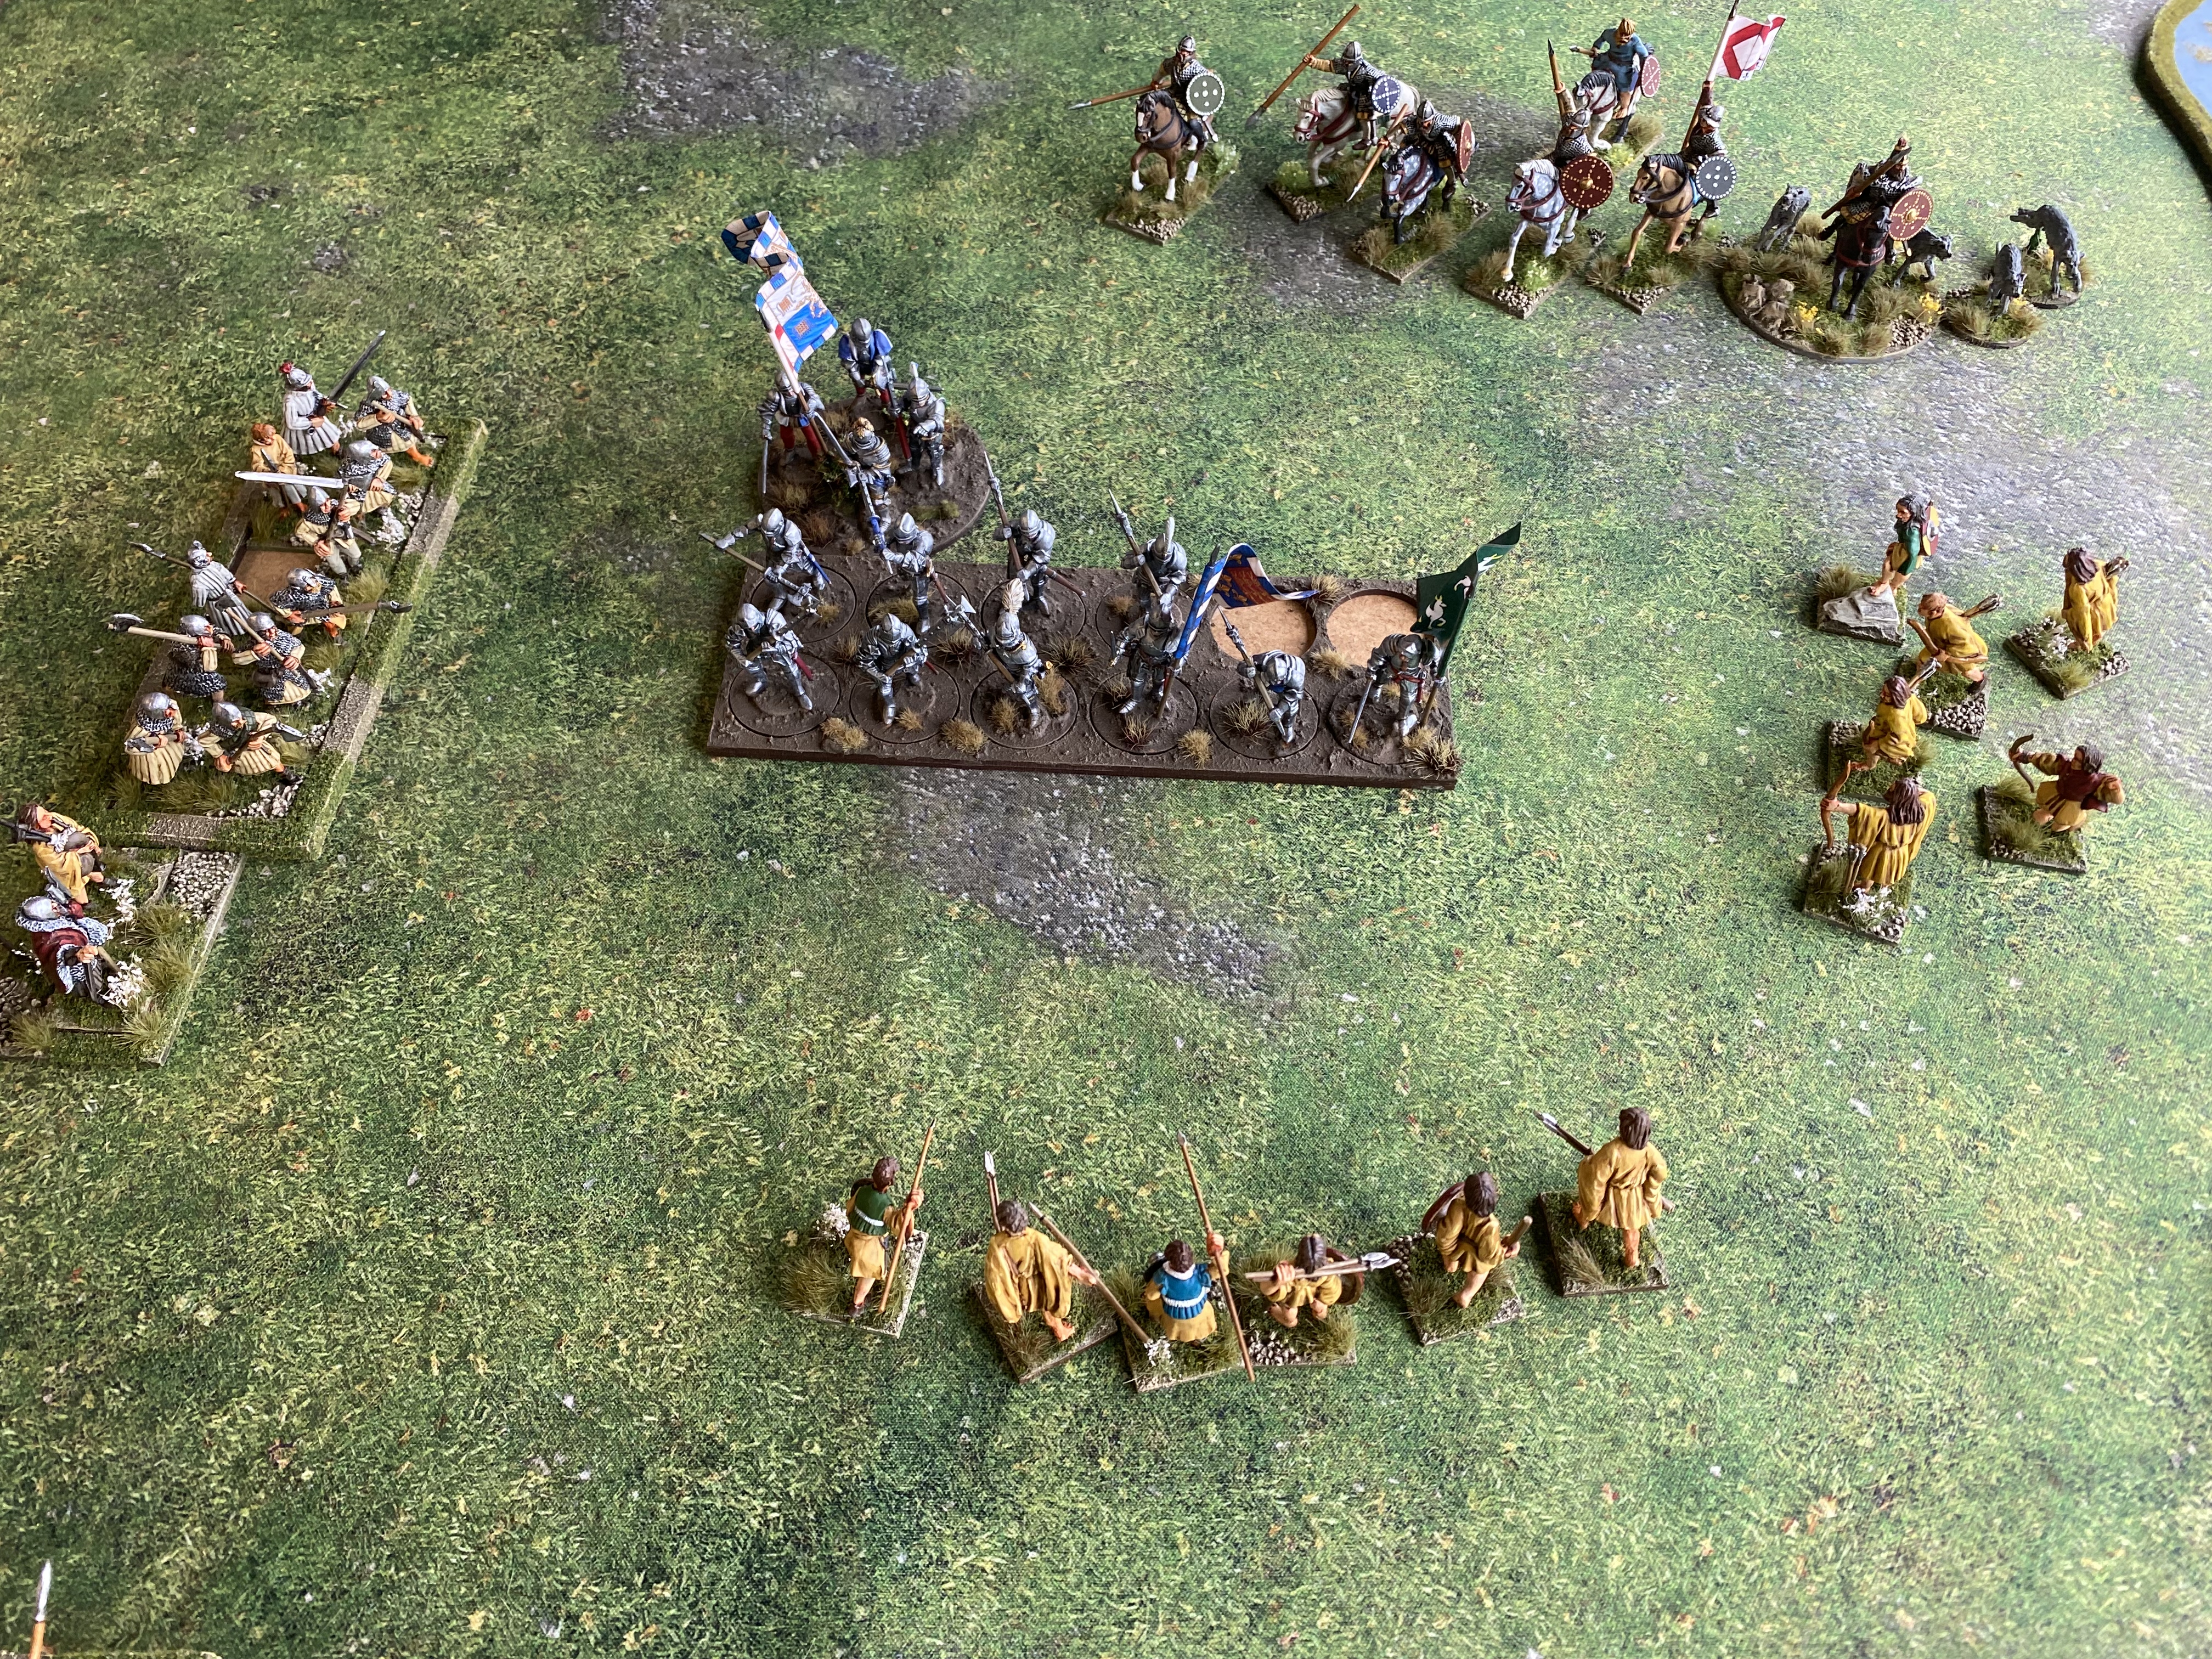
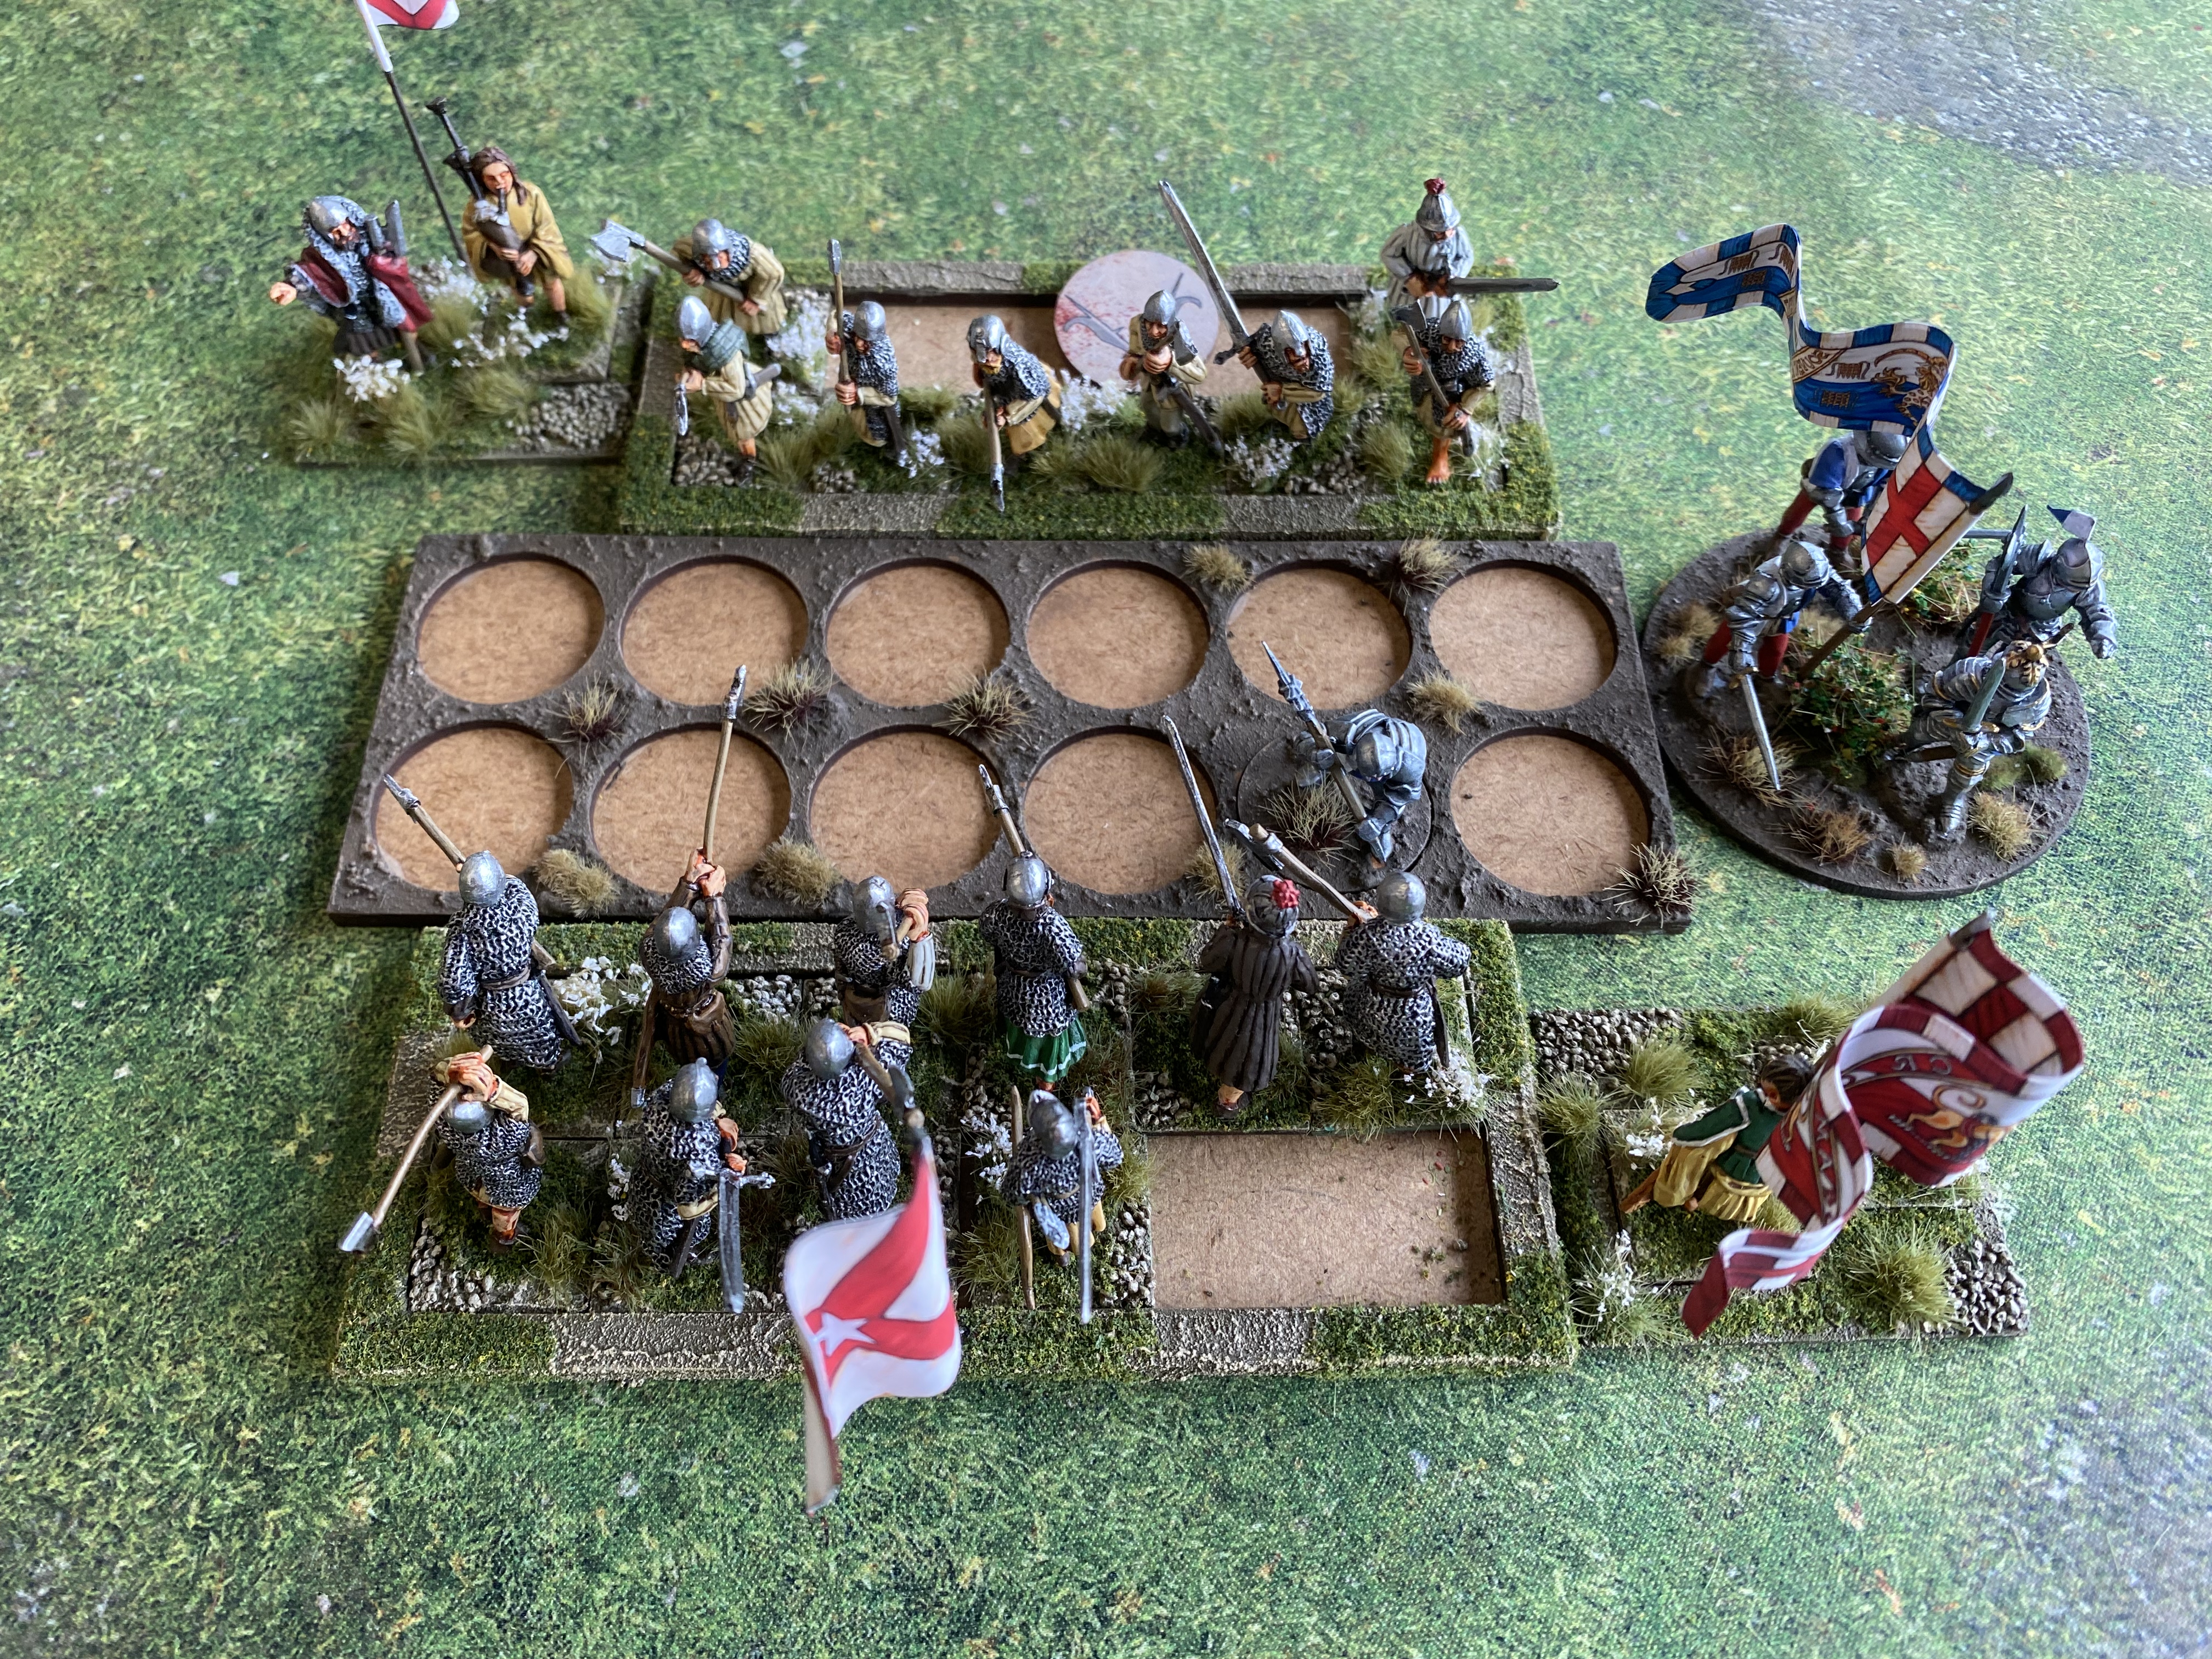
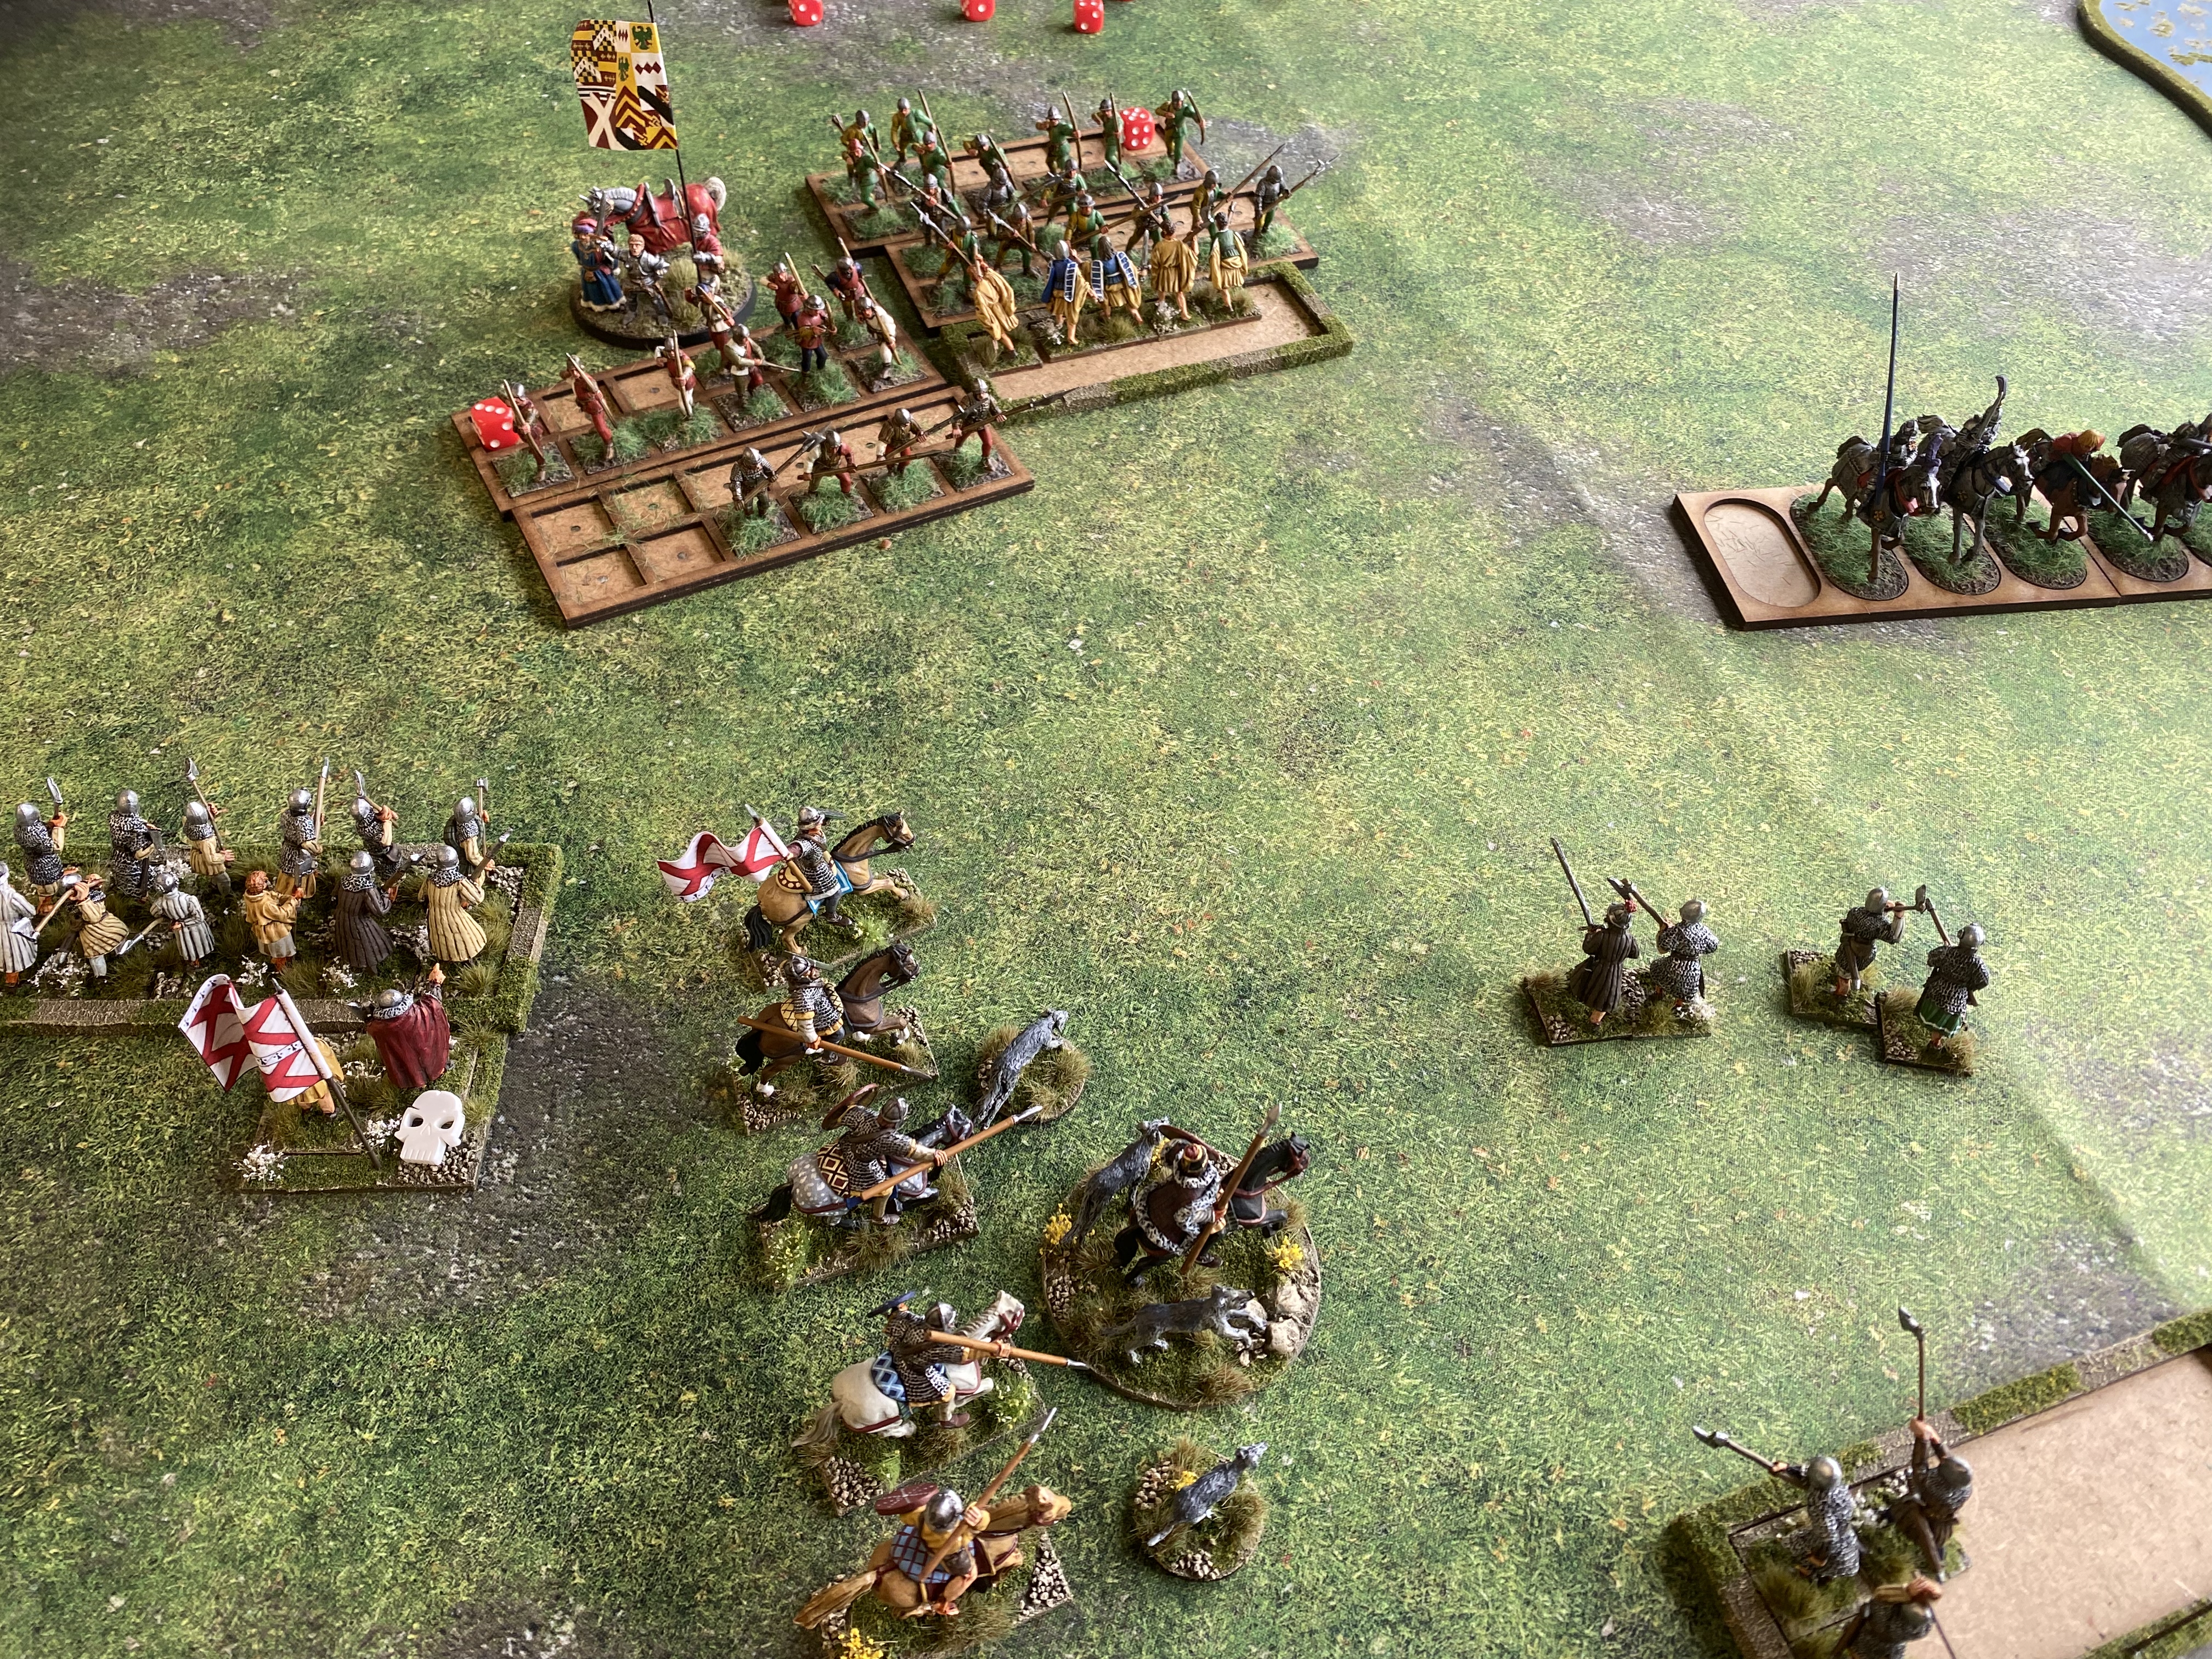
We played two games. One involving the French/Swiss alliance against a Spanish army and a second game of Anglo/German/Irish against an rebel Irish army. Both games were played out by helpful visitors to Partizan and no major ‘glitches’ were found. As usual, as I was heavily involved in playing and ‘advising’ I forgot to take enough pictures, but here are a few samples.
A Block of Swiss Pikemen face off against a Spanish ‘Tercico’ formation. In the back ground French knights are about to charge down the Spanish light horse.Battle is joined! The Spanish just edge the fight inflicting 6 losses for 5 of their own casualties.
The first battle went well with the Spanish initially gaining the upper hand but the Swiss mercenaries showed their resilience and despite being initially daunted and pushed back, their commander was able to rally them and they went on to route that Spanish from the field.
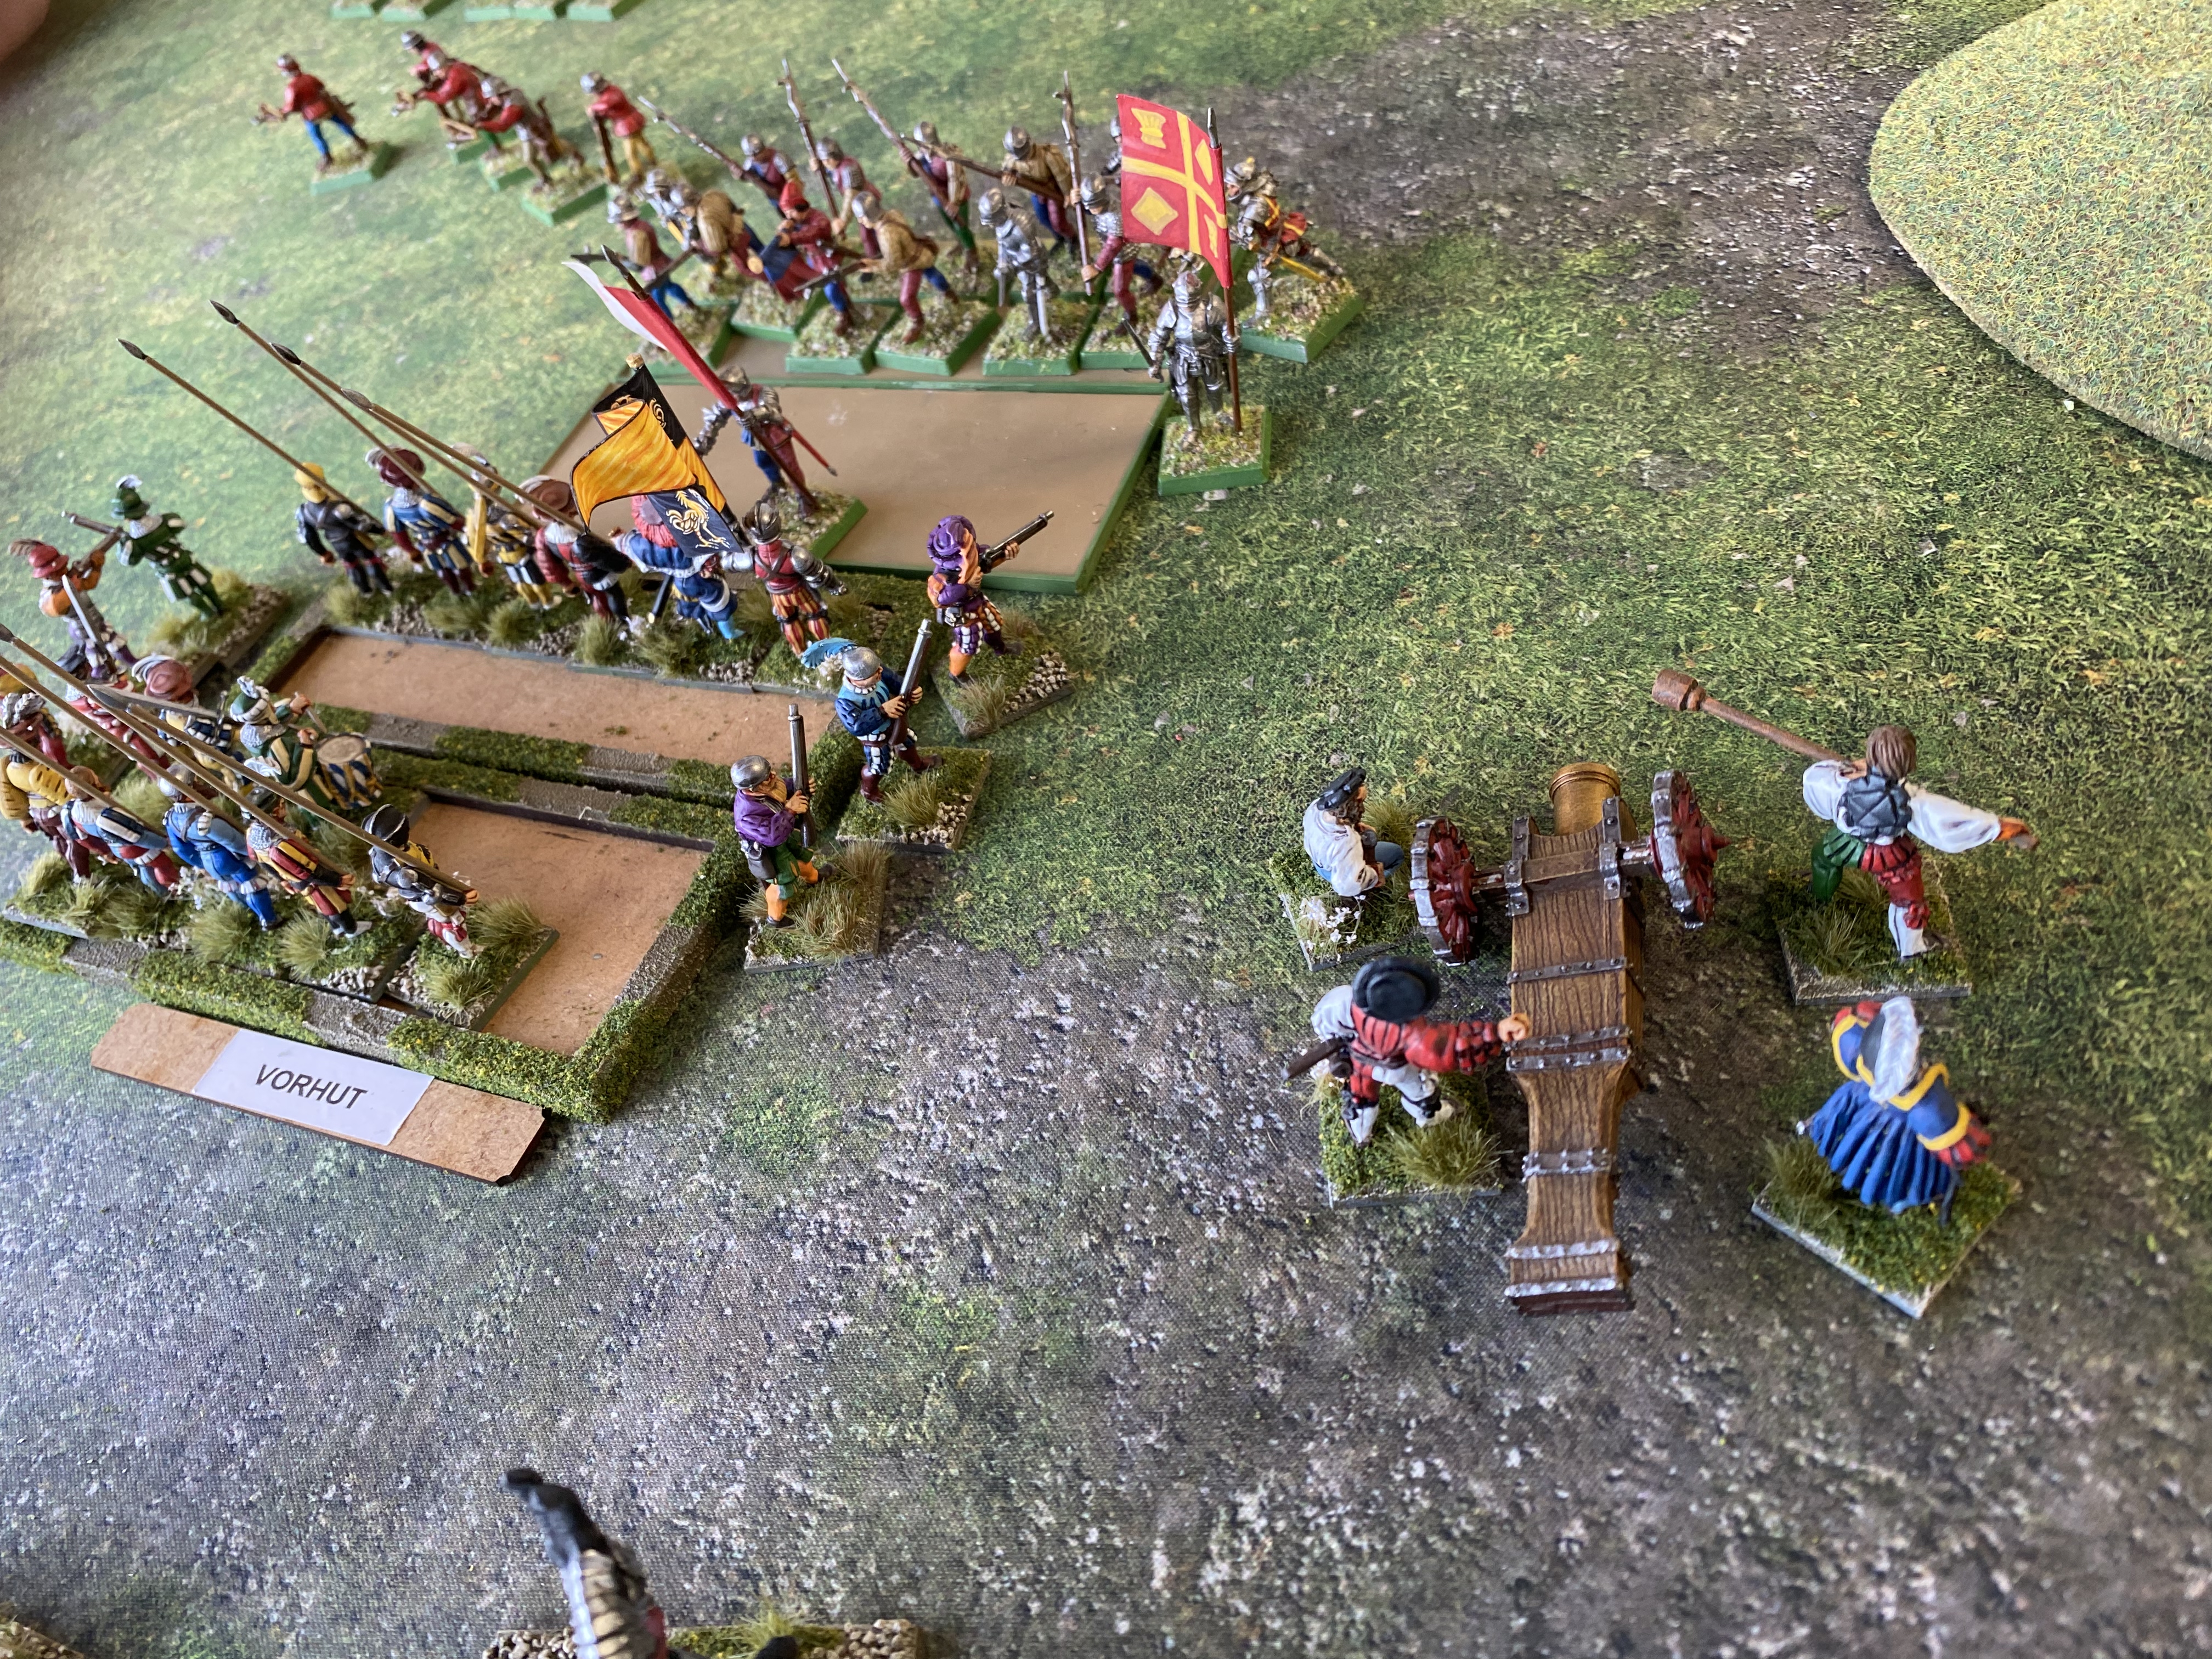
Irish vs Irish – Gallowglass already taking casualties from the Cannon
The second battle was based on a fictional scenario in Ireland. When Thomas Fitzgerald of Ireland gathered his Yorkist forces as part of the Lambert Simnel Rebellion, we supposed that before he left for Britain, he decided to use his army of German mercenaries, English and Irish troops to sort out his Lancaster rival John Butler, the Earl of Ormond. The Irish forces suffered from a lack of long range missile troops, so getting into combat as quickly as possible was imperative.
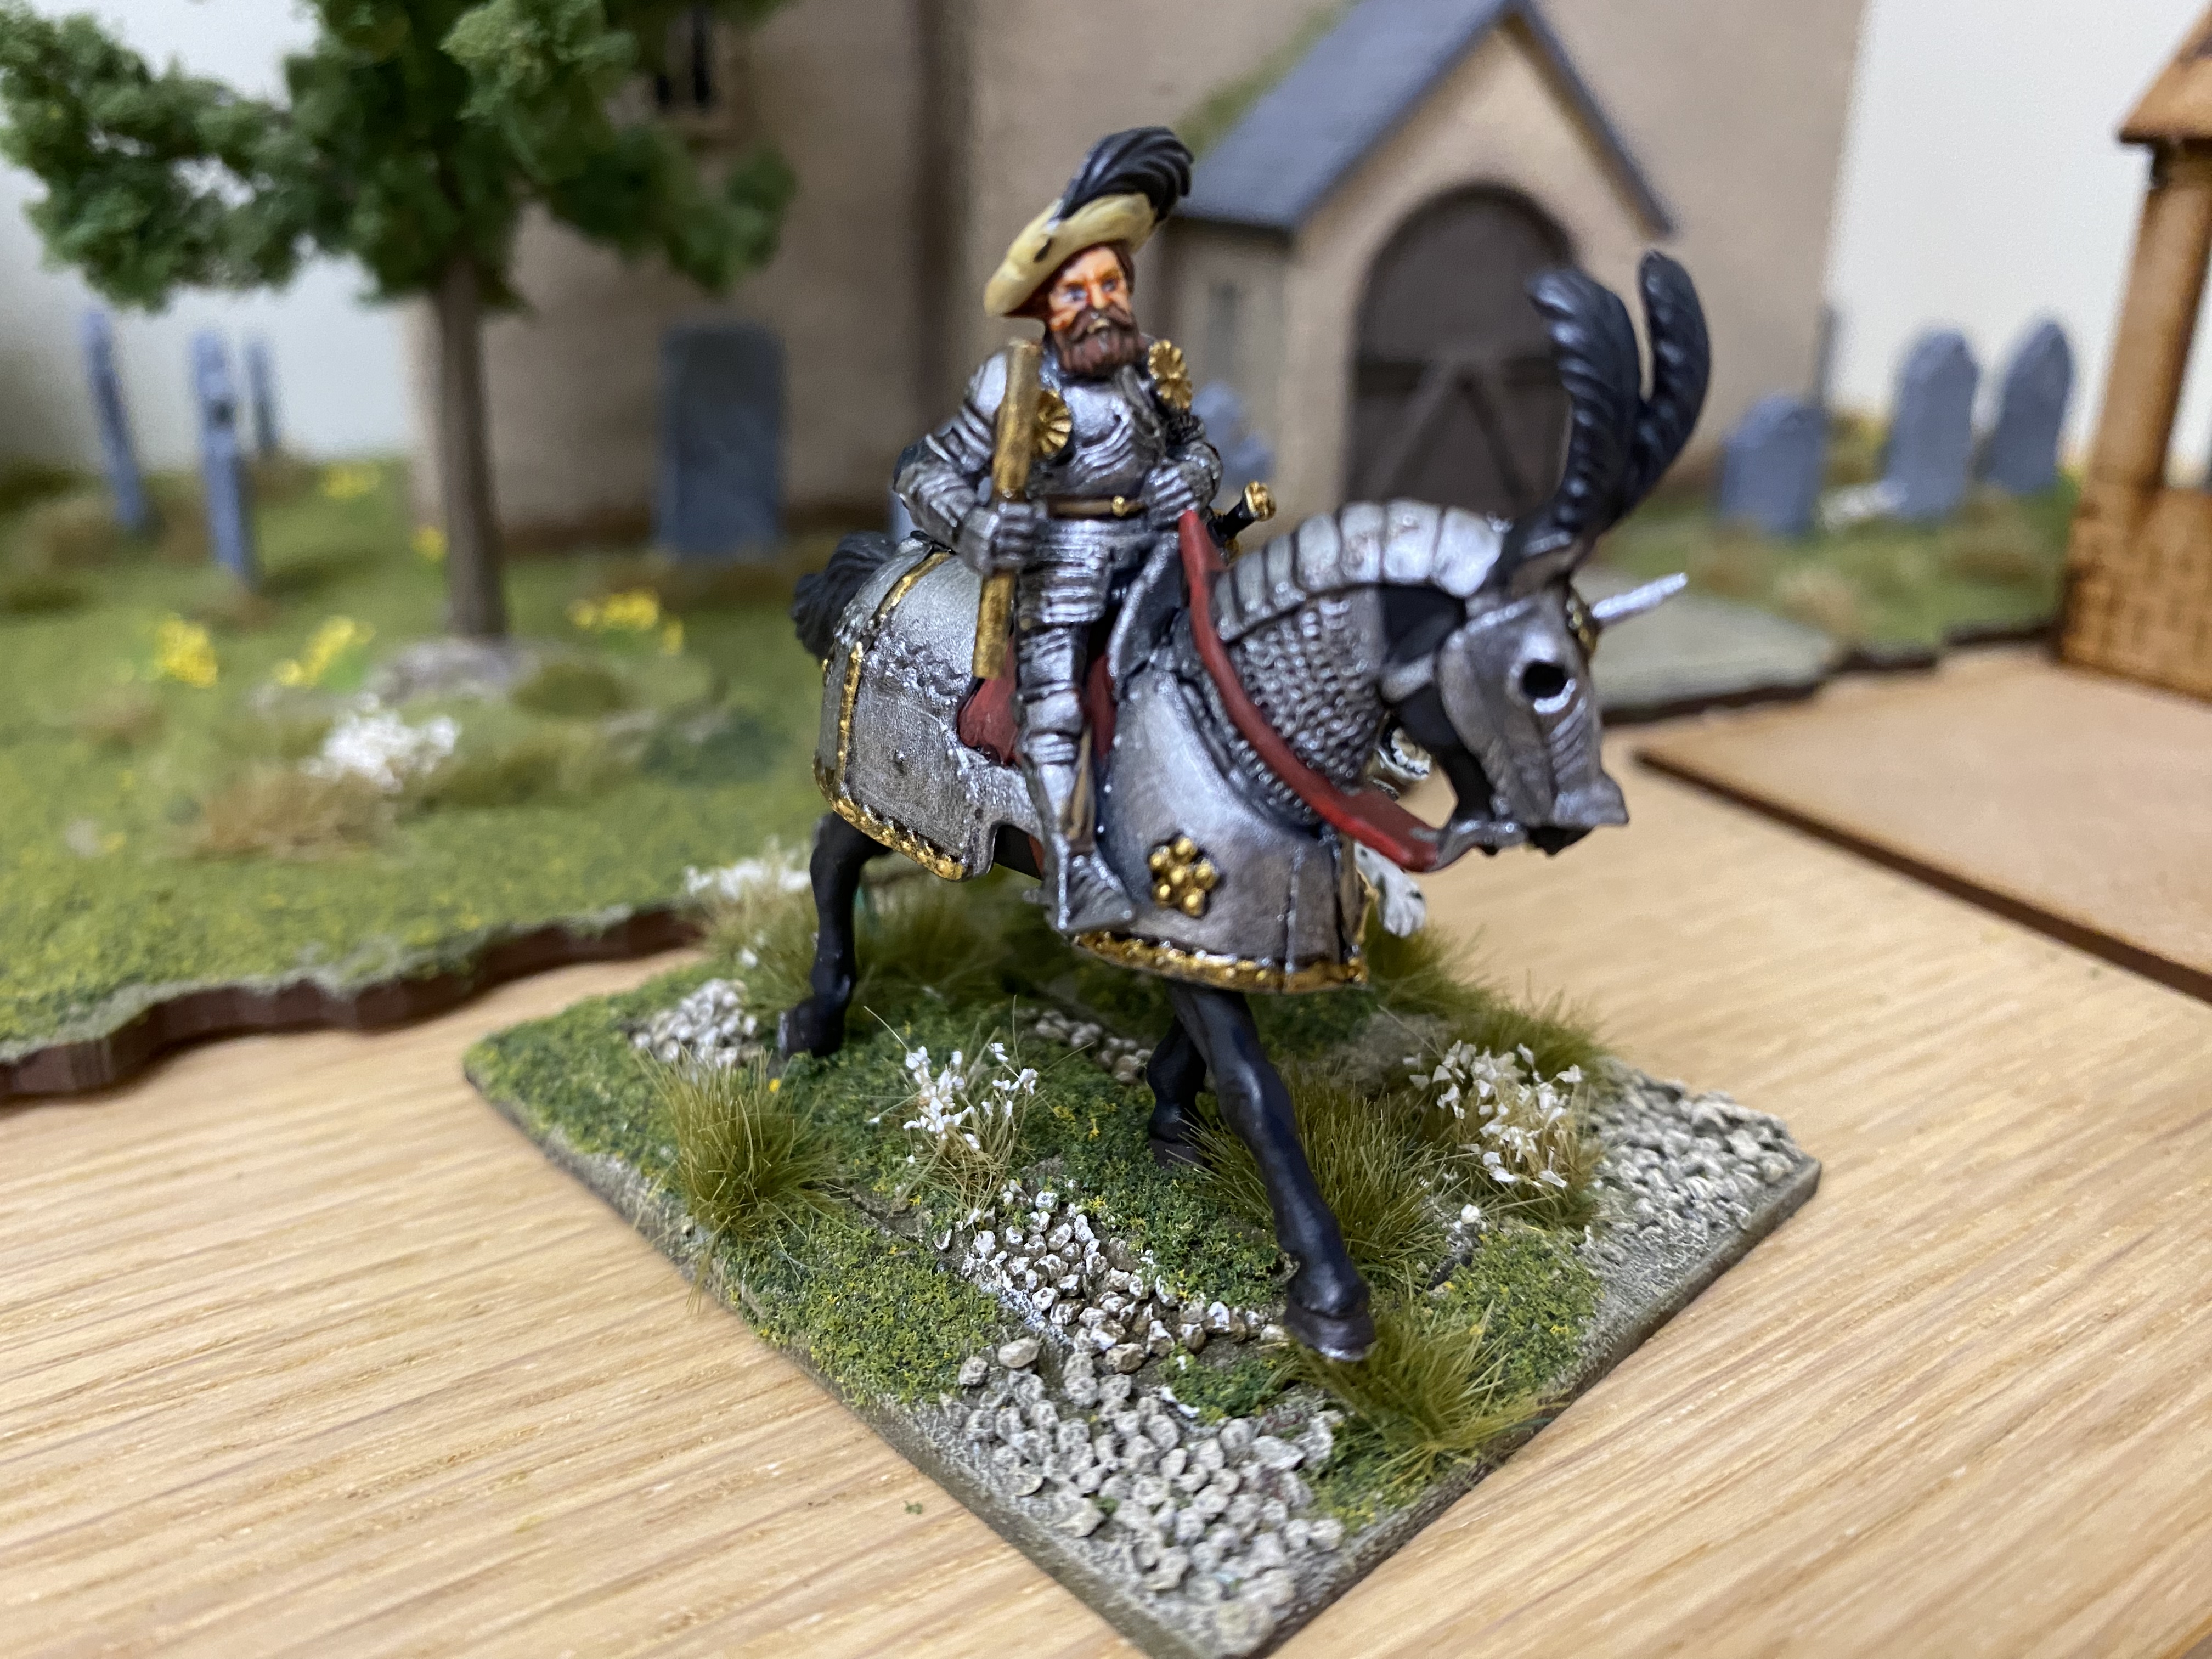
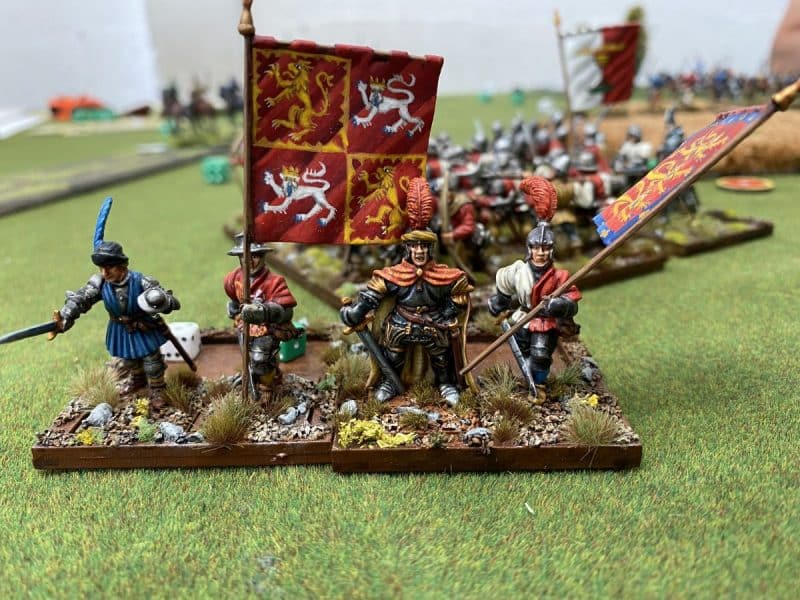
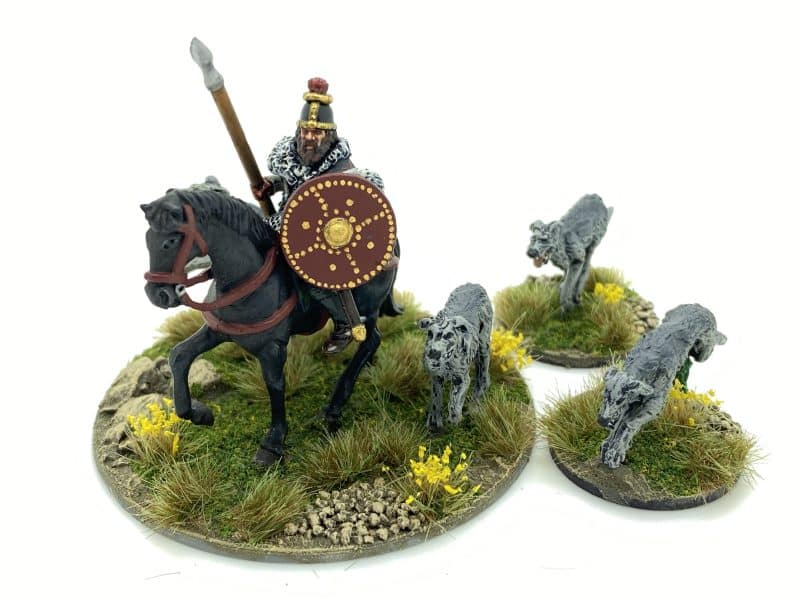
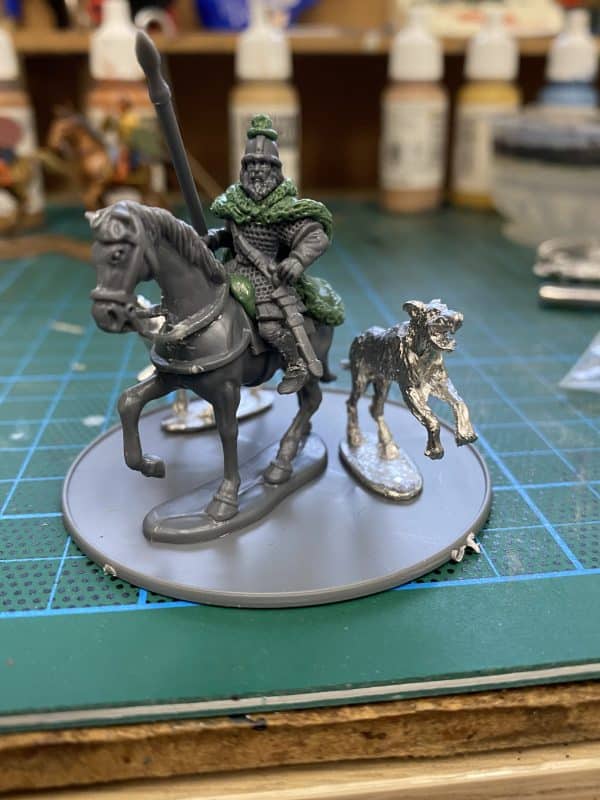
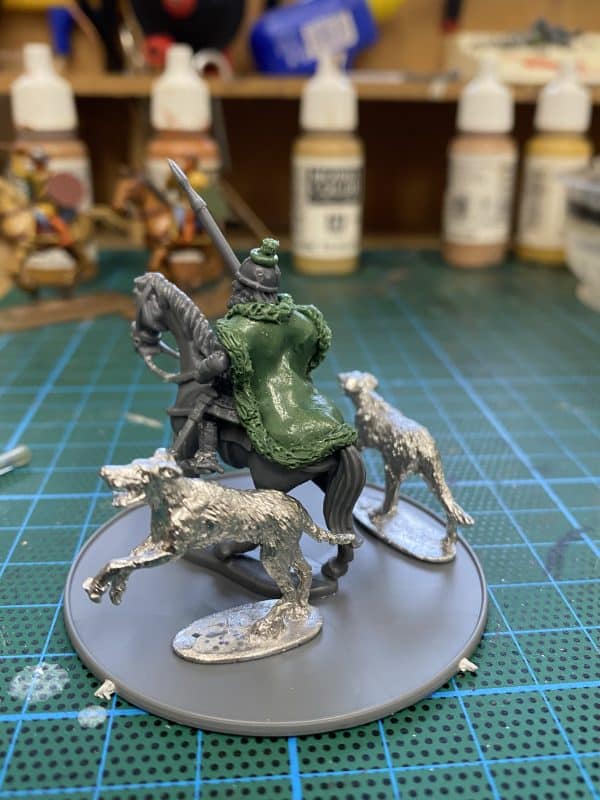
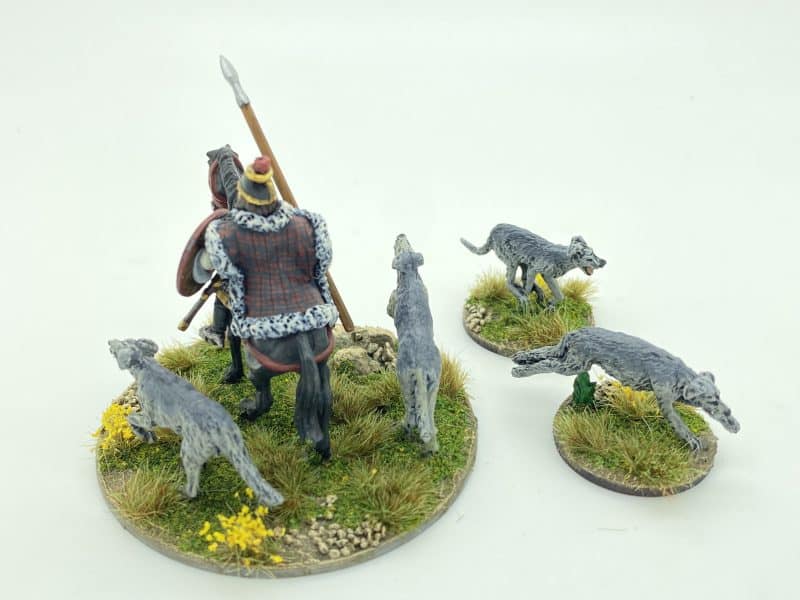
The German Mercenary’s lead by Martin Schwartz and his warhound!
It’s worth mentioning that the German contingent was represented by figures that I had recovered and refurbished from the late Duncan Mcfarlane’s collection and lead by a Partizan limited edition show figure – Martin Schwartz. Duncan must have been smiling down on the game as his pikemen were to be the unit that broke the Irish and put them to flight!
The irish Kern charge the English Bills. The German Pikes are about to do the same to the other unit of Kern.
The Irish were unable to get their Gallowglass into combat before losing too many casualties to Arrow storms and cannon fire. The Irish Kern did close to combat but were beaten back by the English Bill men. The Other unit of Kern, were driven from the field by the Pikes. Game over for the Irish. One interesting amendment to the rules was made as a result of this and previous games involving the Irish. It will no longer be permitted for bands of Irish kern Skirmishers to make a frontal charge on a formed unit. I had been using them as ‘Kamikaze ‘ units to try and slow the enemy and/or force a morale check if the Kern got lucky! As this is somewhat ‘gamey’ Andy decided to stop this! Quite right too! It was unrealistic and research has shown no suicidal tendencies in Irish troops! However, they can still cause mischief by springing from cover and attacking on the flank or rear of an unwary unit – the Irish were certainly opportunistic!
That aside, the game played well and the rules are now with the printers. If you would like to join in with the ‘Never Mind the Bill Hooks’ battles, you can pre order your rules set either by using the link above or the ones below. We will ship in Late November – the expected delivery to us is the 21st November – we will keep you informed if you order with us and ship ASAP.
THE COMMERCIAL BIT
I hope that you all enjoy your hobby as much as I do – remember that our web site will have much of what you need! Click here to see our shop:
You can see the range of miniatures and accessories we think are suitable to for the Wars of the Roses, along with the rest of our Never mind The Bill Hooks range here:
For my 60th birthday present I asked for one of what was then a new release, the Perry Miniatures Napoleonic Flat Boat and full compliment of crew. I thought that it was a lovely model and would look nice in the cabinet as a display piece. As I am now approaching 66, I thought that it was time to get it painted!
The kit comprises of a resin boat with six of the oarsmen molded on board, six metal oarsmen, a midshipman, a party of 3 officers, a sergeant, drummer and three troopers and finally, four blocks of seated infantrymen – 18 in total. I know why I put off painting the model. It is quite an undertaking to paint, in effect, nearly 40 figures and a boat. That’s before you even think about to how to base it.
The metal compliment of crew await clean up!
As usual, the best way to approach such a project is to break it down into stages. Stage one being the clean up and preparation of the pieces. I’ve said before but I’ll say it again, I believe that the Perry’s are the best sculptors in the business. Unfortunately, the casting of their models is not to the same high standard and the clean up of the pieces was quite a job. In the event, I think that you will see from the pictures that I may have missed some mold lines but often removing some of the casting errors results in damage to the sculpts. Better to leave the lines and try to cover them with paint rather than file off the beautiful detail.
The assembled boat painted as detailed below.
That said, on with the project. I washed the resin boat in warm soapy water and when dry, glued the two halves of the boat together. Once primed in Leather brown, I painted the boat using my standard finish for wood. Base coat of Chocolate Brown, Wet coat of Flat Brown, Wet brush of Flat Earth, Dry brush of Orange Brown, highlight of Yellow Ochre. If this sounds a bit OTT, I do like the result, so I tend to stick with this method whenever I am painting wood effects. I’ve written a more detailed article on how the process of painting wood works for me in an earlier blog article. You can see it here:
Once I was happy with the boat I started on the oarsmen. These are a bit tricky to paint as they are fixed into the boat so angling my paint brush was a challenge at times. As regards the colours, I simply copied the pictures on the Perry web site. I noticed that the resin oarsmen are more casually dressed than the metal ones, who are in uniform. I found the stripey trousers and shirts a bit of a challenge but my freehand is gradually improving. The secret ( apart from a steady hand) is to use well thinned paint that flows nicely off of the brush. And of course, a decent brush. Any ‘wobbly bits on the stripes are easily touched up.
Painted crew – just the faces to finish highlighting!
Once the crew were block painted, I gave the flesh an Ink wash with vallejo flesh ink and the rest of the figures a wash with army painter dark tone. When the ink was dry, I then went back over the figures, highlighting with the original colours and tidying up any obvious errors.
The next stage in the process was to tackle the metal oarsmen and midshipman. Again, I followed my usual block paint, ink wash and highlight process. For the uniform, I just used the Perry’s pictures as reference although I also checked out my copy of Stephen Beisty’s Incredible cross sections book of the Victory!
As you will have noticed, the boat has been temporarily mounted on a base for painting and handling as I finish the crew. Talking of which, the Officers and troopers were next up.
Painting in progress!
I also decided that I didn’t like the wooden finish on the outside of the boat, so I’ve given it a white finish with a black gun whale. Here is the progress so far, with the officers taking their seats!
Officers in placeProgress so far
The next stage is to finish the individual figures – the drummers and guards and then it is on to the blocks of sitting troopers.
The next batch inked and awaiting re highlight
I have yet to glue everything in place but I am pleased with the way that the model is gradually taking shape. Hopefully, in my next blog, I will be close to finishing this lovely model!
THE COMMERCIAL BIT
I hope that you all enjoy your hobby as much as I do – our web site will have much of what you need! Click here to see our shop.
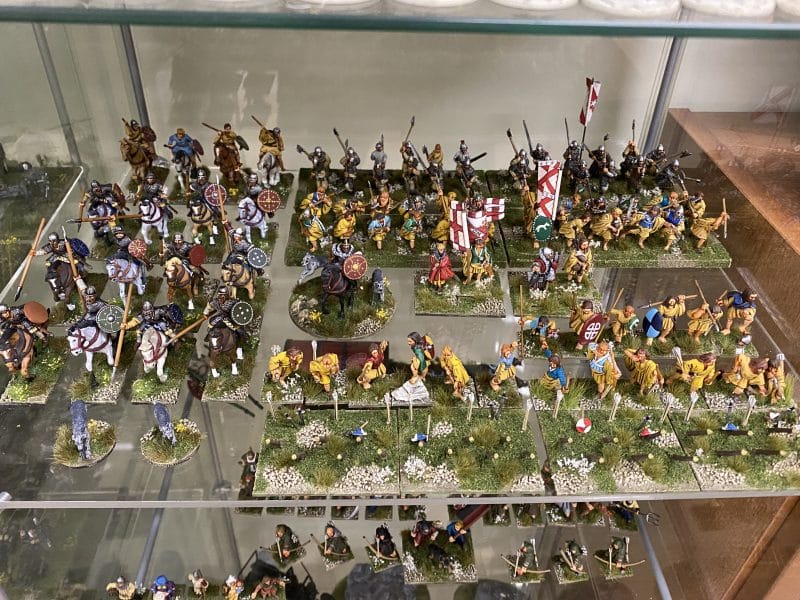
My current collection of Painted minaitures from the Partizan Shows
No, I’m not going to discuss Richard or Laurence, the two organisers of the wonderful Partizan shows, or for that matter, the many ‘glitterati’ of the wargaming world that attend the show! No, my interest is in the free figures that are handed out as part of the entrance fee. In the past, I would accept these figures gratefully and they would simply end up in a box as part of my lead pile. However, since the lockdown, my ambition has been to reduce my lead pile and to paint whatever I buy or acquire at shows. My rule now is that I wont buy anything from a show unless I have painted the things that I bought the last time I attended that same show a year ago. That gives me a year to paint what I buy!
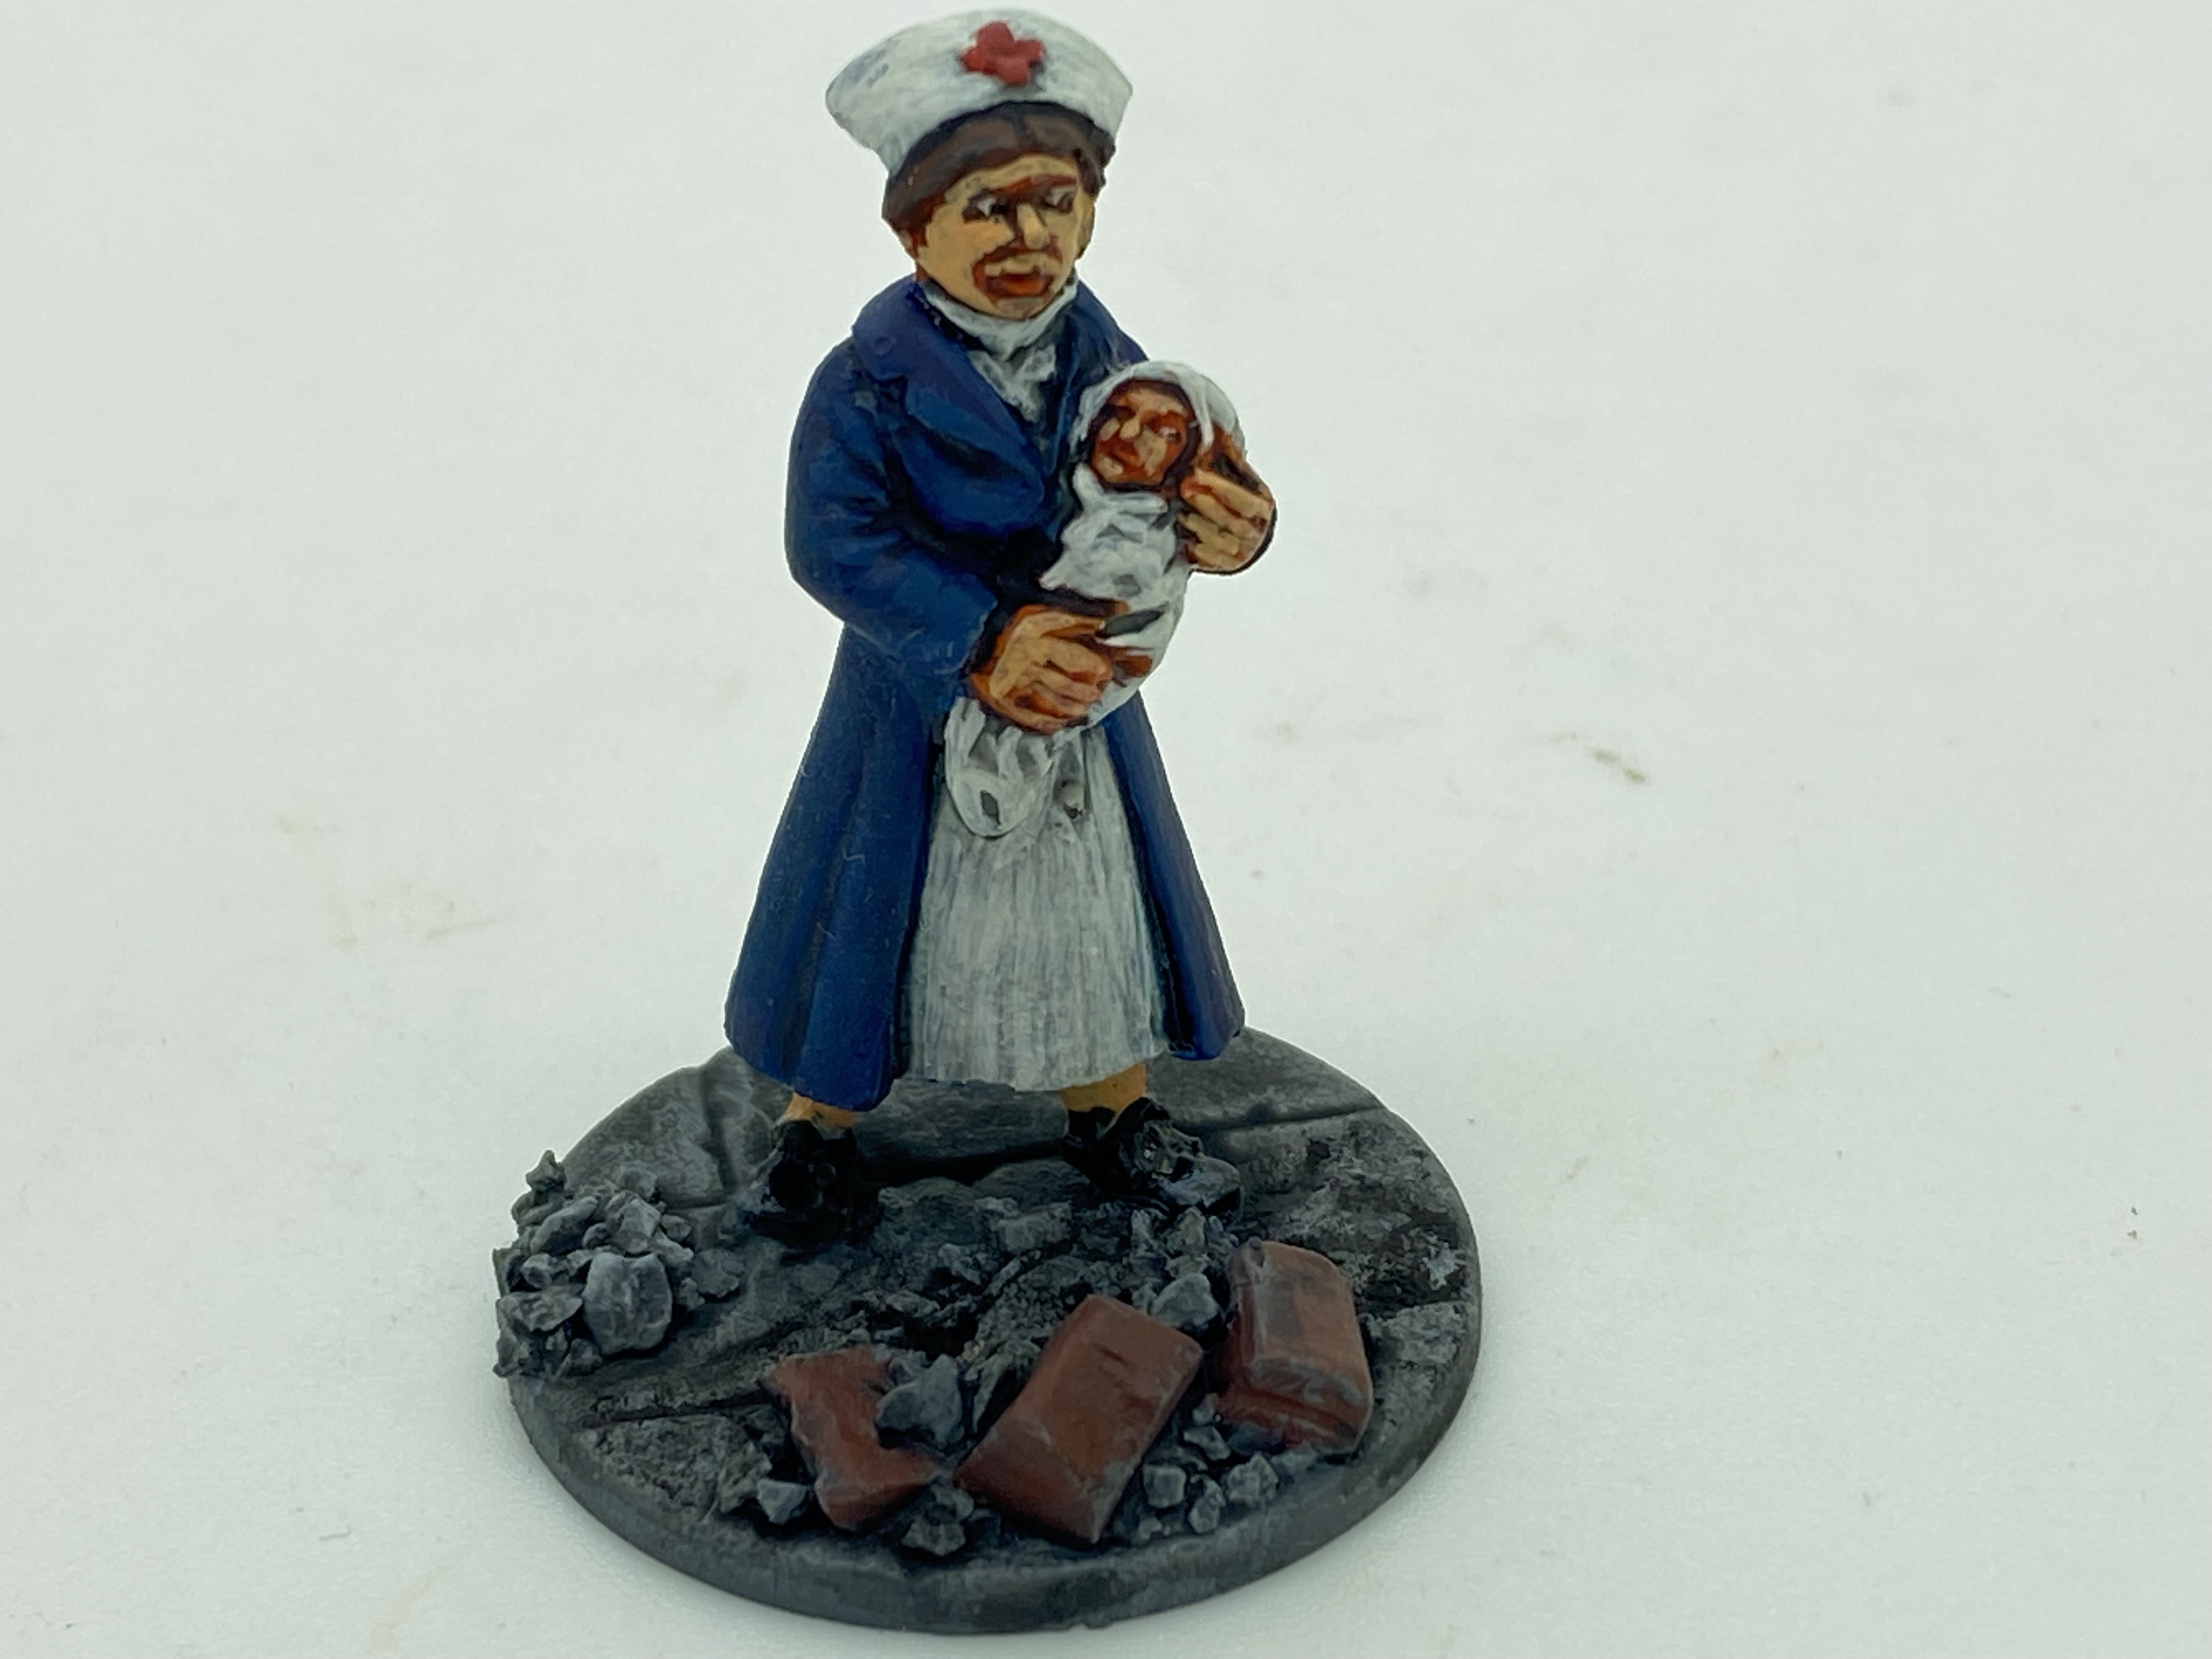
Edith Clavell
So far, I have actually kept to my promise, more or less….so when the first Partizan show opened after COVID in October 2021 I actually painted the free miniature within a week. The miniature was of the nurse, Edith Cavell who served in WW1.
Stephen le Blois
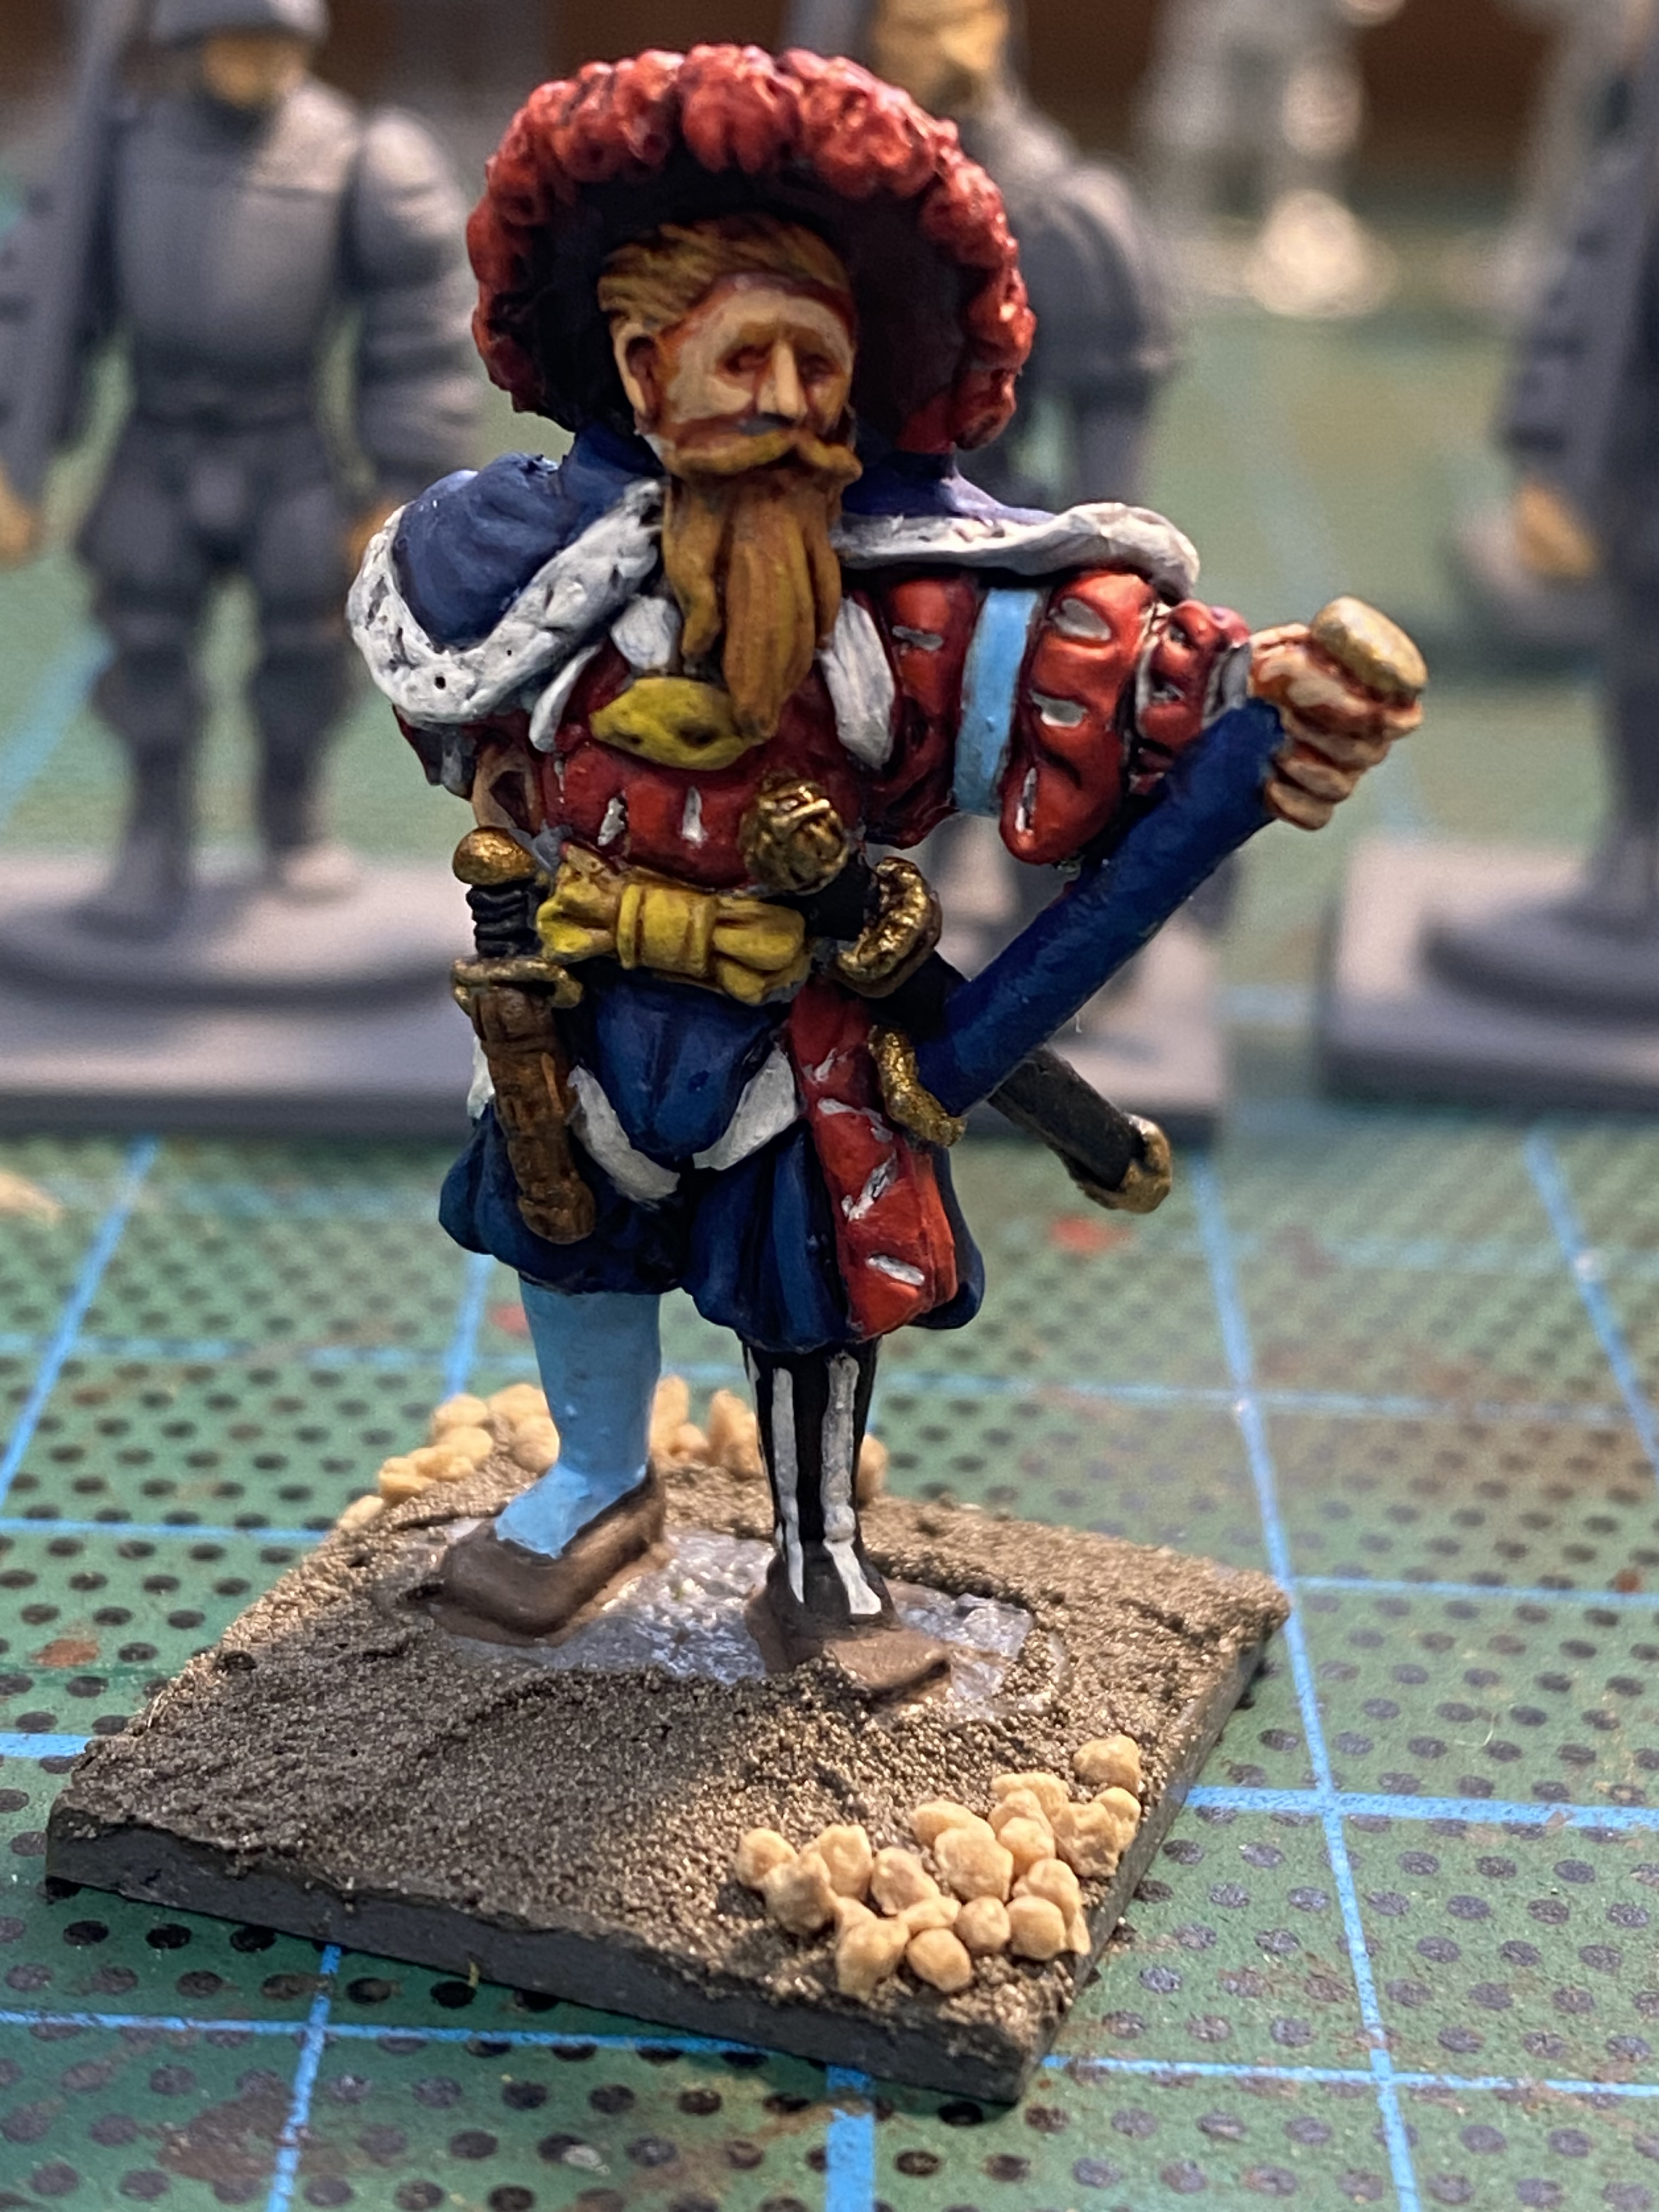
At the next Partizan in May of this year, the miniature was King Stephen. Once again, I painted him fairly quickly after the show. So now I had two painted miniatures from Partizan – Oooooo! the start of a collection! As it turned out, I remembered that I had a third figure, Martin Schwartz, from the Battle of Stokes Field. He was actually part of my War of the Roses army that I was using for Never Mind The Bill Hooks! I had painted him sometime ago.
Martin Schwartz – painted some years ago!
That find sent me scurrying out to the shed to see what else I had squirreled away! I also did some research on the web to remind myself of what figures were actually given out. I was surprised that there are actually 45 according the the lost mini’s web page. You can see them here:
A quick dive into the lead pile to find past freebies!
So after a quick search through the pile of shame I found that I had 12 miniatures from past shows. It seems that the earliest figure that I had was number 26 King Edward VIII. I suspect that I have picked up other earlier figures but not kept them or they are hidden deep into the lead pile. I certainly wont have had them all but I thought it would be fun to paint what I have.
I started with figure Number 41 ‘Dulce et decorum est…’ It’s a lovely sculpt and very straight forward to paint. It also goes nicely with the Edith Clavell figure.
I then decided to paint the earliest models that I had, Edward and Mrs Simpson, numbers 26 and 27 respectively. Which brings my ‘collection’ up to six painted models! I’ll work through the others as a break from what ever else is on the workbench. As a collection, they will look nice in the cabinet and they chart a bit of my own gaming history through my visits to Partizan as a Customer, Trade Exhibitor and most recently, Games Demonstrator! I wont be actively seeking out the missing models from my collection, although I would like to get hold of the Lambert Simnel model for my War of The Roses army, and for old times sake, I would quite like to get hold of figure number two, Duncan the publisher.
Partizan is without doubt, my favourite wargames show, more so since it has moved to its new venue at the Newark Show Ground. I am very much looking forward to attending ‘The Other Partizan’ on Sunday 9th October, where I will be assisting with a Participation/Demo game of the latest version of ‘Never Mind The Bill Hooks’ or ‘Bill Hooks Delux’ as it will be known. With Andy Callan and his brother Ian, we will be showing off the rules for Celtic conflict in the WOTR era with a fictional prequel to the Battle of Stokes fleld set in Ireland! If you are at the show, please come and say hello!
I am of course also looking forward to getting the next figure in the collection!
THE COMMERCIAL BIT
I hope that you all enjoy your hobby as much as I do – our web site will have much of what you need! Click here to see our shop.
I’m afraid that my commitment to to producing a weekly blog has been somewhat lacking in recent months. Fortunately, my modelling output has continued at my usual steady rate and I continue to make progress on the various projects on my workbench.
DeeZee Lion Figure Headfigure head with added detail, now painted
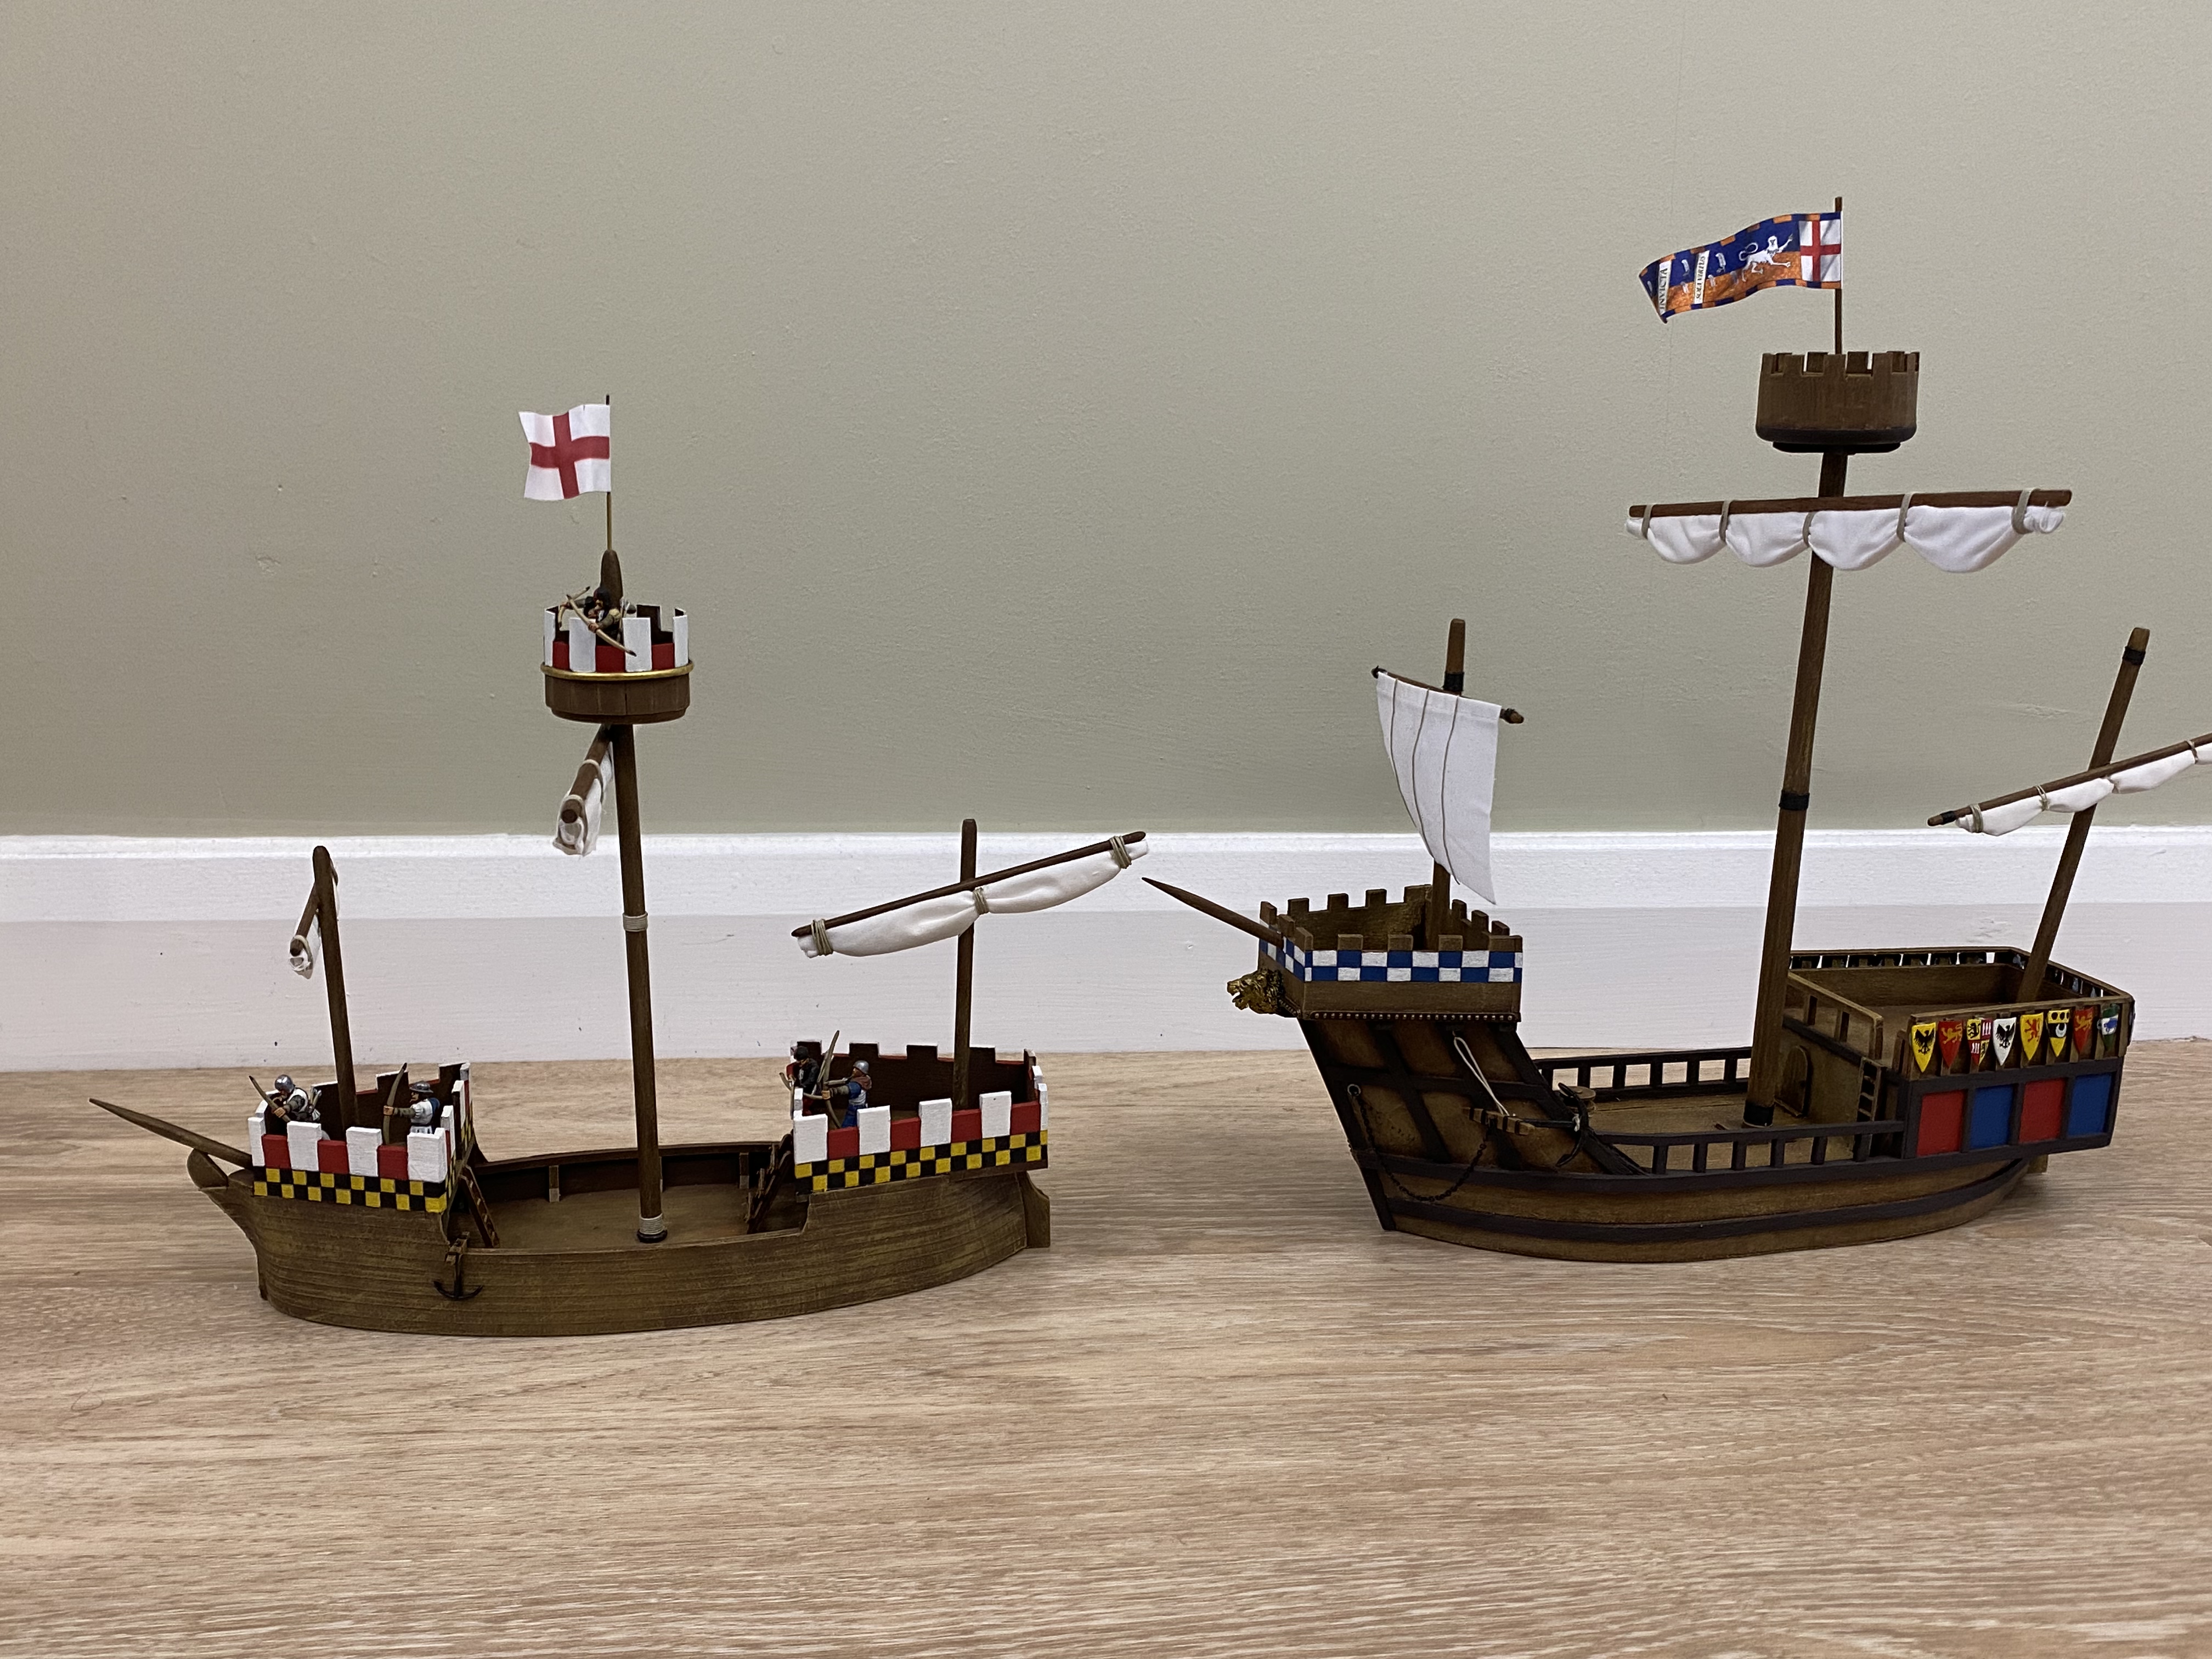
I have been updating my model great ship, which I have yet to find a suitable name for. It is based on Henry Vths Gracedieu but much reduced in scale so that it fits onto a gaming table. I have added some detail to the Forecastle and also a figure head. The figure head is a roaring lion and is made from one of the DeeZee models , DZ23 Lion attacking. A bit of a waste, in that I only used the head, cutting it off from the body and using greenstuff to blend it into the prow of the model. I think that it looks nice though! I have also added a couple of anchors to the bow. They are from the Expo range that we carry. I had agonised about how I would drill through the hull and keep the holes looking tidy. I solved the problem by using two eyelets from a hole punch set that I had. I’m quite pleased with the result.
Anchor now added – note eyelet!
I also decided to add some shields to the stern castle. I used the large Heater shields from Footsore Miniatures and decorated them using some very old Games Workshop transfers that I had found in my bits box. I’ve also painted a few free hand. The Percy Hotspur shield is a case in point. It’s a bit rough when viewed close up but looks OK from a distance! Incidentally, the coats of arms that I have used are either fictional or wrong for the time period. It’s not a problem for me, I just want something that is representational that looks nice on the wargames table. At my age, I’m not going to get too hung up on making a museum quality accurate scale model of something that didn’t actually exist anyway.
The Percy shield is hand paintedI hand painted the red crosses – the suns are decals!
I have also made and painted a few more fighting crew for the ship. I now have another 12 archers completed. Again, I have been pretty easy going with the livery and have gone for a mixture of liveries rather than one specific type. As Gracedieu was built in the latter part of the Hundred Years war, rather than the Wars of The Roses, I have used the Perry’s Agincourt set for the retinue. That is also my excuse for not being consistent with the livery!
A few more archers added to the crew – just 8 more to add.
The Great ship is more or less complete now. I will add another 8 archers to the crew, giving her a compliment of 24 archers and 18 Men at arms. This will make the great ship a formidable opponent when playing ‘Boat Hooks’ – that is until my opponent plays the special event card that will make her run aground! I’ll also add another 12 shields on the stern castle to finish the decoration there. I am toying with adding some removeable rigging, for display purposes, made from wire but I am in no rush to do so!
THE COMMERCIAL BIT
I hope that you all enjoy your hobby as much as I do – our web site will have much of what you need! Click here to see our shop.
You can see the DeeZee range of animals ion the link below. As well as lovely models in their own right, they can be useful for figureheads, statues and of course, conversions.
After a superb two week hoilday break, it’s fair to say that I have managed to press the ‘reset button’ and arrived back from my holiday fully refreshed, rested and ready to get back to my hobby! I found the time to clarify my thinking on just what I intend to do with the rest of the year and my push to reduce my lead pile continues, albeit with a bit more focus.
One of my projects is to paint at least one version of the entire DeeZee range. It’s something that I have been working on for a number of years. In fact, the first Blog post was written in 2014 when I painted the newly commissioned Bear Cubs DZ28. You can see the post here:
I do have painted examples of all of the DeeZee Range. However, the idea was that if I painted them myself, I would have a clear idea how to advise my customers as to how to do so. It also would mean that I could refer customers to the appropriate blog article for further information. Alas, good intentions and all that, DeeZee has taken a back seat to other hobby projects and to make matters worse, when I have painted the odd model, I’ve failed to document it or mixed it in with a work bench update.
So, with all that in mind, here’s a short guide to painting the DeeZee Giant Crocodile DZ22.
There are pictures on the web listing of earlier painted models. One is the original from Duncan’s collection, the other is painted by the extremely talented Kevin Dalimore. I’m by no means in Kevin’s league when it comes to painting but I thought that I could improve on the original model. The first job was to clean the model up and I then primed it with Army painter Skeleton bone primer. Trying to decide what colour to paint a crocodile is not easy! A google search returned the answer that Crocodiles are a green/brown colour but can vary based on the species.
I decide to use Vallejo US Olive drab70887 as the base colour. To get the lighter colour on the belly and tail, I mixed in some Deck tan 70896. The inside of the mouth was painted with 70804 Beige rose, the eyes with 70913 Yellow ochre and the teeth with off white, 70820.
DeeZee Giant Crocodile with base colours blocked on.
I then used German Cam. Black Green to paint some stripes towards the tail and added a few random blotches to the body. After a very light dry brush with the Olive drab/Deck tan mix, I gave the croc a good wash with soft tone ink to bring out the detail and give the model a brownish hue. When this was dry, I re-painted the eyes with deep yellow and added the iris. I then touched up any of the details that required sharpening. I left the semigloss finish as I wanted the Croc to look wet!
Giant Croc ready for basing – base under construction
To base the Crocodile, I used a large MDF Oval base and covered it in Milliput to give a ‘mud’ effect. I wrapped the bottom of the Croc with cling film and pushed him into the wet milliput. This gave me the indent where the croc would sit and the cling film stopped the milliput from sticking to the model. I used some pebbles from my garden as rocks. Once everything was dry, I painted the base with my usual emulsion basing paint – Delhi Bazzar- a nice green brown muddy colour! I added a few highlights by mixing in Iraqi Sand and some depth by using strong tone ink.
The finished model
Once the paint was dry, I added a variety of Gamers grass tufts and with the Crocodile now in place, I poured Vallejo Water Effects 26230 over the base. This self-levels and dries to a clear water effect. To get some depth, I added a second layer – it’s best not to pour more than about 3mm depth at once. The model was now finished.
The finished model
THE COMMERCIAL BIT
I hope that you all enjoy your hobby as much as I do – our web site will have much of what you need! Click here to see our shop.
We have just passed half way through the year, with June already disappearing into the distance. I’m about to go away on a fortnights holiday. Like many people, I haven’t been able to get away for three years now and it’s been even longer since I’ve had more than a week away. So it’s a good time to press the reset button and take a long break from everything- business and hobby.
Just before I jet off to a cooler climate (Mexico isn’t quite as warm as the UK at the moment!), I thought that I would do a quick round up of some of the projects that I have been working on and give a ‘halfway score’ on just how much I have painted so far this year. So, in no particular order here are some of the models that I have completed recently that haven’t made the blog.
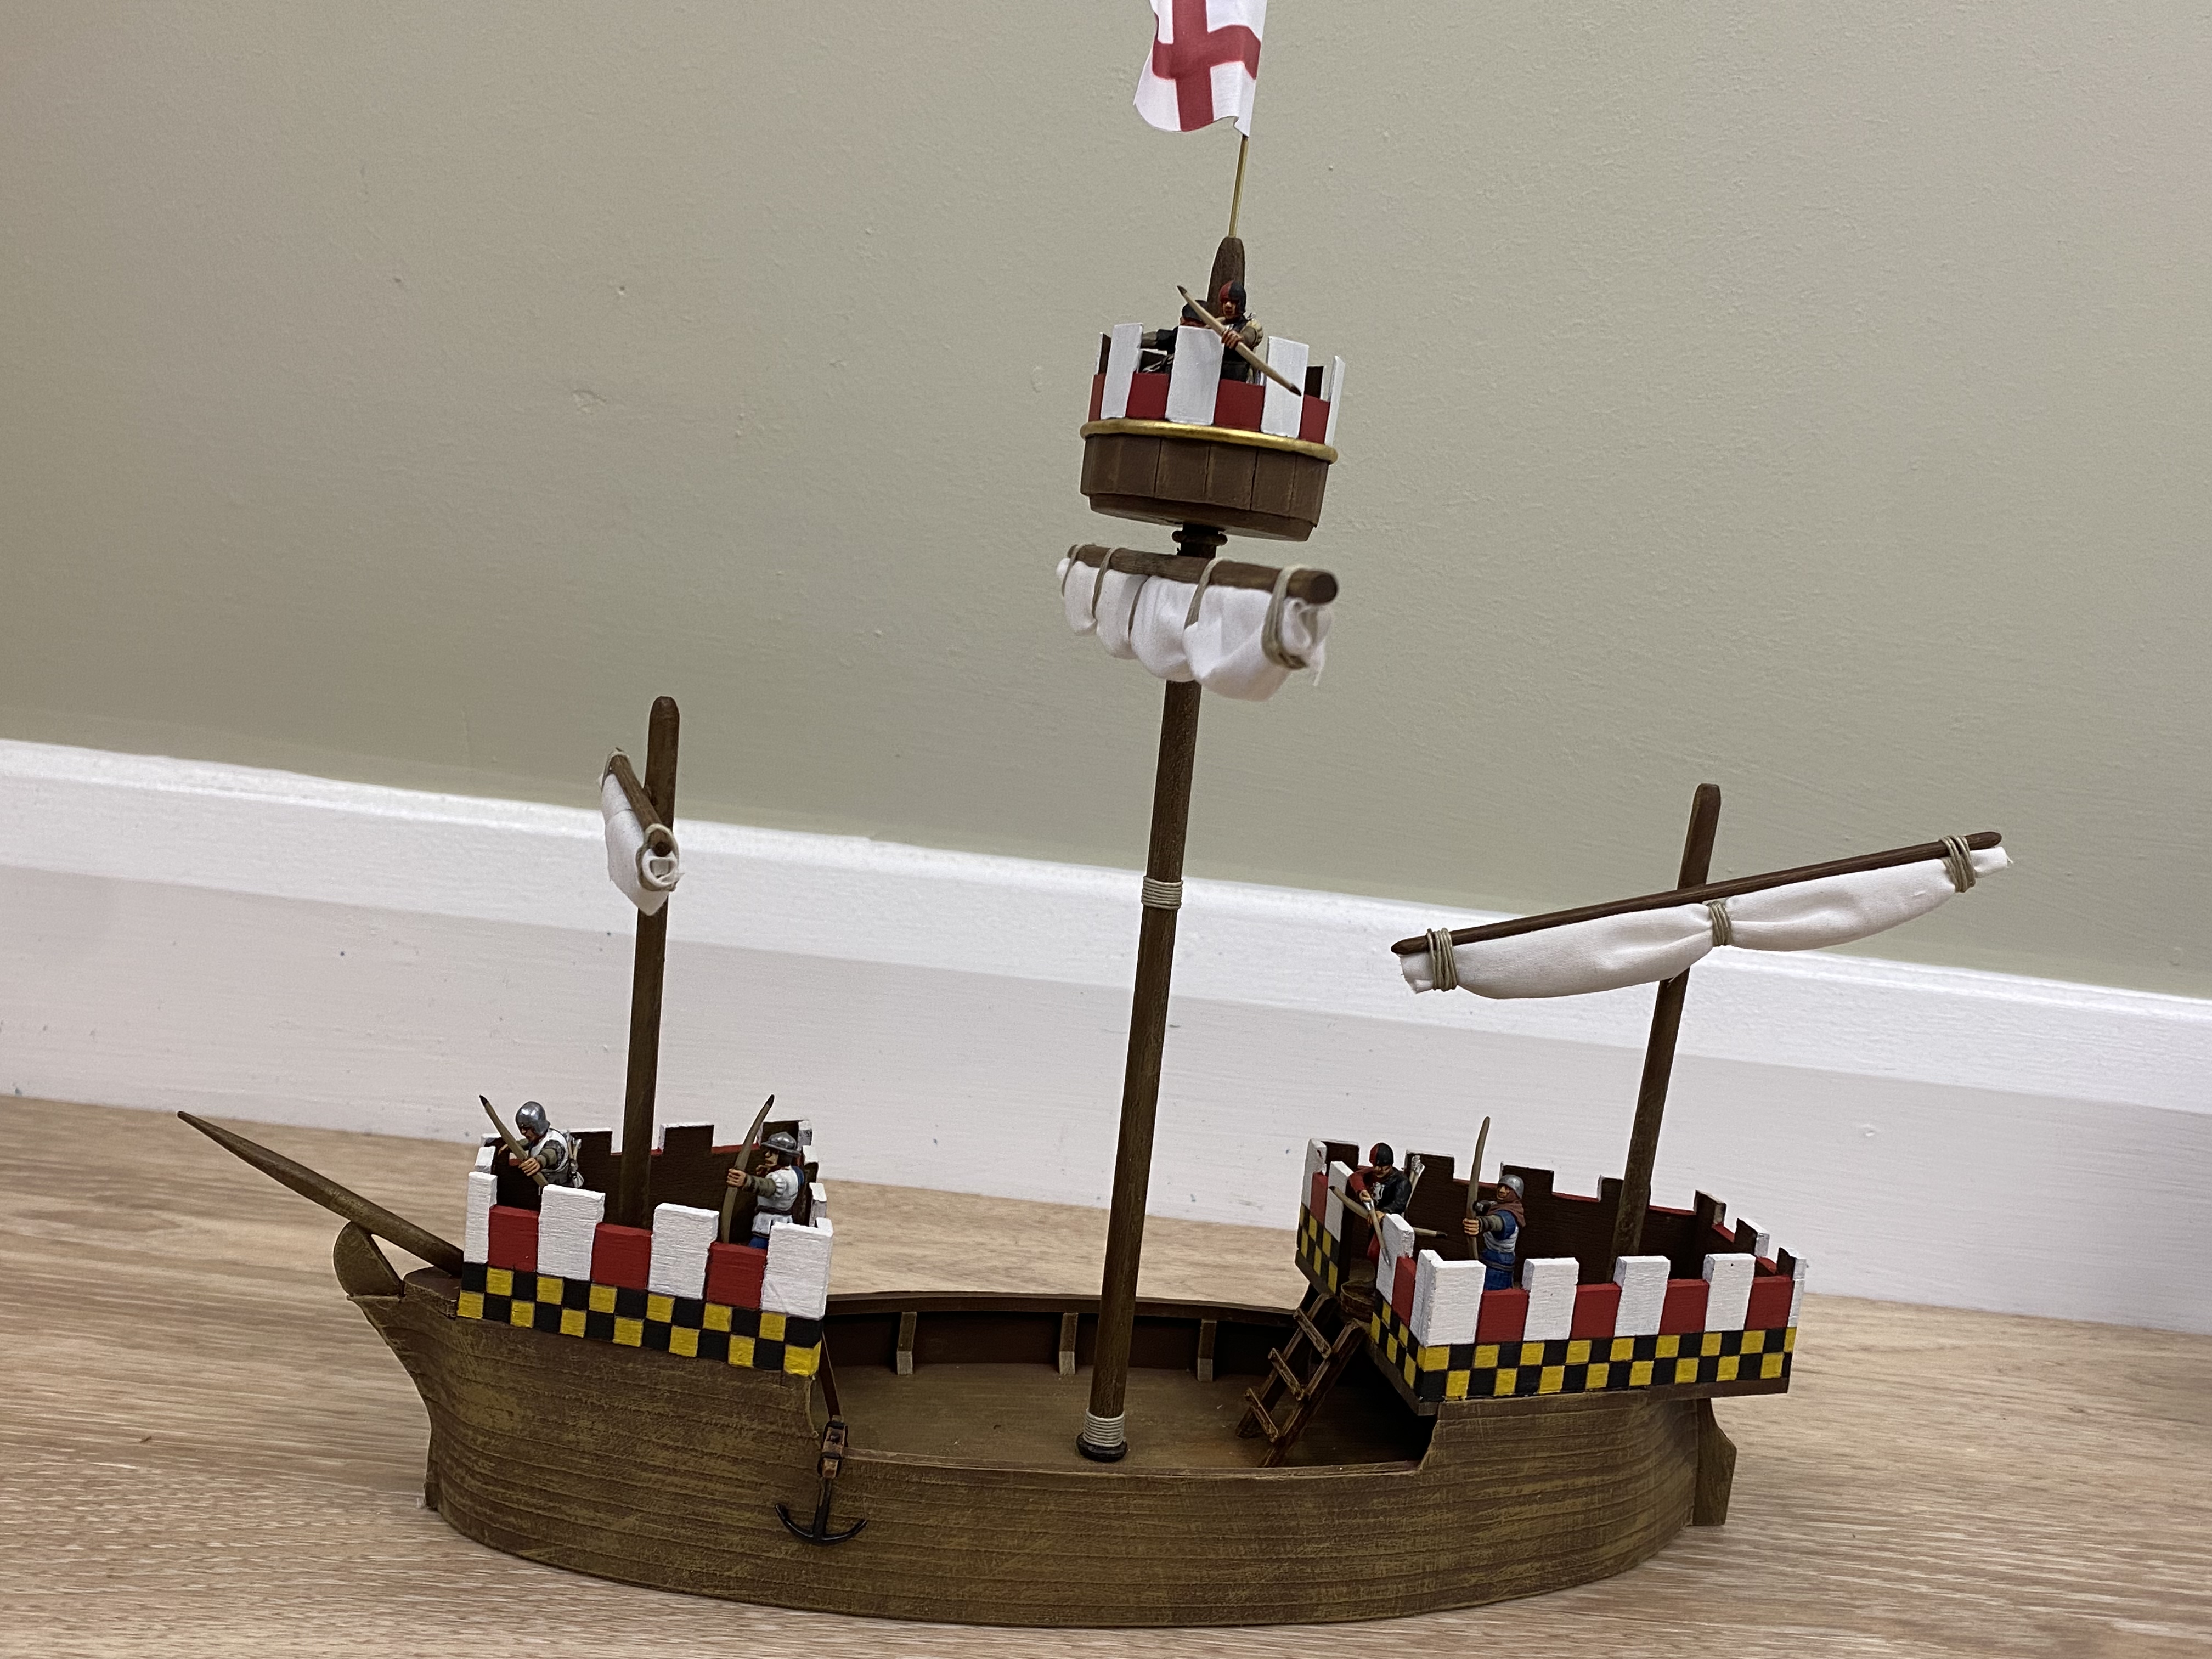
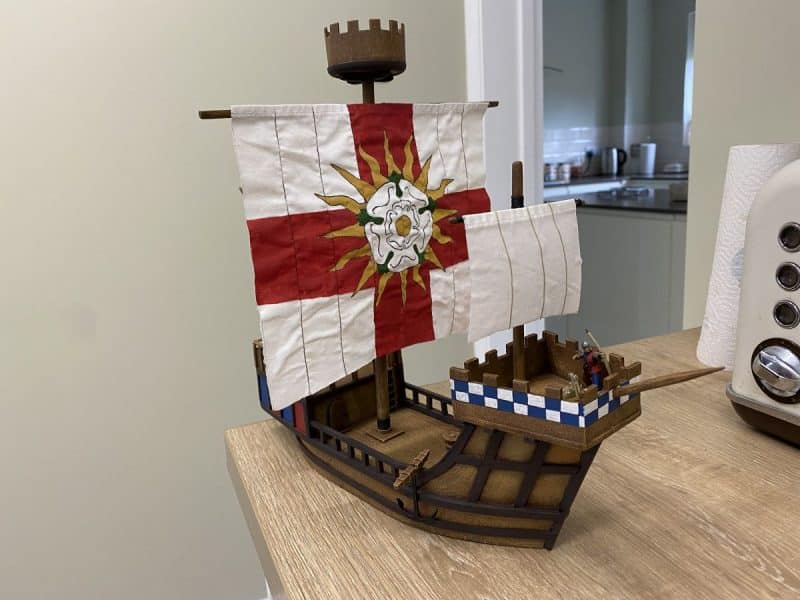
My Flag ship, or ‘great ship’ for ‘Never Mind the Boat Hooks’.
The biggest project that I have been working on is a scratch built Great ship, based roughly on King Henry Vths Gracedieu. Quite why I haven’t written about this project escapes me. I think that for a few weeks it just totally absorbed my attention. I was too busy modelling and researching to write the blog! Here’s a few pictures of her under construction and I will do an article with a bit more detail in the future.
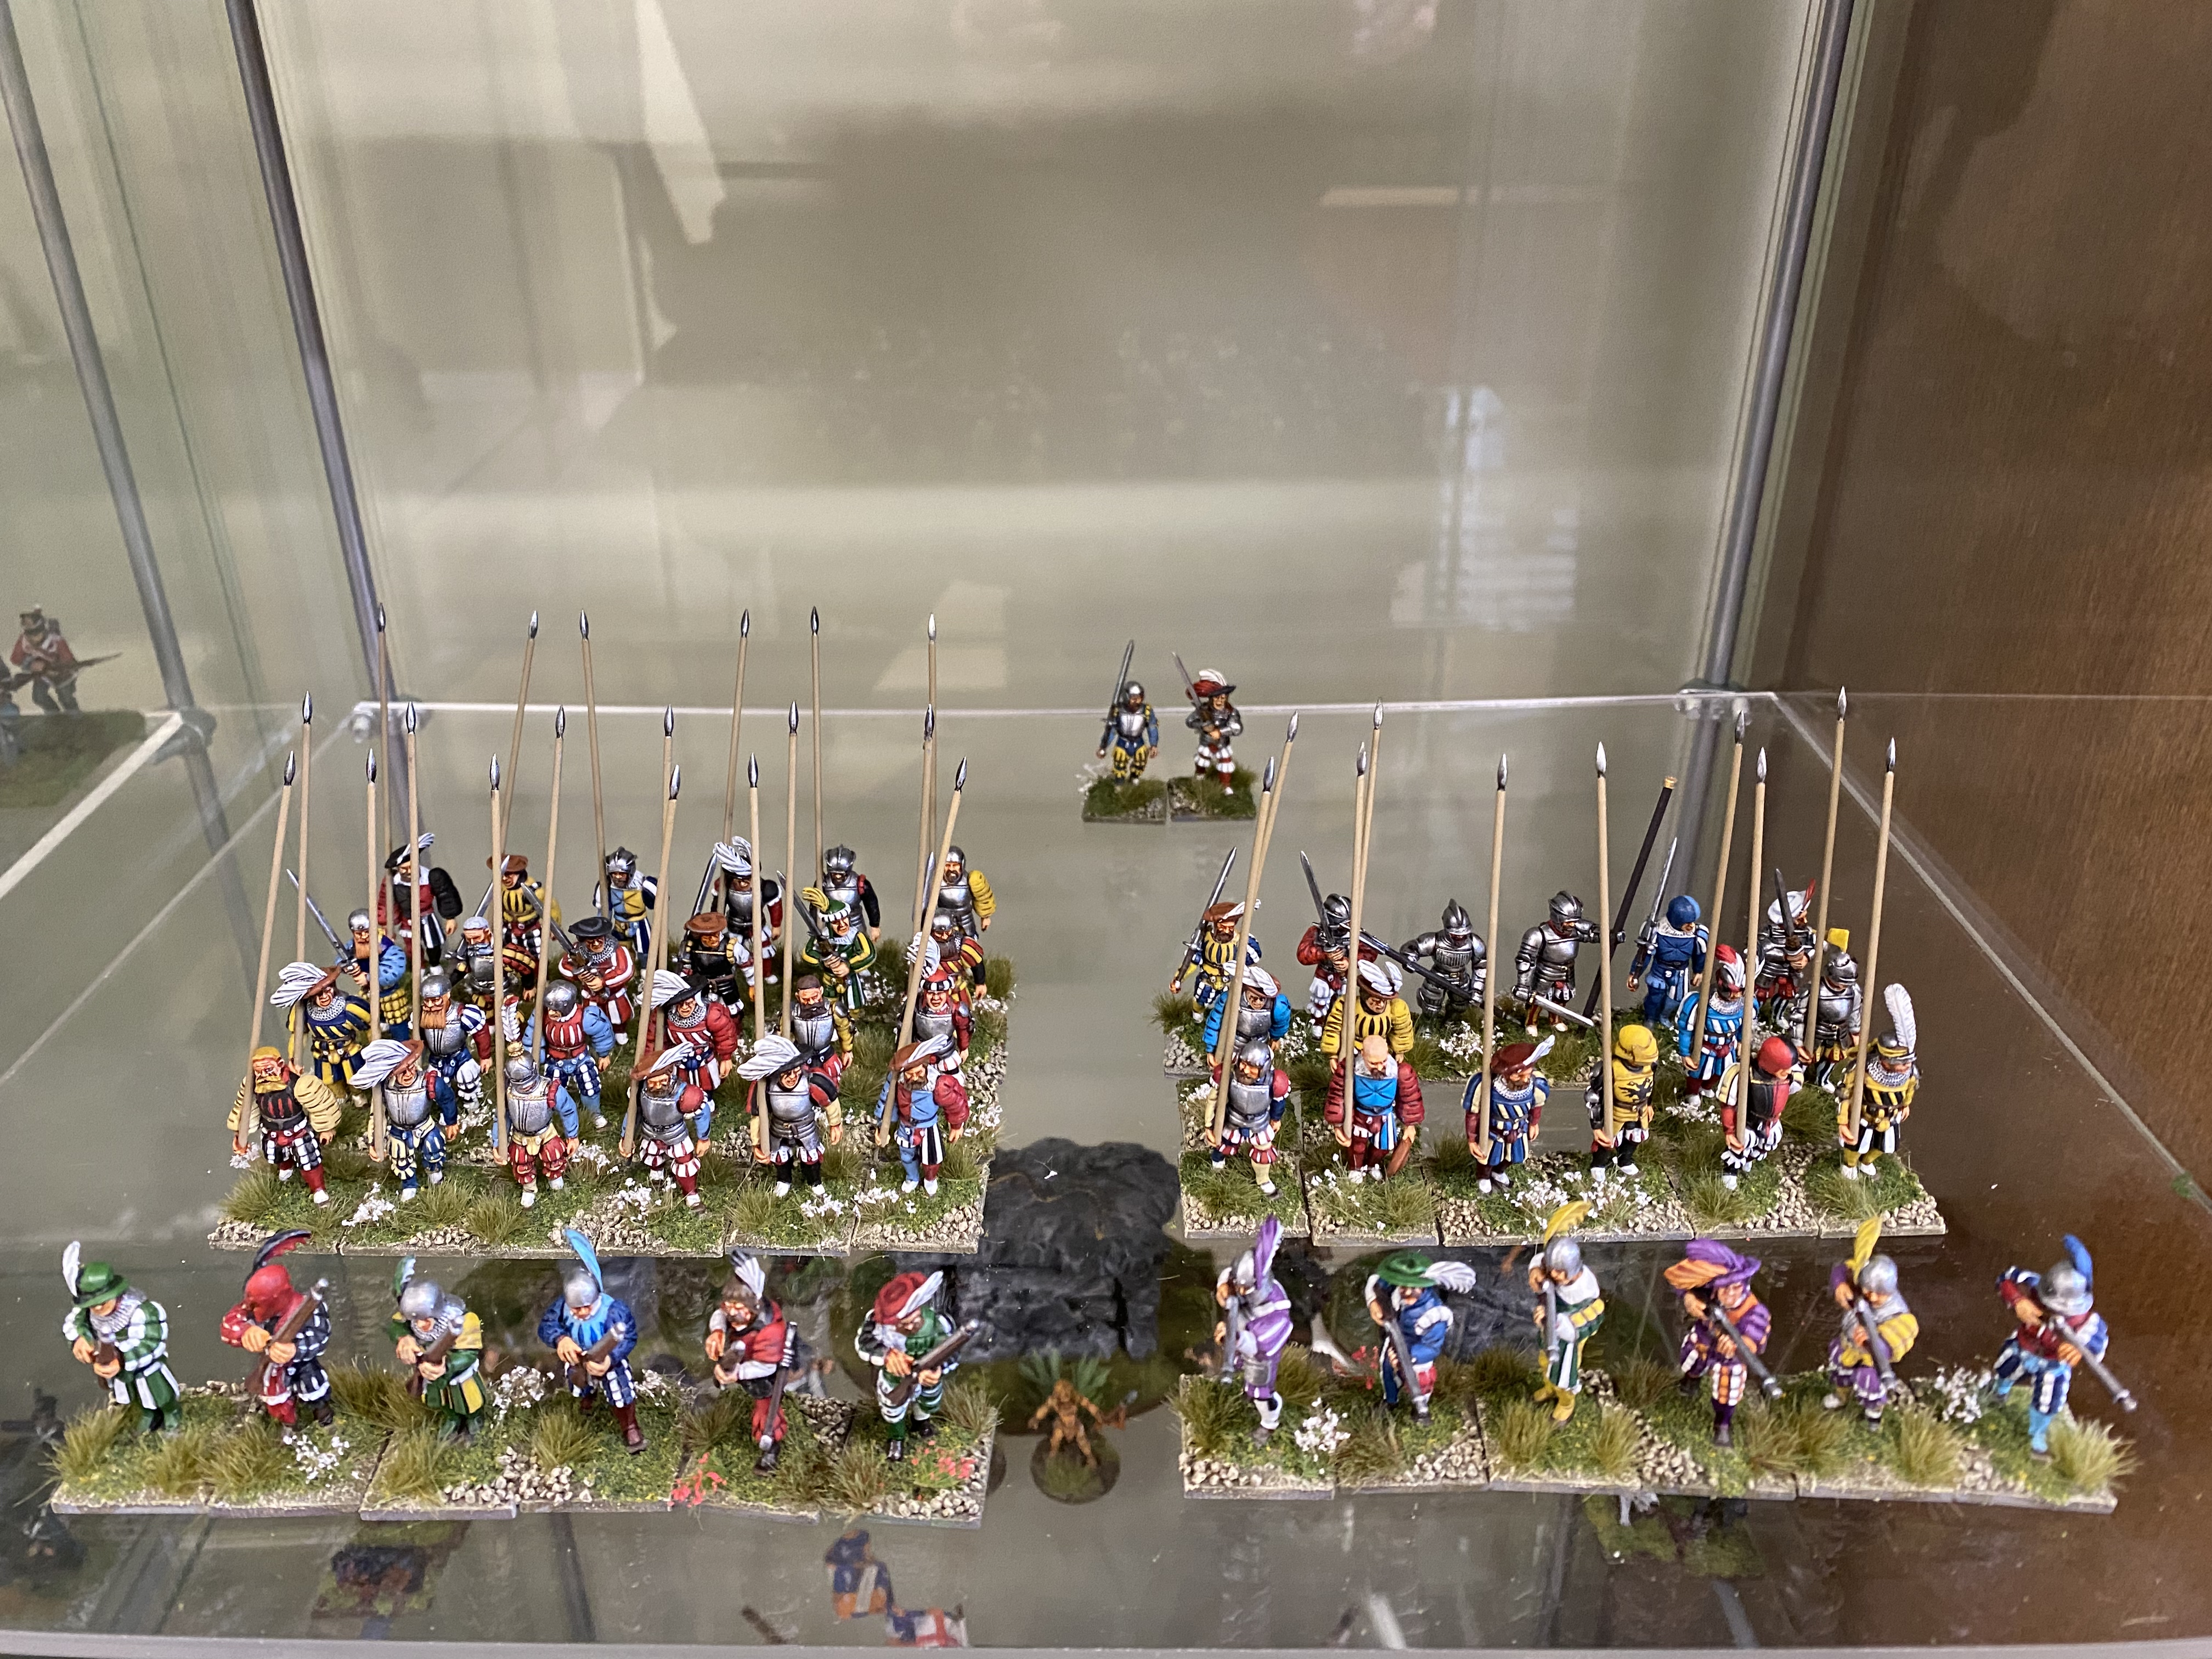
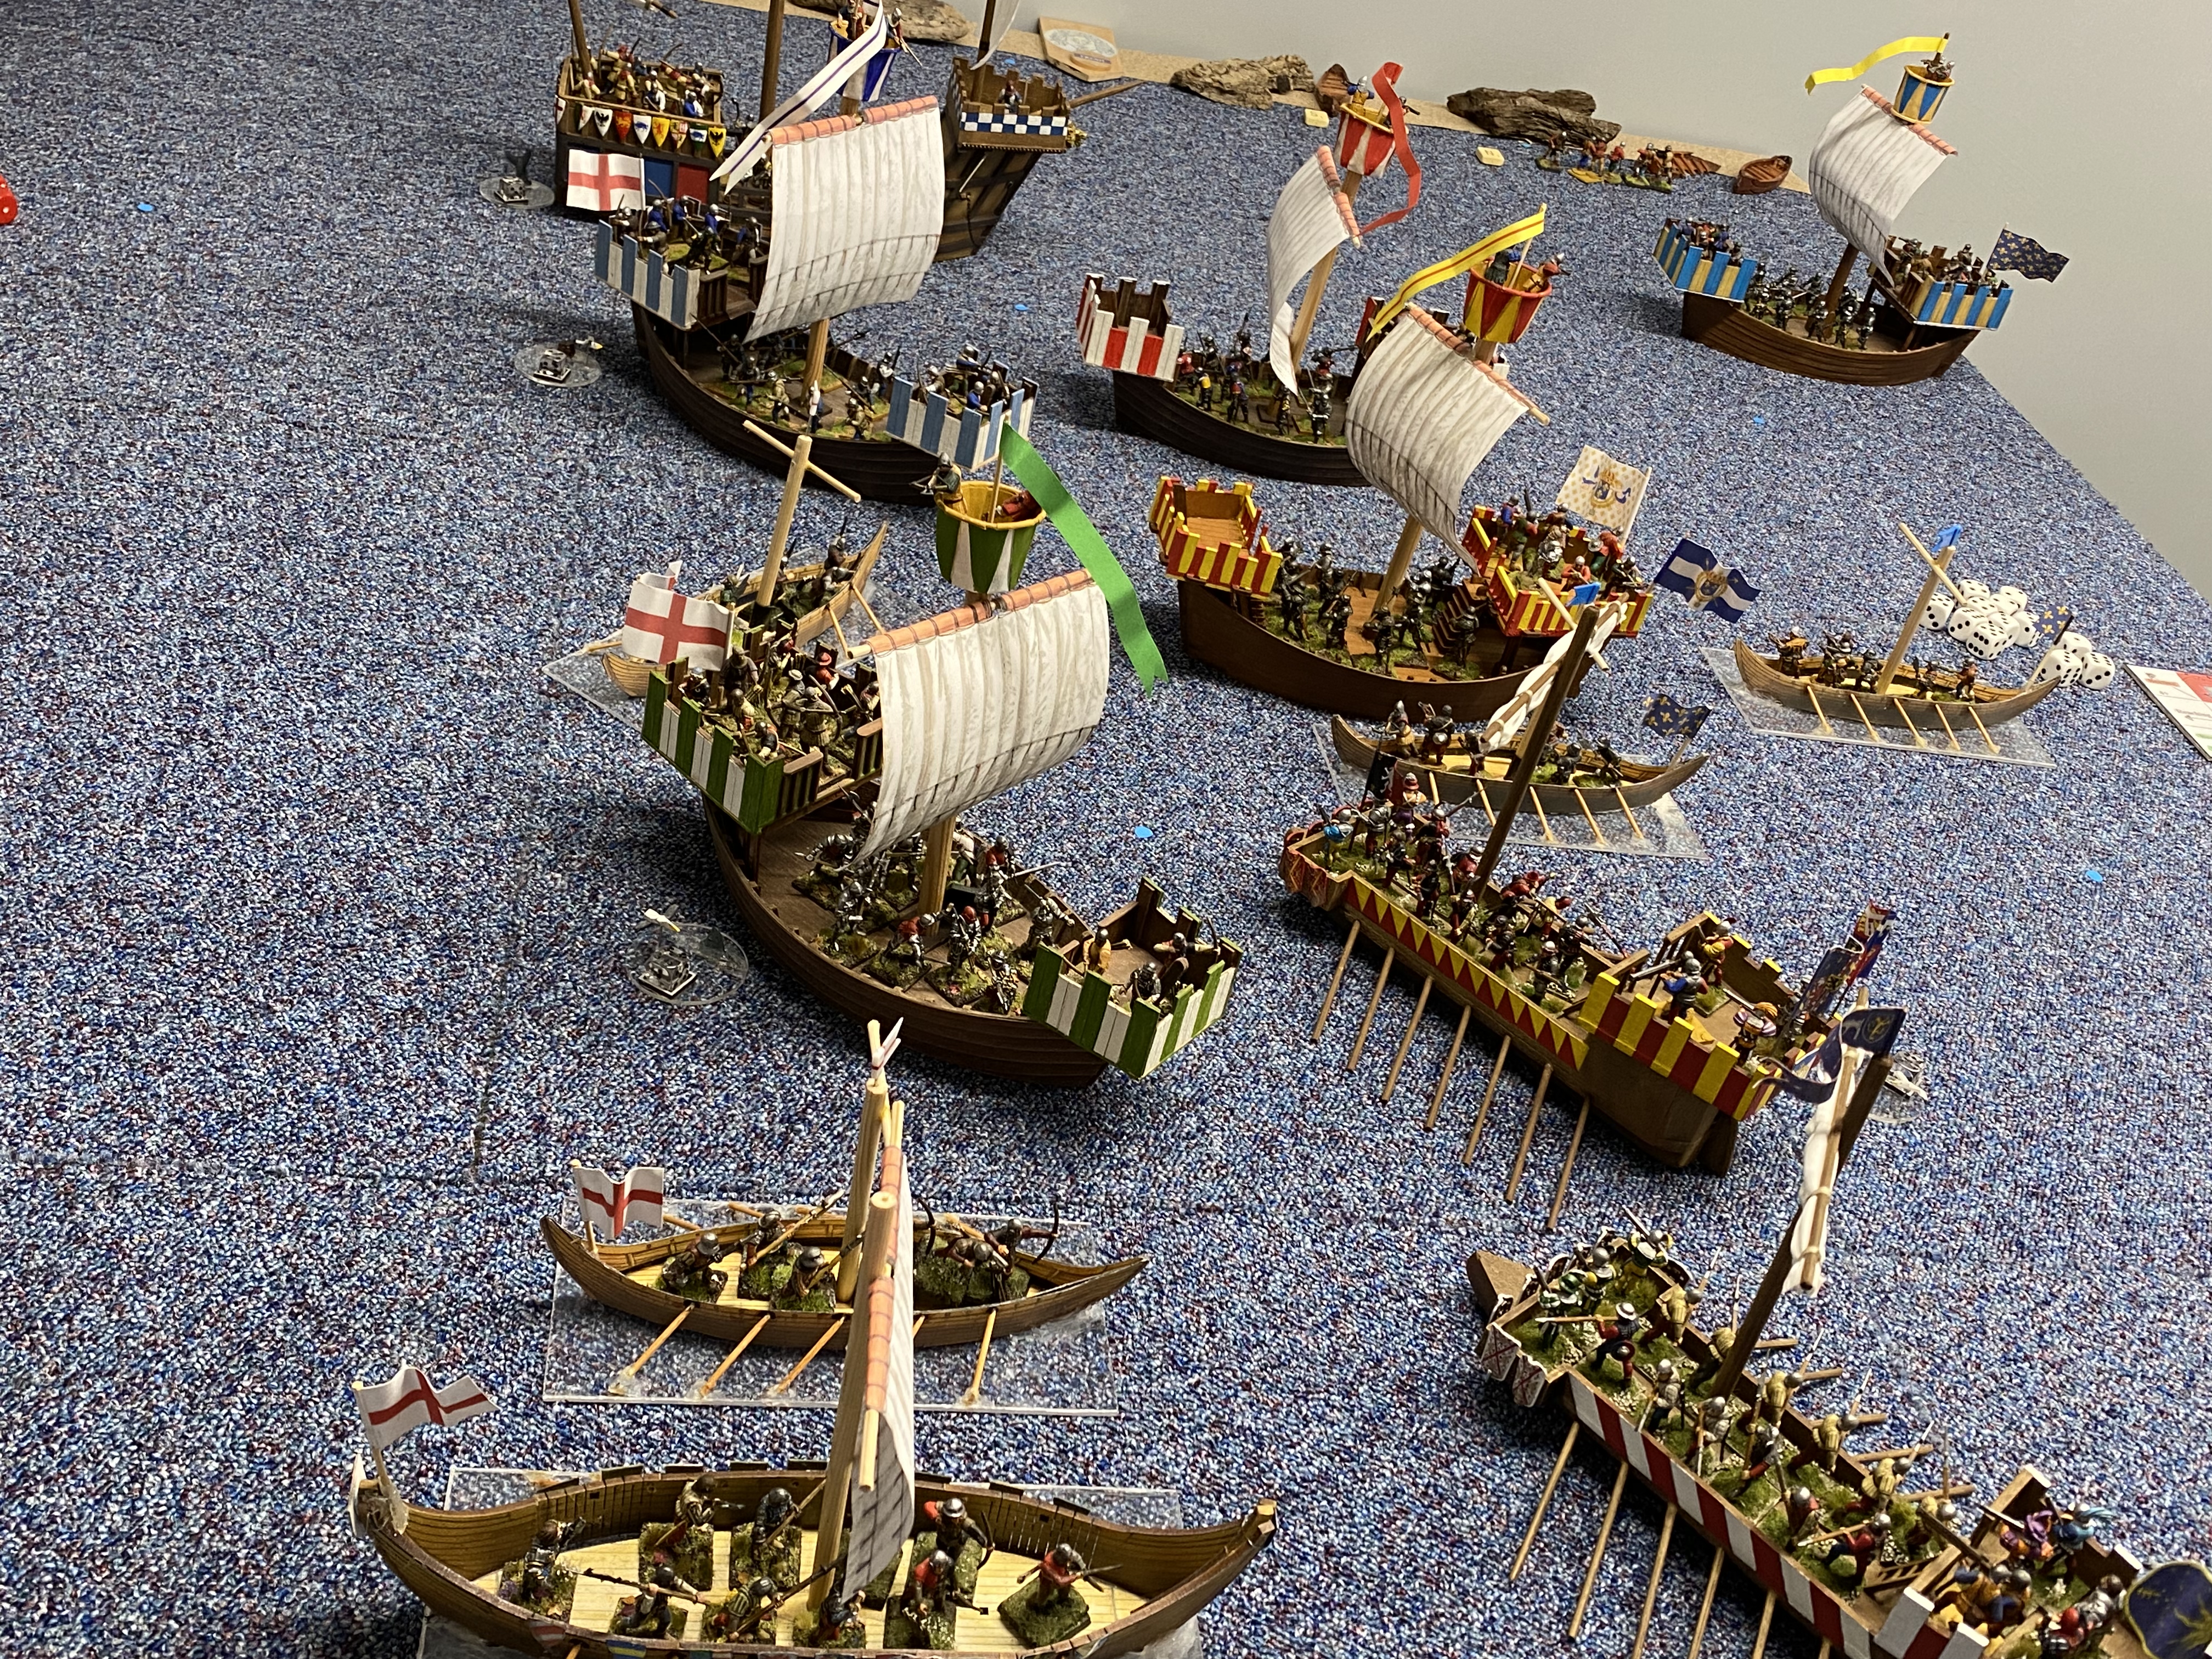
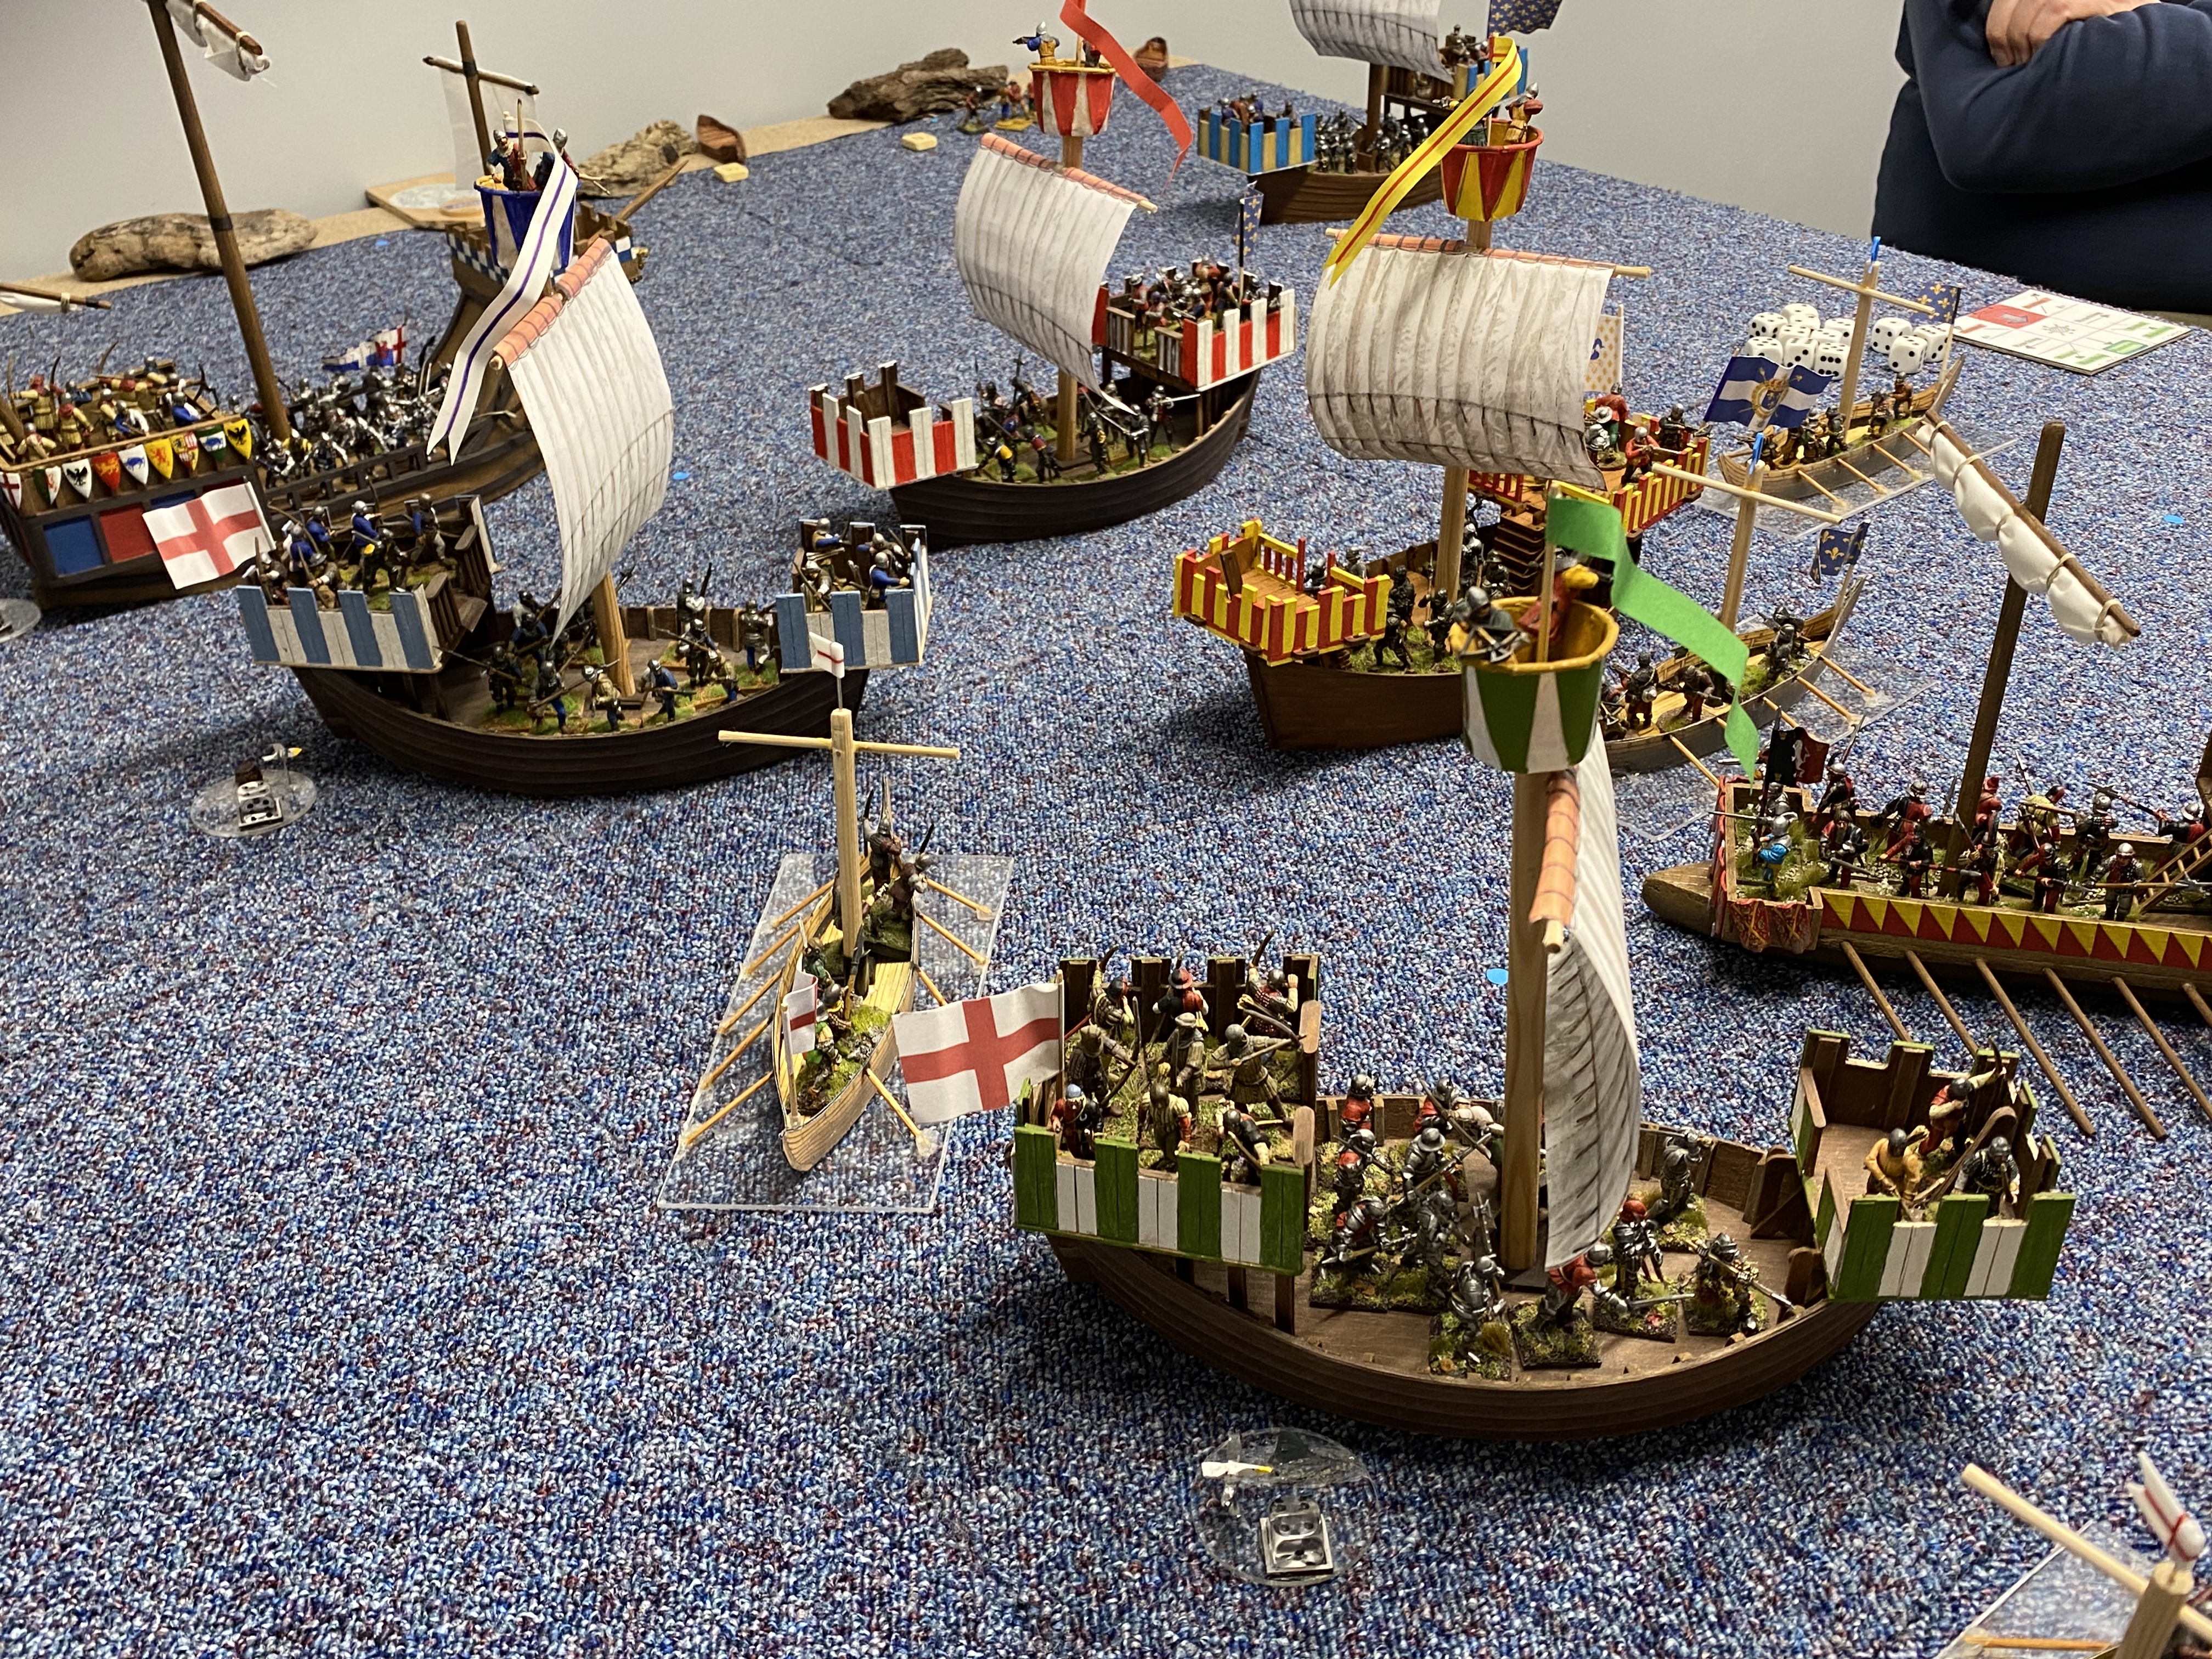
The great ship was built for a demo game of ‘Boat Hooks’ at Partizan in Newark. Here is a picture of just some of the action.
Never Mind The Boat Hooks demo game at Partizan
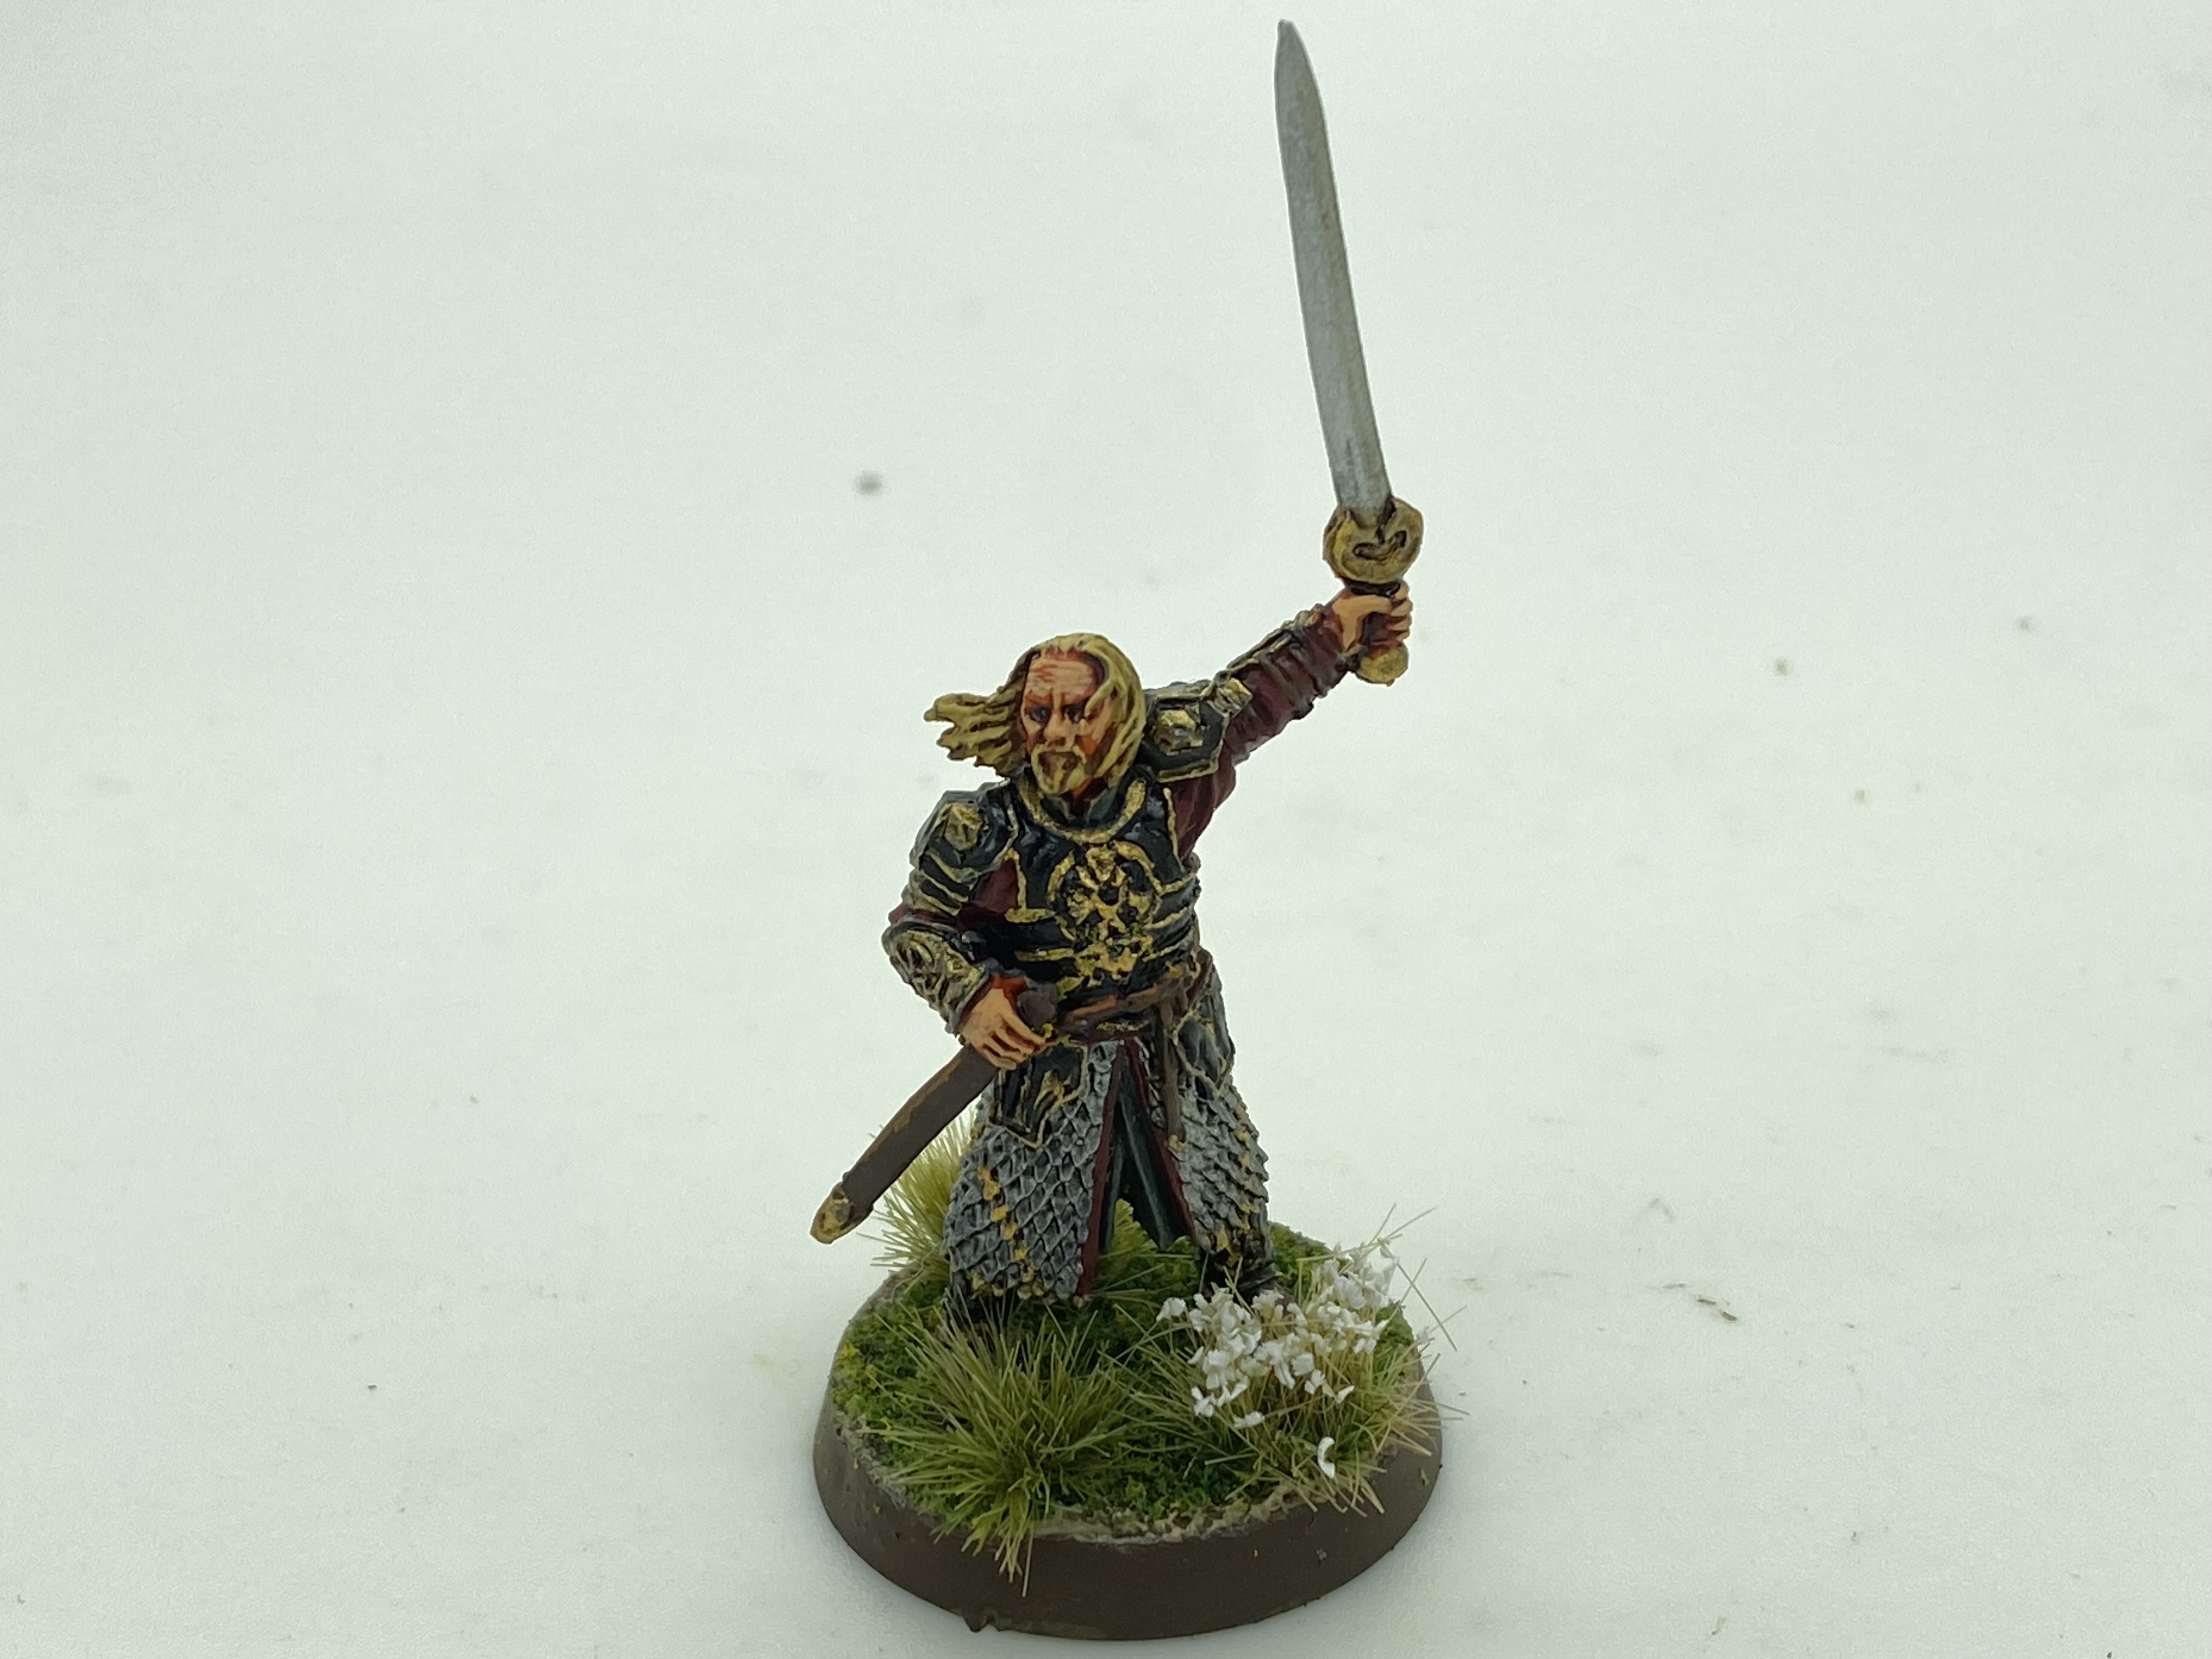
Talking of Partizan, I picked up the free miniature of Stephen Le Blois and he has been painted and now joins my collection of these miniatures. I dont have all of the Partizan figures but I have resolved now that when ever I pick one of the show figures up, I will get it painted rather than chucking it into the lead pile!
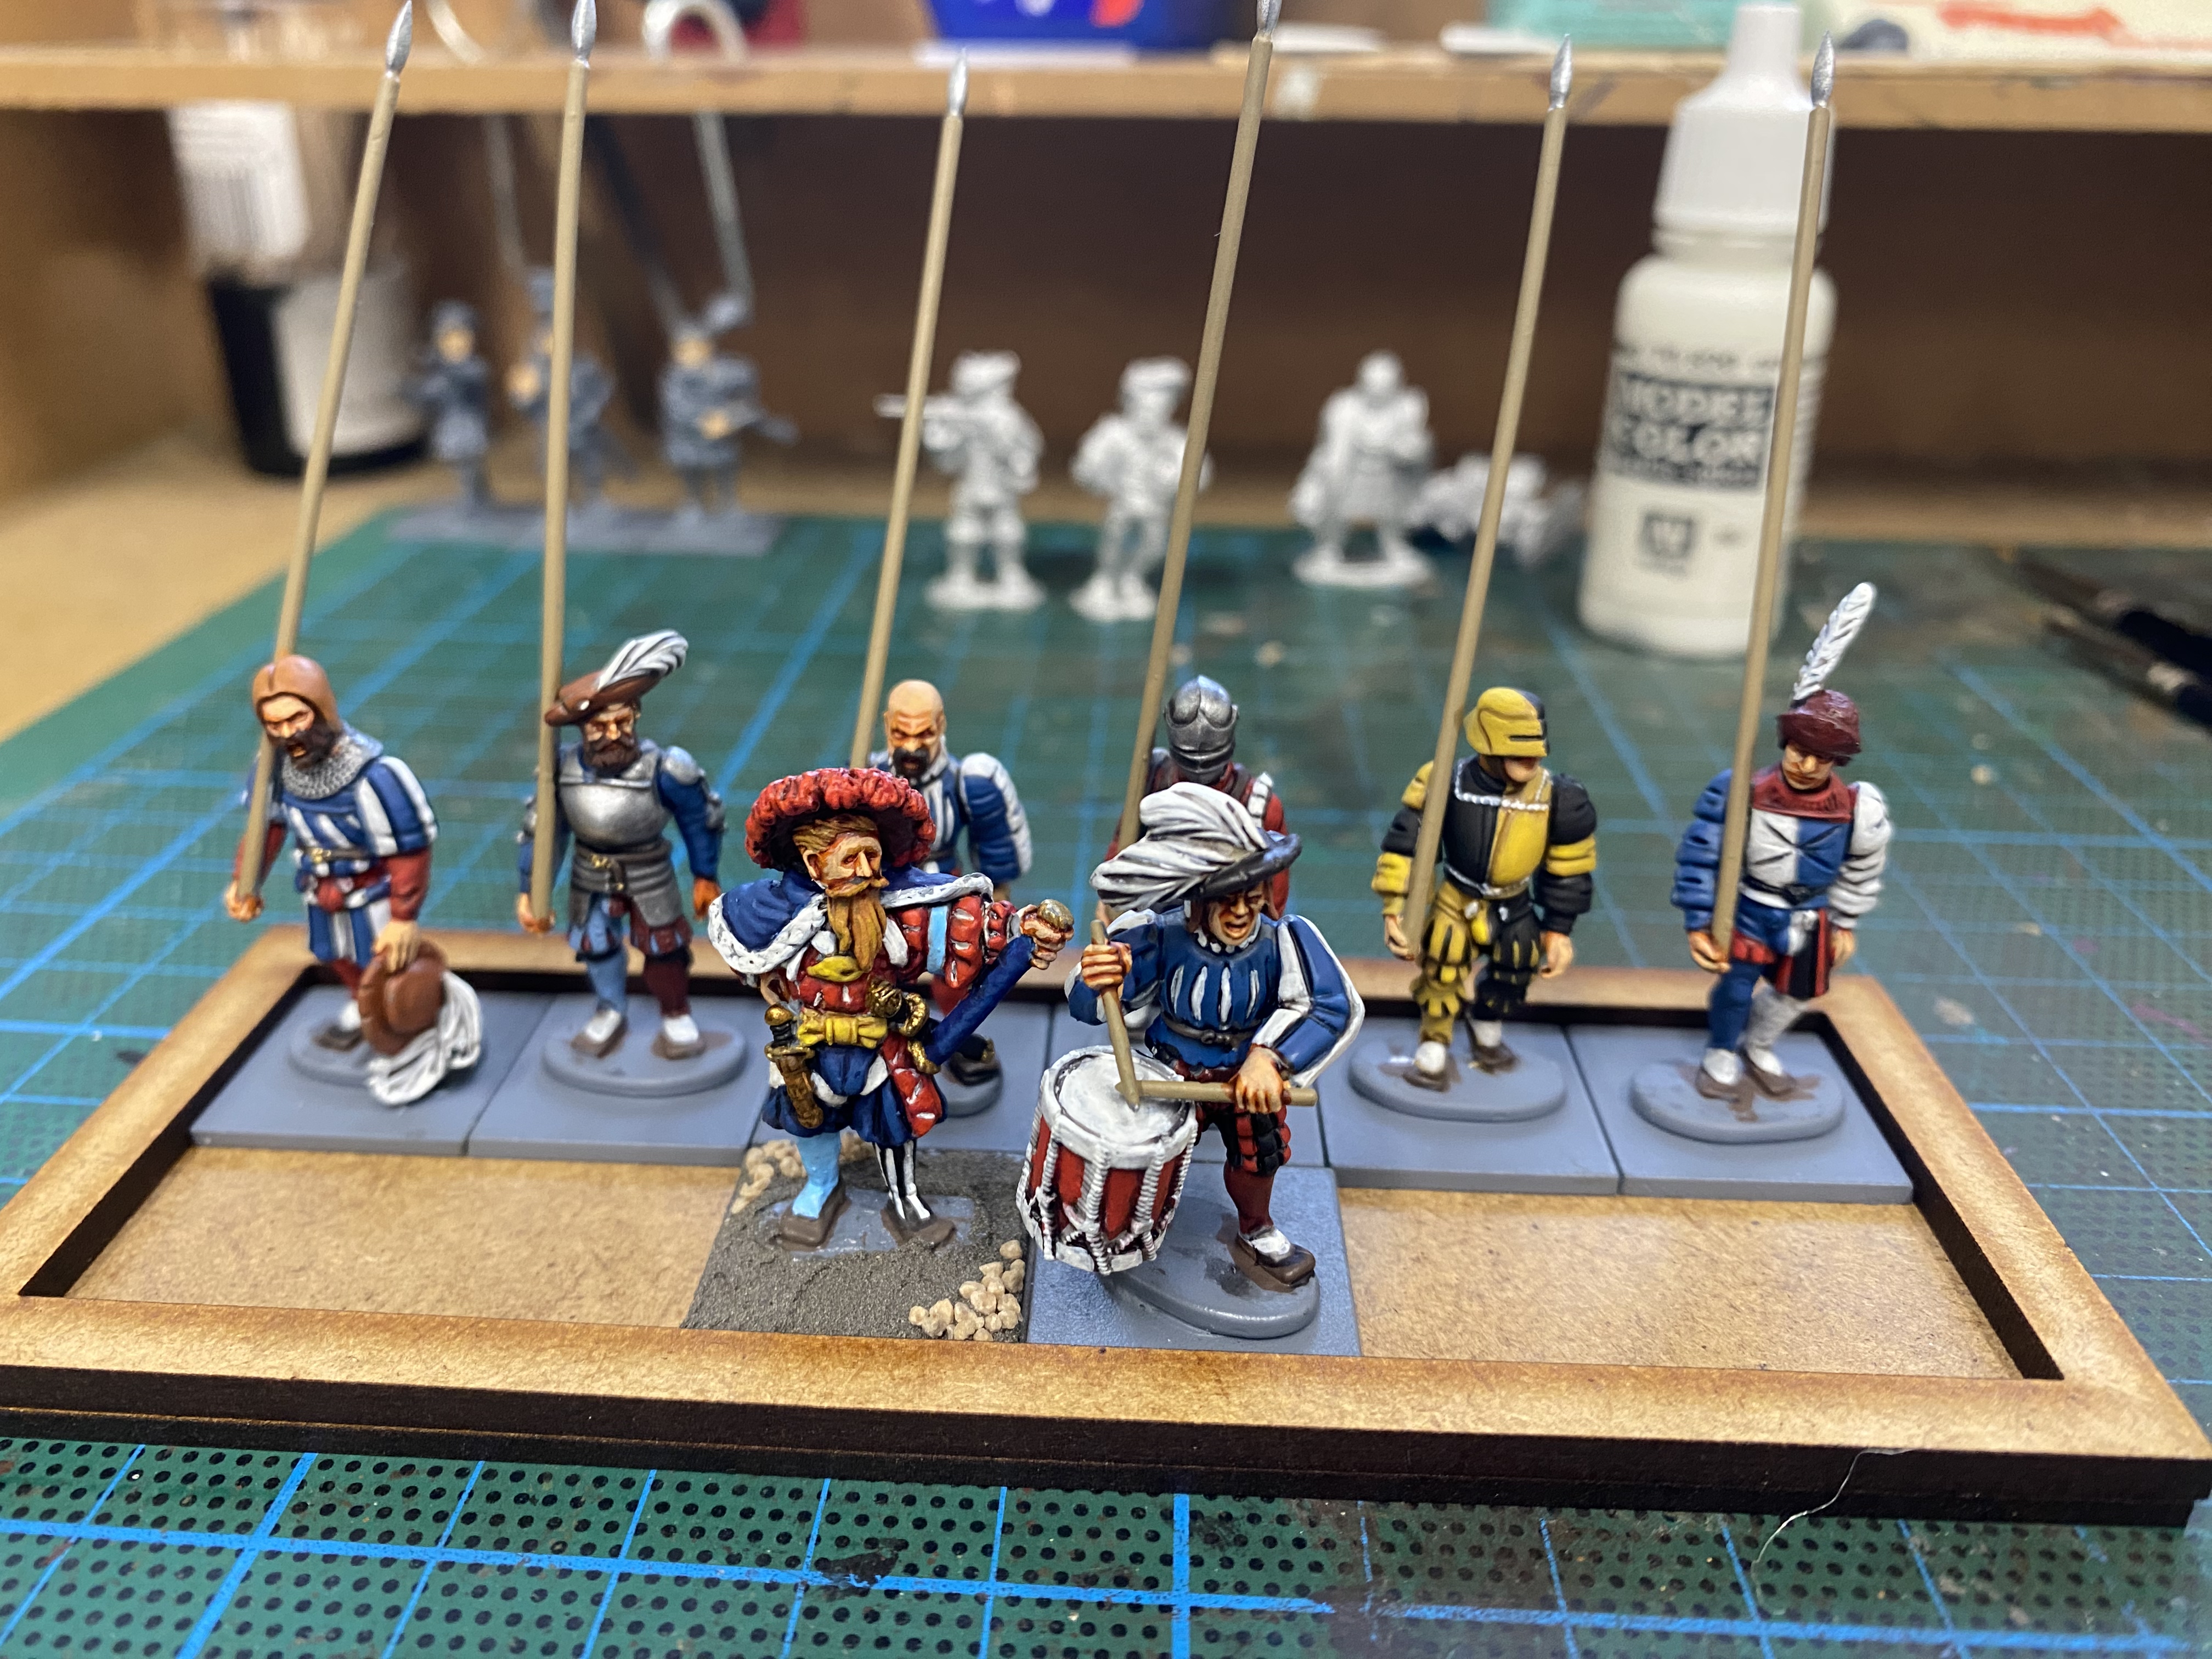
Stephen Le Blois – Partizan 2022 free figure.
Continuing with the Partizan theme, I committed to ensuring that what ever I buy at a wargames show, I will paint it before the next show. I have just about stuck to my commitment by finishing a nice Perry Miniature wicker wagon that I had bought back in Octobers Partizan 2. I am building a nice collection of the Perry Wagons and I have a reasonable baggage train now.
Perry Minatures Wicker Wagon
As reported in my previous blog, I’ve also now completed my Irish Kern that were also bought at Partizan. This almost completes my Irish Army for now.
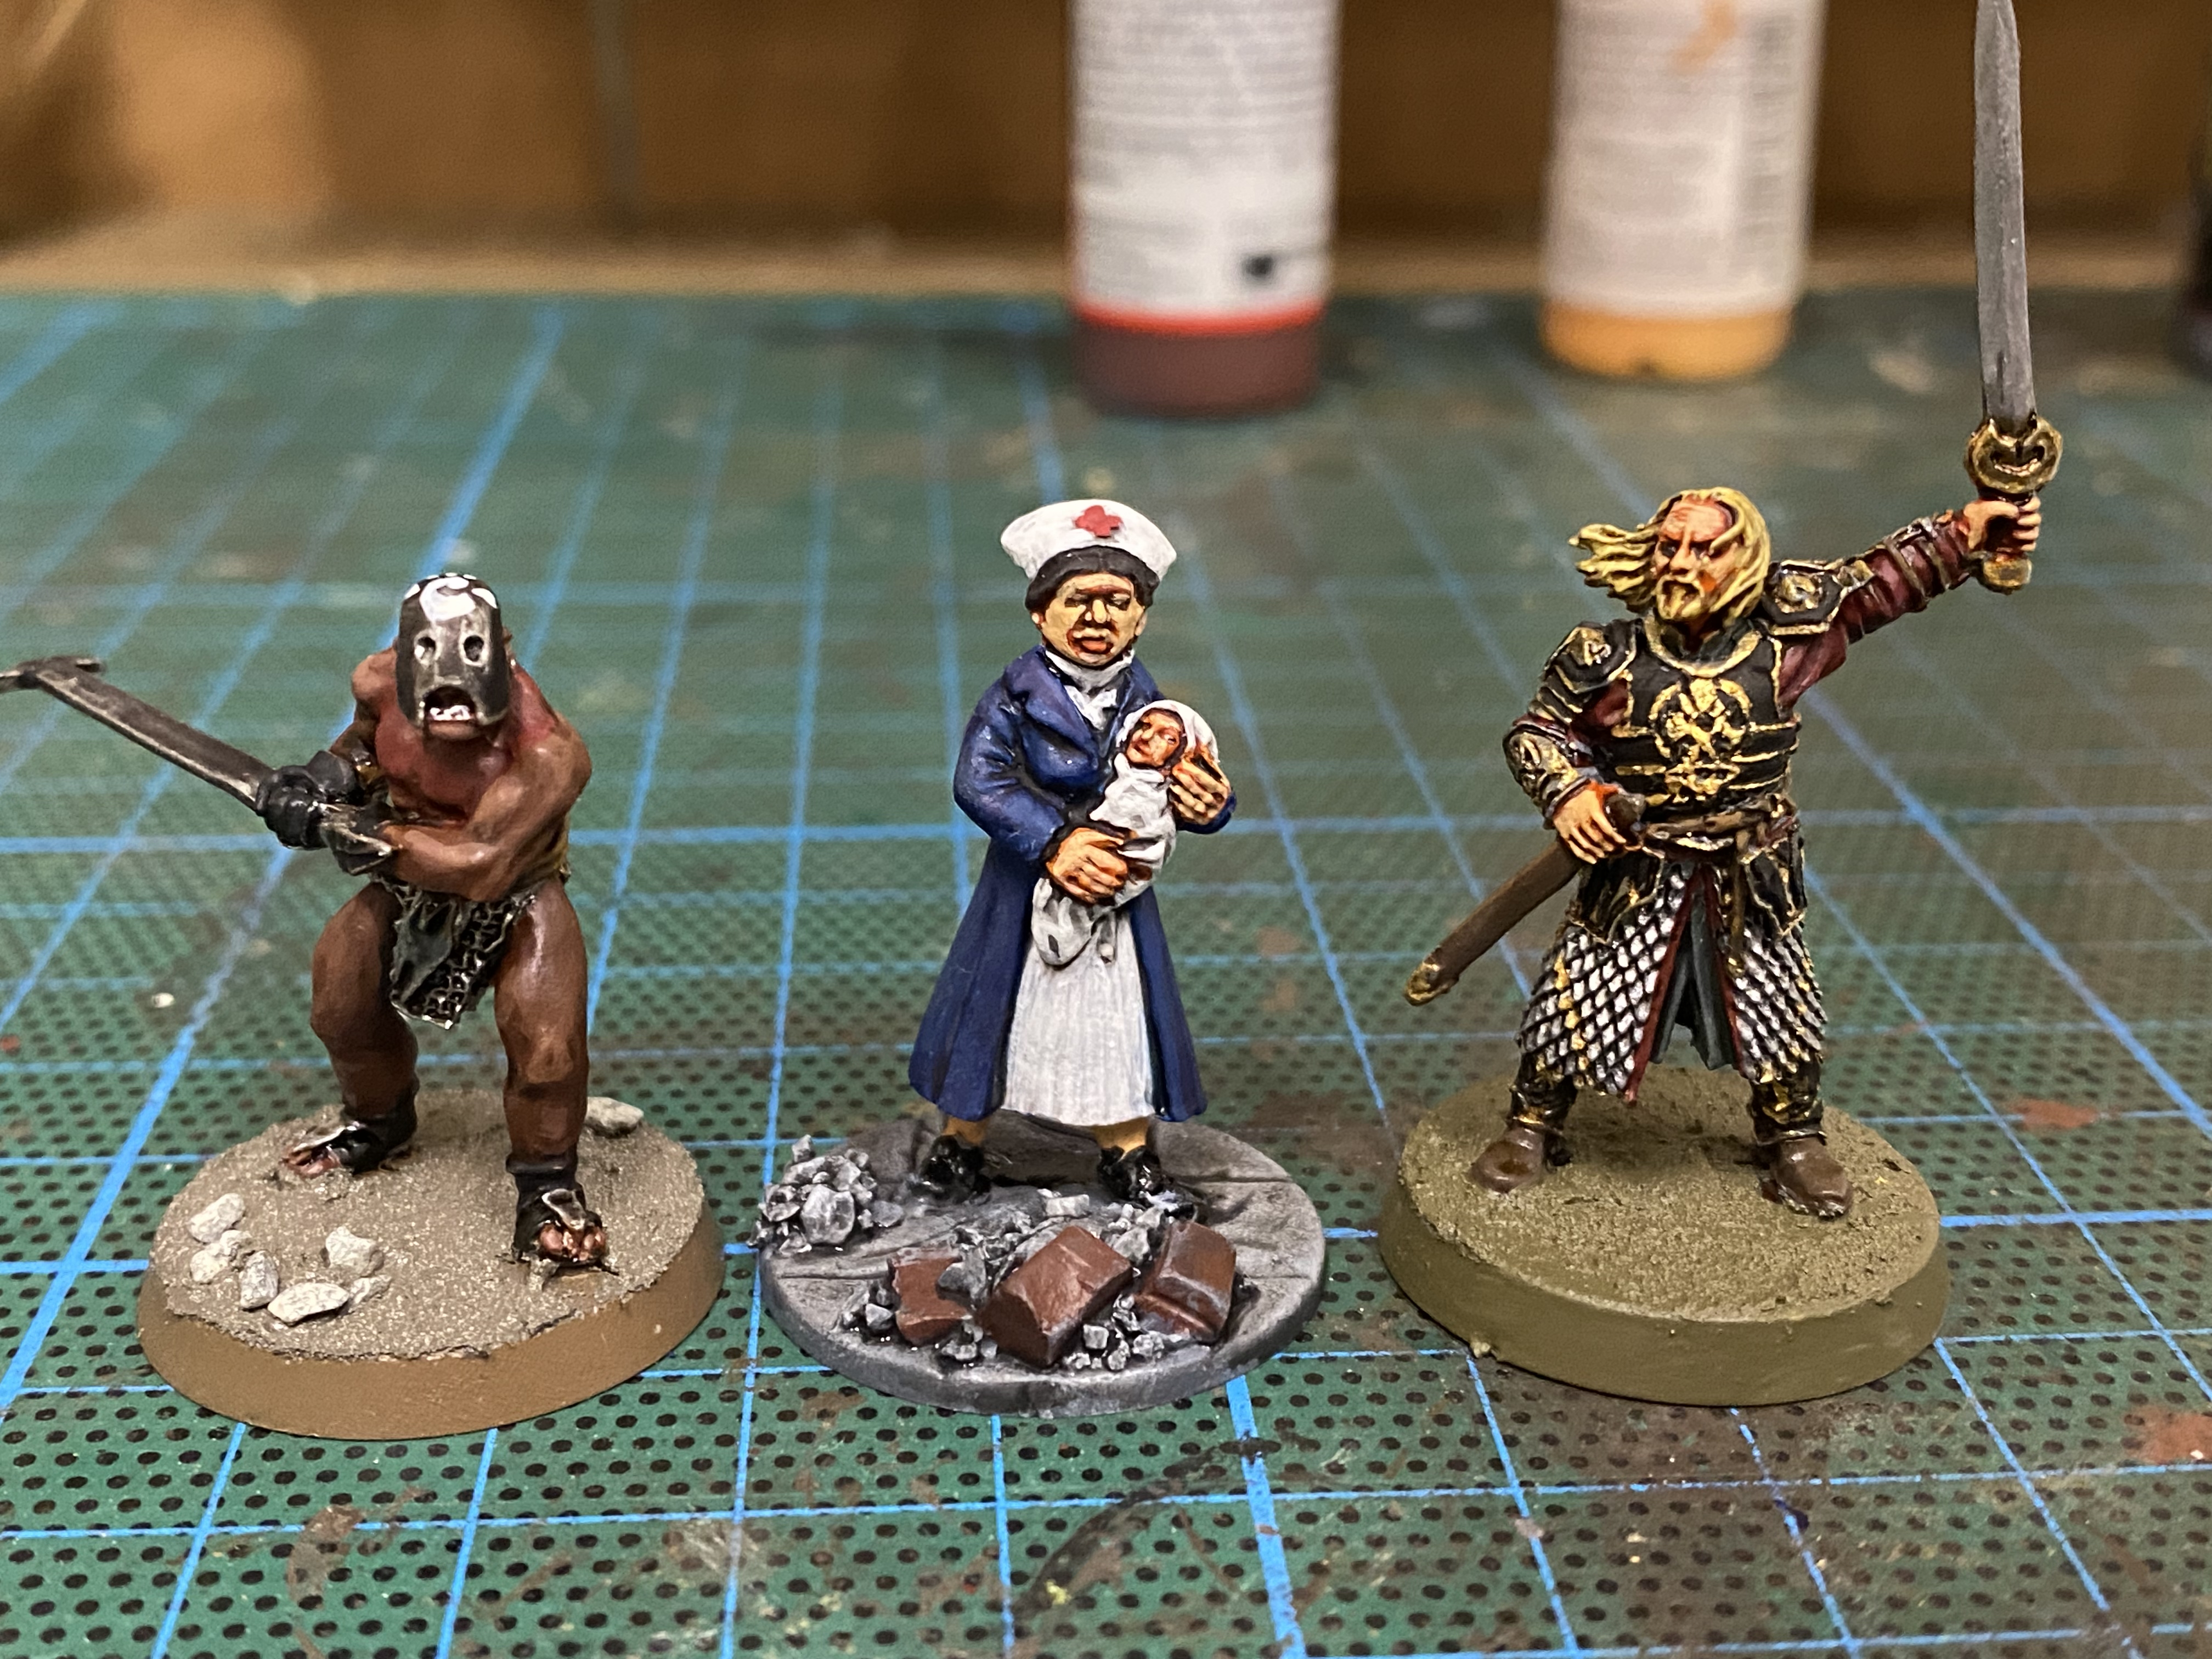
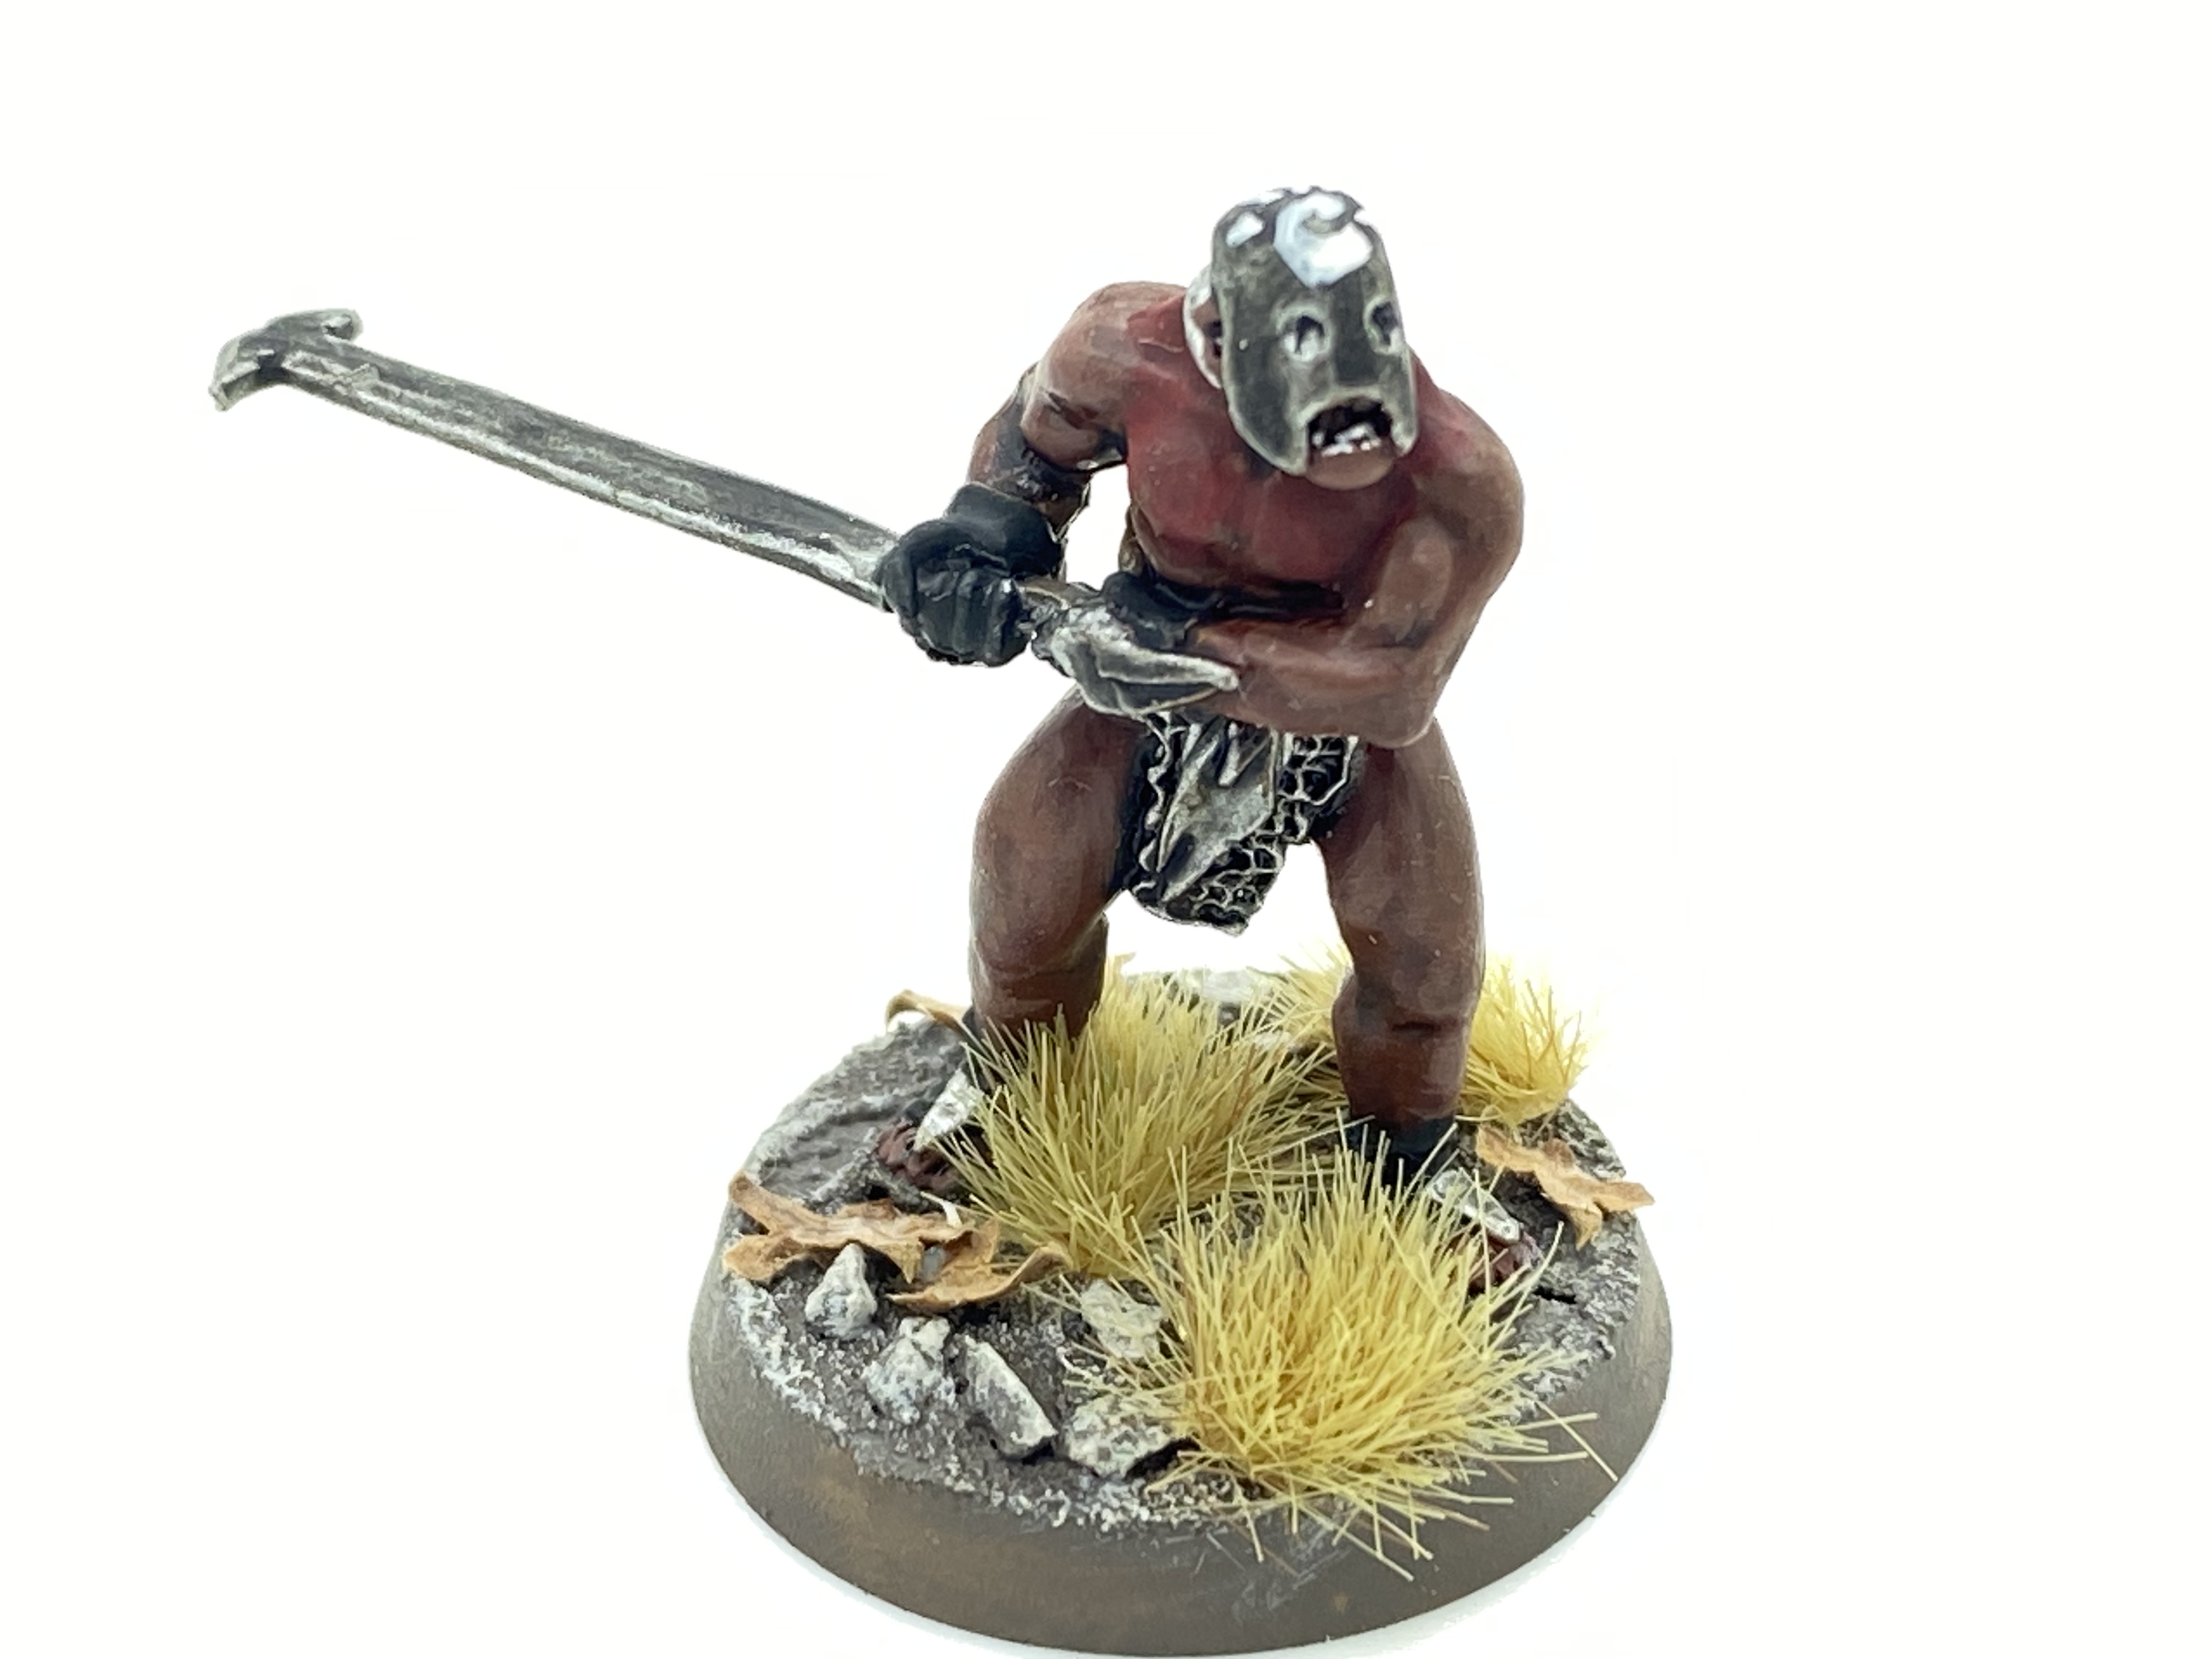
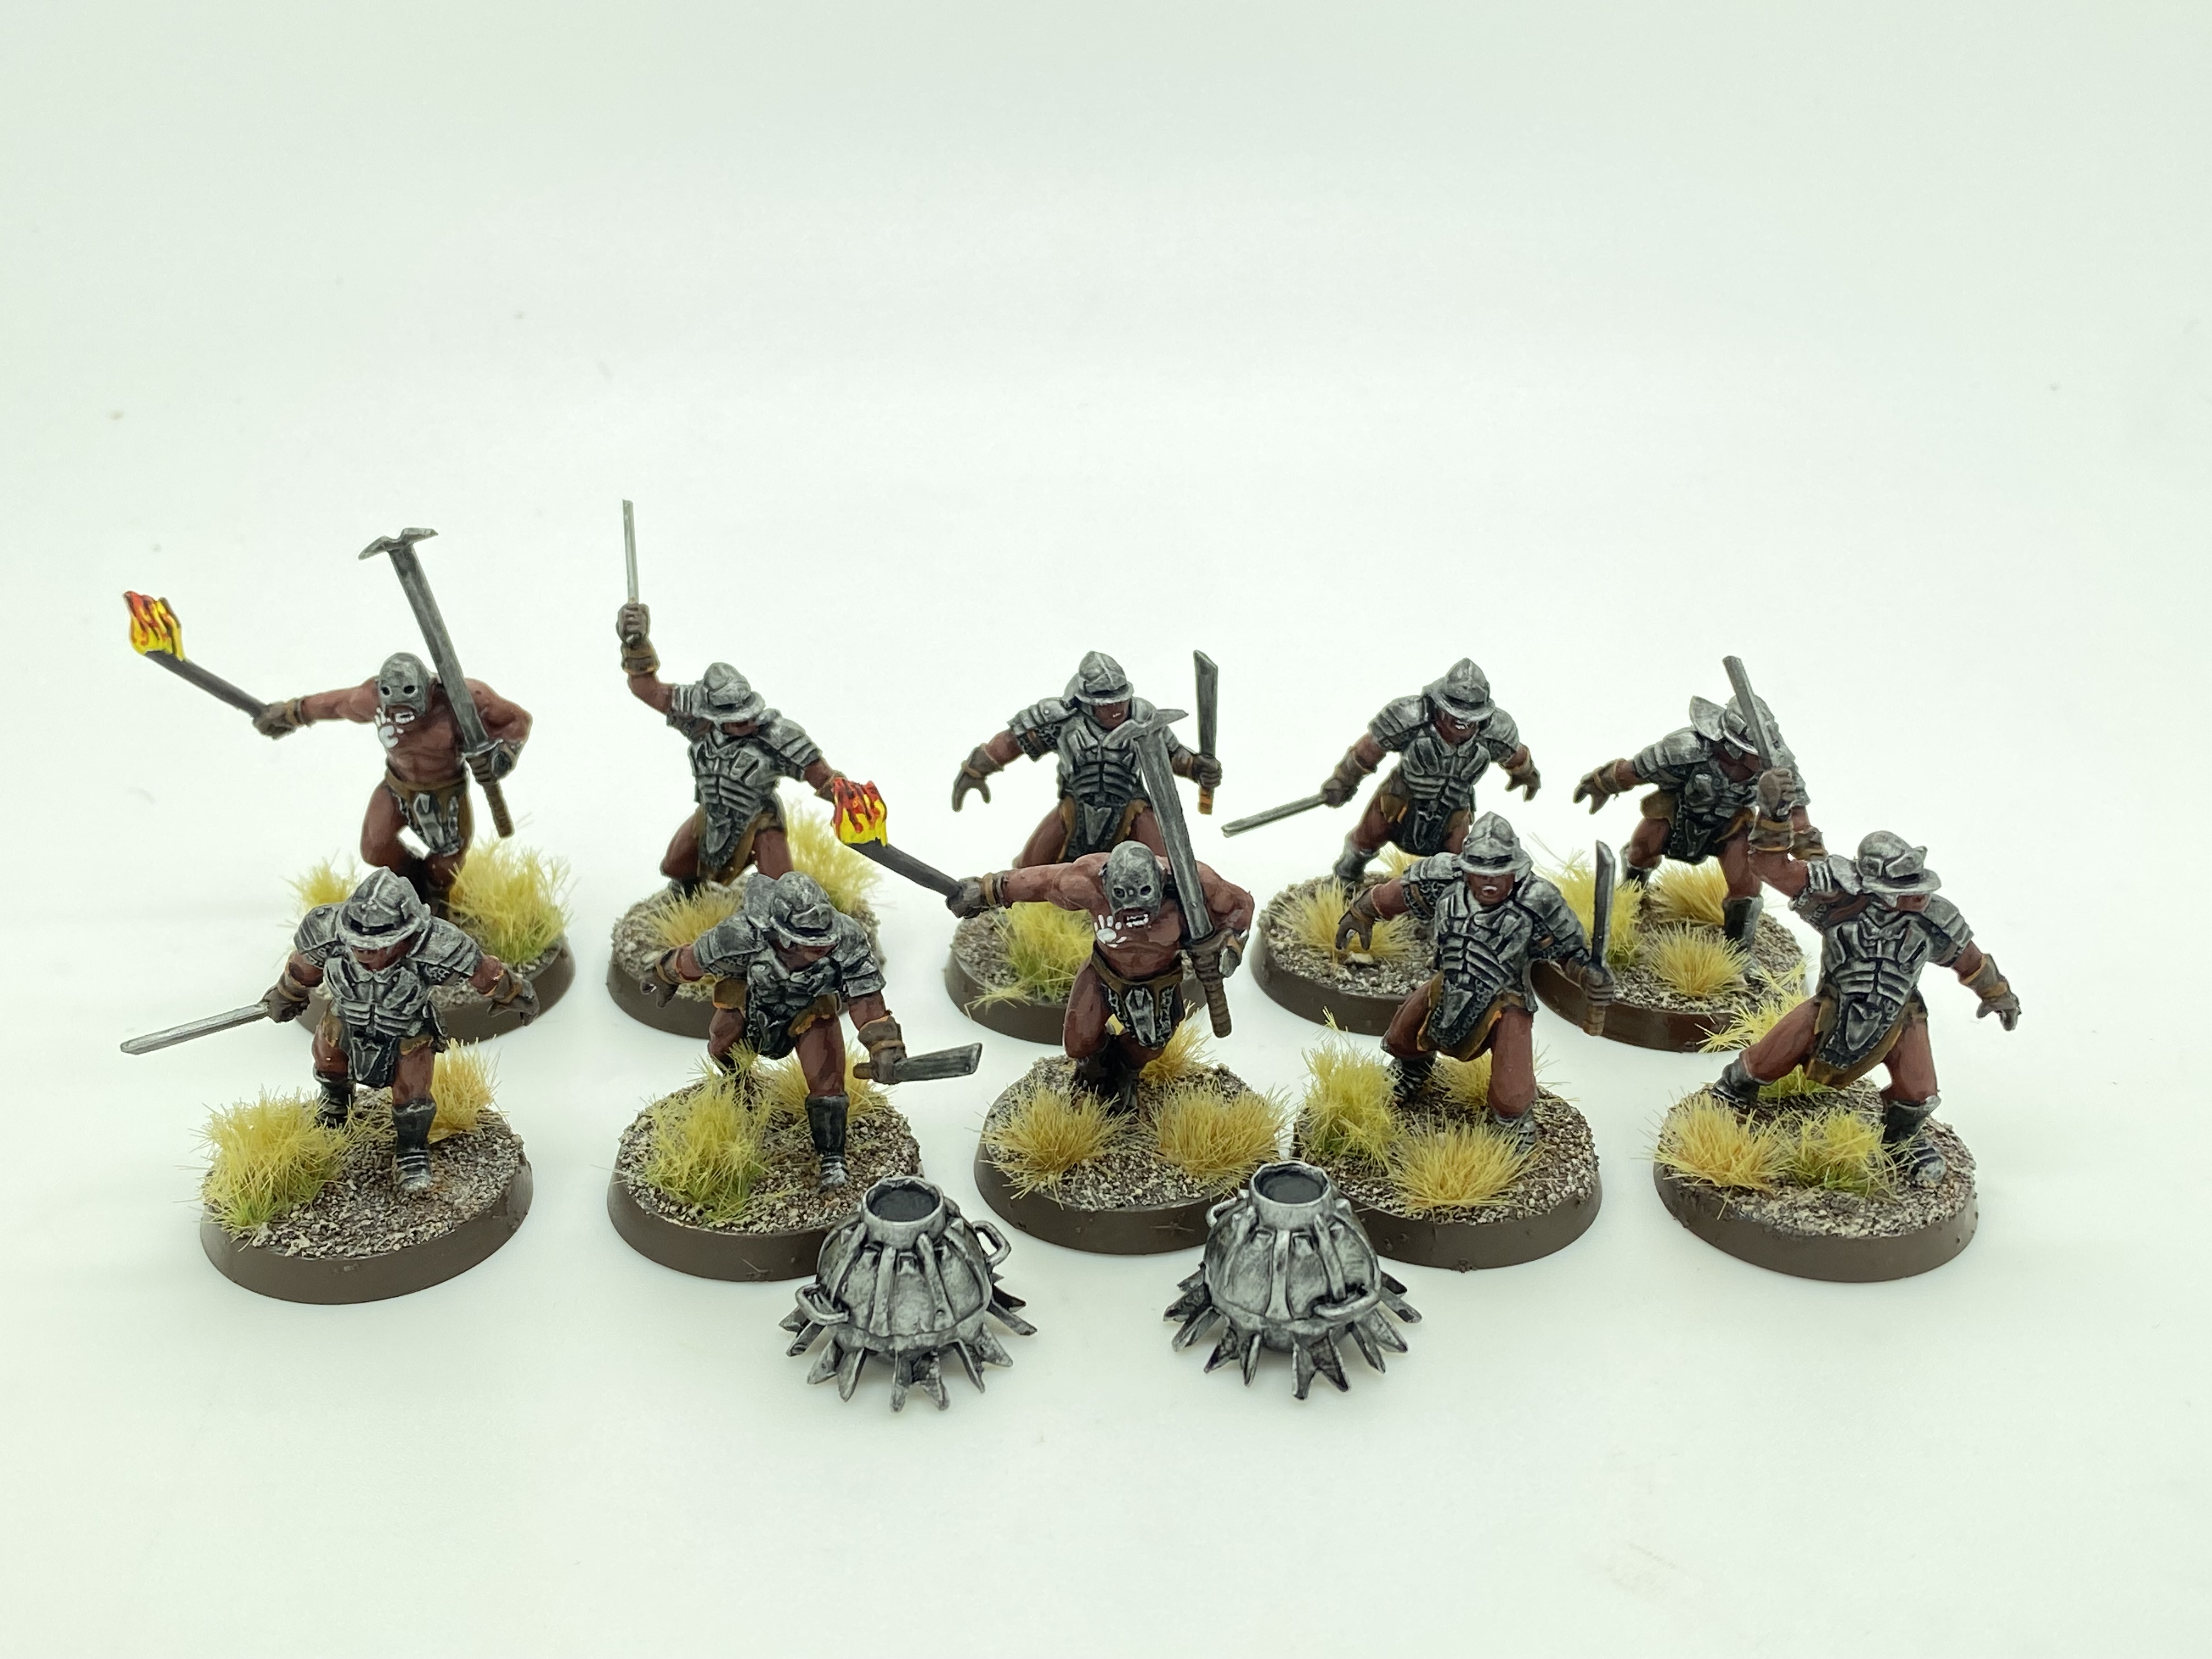
Changing the subject, I have also managed to make a bit of progress with my LOTR project. I am just about to finish basing twelve orcs from issue 24 of the Magazine.
I must confess that I didn’t enjoy painting these figures. The molding of detail is a bit ‘soft’ to say the least but thanks to a good wash with Army painter strong tone ink, they look OK!
My gaming has been curtailed just recently. I have been busy with family and social events as have my gaming buddies, Pete and Andy, so the opportunity to meet has been limited. Wargaming tends to be a winter activity! However, one game that we did play caught my imagination. It was a refight of Islandawanda. The troops are actually made from Hair Curlers by Andy Callan! I dont think that I will be going down that route but I am always impressed by such ingenuity! The game was good fun as well!
Zulus – thousands of them….no wait they are hair curlers!
Well that is just a flavour of some of the projects that have gone across my work bench. I forgot to mention that as well as building the great ship, I made and painted the crew – another 20 or so figures. Which brings me to my total for the year so far:
152 Infantry figures;
8 Personalities
5 Medieval ships
1 Bren carrier
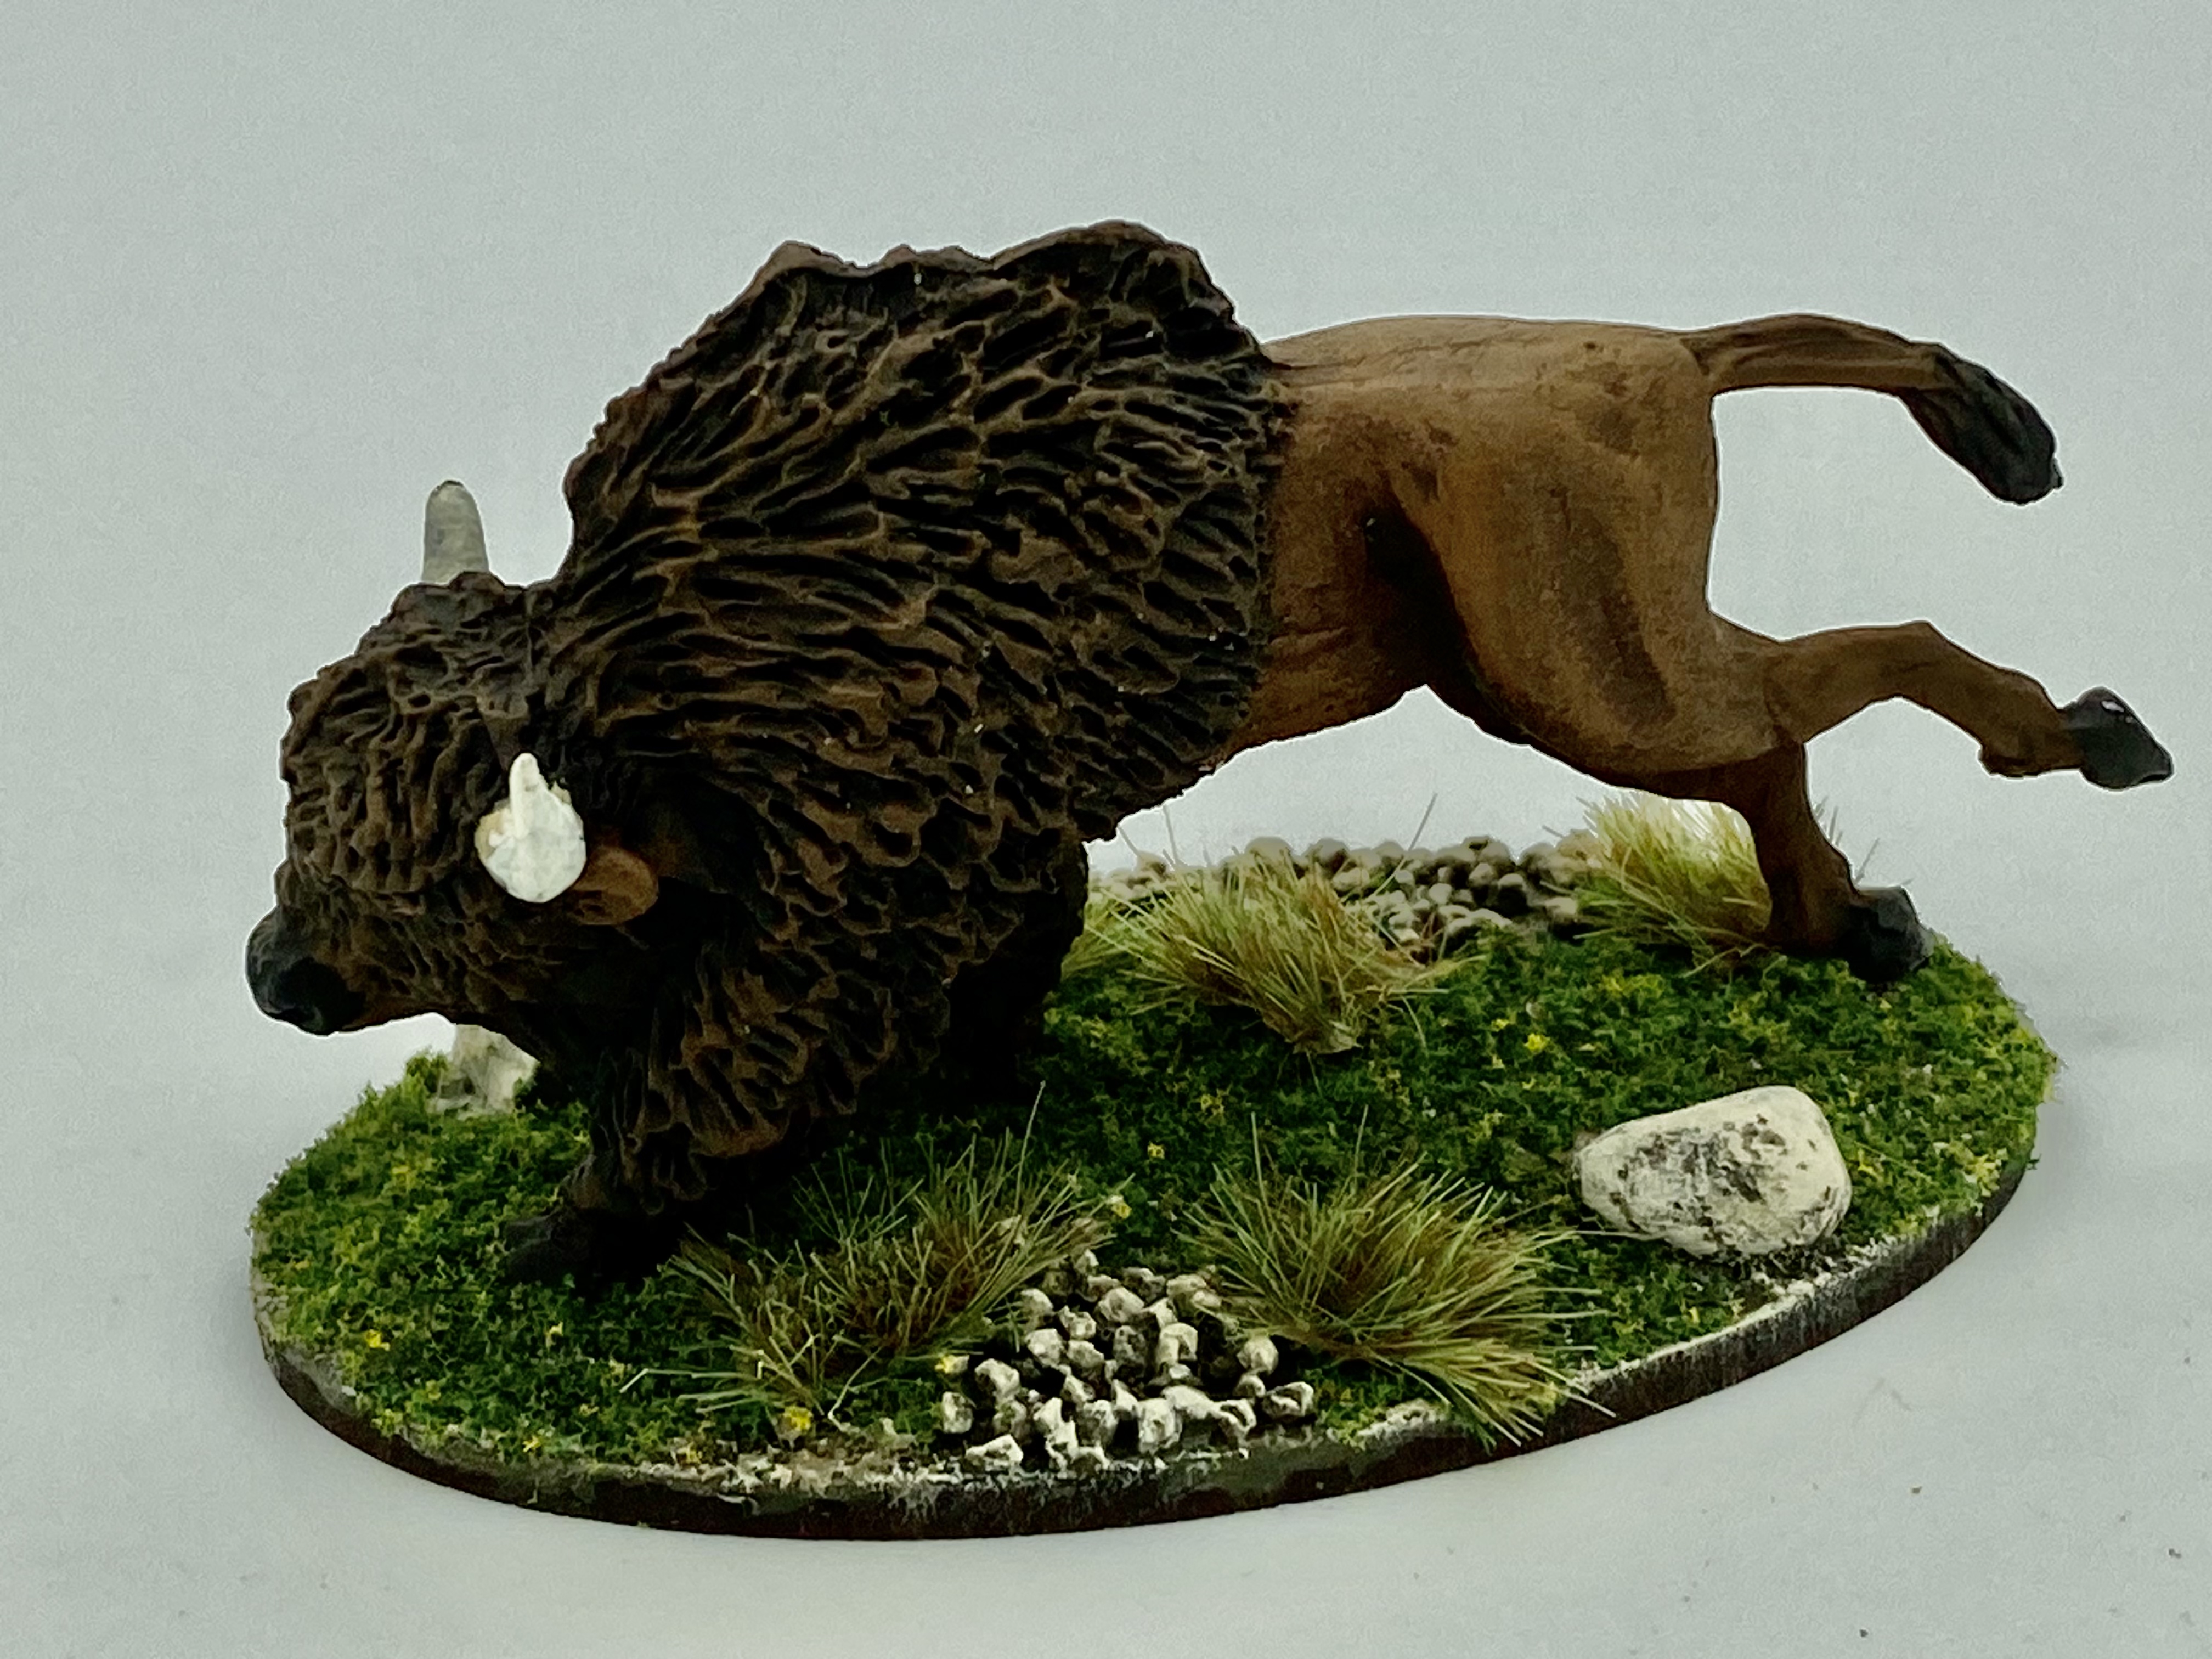
1 Deezee Elasmotherium
1 cart and horse
Lets hope that the rest of the year is as productive once I have re charged my batteries!
THE COMMERCIAL BIT
I hope that you all enjoy your hobby as much as I do – our web site will have much of what you need! Click here to see our shop but remember that I am away until the end of July!
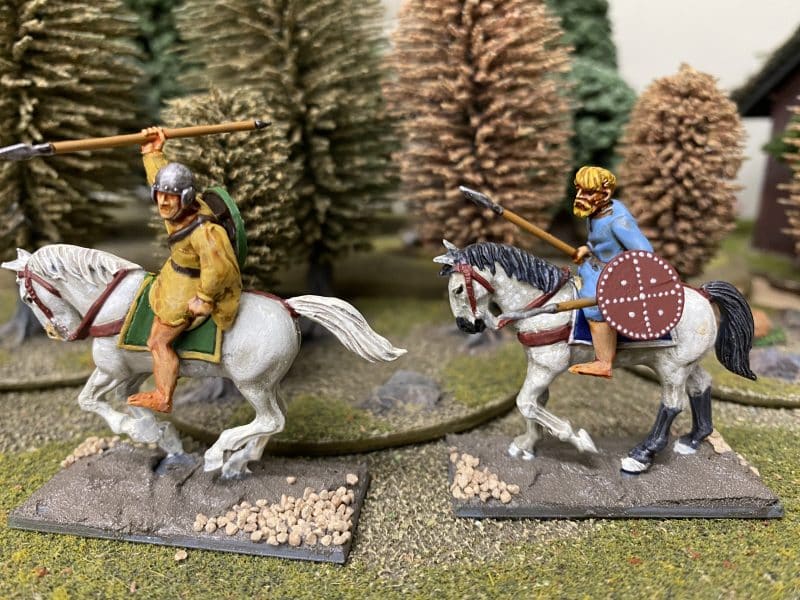
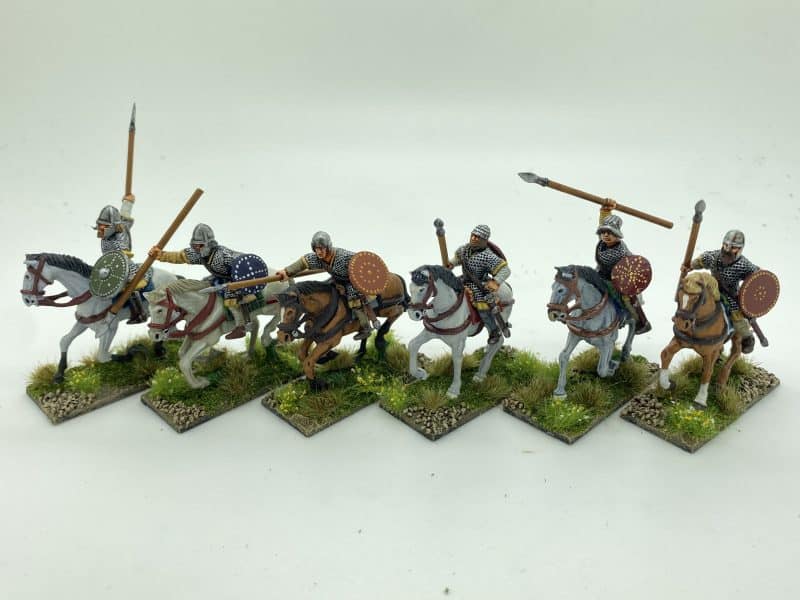
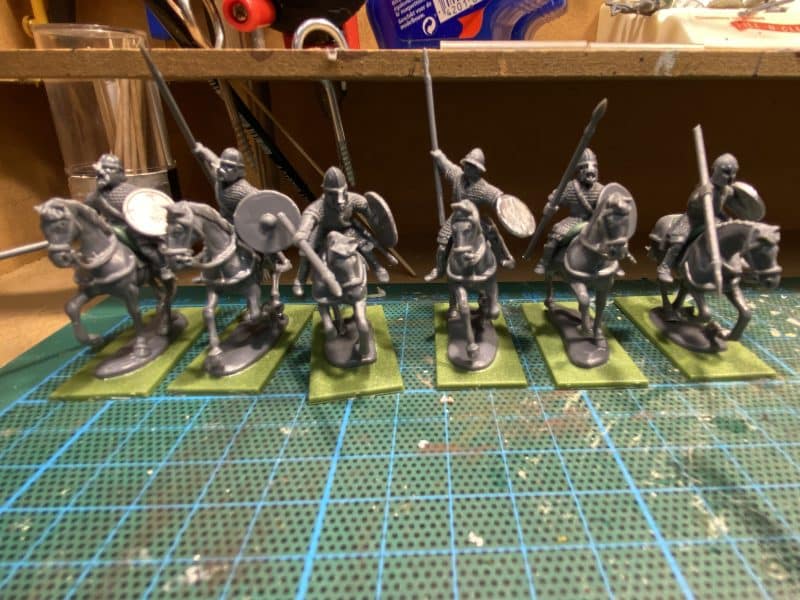
I am gradually building an Irish contingent for my WOTR army. The idea is to have a decent number of troops to allow me to re fight the Stokes Field battle ( or a representation of it!) and also to be able to field a full Irish Army should I decide to use the new ‘Celtic Fringe’ rules that will appear in the forth coming upgrade of Never Mind The Bill Hooks.
I had already painted a number of Kern for my Bill Hooks army to use as skirmishers. They can be very useful in the game for harrying other skirmishers and generally causing mayhem if they can hide in cover. To read a bit more about how I use my Kern skirmishers and how I originally painted them, please click on the link below:
You will notice that my first batch of Kern were painted with fairly faded yellow shirts or ‘leine’. I based my colours on the pictures that I had seen on line. I have since done a bit more research and it would seem that perhaps I have been a bit conservative regarding the yellows used. It would seem that the Irish very much prized the colour yellow and using saffron, dyed their clothes with quite a strong bright yellow. I was particularly influenced by this video:
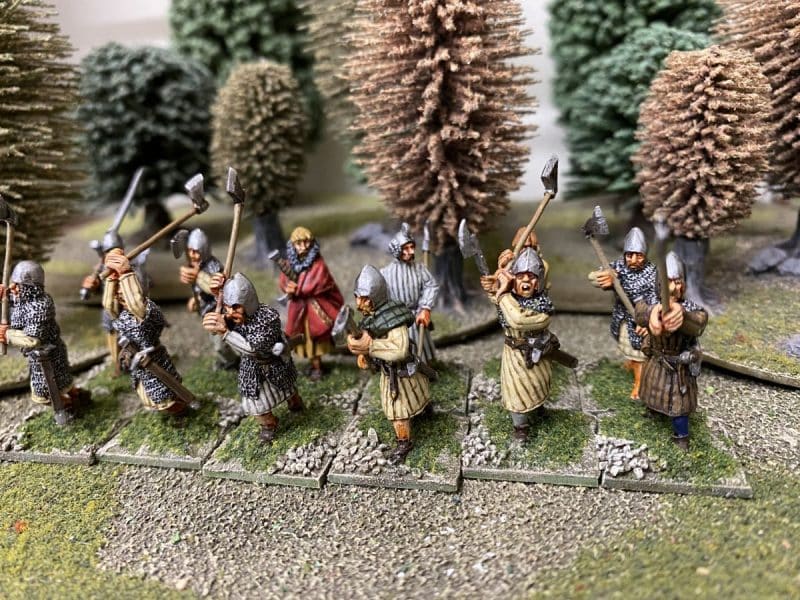
In addition, some of the pictures of re enactors that I have found show a much brighter yellow than I had previously thought was used. So with this in mind, I decided to paint the next batch of Kern using a deep yellow highlight /top coat. Here is the result!
Kern armed with double handed weaponsKern Archers
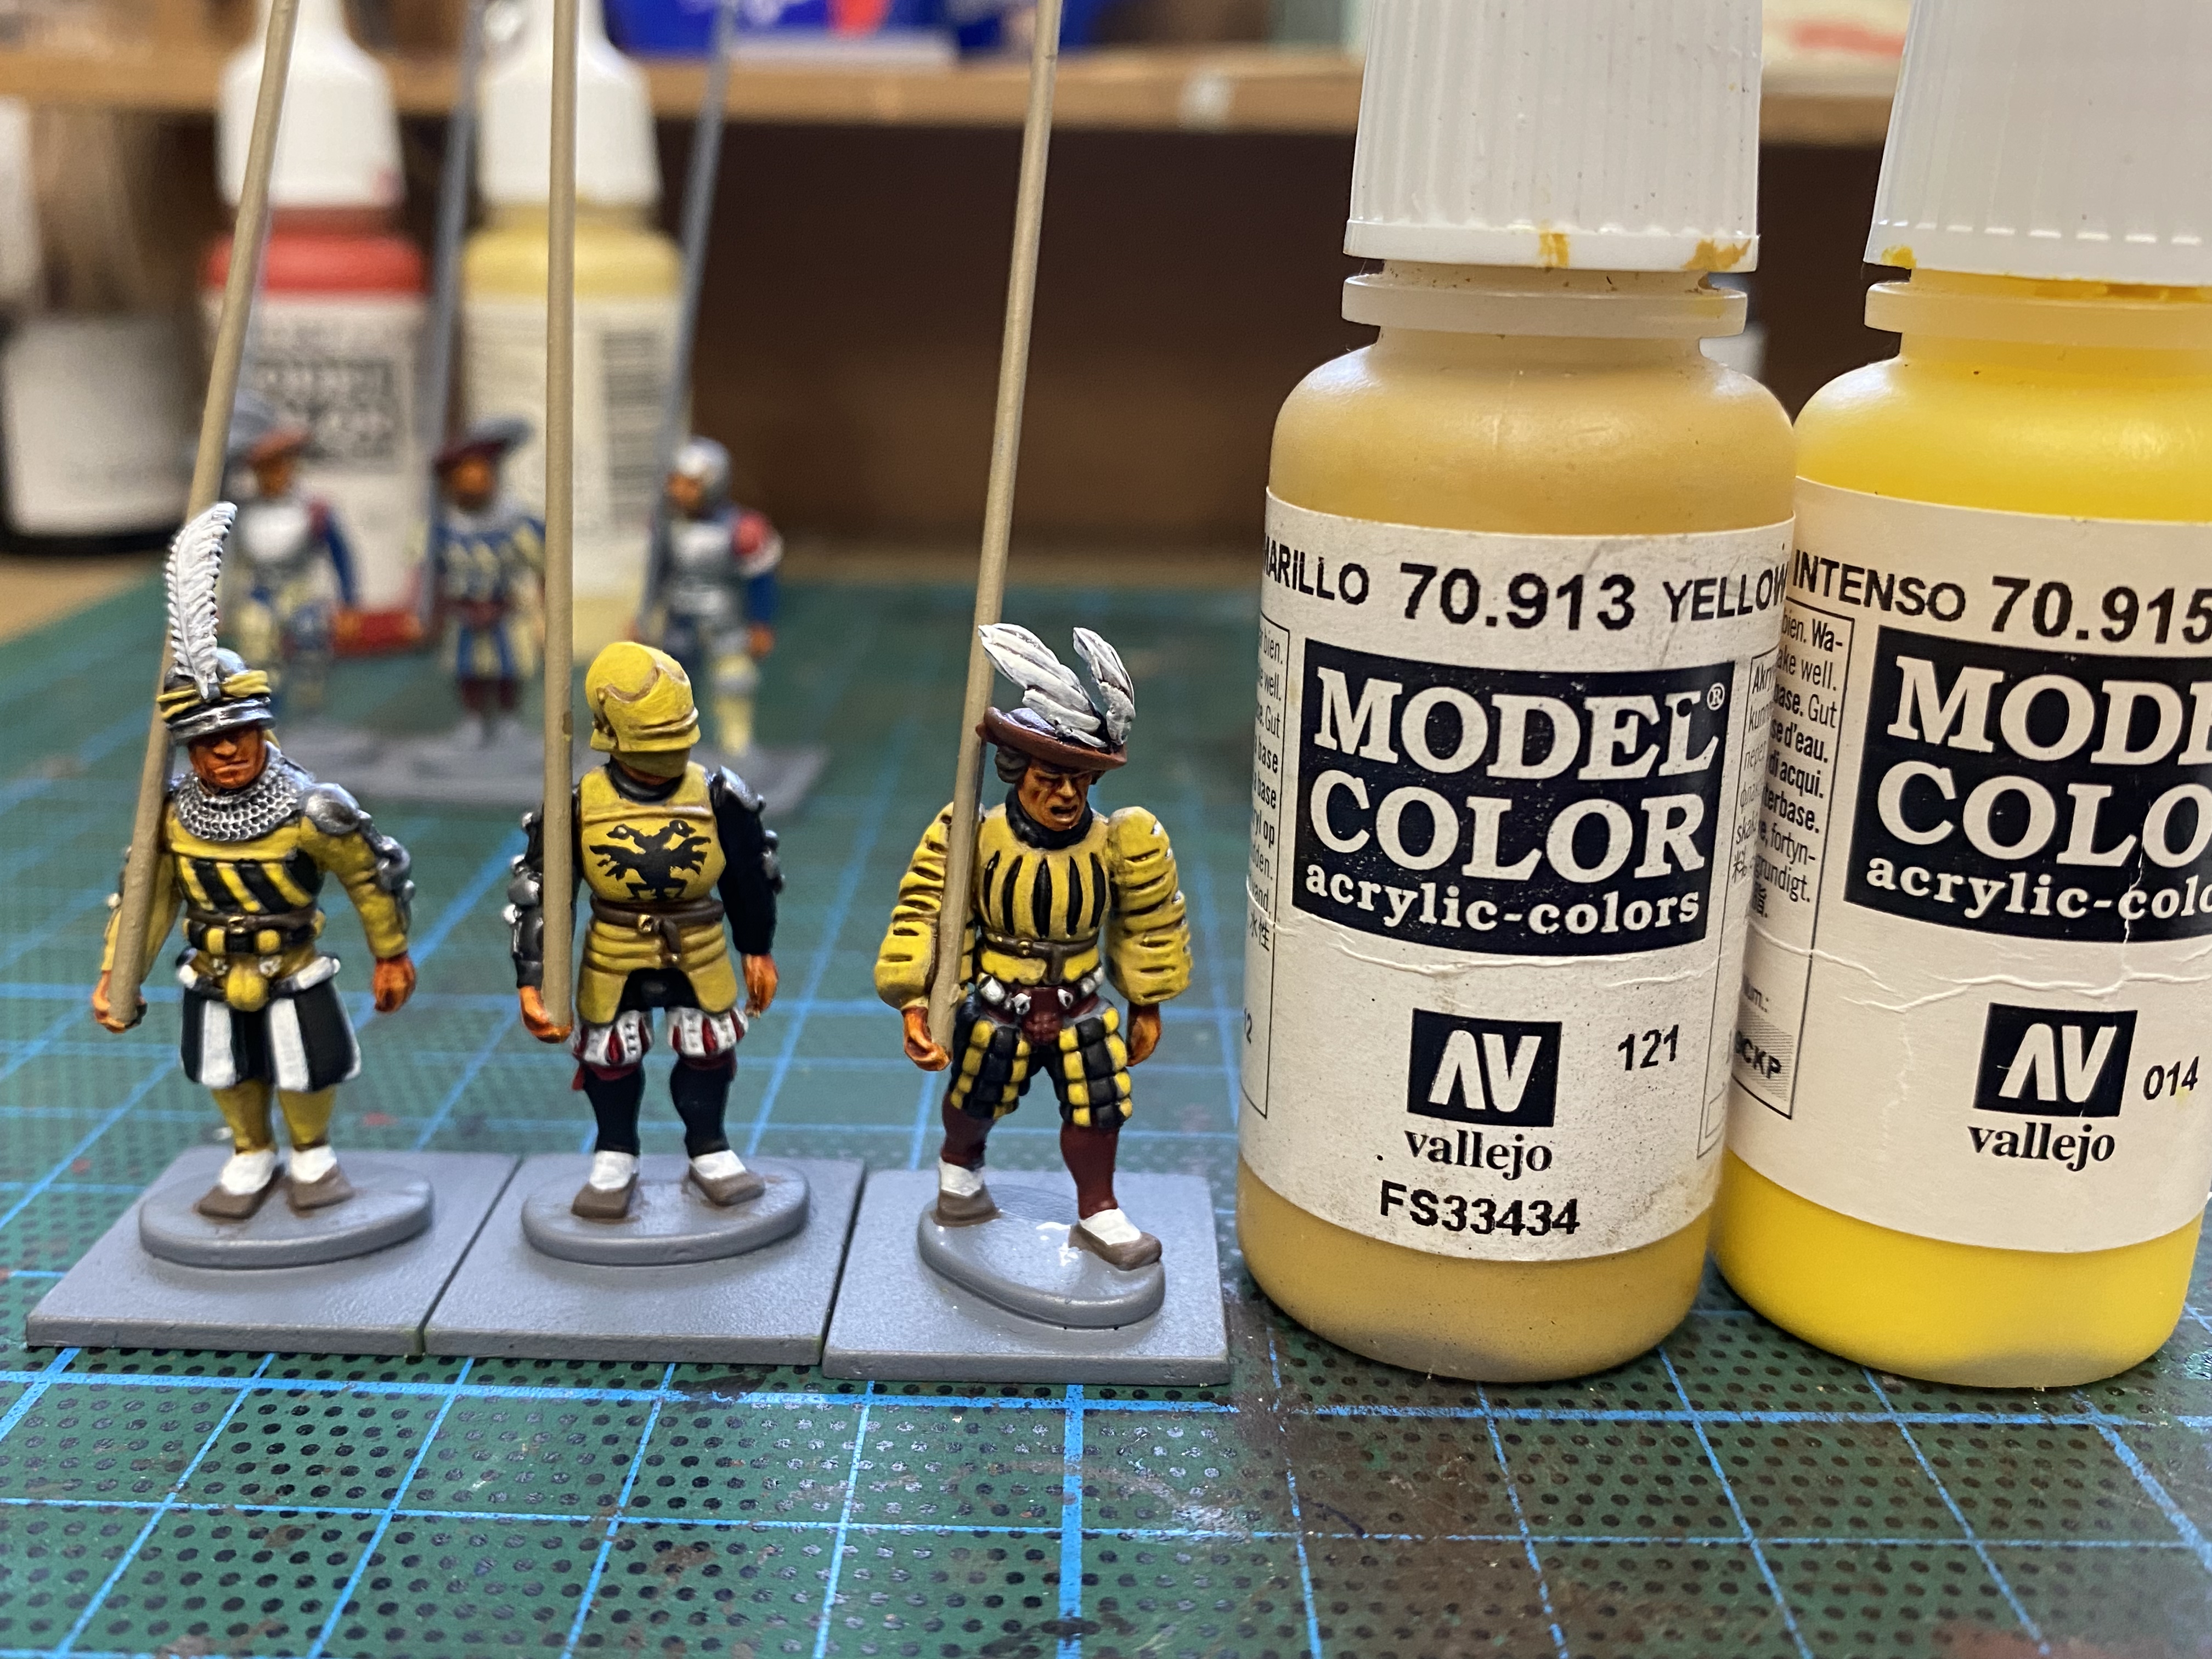
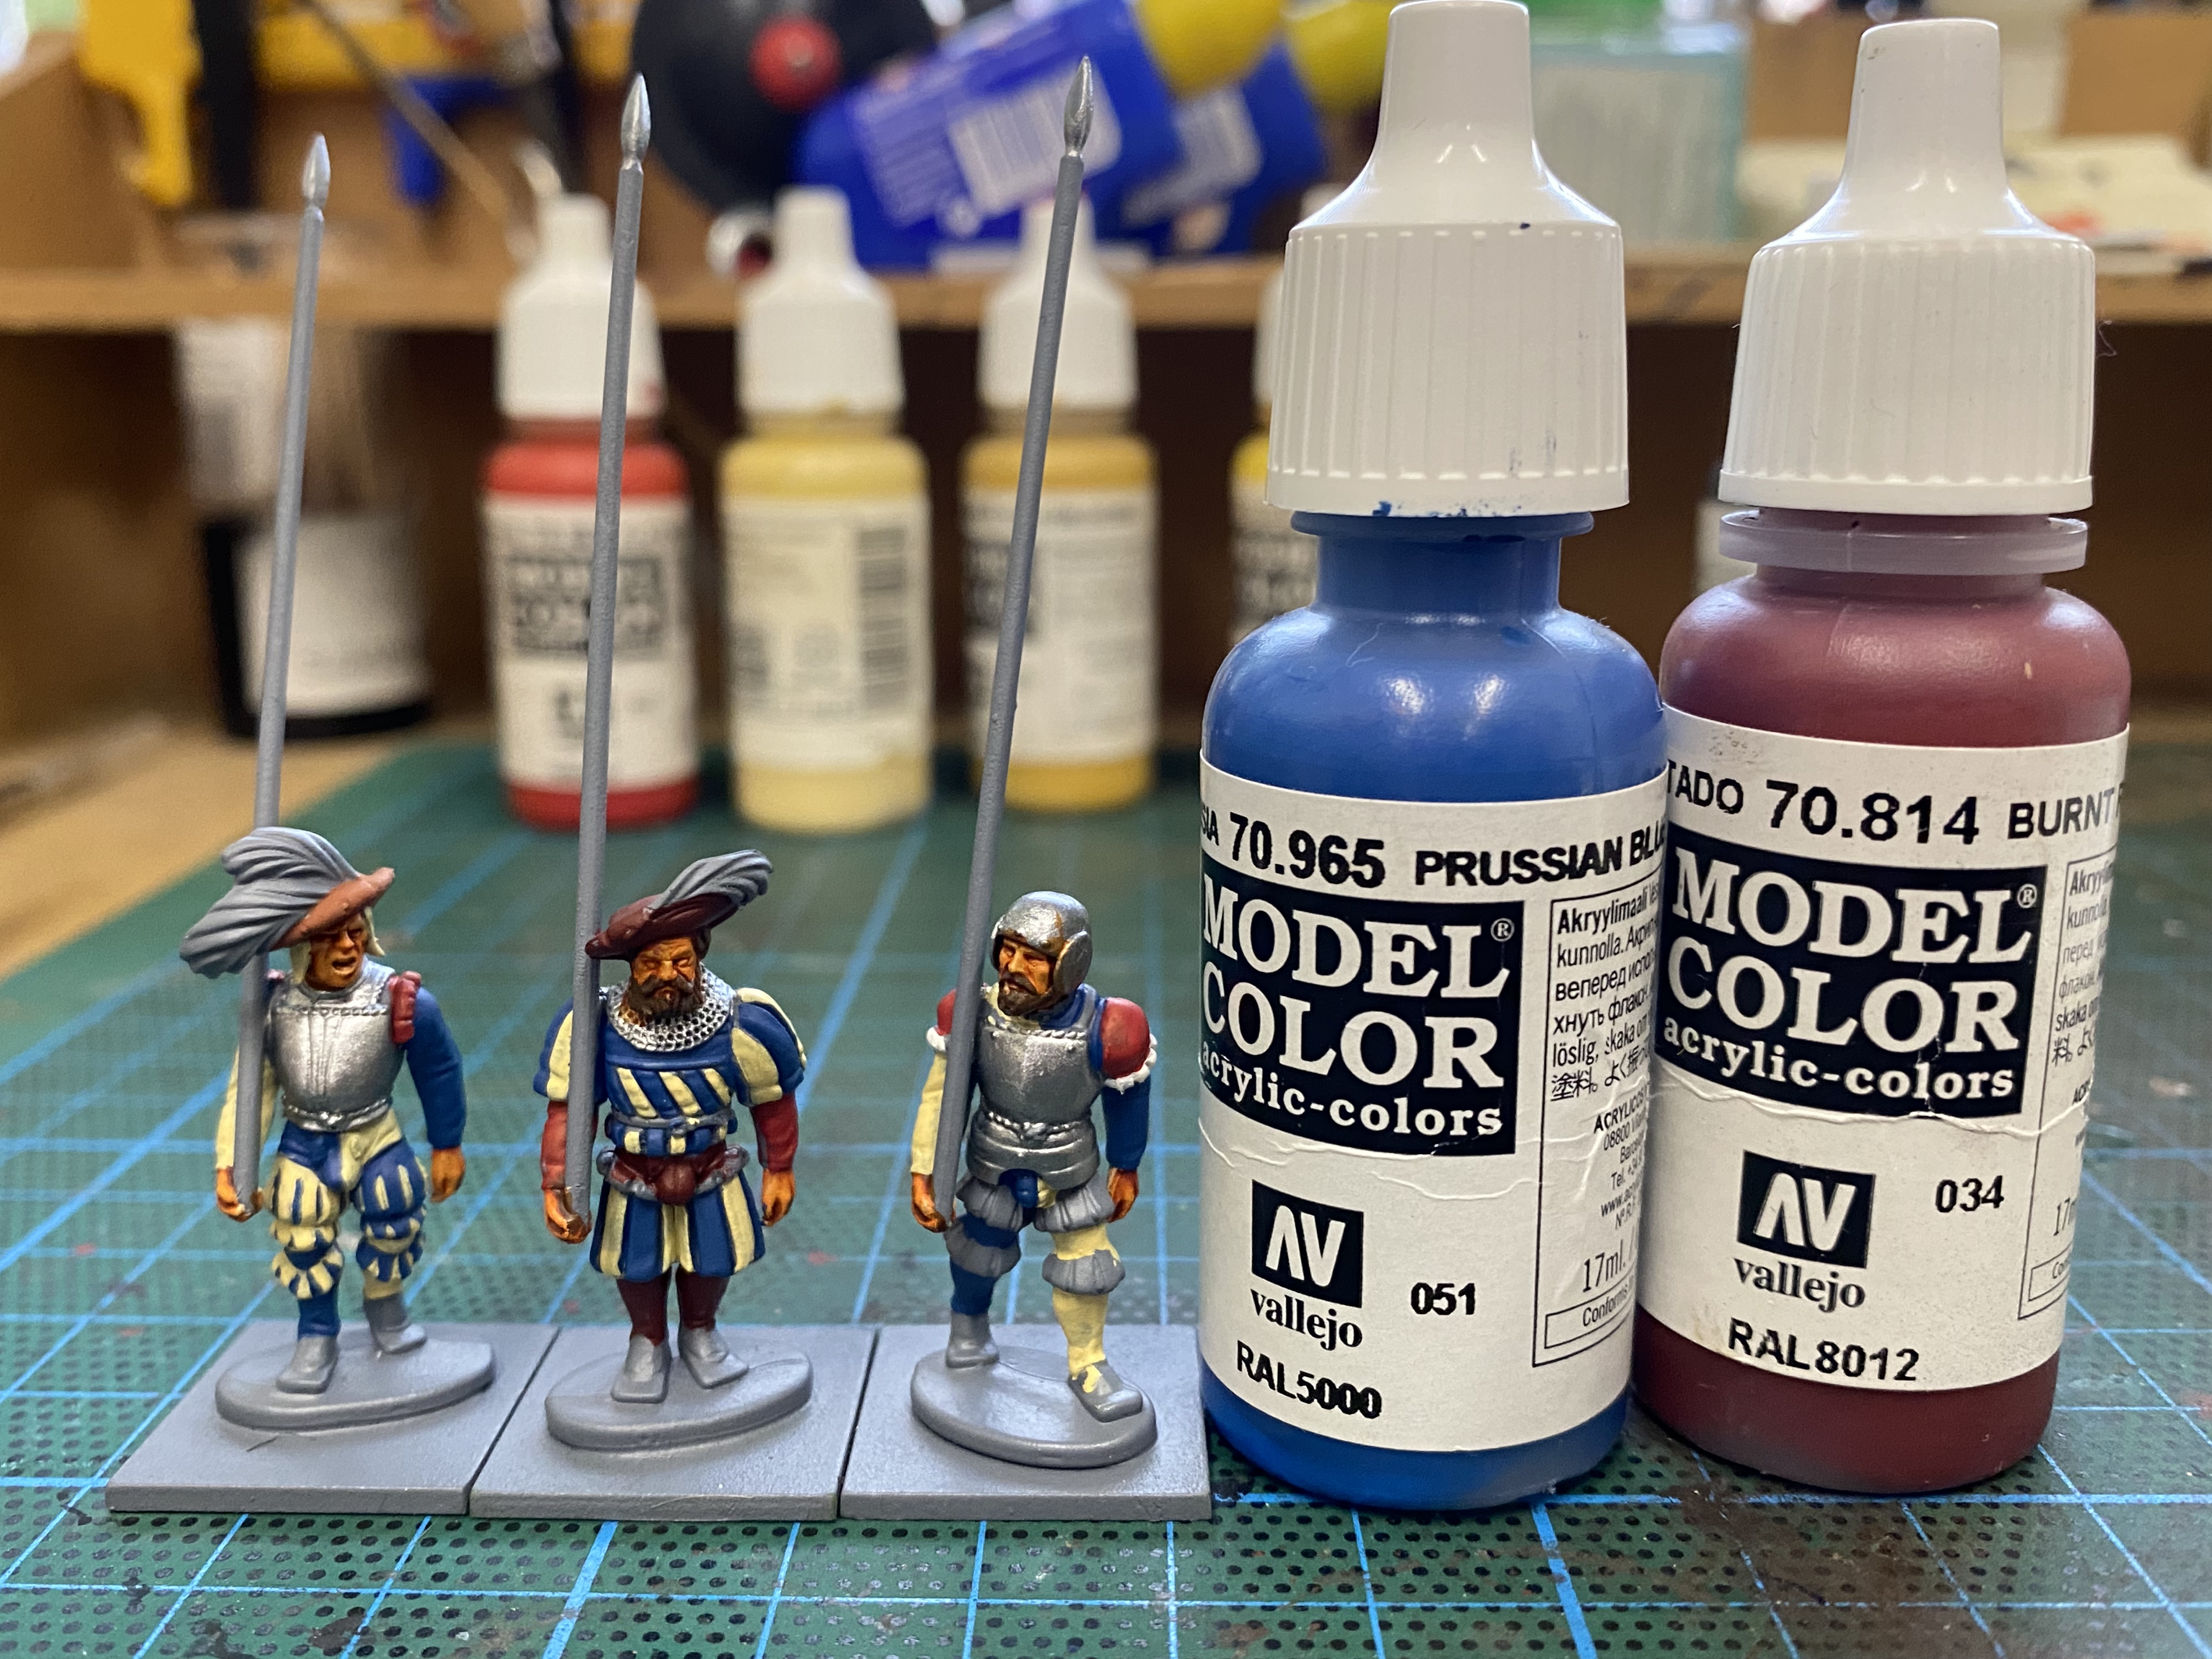
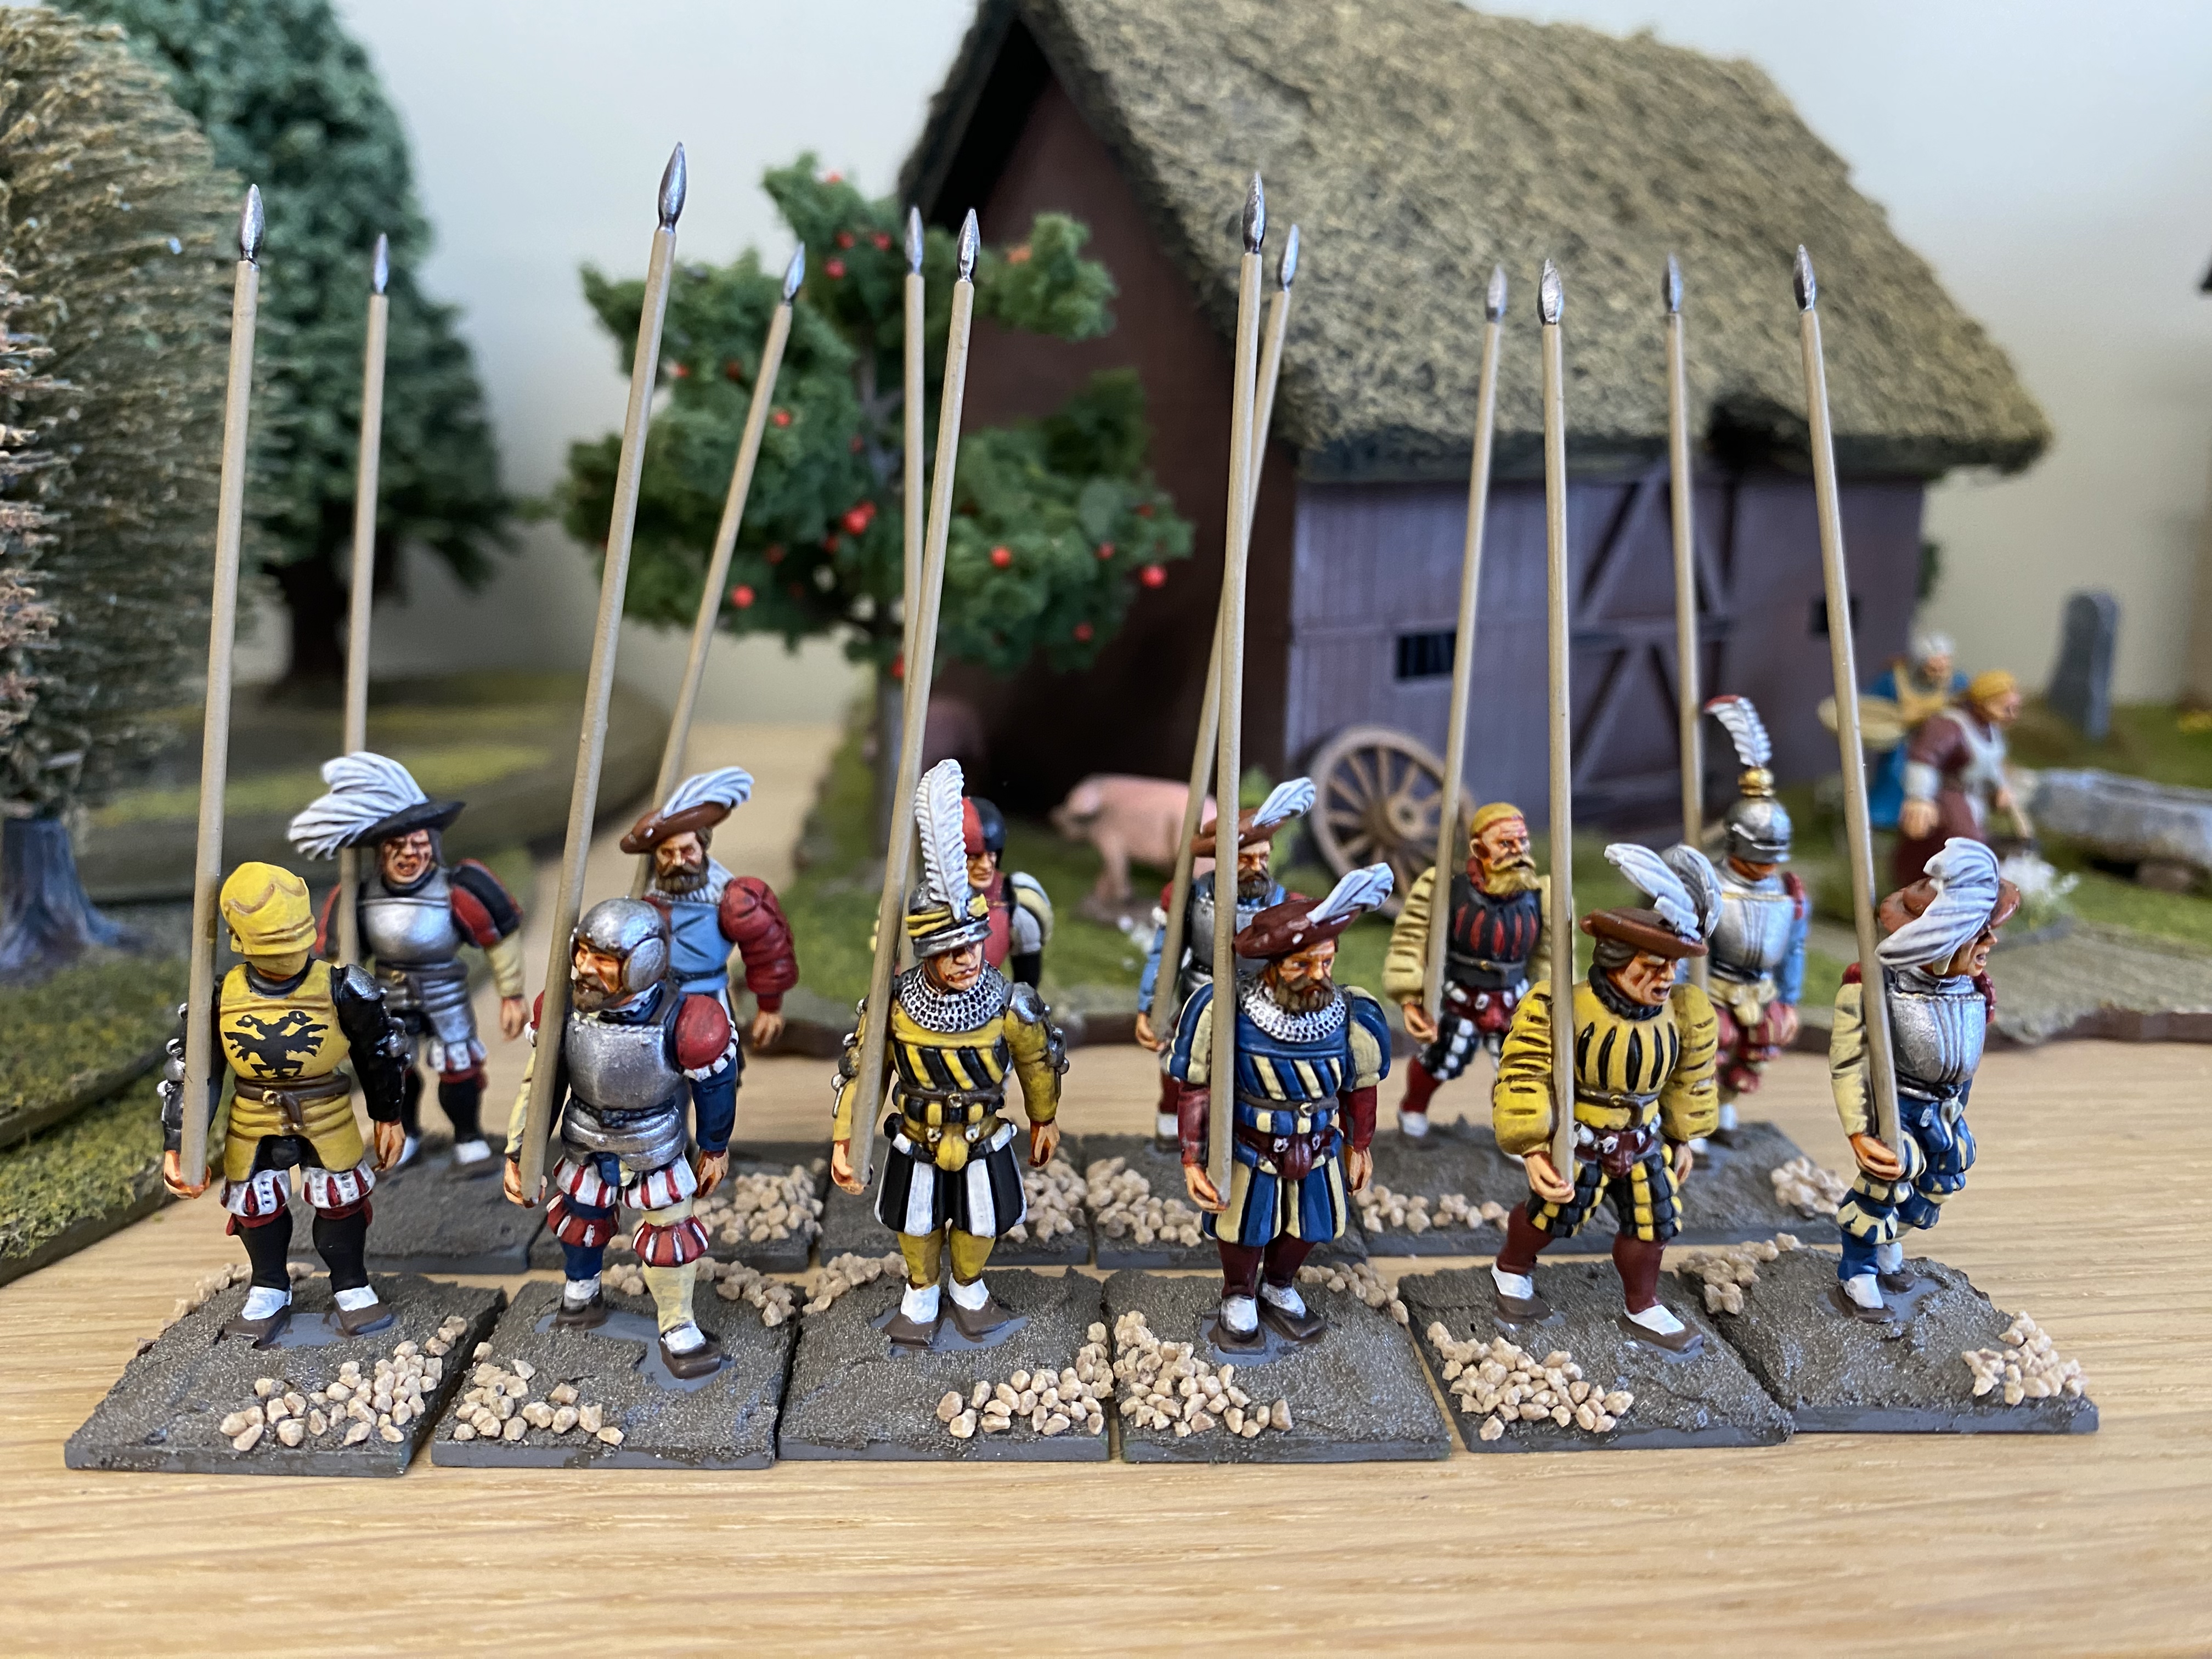
I have primed the figures with Army Painter Desert Yellow. Painted the shirts with Vallejo Yellow Ochre 709136, washed the figures with Army painter soft tone ink, re highlighted with yellow ochre and then applied Vallejo Deep yellow 70915 to finish. To add variety to the figures, I’ve been quite liberal when it came to choosing the colours of the jackets, based on the information in the video above. Incidentally, if you would like further information on the use of saffron, the following article is very interesting:
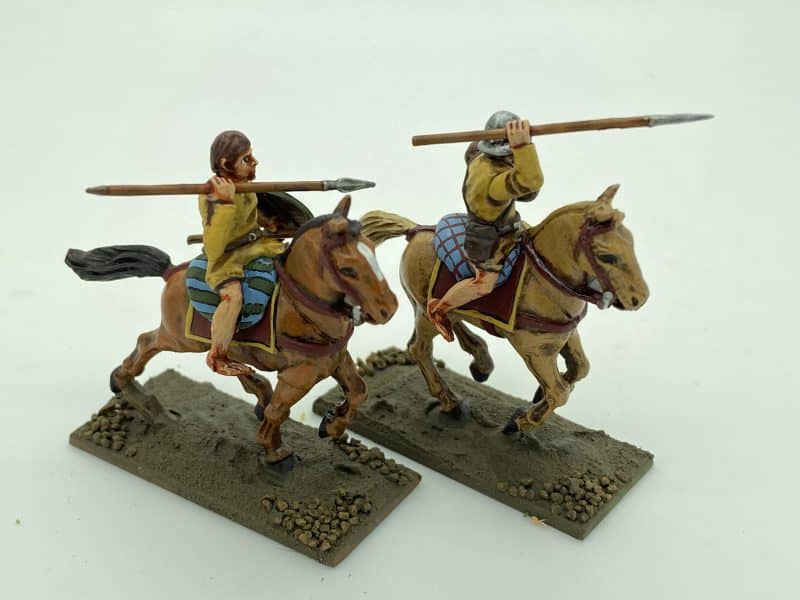
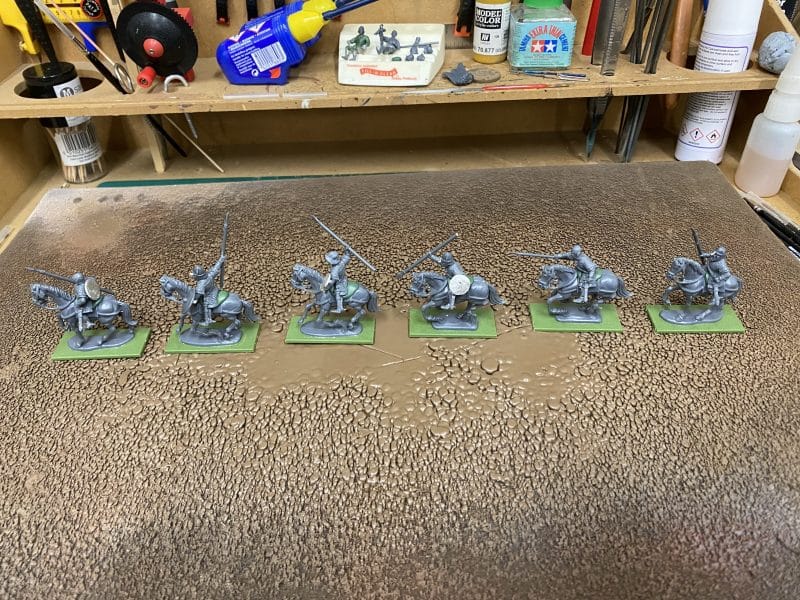
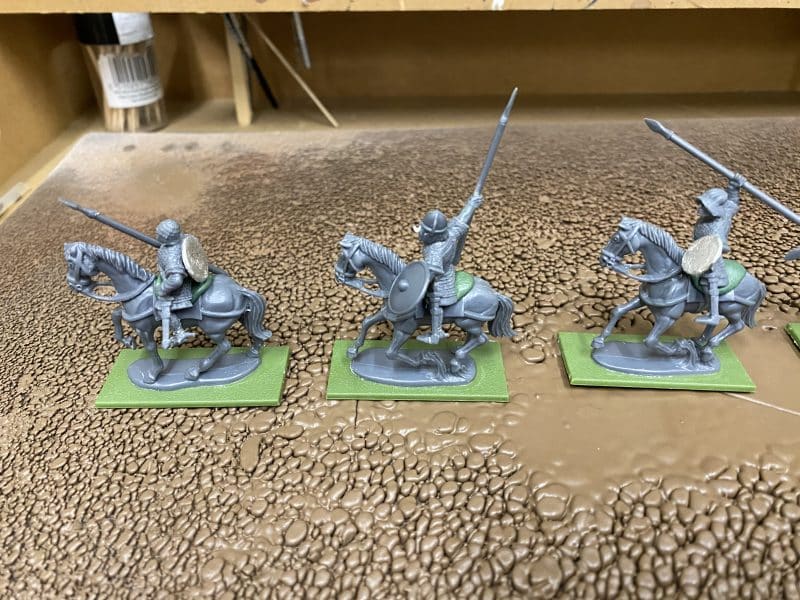
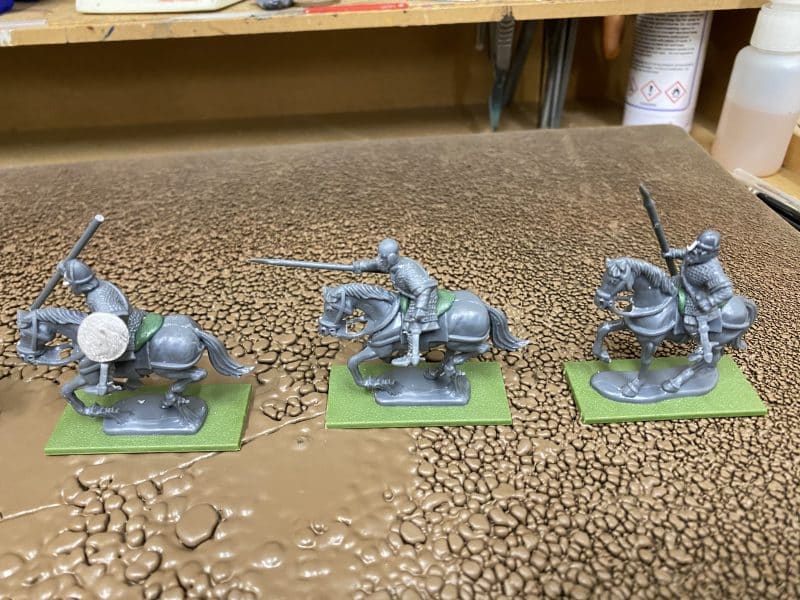
It’s also well worth clicking through to the rest of the blog for more information regarding Irish arms and Militaria. I now have 66 figures for my Irish Army, with another batch on order. The plan is to have two units of 12 Gallowgalss, two units of 12 Kern with double handed weapons and four units of 6 skirmishing Kern with either bows or spears. There will also be two command bases. I also fancy making a unit of light cavalry or Hobilars based on this picture.
Irish Hobilar
Technically, there were no units of Irish light Horse or Hobilars by the time of the WOTR but in my war gaming world, I’m not going to let reality get in the way of having fun….I just need to find the right models to convert. Watch this space!
You can see the range of Crusader miniatures that we think are suitable to for the Wars of the roses, along with the rest of out Never mind The Bill Hooks range here:
” When in danger or in doubt, Slow down, Stop, or go about”
I couldn’t help but remember this rhyme that my Father taught me when I was learning to drive and, of course, sailing model yachts. It’s very sensible advice and has served me well through life. The strange thing is, I cant find the actual quote on Google. It’s actually not really appropriate at all for this blog entry but when I came up with the title, the rhyme instantly came to mind!
The idea of this blog was to collect a few ideas that I have used whilst building my Medieval fleet and to follow up my last Blog, building the Sarissa Precision Cog. I am sure that the ideas are not at all unique and as usual, in the main, I have ‘borrowed’ them from other modellers but I thought it useful to gather them all together.
PAINTING WOOD EFFECTS
It seems strange to be painting MDF and Balsa to look like wood when it is in effect, wood but when it comes to models, we are trying to recreate how a much larger original would look. It is also a case that there are different materials being used and the idea to to make them look like one consistent method has been used to build them. I usually prime the completed models with either a matt black or brown army painter primer. This is done as much to seal the wood, balsa or greyboard so that it doesn’t absorb the subsequent coats of paint.
A galley and Cog, both painted as detailed below
Once primed, I start with a coat of Chocolate brown 70872. I will give the model a thorough coat of this colour, ensuring that as much as possible, everything is covered. Once this coat is dry, I will then apply a coat of Flat brown 70982. This is done fairly quickly and I am not too concerned if I miss some of the corners and crevices on the model, leaving the Chocolate brown as a ‘shade’. Again, I will let this coat dry before moving onto applying a coat of Flat earth 70983. This is applied as a ‘wet brush coat’ and it doesn’t matter if you miss some of the nooks and crannies on the model. I follow with another light wet brush of Orange brown 70981. I should mention that using a flat brush rather the the normal round brush helps to give a ‘wood grain effect. The idea of the ‘wet brush’ is to allow the two coat to blend in places and it will begin to build a nice light colour on the raised areas. It’s worth letting this coat dry to the touch dry stage before moving onto the final coat of Yellow Ochre 70913. This is applied as a light dry brush to bring out the details and give a crisp edge to planks etc. You can apply another highlight if you think it’s appropriate. Vallejo Basic Skin Tone 70815 actually works quite well or even 70986 Deck Tan, according to your preference. This should just be a very light dry brush on the tips of any detail.
As well as working on ships, this is also a good recipe for painting wood generally – I use it on my wagons. Here is a link to another project, showing a step by step guide:
I made my sails from an old bed sheet that I had been using as a dust sheet for decorating. To give the impression of panels, I asked a friend to run a line of stitching down the sails. The next challenge was to figure out how to transfer a design onto the sails. My freehand painting would never have been good enough. I then remembered how I used to trace designs as a child. I simply printed of the image that I wanted from the internet, having resized it. I then taped this to my patio window and then taped the sail over the top. It was easy to see the design through the sail and then to trace over it with a pencil. The picture below shows the process.
Design taped to the window and sail taped over – you can see how easy it is to trace the image onto the sail.
The next challenge was to get the sail to look as though it had some shape and was filled with air. To do this, I draped the sail over a balloon. I then gave the sail a very liberal coating of white PVA glue. As well as stiffening up the sail, it also sealed the cloth to enable me to paint it.
The sail is draped over a balloon, as centrally as is possible.The sail is liberaly coated with PVA – dont worry it wont stick to the ballon!The painted sail!
FURLED SAILS
I had quite a problem trying to get a realistic look to my furled sails. After many attempts to try and tie the sails to make them look as though they were hanging naturally, I realised that I would need some kind of former. I cut a former from 5mm foam card and then wrapped the former with some cloth ( bed sheet!). You need to glue the top edge in place, wrap the cloth around the former a couple of times and the cloth is then held in place with sail thread binding. Incidentally, I use a dot of super glue to hold my knots tight! The picture below illustrates the process.
Use foam card to make a shape that resembles furled sails.Furled sail attached to mast with rigging thread.
OTHER TIPS
Some of my ships have planking on the decks. The easiest way of reproducing this is simply to use a ruler and good HB pencil to draw the planking on the decks. See picture above. I’m also sure that you will have noticed that I have used Cocktail sticks for flag poles, BBQ sticks for Oars and Spars and wooden doweling ( from my local DIY shop) for masts.
I’ve also mounted my archers that man the fighting tops on 15mm bases so that they fit in comfortably. To give them some extra weight, I’ve glued some 15mm metal washers to the MDF bases. It just helps to stop them toppling out.
Well that’s about it for now. I hope to complete a further article on a step by step guide to building a galley. keep an eye out for the release of Never Mind The Boat Hooks!
THE COMMERCIAL BIT
I hope that you all enjoy your hobby as much as I do – remember that our web site will have much of what you need! Click here to see our shop:
You may have seen a number of blog posts and post to the Bill Hooks Facebook group regarding our new venture ‘Never Mind the Boat Hooks’, a set of wargames rules based on Medieval naval warfare. Many of the boats that we are using are models made from the Sarissa Precision medieval Cog. My ‘fleet’ currently includes two, so I thought that it would be useful to give a brief review of building the kit and show readers some of the modifications.
One of our early play tests – the sarissa precision cog The ‘White Hart’ has run around in the top of the picture!
First of all, a couple of disclaimers. The kit is a representation of a typical medieval cog rather than a precise scale model. It’s a very good representation and designed for 28mm wargames figures, so it is very practical and robust for table top use. If you are looking for a more accurate model there are some very nice ones out there – the Zvezda Cog in plastic, for example. However, you will find that they are far more expensive and less robust or practical when it comes to gaming. That said, from what I have read in the limited research that I have done, there are no plans based on actual designs that survive. Most of what we know is based on contemporary pictures and descriptions rather than actual plans. There are a few surviving ships that have been recovered but I think that it’s fair to say that our knowledge is limited.
The Sarissa cog fully assembled and rigged
The Sarissa Cog comes with full building instructions and I recommend that you read them first and familiarise yourself with the pieces before you start to build the model. I found that the model went together very well and in some places the pieces were such a snug fit, glueing wasn’t required! However, to be on the safe side you should assemble with glue. I used Expo thick Cyanoacrylic super glue. A good white PVA would also be suitable but I was impatient and the thicker super glue glue gave me sufficient working time. A quick blast with an accelerant made things even faster, once I was happy that the pieces were in place.
Note that the ribs with the ‘eye’s in the top fit to the rear of the boat!
A word of caution when building. It is worth checking and then double checking that the ‘ribs’ that will support the grey board sides are assembled in the correct sequence and that you are clear as to which ones are on the stern end of the boat and which ones fit to the front or bow. The same goes when you fit the deck – ensure that you are clear which is the bow and which is the stern! Otherwise, I found the assembly very straight forward. A bit of patience and care is required when fitting the greyboard sides. This is where I found that super glue was better than PVA due to the fast grab and set time.
The deck and stern castle deck in place. Note the winch goes to the front of the boat.
I assembled the mast but did not glue it in place as I intended to replace it with a ‘fighting top’ for my archers. The mast is snug enough to slide in and out as required.
The completed Cog – original mast is just in place temporarily.
Full rigging instructions are included but I decided that the rigging would restrict access to the deck and get in the way when gaming so I went for a simpler solution. I made a replacement mast with a fighting top from a piece of 10mm dowel. You can pick this up from your local hardware store for about £3.00 for a 3 metre length so you will have plenty spare! Using a saw I cut a slot in the bottom of the new mast so that it would fit into the existing mast hole. Next, I needed to make a fighting top.
I’ve used two different methods of making a fighting top. I have a square one for the ‘White Hart’ ( see above) and I have a round one for the ‘White Lion’ – see below.
New mast and Fighting top added
Both of these fighting tops are made using 40mm bases ( round or square as you prefer). I’ve then made the sides with coffee stirrers cut to size and attached to the bases.
New fighting top and spar
If you look at the top picture you can see that there are some very simple ways of making a fighting top – look carefully and you might just identify a certain fast food outlets’ sauce container!
With the new mast and fighting top completed, my Cog was ready for gaming. However, I wanted to use the original mast with a sail for display purposes. To make the sail, I simply cut a piece of old sheet to size. I then asked for some help from my next door neighbor, Carole, who is an expert with a sewing machine to run some panels into the sail. To get the design of the lion onto the sail, I printed off a picture from the internet and taped the sail over the picture onto my patio window! I could then trace the design onto the flag.
The Sail ready for finishing
As you can see, I then placed the sail over a balloon and liberally coated it in PVA. Once dry, it was easy to peel the sail off of the balloon and it would now keep it’s shape with a bit of ‘belly’ in it!
The sail receiving it’s coating of PVA!
It was then just a case of carefully painting the sail. I used standard Vallejo paints but I ensued that each coat/colour was very dry before completing the next one.
The ‘White Lion’ with its sail !
The anchor that you can see was from Expo – we usually have these in stock, as well as the chain, although as I write this I am waiting for more stock as I have used them all for my projects!
So my cog is ready to take to the table. I will publish a follow up blog, where I will detail how I have painted the model – although if you have followed my blog, you will be aware of my preferred method of painting to simulate wood. If you are able to attend Partizan in Newark on May 22nd, I will be there with Andy Callan and we will be running a game of ‘Never Mind The Boat Hooks’ – you are welcome to come and join in and if you have any questions regarding the construction of the boats, I will be pleased to answer them.
THE COMMERCIAL BIT
I hope that you all enjoy your hobby as much as I do – remember that our web site will have much of what you need! Click here to see our shop:
I’ve been aware that in my recent blogs have focused on what I’ve been doing without giving too many details of how I’ve been doing it or why! Part of the problem is that I have a number of threads and projects going on at once. One of these is to produce an Irish contingent for my War of The Roses army. I don’t have a special affinity for Irish warriors,(although I do have an Irish Saga band). My interest lies with the appearance and involvement of some of the Irish nobility at the Battle of Stokes Field on 16th June 1487.
Stokes field – the view to Hoveringham and the Trent
I have visited the Stoke Field battlefield on a number of occasions – it’s just down the road from where I live! If you would like to know more about the battle and battlefield, my earlier blog article has plenty of pictures and some useful links:
It’s also interesting to note that as well as the main battle, a number of smaller engagements took place before the main event, including three days of skirmishing through Sherwood Forest, where Lord scales’ Cavalry force delayed the rebels advance. Andy Callan used these events to come up with a fictional prequel to the main battle and wrote an article for Wargames illustrated ( issue 394) which involved the Irish, German and Rebel English coming into contact with an advance guard of the Lancastrian (Tudor) army. You can read our battle report here:
According to the chronicles of the time, the Irish troops were mainly lightly armed Kern. However, I’m guessing that the nobility had brought along a few more heavily armoured Gallowglass. That said, compared to the plate armoured nobility in the English army, even the Gallowglass would look lightly armoured, wearing at most, long mail shirts over padded or quilted jackets. The most famous contemporary depiction of Gallowglass that I am aware of is the Durer picture:
Gallowglass, as portrayed by Albrecht Durer.
I was delighted to find that Antediluven Models has produced miniatures base on this picture and in addition had a nice range of both Irish Gallowglass and Kern. I had already had a number of packs of the Perry miniatures models in my army, so the chance to add a few different models was too good to miss.The Antediluvian models are about the same size as the Perry’s and the two mix well together. This would allow me to complete two blocks of 12 Gallowglass and still have some figures left over from previous acquisitions to make up a couple of command bases. I ordered three packs of Gallowglass from them ( including the Durer models) and prepared and primed them ready for painting.
Antediluvian Gallowglass – block painted
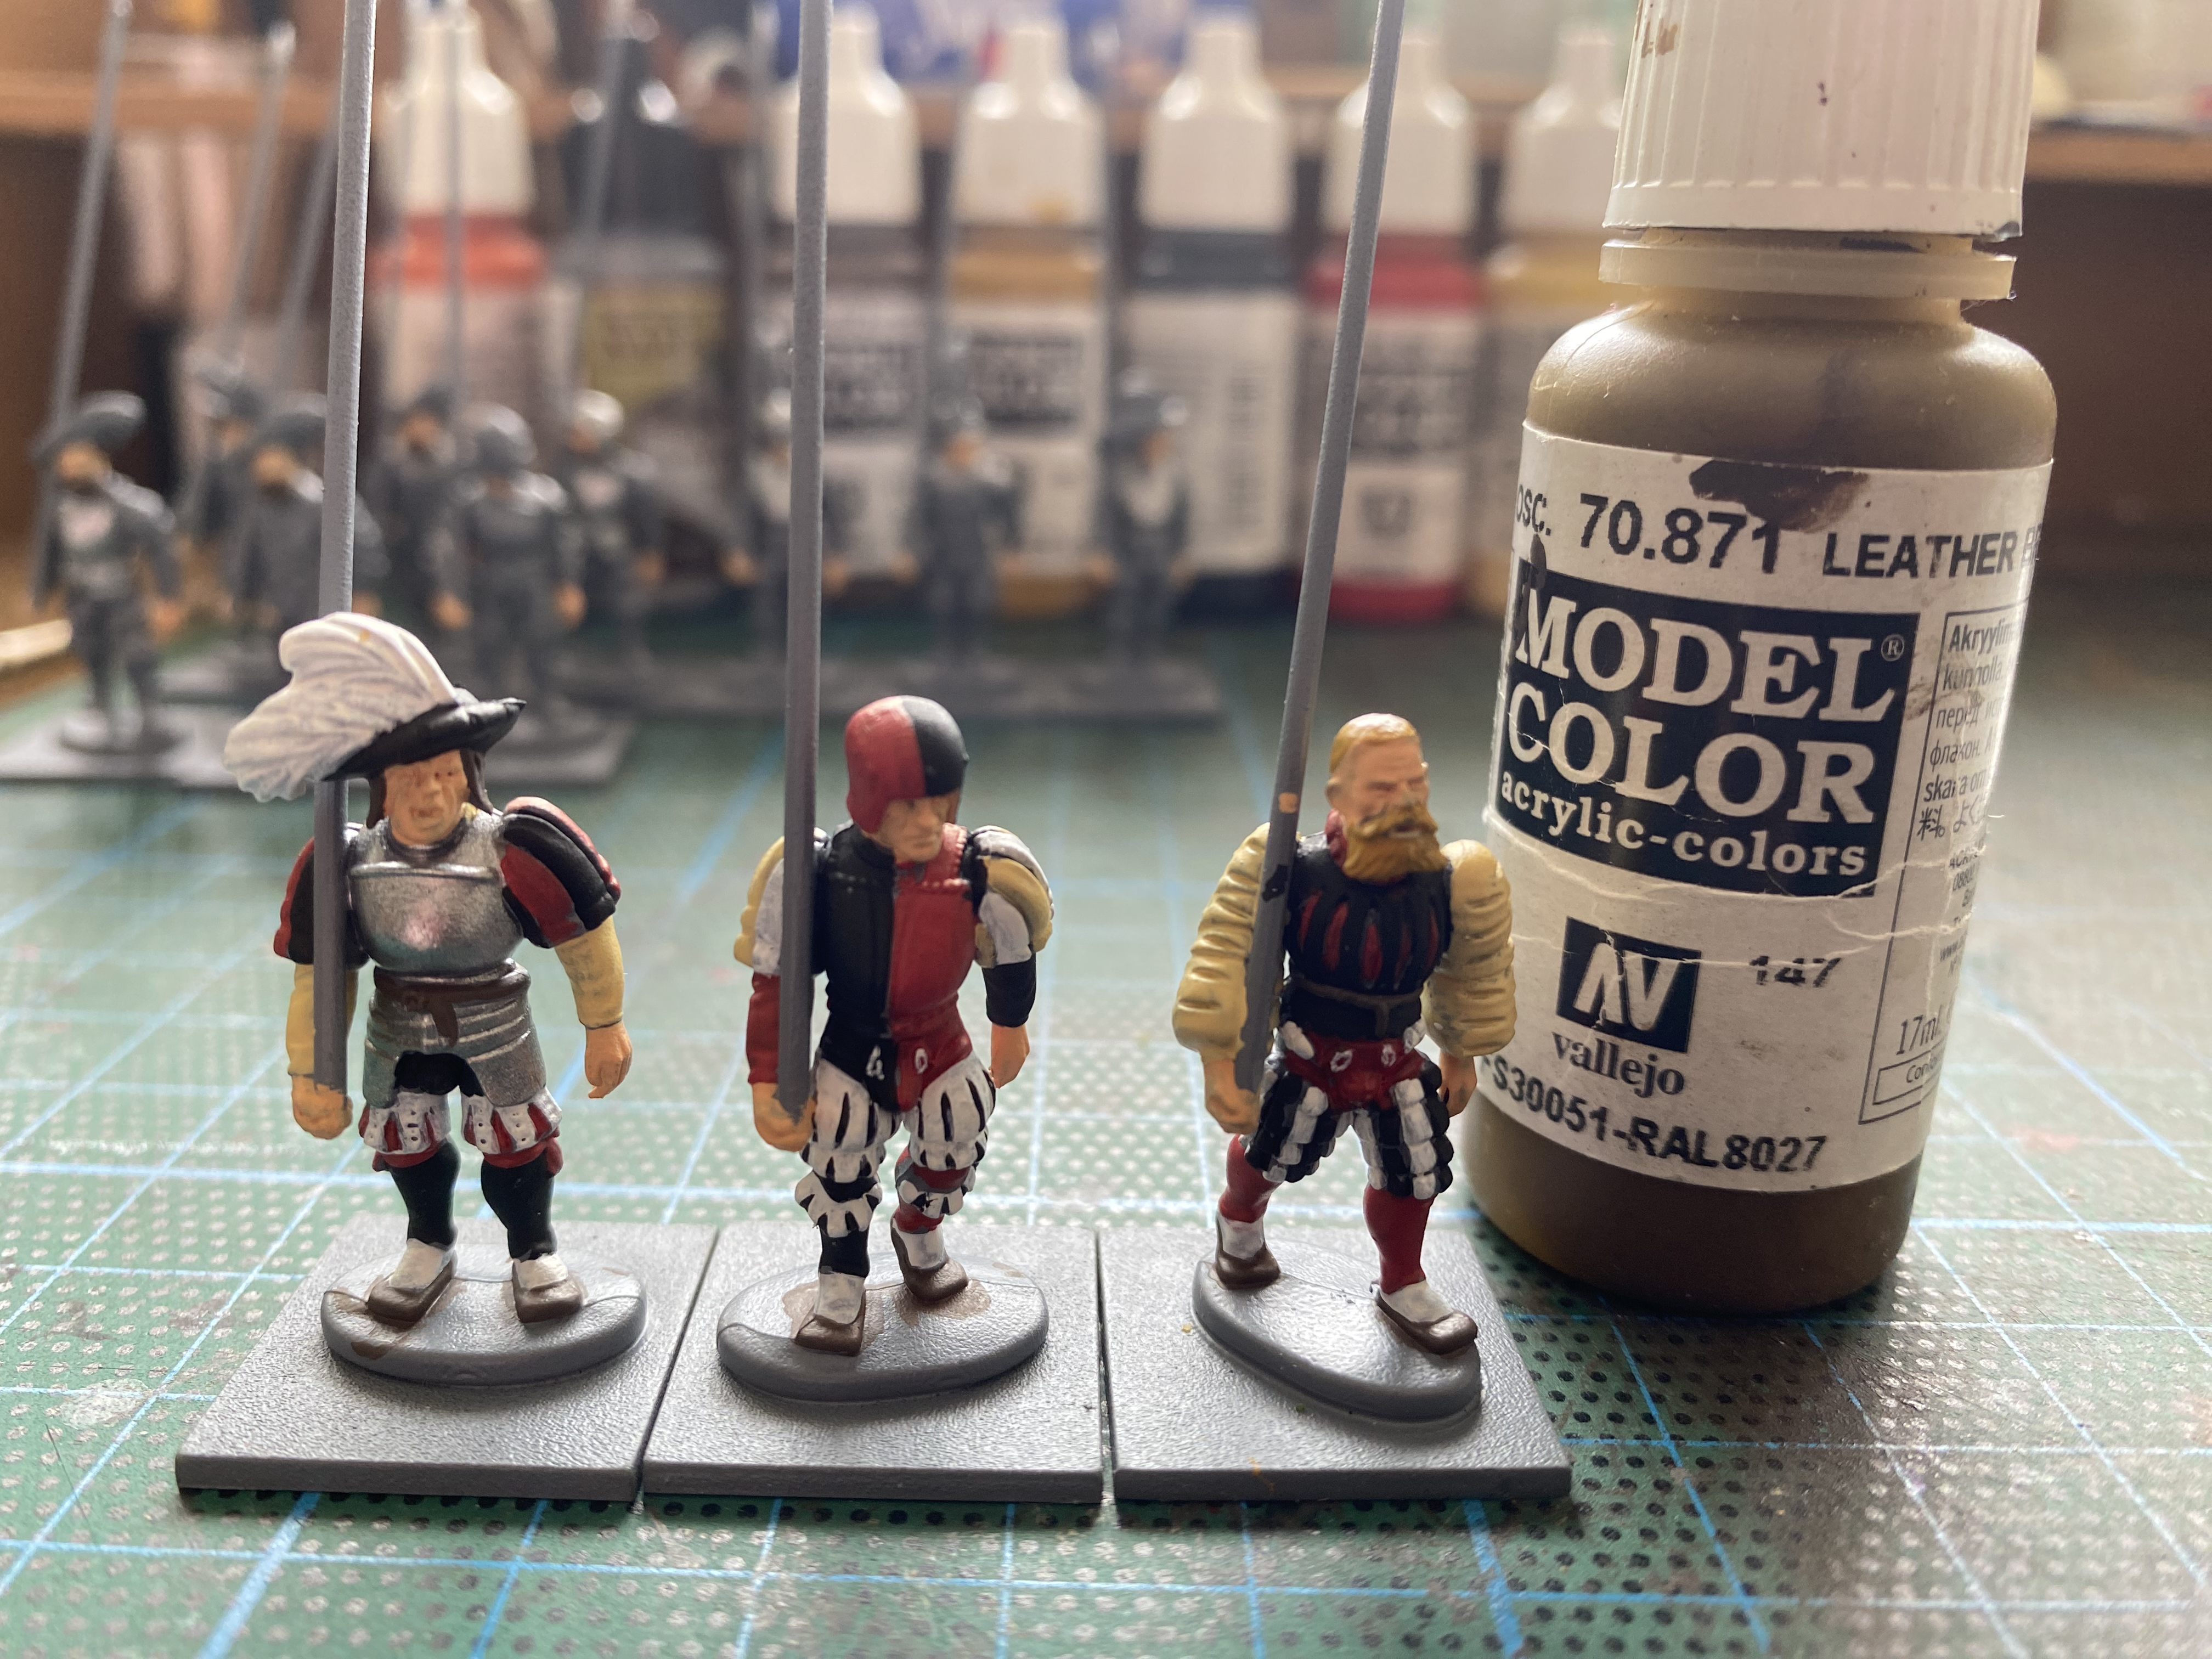
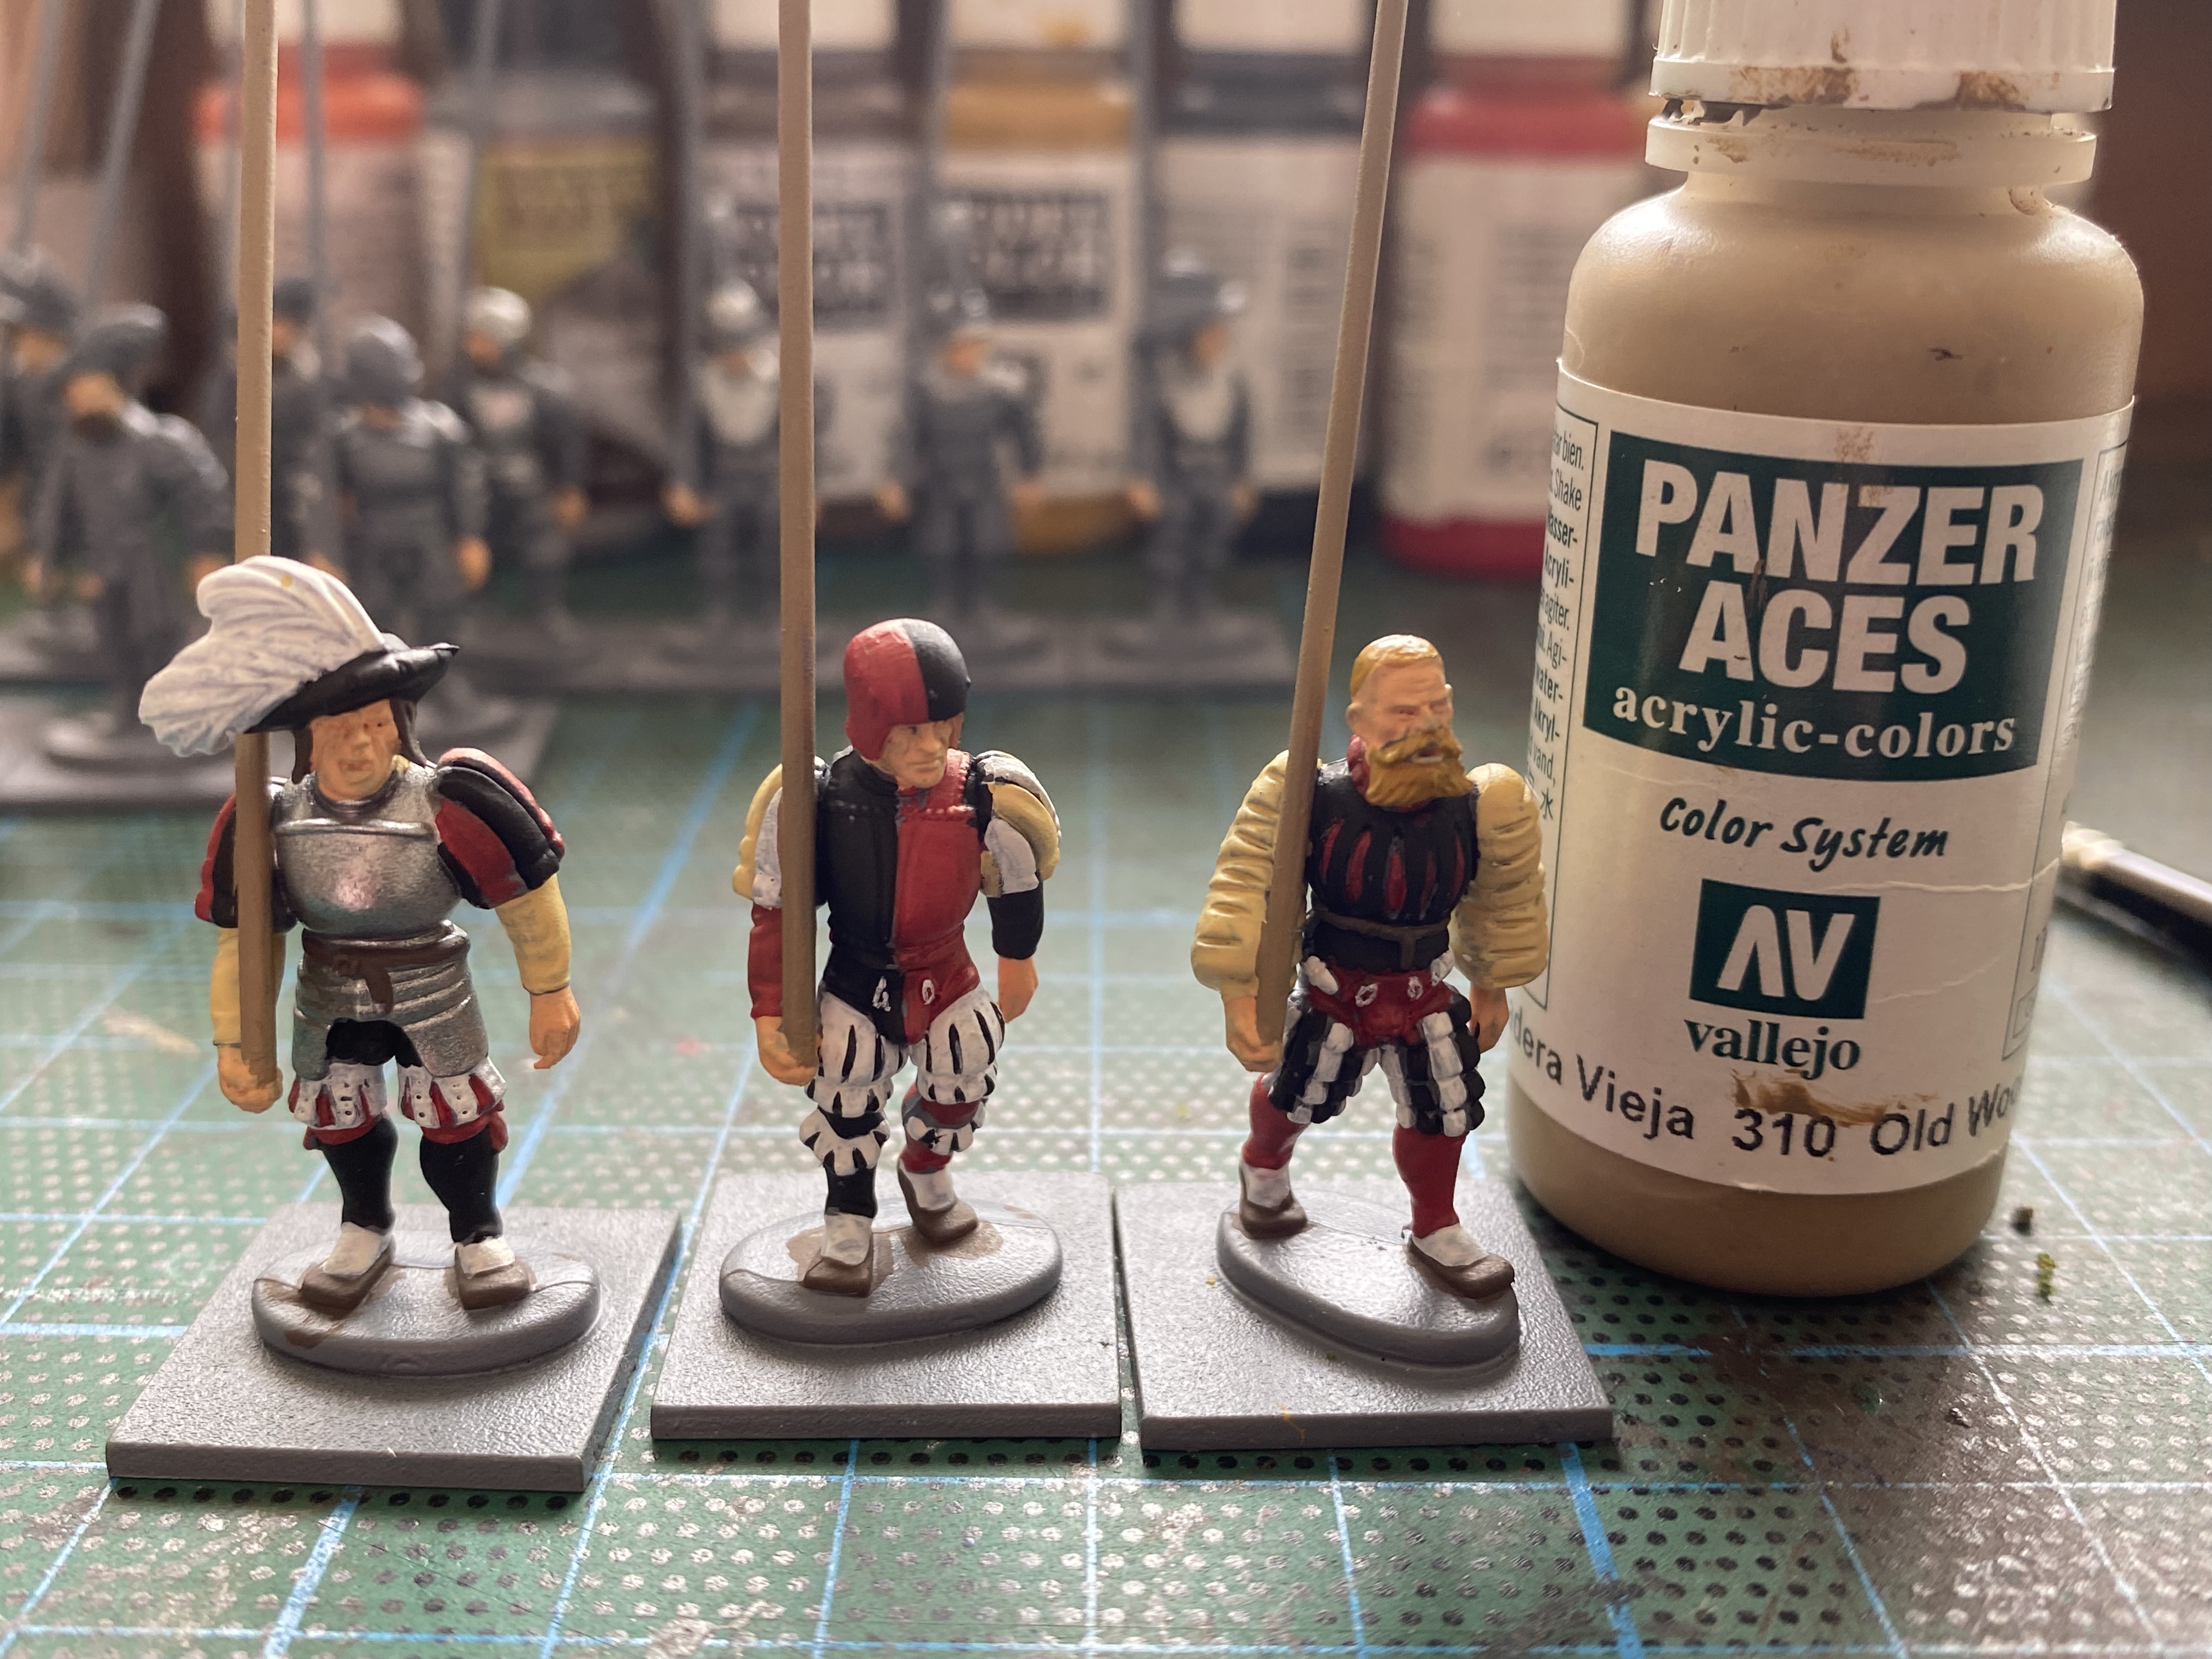
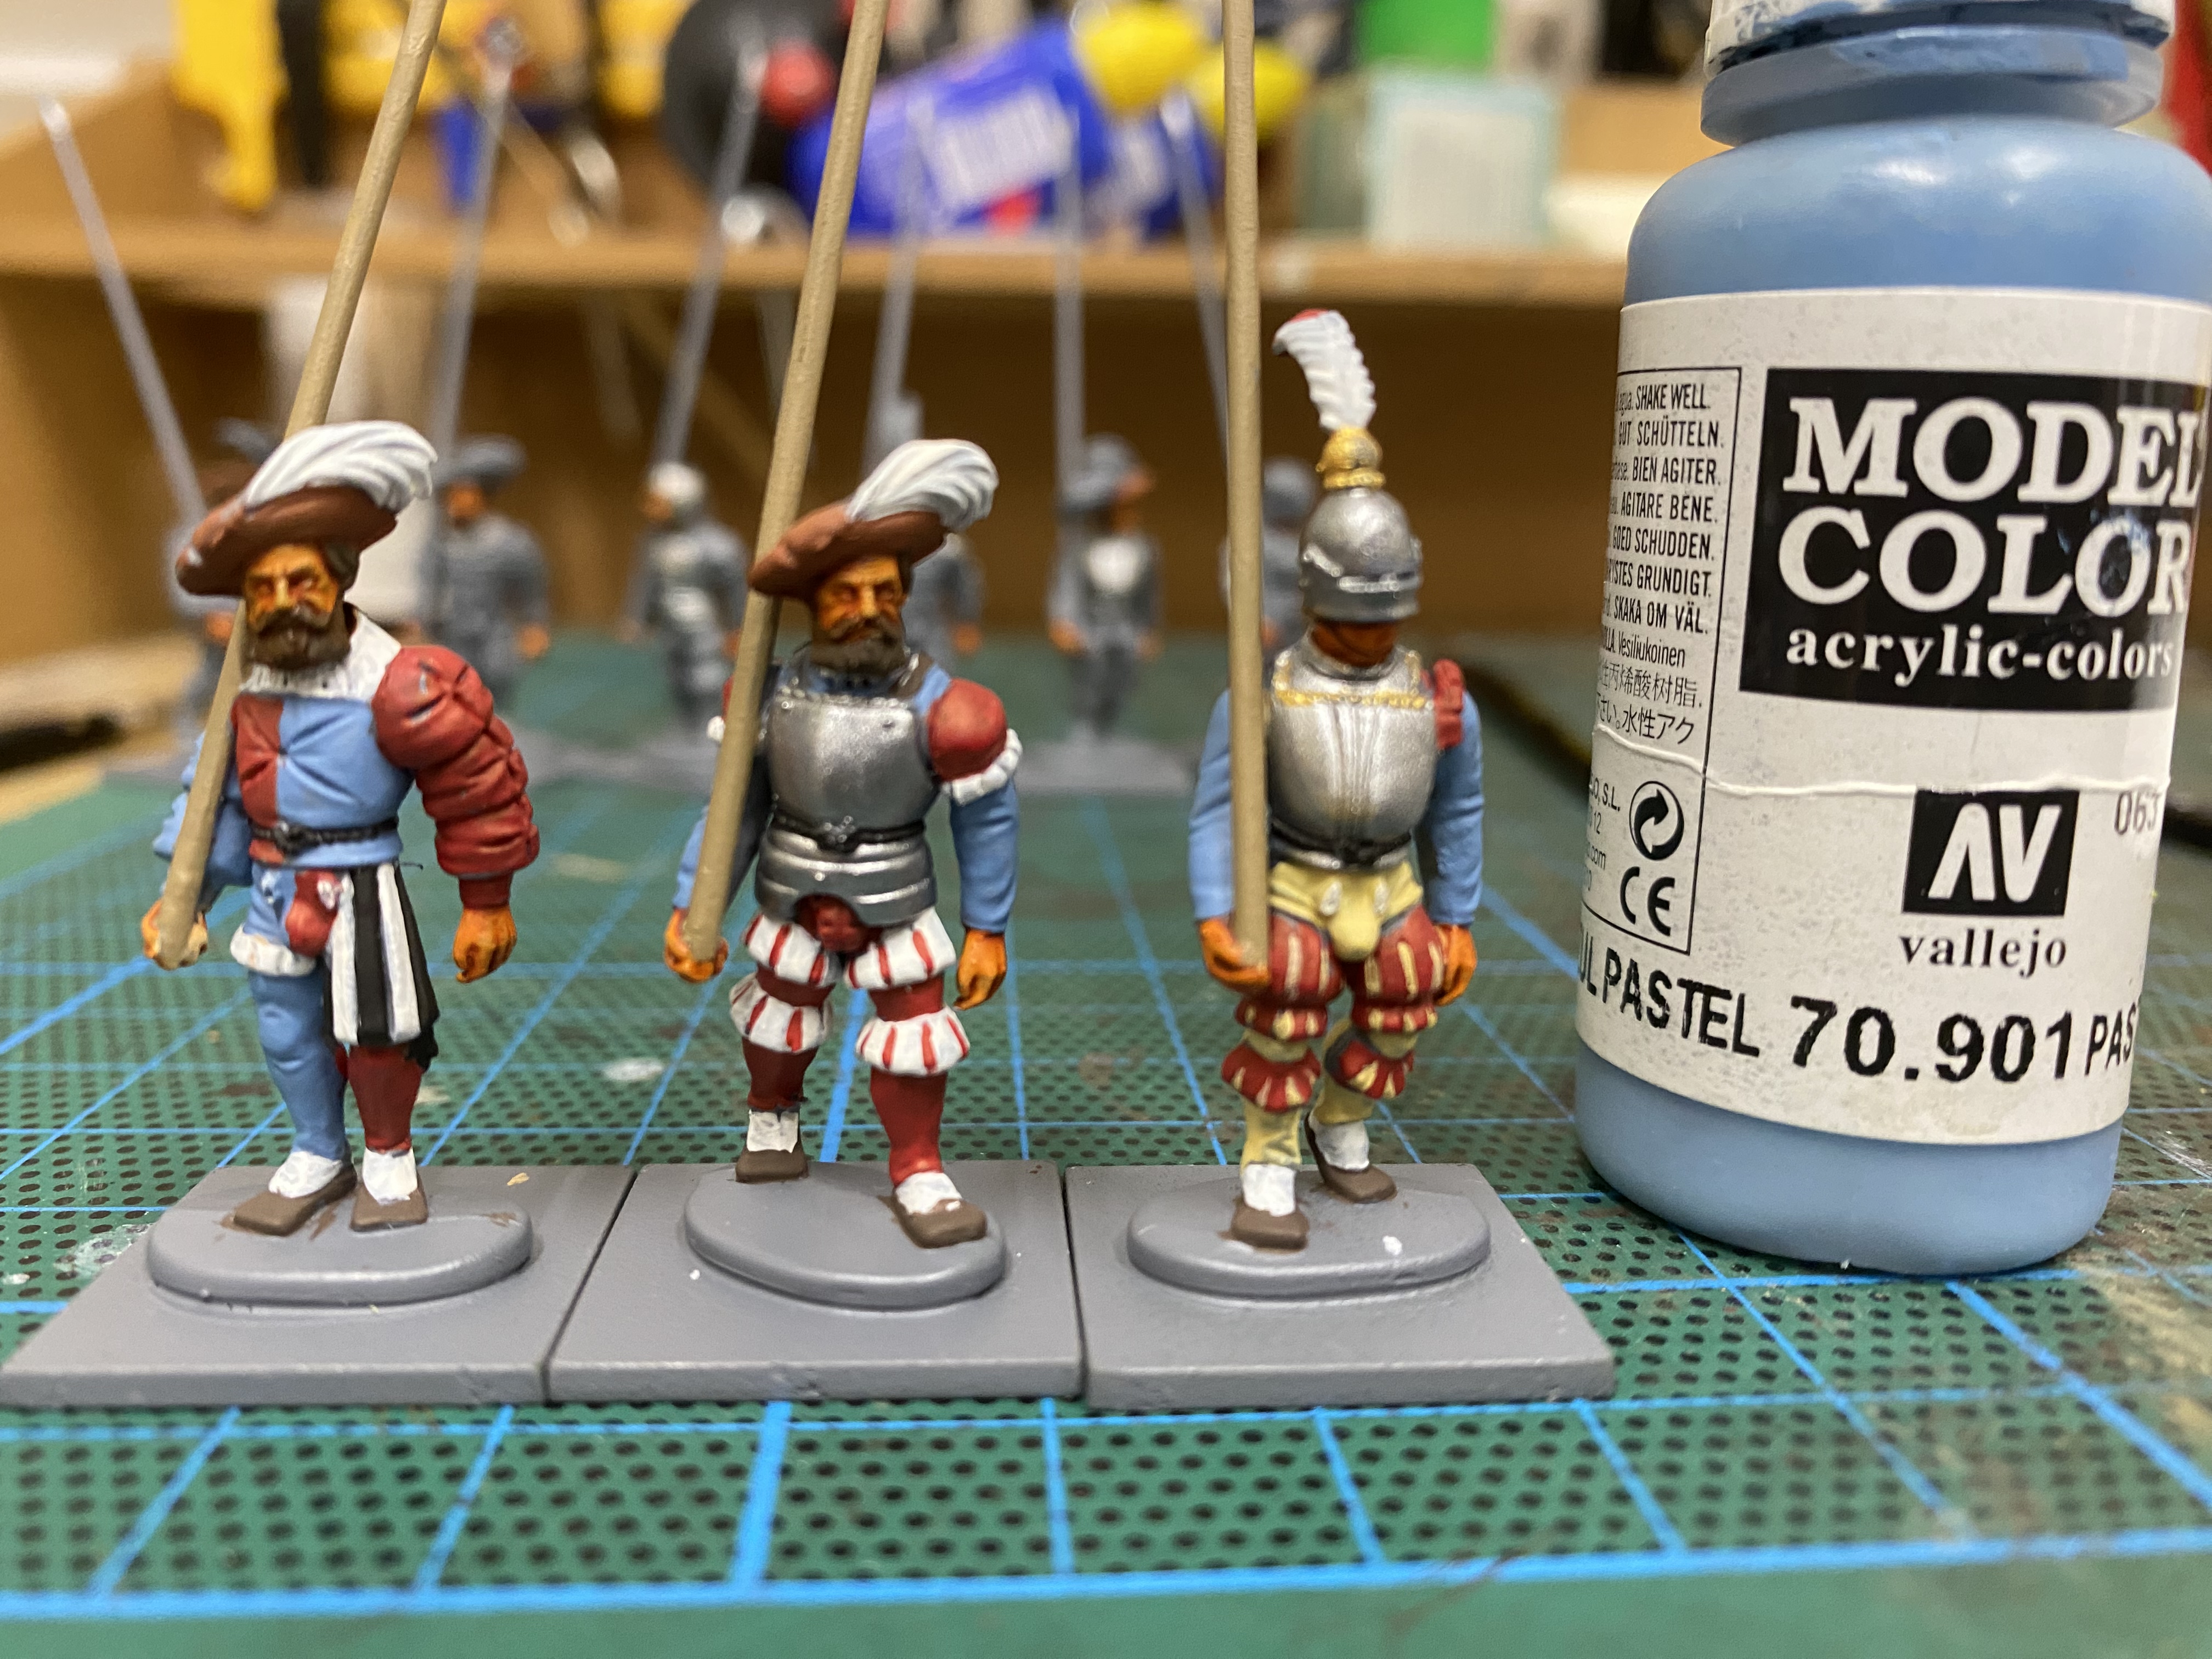
The castings that arrived were excellent, requiring very little preparation other than a scrape of the odd mold line. I primed the models in black and then painted the flesh with vallejo Flesh 70955. The mail, helmets and weapons were painted with Army painter plate mail, the quilted jackets in Vallejo Buff 70968, belts boots and scabards in Leather brown 70871, the axe hafts in panzer aces old wood 310.
Figures with an ink wash
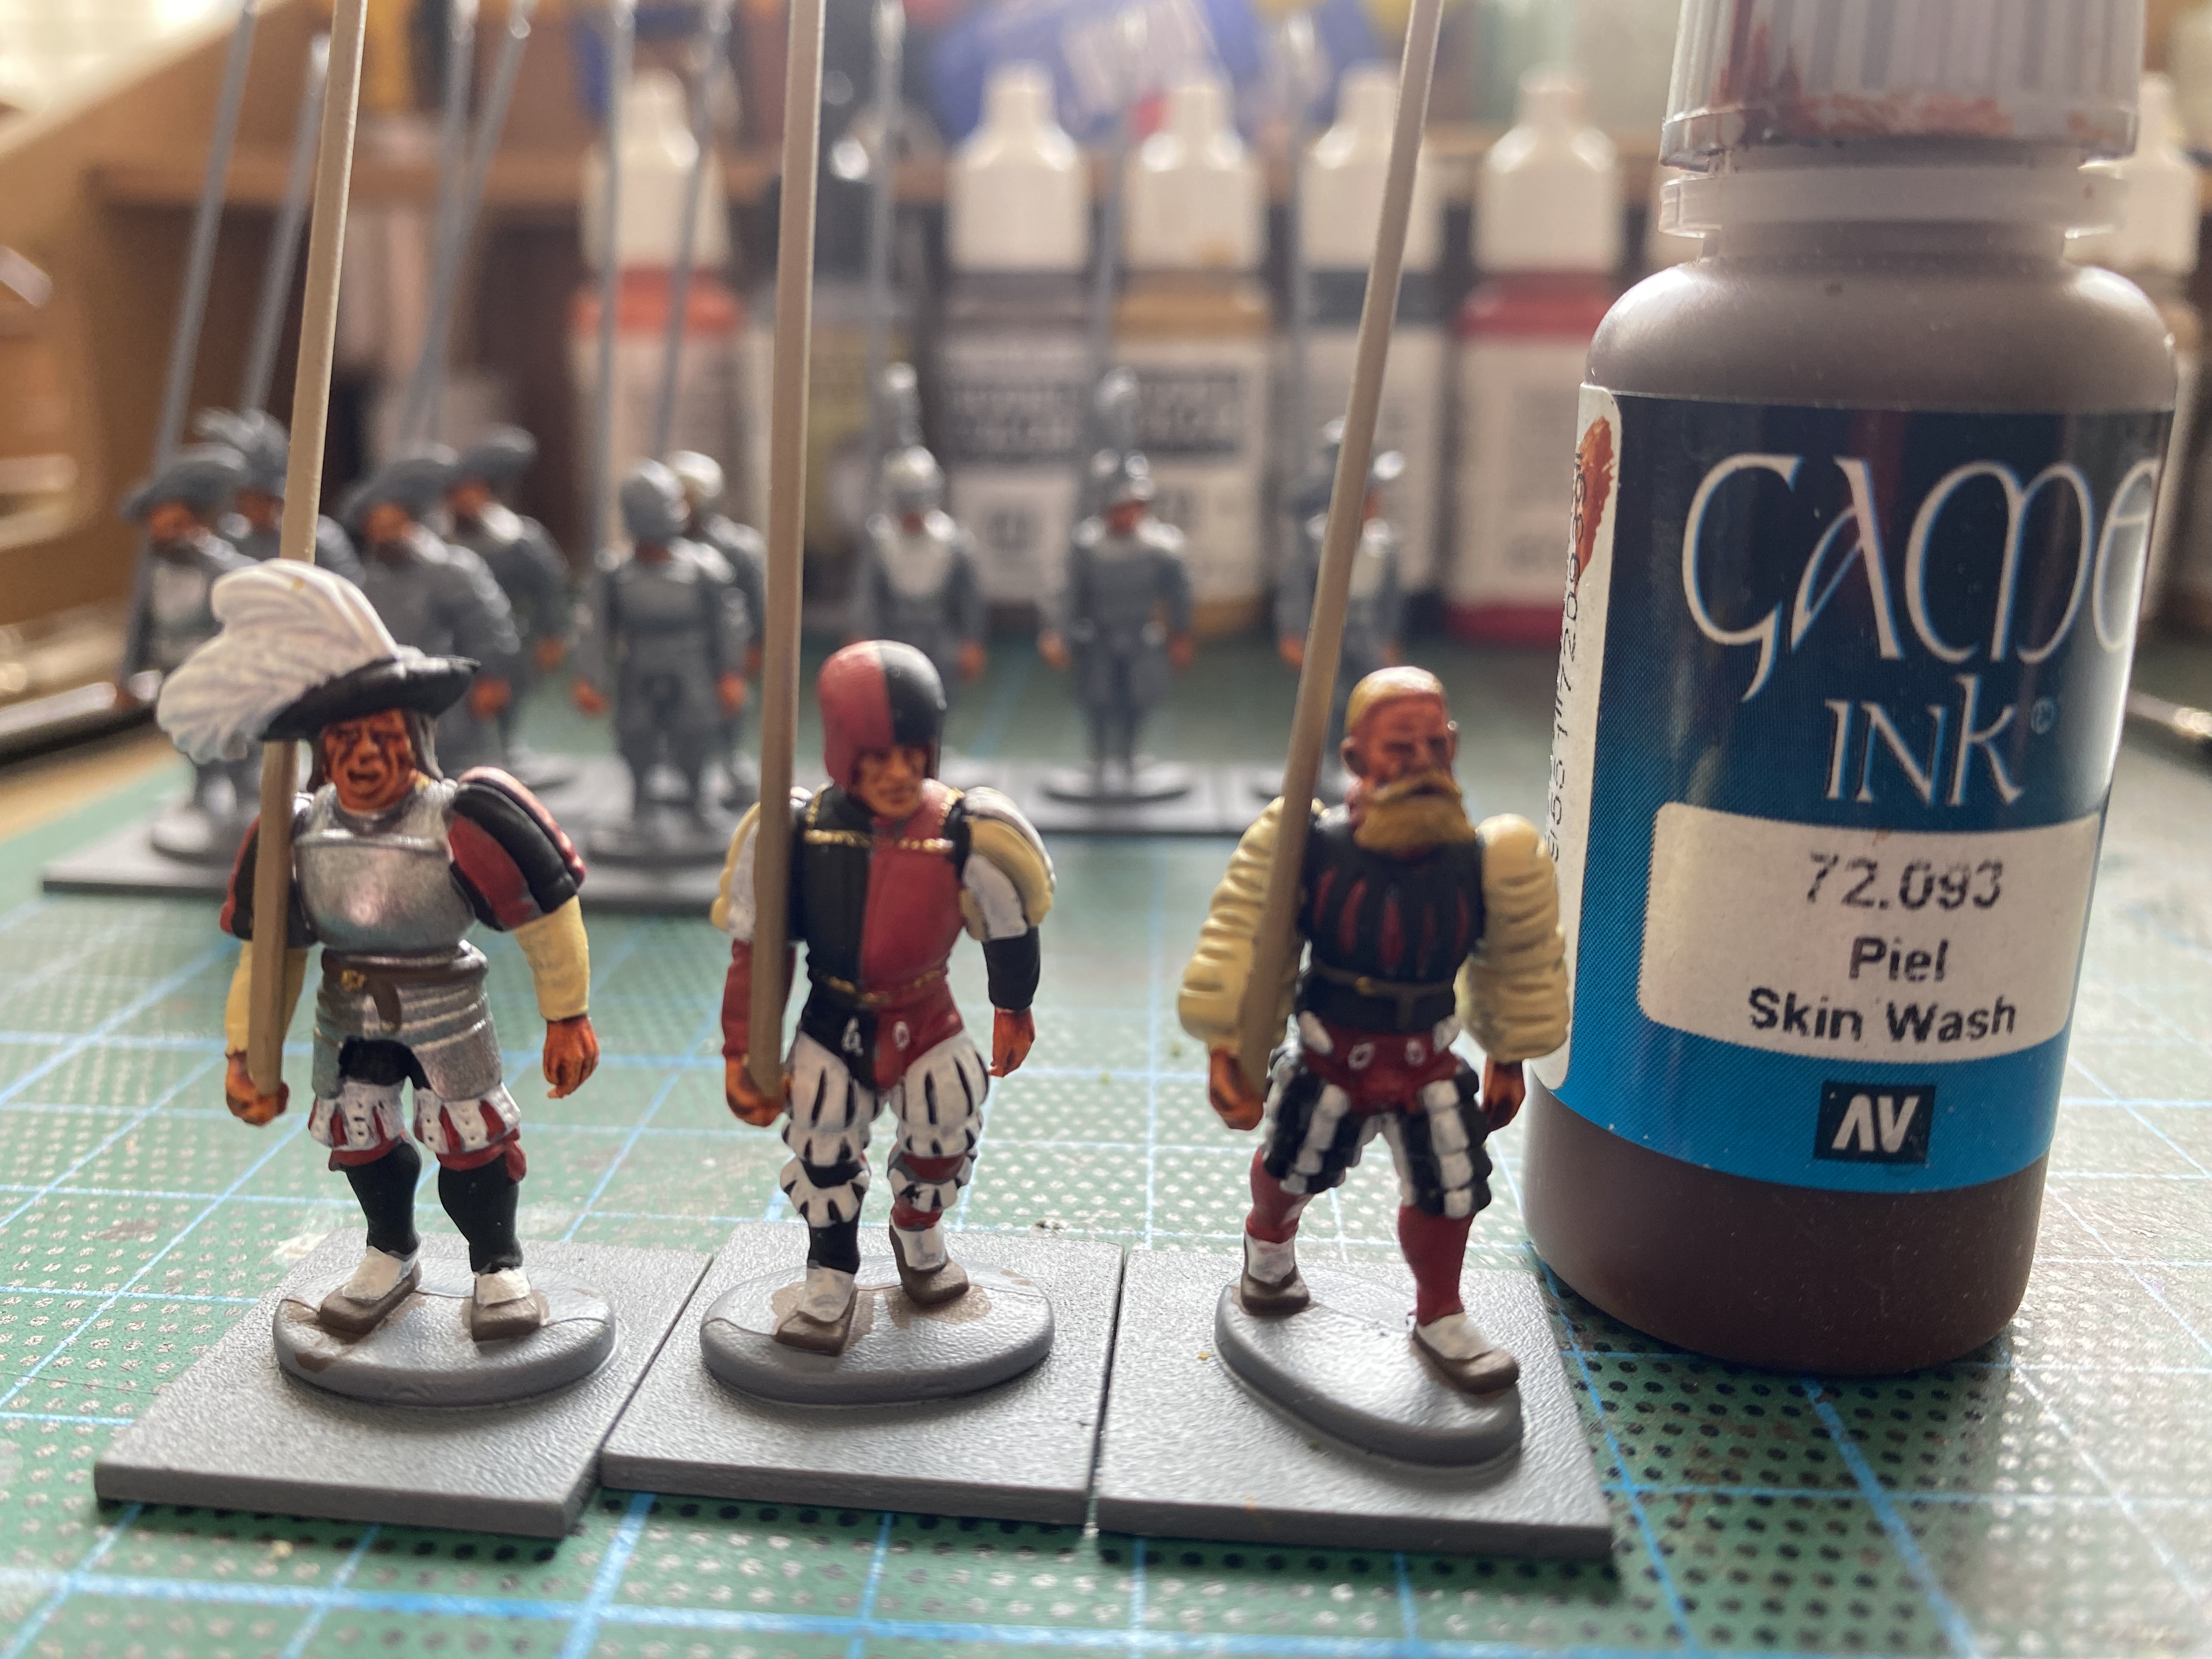
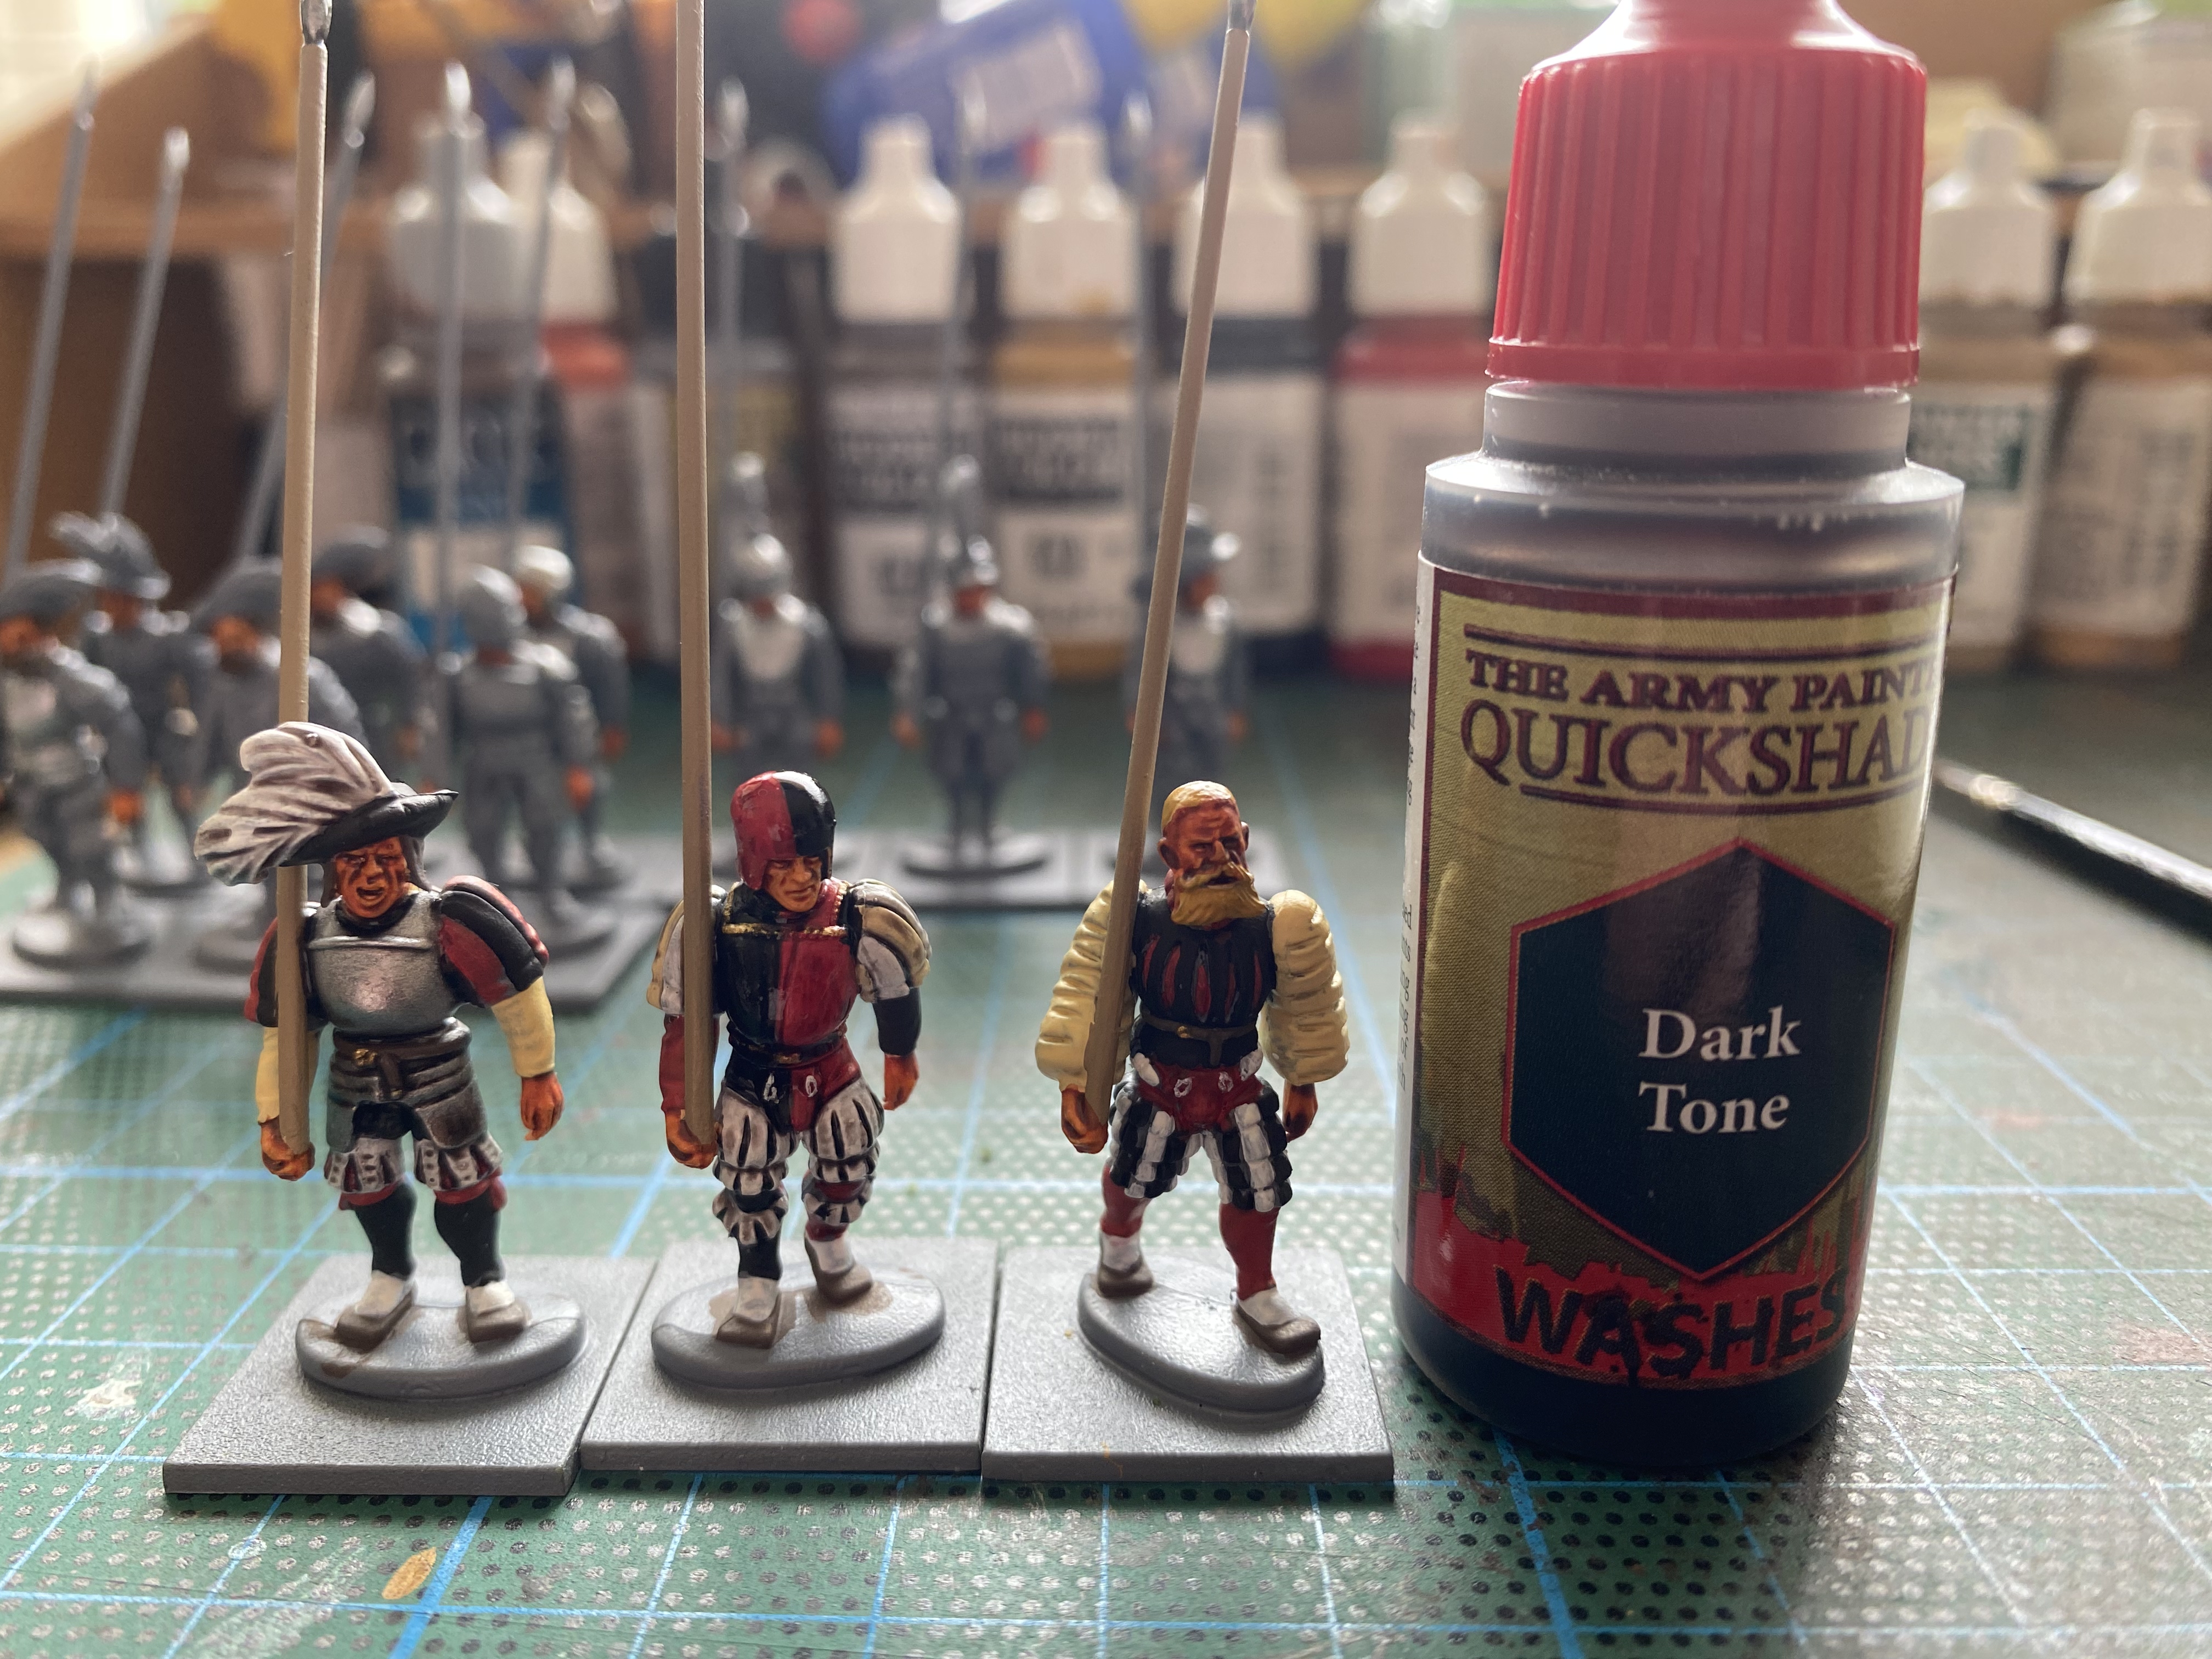
I then gave the models a good wash of Army painter soft tone, except the flesh areas, which I used the Vallejo Flesh wash as a shade. Once the washes had dried, I highlighted the models with the same colours to bring out the details, leaving the darker wash in the recesses. The faces and flesh were highlighted with Flat Flesh 70955 and then Basic skin tone 70815 for an extra highlight.
Basing in progress – texture paste and ballast added
As usual, I based the models with Vallejo dark earth textured paste and added some ballast for detail. The bases were then painted in my usual style, using Delhi Bazaar emulsion as the base, highlighted with Iraqi Sand and then a touch of white. I then added some grass scatter and some Gamers grass tufts to finish.
The ‘Durer’ models painted – I added some detail to the red cloak after seeing this image.
When it came to the Durer models, I tried to follow the colours on the Antediluvian site as well as referring to the picture above. Although the colours were different, the process was the same – block paint, shade with inks and highlight with the original colours, with a bit of Off white 70820 or Iraqi sand 70819 added to give an extra layer. It’s worth mentioning that I also used Vallejo Yellow Ochre 70893 as a base for the yellow cloth and for the lighter coloured quilted jacket, Deck tan 70986, works really well.
The finished units – I still have yet to add the tufts!
So with another 12 Gallowglass models completed, I now have a nice force of 24 of these heavy hitters ready to take to the table. Next up for the Irish will be some more Kern.
THE COMMERCIAL BIT
I hope that you all enjoy your hobby as much as I do – remember that our web site will have much of what you need! Click here to see our shop:
We don’t stock Antediluvian miniatures you will have to go direct to their web site. I’m very happy to recommend them, the service and turnaround time on my order was excellent and the miniatures superb:
This website uses cookies to improve your experience. We'll assume you're ok with this, but you can opt-out if you wish.AcceptRead More
Privacy & Cookies Policy
Privacy Overview
This website uses cookies to improve your experience while you navigate through the website. Out of these cookies, the cookies that are categorized as necessary are stored on your browser as they are as essential for the working of basic functionalities of the website. We also use third-party cookies that help us analyze and understand how you use this website. These cookies will be stored in your browser only with your consent. You also have the option to opt-out of these cookies. But opting out of some of these cookies may have an effect on your browsing experience.
Necessary cookies are absolutely essential for the website to function properly. This category only includes cookies that ensures basic functionalities and security features of the website. These cookies do not store any personal information.