Scenarios for Black Powder

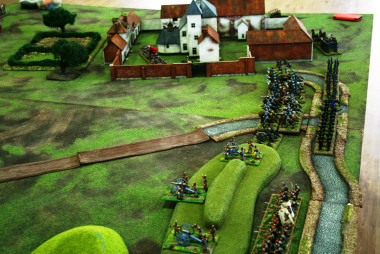
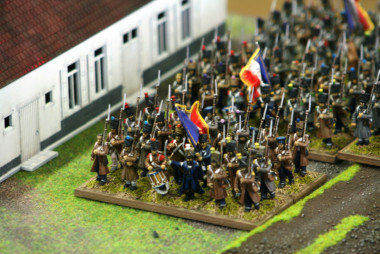
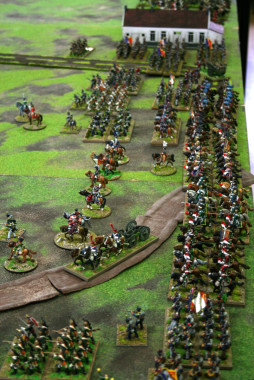
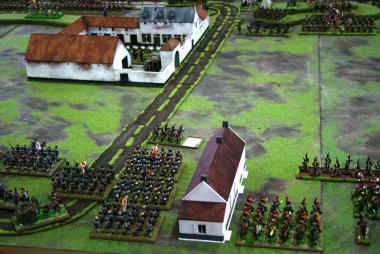
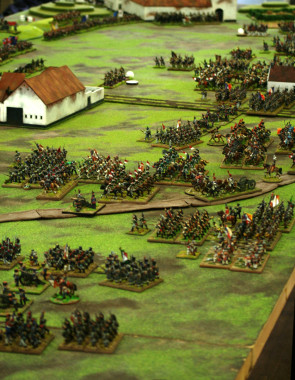
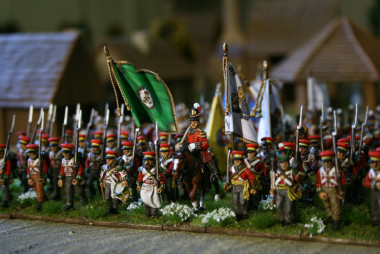
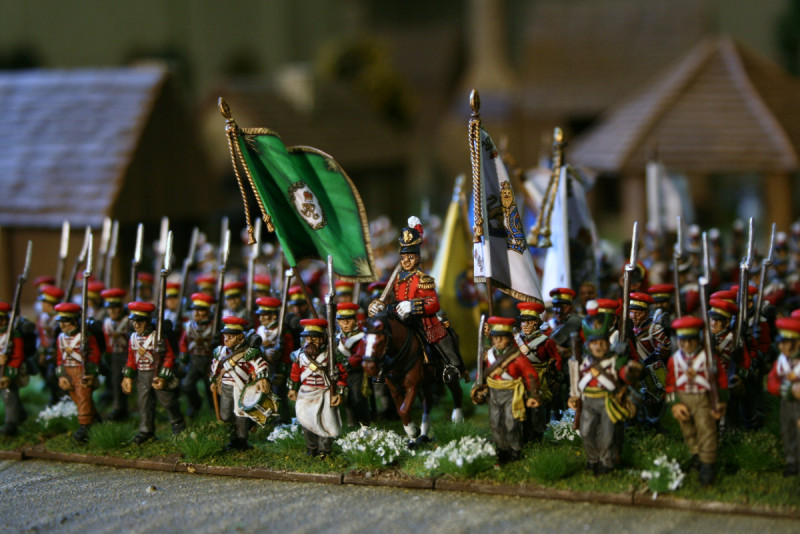
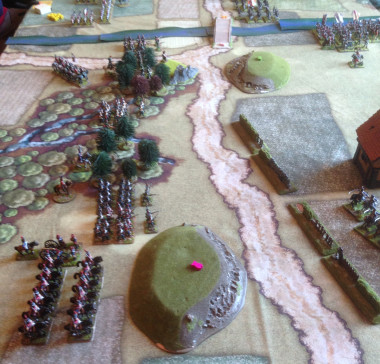
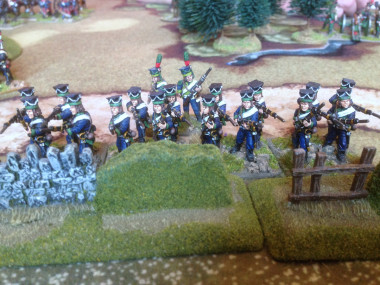
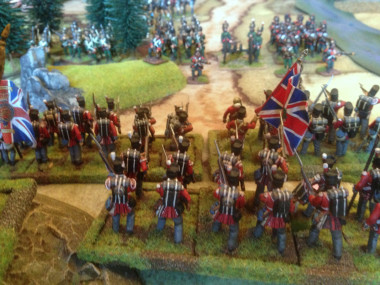
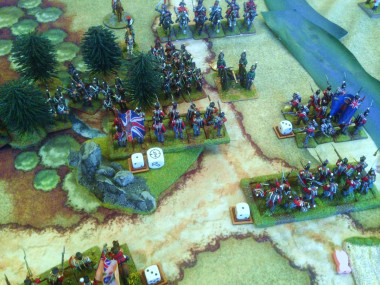
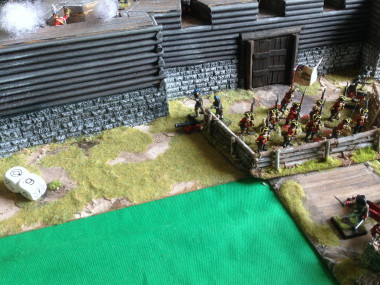
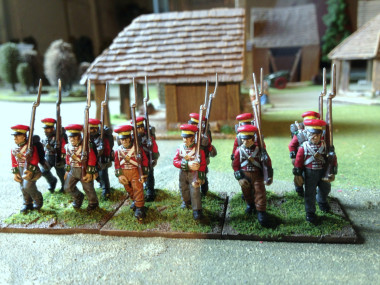
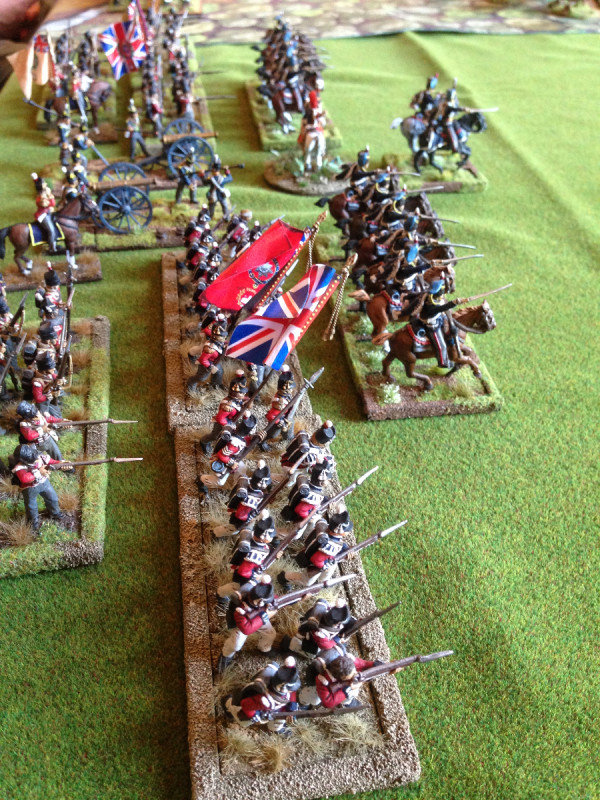
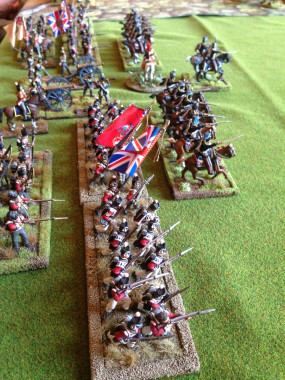
The Guards line up ready for battle!

The Guards line up ready for battle!

In an ideal world, where we all have plenty of time and unlimited resources for our hobby, we could spend hours re -enacting all the battles of the Napoleonic era, exploring the ‘what if’s’ and ‘if onlys’ of history on accurate terrain boards, with all the right troops in all the right uniforms! It would be the ‘Carlesberg wargaming club’.  However, for me the reality is that I get to the club once a week on a Thursday evening and we fight a battle that lasts for about 2 hours using the troops that I have to hand with a rules system ( Black Powder) that allows an easy flow to the game on a gaming cloth with a few pieces of terrain to make it look pretty. Sure, once in a while we get to play the ‘mega’ battle on a posh table with special scenario rules and the correct force but that this is a rare exception in my gaming calender.

The real problem is that there is a tendency to just line our armies up on the table and try and win the game by breaking more of the enemies units than he breaks of yours. OK, it’s still good fun but it can get a bit repetitive. So we were looking for a quick fix to make our games a little bit different and to start to introduce a bit of narrative into the games –  this is the ‘back of a fag packet’ ( in our case more likely to be the back of a crisp packet….) solution.

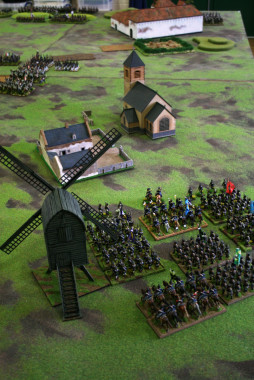
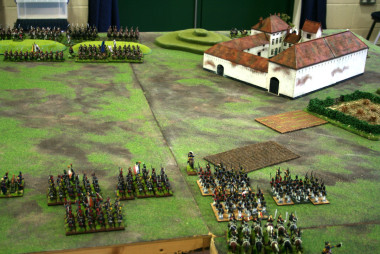
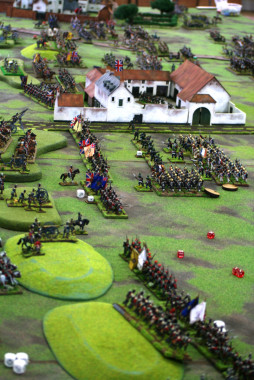
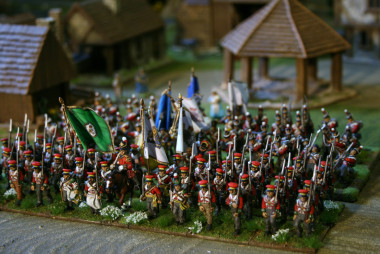
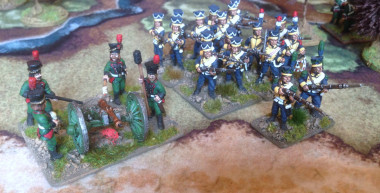
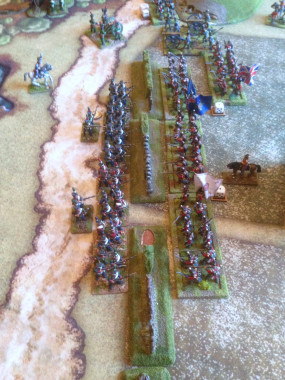
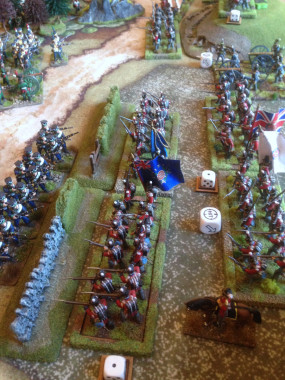
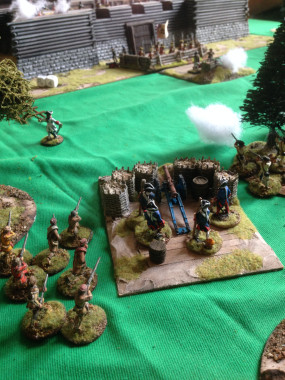
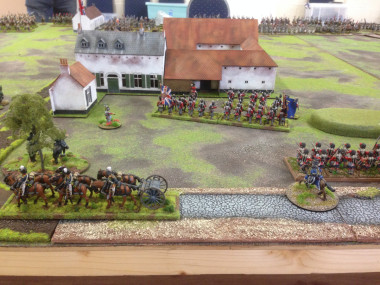
The Line Advances!

The Line Advances!

We quickly came up with a list of 6 simple scenarios and before our game we roll a dice to decide which scenario  we will play. The exception being of course, when the same one has come up and every one groans ‘we played that last time’ – just roll again and let the dice decide. Here is the list that we are using at the moment. The intention of course is to add to them, rolling a D10 or D20 would be even more interesting!

Scenario 1 – The River

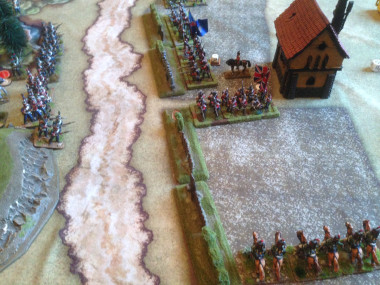
The battle is fought on a table with a river running across it. We use strips of painted paper to represent the river. It’s not the quality of scenery that you would find in Wargames Illustrated but quite adequate for a club battle. The river sections are about 12 inches long and we place a dice on each section. As a unit attempts to cross the section of river, roll the dice. On a 1 to 3 the unit will become disordered as it crosses. A roll of 4 to 6 means that the unit crosses safely. These are just our basic river rules – we have quite a few variations but these simple rules add another dimension to the game and will give commanders something else to think about when planning their battle.

Scenario 2 – One of your brigades is late!

Just pick a brigade on each side and roll a dice. The dice roll indicates on which turn ( 1 to 6 ) it arrives in your deployment zone. A variation on this scenario is to test each brigade in the army. Roll for each brigade, on a 1 or 2 ( or whatever you deem appropriate) the brigade is late. Then roll to see when the late brigades arrive. Great for players with Prussian armies…..

Scenario 3 –  Flank March

The two opponents roll a dice. The winner will get the flank march option and can choose a brigade that will deploy on one of the side table edges. Roll a dice to decide which on turn ( if it’s turn 6 it can be tricky…) your brigade will arrive. When the turn arrives for deployment, roll a dice. On a 1-3 you can deploy on your left flank, 4 -6 it’s your right flank. We allow deployment anywhere on the side of the table so beware  – you may have an enemy brigade that is  effectively deploying in your rear!

Scenario 4 – Off Table Deployment

Both armies start off the table. Before any orders are given to a unit, roll a dice. In the first turn, on a roll of 5 or 6 you may place the unit in your deployment zone on the table and issue it with an order as usual. On this first move, movement is reduce by one order. In other words the maximum that you can move is two ‘orders worth’ of movement. You can apply the rule to individual units or brigades or a mixture of both. After that, movement is as per normal Black powder rules. On turn two, the dice required to deploy is reduced to 4,5 or 6. Turn three, you need 3 to 6, turn 4 you will need 2 to 6 and this stays in place so if you throw a one in turn 5 your brigade still will not arrive!  It happens and can be quite frustrating. We rename those units as the Grouchy Brigades…

Scenario 5 – Capture the Flag!

A simple objective is placed in each half of the table. The objective is to capture the opponents objective whilst protecting your own.

Senario 6 -Pitched battle

Straight forward enough – back to the usual set up in deployment zones and beat the enemy. You can give this a bit more flavour by altering deployment zones rather than just lining up along the back of the table.

The other interesting variation is how to place the scenery. Rolling a dice for this is a good idea but we just tend to take it in turns to set the table out each week. We have had some interesting results when we have asked a non participant player from the club to set out the scenery though!

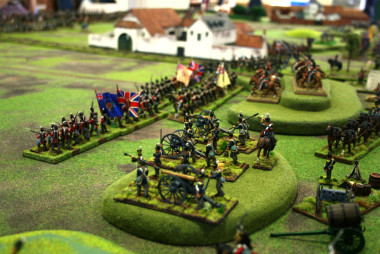
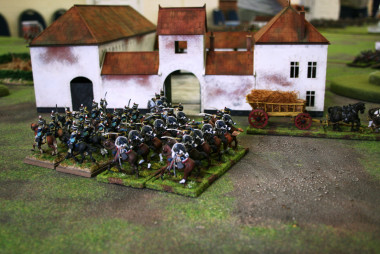
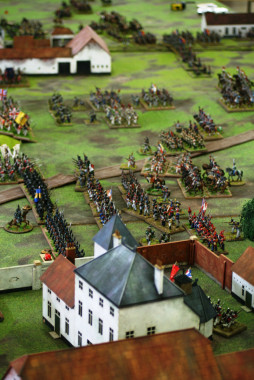
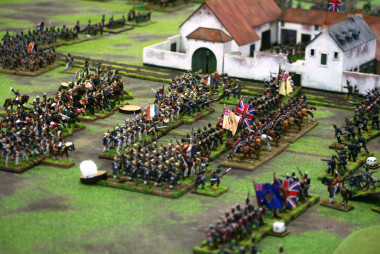
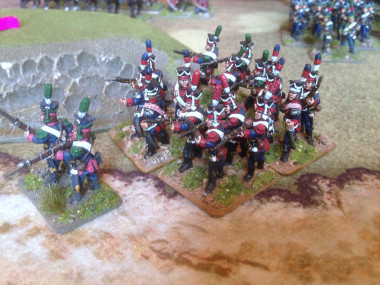
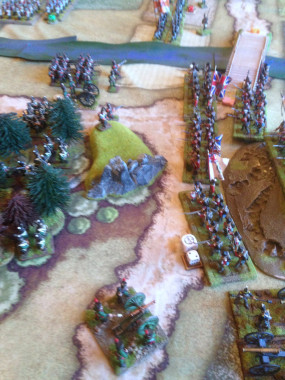
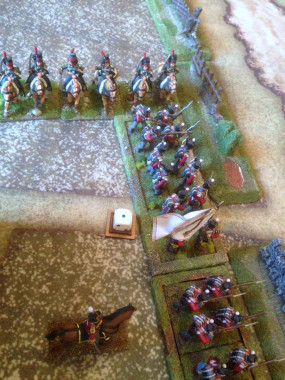
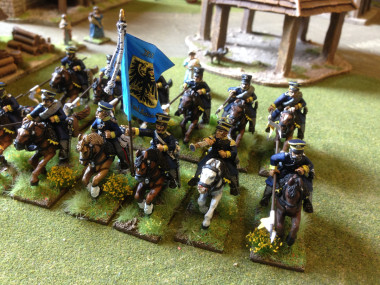
Stopped by the Cavalry!

Stopped by the Cavalry!

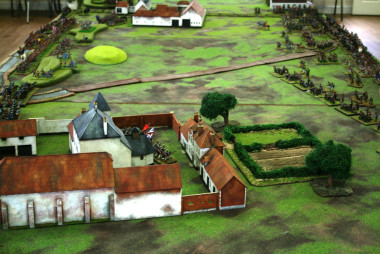
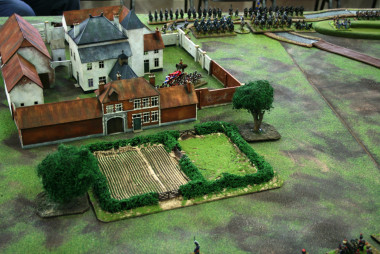
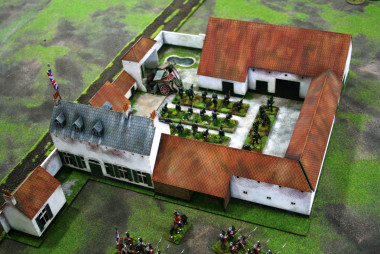
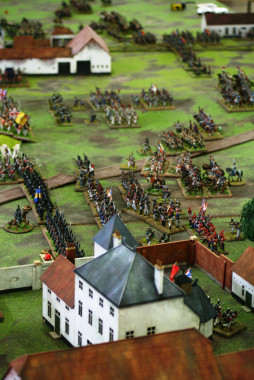
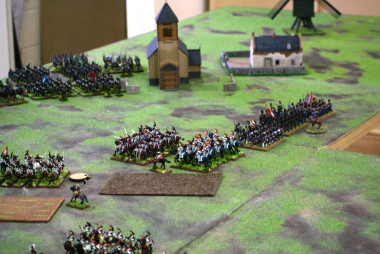
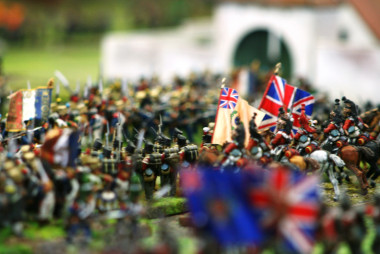
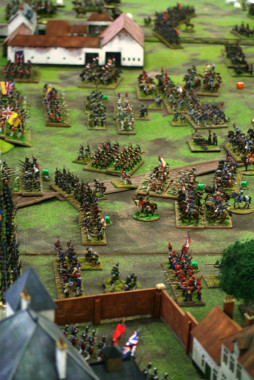
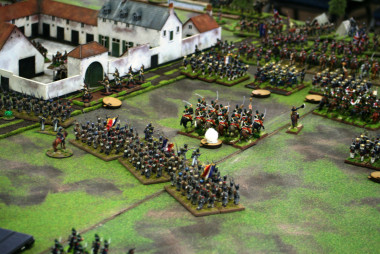
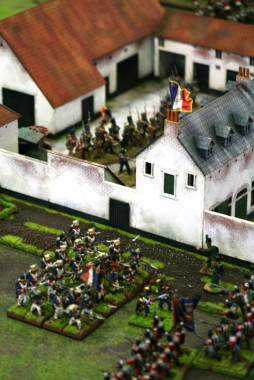
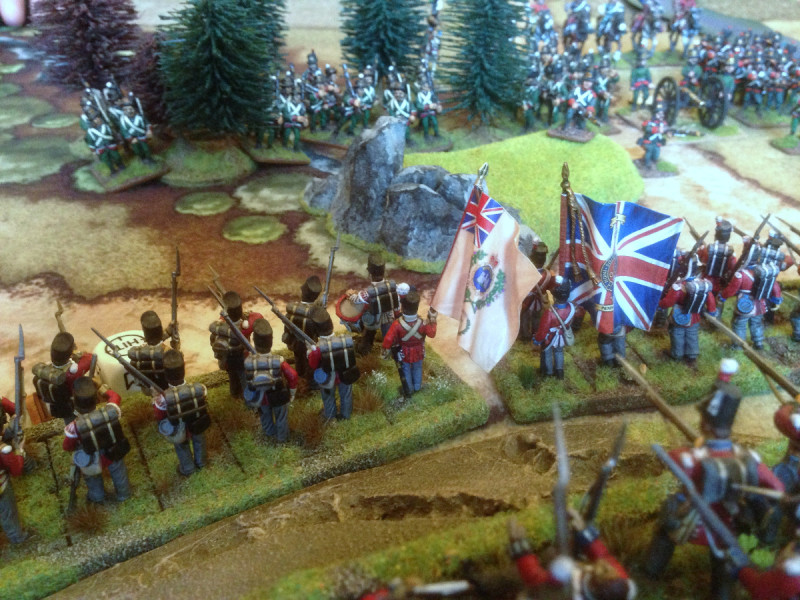
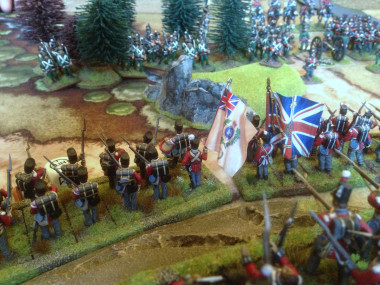
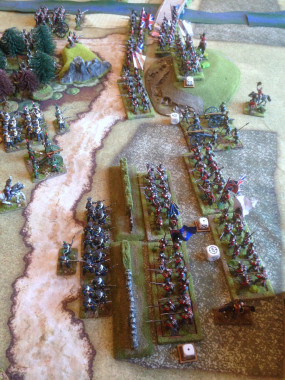
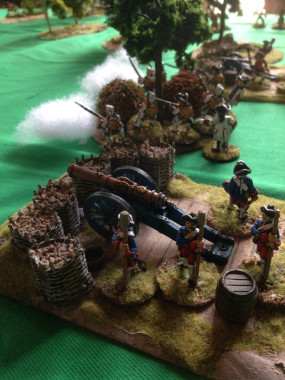
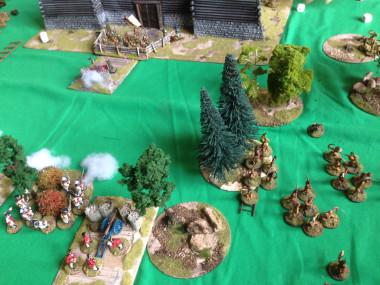
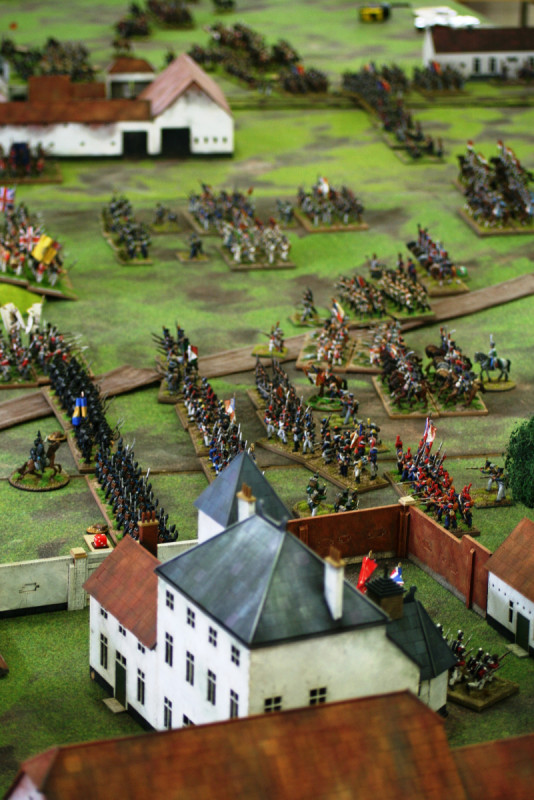
The scenarios have certainly thrown out some interesting games. The pictures that I have used for this blog article are from our game last week where I had the Flank March. I thought that I would easily pin my opponent and out flank him with an extra brigade of three battalions of Infantry. As it turned out he held those battalions in check with his cavalry and after forcing them into square, proceeded to pound them with his artillery. I was then forced into trying to rescue my flank and more Battalions were drawn out of position and the army was eventually broken as they were pushed into square as well and shaken by artillery fire. It was the most effective use of cavalry in a Black powder game that I have seen and despite the musket fire that the cavalry were facing, by clever use of rotating the cavalry and rallying them it was the infantry that broke first!

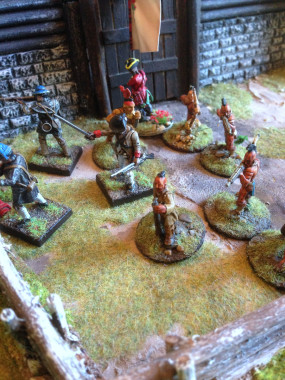
The Flank is in Trouble!

The Flank is in Trouble!

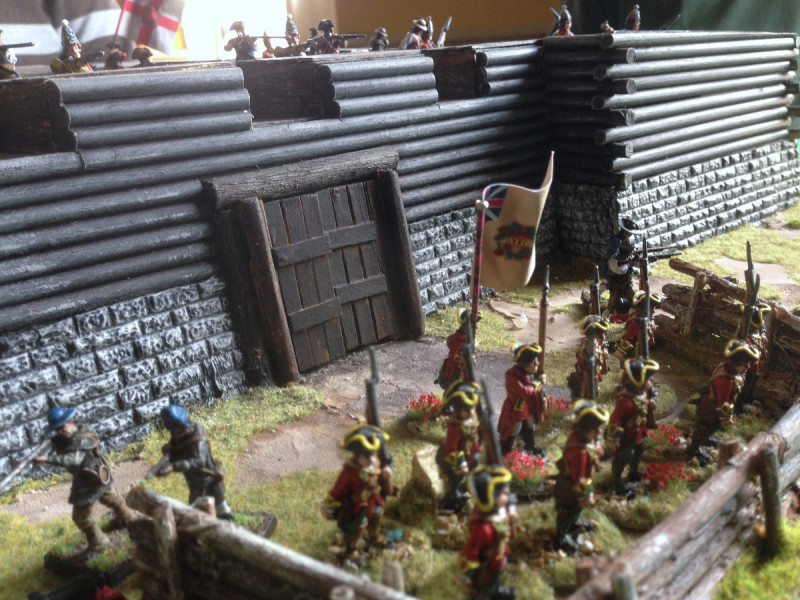
Muskets and Machetes!

Chasseurs de IriosI’ve been blathering on about my Carribean force for sometime now but have yet to use it on the field of battle. There have been two problems; one, the lack of a rules set and more importantly, the lack of an opponent! I started to collect and paint the Trent Miniatures Caribbean figures because I thought they were superb models. The sculpting is of high quality with some really characterful models in the range. Add to that, the uniforms look pretty good and there is plenty of scope for all sorts of variety when putting together a force. The theatre of action, the Caribbean islands in the late 18th Century provides plenty of scope for all sorts of battles, from small scale skirmishes to full on battles, naval landings and sieges. And of course the scenery will be interesting – anything from Plantations to Jungles.

The History of the region is also fascinating, if somewhat poorly documented. As well as the fighting between the ‘Super powers’ of Britain, France & Spain,  there were multiple slave uprisings, none more successful than Haiti, the former French Colony of Saint Domingue. Indeed this uprising resulted in the independence of Haiti, which was the first Caribbean nation to gain independence from European powers in 1804.  Under the leadership of Toussaint l’Ouverture ( sometimes referred to as the Black Napoleon), the former slaves defeated the French army (twice), the Spanish army, and the British army, before becoming the world’s first and oldest black republic, and also the second-oldest republic in the Western Hemisphere after the United States. This is additionally notable as being the only successful slave uprising in history.

So, with all this fascinating background, a superb range of figures, never mind the possibility of adding in Voodoo, Zombies and Pirates, it’s a mystery to me as to why there isn’t a rules set for the period!

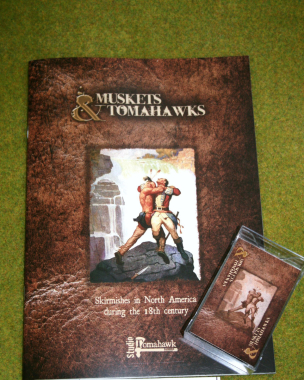
muskets & tomahawksWell, as usual, the answer was right in front of me. There is a superb rules set by the very talented Alex Buchel of  Studio Tomahawk called ‘Muskets and Tomahawks’ for skirmishes in North America during the 18th Century. I could see immediately that it would be very straight forward to transpose the Caribbean forces over the North American Forces in the rules set and I could use my figures on the wargames table! Luckily there are a few players at my local wargames club that play M & T’s, so I asked one of them, John Grant (or Nice John as he is known locally!) if he would take me through the rules with a practice game. John has a terrific set up with plenty of scenery and AWI figures, so the game was great fun and confirmed my impression that the rules set would transpose to the Caribbean. The next step was to ask if I could use my Caribbean force in a game!

60th Rifles prepare to fire!

60th Rifles prepare to fire!

John was happy to oblige, and so my 60th Rifles became British Light infantry ( actually, not much of a change here! The 60th were after all founded in America…) The Black regiments became Militia and the freed slaves were used as Indians. Although this was our first ‘rough fit’ as we played through the game it became clear that we would perhaps modify some of the rules to reflect conditions in the Caribbean. So for example, the freed slaves or Maroons were given the ‘blood thirsty’ rule in combat and their shooting ability down graded accordingly. There was some debate as to the quality of the Black regiments and whether they should be re classified as normal infantry or have the same stats as ‘ Compagnies de la Marine’ from the French Army.

The Black Chasseurs advance!

The Black Chasseurs advance!

It’s fair to say that it is early days before we get to a rules modification that suits this period but for the time being, it’s a close enough fit and I hope that over the next year or so, I can produce a stat’s board for the Caribbean and the correct cards to match. I see that Wargames Illustrated are giving away a free figure of Toussaint l’Ouverture at Historicon this year so there is obviously interest in the period – who knows, perhaps they can be persuaded to do a supplement…

Pikemen, Prussians and Pterodactyls

It’s been one of those weeks when life has got in the way of my hobby! So I haven’t been able to spend as much time as I would like to have done with my various painting projects. The result is that nothing is actually been finished although things have moved on. One of the benefits of having a dedicated hobby area means that if I have just a spare five minutes, I can do a little bit here and there – add some static grass to a base, undercoat a figure even slap some paint on!

Perry Pikemen

So the six Pike men for my Wars of The Roses army are very close to being finished, just a bit of extra detail needed for the bases – a few tufts & flowers! the plan is to have at least one unit of 12 pike men for my army, probably two, but as the next Lion Rampant Day is not until September there is no rush to complete the unit. I have a box of the plastic Perry Mercenaries and the plan is to make two blocks of Pikes, a small unit of mercenary Crossbow men and the remainder as hand gunners.

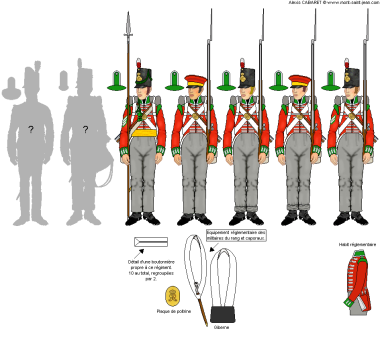
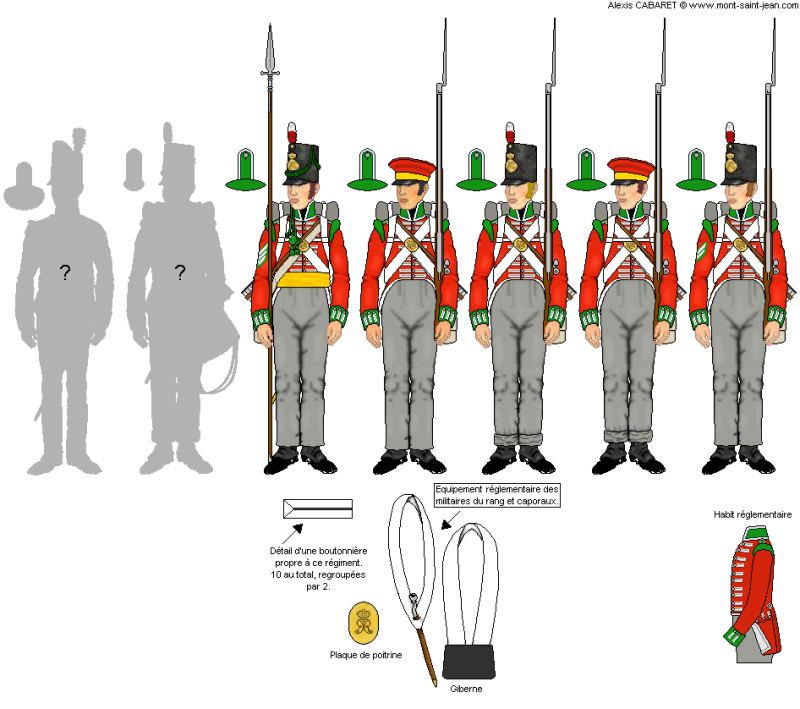
I also started on my Prussian Landwehr Cavalry. There will be 12 in the unit and they are all prepared & undercoated and I am painting the horse in batches of threes. Here the first batch nearly complete. The difficulty I have had with this unit has been trying to find details of the uniform. The figures are from foundry and whilst they are very nice, they seem to have different head gear to my Mont St Jean Reference:

CavLandwehrSilesie01

Just to add to my confusion the detail on the sheepskin saddle cloth is showing as a Yellow trim ( makes sense if they are Silesian) but other pictures and references give the colour as Red regardless. In fact the reference material for Landwehr Cavalry is thin and as usual contradictory. I think that I will have to overcome any ‘button counting’ tendencies and go for what I think looks best – in this case yellow trim to match the yellow facings! So here is the progress so far:

2015-04-16 09.34.30

As you can see, still plenty to do!

Pterodactyls

Finally, the Pterodactyls are nearly completed! This is all part of my project to get one of each of the DeeZee codes done. The pterodactyls are certainly straight forward to paint but detailing them is a challenge that is beyond my eyesight & patience these days! I just gave them a spray on top with dark green & a spray underneath with light green. Then a quick couple of dry brushes to try & bring out the detail, followed by a brown wash. They are mounted on a 25mm MDF base using thin wire. The final stage is to detail the bases and I may have a go at painting the eyes……They are only 15mm or so wingspan so no one is ever going to look that closely but as a group of 10 they look quite impressive and will add chacter to a model.

It’s All About the Base……

Bases, Faces and Flags – these are the key areas for ensuring that your war gaming figures look the best on the table top according to top commission painter Dave Woodward. Well,  I’m a great believer in the first and last of these but painting faces on my rank and file troops is not really going to happen. I’m afraid that I rely on a quick wash or shade over a basic flesh coat and that is about as far as it goes for the troops. I will spend a bit more time on the officers and characters and add a bit of a highlight to the nose & cheek bones – I’ll even attempt to paint the eyes, although as often as not my figures look as though they should definitely go to spec savers….

2013-10-06 15.20.45

Foward with the Colours!

As for the flags, it goes without saying that if you can add these, your unit will certainly stand out on the table. Part of the attraction of painting Napoleonic troops is the flags and with so many good suppliers out there – the Flag Dude and GMB designs, to name but two – it’s a shame not to ensure that your unit has a flag or two!

Sir Stapleton Cotton - a bit of a Dandy!

Sir Stapleton Cotton – a bit of a Dandy!

So for me, it’s all about the bases. And so we enter another realm of controversy or taste… If you are in the Dan Faulconbridge (Wargames Illustrated)  school of basing you will like a straight forward non fussy finish. This view is based on the notion that the figures should blend into the table top – it makes for better pictures don’t you know! I tend to prefer a nice bit of vegetation on my bases – I cant resist adding a few clumps of flowers! It does mean that my units have to drag the scenery around the table and my opponents usually ask where the park keeper is, but I like to amuse! There is also the matter of what colour to paint the base sides. Leaving them black used to be the fashion, then the there is the green edge following, whereas I prefer a brown edge to my bases.

The Prussian advance was halted when the Park keeper shouted 'get off them flowers!'...

The Prussian advance was halted when the Park keeper shouted ‘get off them flowers!’…

Whatever your taste, I think the guiding rule on bases really is to ensure that you stay consistent with your army and that it really is worth a bit of time spent on finishing your bases off with a bit of detail. One last tip, I have spent ages trying to blend figures onto bases and I have ‘discovered’ the product that I find easiest to use is the Vallejo Grey Pumice paste or the coloured textured pastes from the same Company.

Grey Pumice

Grey Pumice

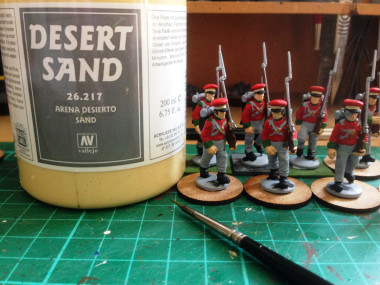
I’m working my way through a pot of Desert Sand at the moment. It’s really easy to apply and will ensure that your figures blend nicely onto the bases without an obvious  ‘edge’ showing. The textured paste will take a coat of paint with out undercoating and a quick dry brush will enhance the detail. I still prefer to add sand or a scatter and just use the paste to blend the figures on to their bases. Here’s my next batch of figures on the work bench. The pikemen just need the bases finishing and they are ready for the table. The Prussian Cavalry need a bit more work!

2015-04-09 11.02.37


Glyptodon and Mammoth clear the work bench!

DeeZee-Miniatures-GLYPTODON-Adult-DZ18-28mm-Wargames-380655342625As we go into the Easter break it seemed appropriate to paint something vaguely egg shaped and as the Glyptodon had been sitting forlornly on the work bench in just an undercoat I decided his time had come!

He is nicknamed the ‘kinder egg’ by the Arcane team due to his rotund shape but there’s plenty of detail in the casting that can be brought to life with a bit of dry brushing. I had hinted that I would use an airbrush to finish him but that will be a project for another day. I have put off buying an airbrush for now. Although I can see that it will be invaluable when painting Tanks and larger subjects like Mr Glypto, I am not quite in the right frame of mind to learn a whole new skill, particularly when I am still learning to paint with a brush! That said, I am of a mind to jump in to this mysterious world and who knows, I might just treat myself for Easter…..

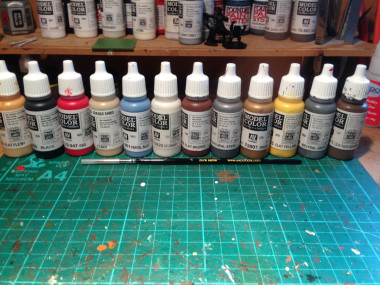
Anyway, I digress, back to painting the Glyptodon. I had a quick look on Google for some inspiration and colour schemes and was pleasantly surprised at how many pictures there were! In the end, I went for a fairly safe option using a variety of browns in various combinations. To be specific, Vallejo light brown 70929, Flat brown 70984, Chocolate brown 70872 and to lighten them, Iraqi Sand 70819.

DeeZee Glyptodon

DeeZee Glyptodon

There was a slight problem when I started to paint. I had failed to follow my own advice and I had not washed the model before priming. The result was that the primer had started to flake off due to the release agent still on the casting. I confess, I was too lazy and impatient to start again, so I re primed the model with Model Mates Light grey primer. I have started to use this brand more often recently in favour of my usual Army Painter primer. It seems to be a much more effective primer and in this case, solved the flaking problem. However, lesson learnt, next time I will wash a resin model before painting! For the sake of 5 minutes, it will save time and heart ache in the long term!

So back to painting. The shell was done in the flat brown and then dry brushed with a couple of coats of the flat brown & light brown mixed. The fur was done with light brown, dry brushed with light brown and Iraqi sand. I picked the detail out around the shell with Iraqi  sand  and then I then gave it all a wash over using a dark tone ink. As with all these things, you have to fiddle around until you get the general effect that you are looking for and even now, I’m not sure whether to go back and add another lighter coat to the shell. The next task was to pick out his eyes, nose using black & claws using ivory and to paint some of the detail on the base. I then mounted him onto a renedra base and blended the model to the base using Vallejo Desert sand paste. If you haven’t tried these pastes from Vallejo, give them a go – they are superb for basing and once dry you can paint straight over the paste as there is sufficient texture. I like to add sand to give even more detail.


Glyptodon painted - working on the base

Glyptodon painted – working on the base

I finished off the base by adding some detail to the rocks, painted the tree stump and painted the grass and of course the sand. This was all done using virtually the same pallet of Chocolate Brown and Iraqi Sand, with plenty of dry brushing of lighter combinations of these colours – the final dry brush was done with some white added in. To finish off, I added some Static grass and of course a few clumps of flowers! I’m reasonably happy with the result for now – as I said, I may add a final lighter coat to his shell but he’s off to the cabinet.

The finished Glyptodon!

The finished Glyptodon!

I often find that it’s difficult to know when a model is finished so sometimes it’s best to put it to one side and then have a look after a week or so. If I’m still not happy then I might try a bit of retouching. This was the case with the baby mammoth. I just wasn’t happy with the way he looked, so he has sat on the paint table whilst I decided what to do. In the end it was a case of cutting down his tusks – they were too big even for a baby Mammoth – and giving him another even lighter dry brush to add detail & adding some ink to bring out the shadows. I also gave him a snowy base with some frosted tufts. I’m still not entirely happy but he is looking better for now. Perhaps I’ll have a go at another one – I have a diorama in mind that involves a nasty Sabre tooth……

DeeZee Mammoth Calf

DeeZee Mammoth Calf

Little Bingham Population Explosion!

Little Bingham is the name of the Town that occupies my war games table when it is not being used for war gaming. To be fair this is most of the time – I get my ‘fix’ at the local club, The White Hart Gamers, every week almost without fail. So the table is more like an over-sized diorama that doubles as a photo back drop as well as a reserve work bench!

In the last work bench post I hinted that I was a bit fatigued with painting red coats so I decided to have a sort of a break from painting Regiments and picked a few bits from my ‘stock’ of unpainted figures. In the last week I managed to paint four new occupants of Little Bingham, all female, and here they are:

Fetching the water!

Fetching the water!

Milk Maid!

Milk Maid!

Feeding the Geese!

Feeding the Geese!

The final figure is part of a mini diorama that I am slowly making. It’s an army encampment that will be part of  ‘Little Bingham’. The tents are by Renedra and the figure is an spare one – a Frontline, I think.

Comforting her son!

Comforting her son!

As well as these civilians, I also finished the Black Sapper for my Caribbean contingient. Apparently there will be a Caribbean Game at Salute this year and Wargames Illustrated Magazine will be giving away a Toussaint Louverture figure, so I may yet get to use my Caribbean force in battle soon. I based the colour scheme for this figure on an Osprey print of a Chasseur Pioneer of Saint Dominque.

Chasseur Pioneer St. Dominque 1797 ish!

Chasseur Pioneer St. Dominque 1797 ish!

Finally, I managed to paint two mounted officers for my Sixth Division at Waterloo – they will be seconded to the lead Hanoverians into battle. I’ve yet to finish the horses, so these are the next models to be finished. Although I’ve only painted seven figures over the last couple of weeks, I’m still pleased with my progress and I have been busily preparing and priming the next batch of figures for painting.

Mounted Officers - work in progress.

Mounted Officers – work in progress.

So that’s it for this week. The only other thing that springs to mind is that I must apologise for the quality of the pictures. They are taken with my i-phone and it is all to easy to take a quick picture with my phone rather than set up a proper shoot. It’s something that I need to address, but for now I suppose a bad picture is better than none at all!

The Imperial War Museum North

The Imperial War Museum NorthOn Sunday 15th, I was up in Manchester (Old Trafford, to be precise) to watch Tottenham play Man Utd and rather than just visit the Theatre of Dreams, ( or on this particular day, Theatre of  nightmares – Tottenham lost 3-0!), I made a day of it and visited the Imperial War Museum North.

The good news is that admission to the museum is free, although you are encouraged to buy a souvenir guide book for £5.00. To be fair, it is well worth doing, as the guide is beautifully produced. The building itself is spectacular and the setting in Salford Keys is also superb. There are plenty of iconic buildings around and for those interested, the museum is right next to the Coronation Street Studios. For an even better view of the area , you can ride in a lift to a viewing platform at the top of the museum, a trip worth taking.

The museum itself is thoughtfully designed with plenty of space. The restaurant/cafeteria is well placed with lovely views over Salford Keys. There is a high Graphic/pictorial content to most of the exhibits and whilst this is very well done, I felt that it was too much so in places. The Museum tells the story of War in the Twentieth Century and in this respect does a good job for the casual historian, particularly for children. The exhibits are quite First World War ‘heavy’ – understandable, given it is the Centenary of this conflict. However, this means that other conflicts are very much overlooked. For example, I could only see one small reference to the Falklands War, in an Argentinian News paper that was on display.

2015-03-15 11.28.57

Where the Museum disappoints is the lack of hard exhibits given the space available. From memory, there were just five ‘show piece’ exhibits. A T55 outside the museum, and inside a T34/85, A U.S. Marine version of the Harrier, the AV-88B (a strange choice, given that the Harrier is a British invention and it’s role in the Cold War and the Falklands), a Sopwith Camel ( I think – it was suspended from the ceiling in the darkness!) and an unusual mine resistant vehicle from the Rhodesian conflict.

There were plenty of smaller exhibits, such as handguns, rifles etc but even here they seemed sparse. I don’t actually remember seeing an AK-47, a poor state of affairs given it’s role in every modern conflict since WW2. I was intrigued by the nuclear bomb on display! It is frightening to see just how small they are now. The small section on the Cold war and the nuclear threat was quite chilling. It is scary to think that in 1976, the government was still sending out protect and survive leaflets  – in fact if memory serves me correctly, this happened again in the 80’s with the Russian invasion of Afghanistan. Building a nuclear fall out shelter in your house using a couple of doors & some pillows seems to be a bit desperate now.

The final nod to modern conflicts is a piece of the wreckage from the twin towers World trade Centre 9/11 attack. A sobering reminder of many of ongoing conflicts in the news today.

So to sum up, if you are in the area, the Museum is well worth a visit as a general overview to warfare and history in the twentieth Century. It’s certainly a good introduction for children, with plenty for them to look at. However,  I would have been disappointed if I had driven up to Manchester just to visit this museum. There are plenty that are better and the lack of military hardware on display and the lack of detail and depth to the exhibits is a let down to what could be a much better facility.

Climbing the Lead Mountain!

Hanoverians AdvancingHanoverian casualties


I find myself in somewhat of a dither this week! As you can see the Hanoverians are all but finished, just a bit more work on the bases to do ( some flowers or tufts to brighten them up!), Flags to add ( not yet ordered!) and some nice bright silver highlights for the bayonets and it’s time to move onto the next project. The trouble is, I cant decide what it should be. It seems that I have temporarily lost my painting mojo and I think that I know why. I have plenty of subjects that need painting but none that I feel in the mood to do.

Mounted OfficersThe next Battalion that I should be painting is the final Hanoverian Landwehr Regiment, The Osterode, but even the excitement of finding that they have green facings and shoulder tufts hasn’t convinced me that another 24 red coats is a good idea at the moment. Then there’s my lack of officers in my army – I’ve got a nice pack of Warlord mounted officers to finish…red coats again though.

Pikemen

I’ve got some more Wars of the Roses infantry to paint. I’ve started to put together the Perry’s plastic boxed set of Mercenaries and I really like the pikemen but then again, it’s all gone quiet on the Lion Rampant front at the club so there’s no urgency here.


GlyptodonThen I have my own Deezee range that I am supposed to be painting. I’ve got a bit stuck here as I have undercoated a Glyptodon but I think that I should try to airbrush him rather than paint him, so he’s been relegated to the back of the table along with some Pterodactyls that I have started but cant quite visualize how I am going to base them. Along with the Deezee, I have some superb models from Lucid eye and I really like the look of the new Cromagnons but I was disappointed with my last efforts with Ze-Khor & Harranna so I’m not in the mood for painting these.

And there are plenty more models on my lead mountain – Prussian Lancers, British Field Forge, Royal Marines, Caribbean Sapper, even some nice Artizan World war two British! So what is going to get me back in the groove. It’s times like this when rather than focus on completing the projects that you have planned that you can be tempted to start a whole new Army. I mean, why not treat myself to that 1/48th scale Mauss that I have been so impressed with – I could do a little project on German super weapons of World War Two. Ooh!  I know, I could get that nice Pegasus V2 rocket in 1/48th scale and then there’s the Tamiya V1 and Sarrisa are going to do an MDF version of the launch site……Maus

Well, I do have plans for all of the above but lets try and stick to the projects that I have already started. So whilst I try to get my painting mojo back I have remembered one of the rules that I set myself. If you haven’t finished the models you bought from a show last year, you cant buy anymore at the same show this year! And the next big show coming up is Salute 2015. So what did I buy at last years salute? I bought some civilians for ‘Little Bingham’, so I have started a couple of these. At least there’s no formal uniform to follow- I can paint them how I want to and I can add a few more townsfolk to my gaming board. It’s not the most exciting subject, but I bought them for a reason and whilst I’m painting these I’m sure I’ll get back into the Napoleonic Groove again – after all there’s that anniversary coming up and I have an army to finish!

Civilians in Bingham


New from Lucid Eye – the Savage Core Range!

If you’ve been a regular visitor to our shop, you may have noticed a range called Lucid Eye. If you’ve missed it here’s a link:

http://arcanesceneryandmodels.co.uk/product-category/lucid-eye/

The range is sculpted by Steve Saleh and at the moment it is in development. But things are now getting exciting as we are about to add five new codes. They are literally hot out of the moulds and I have only been able to undercoat them but here are a few pictures of them:

Cromagon Hunters Pack 2

Cromagon Hunters Pack 2


SCT42 Atlanteans 1

SCT42 Atlanteans 1

SCT32 Simians 1

SCT32 Simians 1

SCT51 Amazon War Leader

SCT51 Amazon War Leader

SCE05 Colonel Klee, Third Reich Treasure Hunter

SCE05 Colonel Klee, Third Reich Treasure Hunter


I hope that you will agree, the sculpts are superb and they are very collectable! I’m hoping that I can pry Steve away from the modelling putty to give you an overview of how the ranges will work together but here’s my very short version…

The factions planned are the Neanderthal Hunters, Cromagnon Hunters, Jaguar Tribe, Simians, Atlanteans and the  Amazons. These tribes inhabit the world of the Savage Core, fighting each other for survival and for dominance over this strange land. Also inhabiting this world is a strange mix of Characters who will fight with or against which ever faction is encountered. Steve is working on a rule set to bring all of this together. In the meantime, I think that you will agree that the figures are worth having just for the sheer quality of the sculpting!

Each Faction has a leader figure and two packs of warriors. Some specials are also planned, an example being the Jaguar Pack master, so each faction will grow over time. There will also be some ‘mercenaries’ that whilst not part of a Faction can be added into the warbands.

What follows is a list of Savage Core codes which will be available at Salute ’15, all being well. The design work is almost complete and the majority of these codes will be available  via the  Arcane Scenery Stand TD22 at Salute. The bold type indicates that these codes are now in production and available in the Arcane Scenery shop from later today!

SCT01 Neanderthal Chief
SCT02 Neanderthals 1
SCT03 Neanderthals 2

SCT11 Cro Magnon Chief
SCT12 Cro Magnons 1
SCT13 Cro Magnons 2

SCT21 Jaguar Chief and Son
SCT22 Jaguar Tribe 1
SCT23 Jaguar Tribe 2
SCT24 Jaguars with Pack Master (Lucid Eye pack handler with 2 Dee Zee jaguars)

SCT31 Simian Alpha
SCT32 Simians 1
SCT33 Simians 2

SCT41 Atlantean Drill Master
SCT42 Atlanteans 1
SCT43 Atlanteans 2

SCT51 Amazon War Leader
SCT52 Amazons 1
SCT53 Amazons 2

SAVAGE CORE ENCOUNTERS

SCE01 Ze-Khor, Jungle Lord
SCE02 Harranna of Avisha
SCE03 Annalisse, Lost Explorer
SCE04 Lost Explorer
SCE05 Colonel Klee, Third Reich Treasure Hunter

To keep up with progress, please keep checking into my shop using the link above and to get the very latest news on Lucid eye, why not check into the Lucid Eye facebook page:

https://www.facebook.com/lucideyeminiatures


What Constitutes An Elite Unit?

Actually the title was just an intro to another round up on the progress with my  Hanoverians. But, before we get to that, a couple of things have set my mind working. The first was a throw away comment at our regular Black Powder game last week. My opponent, Pete, was explaining our game to his new ally and they were going through the troop types. He pointed out my Hanoverian Landwehr Battalion and said that ‘Steve uses them as British, so they still get first fire (Black Powder rules)’. Now, nothing derogatory was meant by this comment, Pete was just pointing out why one battalion looked different to another, on my side of the table. But it set me thinking about how should I differentiate between my various troops.

The other thing that was on my mind was that I had just finished reading my sixth book on Waterloo. Since my visit to the actual battlefield, last May, my fascination has intensified and I cant help but keep reading about it! The book that I had just finished was an account of the defence of Hougomont by Julian Paget & Derek Saunders, a nice little book that looked specifically at the attacks on Hougomont and the brave defence by the British Guards. Except that it wasn’t just the British Guards. There were Hanoverians and Nassauers there as well. Now before you think I am going down the Peter Hofschroer route of  ‘it was the Germans wot won the Battle really’, I’m not, that debate can wait for another day. What I’m interested in is the perceived quality of the troops involved in the battle and how wargamers portray them on the table.

Barry Hilton has touched on this subject in a very good article in Wargames Illustrated and I think he’s got a point. Should we really judge how good troops are and give them extra advantages over opponents based on reputation or should we let the dice decide as the game goes on. In other words, should all troops should be equal at the start of the game and only broad National traits based on operational factors  built into the rules. The latter is  certainly my preference, when it comes to general wargaming.

Back to Waterloo,  Wellington himself was concerned about the quality of his allied troops, partly due to their inexperience, I think and perhaps because some of them had been fighting with the French not so long ago. Reading accounts of the battle though, very few of these troops appeared to have under performed, ie. run away! Its been argued that this was because Wellington had cleverly bolstered the morale of these troops by mixing them with seasoned British battalions. Certainly at a Divisional level this was true, but not so much at brigade level and rarely at Battalion level. It looks to me as though the Allied troops performed every bit as well as the British regardless as to whether they were Landwehr or line battalions.

Being Devils advocate (why not, it’s my blog!), there were three notable instances of troops that ran under fire or refused to attack and ran away. The most serious example were the Duke of Cumberlands Hussars, who simply refused to engage and ran away. They were in effect an amateur regiment of dandy soldiers with fancy uniforms that didn’t want to risk injury….They had very little impact, if any, on either the battle or the troops around them.

The other notable incident, often referred to, is the retreat of the Dutch Brigade under the command of Bijlandt. This incident is still a matter of debate amongst armchair generals and historians (usually the same thing…) but to be fair, the general impression that I have, was that the Brigade had conducted itself well at Quatre Bras, losing a fair few casualties, only to find itself at Waterloo on the front line facing the full force of D’Erlons advance after being softened up by the French Grand battery. They appeared to have cracked and retreated under the sustained pressure.

So to the last of my three instances of Troops that cracked under fire – I bring you the French Imperial Guard! These boys had been loafing around for most of the battle until being led by their beloved leader, Napoleon, across the battlefield to engage an enemy that had been under fire all day, charged repeatedly by the French Cavalry and were now facing yet another massive attack. So who was that broke and ran away? Why, the French Elite Infantry, taking with them the rest of the French Army. Confronted with an enemy that stood and fought, the Imperial Guard broke and ran. Well to be fair, they retreated in reasonably good order but retreat they did!

So the next time someone suggests that my Hanoverian Landwehr should be down graded as they are inferior troops, I’ll be happy to oblige if he’ll accept that The Imperial Guard will take a massive minus on their morale if they should come under fire, as history shows that they wont stand…

2015-02-22 11.08.01

Right, tongue out of cheek now! Here’s some pictures of my Hanoverians. You can see that I have modelled the cords on the shako’s using green stuff and thickened up the plumes using Vallejo filler which was much more suitable for that job. Painting is now underway, and the first four are nearly finished. Just the highlighting and basing required.Hanoverian Landwehr

Hanoverian Landweher

Slow Progress with the conversions…..

Hanoverians work in progressThe title of this weeks blog says it all! Progress has indeed been slow and I am stretching my  ‘sculpting’ ability and patience to their limit. The Hanoverians are the problem. I’m trying to match the conversions that I have done to the original Victrix models that I had painted. The first task was to make some blanket rolls to go on their backs in the place of packs. I have actually cheated with a couple of the models and despite saying that I would cut the british packs off of the ones that I had put on in error, I decided to leave a few on. May be those guys had picked a few spare packs up from Quatre Bras! Anyway, modelling the blanket rolls was not too difficult, although a bit time consuming, as I am not used to working with green stuff. You can see the result in the picture above – I think that once they are painted they will be fine.

The real problems came when I tried to modify the shako’s. The first thing that I changed was the plumes which are a bit long and thin. I simply trimmed these down and then used a tiny amount of green stuff to thicken them up. Well, that took forever, partly because I managed to get the green stuff to stick to my scalpel more effectively than the model! Again, if you look carefully at the picture above, you can see the difference it makes. The model to the left has the original plume, the centre model has the the modified one and the right hand model the thin tall plume that I want to replace. After a while of fiddling around I thought that I might just either cut the plumes from some other Shakos & replace them or perhaps just try some filler.

While I had the green stuff mixed though, I thought that I might try and make the cords for the shakos. To do this, I carefully rolled out a very fine ‘sausage’ of green stuff, cut it to the correct length and then attached it to the first shako. Or rather I tried and tried and tried and failed!!! I just could not get it to stick to the model. It stuck to my scalpel, it stuck to my needle. I tried using water to dampen the tools but it still would not stick to the model. After 20 minutes of this I gave up and I think it is back to plan B – using cotton. It may be that the green stuff that I am using has gone off a bit – it has been kicking around in my model box for sometime now. So I may have another go with a fresh batch. At this rate though, it will take me a fortnight to get to the priming stage with these models!

As if that wasn’t frustrating enough, the other project on my work bench hasn’t gone too well either. Having painted Lucid Eye’s Ke-Zhor, I thought that I would paint his mate, Harranah. I think that this was a case of trying too hard as I just could not get the finish and flesh tones that I wanted. Nevermind, I guess you learn more from your mistakes and maybe I’ll give the model another go later. In the meantime, She’s done and going in the cabinet once the basing is finished! Checkout Facebook later for some more scenic pictures of her in perhaps a more sympathetic setting!

2015-02-15 17.27.15

Whats on the Workbench – More Hanoverians!
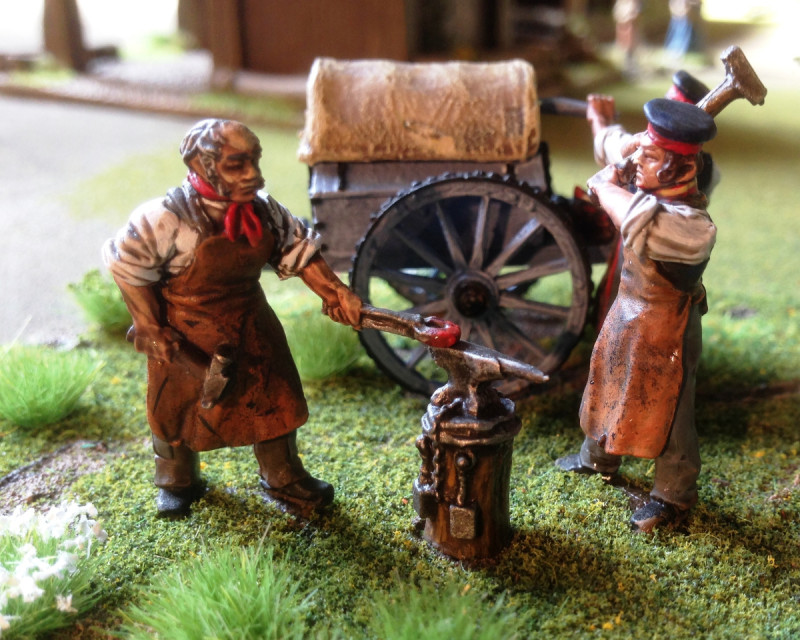
Hanoverian LandwehrHaving finished the Lion Rampant Campaign, it’s back to painting my Napoleonic Army. I’m still working on the British 6th Division at Waterloo and having completed the English Regiments, I’m back on the Hanoverian contingent. There were four Hanoverian Landwehr units in the Division, Verden, Lunberg, Munden & Osterode and so far I have painted two of them. So on with the third unit now. First of all a disclaimer! I have decided to model two of the units wearing Stove pipe shakos and two wearing the flat field hats for no other reason than they will look nice on the wargames table. Actually finding accurate descriptions of exactly what the Hanoverian Landwehr really wore is difficult to say the least, with the usual conflicting advice from various sources and experts.
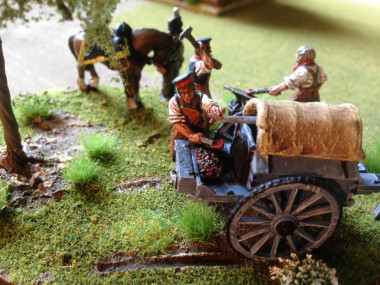
Broadly speaking, the Hanoverian Landwehr were dressed as British Redcoats but with stovepipe shakos rather than the new Belgiac shakos and with a blanket rather than the usual haversack & kit. The stove pipe shakos also seem to have the cords that weren’t present on the original ‘Peninsular’ Stovepipe shakos. Just to add to the confusion, the Hanoverian Field Battalions, or regulars were dressed more or less as British regulars and did have Belgiac shakos & all the kit! As for the officers, they were drafted in from the KGL or other British regular units so could be wearing any Regts uniform although they probably adopted the yellow sash of the Hanoverian Army.

I suspect that the general principle was that the regular field units were kitted out in the ‘latest’ British uniforms whilst the Landwehr had the cast off’s from the Peninsular campaign and anything else that was kicking around the quartermasters stores when they were called up!

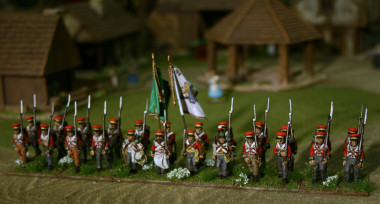
To add to my modelling woes, whilst Victrix used to do a nice set of conversion heads that I used for my first unit, they have now been discontinued, so some conversion work will be required! I already had 8 extra figures left over from my first go at painting Hanoverians so I would incorporate these into the new unit. The picture at the top shows how the new Battalion will look when finished. I decided to use the running figures from the Vitrix set as I had some of these left over from previous projects. Rather than have a lot figures in the same pose, I thought that Iwould convert them to look as though the unit was taking casualties. I like to have different poses in my units and try to have a bit of a story going on. I know that some wargamers prefer a uniform look and like to see all of the figuresin a unit in the same pose. Whilst it does make life easier, I find it tiresome painting the same pose over & over again. Besides, I like to do a bit of modelling for a change!

Landwehr Conversions

The close up above shows the original running figure on the right and the conversion on the left. To get the figure to look as though it is falling it was simply a matter of cutting through the back of each leg and bending them backwards. Once the glue had set, I put some filler into the gap on the front of the knees and I had my falling casualty. I then used a couple of standard arms from the set and the head is a spare peninsular head from the Perry boxed set. I’ve actually made an error by adding the back packs, so these will come off and be replaced by a simple blanket made using green stuff. The shako’s aren’t correct either, as they are missing the cords. So the plan is to carefully shave down the badge plate and either use cotton thread, thin wire or green stuff to make the cords.  I suspect that modelling the shakos will be the biggest challenge & somewhat time consuming but it will mean that the models in the unit will look about right. When they are painted , I’m sure that they will all blend in.

2015-02-12 11.47.24

As you can see, for a few small cuts, you can get a very different and dynamic pose!

So there is my next project under way, a total of 14 more Hanoverians to finish modelling & painting. Meanwhile, I’ve been busy with the paint brush as well. I finished off the DeeZee standing Lion:

2015-02-12 11.49.58

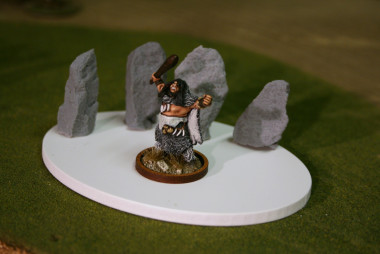
and I couldn’t resist painting Ze-Khor, Lord of the Jungle, from the Lucid Eye range. These are just quick pictures. I’ll get some better ones up on face book later!

Ze-Khor, Lord of the Jungle