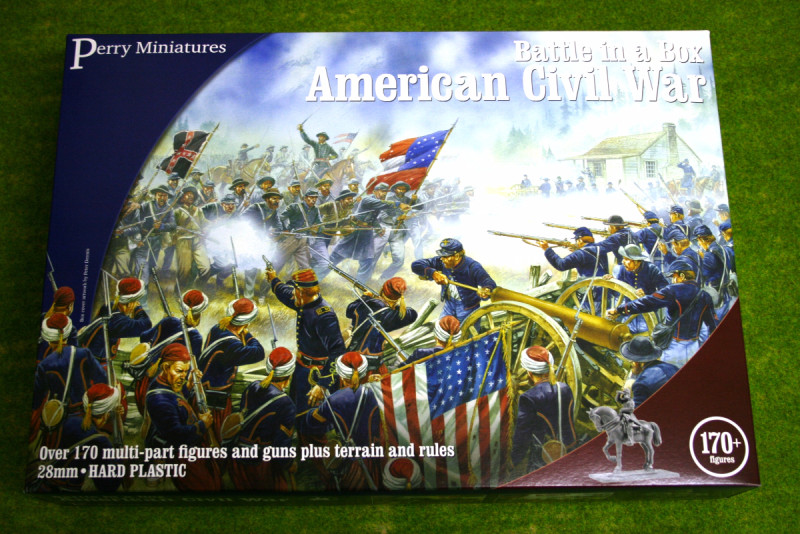
Our gaming group continues to work its way through the Battles of the American Civil War, with this battle, based on the action at Pea Ridge, Arkanas 1862. Our small group has long been fascinated by the American Civil War and all of us had a large collection of Airfix /72nd scale armies – conveniently produced in grey plastic for the Confederates and blue for the Union, that we played with and gamed with as kids. I also had a lovely collection of the Britains ACW figures, including the beautifully produced artillery limber. So the temptation to collect armies in 28mm scale has been there and gnawing away, particularly as the Perry’s produce such a great introduction to the period with their Battle set.
 However, recently, Andy has treated himself to a huge collection of beautifully painted miniatures that covered both the Union and Confederate forces and this has allowed us to branch out into the American Civil War without having to paint armies! We have already fought a number of battles using these figures and you can see our version of the First Bull Run in an earlier blog here;
We are using Black Powder Rules, modified with the Glory Hallelujah! supplement, as well as some house rules that enable each battle to reflect some of the challenges that the Commanders faced on the day. For this battle, the main consideration was the large wooded area on the Confederate left flank, Morgans Wood, bordered by the road. The house rules were that no brigade orders could be issued to troops in the wooded area, each regiment would have to receive separate orders. In addition, units could only move a maximum of two moves per turn in the woods and would suffer a -1 on firing if two moves were made. Musket/Rifle range was limited to 12 inches in the woods. The Union forces were able to deploy first but were permitted to ‘hide’ some of their forces. The Confederates had to indicate their deployment on a map of the table, without first being able to see how the Union forces were disposed. Pete would be commanding the Union Army as General Osterhaus, I would command the Confederates as General McCulloch. Andy was umpiring.
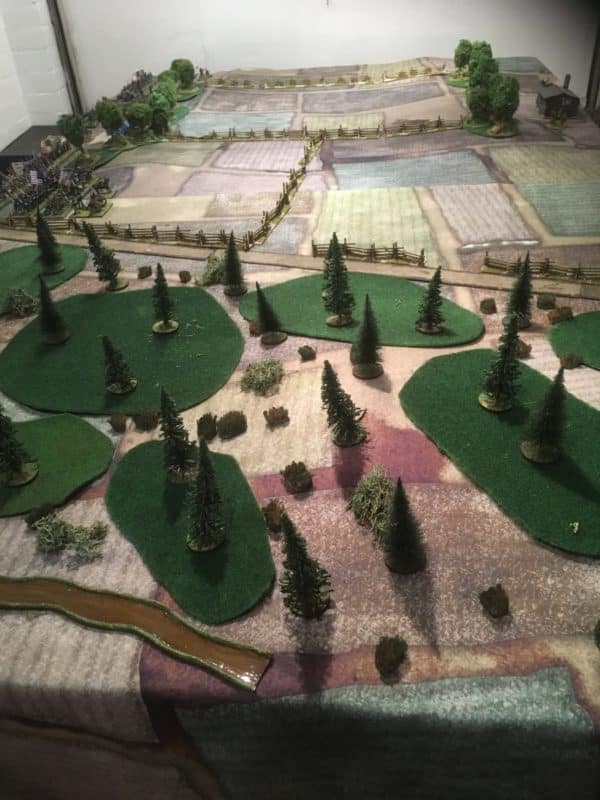
Table layout for Pea Ridge, Arkansas
As ever, the battle report is somewhat one sided and picture heavy, with the highlights from the Confederate point of view!
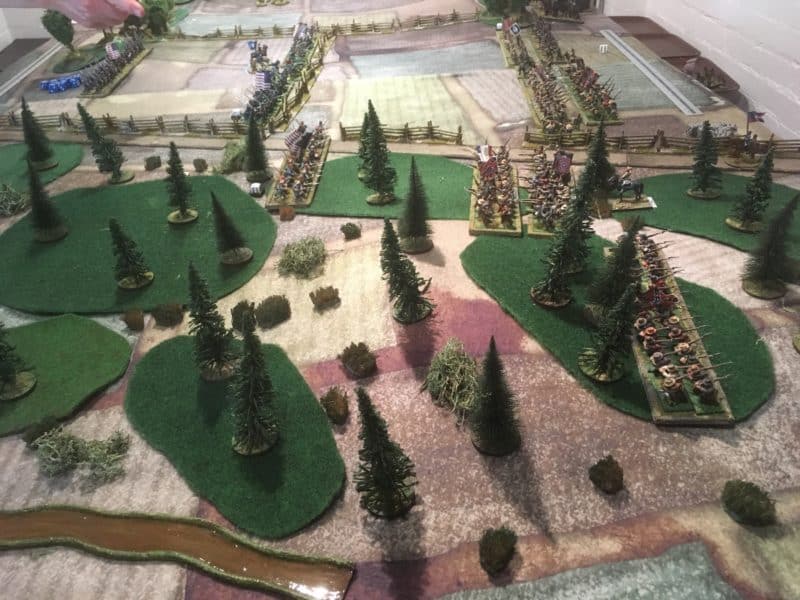
Initial Deployment, with Confederates advancing into Morgans Woods
Despite the limitations on movement in Morgans wood, I deployed a full brigade into this area. Taking advantage of the new Black Powder rules, which gives brigade commanders a re roll if the Army Commander is present, General McCulloch was moved to oversea operations on this flank. It was not clear how the Federals were deployed as some of their units were off table and hidden. The centre appeared to be unguarded with most of the visible Union forces far out to the right. I had decided to place my strongest brigade in the centre, supported by the cavalry, concealed behind the tree line. The right flank would be held by a weaker brigade under the command of General MacIntosh. The plan was to pivot the whole army on the right flank, with a probing attack through the woods on the left.
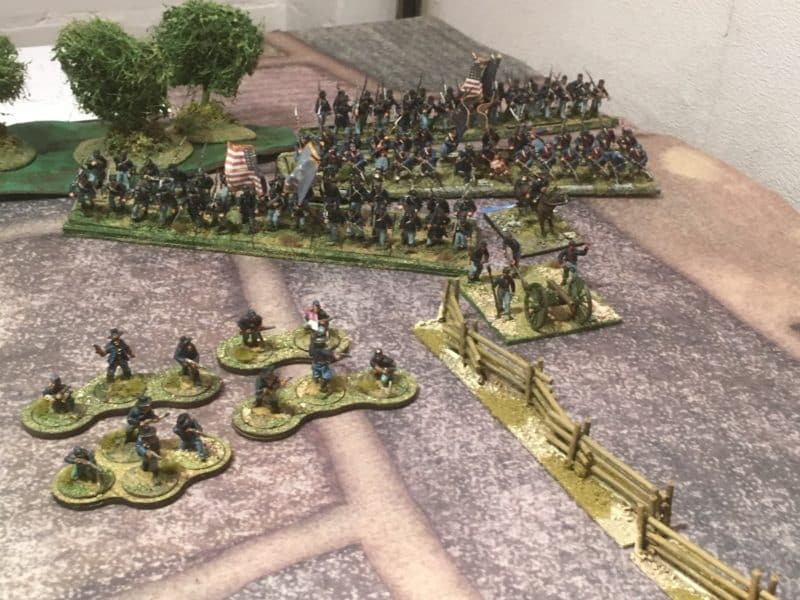
General Osterhaus commanding the strong Union Brigade on the right.
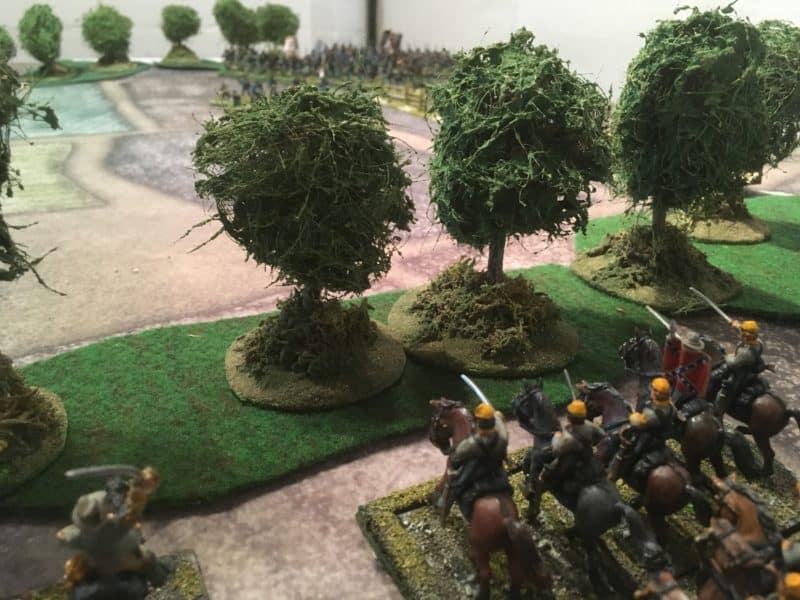
Confederate Cavalry concealed behind the tree line.
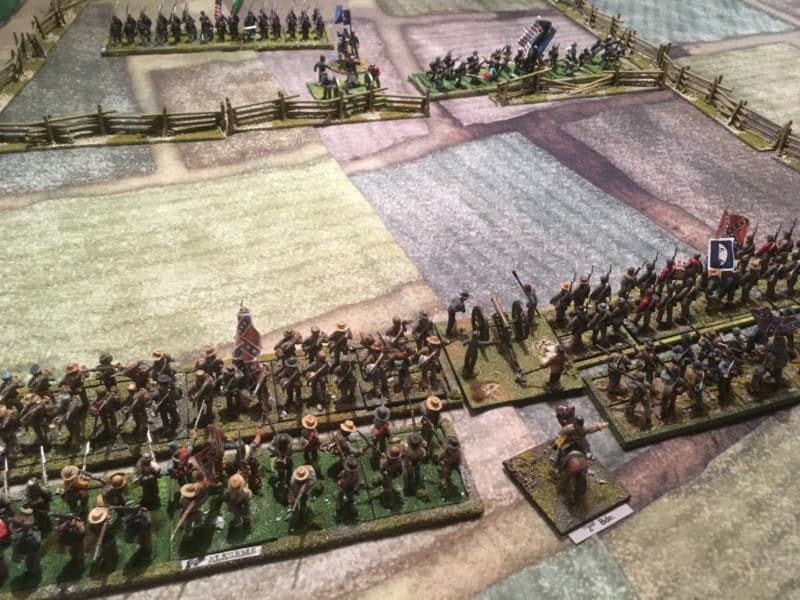
Confederate Centre commanded by General Herbert
The brigade in the woods were extremely successful in their advance. Not only were they able to maintain cohesion through the difficult going but they surprised an advance Union Regiment and immediately put it to flight with superior gun fire. Or to be more precise, my strategy of having the General on hand for re rolling failed command rolls worked as planned and my dice throwing was extremely fortunate when it came to combat!
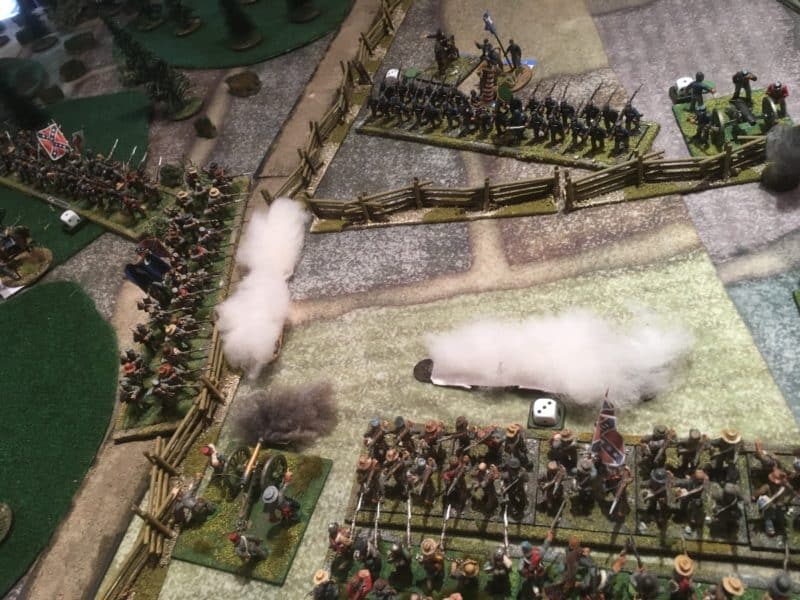
Union Outflanked!
With the successful march through the woods the Union Centre was now out flanked and to add to the Unions woes, their reinforcements were late arriving. By the time they were able to deploy their reinforcing brigade, the advance brigade had been broken and once again, they were out numbered and out flanked.
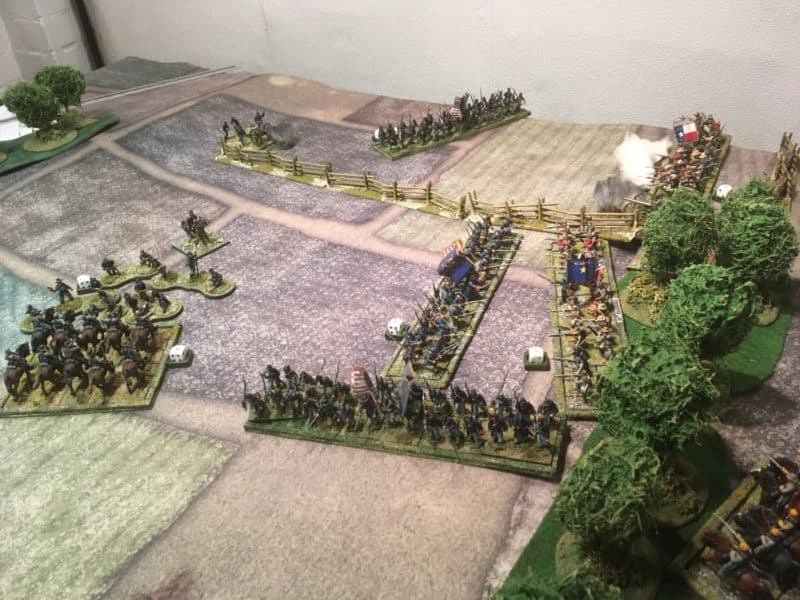
Union advance on the right!
An aggressive move by the Federal troops on the right flank was more successful, pinning the Confederate brigade and inflicting severe casualties. However, the Rebel cavalry were able to push back the Skirmishing line and threaten the rear of the advancing Union Brigades. Despite the Unions success on this flank the centre was crumbling as a second Brigade succumbed to superior fire power!
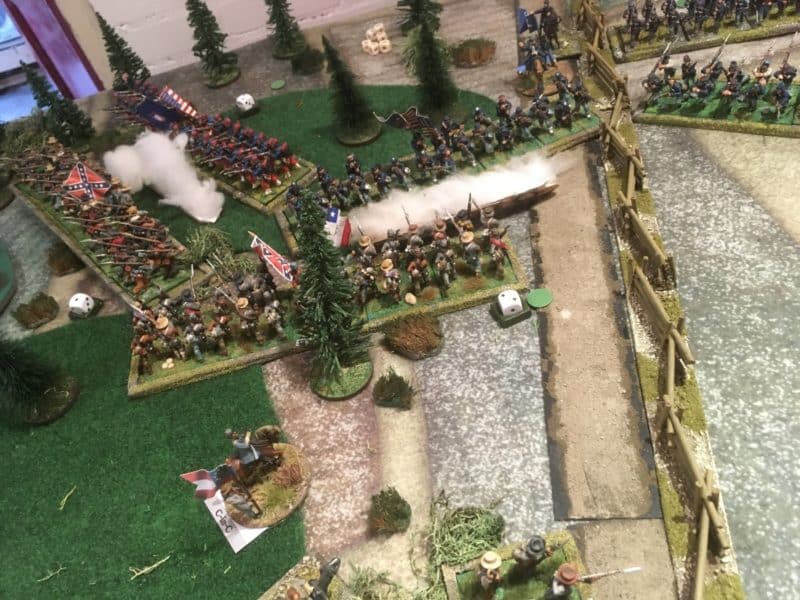
Pour it on Boys!
A lull in the battle, whilst the advancing Confederate troops reorganised and negotiated one of the many fences on the battlefield, allowed some respite for the Union. The Union almost stemmed the tide but the damage had been done and the retreat was sounded.
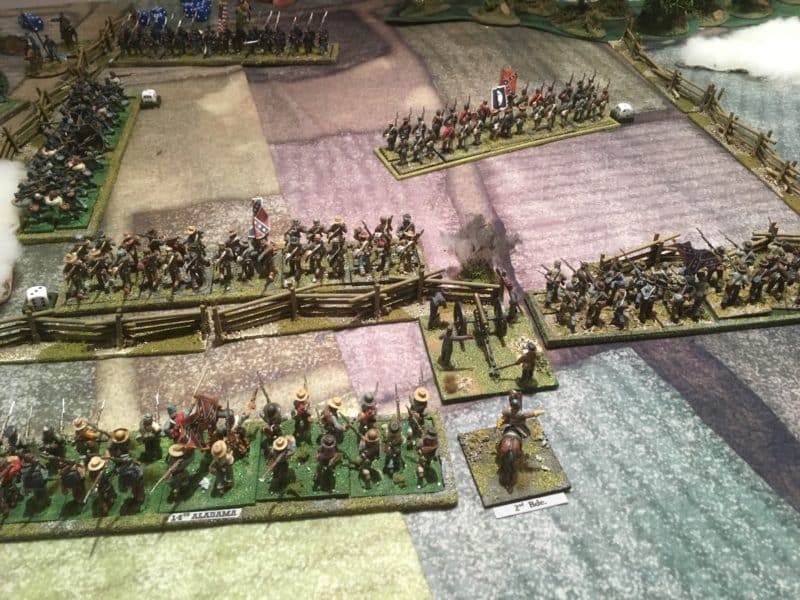
Forward! The confederates clear the fence and push on to victory!
Another victory for the Rebels and a complete reversal of the actual historical result! The surprise was, that despite the additional rules, the Rebels were able to force their way through the woods without any disruption and effectively outflank the Union forces. Add to this, thanks to some unfortunate dice rolling, the Union reinforcements arrived far too late, allowing the rebels to deal with one brigade at a time, effectively winning the battle on the left flank and the centre. The aggressive move by the Union forces on the right caused some consternation and badly damaged the Brigade commanded by General Macintosh but not enough to influence the overall outcome.
The Confederates march on – things will get tougher as we get further into the war. I suspect that my jammy dice rolling will also take a turn for the worse at some point….
THE COMMERCIAL BIT
If you would like to build an ACW army, a great place to start is with the Perry Miniatures plastic boxed sets. They are available, post free from my shop:
The Black Powder ACW supplement ‘Glory Hallelujah’ can be found here:
To follow us on Face book click here:
Happy Modelling!
