Pikemen, Prussians and Pterodactyls

It’s been one of those weeks when life has got in the way of my hobby! So I haven’t been able to spend as much time as I would like to have done with my various painting projects. The result is that nothing is actually been finished although things have moved on. One of the benefits of having a dedicated hobby area means that if I have just a spare five minutes, I can do a little bit here and there – add some static grass to a base, undercoat a figure even slap some paint on!

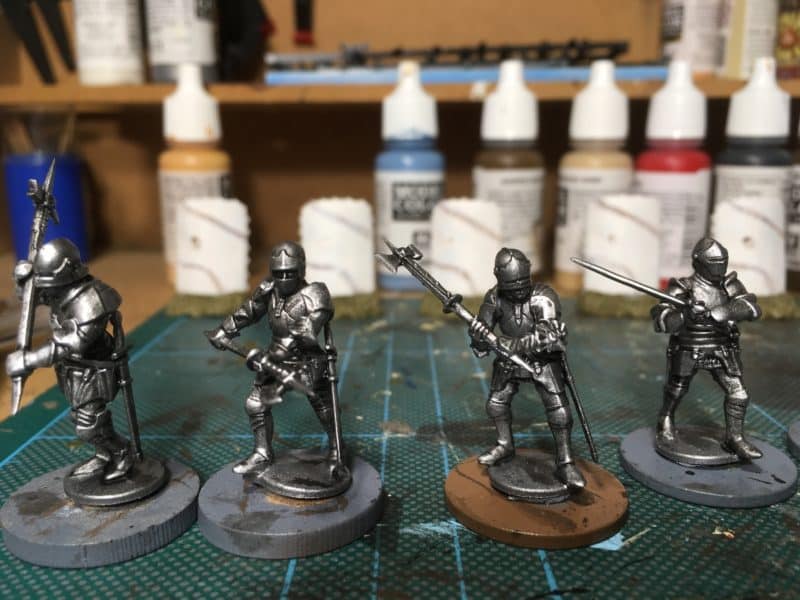
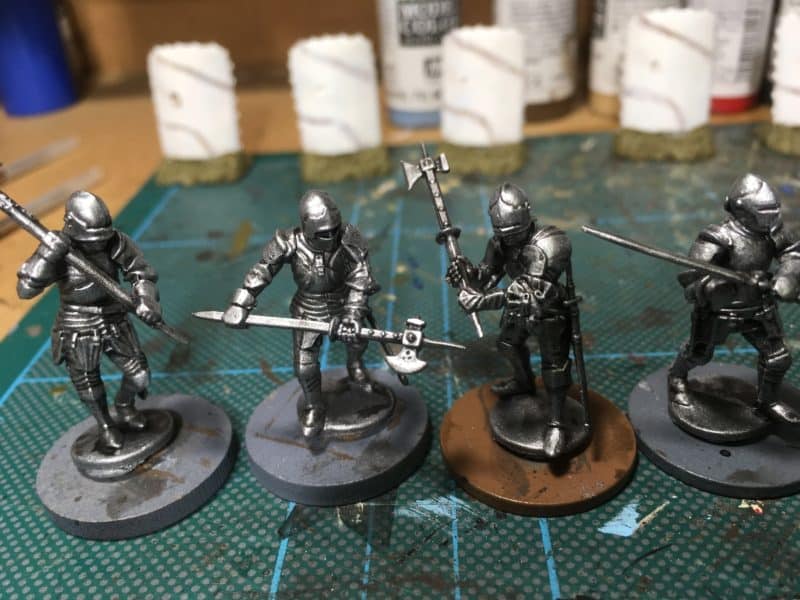
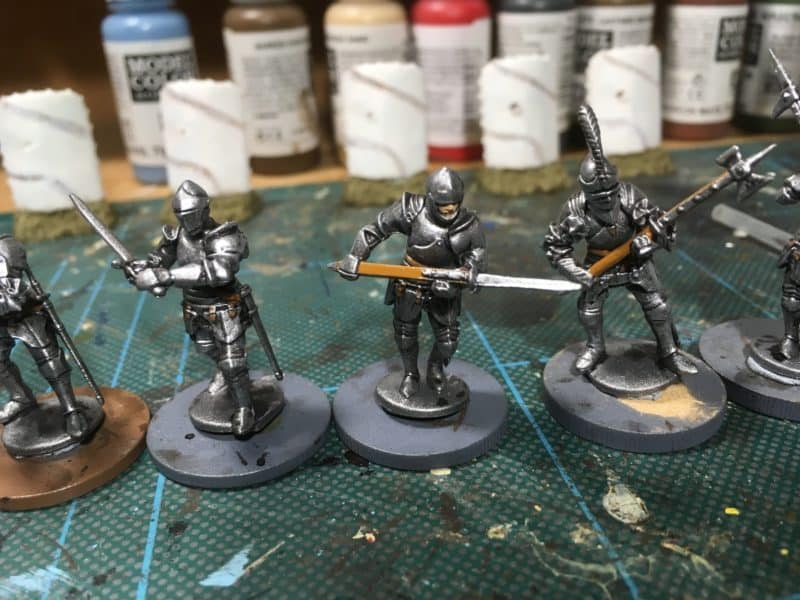
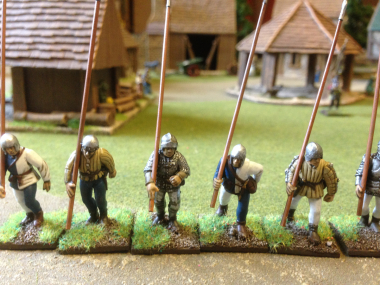
Perry Pikemen

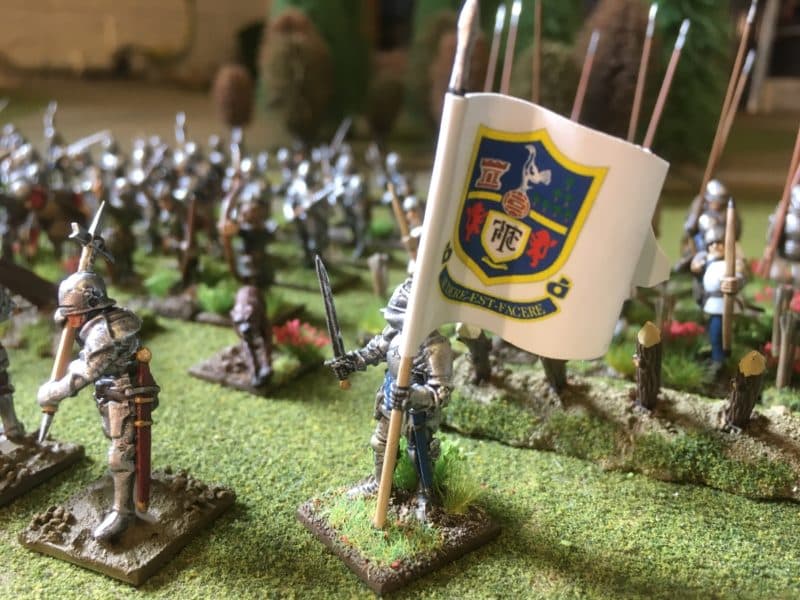
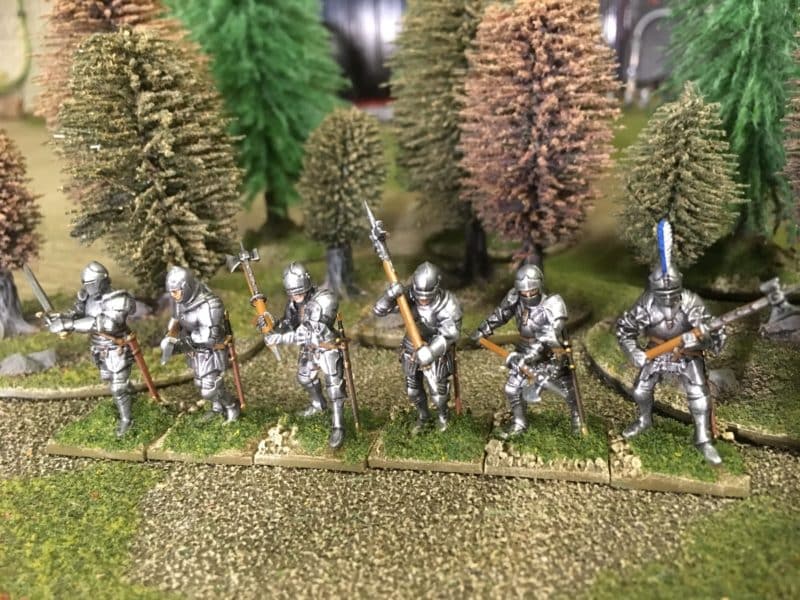
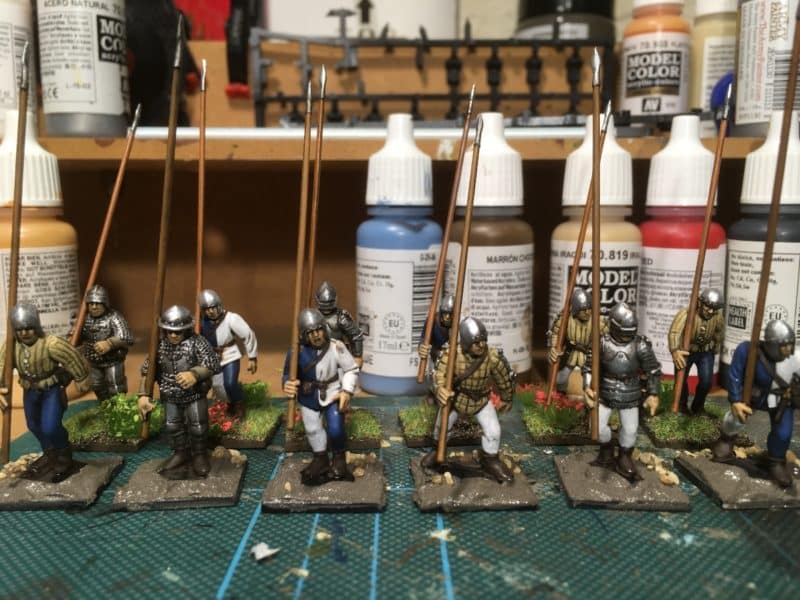
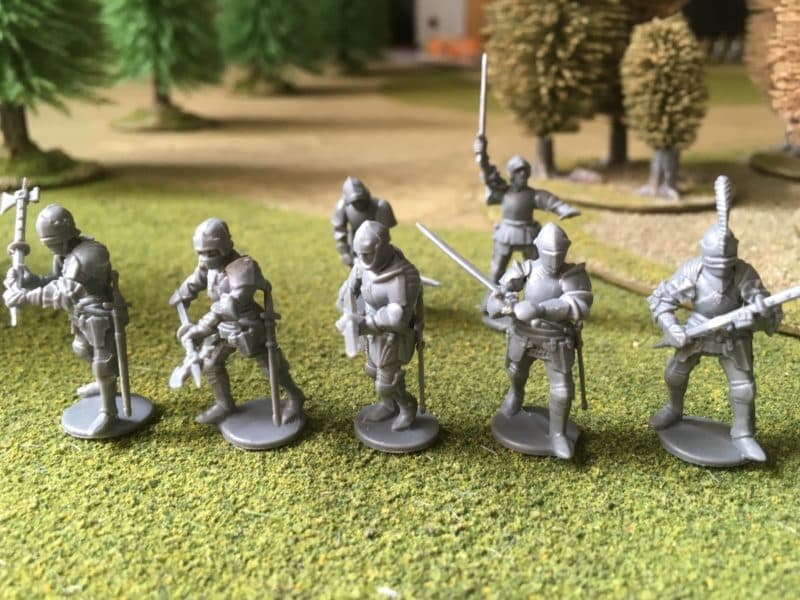
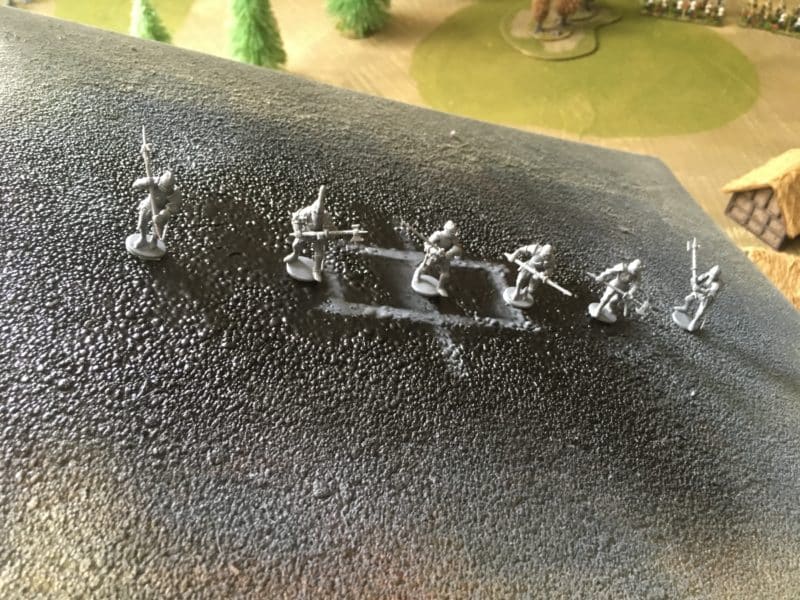
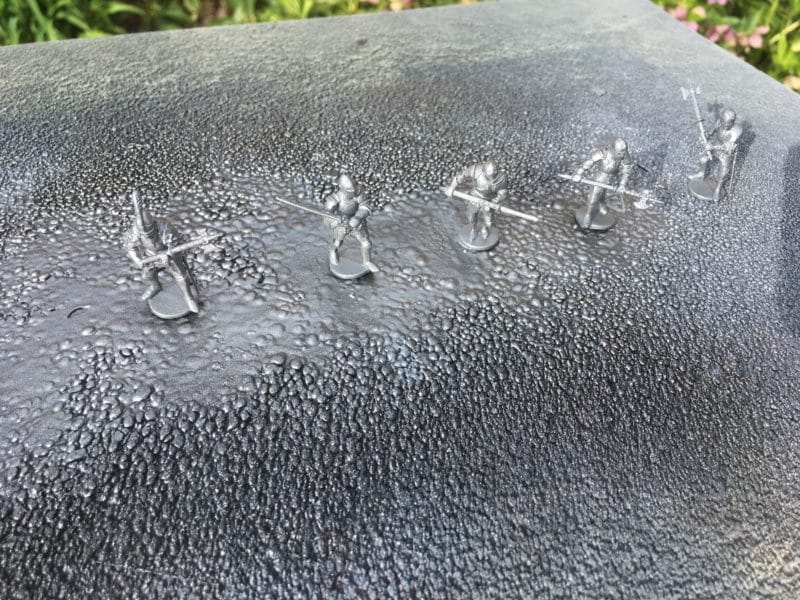
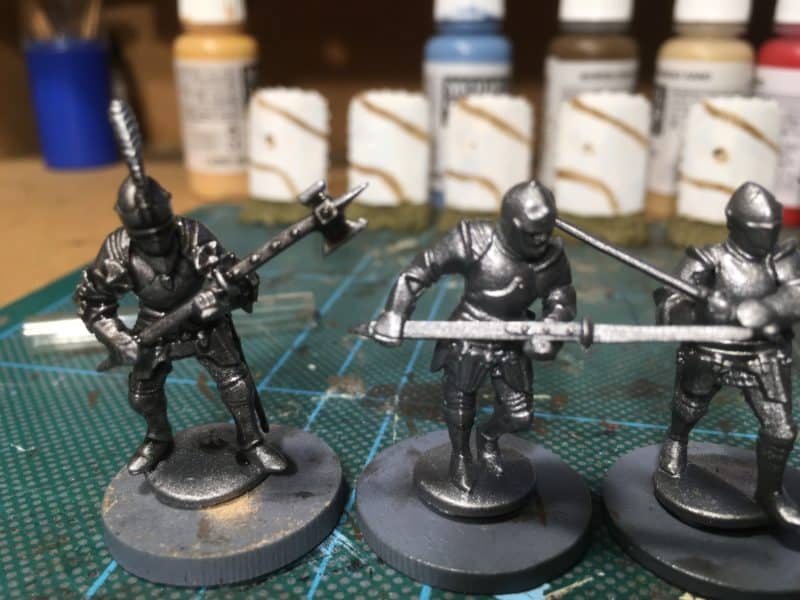
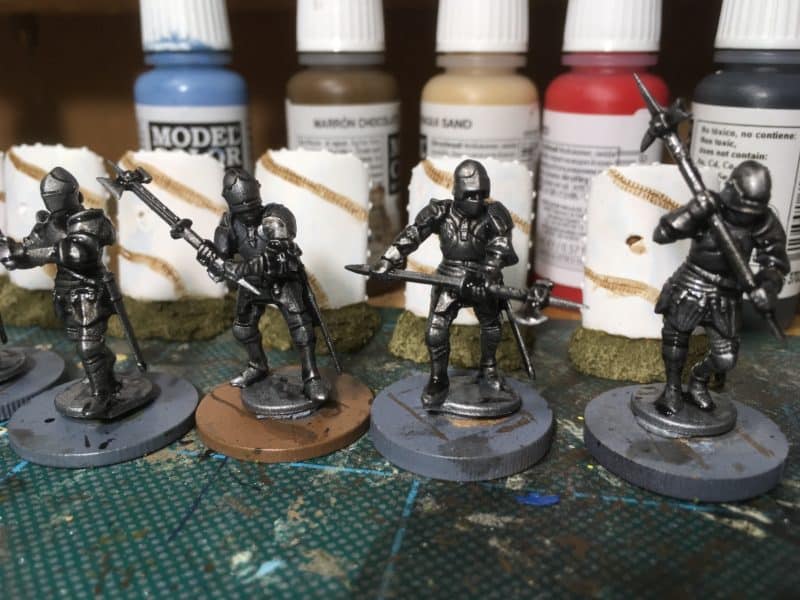
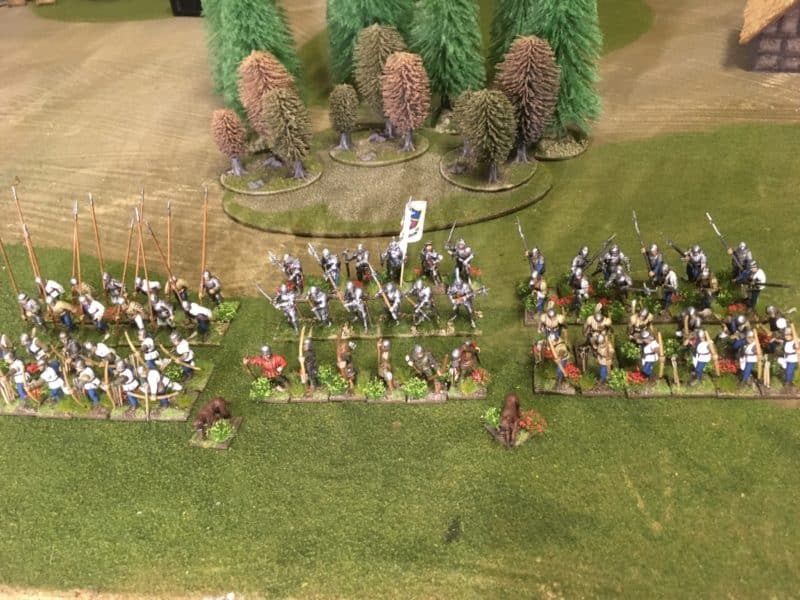
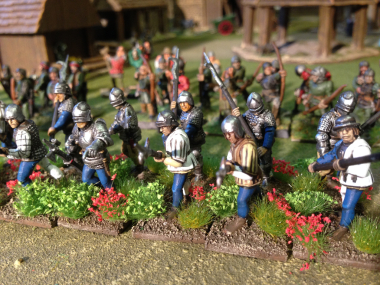
So the six Pike men for my Wars of The Roses army are very close to being finished, just a bit of extra detail needed for the bases – a few tufts & flowers! the plan is to have at least one unit of 12 pike men for my army, probably two, but as the next Lion Rampant Day is not until September there is no rush to complete the unit. I have a box of the plastic Perry Mercenaries and the plan is to make two blocks of Pikes, a small unit of mercenary Crossbow men and the remainder as hand gunners.

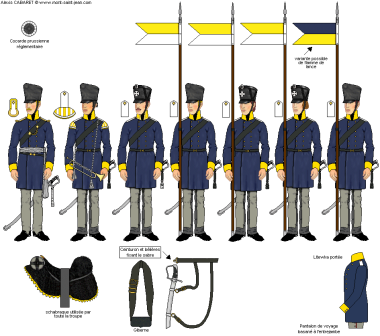
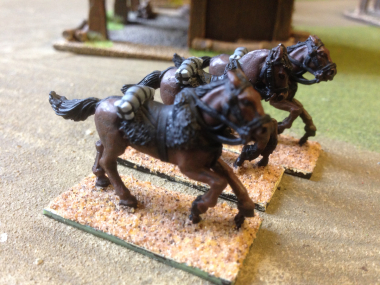
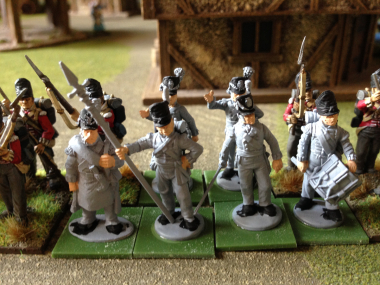
I also started on my Prussian Landwehr Cavalry. There will be 12 in the unit and they are all prepared & undercoated and I am painting the horse in batches of threes. Here the first batch nearly complete. The difficulty I have had with this unit has been trying to find details of the uniform. The figures are from foundry and whilst they are very nice, they seem to have different head gear to my Mont St Jean Reference:

CavLandwehrSilesie01

Just to add to my confusion the detail on the sheepskin saddle cloth is showing as a Yellow trim ( makes sense if they are Silesian) but other pictures and references give the colour as Red regardless. In fact the reference material for Landwehr Cavalry is thin and as usual contradictory. I think that I will have to overcome any ‘button counting’ tendencies and go for what I think looks best – in this case yellow trim to match the yellow facings! So here is the progress so far:

2015-04-16 09.34.30

As you can see, still plenty to do!

Pterodactyls

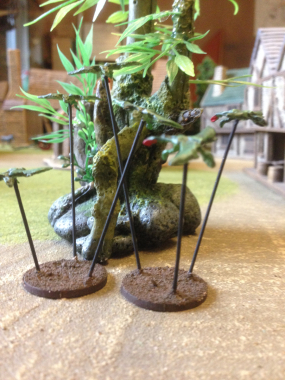
Finally, the Pterodactyls are nearly completed! This is all part of my project to get one of each of the DeeZee codes done. The pterodactyls are certainly straight forward to paint but detailing them is a challenge that is beyond my eyesight & patience these days! I just gave them a spray on top with dark green & a spray underneath with light green. Then a quick couple of dry brushes to try & bring out the detail, followed by a brown wash. They are mounted on a 25mm MDF base using thin wire. The final stage is to detail the bases and I may have a go at painting the eyes……They are only 15mm or so wingspan so no one is ever going to look that closely but as a group of 10 they look quite impressive and will add chacter to a model.

How to win the battles and lose the war…

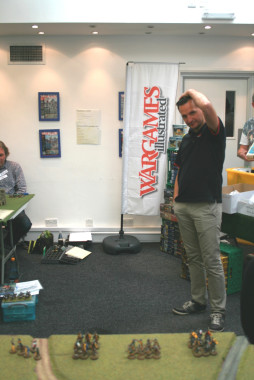
So the big day arrived on Saturday, the Lion Rampant event at Wargames Illustrated HQ. As with past events, the day was very well organised, with plenty of refreshments on hand and after the briefing and the mandatory mug of coffee we were off to fight the first battle! The day would consist of three scenarios, the first a pitched battle, the second, a random scenario chosen from the rule book and the third, a final battle with set objectives. In the first battle, we could support an ally by donating a unit to him at any point in the game. The second battle was as per the scenario and the third Battle was an eight player (four a side) grand battle with objectives. We had been split into two groups, Rebels & loyalists and with each scenario, it was possible to score ‘advantage points’ for our team as well as accumulating kill points which would boost our individual retinues.

The question was how would my retinue perform?

Scenario 1 – Pitched Battle

AtlLast the Retinue advances!

At last! The Retinue advances!

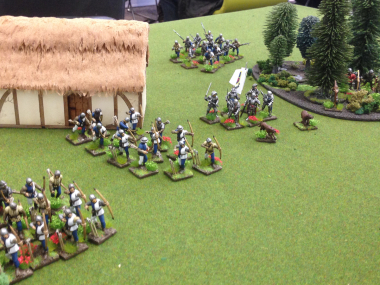
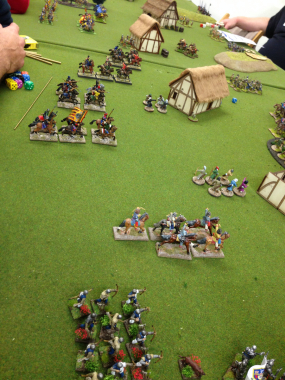
I had drawn Karl as my opponent, a familiar enemy from the club, so no surprises as far as his retinue went. He had a mixture of  Crossbowmen, Archers, Bidowers, Mounted Sergeants and his command group of foot knights. The big problem was my command rolls – I just could not roll to get my retinue to move! The one time I managed to advance, Karl retreated and the frustration was building! After a brief arrow fight, I goaded Karl into advancing, although by now I think that he had seen me fail so many command rolls that it looked as though he would run me down with his mounted sergeants. At last, my archers decided to loose! The ensuing carnage saw Karl’s mounted units wiped out and his missile troops retreating as they failed their rally attempts. However, both of our command units proceeded to commit mutual destruction and in all the excitement,  I forgot to use my special ability to automatically pass rally tests, meaning that my leader also fled the field.

I had killed or routed the majority of the opposition when the game ended, losing ‘only’ my foot knights & bidowers but alas, my victory was tarnished by losing the boss unnecessarily.

Scenario 2 – Meet The Neighbours

Loose!

Loose!

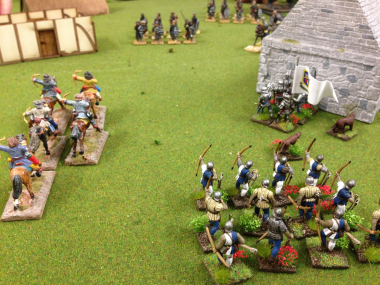
After a very relaxed lunch break (more on this later), it was on to the second scenario. The scenario involved getting your retinue across the table to exit from the opponents deployment zone whilst stopping your opponent from doing the same to you. My opponent was Wayne, no less a personage than the Wargames Illustrated Sub Editor! His retinue was very similar to Karls with a good mix of mounted & missile troops. The game started for me where I had left off previously. I could not pass two command rolls in succession! I was beginning to become more frustrated with my dice rolling rather than focusing on the scenario. In my eagerness to at least do something, I moved one unit of archers straight down the board, unsupported,  to engage the enemy. Well they moved and inflicted a few casualties but they did very little else until they were ridden down by the enemy…

Fortunately, those few casualties were enough to slow Wayne down and at last the other unit of archers joined the fight. My other success was that my defensive dice rolling with the foot sergeants in Schiltron meant that Wayne’ s attacks had ‘bounced’ leaving him vulnerable to failing his rally rolls. With a few hits from my archers, his mounted troops routed or were wiped out, along with most of his retinue. However, by now he had moved one of his units off of the table, his foot Knights, leaving just one unit of archers in my way.  At last  my retinue started to move and with two units just one move away from the edge of the table and two other units close behind, all I needed to do was to keep his archers out of the way.

I couldn’t resist a final shot at them though…. I passed the command, rolled for hits. I rolled 8 fives & sixes out of 12 dice, my best roll of the day so far. Four casualties inflicted in one go. Brilliant! Except it wasn’t. Wayne, of course, failed his rally test and the unit routed off the table, immediately ending the game. He had won the scenario as he had moved more of his units off of the table, one unit to my nil! Doh!

Well, my kill points were accumulating nicely, but that was about it.

Scenario 3 – Final encounter – capture the buildings

The last battle.

The last battle.

My Final opponent, Duncan had a Caliphate Army with a 50-50 split between mounted troops & foot troops, supported by 2 units of bidowers. Where he could, he had upgraded all of his units with bows or spears so that all of his army could fire missiles at 12 inch range. As well as capturing the buildings, the scenario was played over an open table so you could target and attack any enemy unit, regardless of who controlled them.

Once again, my command rolls were letting me down. It felt like I had failed 66% of my command rolls during the day, when it should have been closer to 33%. I think the day was summed up when my Foot sergeants took just one casualty from a bidower unit. They needed to pass a courage test of 5+, I rolled 3 and they became battered and moved back. I tried to rally them next go – I still need a 5+, I rolled 4, so they moved back again and lost a man. I tried to rally them again. I now need 6+, I roll 5, so they lose a man and go back. I try once more for a rally, I now need 7+ and yes you’ve guessed it, I roll a 5 again and now they have run out of table, so good bye Foot sergeants…

The rest of my command rolls are about the same, so whilst Duncan outmaneuvers my troops, attacks my ally and generally seems to go where ever he wants to, my army stands to one side, like the Stanleys at Bosworth, occasionally firing and inflicting the odd casualty. However, at last my luck turns and once again, the archers do the business, killing anything in range ( which is pretty much everyone by now!). So once again my kill rate is high and apart from the cowardly Foot sergeants who ran away from the bidowers, my army is intact. As regards the scenario, I captured just one building and two are required to score victory points. Oh dear!

Post match analysis

On the positive side, there’s no doubt that my retinue is a killing machine! Two units of expert archers can inflict deadly casualties when acting together. The down side is that the retinue lacks mobility, even allowing for my poor command rolls. There is no doubt about it though, I let my poor dice rolling cloud my judgement and as a result I lost my leader in the first scenario and the second scenario was lost outright. Had I stayed cool and worked with what I had, I would have won the first two scenarios, which would have given me a much stronger position for the third. On the day, the rebels were vanquished and the King was securely on the throne!

Armour On!

Armour On!

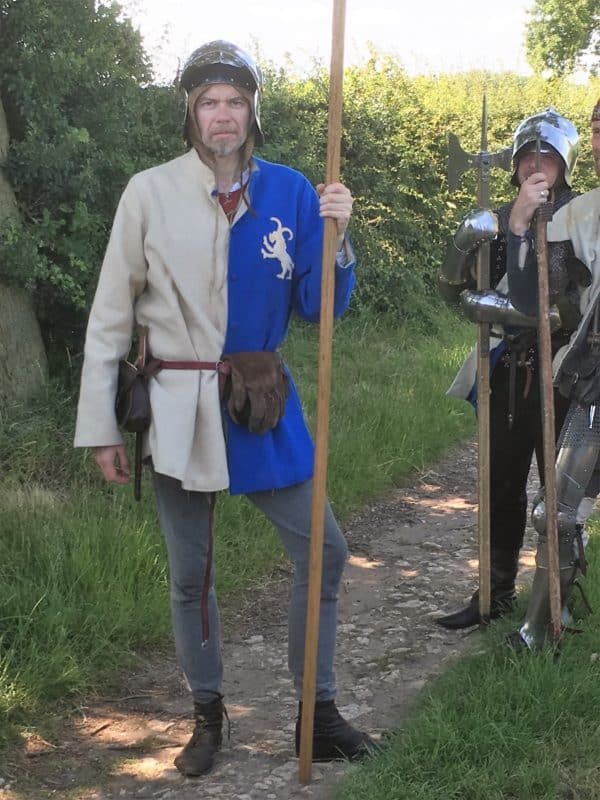
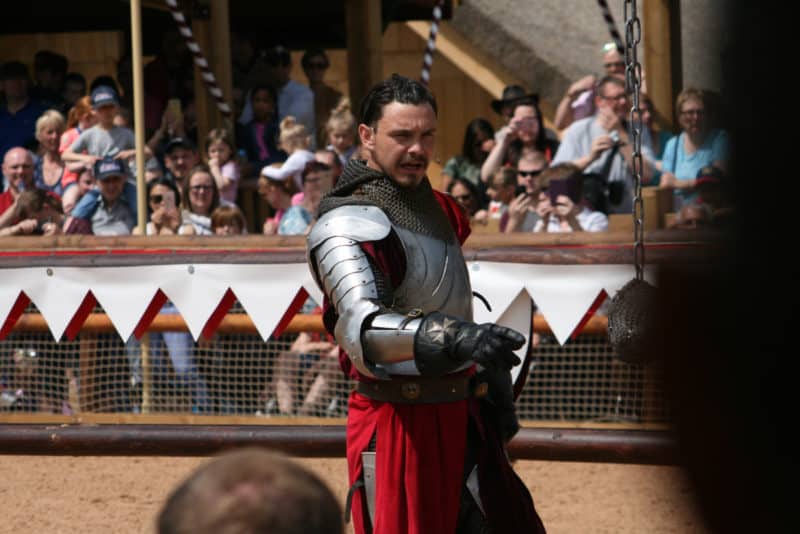
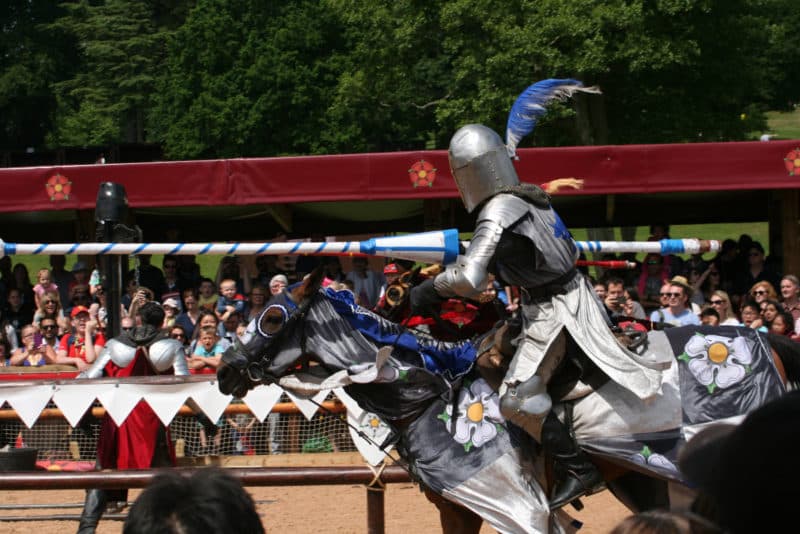
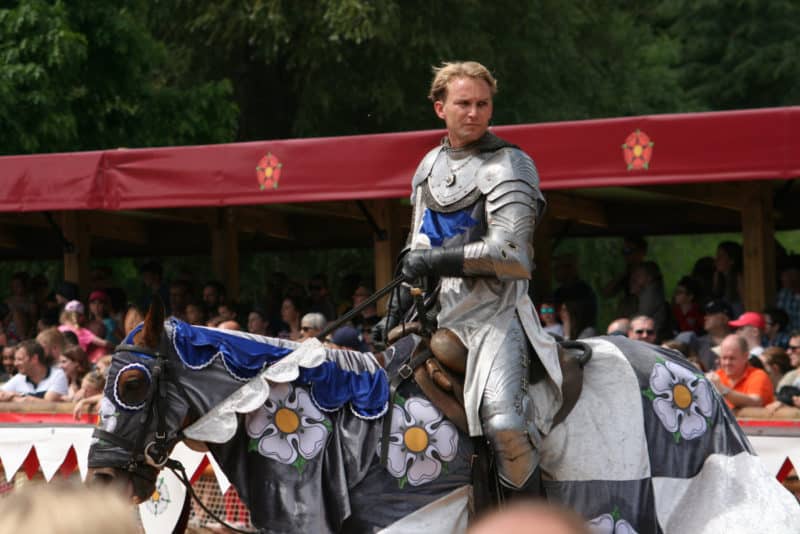
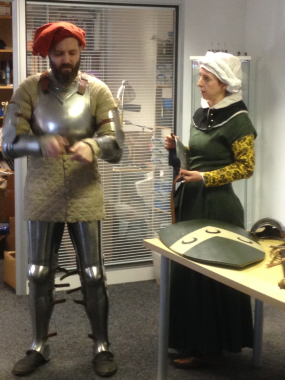
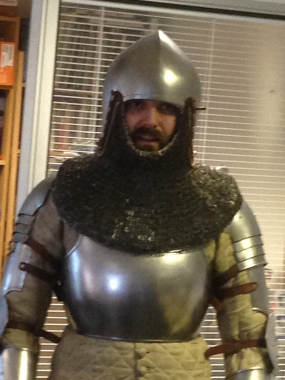
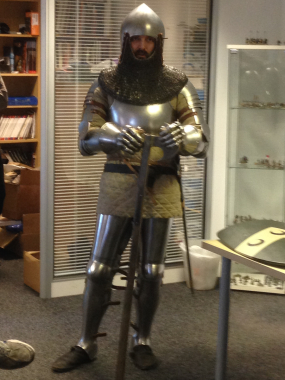
As regards the overall day, it was one of the best that I had attended. Superbly organised with plenty of refreshments and a superb Medieval meal of Beef stew, Ham, Pease pudding & cheese all served in a huge loaf or trencher. We also enjoyed a demonstration of how Medieval Armour was put on and the chance to handle some authentic medieval weapons. I cant wait for the next event!

Helmet on!                                 Ready fo Battle

Ready for Battle

Helmet on!

The retinue is ready!

Let battle commence!

Let battle commence!

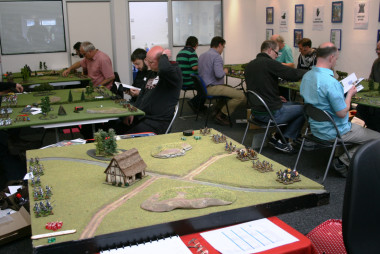
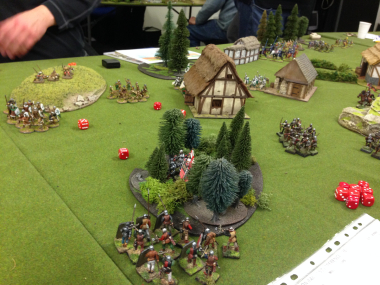
Last Thursday I went to Battlefront HQ to play in a Lion Rampant rehearsal day. The ”rehearsal’ was to see if a big multi-player game of Lion Rampant would work and also to check out some ‘house rules’ for the big Lion Rampant day being held on 31st January. It was of course a good opportunity to see how my retinue played against the competition and to hone my tactics for the day. Well the evening went reasonably well and lesson were learnt by both the organisers and players!

The big battle suffered from the usual problems of keeping 12 noisy war gamers in order and somehow coordinating the turn system so that players at one end of the table knew when it was their turn to go. The other issue was that although I knew what was happening either side of me, it was very difficult to know what was happening elsewhere. In a way, this final problem isn’t so much a problem as a reflection as to what really happened in a battle in the middle ages. With no radio or mobile phone you would have no idea how your allies were doing until a messenger managed to find you and even then, the information would be out of date. So as a commander you could be winning your part of the battle, only to find elsewhere things hadn’t gone so well and a large force of very angry enemies were charging into a flank that you had previously thought secure.

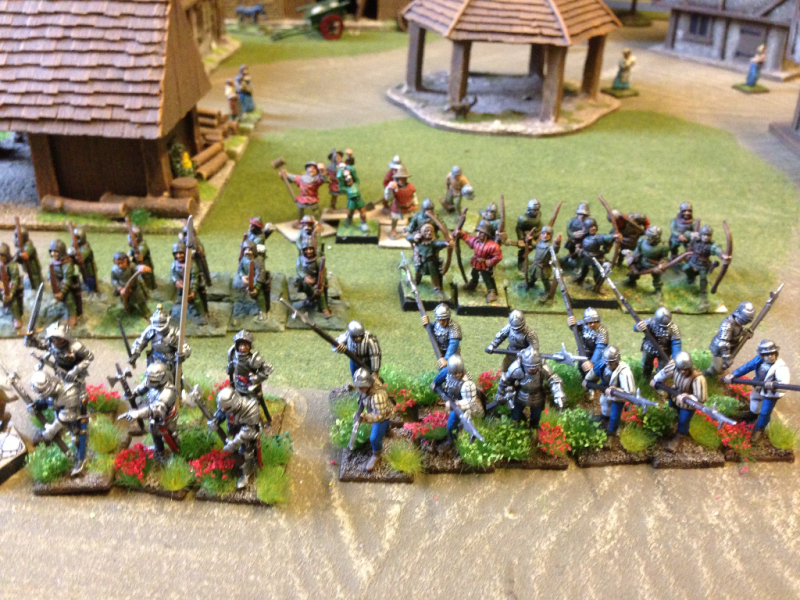
2015-01-22 11.12.28

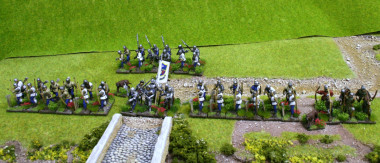
I’ll leave Dan & Wayne, the organisers, to figure out how and if to sort out these complications and focus on the lessons learnt from my own battle. My retinue, now complete, consists of  a Unit of foot knights ( including the leader), two units of expert archers, a unit of foot sergeants and a unit of Bidowers. It’s a typical English skirmishing force circa Agincourt to the Wars of the Roses ( if there is such a thing) & very much a defensive retinue. With no mounted units, I’m not going to be swiftly maneuvering around the battlefield, picking off the opposition. The expert archers are the killing units but they are fragile if caught in the open. Mounted knights will just ride them down. So the trick is to protect them whilst drawing the enemy into range.

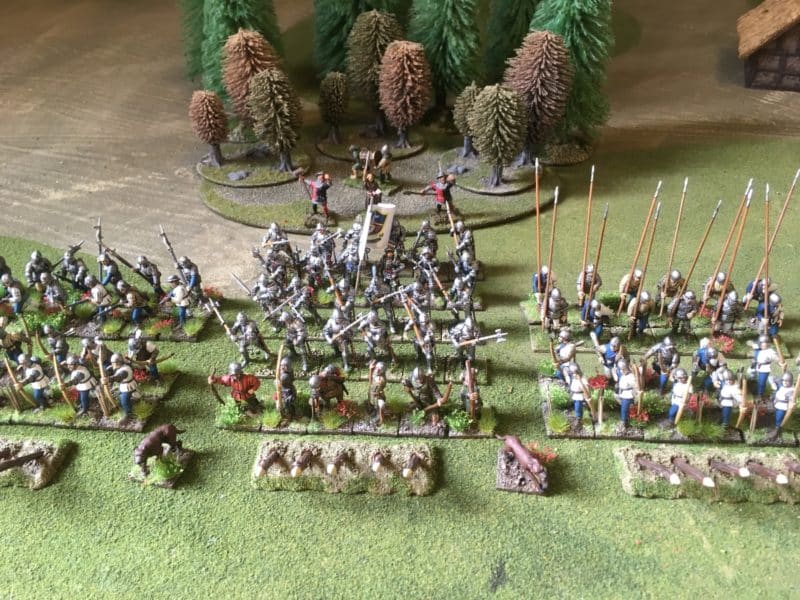
So my tactics will be to keep the two units of archers in a central position as close together as possible. Any unit that comes with in range will have to face an onslaught of archery! I’ll protect the flanks and the front by positioning the Foot knights ( with the leader) to one side and the foot sergeants ( forming Schiltron) to the other side. My leader, Harry (Kane) Hotspur, should be close enough to add a point of courage to the archers in any morale test. Of course, I will use any rough ground to help protect the archers without compromising line of sight. The last of my units, the bidowers are there for two reasons. At worst ( for them!) they will be bait to draw the enemy into bow range. If all goes well, I will use them to skirmish and either add strength to a flank or wear the enemy down by fighting from cover.

Now all of that sounds great. I have a plan, what could possible go wrong…?

Well, on Thursday there were two problems. Firstly, I couldn’t roll the dice to get my units to move! It must have been six moves before I actually got within bow range of my opponent. By which time he had given up attacking me ( he wasn’t going to risk the archers even with my terrible dice rolling) and was attacking my ally on the right. By the time I started to move it was too late, my ally had been out numbered and slaughtered. The only good news was that because my troops had stood around impersonating the Stanleys at the Battle of Bosworth, the army was still intact. My ally on the left had suffered the same fate and had been all but wiped out, so I now had to fight three damaged enemies on my own.

The dice gods now intervened and at last things started to move and I was able to close with the opposition. The problem being that I was now trying to fight an offensive battle with a defensive force and all thought of a cohesive attack had disappeared, along with my allies.  The battle ended in a sort of a victory. I had killed the opposition leaders and reduced their forces to a few half units but it did not feel like a victory, more an avoidance of defeat. The other issue was that on this occasion, the terrain was as much of a problem to me as it was a help. There’s nothing like a battle with the whim of the dice throw to remind you that war gaming is not chess! Ah well, I still have a plan and I’ll stick with it for now. Despite the set backs, I dont think that I could fight with this army in any other way and it’s too late now to change.

The final parting shot from Dan was ‘whats all that stuff on your bases?’ ‘Well it is a War of the Roses force Dan….’

2015-01-22 11.12.12

Whats on the workbench 15 January 2015

Too much! Well, it’s the start of a New Year and the time when New Years resolutions are made. As usual, weight is involved, only in my case as well as trying to shed a few pounds from the usual over indulgence during the Christmas break, I have resolved to shed a few pounds of lead from my hobby stash this year… I suspect that this may be as successful as my attempts at dieting, as I cant help but binge on new models as they are released! But to try and keep me on the straight and narrow, I’ve developed a few themes from last year that I intend to try to stick to and to be fair, the current back log on my work bench does reflect this!

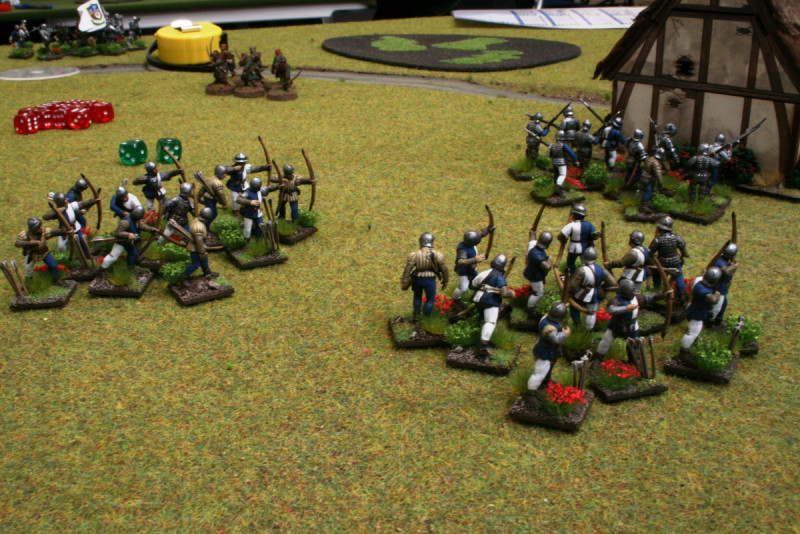
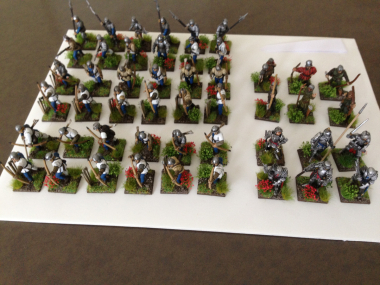
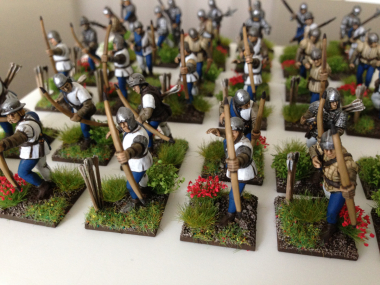
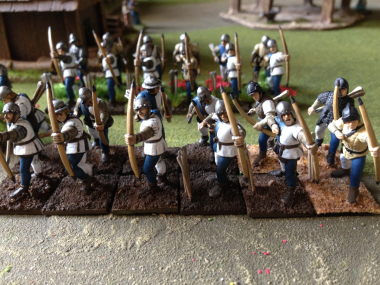
I’m just putting the finishing touches to my Lion Rampant Retinue. The following two pictures show progress on my Expert Archers.

Expert Archers - Perry Plastics

Expert Archers – Perry Plastics

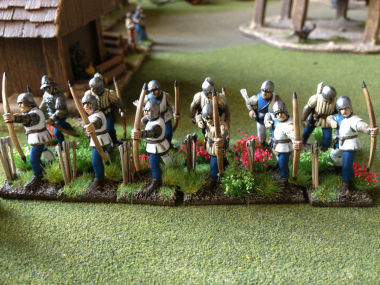
The first unit is complete and ready to go into battle! I’ve chosen the blue and white colour scheme as a nod towards my favourite football team, Tottenham Hotspurs! It’s a shame that it doesn’t coincide with the original Hotspur’s colours, the Percy family’s Harry Hotspur, who used red & yellow. Blue and white are also the colours of Richard, Duke of York, so they wont be out of place when I use them to build my War Of The Roses Army. I guess that means I am committed to the Yorkist cause, but as Richard III was found in a car park just down the road in Leicester, I’m happy to represent his family on the War games field.

Expert Archers - Work in progress

Expert Archers – Work in progress

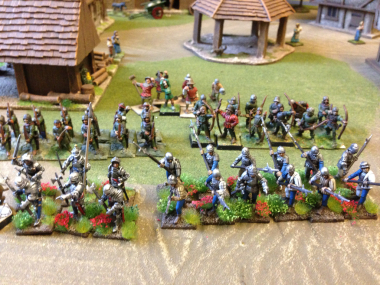
The second picture shows my second unit of Expert Archers. As you can see they are not quite finished. The picture does give you an idea of the painting & basing process that I use. The archers to the left with the dark brown bases are nearly finished. I just need to highlight the blue leggings and to brighten up the helmets and they will be there. The final stage is to dry brush the base with a couple of highlights of chocolate brown & Iraqui sand mixed. Then I’ll just add my usual assortment of grass & bushes. The archers to the right with the lighter bases have just been block painted and the bases sanded. They’ll need  a coat of quick shade and then the same treatment of highlighting and basing. All being well, the units will be done for this weekend.

40th Battalion Somersetshires Work in progress.

40th Battalion Somersetshires Work in progress.

Next on the work bench, the 40th Battalion is just missing it’s command group. I’ve got as far as painting the flesh & black and they are on their Renedra bases. My Napoleonic army will continue to grow this year. I plan to paint a further 5 battalions of infantry, 3 cavalry regiments and at least two more artillery batteries. Getting these done before June is a bit of a push, given my painting speed and other interests but so long as I keep pushing on, I will have a decent force to fight our planned Waterloo re-enactment!

DeeZee Lion standing

DeeZee Lion standing

DeeZee Glyptodon

DeeZee Glyptodon

DeeZee Pterodactyls

DeeZee Pterodactyls

The next project on the work bench is painting my DeeZee range. We have just released the standing lion and the pterodactyls so it makes sense to paint up some for display at Salute! The Glyptodon is an older model but the painted version that I have is showing signs of wear and tear, so I could do with another one to replace it.  I like to paint a variety of subjects and I also think that it’s good to paint my own products so that I can understand how best to go about it! However, the truth is that I just like the models, which is why I have the range in the first place. I’ll prepare a blog article explaining in depth what is happening with the DeeZee range and our plans for the future. As well as the Deezee range, I am also working my way through the Lucid Eye range of cavemen, lost tribes and explorers. Next up are the Cro-magnon, but I am just waiting for the new pack of hunters to be cast before I start on these!

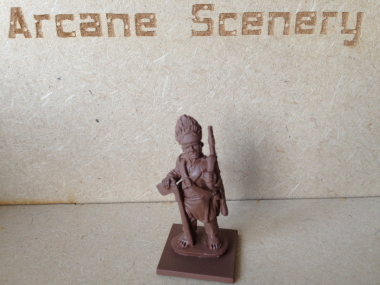
So that brings me to my final project. Muskets and Machetes in the Caribbean. This is a bit of a ‘sleeper’ but I add the odd model in now and then in the vain hope that we will sort ourselves out and adapt the Muskets and tomahawks rules set to allow our gaming group to explore the battles that took place out in the Caribbean. There is plenty of scope for Jungle skirmishes, beach assaults, small sieges as well as full battles. Well Duncan from Trent Miniatures has just commissioned this superb Chasseur Pioneer of the St Dominique Regt and let me have one of the first castings! The figure will eventually form part of a Command group  but in the meantime I had to have one to add to my Caribbean force!

Trent Miniatures Chasseur Pioneer

Trent Miniatures Chasseur Pioneer

So that’s it for now, on with the painting!

What’s the use of Bidowers?

2014-11-27 13.16.33Well that was the question I asked myself when putting together my Lion Rampant retinue. With just 6 men in the unit, an armour value of  1 ( 2 when shot at) and a points value of 2, I couldn’t see why I would bother having these in my retinue. The fact was that I had never heard of a Bidower before, come to that, neither has Wickipedia. A google search revealed the following link, which was sort of useful:

Bidower

So why would I have them in my Lion Rampant retinue. Well, after a number of battles facing these units, I realised that despite their cheap cost, they were very useful indeed. For a start, they move on a 5+, and they move quickly, 8 inches a turn and are not slowed by rough terrain. Add to this that they can Skirmish ( shoot and move), cant be targeted from over 12 inches and have the ability to evade. If they do get caught in hand to hand they are going to be slaughtered by most units on foot. However, in rough ground they can hold their own against mounted men at arms, even dragging them into combat ( on a Fierce Charge) on equal terms.

I soon learnt that they were very useful indeed, particularly after they had badly mauled my unit of Foot knights and killed my Leader ( now named Kenny, as he seems to die in every battle) before I could close with them and finish them off. The result is that I have now included a unit of Bidowers in my army. OK, it’s another 6 men to paint but it will give me just a little bit more flexibilty in battle.

And flexibility is badly needed in my retinue. Having chosen the later English retinue from the Lion Rampant rule book, I have found that although they are good in a pitched battle, they can only fight in a tight defensive formation. The bowmen need protecting from any marauding foot or cavalry units by my Foot Knights & Sergeants. So I have made the Foot Sergeants a standard unit ( allowing them to form Schiltron) to save the 2 points need to add the Bidowers. I’ll still need to fight on the defensive & try to lure or goad my opponents to advance within arrow range but once the two expert archers get to fire they cause mayhem among most of the opposition units.

So it’s back to the battlefield tonight with my new look army to see how it can cope with the new tactics that I have planned! The picture at the top of the page shows my latest finished unit, the Foot Sergeants and here is the army that I will field tonight. The archers & bidowers are still temporary units made up from some very old figures that were kicking around in my spares box! They will need rebasing & touching up before they become permanent additions. However, the plan is to replace them with archers from the Perry’s boxed set. The next batch is on the work bench as I write!

2014-11-27 13.28.19

The Lion is Rampant – Again!

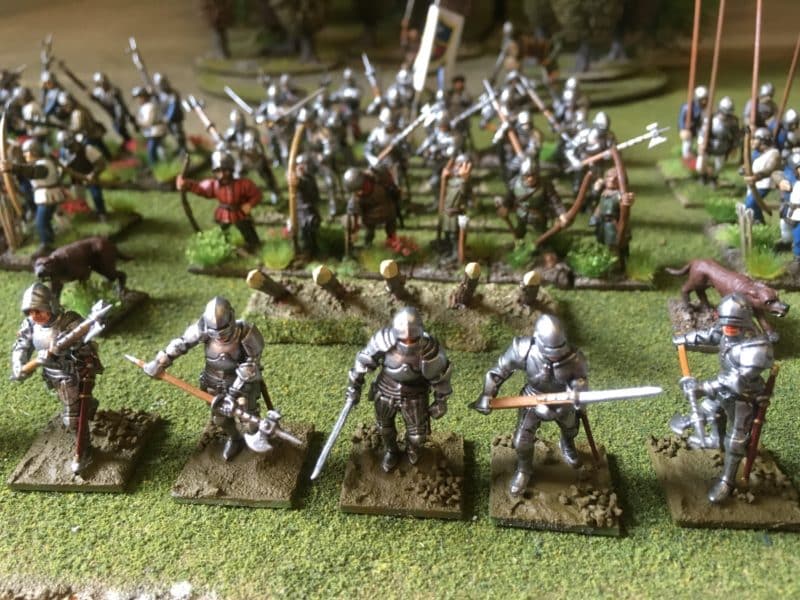
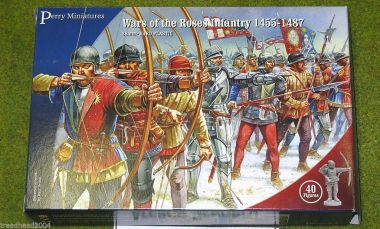
Lion_rampantI mentioned in my blog earlier that I had signed up for the Wargames Illustrated Magazine’s Lion Rampant day, to be held on 31st January 2015. Although it seems some way off, I thought that I better start putting my retinue together and of course practicing the game. As I am somewhat focused on collecting English Armies (and their Allies!), I thought that I would start with a typical English Warband. In the LR rules this breaks down to: a unit of 6 foot men at arms; a unit of 12 ‘expert’ foot sergeants and two units of 12 ‘expert’ Bowmen; a total of 42 figures to assemble and paint.

I could save a bit of painting time by having two units of 6 foot men at arms but this will make the army quite fragile. However, in the short term it will speed the process of having my own retinue finished. The beauty of the English Retinue is that I think that I will be able to build most of the figures using the Perry’s Wars of The Roses Plastic boxed set, which has 40 figures, a good mix of which are either archers or Bill men (foot sergeants). So for an outlay of £12 for the rules and £20 for the figures, I’m in the game!Perry-Miniatures-WAR-OF-THE-ROSES-INFANTRY-1455-1487-28mm-plastic-boxed-set-380871945137

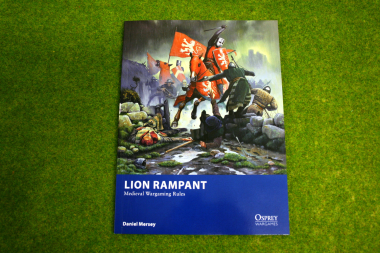
For those of you not familiar with Lion Rampant, it is one of the Osprey Wargames mini rules, written by Daniel Mersey. It’s one of those clever rules sets that does what it says, it really is straight forward and simple to learn, easy to play and has enough subtlety to keep players engaged. As I have previously noted, this type of skirmish game is a great way to explore a historical genre before you pile in and build a huge army. Even better, the small war bands allow you to mix & match different troop types. So if my English Army doesn’t work for me or if I fancy a change, it wont take too much effort to produce, say, a Templar war retinue.
The game itself is a bit like Saga Rules, but without the Saga board – all the action takes place on the table and combat is resolved quickly by rolling either 6 or 12 dice. A simple attack & defence mechanic determines how many casualties are inflicted and then it’s down to morale – which unit has the stomach for a fight! The fog of war comes in the order system, you roll a dice to see if a unit will activate or not. If it activates ( Moves , Attacks etc) then you go to the next unit. If not, your opponent gets the turn. This soon opens up opportunities or causes problems, depending on which side of the table that you are on! Of course, the other fun comes from the scissors, rock, paper effect of matching one type of troop to another.
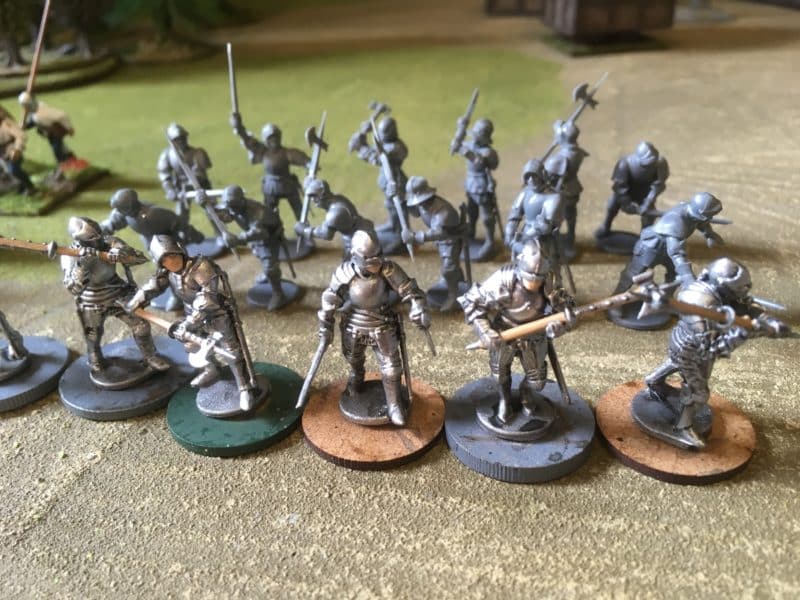
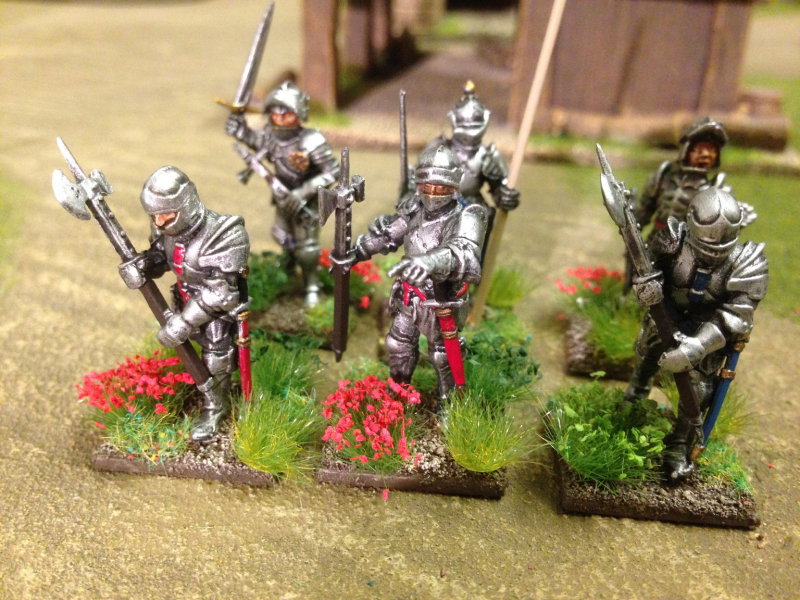
So, I have painted my first unit, the foot men at arms. It’ a bit of a motley crew -4 of the figures are Perry plastics, and two are spare metal figures that I had lurking in my lead mountain! In fact I think that both were figures given out at past Newark wargames shows, one of which I painted some years ago & just needed rebasing. Painting was fairly straight forward, I spray undercoated the figures in Plate mail, gave them a dry brush with silver, painted the cloth & leather bits ( Scabard & belts etc) blue or red for a bit of colour, and gold for the sword pommels, brown for any wood. Then a good wash of black ink, brought out the detail before re highlighting the armour. Basing is done using Sandy paste to level up the figures on the renedra 20mm  plastic bases, then extra sand added & painted in chocolate brown & highlighted & dry bushed with Iraqi Sand. I finished off with a liberal dose of tufts and flowers…. Here’s the first unit :2014-11-05 20.20.53
The Lion Rampant!

I’ve managed to wean myself off of playing Black Powder for a few weeks! It can get a bit stale playing the same rules set, although I am addicted to Napoleonics for the time being. That said, I have wanted to build a collection of army’s and have been looking for inspiration elsewhere. I have been very tempted by the American War of Independence, as I like the look of the Muskets & Tomahawks rules but the thought of painting more redcoats doesn’t appeal whilst I’m still working on my Napoleonic army.

A recent rules set arrived in stock that did take my fancy and it would give me the opportunity to start another different army from a different period. The Rules set was ‘The Lion Rampant’, a medieval skirmish rules set. Skirmish games are a great way to get you into a period and allow you to play with just a few figures. The Lion Rampant is ideal in this respect as you need about 30 to 50 figures and you have a reasonable retinue with which to play the game. I think that with a box of Perry’s Foot Knights & Mounted Men at Arms I will be able to make a decent retinue. I’ll also have a look at the options from Fireforge games. Their figures have been tempting me for some time now!

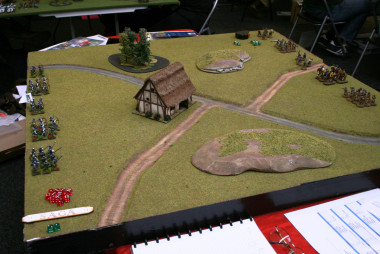
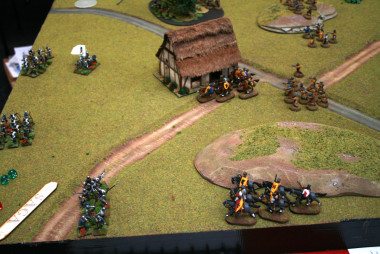
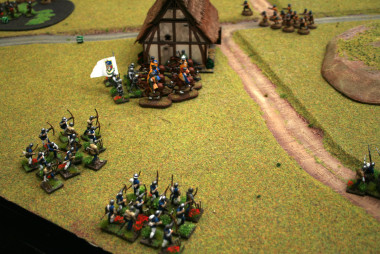
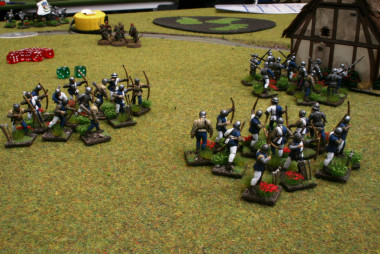
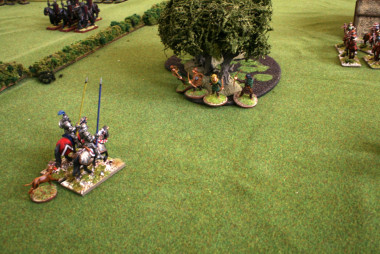
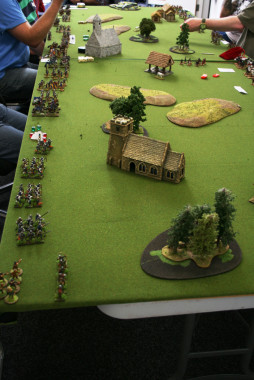
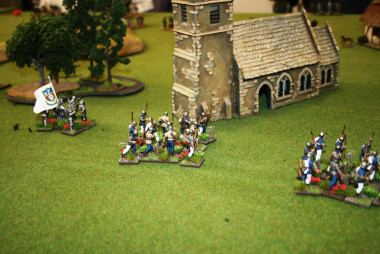
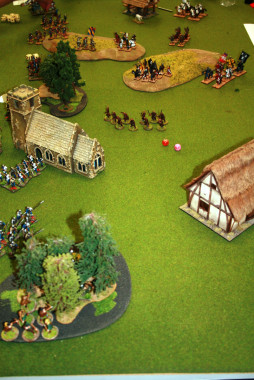
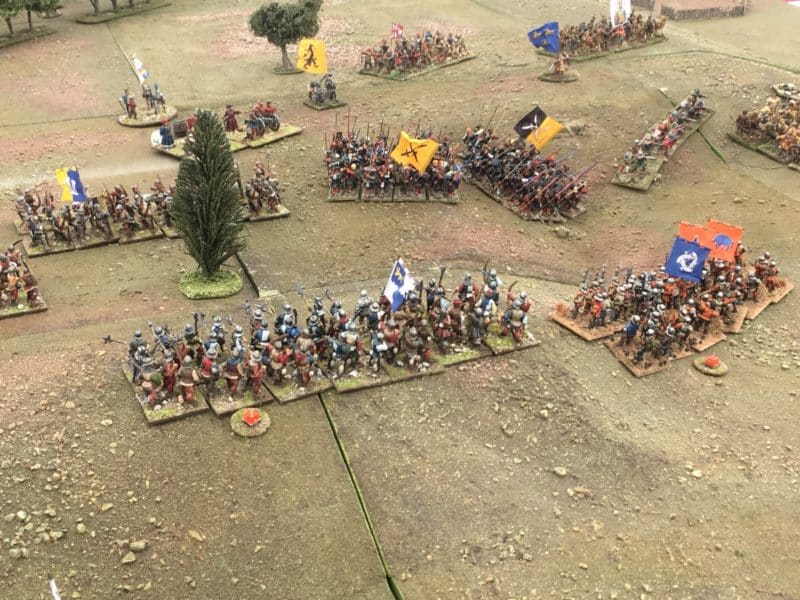
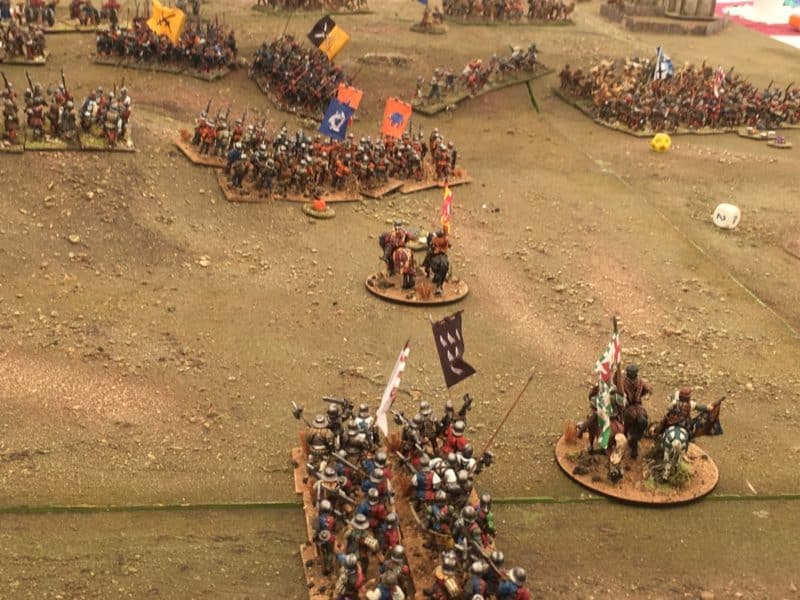
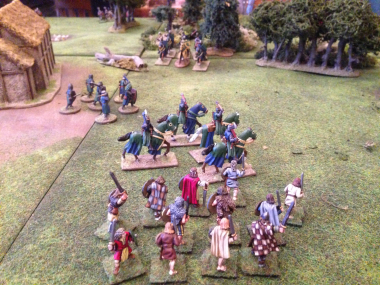
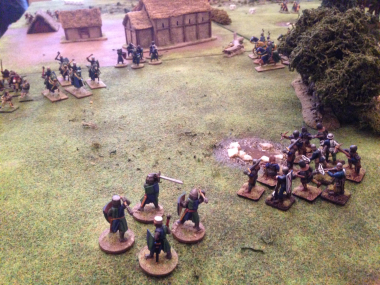
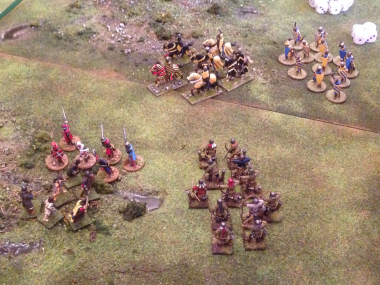
So when I was invited to play a game at the local club, The White Hart Gamers, I jumped at the chance. As I thought, it was a straight forward rules set that allowed easy play, just right for a club night game. We played on a 4×4 foot table with 4 retinues all doing battle. It ended with all four leaders meeting their end in glorious combat! In fact we probably overplayed the game but by the end of the game, we were all familiar with the basic rules and enthusiastic enough to sign up for a campaign day in January next year. So I have another project to add to my list. In the meantime, if anyone out there is looking for a new game to play, I can very much recommend the Lion Rampant! Here’s a few pictures of our game.2014-09-11 19.26.57 2014-09-11 19.27.31 2014-09-11 19.28.50

1 6 7 8