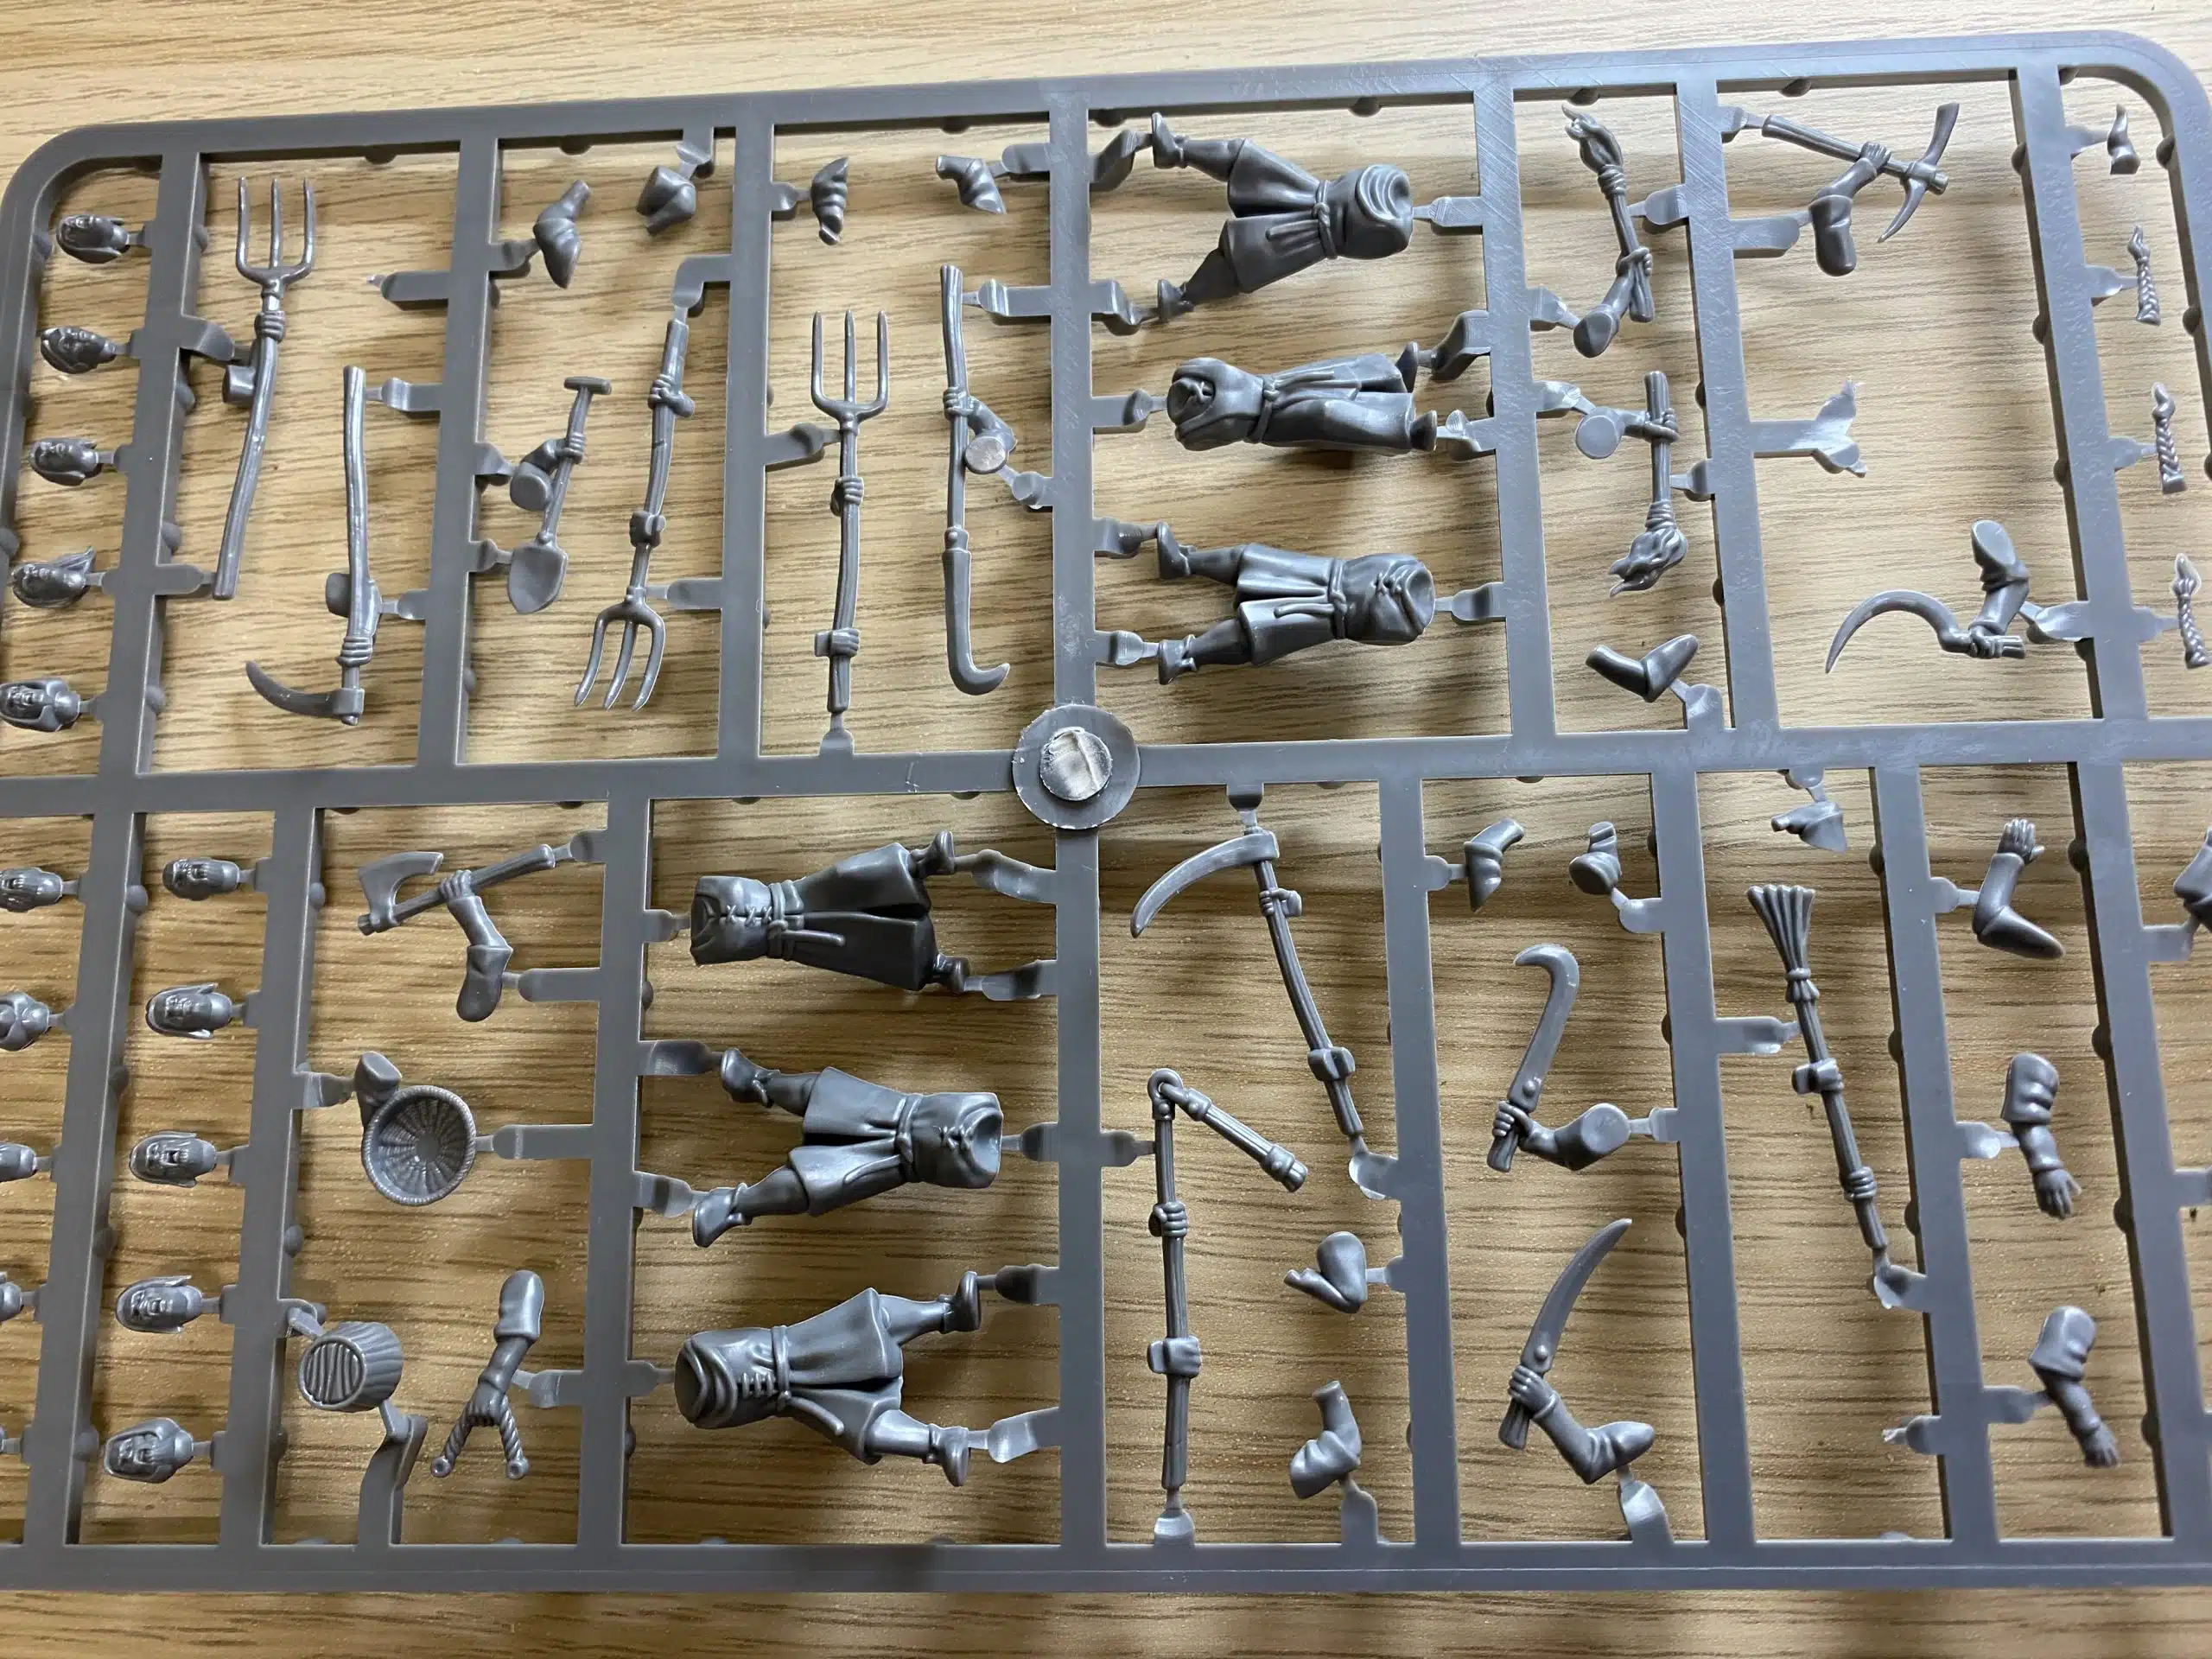
Following on from my last blog, I have now completed 12 of my Irish Cavalry – the armoured warriors or lords. You can see how they look in the picture above. The next stage was to complete the 4 unarmoured ‘horse boys’ or Kern that would ride with them. I needed a figure in a tunic rather than mail shirt as a base and after a hunt through the lead pile I found a box of very old, now discontinued Wargames Factory Celt cavalry. The detail on these figures is fairly ‘soft’ so adapting them looked like a straight forward option. However, I wanted my horse boys to be bare legged. Some major surgery was required!
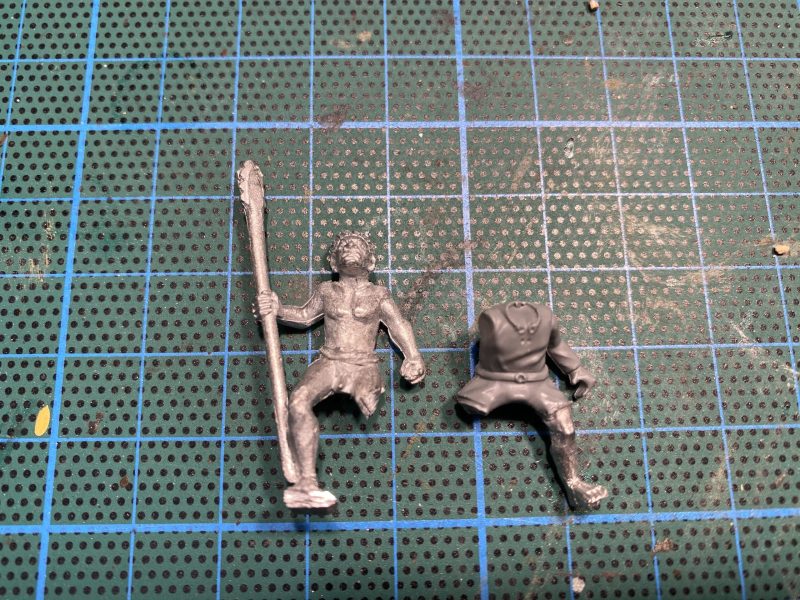
Once again, a dive into the lead pile turned up some old Lucid Eye Jaguar warriors with bare legs and feet. It was just a case of snipping off the plastic celts legs and replacing them with the Jaguars legs. My trusty Xuron cutters were ideal for this as if used the right way around, you get a pretty much perfectly flat cut, even through the metal. It was then a simple task to super glue the legs onto the torso. I didn’t need to pin them – my favourite thick expo super glue is well suited to this and a quick spray of accelerant ensured a fast bond.

I also found a ‘kern head’ in my spares box – I had removed it from a Perry’s Irish kern when converting them to give a bit of variety to my Kern units. The arms are from the Wargames Atlantic Goth set and the Celt figure, The shield is a Jaguar shield with the rim filed off and the horse is a Warlord Games Civil war horse with all the saddlery filed away. Once again I didn’t change the bridle and tack on the horse – a step too far for me! I did add a cushion from green stuff and tried to model his tunic using the same material.

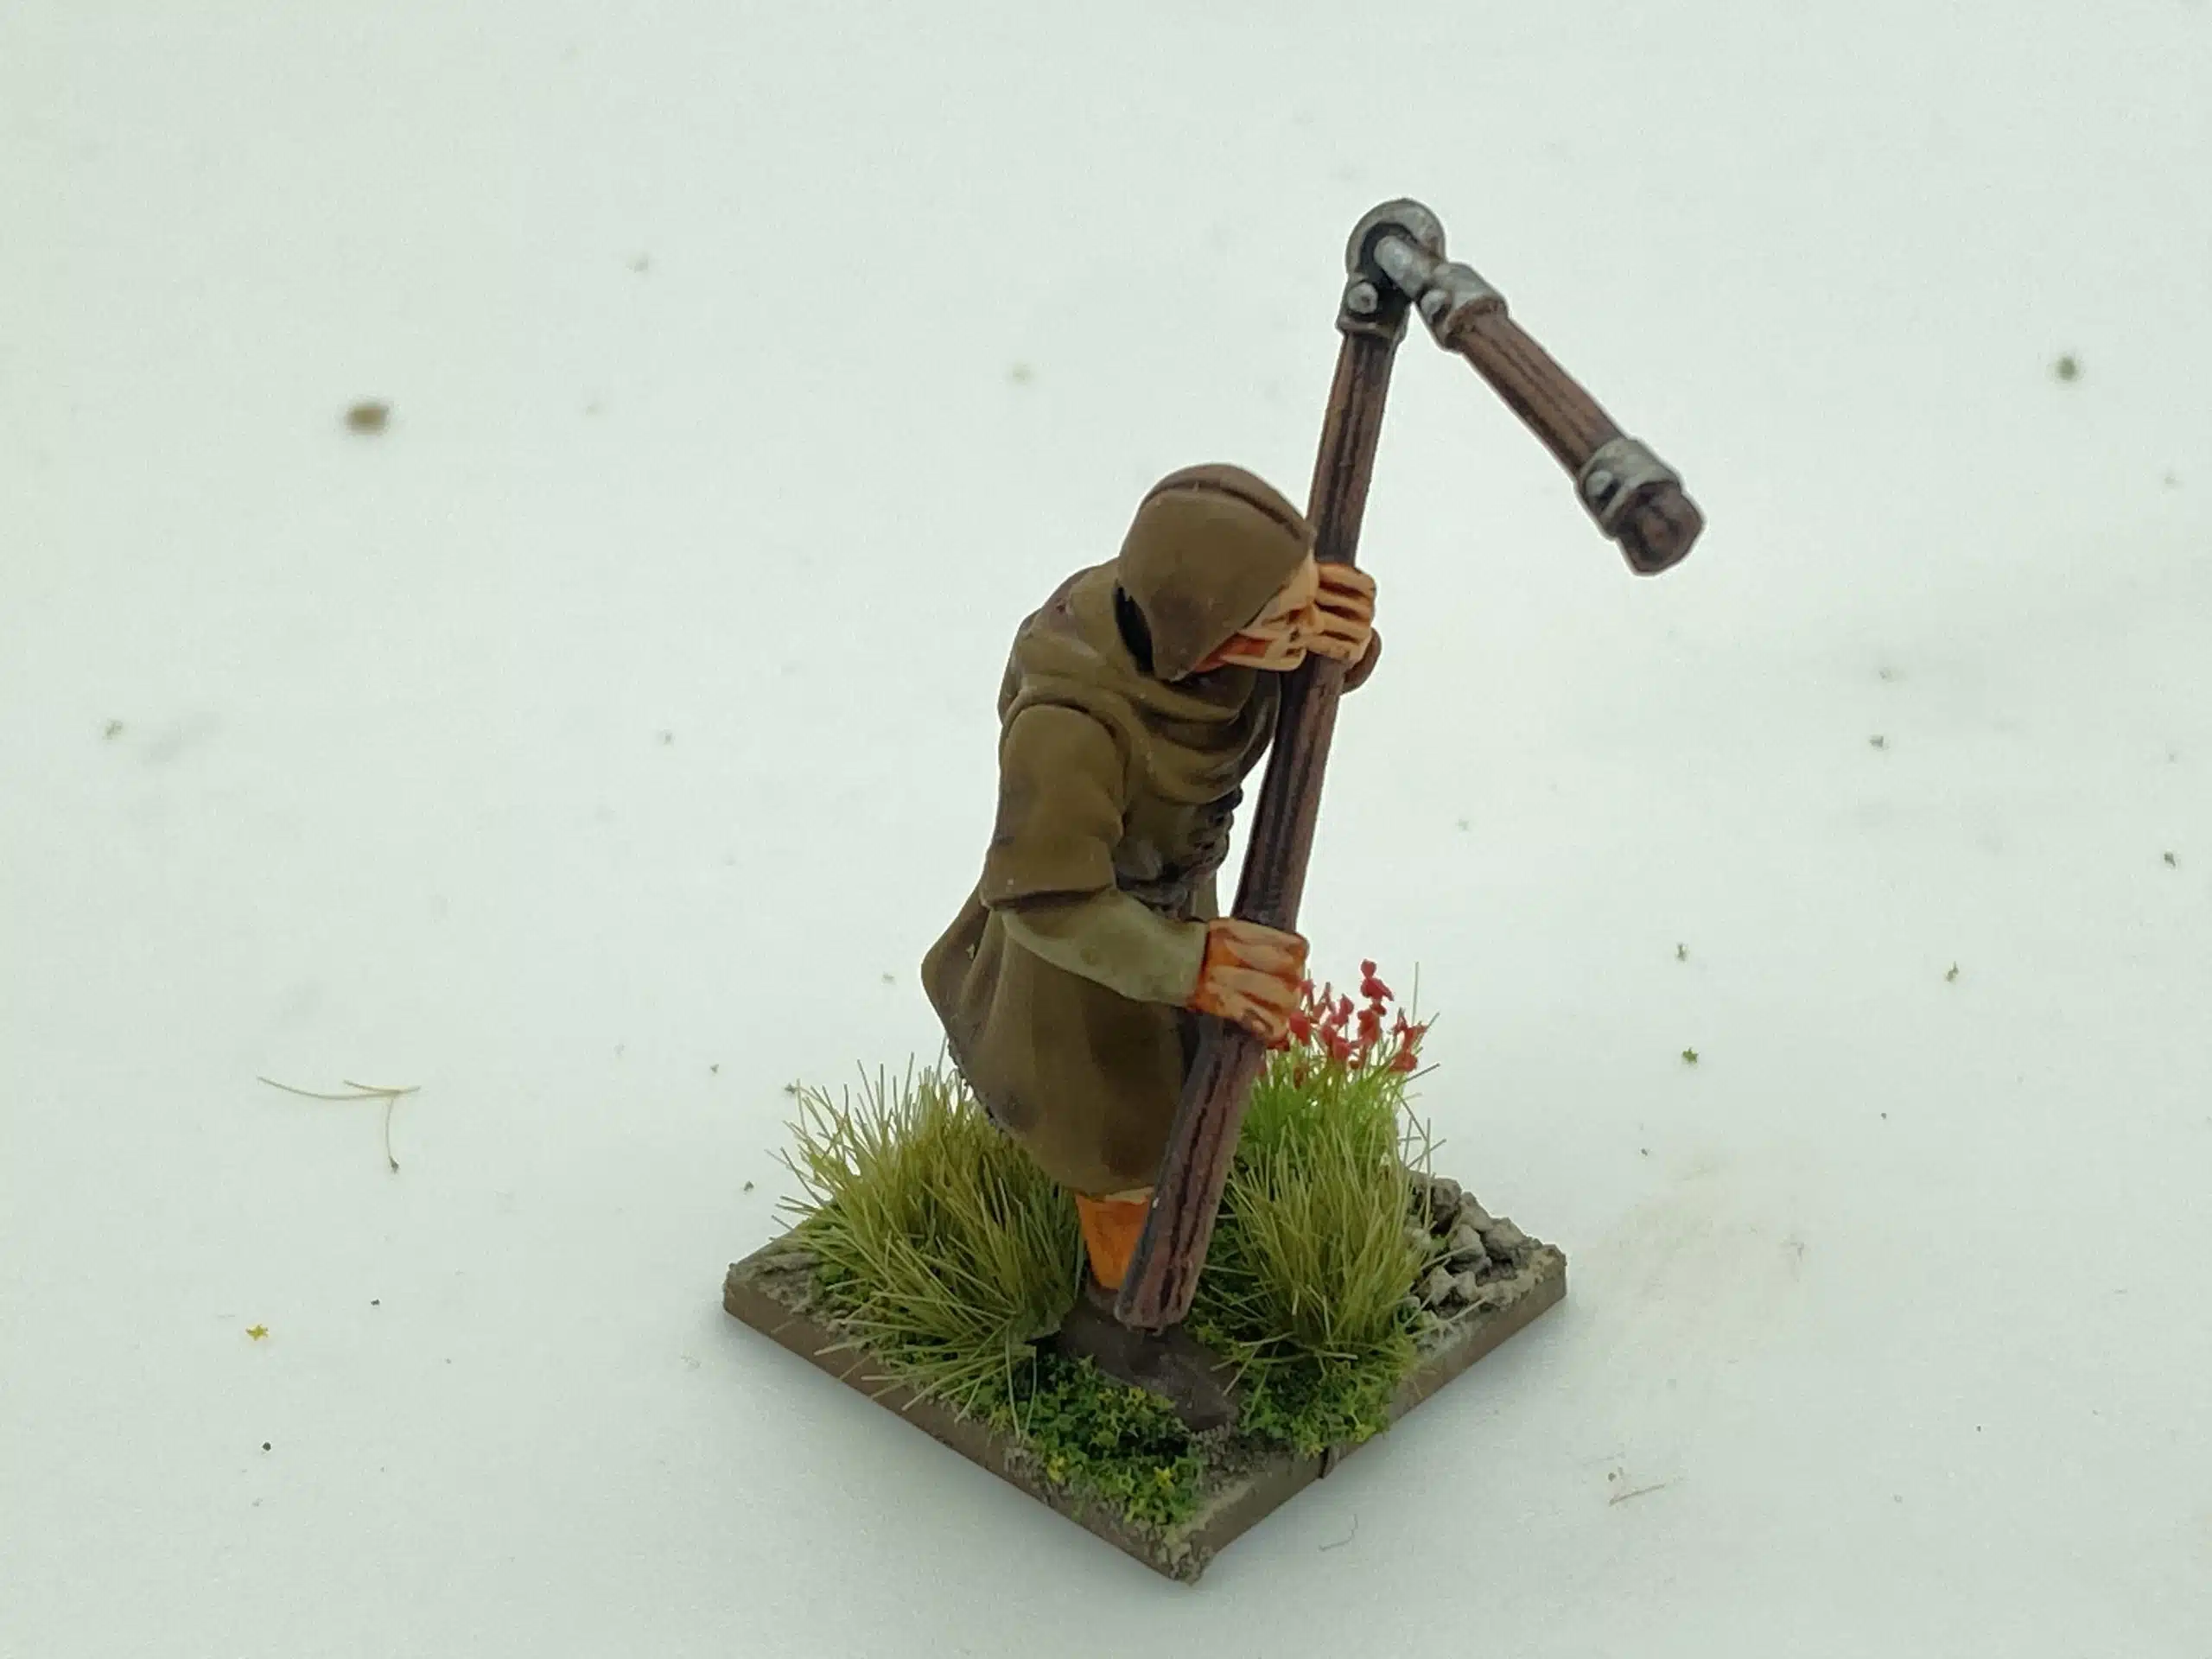
I used the same procedure to make the second Kern but having no more Irish heads, I reverted to a perry’s WOTR head (from the light cavalry set, I think). I pushed my sculpting ‘skills’ to the limit and tried to sculpt on the long sleeves that you see on Kern. The result was not quite what I wanted. It’s fair to say that I wont be putting the Perry’s out of business any time soon….

They looked a bit better with a coat of paint but when it came to the next two horseboys, I chickened out of further attempts at sculpting the shirts or léine and left them in tunics.


So with the horse boys completed, I now had my two units of Irish cavalry ready for battle. There was just one problem – they didnt have a commander! So it was back to the Goth cavalry to make a suitable leader for my units. I decided that the commander should look different to the rest of the troop, so I made a slight change to his head gear, giving him a helmet without the nose guard but adding a plume, similar to ones that I had seen in John Derrickes pictures ( see my blog – Researching Irish Cavalry). I also wanted the commander to be wearing an Irish Brat or cloak, so it was back to the green stuff!


As you can see, I’ve also added some Irish Wolf hounds to the base – it seemed that a Lord would take his dogs on campaign even though I couldn’t find any particular references to dogs being used for warfare. The wolf hounds are from Footsore miniatures. The cloak was, I thought, too long, so you will see that I went back and shortened it for the final model.


When it came to painting the Irish commander, I went for a black horse, just to make him different. I also painted the helmet black and used quite a bit of gold rather than plate mail for the accessories. I have painted the Cloak in a Plaid style. As I write this, I’m not really that pleased with it – it’s a bit too fussy. I may go back and repaint it in a simpler style but for now, I’m calling it done. The Irish are ready to take to the battlefield!

You can see the range of miniatures that we think are suitable to for the Wars of the Roses, along with the rest of our Never Mind The Bill Hooks range here:
You can find all the Vallejo Model colour paints here. If you don’t want to browse, just enter the paint number into the shop search bar;
You can find Gamers grass here:
If you need Milliput or other fillers, click here:
You can find the Footsore war hounds in this category
If you need a decent pair of flush cutters, we stock Xuron as well as others here:
Happy Modelling!