An early May Bank holiday is usually an opportunity to get some painting done as the weather is generally pretty poor. This was not to be the case though. What with gardening, ‘Granddading’, and DIY, I barely managed to get to the painting desk. I have made some progress, though, and my warband is gradually taking shape. I’ve mentioned previously that I have not done any real research into Japanese Samurai other than to look at lots of pictures of other peoples models, casually flicking through my one Samurai book and putting together a Pinterest board of various Samurai images. You can see my board here:
There was one colour scheme that caught my eye, the blue and red Ashigaru looked pretty good and so I based my colour scheme on this with a few tweaks.
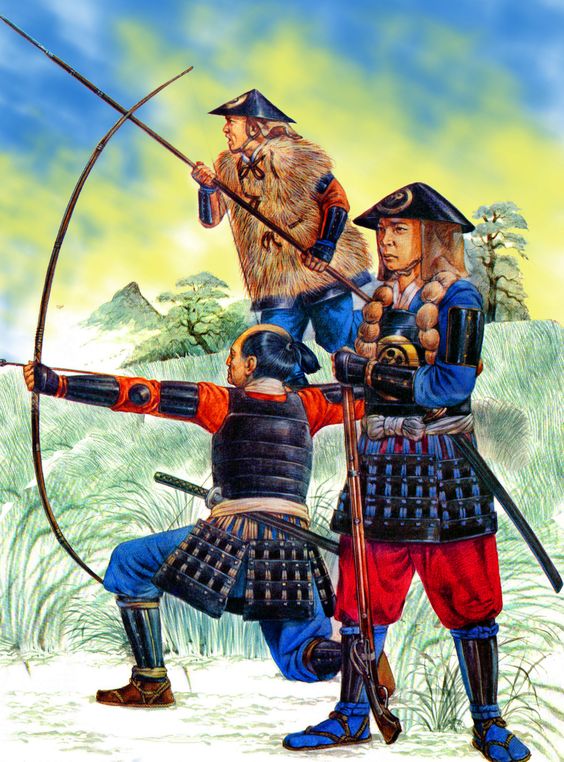
My warband inspiration!
The picture also helped to clarify how the various armour plates and bits of clothing were supposed to look. There are slight differences between the bowman and the musketman but I now had the general idea as to how they should look. As usual, I would take a few liberties, or as I prefer to think, ‘artistic licence’ when it came to painting the figures – usually to simplify the painting process. I also like my models to look a bit on the ‘bright side’ for the gaming table.
So, having assembled the figures I gave them a priming coat of Army painter black spray. I then used a size 6 brush to drybrush the figures all over. The main purpose of this was to bring out the detail on the figures so that I could see what needed painting and where. The secondary purpose was that the armour was then highlighted and the detail brought to life.
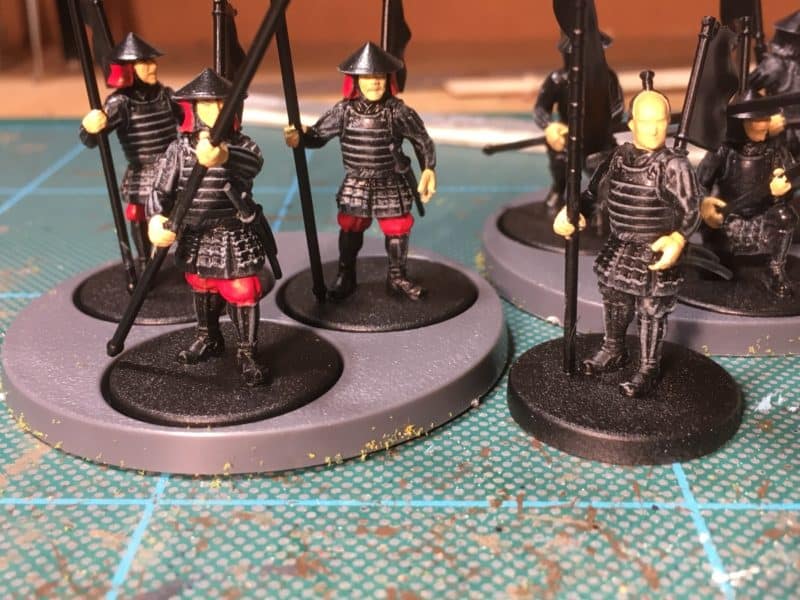
Painting the warband
This was the first batch that I did – you can see that I have also painted the flesh and trousers. I used Vallejo 70992 neutral grey to dry brush these guys.
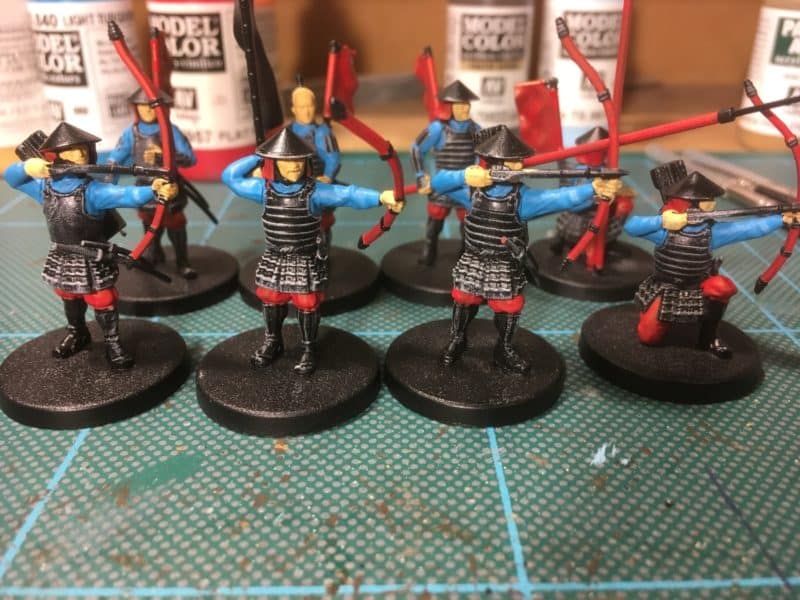
The bowmen, dry brushed and ready for painting.
The bowmen have been given the same drybrush treatment but this time, I used a lighter grey 70870 medium sea grey to up the contrast. I think that a light blue would also work well and I might try this on the next batch! I painted the flesh with 70927 Dark Flesh, the shirts with 70840 Light Turquoise and the trousers and weapons (spears & bows) with 70957 flat red.
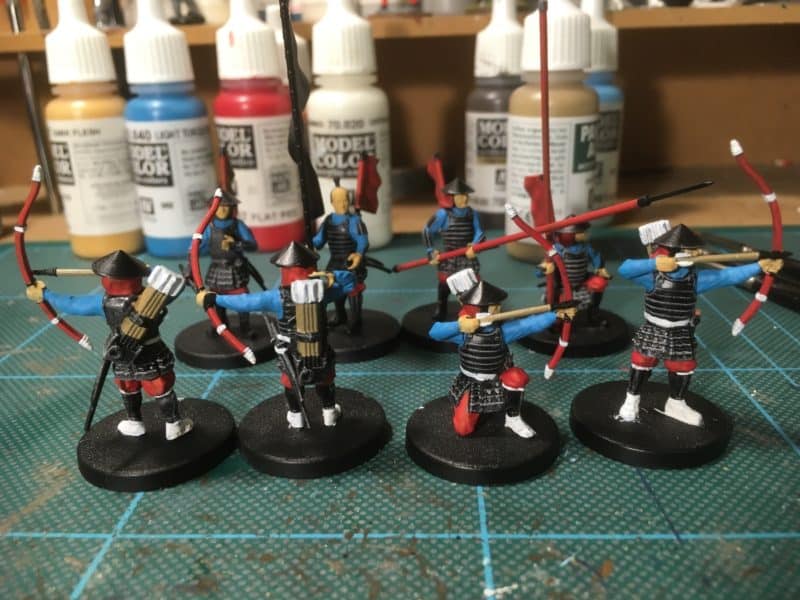
Ashigaru Bowmen with detail added
I then painted the ‘socks’, face scarf, ties on the legs, detail on the bows and arrow feathers in off white 70820 and the arrow shafts in 310 old wood. At this stage most of the block painting is done. However, to give a bit of definition to some areas, I have given the faces a coat of skin wash 72093 and used both army painter strong tone and Dark tone ink . The initial effect is to make things look worse.
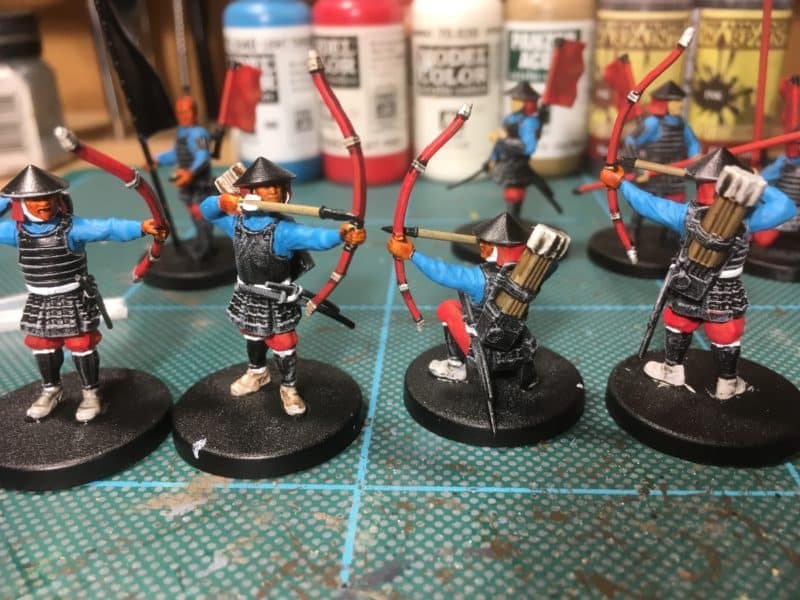
Ink washes applied
The ink does help to define the shadows and the next job will be to carefully repaint the same colours but to leave the ink shadows in the recesses. It might sound like a bit of a faff but it does work. That is as far as I have got with the bowmen and obviously I need to finish these off but here are the Spearmen that I have completed.
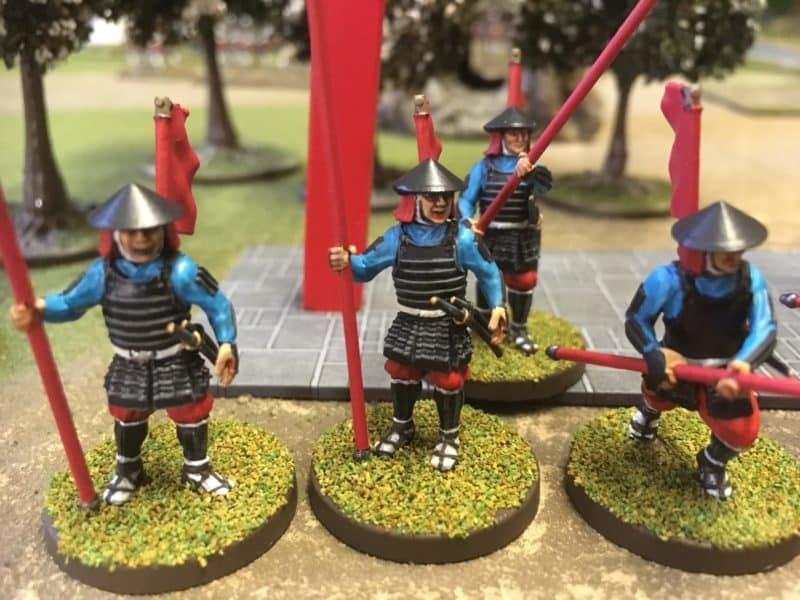
You can see that by carefully repainting the raised areas on the faces, you get a bit more character with the figures. I have also painted the sandals using 70822 black brown and added some detail to the weapons using Steel 70864 and brass 70801. I’ve also painted the hats 70862 black grey for no other reason than I wanted them to look slightly different to the armour. I’ve used 70817 scarlet and 70961 sky blue to add some highlights to the tunic and trousers. The basing is very rough at the moment. I will be adding some grass tufts and probably some flowers to make them a bit more interesting!
So that is how my warband is shaping up so far. There is still some way to go to have them completed. It doesn’t help that I tend to fuss and go back over models that I thought that I had finished as I learn how to paint the models and review the pictures that I have taken. It is also a different process to the one that I use to paint my Napoleonics. With these small skirmish warbands I like to try and have a go at painting using inks & highlights rather than resorting to quickshade. I think that it is worth the effort though, I hope that they will be well used in battle over the coming months!
If you would like to purchase the Vallejo & Army Painter colours that I have used, you can find them in my shop here:
At the time of writing, with the exception of aerosols, all items are available post free to most worldwide locations.
