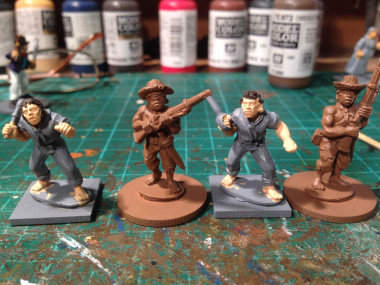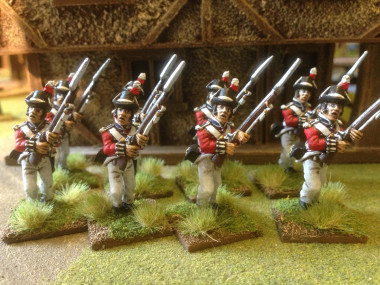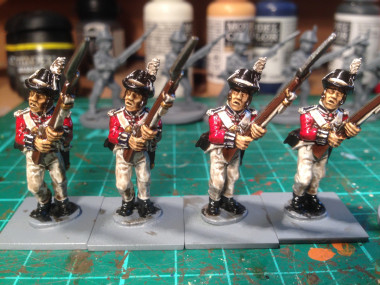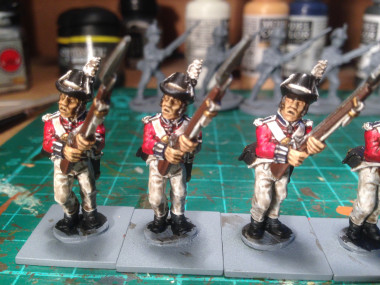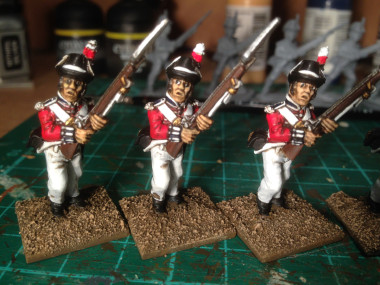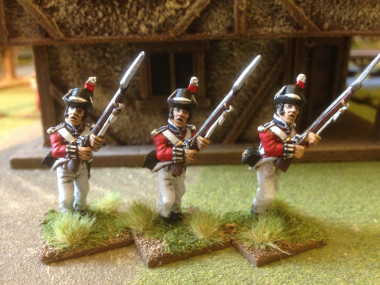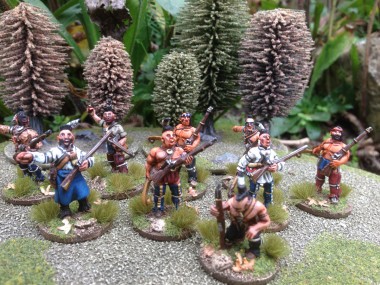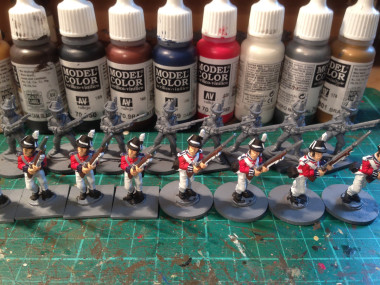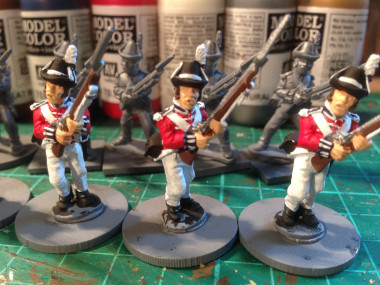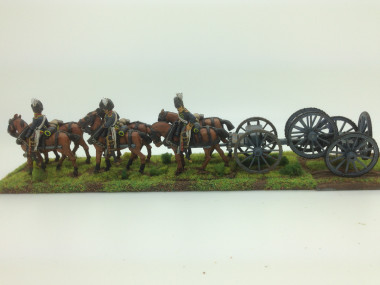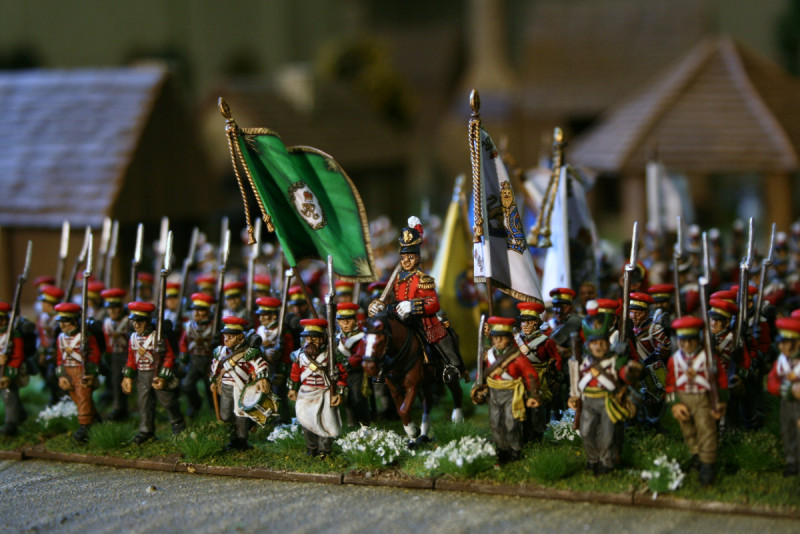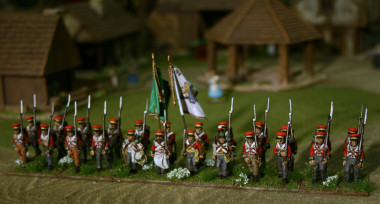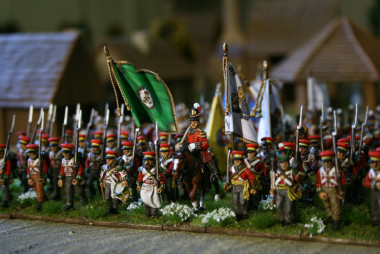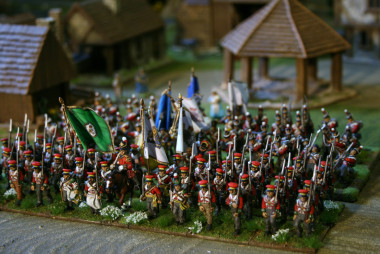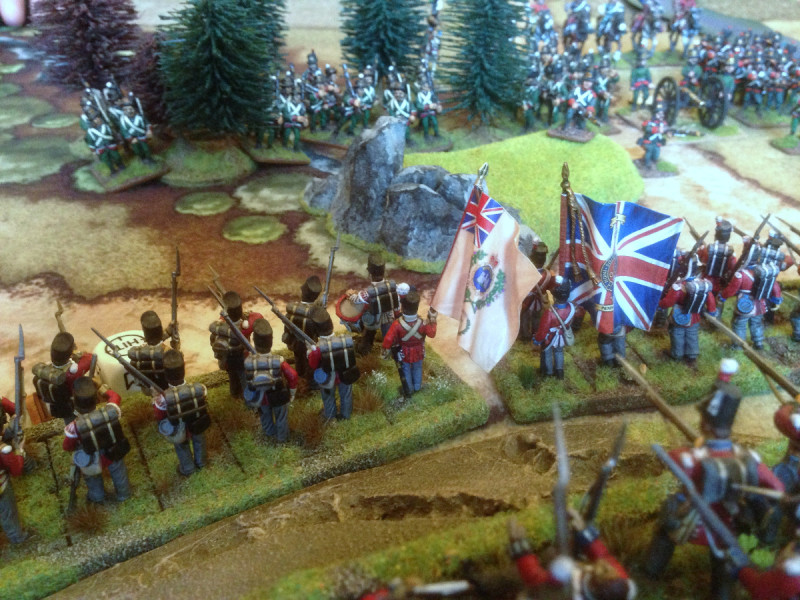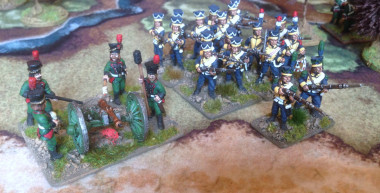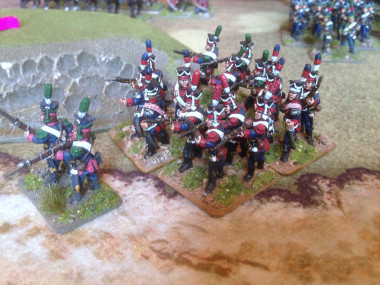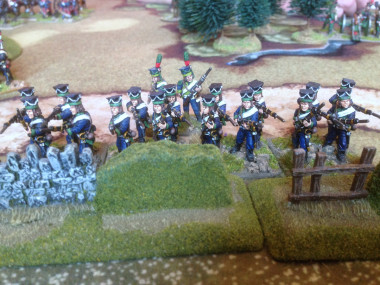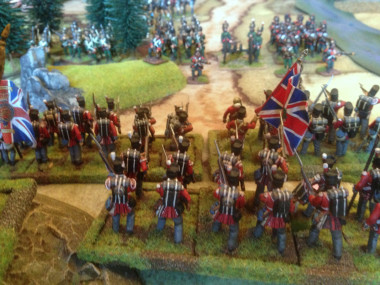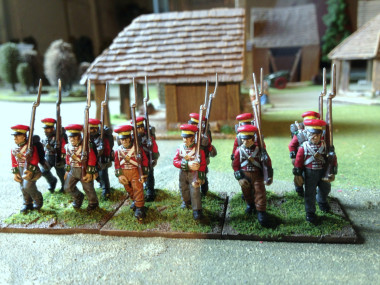
Once every three months or so we play a ‘mega’ battle where all the units that we have painted are placed onto the table. The last battle that we fought in this way was our Waterloo tribute, on June 13th. The battle of Bitteburg was the follow up played on Sunday 22/11/2015. We don’t get too vexed about how many troops are on each side, as long as they are painted , they are on the table! We are also quite lax regarding uniforms. I know that purists will find this difficult to accept but provided the troops are from the Napoleonic era, we are quite happy to mix Peninsular Uniforms with Waterloo issue. Likewise early revolutionary French will face off against 1815 Prussians. We even had a battalion of Caribbean troops to bolster the Allied numbers…
The scenario was as follows:
Following Napoleons victory at Waterloo, the Allies were able to retreat in good order back into Belgium, holding Napoleon back from capturing Brussels. The Allies were however, in no position to go back onto the offensive. Despite his victory, Napoleon was prevented from further pursuit of the British and Prussians by political unrest at home and again had to return to France to settle matters once and for all. Meanwhile, a combined Austrian/Russian Army was approaching from Germany and reinforced by a small Anglo Prussian force, threatened the borders of France. Napoleon swiftly marched out to meet the oncoming army and battle was joined just outside the town of Bitteburg.

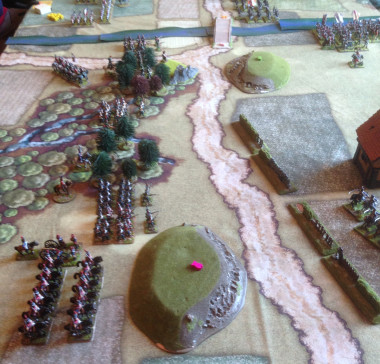
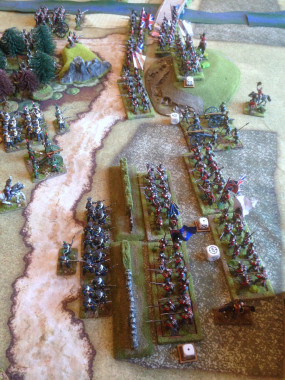
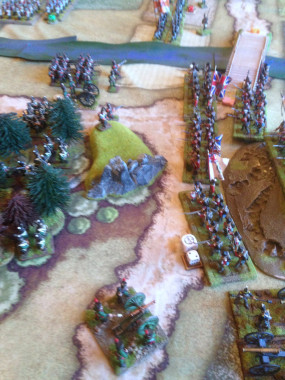
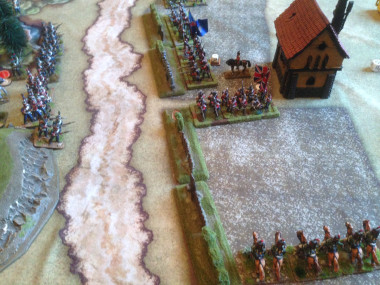
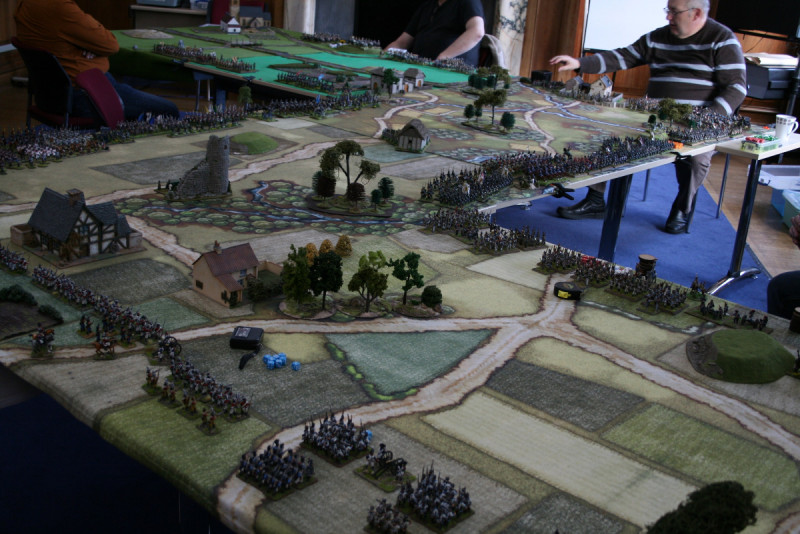
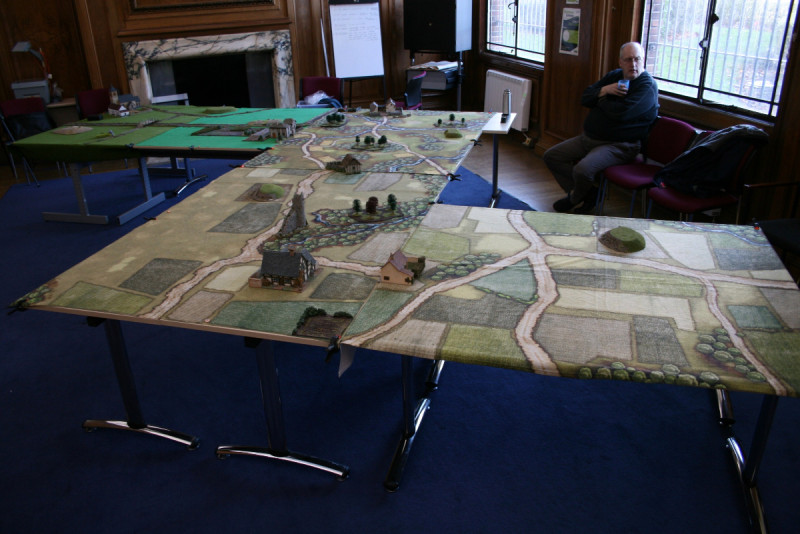
First Table set up – note scenic cloth
We were using the basic Black Powder rules with a few of our own additions and modifications. There were four players on each side. Each player commanded a Division made up of between 3 and 6 brigades of Infantry and cavalry with the appropriate artillery support. In all there were over 3000 figures to go ontyo the table! The French deployed their forces first, with the Allies responding. However, all players could only deploy half of their division, the rest following on, one brigade per turn at the Divisional commanders discretion. One player on each side was appointed ‘Army Commander’ and was given the ability to issue one additional order to each division ( four orders maximum) to any unit or brigade that had either not moved or failed an order to move. The Army Commanders rating was 9 and these orders were unaffected by distance to the unit. (We assumed a very fast ADC would issue the order!) However, the Army commander was still required to pass the order on a dice throw as usual and of course, subject to the ‘blunder’ rule.
Apart from adding to the fun, the idea of the extra order was to create a pause at the end of each turn so that the players would get a feel as to what was going on else where in the battle. In addition it ensured that all four players on each side kept in turn with each other.
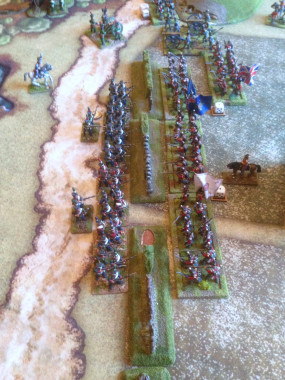
The Zig Zag Table set up. Pete takes a break before deciding whether to place more cover on the tables!
Rather than lay the tables out in a straight line, we adopted a zig zag shape to create some ‘pinch points’ on the battlefield. This gave us about 26 feet of deployment area per side! Scenery was set up by three of us the day before the battle and placed arbitrarily to break up the battlefield without giving either side a particular tactical advantage. We modified the rules regarding fighting in buildings to make it easier for assaulting troops. The first round of combat would be fought as per standard Black Powder rules. If the defenders won the combat, the assaulting troops would immediately recoil, regardless of the outcome of the morale role. If the combat was a draw, the troops would remain locked in combat but the defenders would have their save modifier reduce from 2+ to 1+. In the event that the attackers won, the it was assumed that they had fought their way into the building and subsequent rounds of combat would take place subject to normal combat rules with no further advantage to the defenders. The aim was to encourage the assault of buildings!
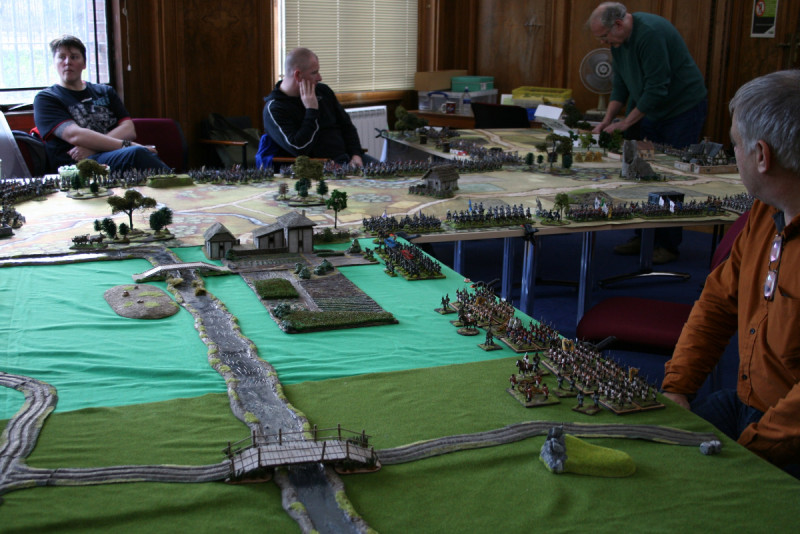
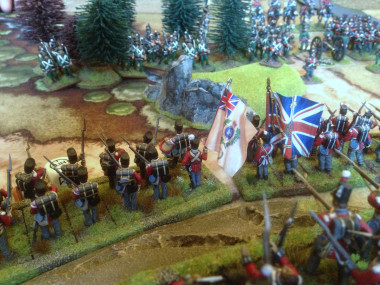
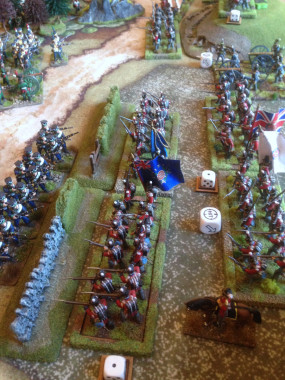
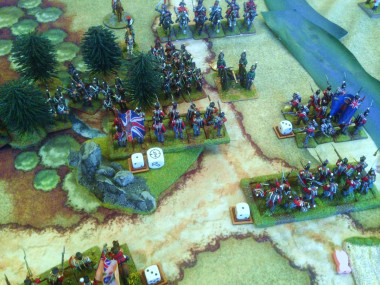
The last of the Allies are deployed
With all of the above in mind, the troops were deployed, the Allies had the first turn and The Austrian Commander on the left wing gave his first order of the day… and with the first roll of the dice, a double six! A blunder! The omens did not look good for the Allies…

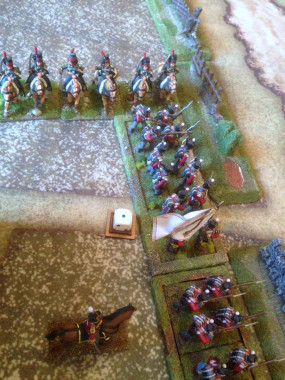
All troops deployed – let battle commence!
To be continued.