The last couple of blog posts might lead you to believe that my painting output had slowed somewhat. In fact I have been steadily working through a number of projects, one of which has been to expand my Caribbean contingent. I mentioned that I am reading the book ‘Death before Glory’ a history of the British soldier in the West Indies 1793 – 1815. The number of nations and protagonists involved in this theatre of the French Revolutionary and Napoleonic wars could keep me busy painting for years to come, not to mention the vast amount of material for wargaming scenarios with regard to both the terrain and the people involved. It certainly is an eye opener with regard to our own history and that of other nations.
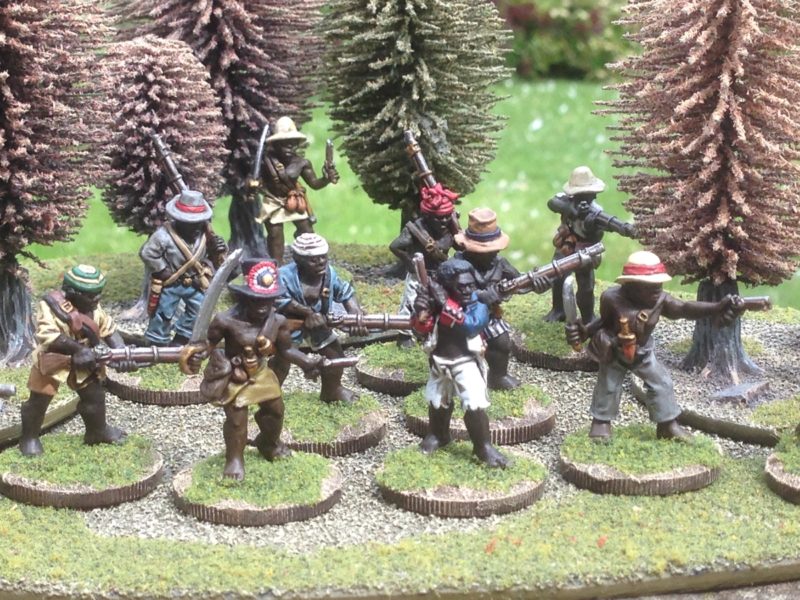
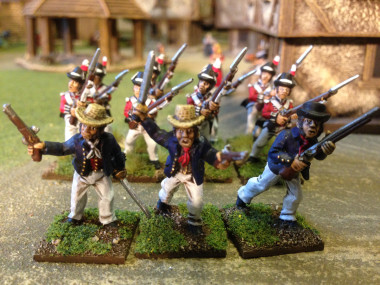
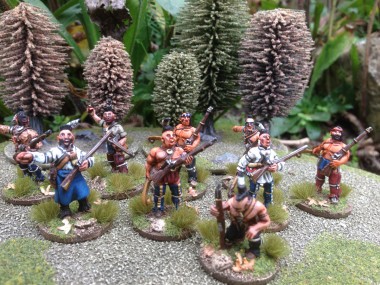
My Maroon band stealthily make their way through the forest!
One group involved in the struggle were the Maroons. I use the word ‘group’ very loosely. In reality they were a number of disparate communities made up of runaway or freed slaves that had formed their own free communities in the wild interiors of the various Caribbean islands. In fact, there were and still are, Maroon Communities throughout the Caribbean, some parts of South and Central America and even in the USA. They were formidable warriors and expert at using the terrain to their advantage. The Maroons of Jamaica fought against the British and held the might of the British Army at bay for sometime.

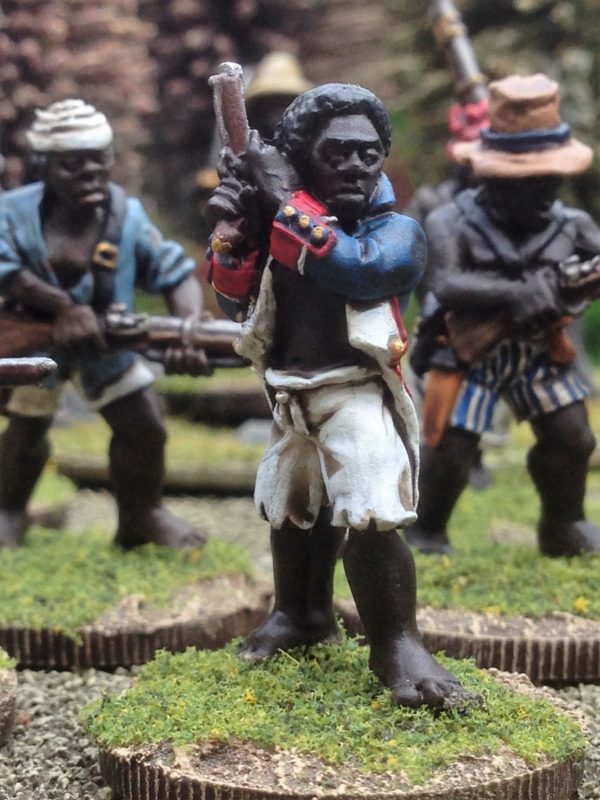
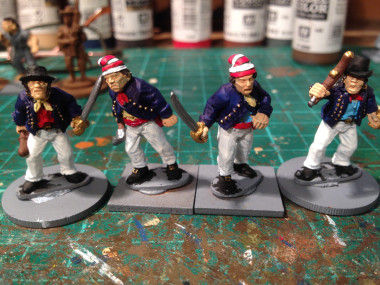
Jean Kina leads his band to attack!
As well as fighting against the British, they also fought alongside them on Saint Domingue ( Now Haiti). One leader, Jean Kina, led a substantial force of freed or runaway black slaves that fought for the British and was involved in number of engagements with the French. So it was clear to me that I needed to add a unit of Maroons to my collection and of course the obvious choice was the figures from the Trent Miniatures range. I have still to finish the bases of my figures. I intend to add more plants and give them more cover to hide behind! But for now the unit is ready for use. I have been blathering on about using the Muskets and Tomahawk’s rules to game in this region and whilst it is still on the agenda ( as it has for the last couple of years) the new Sharp Practice rules look as they may be much easier to adapt. I also think that they may give more flavour to the troops and Characters involved – who knows, I may be able to use a bit of Voodoo. Napoleonic Zombies…now there is a thought!
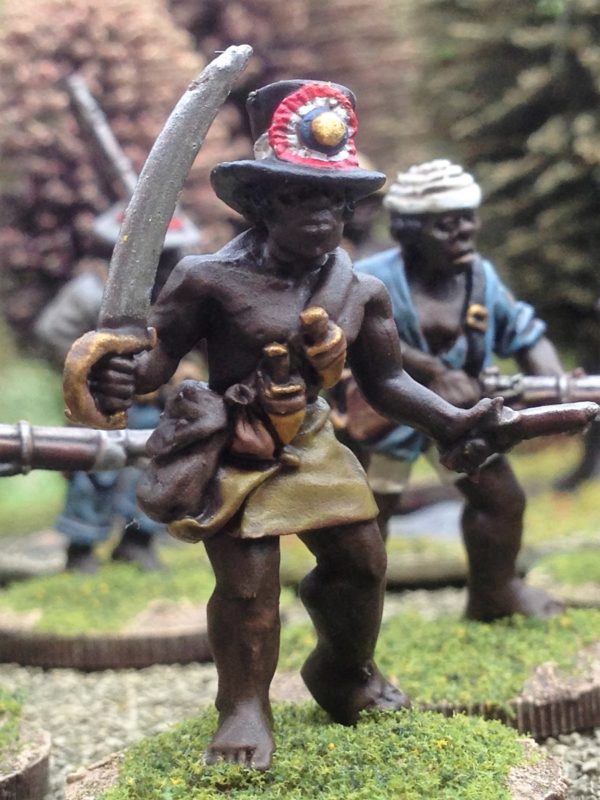
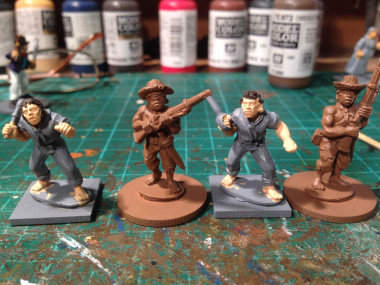
Voodoo Chile..you wouldn’t want to mess with this guy!
I would very much recommend that if you are interested in the French Revolutionary and Napoleonic Wars that you research the conflict in the Caribbean. There is a wealth of material and scope for skirmish games, the history is fascinating and the characters involved may be more familiar than you expect. There is nowhere near enough time or space in a blog post to give you an idea just how much was going on out there. There were very few big set piece battles as was seen in Europe but my goodness, there were some fearsome sieges, amphibious assaults, guerrilla fighting and ambushes. The fighting seemed to be non stop across the Islands as first one side held ascendancy and then the other , with both succumbing to a terrible toll due to Yellow Fever and Malaria.
For now though, I have my Maroon Unit, next on the painting table, for this army, Cuban hunting dogs…

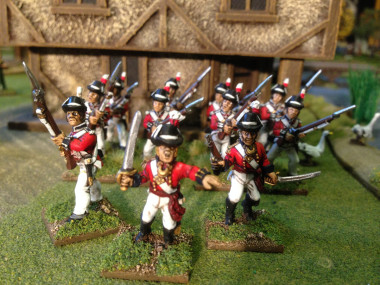

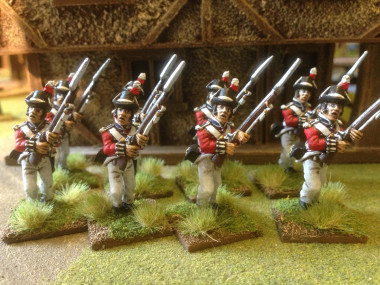
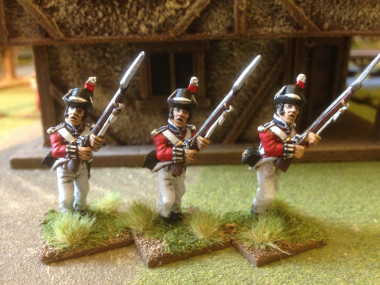


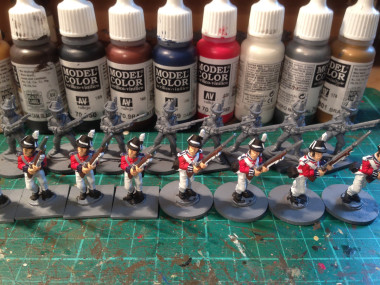
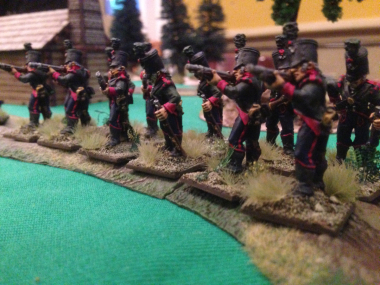
 I’ve been blathering on about my Carribean force for sometime now but have yet to use it on the field of battle. There have been two problems; one, the lack of a rules set and more importantly, the lack of an opponent! I started to collect and paint the Trent Miniatures Caribbean figures because I thought they were superb models. The sculpting is of high quality with some really characterful models in the range. Add to that, the uniforms look pretty good and there is plenty of scope for all sorts of variety when putting together a force. The theatre of action, the Caribbean islands in the late 18th Century provides plenty of scope for all sorts of battles, from small scale skirmishes to full on battles, naval landings and sieges. And of course the scenery will be interesting – anything from Plantations to Jungles.
 Well, as usual, the answer was right in front of me. There is a superb rules set by the very talented Alex Buchel of Studio Tomahawk called ‘Muskets and Tomahawks’ for skirmishes in North America during the 18th Century. I could see immediately that it would be very straight forward to transpose the Caribbean forces over the North American Forces in the rules set and I could use my figures on the wargames table! Luckily there are a few players at my local wargames club that play M & T’s, so I asked one of them, John Grant (or Nice John as he is known locally!) if he would take me through the rules with a practice game. John has a terrific set up with plenty of scenery and AWI figures, so the game was great fun and confirmed my impression that the rules set would transpose to the Caribbean. The next step was to ask if I could use my Caribbean force in a game!