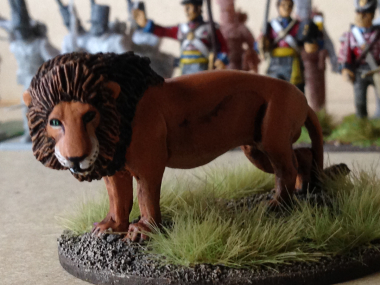
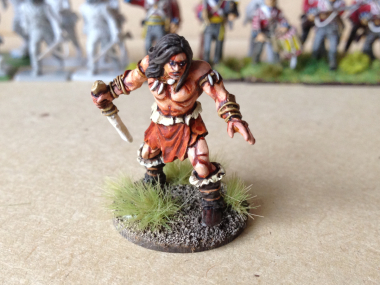
The Lion Rampant!

I’ve managed to wean myself off of playing Black Powder for a few weeks! It can get a bit stale playing the same rules set, although I am addicted to Napoleonics for the time being. That said, I have wanted to build a collection of army’s and have been looking for inspiration elsewhere. I have been very tempted by the American War of Independence, as I like the look of the Muskets & Tomahawks rules but the thought of painting more redcoats doesn’t appeal whilst I’m still working on my Napoleonic army.

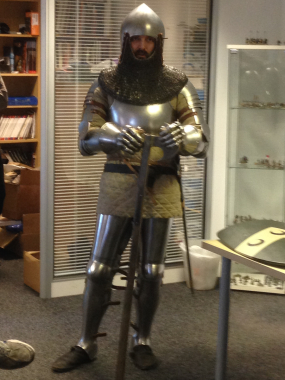
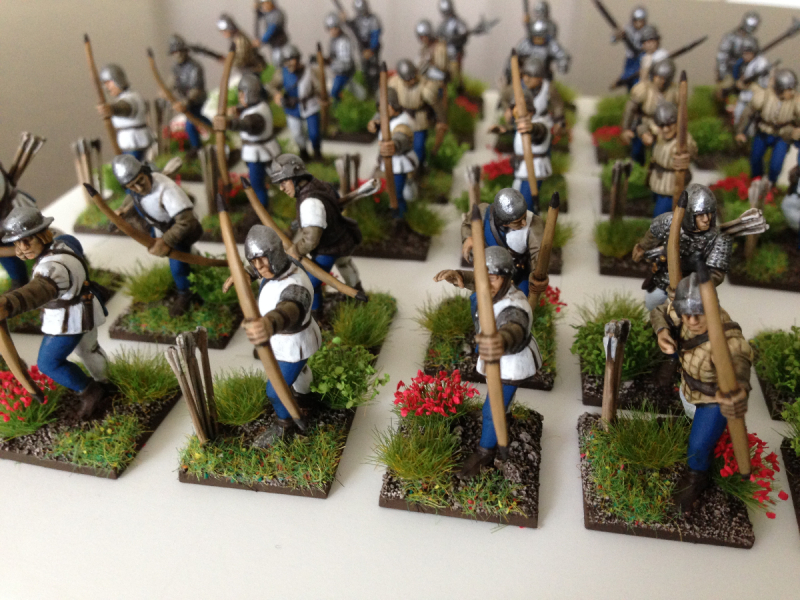
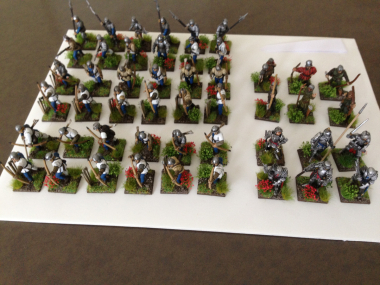
A recent rules set arrived in stock that did take my fancy and it would give me the opportunity to start another different army from a different period. The Rules set was ‘The Lion Rampant’, a medieval skirmish rules set. Skirmish games are a great way to get you into a period and allow you to play with just a few figures. The Lion Rampant is ideal in this respect as you need about 30 to 50 figures and you have a reasonable retinue with which to play the game. I think that with a box of Perry’s Foot Knights & Mounted Men at Arms I will be able to make a decent retinue. I’ll also have a look at the options from Fireforge games. Their figures have been tempting me for some time now!

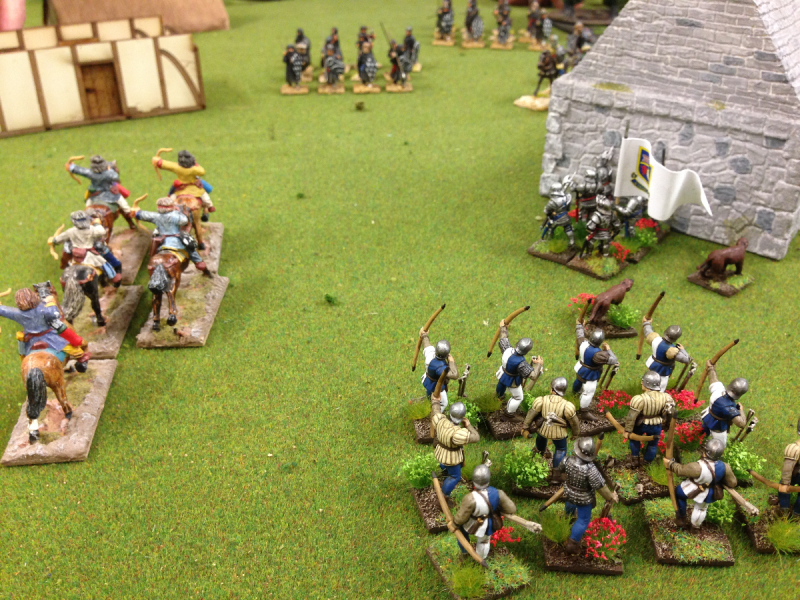
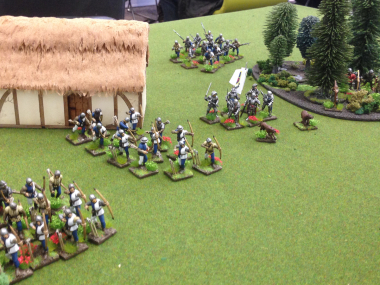
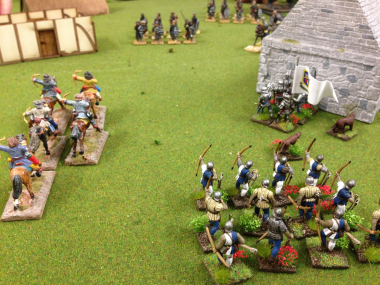
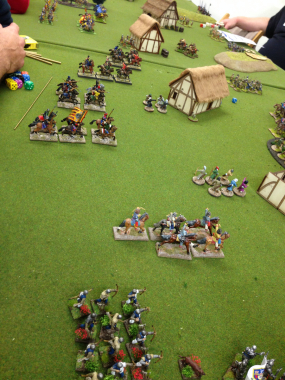
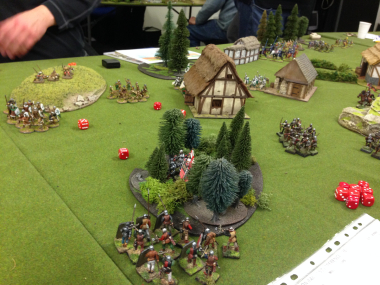
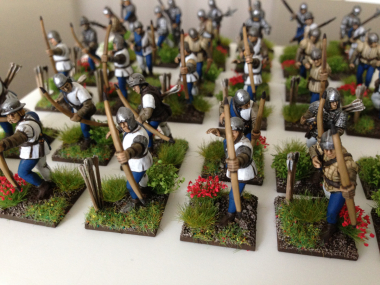
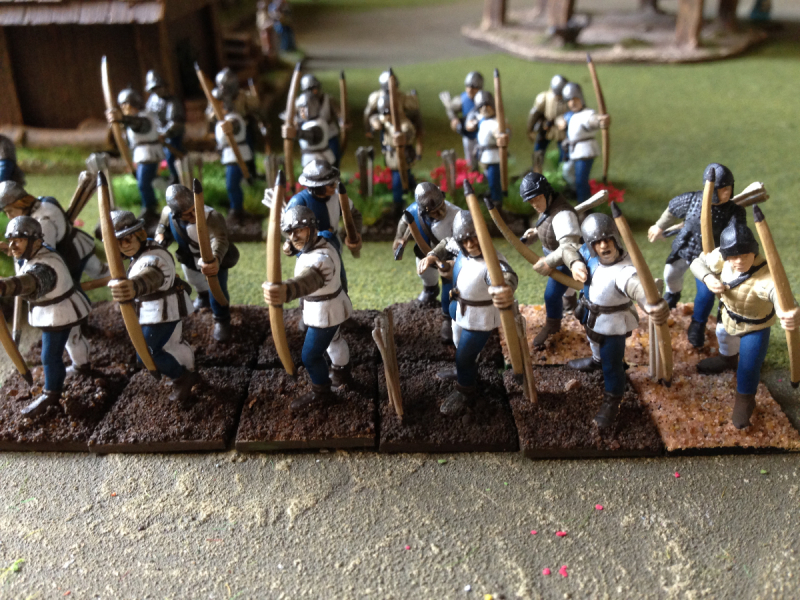
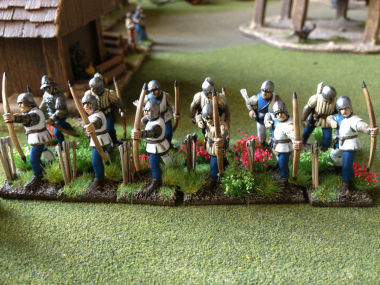
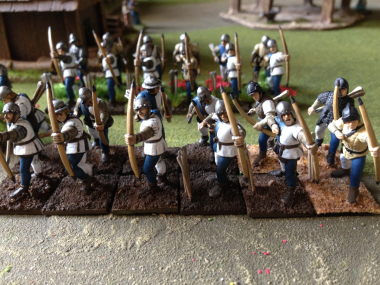
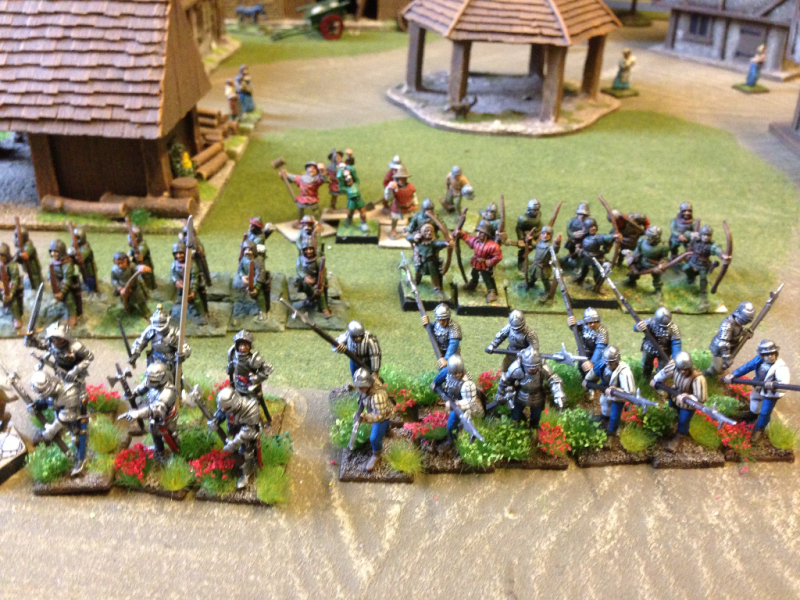
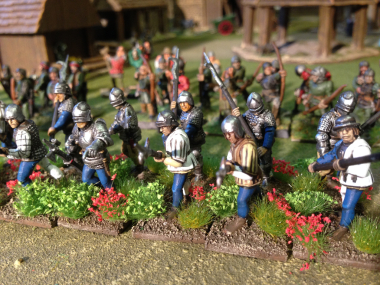
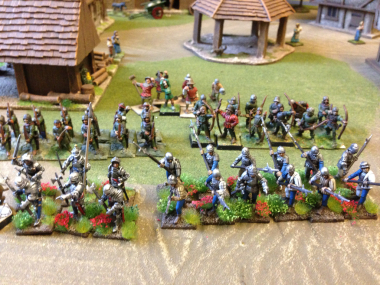
So when I was invited to play a game at the local club, The White Hart Gamers, I jumped at the chance. As I thought, it was a straight forward rules set that allowed easy play, just right for a club night game. We played on a 4×4 foot table with 4 retinues all doing battle. It ended with all four leaders meeting their end in glorious combat! In fact we probably overplayed the game but by the end of the game, we were all familiar with the basic rules and enthusiastic enough to sign up for a campaign day in January next year. So I have another project to add to my list. In the meantime, if anyone out there is looking for a new game to play, I can very much recommend the Lion Rampant! Here’s a few pictures of our game.2014-09-11 19.26.57 2014-09-11 19.27.31 2014-09-11 19.28.50

Whats on the Workbench 25/9 & Deezee Miniatures

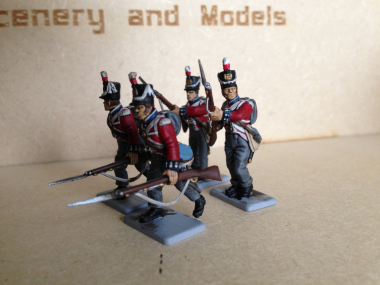
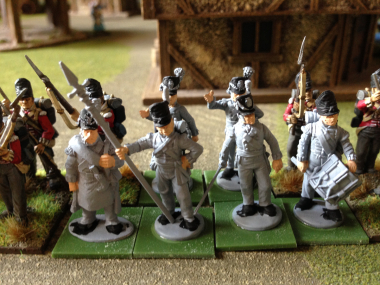
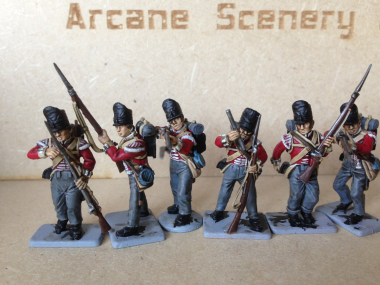
2014-09-25 11.06.22Progress on the Hanoverian battalion continues, albeit at a snails pace. I had started to paint a batch of 18 figures but progress was too slow and so I decided to finish six off just to get to see how they would look. The picture shows the first six block painted according to the colour scheme from the Mont St Jean site ( see last weeks blog for link). The next stage will be to paint them with army painter quick shade – I’ll use the strong tone or black shade. This will give me the shading to bring out the detail, particularly the faces and trousers. It will also give a clear outline to the equipment and lacing, making them stand out. Once the quick shade has dried, I’ll highlight the figures by repainting the lighter colours, particularly the webbing & lace and I’ll highlight the metals with either silver or gold as appropriate. This will really make the Buttons & bayonets stand out on the battlefield. Of course the most important finishing touch will be the bases! I just need to think about the colour of the flowers that I will use….. Hopefully by next week I will have at least these six finished. One final thought on painting these models. With hindsight, I should have painted the three individual pieces that make a figure separately. It would have made painting the detail much easier, so I will give this a try when I paint the next 18 figures.

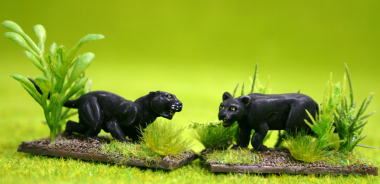
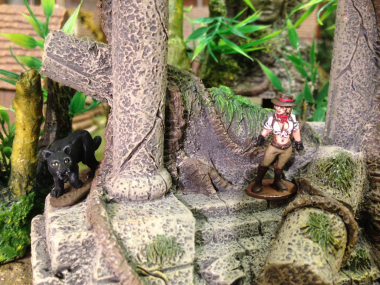
Changing the subject completely, I mentioned in a previous blog that I was working my way through the Deezee range. Well, next on the workbench is a couple of Jaguars! One of them is not yet in production but we are edging ever closer to sorting this out! All being well, we will change the pack on the Jaguars so that you will get two different animals rather than two the same. The bear cubs should be in production by next week and we will have a couple of brand new packs of dogs! Here’s the Jaguars, just undercoated. I will be trying to paint them both as Black Jaguars, the sort that appeared in Apocalypto. On the face of it, that is the simpler option as opposed to the spotted type of Jaguar. However, painting & shading black is quite difficult – I’ll show you how I get on when they are finished. 2014-09-25 11.07.26

Collecting an Army……

It’s always a pleasure to hear from other people in the hobby and to see what they have been up to. I recently had an email from Alan, who collects and paints 1/32 scale WW2 figures. Not only does he have a huge collection of Soldiers & AFV’s but due to space constraints, the collection has to share a table with his vintage railway. However, the result is just great and the two interests compliment each other and help to show one another off. Here’s Alan’s email detailing his collection:

‘Have had a count up, nearly 20 Shermans and Fireflies, 2 M10s, 4 US halftracks and around 150 infantrymen depicting the 29th Division from Omaha beach to the Bocage region, also 101st airbourne. Also includes support trucks. Brits are 130 Coldstream Guards and full battery of 25pounders and paras.

Germans, 160 infantry of 916th division, Omaha and Bocage complete with Stugs,  Hetzer tank destroyers, Panzer IVs and Panthers support. Also Kettenkrads and Kubelwagons with PAK 40 anti tank guns and mortar batteries and motor cycle combos.  ther are 40+ paras supported by Panthers, 50+ Panzer grenadiers supported by King Tigers, Tiger Is, halftracks and assorted light vehicles. Full battery of 88s with remnants of Luftwaffe regiment support.’

Wow! now that is a collection. Here’s just a few of his pictures:

OLYMPUS DIGITAL CAMERA

Warlord Hanoverian Infantry

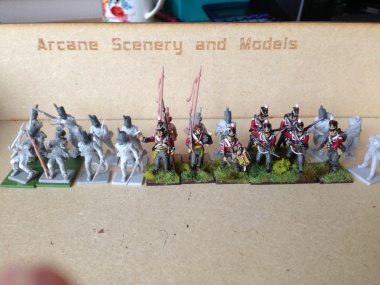
After a short break from Napoleonics, I decided to get back on track with my British contingent. However, the German influence remains! Having finished the Prussian infantry for the time being, I am moving onto Hanoverians! The plan is to complete the British 6th Infantry Division as they appeared at Waterloo. Which means that I need to paint 4 battalions of Hanoverian Landwehr to make the 4th Hanoverian Brigade that was one half of the division. The Other half was made up of 3 British Battalions, the 4th Kings Own, 27th Inniskillings, and the 40th Sommersets. ( There was a forth battalion, the 81st, but they were left in Brussels).

warlord hanoverians

I already have completed the 4th, 27th and Verden Landwehr and so need to paint three more Landwehr battalions, the Luneberg, Munden and Osterode, a total of 72 figures. I’ve decided to use the Warlord Games Hanoverian boxed set and use the flat peaked field caps for two of the battalions, the other will be in Stovepipe shakos for a bit of difference.

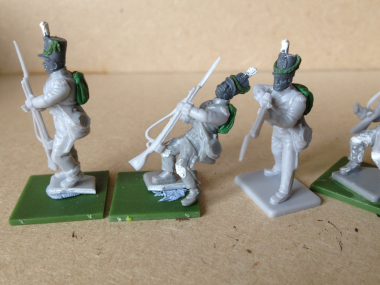
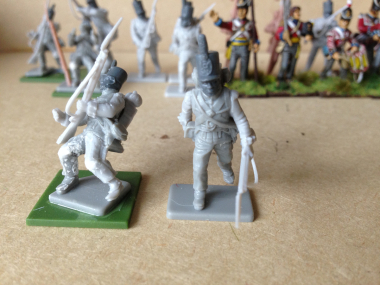
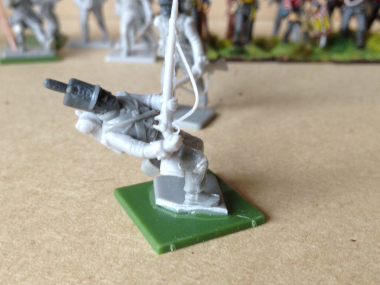
2014-08-28 11.04.46The Warlord figures are nice and straight forward to put together and have very little flash to worry about. A bit of cleaning with a file & a scrape with a knife and they are ready for undercoating. Here’s the first batch of 5 ready to be sprayed.

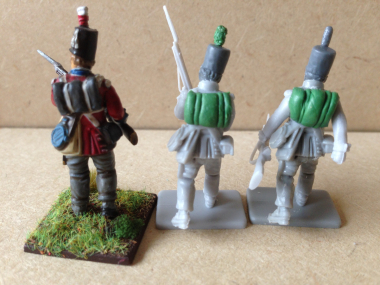
I’m going to use army painter grey spray for the undercoat. This will save time painting the trousers & blanket rolls and the grey takes the red for the jackets better than the other way around. I wont base them at this stage, the small bases that they are on will be good enough to hold whilst painting although I know that the ‘professionals’ would mount them on temporary bases. I am going to be batch painting a large amount again, so I’m happy to work with them as they are. It will also allow me to base them as fours on larger 40mm square bases once they are completed. As always, for my painting guide, I use the Mont st Jean site, which gives a nice clear picture of how to paint my figures.LandwehrHanovre

The reference material supplied with the warlord set is also very good as well. The point is made in the leaflet that not too many hard facts survive regarding the exact details of the Landwehr uniform but from the research that I have done, I wont be too far out following these colours. I suspect having the battalion in field caps is a stretch, regarding accuracy, but as I have said , it will make for a bit of difference on the battlefield and help to differentiate the battalions. As for flags, there is even less information, so I’ll use a bit of licence when solving this problem! One final thought, The Hanoverian Landwehr didn’t have flank companies but the warlord include figures with flank epaulets. Technically, I need to remove these but I suspect that I’ll just paint them when the time comes….

If You Go Down To The Woods…..

Once again, I find that my modelling and painting activities are taking a back seat and I have had very limited time to get to paint anything. I have managed to get the to Bear Cubs finished though. As I mentioned before, we will be adding these to the DeeZee range – I hope to have production started on these in the next fortnight, subject to the production moulds being completed.2014-09-04 12.03.29

The Bear cubs are a bit on the large size, even for giant Ice Age bears and to be fair, are more like juveniles than cubs. They look cute enough, though, and make an interesting addition to the range. The paint scheme was quick and easy enough, just a base coat of chocolate brown and then a number of dry brush highlights using increasing amounts of light brown. The noses, claws & eyes were picked out in black and then the eyes given a coat of gloss varnish. I’ve added a few flowers onto the base to represent the bears in spring time (not that  I need an excuse to add flowers – most of my bases feature these, much to the amusement of my gaming buddies!) So the Bears are done. Onto the next batch of neanderthals!

2014-09-04 12.05.322014-09-04 12.05.51

What’s on the Workbench 28 August 2014

After nearly 3 weeks away from my workbench, I was actually pleased that we had a miserable wet Bank Holiday! I was able to sneak off and at last get some painting done! I was still persisting with my Prussian Brigade. The last figures that needed painting were the Volunteer Jaeger that come with the Perry’s Prussian infantry set. I didn’t do my usual research on these figures regarding uniforms but just relied on the artwork supplied in the boxed set ( which is usually very good anyway!).

Prussian Volunteer Jaeger

Prussian Volunteer Jaeger

For some reason, I didn’t enjoy painting these figures as much as usual. I suspect that I have become a bit jaded with Prussians! Regardless, I pressed on and finished them as I thought best, with green jackets, yellow facings ( for Silesia), and equipment colours as the rest of my Prussians. Here are the figures based & ready for battle tonight!

As well as finishing these figures I started to prepare another batch ready for painting. I am working my way through the DeeZee range at the moment. Although we have painted examples of the full range now, some of them are quite old and since we acquired the range, I have been gradually painting examples. As well as giving me a few more display pieces it also helps me to understand how to paint the models so that I will be able to advise customers in the future. We also have some new models in the pipeline – we’ve already released the Baby Mammoth so next up we have some Juvenile or Baby bears! Here they are undercoated ready for painting. At some point in the future I’ll do an update on the DeeZee range and where we are going with it. The other little project on the go is my band of Neanderthals. Sculpted by Steve Saleh at Lucid Eye, these figures are the second pack to be released. There is a slight glitch in production as Steve has moved jobs but we hope to solve this soon. The Lucid Eye range fits nicely in with the Deezee Range, We have the animals, Steve will supply the Hunters ( or hunted!), so we hope that we can work with Steve to keep the range in production and growing. Here’s the pics:2014-08-28 11.03.52

2014-08-28 11.02.44


History surrounds us.

I haven’t lifted a paint brush or done any modelling for nearly a fortnight now. It’s been one of those fallow periods that you go through from time to time. There are other things happening in life that draw you away from your hobby. We are having a new kitchen installed that has caused a bit of chaos and, of course, my hobby den, AKA the garage has been used as a dumping ground for the new units coming in and then the old ones going out. This means that I couldn’t get to my workbench if I wanted to. There was some good news though. I have had a new light installed in the Garage as well as a couple of new power sockets, so when I do get access ( next week…) the facilities will be much improved.

I also had to return to my home town in Torquay to conclude some family business. Sadly, my father passed away back in March after a long illness, and I have been travelling back & forwards to Torquay from Nottingham for the last few months. My Dad was a big influence on my hobby. Of course if it wasn’t for him I would probably never have got involved with building models. Dad was an enthusiastic model airplane and model boat builder and was more concerned with building a working model rather than the ultimate replica. He taught me the practical skills that I needed to build models, how to use the various glues, filler & materials and of course how to use the tools & techniques to produce a good model.

The Slipways at Torquay

The Slipways at Torquay

His other passion was for fishing – sea fishing of course, being in Torquay. The great advantage of sea fishing over coarse fishing ( apart from the fact that you usually eat what you catch when sea fishing!), is that you don’t have to be quiet and so you can have a conversation whilst you are watching your float. During our fishing trips to Torquay harbour, my Brother & I  would be asking Dad about the various buildings and structures and it was surprising how many of the unusual buildings around the harbour were actually defensive structures from the Second World war, now modified for everyday use. This inevitably led to stories from the second world war. Dad was only a young boy during the war but he witnessed the Terror raids on Torquay, ( My Mum was bombed out of her house in Babbacombe and my Aunty was nearly killed when a Fockewolf crashed where she was taking shelter – stories to be told in later entries in my Blog) and of course the build up to D Day. The Americans were billeted at the bottom of Dads Road in Upton Park.

It was from these stories that my love of history grew, and if you put an interest in history together with a passion for modelling, a wargamer and military modeler is sure to emerge! The strange thing is that whilst at school, although we learnt the dates of the big battles and wars, when kings came & went and the political background behind the conflicts, we were never taught what happened in our own town. Recently,  the town has recorded that the two slipways that I fished from as a child were built as loading ramps for the LCTs that went off to Normandy on D-Day. Now I reckon that kids today would be just as interested to hear these stories now as I was then. So check out your local history, if you don’t already know, there will be lots of history stories all around you. If nothing else, they will no doubt inspire you fro your next modelling project!  Here’s a few pictures of the plaque erected in memory of the D-Day ramps in Torquay.


2014-08-02 16.52.512014-08-02 16.52.37

Batch Painting Prussians – Part Two of Two

In the last entry I had just finished block painting 22 Prussian line infantry. The next stage in completing them is to apply Army painter quick shade, or as it is known, dip. Quick shade has a mixed reputation. To some painters it is the Devils brew, a cheat,  and should be avoided at all costs. To others it is a magic product that has revolutionized painting wargames figures. My view is somewhere in between. If you are painting large numbers of figures for the wargames table it is probably the best way to go. If you are entering a painting competition, dont go near it! I do not dip my figures in the tin & flick the excess down the garden as the instructions recommend – this sounds like a disaster waiting to happen if I was involved – I’m sure that my figure would end up at the bottom of the garden and the quick shade would inevitably end up on something that it shouldn’t! 2014-03-30 15.02.29

I prefer to liberally brush it on my figures and leave it to dry for about 24 hours. This helps me to control how much ‘dip’ is being used and where it is going! The point is that once applied it not only shades your figure but also protects it with a coat of varnish. There is one other issue with tins of Quick shade. It has a tendency to form a skin on the product as time passes. So long as you carefully remove this skin and give it a good stir, you can continue to use the dip. I also add a bit of white spirit to the tin before use and I am meticulous in wiping the top of the tin to try and get the best seal after use. That said, for an expensive product, I think that the tin could be of better design and quality. As you can see from the picture, the quick shade does what it says on the tin & shades the creases and gives definition to the figure. Dont be put off by the high gloss finish. The next stage in the process is to spray the figures with a good Matt varnish or anti shine. I stick with Army painter for this job. It’s not necessarily the best Matt spray available but it is designed to work with the quick shade & I get good results with it most of the time. Matt varnish can be temperamental so ALWAYS shake the can well, and spray in light coats from about 18 inches. Also if you can, spray in a well ventilated area with consistent temperature. It all helps to get a good finish.2014-03-31 17.47.00

The next picture shows the figures once they have been coated with matt varnish. There is one other quick trick that will help bring your figures to life and that is to repaint some of the lighter colours to add highlights & clarify them. I usually redo some of the white ( particularly the webbing), the yellow facings and I also retouch the steel bayonets with silver and the brass items with gold. it doesn’t take too long but it does add something the the figures.  The figures are now based on 40mm renedra bases in fours and the bases painted Vallejo Chocolate brown 872.

The final stage is the basing. I use a range of finishes on my figures but for the Prussians I have gone for a very quick & simple solution. Using watered down PVA, I coat the bases & then cover with a forest brown scatter. Once this has dried, I put on random patches of ‘grass’ using Javis fine scatter – again stuck with PVA. To finish and to add detail, I then use tufts of grass from either the Army Painter range or the Gaugemaster/Noch variety. I prefer the latter as they come in distinct clumps and are easier to use. The final detail is to add some flowers! In this case, yellow really contrasts against the dark prussian blue and adds the final touch! Hey presto, 22 Prussians ready for battle. 2014-03-31 20.55.02

Batch Painting Prussians! Part one of two

The entry is a bit of a backwards step…. To be honest I had part written it sometime ago but not had time to finish it before I actually had finished my Prussian brigade. However,  I haven’t done a great deal of painting over the last week so I thought that I would add this back in to the blog to show in detail the process I used to speed the painting of my Prussian contingent.

I usually paint my models in batches of about 6 figures at a time. It seems to take a long time to finish a battalion of troops this way but at least I had the reassurance of watching the battalion grow in numbers. However, I decided to have a go at a much bigger batch to see if I could speed up the process. I’ve heard a lot about speed painting but it’s not something that I’d ever tried. Besides, painting is supposed to be a relaxing pursuit, so I didn’t want the pressure of painting against the  clock. Of course, if I could be disciplined to have a go at a full battalion in one go, it might help to grow my collection and if course reduce my painting back log.

2014-02-22 09.57.00

So here’s how I got on. I hope that the following will contain some useful ideas for other modellers. I ‘ve also tried to take pictures at nearly every stage so you can see my progress. Before I start any painting project, I usually spend a bit of time researching the subject. I’ll cover this as a general topic in a future blog entry as I think it might be useful and thought provoking. I have found that often, the references can give different  colour schemes, particularly when it comes to the detail. The most consistent source that I use, and the best that I have found for a painting reference is the mont st jean site. Here is the link:

http://centjours.mont-saint-jean.com/liens.php

2014-02-22 11.06.09

Before starting to paint a batch of figures it makes sense to paint at least one test figure, if nothing else to establish what paints that you will use and the best sequence for painting. As I had already painted a battalion of Prussians, I was already prepared and I knew exactly which colours I would use. To help me through the process, I lined the colours up in sequence on my work station. This keeps things organised and helps to mark my progress as I work through the colours. You can see the paints used in the first picture. Picture two shows the figures assembled and undercoated and with the first colour, vallejo 815 Flesh painted on for hands & faces. I tend to stick exclusively to Vallejo paints. I find them to be about the best around for painting miniatures so all the references to paint numbers are for Vallejo. The next picture shows the figures with 950 black applied to the hats, boots and cartridge cases.

2014-02-22 18.36.10

I’ve also shown the brush that I am using an Expo sable sized 1 brush. I find this ideal for block painting figures of this size and only use a smaller brush when it comes to painting the fine details.

Picture three shows the troops with their jackets painted Dark Prussian Blue, Vallejo 70899. So far, painting has been fairly quick as I am painting reasonably large areas on the figures. Now comes the first of the fiddly bits, painting the Muskets, hair and leather straps on the blankets. I tend to do these all together as I use Flat brown (984)for the musket stocks, Leather Brown for the strapping (871) and both these and a variety of browns for the hair – Light brown (929), yellow Ochre(913) & Chocolate brown (872). You could use the different browns to paint a wood grain effect on the musket stocks if you wish, but it’s not a style that I like – plain brown is just fine! The detail on the muskets is finished with 864 steel for the barrels & bayonets & 801

2014-03-04 20.04.09, brass for the bands on the barrel, stock, sword handle, scabbard end & badge on the cartridge box.  Next up, I carefully paint in the webbing, Bread sack and detail on the back pack, as well as the sword knot. You could use Vallejo white 951 but I prefer to use the off white 820. At this stage the figures are nearly fully painted. So far, it has taken me about 8 hours of painting, or to be more realistic 4 evening sessions of two hours. Any longer & my back seizes up!

The next picture shows the figures with the facings painted Yellow 953, the shoulder straps & sword knot red, 957, and the buttons picked out in steel. The yellow facings are to represent the Silesian regiment and the colour of the shoulder straps & sword knot indicates the battalion & company respectively. The purists out there will want to paint different colours on the starps & knots but I am too lazy and the red gives a nice contrast to the yellow facings! The final bit of painting before using Army Painter dip is to use Neutral grey, 992 to touch up the trousers and Blanket rolls and to correct any obvious errors. At this stage they dont look too bad but the block painting leaves the figures looking a bit flat. I could go back

2014-03-29 17.52.29


& shade and highlight the figures but this is an exercise in getting a batch of figures ready for battle, not a painting competition!

In the next article, I’ll show you how the Army painter quick shade helps to bring the figures to life and my quick basing technique.

It’s too darned hot!

I’m not really complaining about the weather, honest! I’ve been away on holiday to Crete and it was a lot hotter there! Of course the difference was that I didn’t have to go to work and the only time I spent on my hobby was to do some holiday reading. As well as reading the latest Bernard Cornwell historical novel (‘Pagan Lord’), and for a complete change, the latest Lee Child thriller ( ‘Never Go Back’), I also managed to fit in Alessandro Barberos’ book, ‘The Battle – A History of the Battle of Waterloo’. It’s every bit of a page turner as the the other two and just as exciting! As with all good history books it combines the facts with the narrative of the Battle, told from the perspective of those that were there. If you haven’t read this book , then I’m happy to recommend that you add it to your holiday reading list!

Prussian CommandSo over the last three weeks or so, progress on my projects have been slow to say the least. The hot weather brings other distractions and it doesn’t help that the paint was drying faster on the pallete than on the figures that I was painting. But work on the Prussians has progressed. I’ve finished an Officer & a sergeant and I also now have my Brigade Commanders completed. So I do have a Prussian brigade of Infantry that I can field in my next battle. Of course the brigade isn’t finished… I could do with completing the Jaeger as skirmishers that come with the set. I’ve started to assemble them but I have had problems with the arm holding the rifle on these figures. It seems that the rifle is a weak point and the rifle butt has snapped off on a couple of my figures. So I have decided to do a couple of minor conversions & replace the broken rifle arm with a musket arm from the Victrix British set. This does mean a bit of filing & filling with green stuff – the shoulder wings need removing, as does the piping on the cuffs and I’ve remodelled the cuff to match the other one. Apart from being a fidley job , it’s not too difficult. I don’t think that the musket rather than a rifle is too much of a problem, I am sure that there were jaegers with both. So that’s about it for this weeks blog – I’m off for a cold drink of something…..

Jaeger conversion

Jaeger conversion

What’s on the Work Bench 26th June 2014

Landwehr With Muskets at tra

Landwehr With Muskets at trail

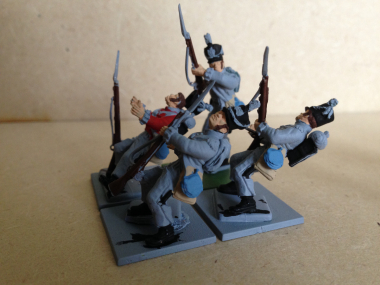
A couple of projects are moving towards completion. First of all the Prussian Brigade is slowly getting there. I have been painting another 10 Prussian Landwehr to complete the second Landwehr Battalion. These are Warlord Games metal Prussians running with Muskets at the trail. It means that I have a bit of variety with my troops and I hope that when these are mixed with the casualty figures already painted, there will be a bit of a story being told, with the officer ordering the advance in the face of enemy fire. I know that some wargamers like to have their models in similar poses and certainly for the sake of quickness, this helps when painting. I prefer some of my models to look a bit different, so I’m quite happy to mix it up a bit!

Landwehr Advance!

Landwehr Advance!

So, although I have painted 94 Prussian Infantry & Landwehr figures, the brigade is still not quite there! I have sent for a separate Prussian Infantry command sprue from the Perry’s – this will allow me to complete the 2nd battalion of the infantry. I also have a couple of Prussian Generals from Foundry to paint to make up the Brigade command. At this point, the Brigade will be ready to take to the wargames table but of course there is always more to add but at least I have the main rank & file done!

Sarissa Dark Age Church

Sarissa Dark Age Church

As a break from painting figures, I thought that I would make a start on a church for ‘Little Bingham’, the fictious village that occupies my wargames table when it is not in use! I have a test piece from Sarissa, the Dark Age Church, and I thought that this would make a nice addition if painted up. So, to start, I just sprayed the walls of the Church with a Textured spray bought from B&Q. I first masked off the door, but otherwise just carefully sprayed over the MDF. I was quite pleased to see that despite the thickness of the spray, some of the MDF etching & detail still was visible even the fine detail around the windows.

Church window detail

Church window detail

I then just painted the roof tiles with a dark grey Vallejo paint. Again, the detail of the tiles are still visible. So the next step is to weather the  the walls & roof with a quick dry brush & add some Ivy & moss. Hopefully, it will be finished for the next workbench!