I’ve had a very relaxing week away on the beautiful island of Skiathos in Greece. Time to catch a few rays and take a break from the usual routine and recharge my batteries. As well as taking a break for work I also stayed away from my hobby. So no packing up soldiers to paint for me – I even resisted taking my usual historical fact and fiction reads. Instead, I made do with a Lee Childs thriller ‘Gone Tomorrow’ and the latest page turner, ‘Girl on a train’ by Paula Hawkins. Both exceptionally good reads. I did backslide a tad, in that having burnt through those two paperbacks I found that I had ‘Woe to live on’ by Daniel Woodrell on my Kindle. I came across it by accident and didn’t realise that I had it or even what it was until I started the introduction. It’s a terrific read and a tale of the American Civil War, in particular the war in Missouri and the conflicts between the Jayhawkers and Bushwackers, culminating in the raid on Lawrence in Kansas. The Film ‘Ride with the Devil’ is based on the book and I can recommend both if you are at all interested in the American Civil war period.
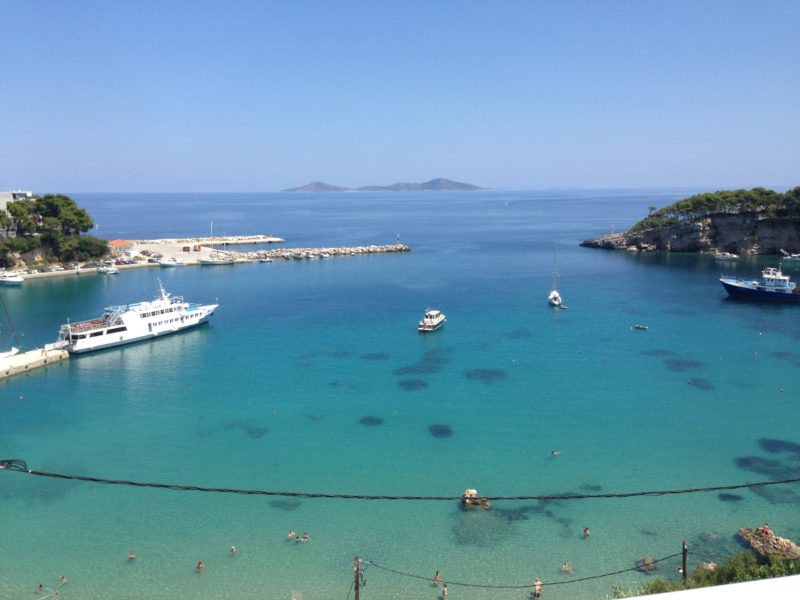
I hadn’t done any research on the Island of Skiathos itself. Being in Greece and close to the mainland , you would assume that there would be plenty of history to see, so to speak, but apart from a couple of Monastery’s the Island doesn’t seem to have much in the way of antiquity to see. So, I hadn’t planned on any Historical research or visits to historical sites. In fact, the only excursion that we had planned was a boat trip to the neighbouring islands of Scopelos and Allonissos. The purpose of which was to do a bit of Dolphin spotting, sample the local food and of course visit some of the locations that the film ‘Mama Mia’ was filmed at – more of interest to my wife than myself.
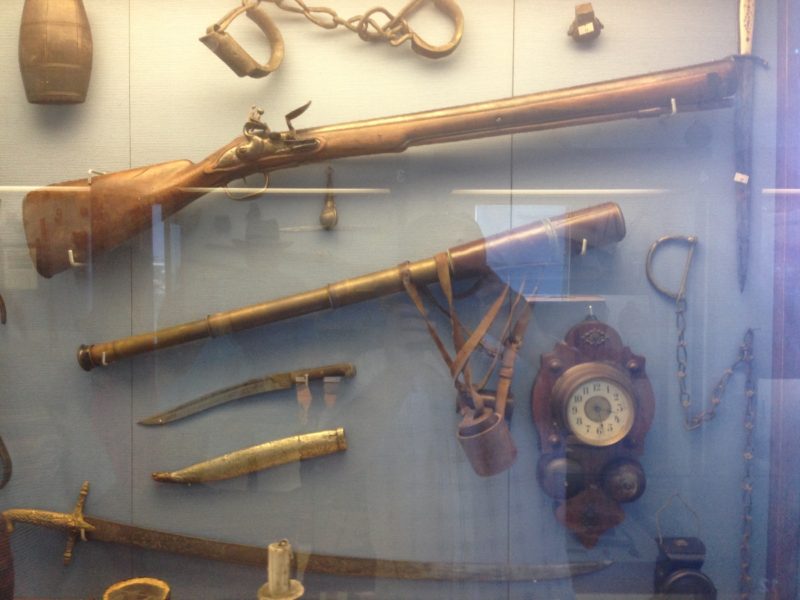
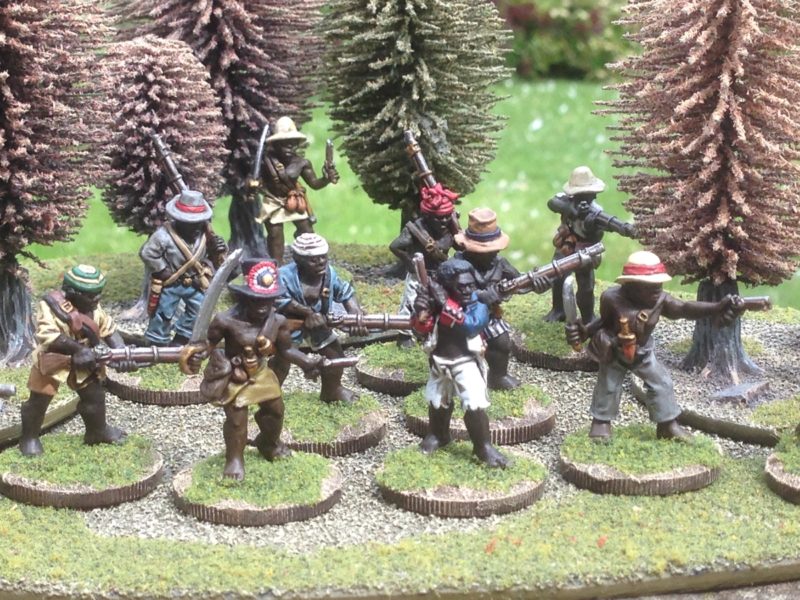
Pirates weapons on show at the museum at Allonissos
As it turned out, on one of the islands, Allonissos, there was quite a good little museum to visit. Billed as a ‘pirates’ museum, it actually had quite a nice exhibition of both pirates weapons as well as other weapons from the Greek war of independence, WW1 and more recently, WW2.
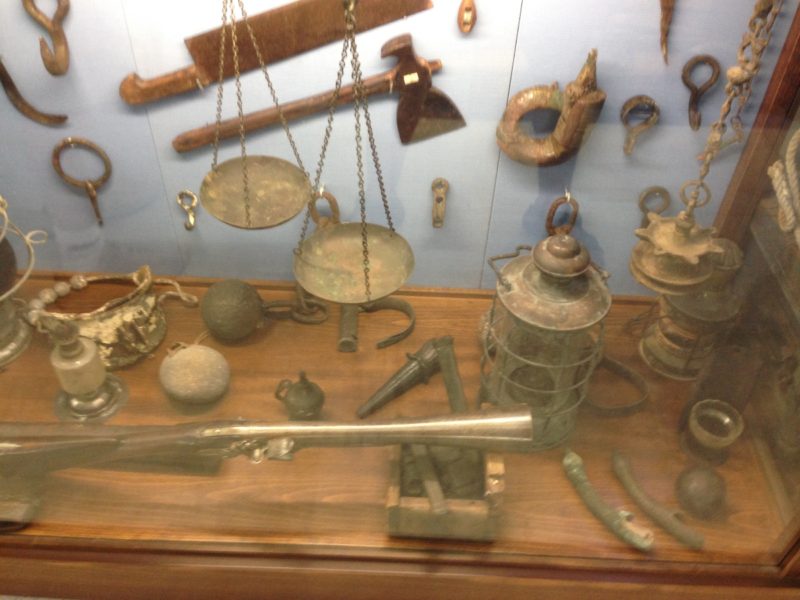
Yet more weapons!
This little museum turned out to be a bit of a treasure trove of interesting exhibits and had I had more time, I would have spent much longer investigating the exhibits and taking notes for future research. As it was, we had agreed to meet back with the ladies and so time was at a premium. It also didn’t help that the museum had a superb balcony bar with the best views of the harbour! So I spent more time nursing a cold glass of beer looking out over the bay, enjoying the cool breeze than I did on any serious research…

The view over the Harbour from the Museum balcony bar.
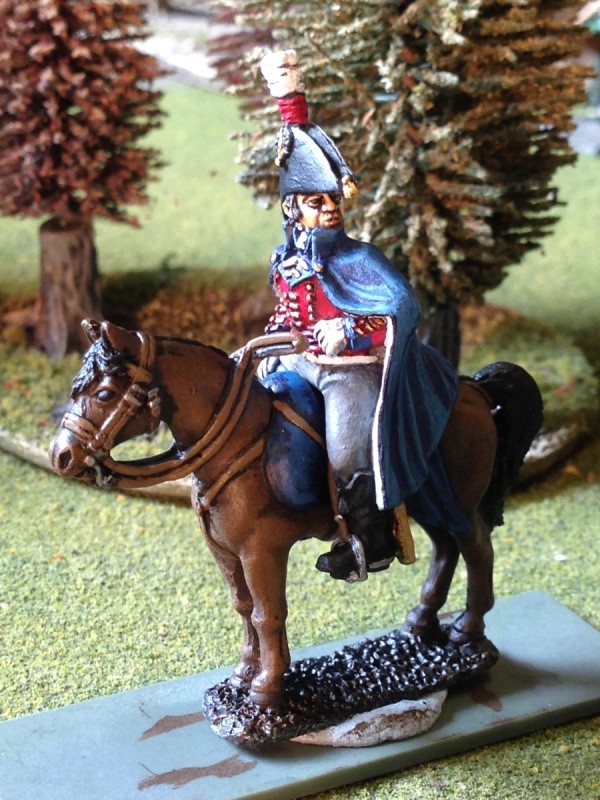
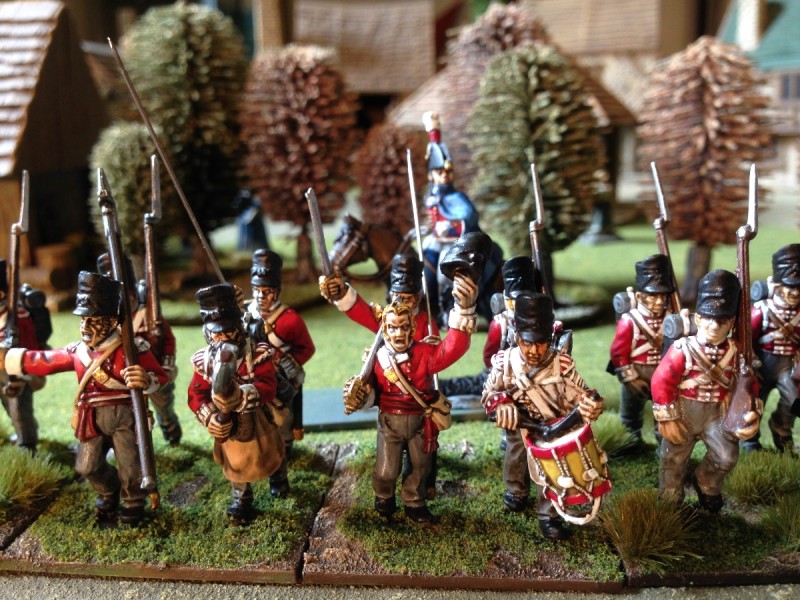
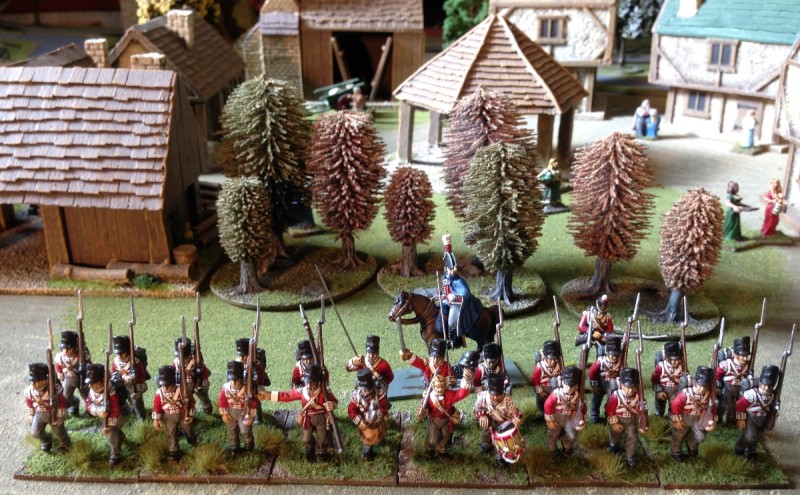
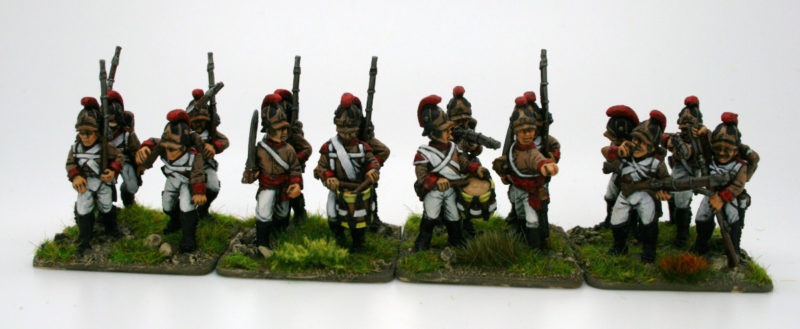
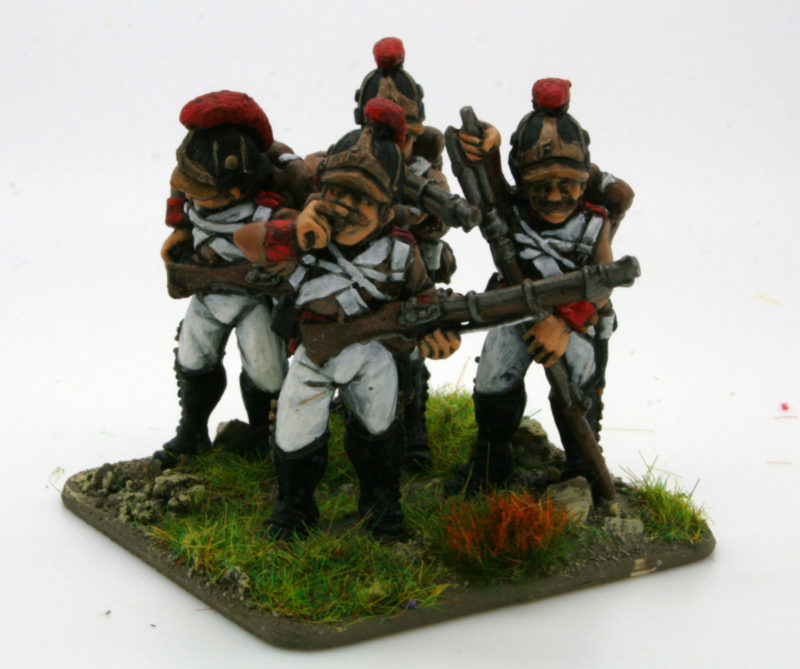
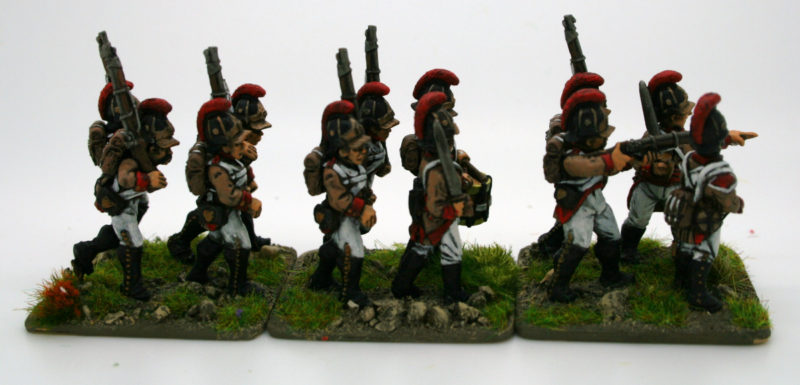
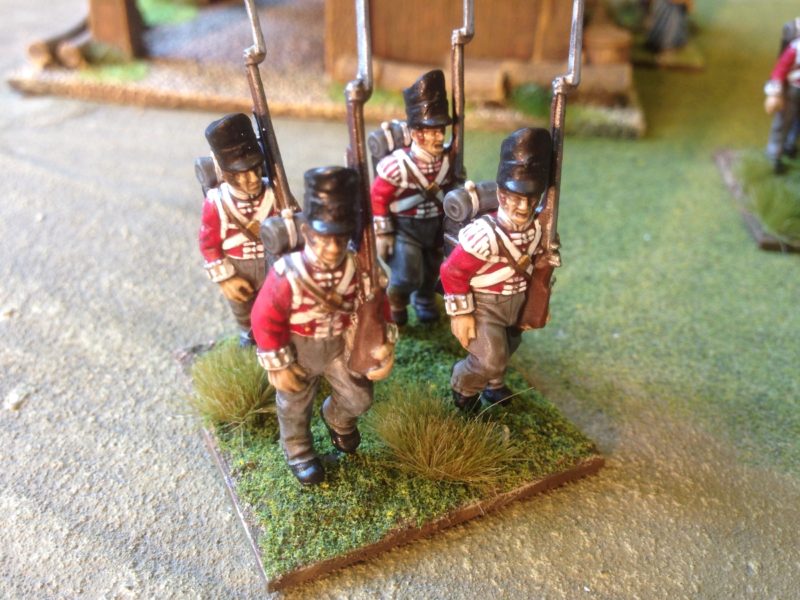
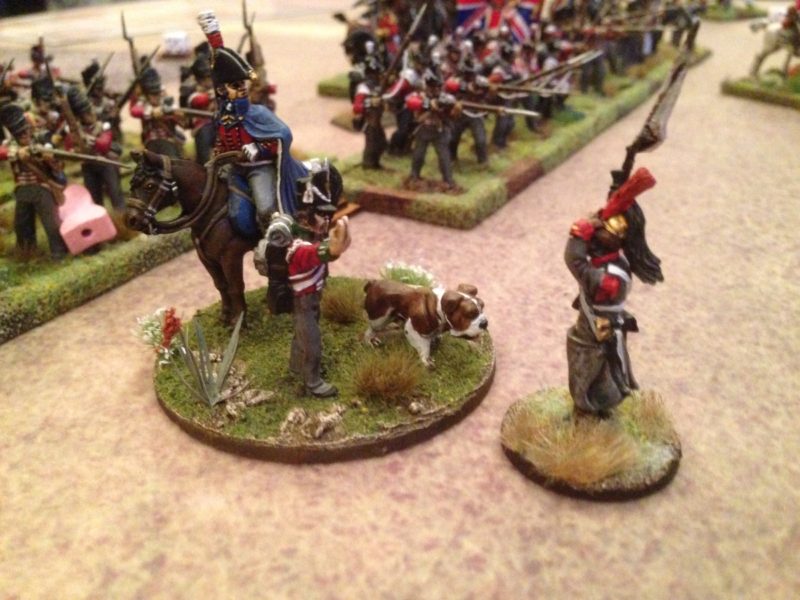
All in all, the museum is well worth the 4 euros entrance fee and is a nice diversion on a very relaxing holiday. Back in the UK for the weekend I found that I was ready to pick up my paint brush again and for the last couple of days I have cracked on and finished my next regiment of Portuguese infantry. It has now been confirmed that they will be appearing in Wargames Illustrated Magazine so if you would like to know how I have painted them ( and indeed why I have chosen certain options when doing so) you will have to purchase the magazine. The regiment is the 11th Penamacor from the Central Division and according to my references, would have been brigaded with the 23rd Ameida Regiment ( which is the featured in the WG article)
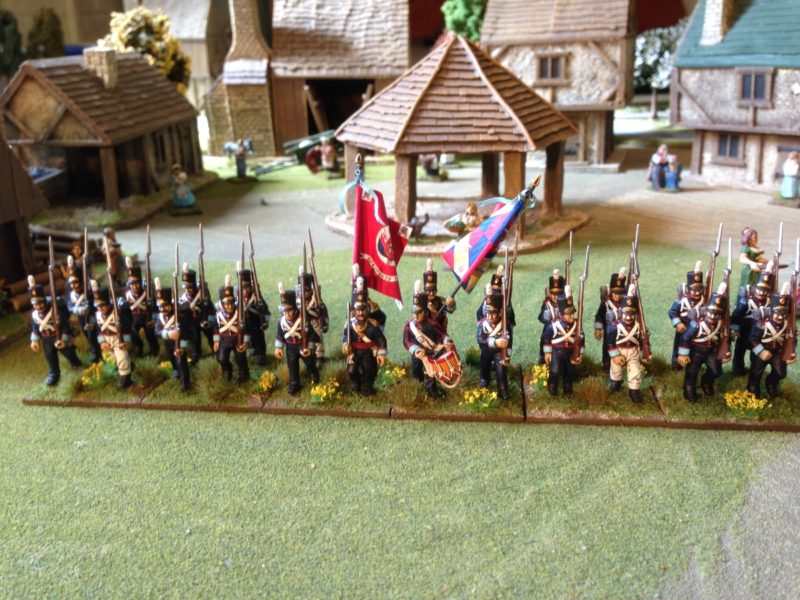
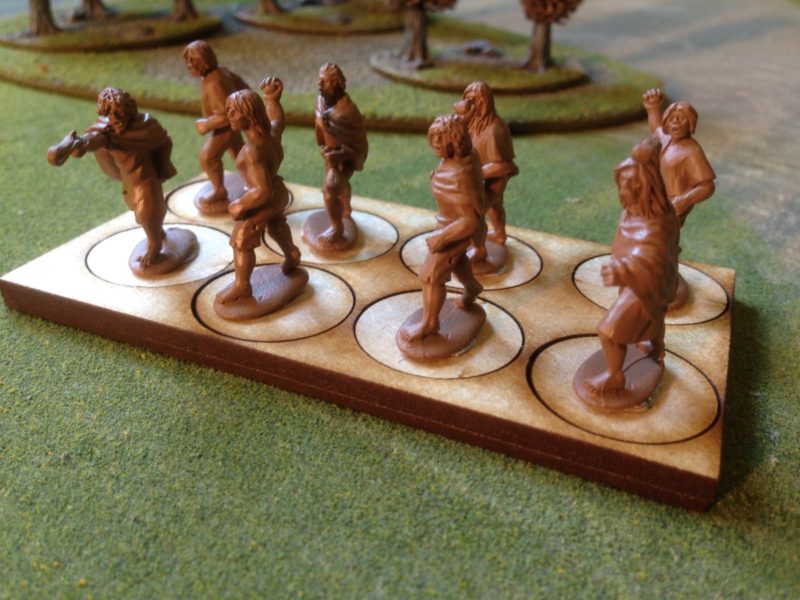
11th Penamacor Regiment
I’ve taken a liberty with the unit size as really the regiment would have consisted of two battalions, the first Battalion having the main colour, the second Battalion having the secondary colour, in this case the red flag. So it would be more accurate to have a regiment of 48 figures in two separate battalions of 24, each with their own command and just one colour.
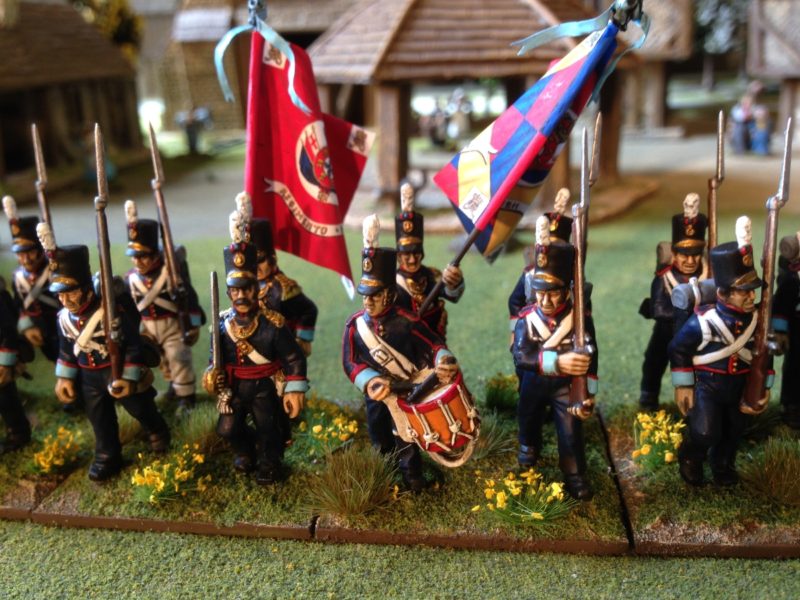
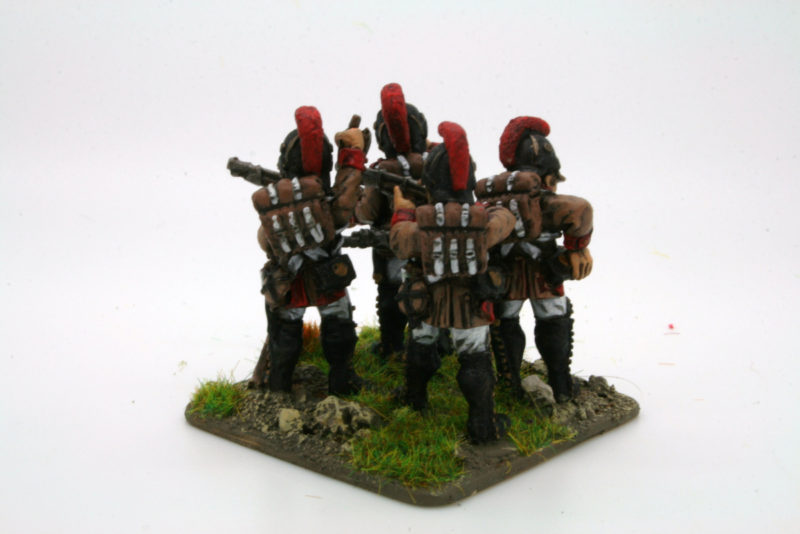
Command Group 11th regiment
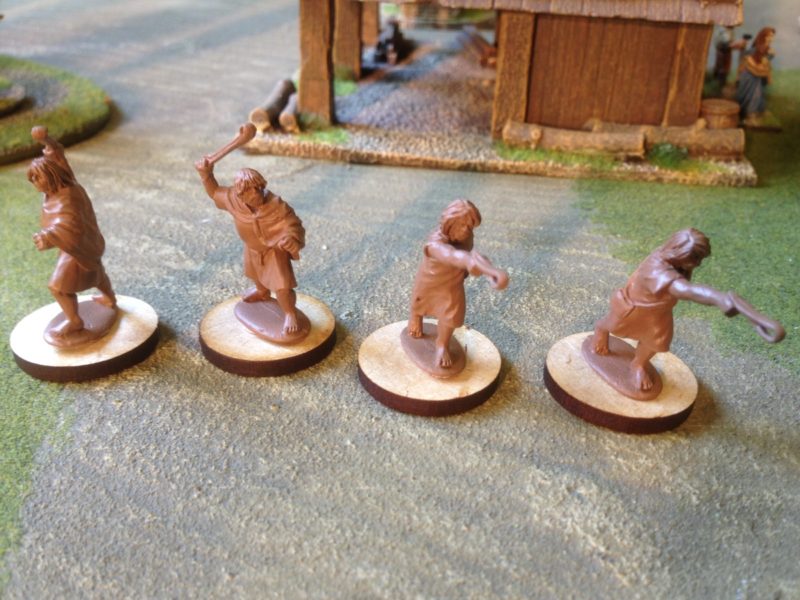
I may yet revert to this configuration. It will be easy enough to do as I have put each ensign on a different base, so it would just be a case of painting the extra figures and finding some extra officer figures or musicians to make up the command group. I say easy, it does mean painting another 24 figures in the identical facings and I am sorely tempted to paint the next regiment with the yellow facings just to be different. For now though I am having a break from Napoleonics and next up on the work bench are some Footsore Irish Slingers for my new Saga band!
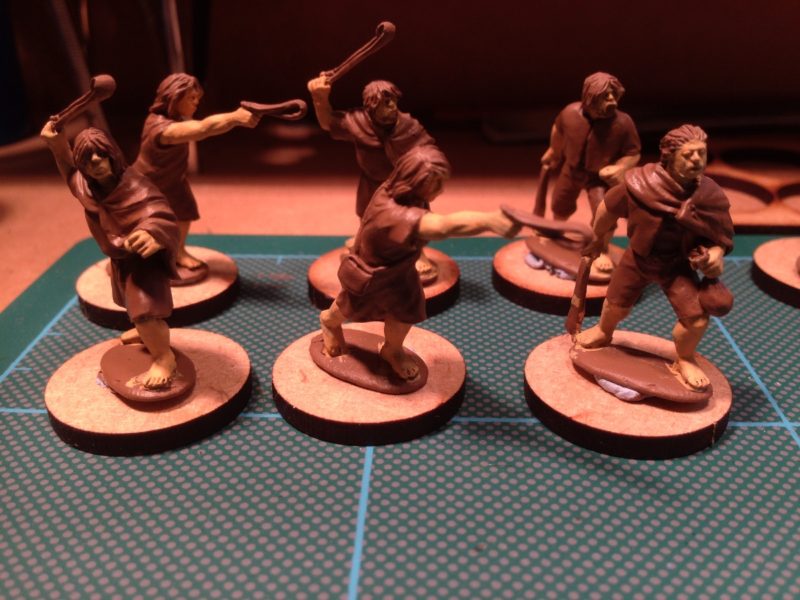
Irish Slingers from Footsore


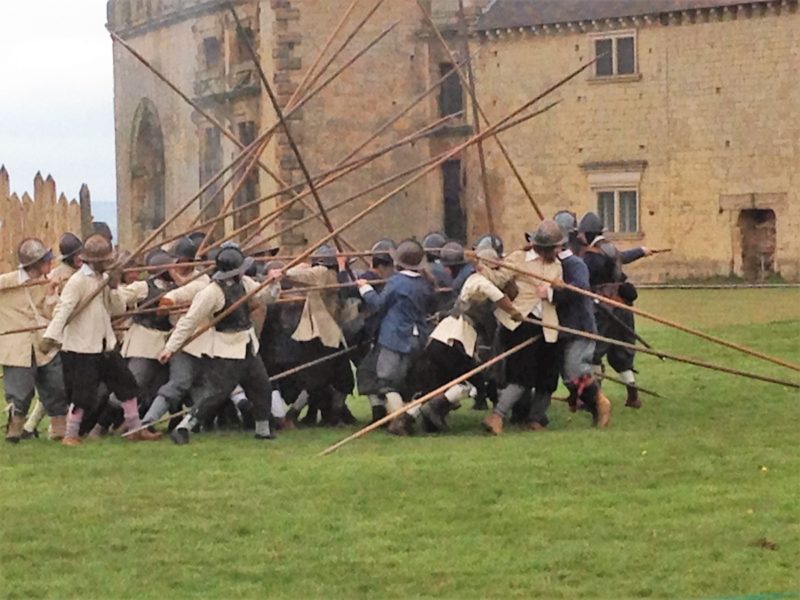
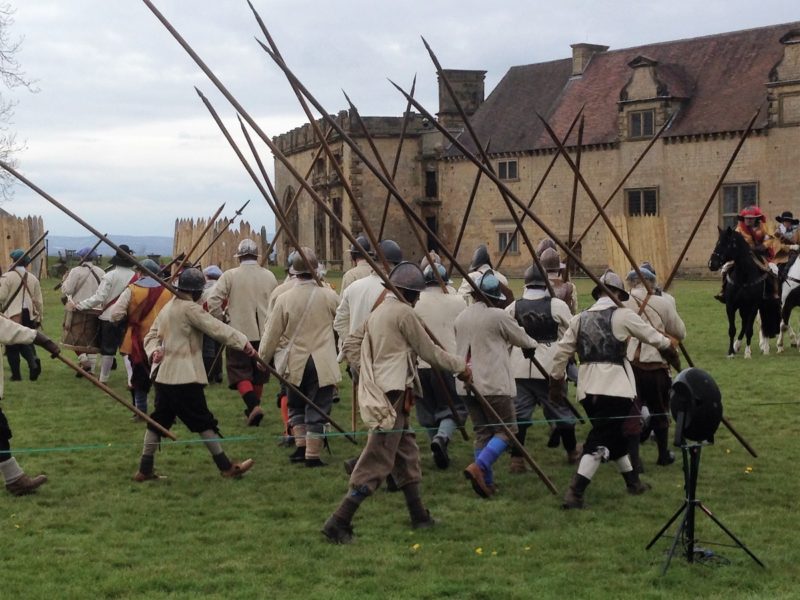
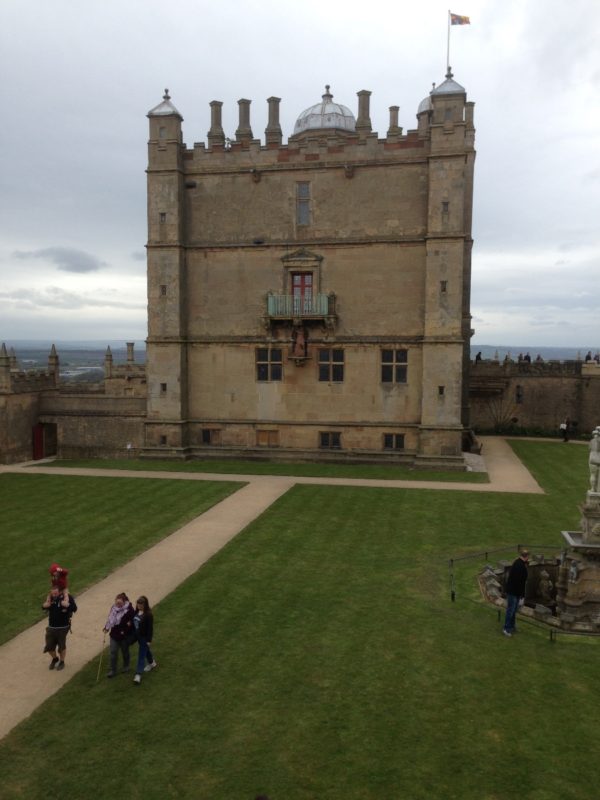
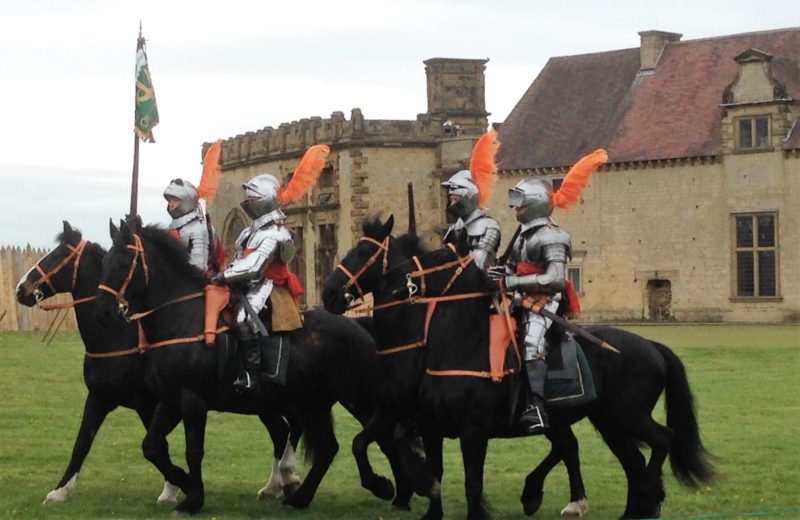
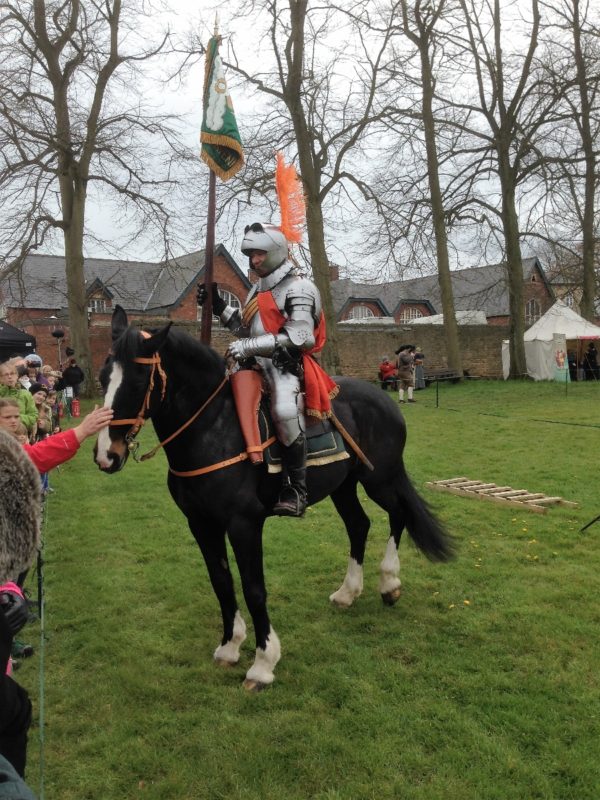
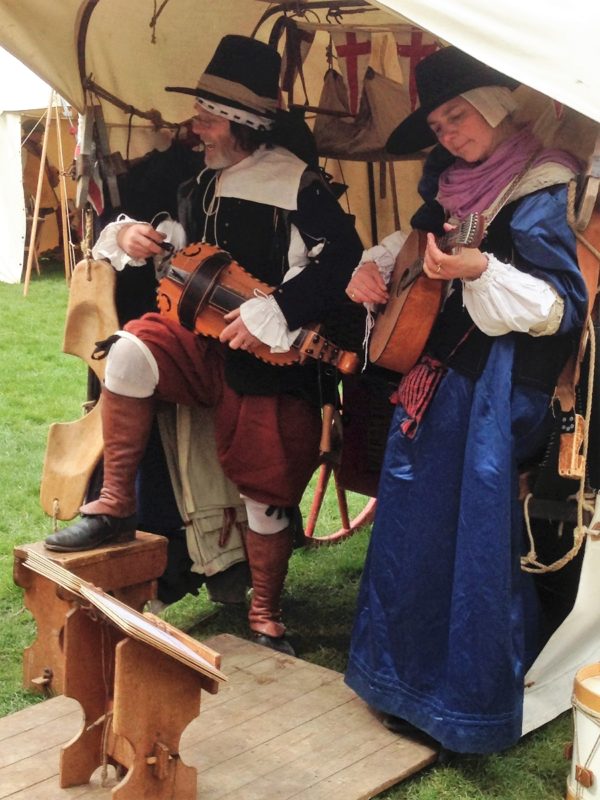
 Of course there are plenty of other books out there that will inspire and I suspect that we all have a few favourites on our shelf. My next read, although I will finish Death before Glory first, is Conn Iggulden’s Wars of the Roses ‘Bloodline’. It’s time I painted a few more troops for my WOTR retinue…