I desperately want the Rules set, Muskets and Tomahawks, to work. I see it as a key part of my Gaming toolkit. The idea is to have a number of rules sets that both myself and my wargaming buddies are familiar with that will allow us to play games across the Historical breadth of the hobby without having to spend too much time having to refer to the rules whilst actually playing. In theory, as we are all building armies, it makes sense to start with a set of skirmish rules and grow from there So we have graduated from Sharp Practice to Black Powder for Napoleonics, We have Saga for Dark Ages (none of us yet have a huge collection of Dark age figures), Lion Rampant for Medieval and WOTR and the idea was to use Muskets and Tomahawks as an alternative to Black powder for the Indian Wars and the War of Independence. These are the main periods that we are collecting, although there is talk of American Civil War, the First & Second Afghan war, 55 days in Peking and so on! That is the nature of wargamers, never enough figures! But I digress…

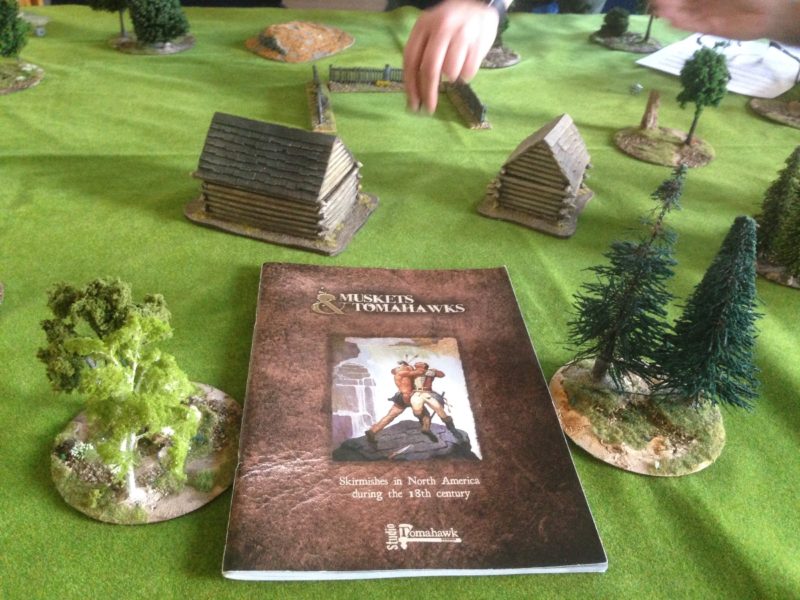
Muskets and Tomahawks set up.
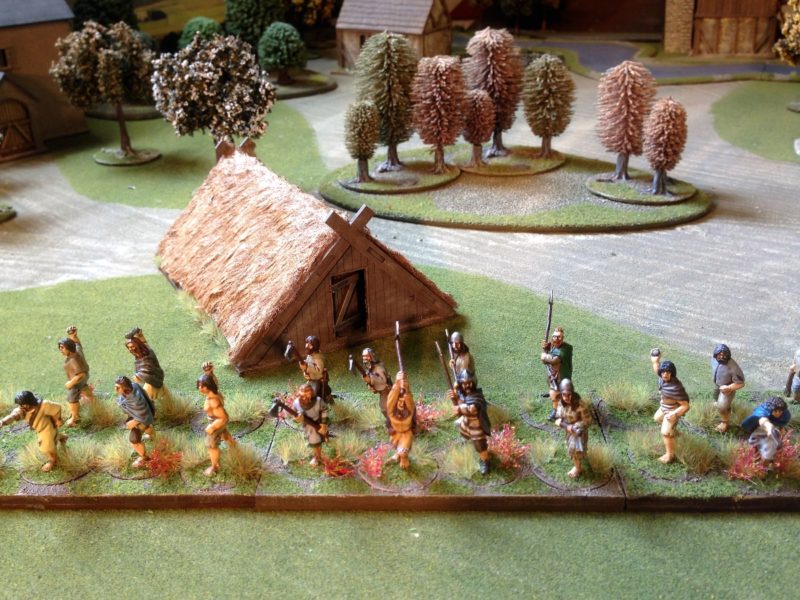
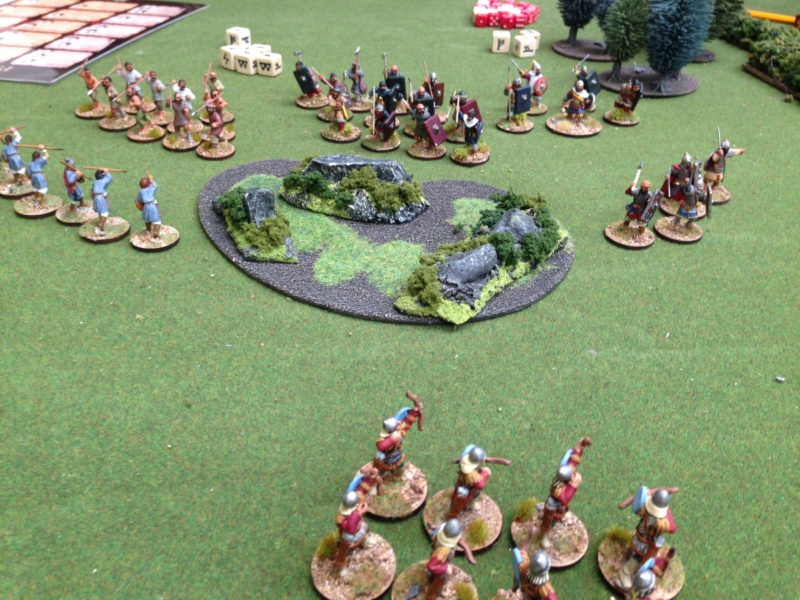
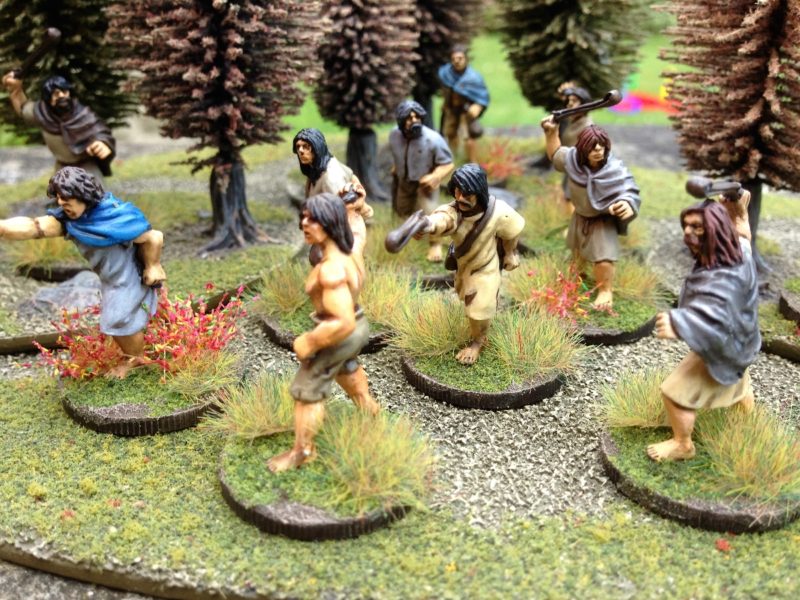
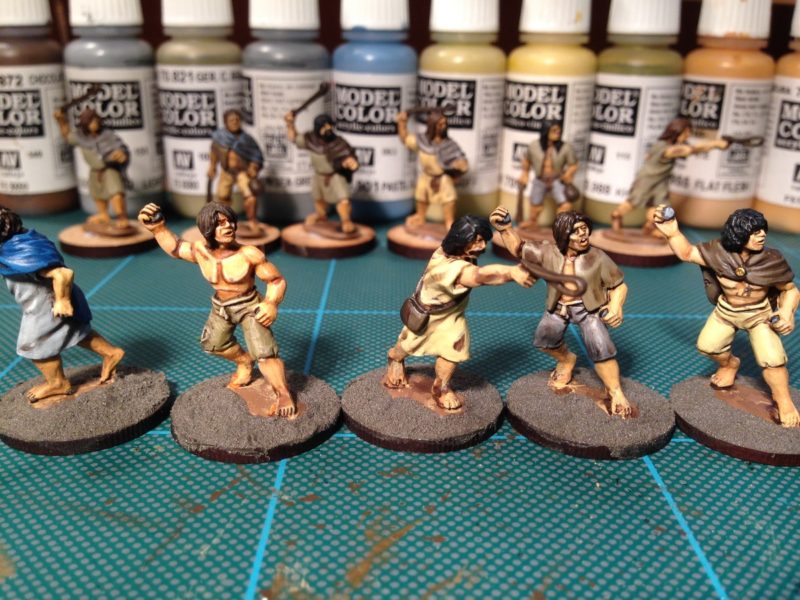
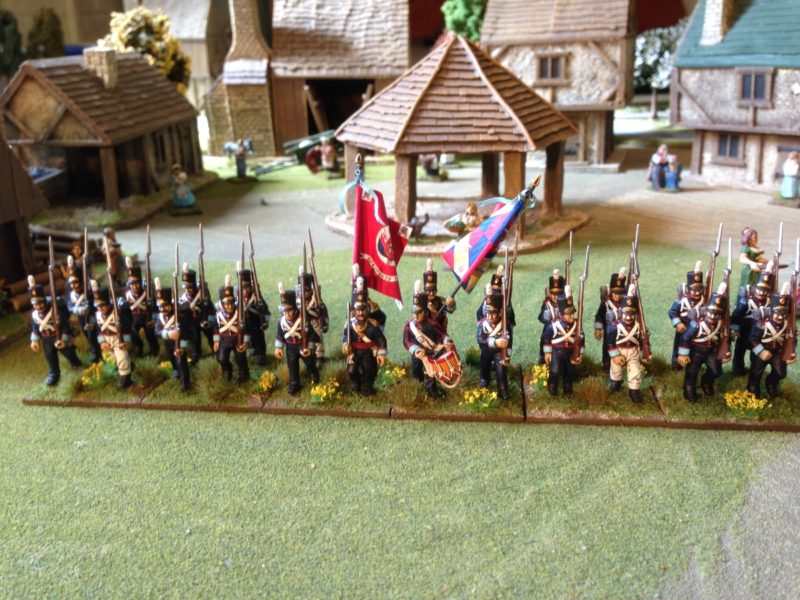
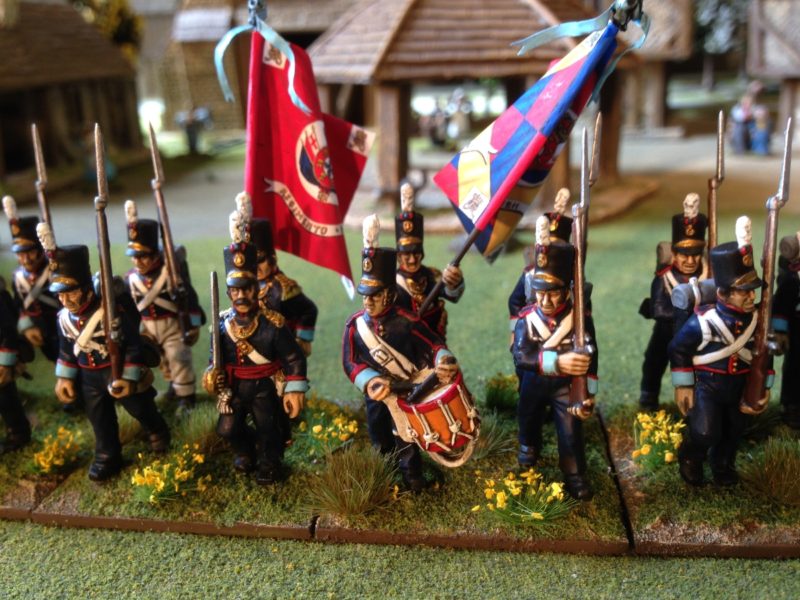
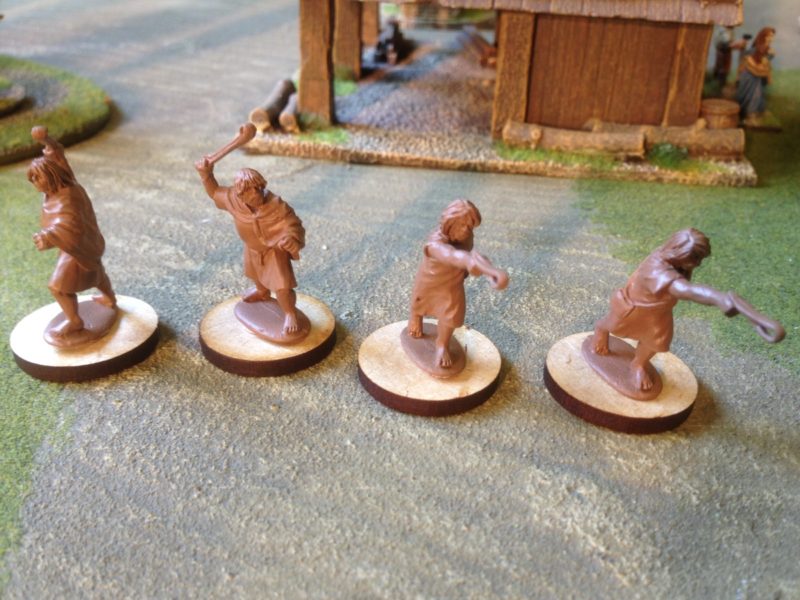
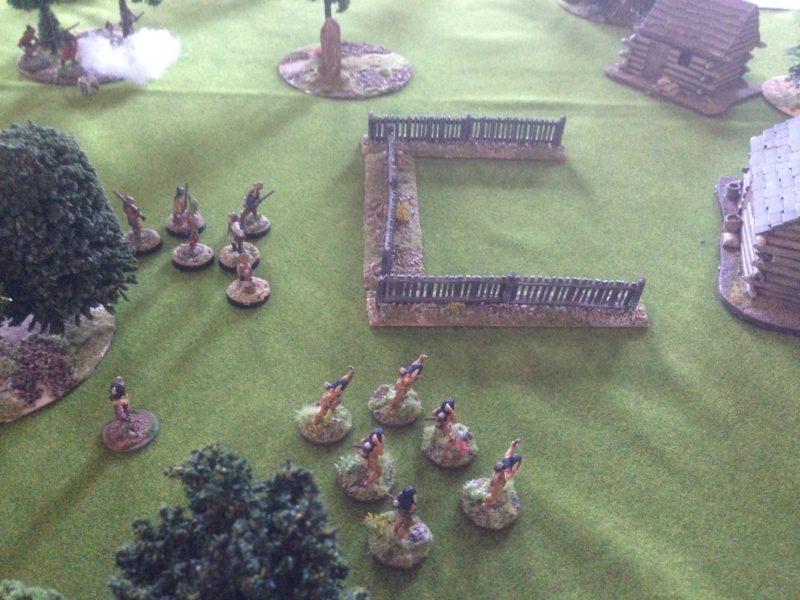
We have successfully played a number of large scale games using the M&T’s rules, very much thanks to the fact that ‘Nice John’ at the club has been able to provide some superb scenery and placed his AWI figure collection at our disposal. However, we thought that rather than play another one of the large games, we would try a smaller scenario using a limited number of figures with even sides and just two players involved. The rest of us would look on and learn how to play the game properly! Jaz had kindly chosen the scenario, an Indian raid on a settlers homestead, From the M&T’s rule book and had evenly pointed up the opposing forces, provided the scenery and set us up all ready to go. The two sides comprised of four small Indian warbands on the ‘American side’ versus one friendly Indian war band and two units of British Militia.
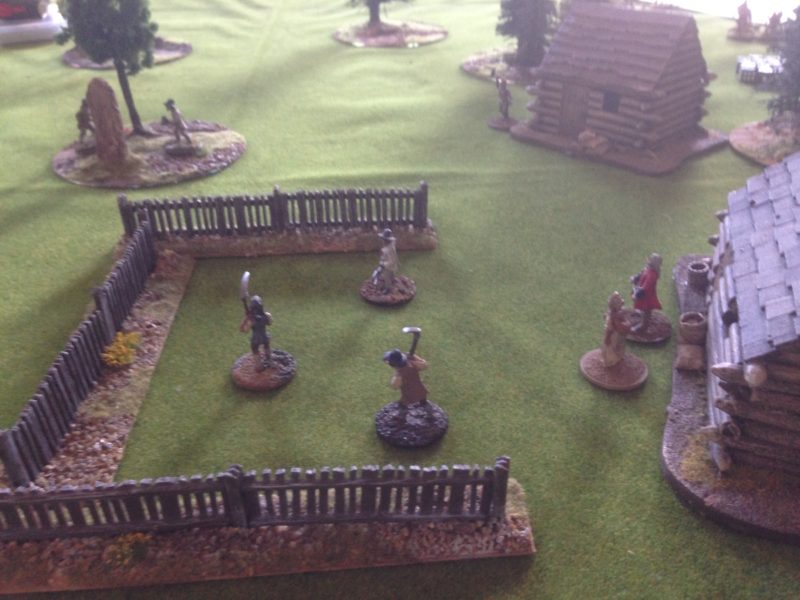
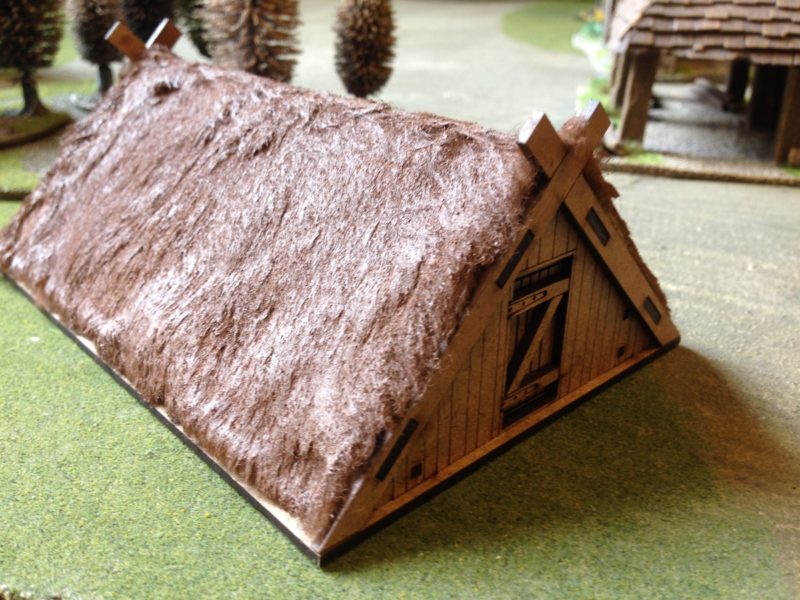
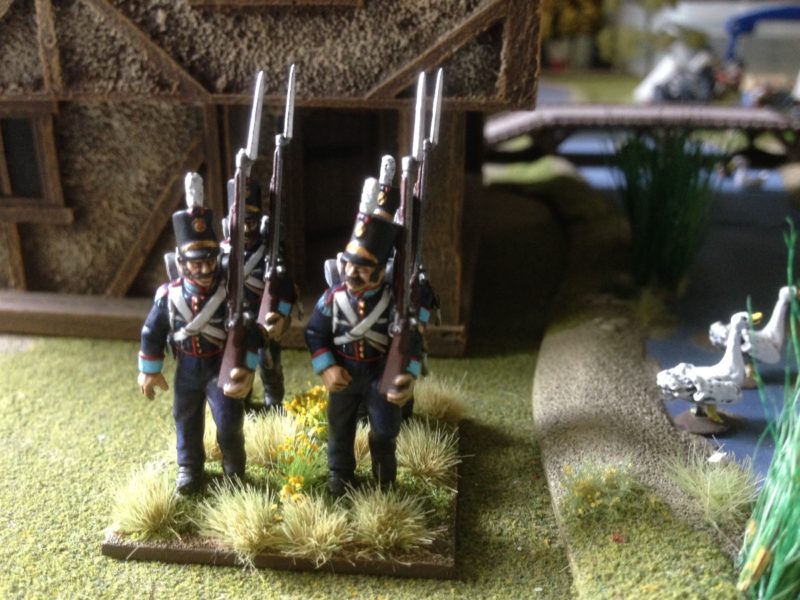
All is peaceful as the villagers tend to their farm, unaware of the Indians sneaking up!
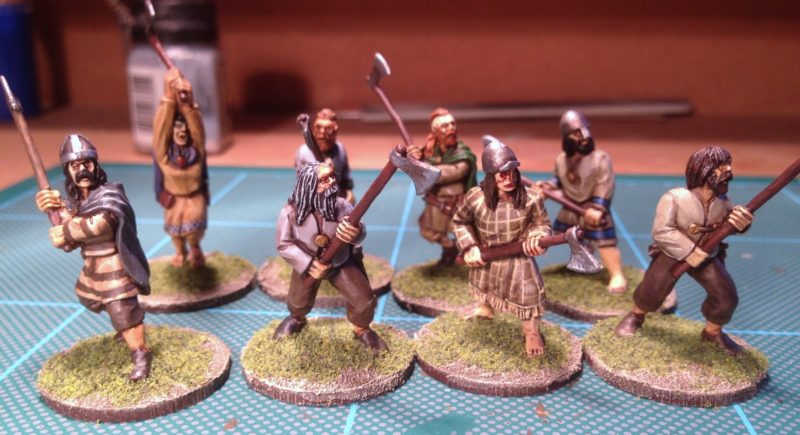
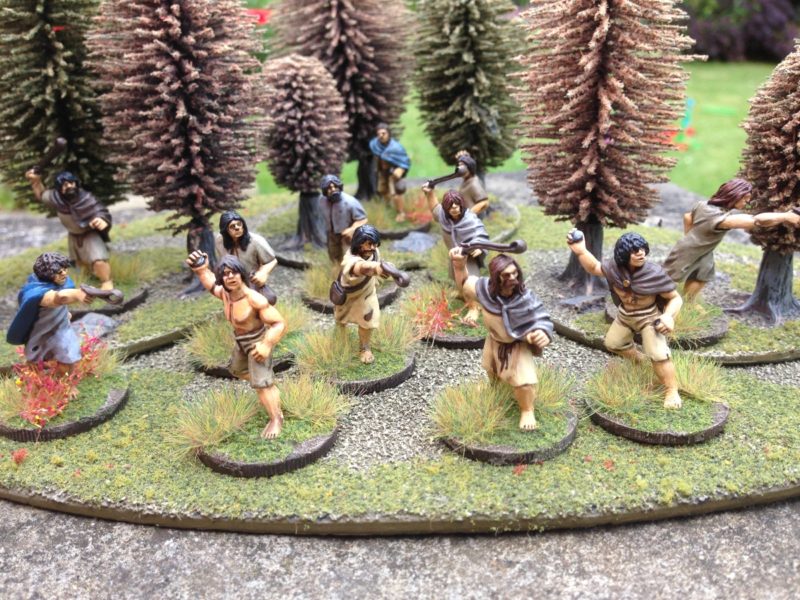
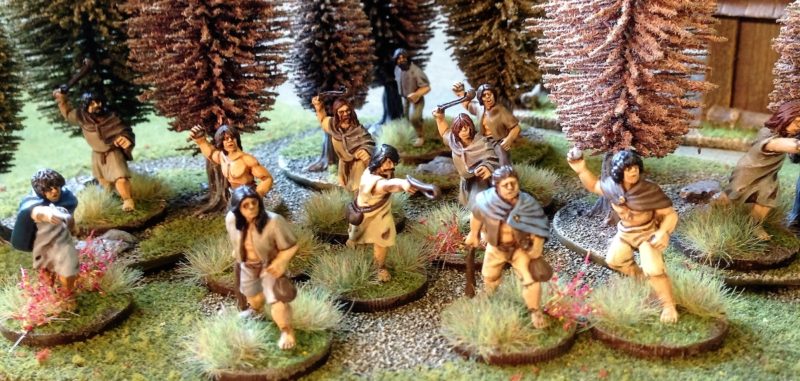
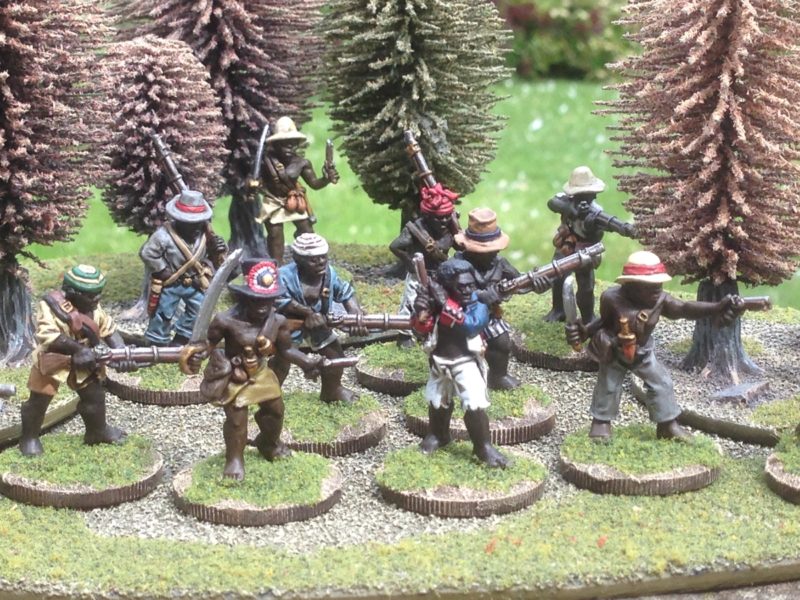
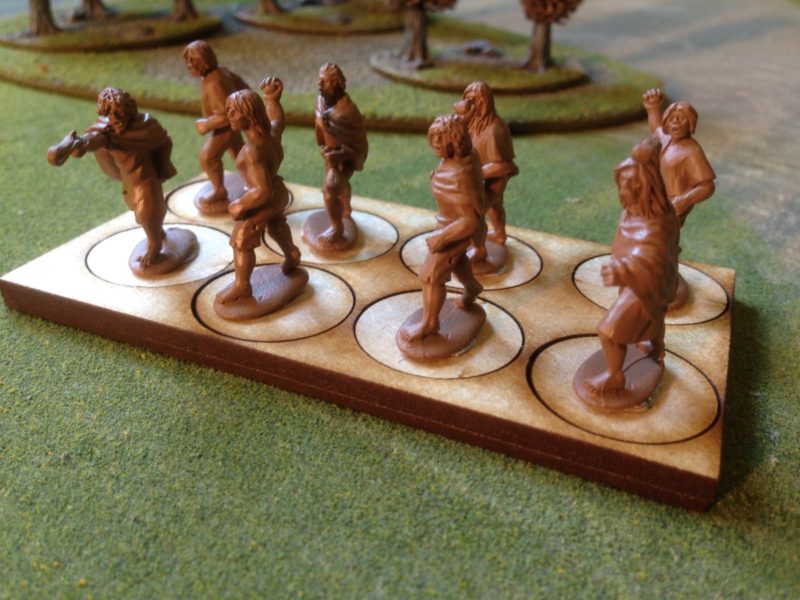
The first couple of moves or so went without too much action. The Indians began to close in on the homestead, using all of the available cover to sneak into range. A two pronged attack was planned. Three bands of Indians would advance directly towards the houses, engaging the militia if necessary, whilst the fourth band would circle from the flank to engage the traitorous Mohawks that were aiding the British!
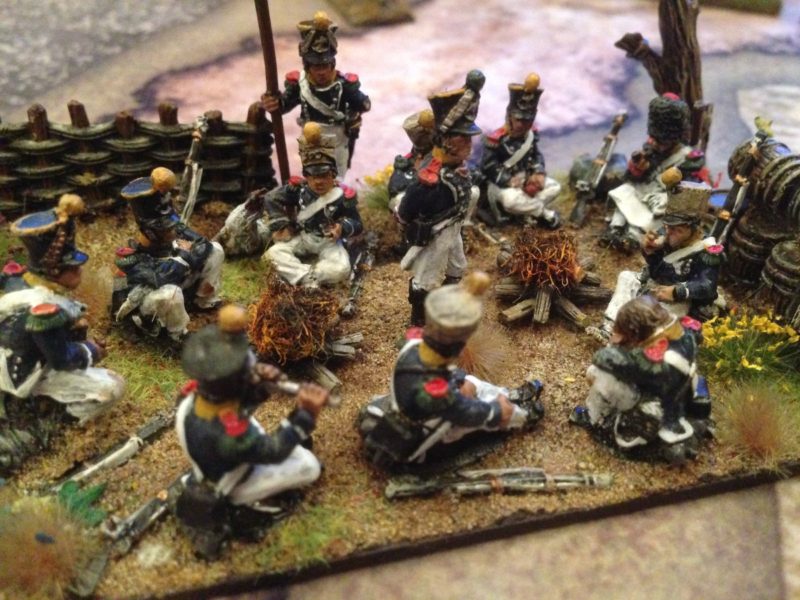
The Indians stealthly approach the Village.
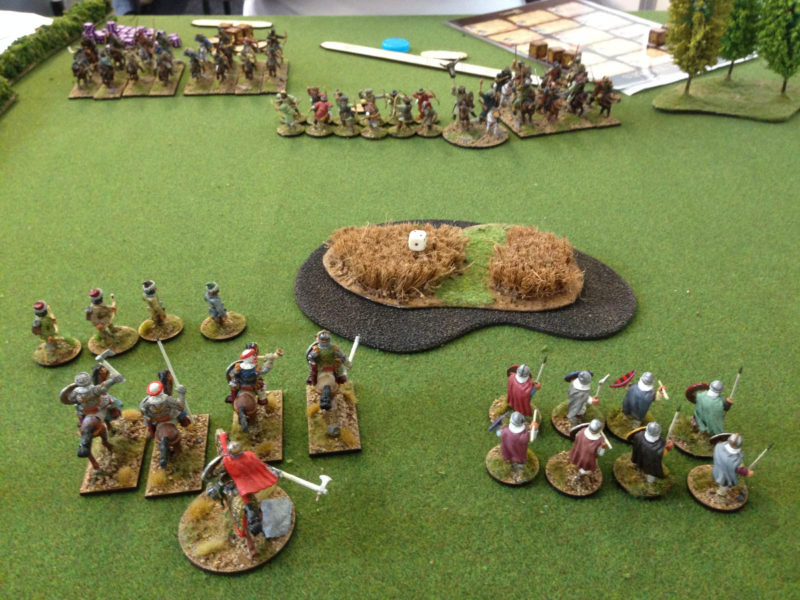
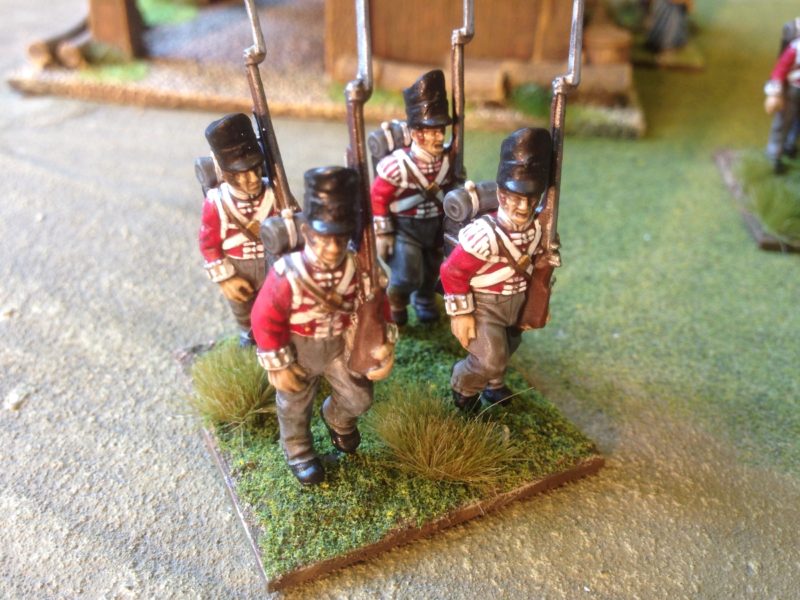
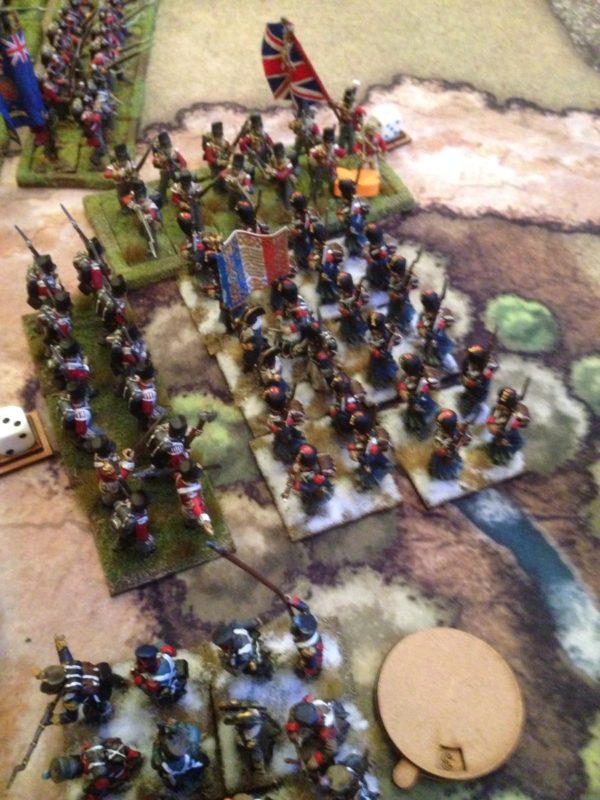
The Militia immediately responded by moving through the Village to take up a defensive position near to the houses. However, in the initial exchange of fire it was the Militia that were pushed back and the Indians that appeared to have the upper hand.
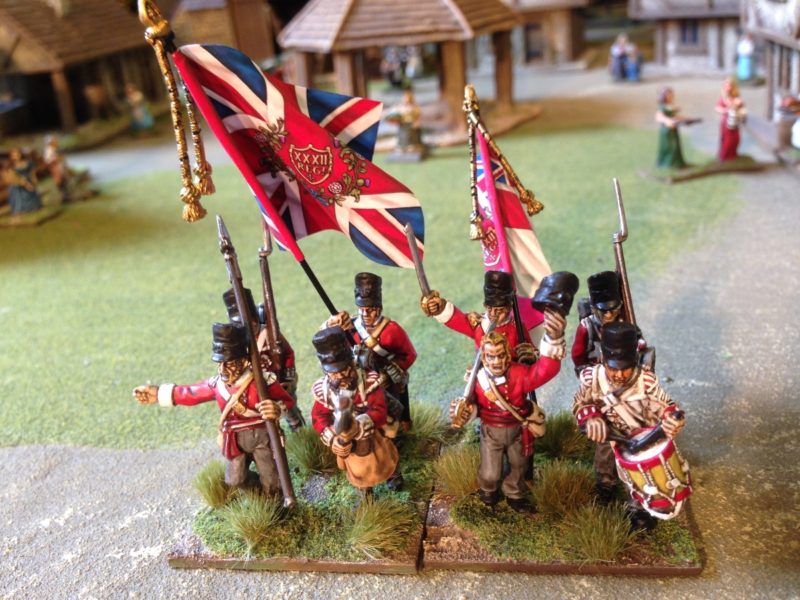
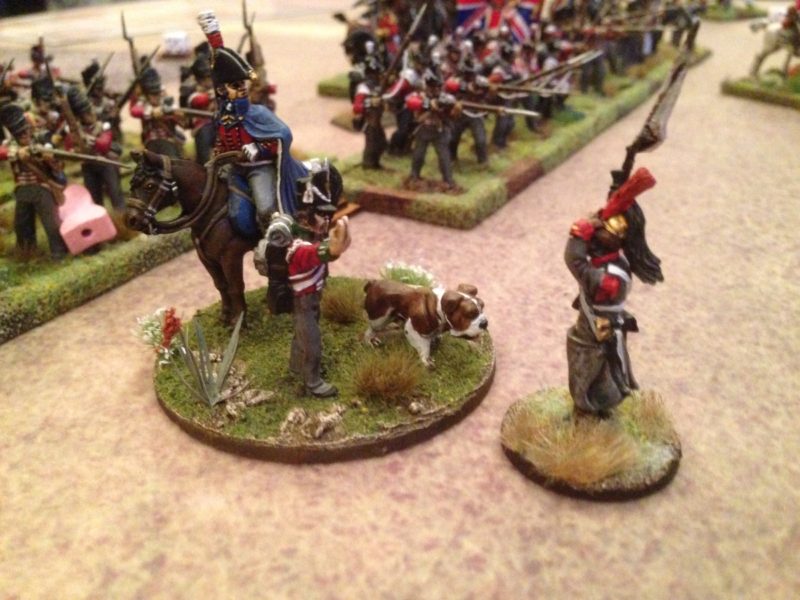
Militia take up position to defend the houses
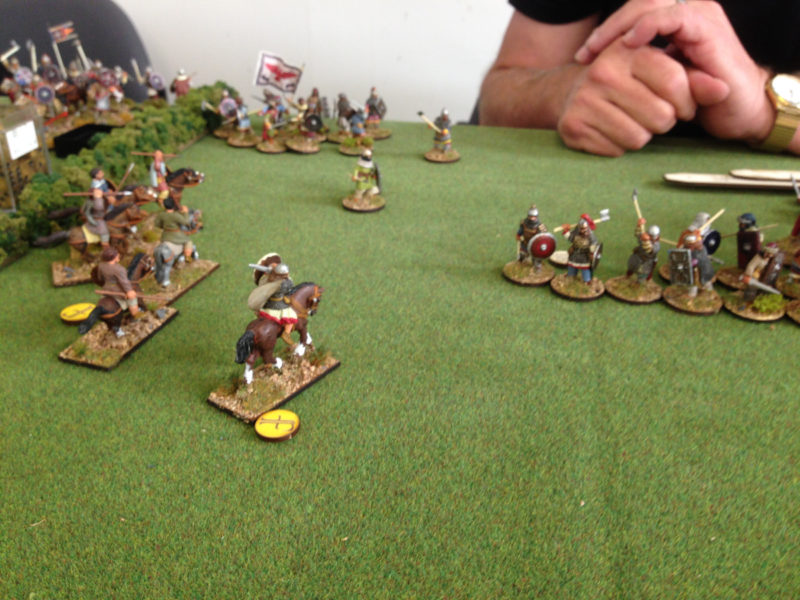
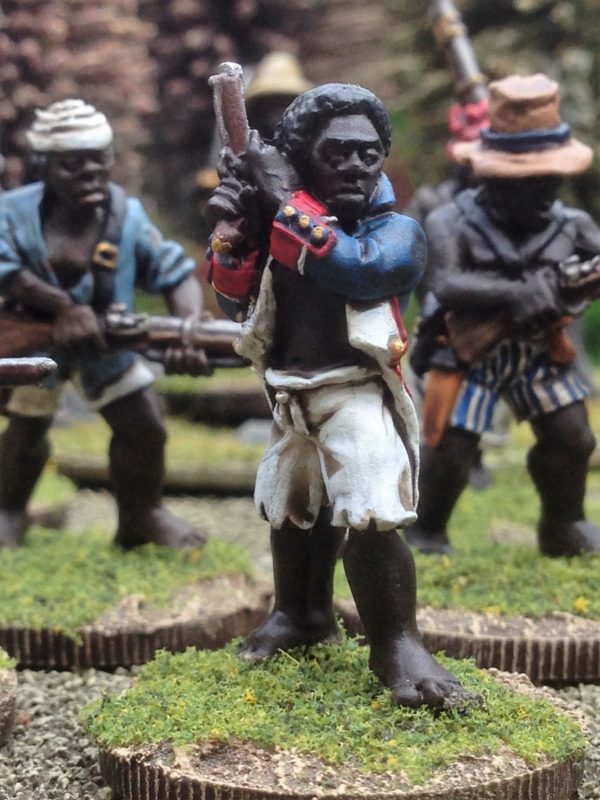
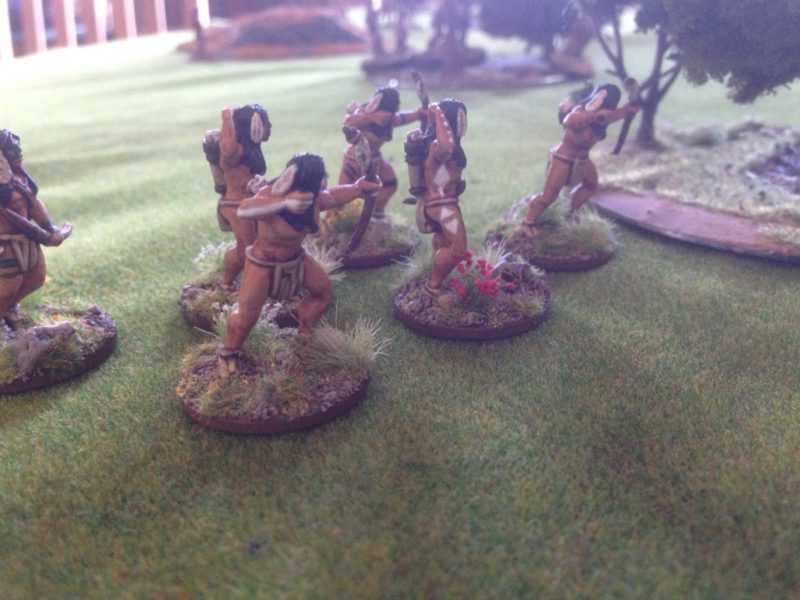
On the flank it was the Indian raiders that were getting the better of the bow armed Mohawks, and they too were forced back under fire.

The musket is more than a match for bows!
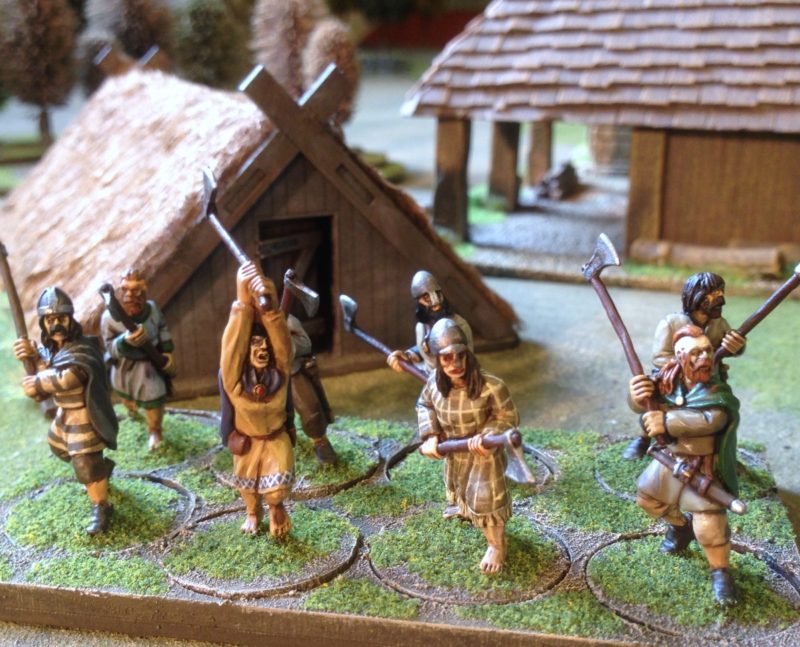
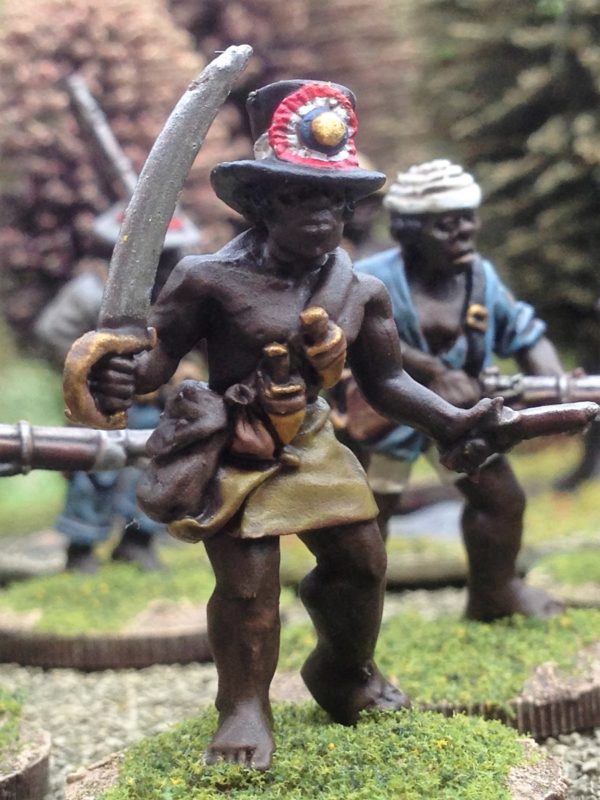
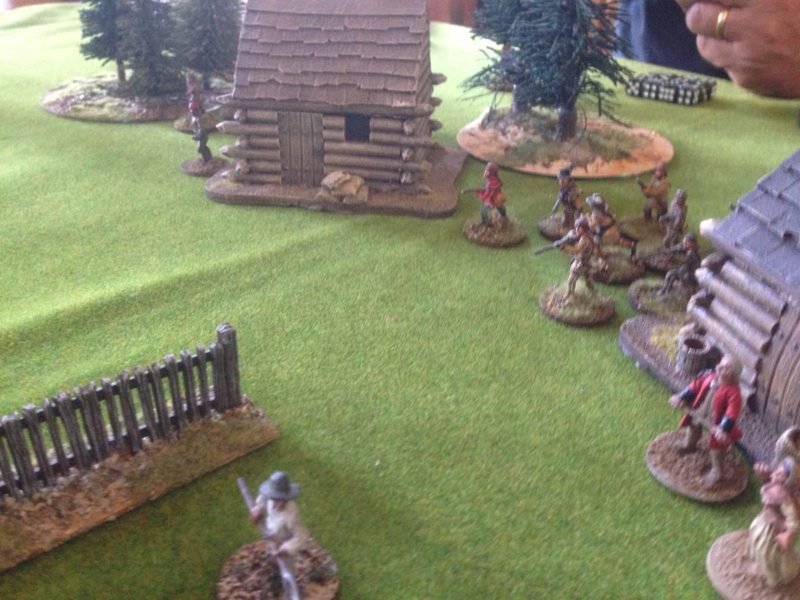
Emboldened by their initial success, the Indian raiders pushed on towards the settlement, ready to put it to the torch. The only concern was that they had now left the cover of the surrounding woods.
The Indians race towards the houses ready to loot and burn!
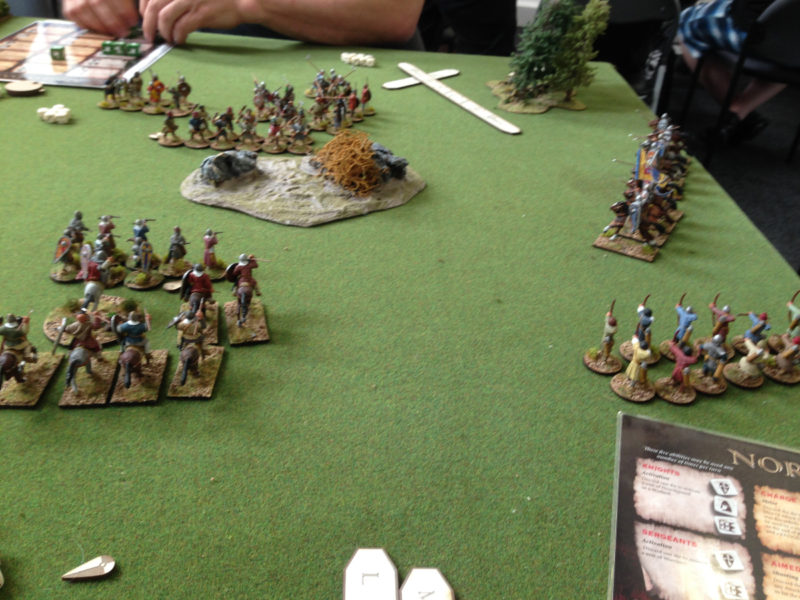
At this stage, the Indian chief realised that there was a problem. Not only had he lost cover but he was running out of cards to activate his units…. The result was inevitable, the Militia poured volleys into the exposed Indians who immediately turned tail and ran. Game over man!
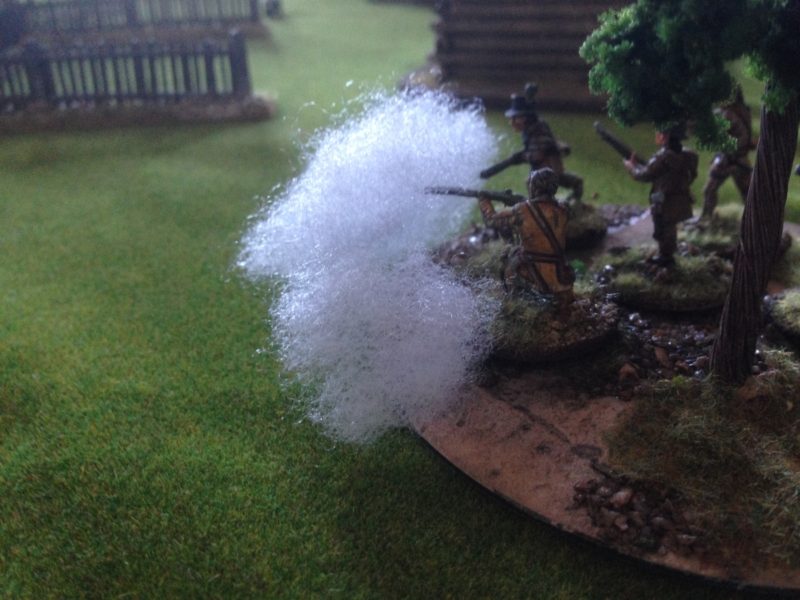
Militia open fire!
And as they say, that’s when the real fighting started! Well, actually it was more of a friendly debate. Could the Indians actually get to the settlement and burn it to fulfil their mission? We ran through the scenario again, with different players and even more cover for the Indians. The result played out the same – once the Indians attempted to get to the houses they were shot to pieces. The debate continued. Was the card activation the problem? We turned to the rule book and it seems as though we had made up the deck correctly. However, there was an imbalance. The Indians only had 4 cards. The British had 8. However, whilst this meant that the Indians had 16 activations, (4 cards x 4 units), the British only had 12 ( 4 cards x 1 unit and four cards x 2 units). The view was though, that the more frequent activations of the British side gave them an advantage in being more flexible to threats and more likelihood of being drawn to activate before the Indians. It was pointed out that this probably was a fair reflection of what happened when trained local militia came up against an Indian war party. Whether this was true or not, it does make it difficult to persuade someone to play the part of the Indians in a club game!
The result of all this was that we began to question the rules in general and the card activation process in particular. I’m not sure that we have used all the options for the Indians and would need to play through the rules a few more times to ensure that we are using them correctly. For the time being though, the consensus at the club was to come up with our own variation of the rules and so our Veteran Rules writer has gone away to polish up his version of ‘Sharp Tomahawks’. I’ll keep you updated!