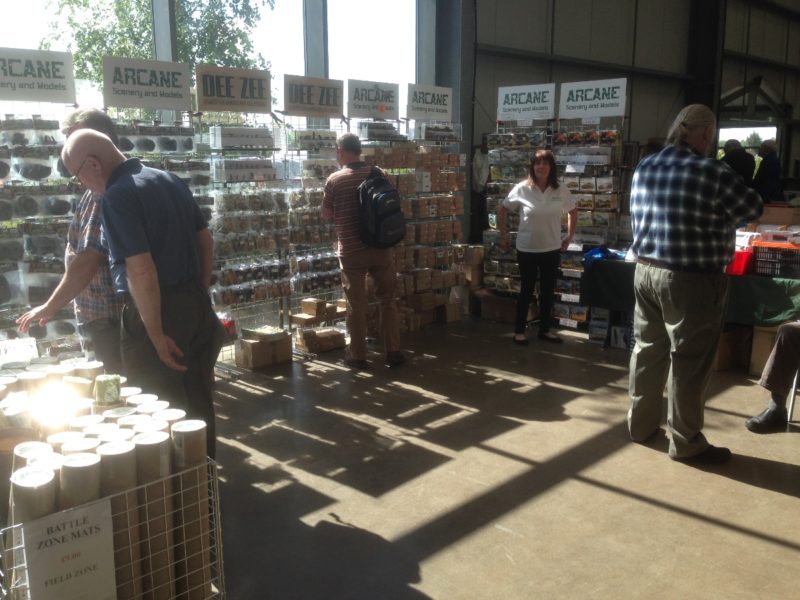
We attended the our second show of the year. Partizan, at the George Stephenson Hall at the Newark show ground. Although some customers remarked that they missed the lovely architecture of the old venue at Kelham Hall, I think that on balance the new venue has much to commend it. For a start, it is easy to get to, the parking is free and the Venue itself is spacious and well lit. Even better, there is a good café on site where you can sit and have a coffee and a bite to eat whilst chatting to your mates. Architecture aside, I thought that the new venue wins hands down compared to the cramped and badly lit Kelham Hall.

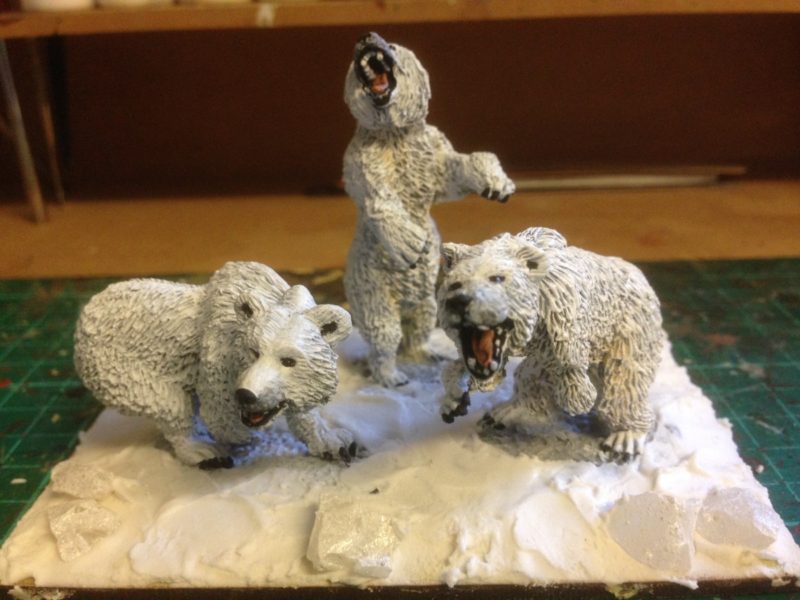
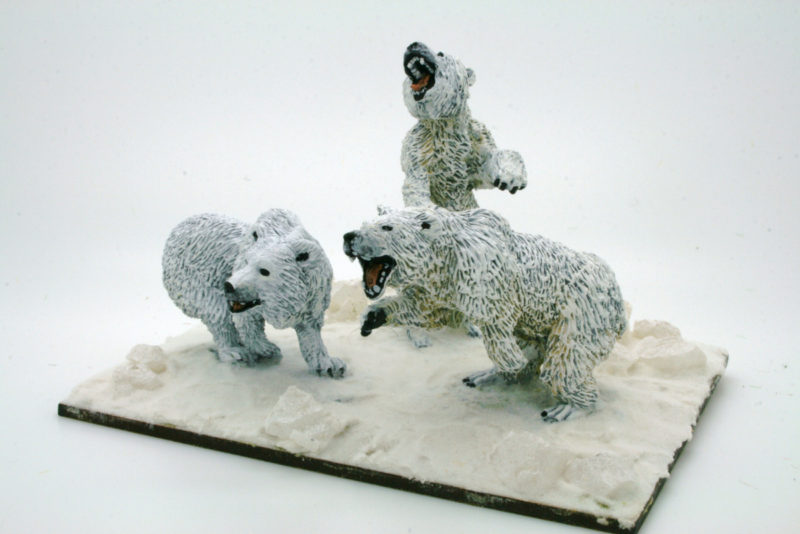
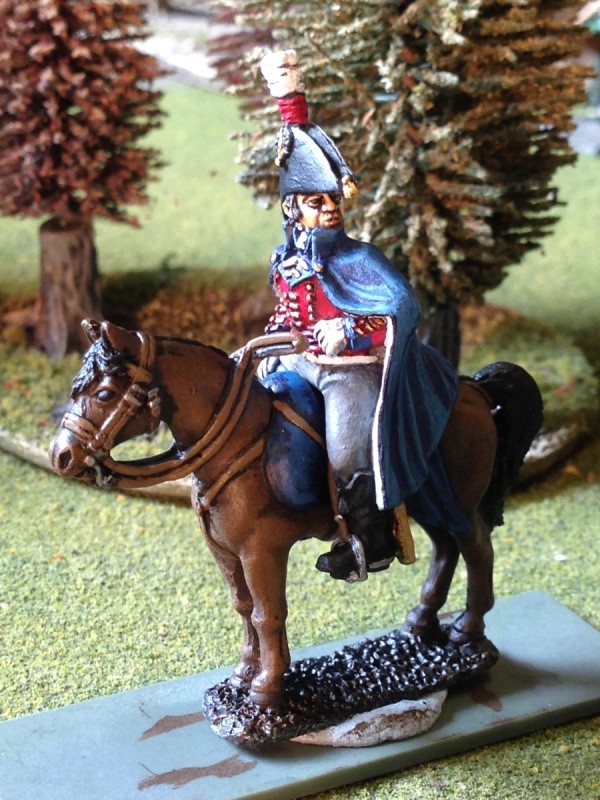
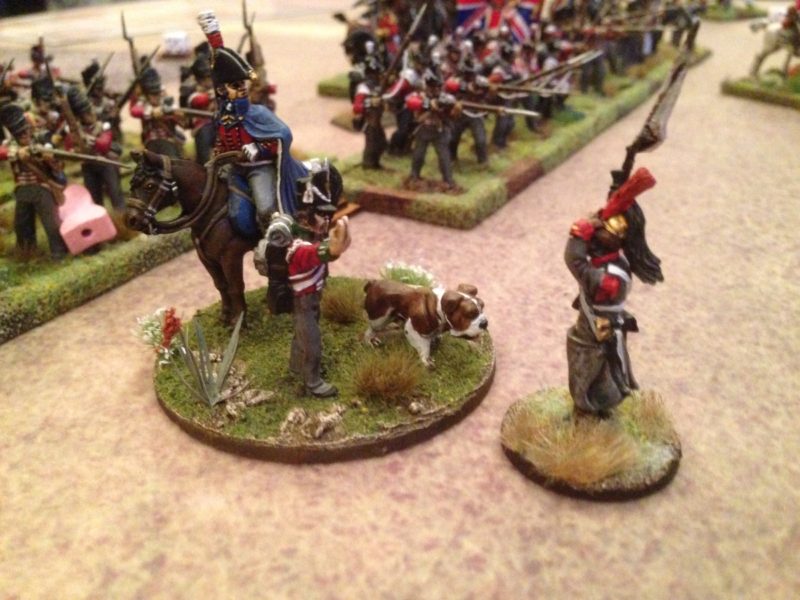
Arcane scenery at Partizan
The new date was also well chosen. In the past Partizan has fallen on a Bank Holiday meaning that it tended to clash with other family activities and the rest of the country being on the road! So from my point of view, Partizan was a great success and I am already looking forward to the ‘Other Partizan’ to be held on 21st August. The organisers, Richard and Laurence, have had to move the date because of other commitments at the Venue but I feel that this will be to the shows advantage, as it will avoid the late bank holiday and the ‘Back to School’ season.
The really good news for Partizan (and of course Richard and Laurence) was that the show had increased numbers visiting. With nearly a 50% increase on numbers, the only downside on the day was the queue time to get in. That will be sorted for the next show, so if you are free I recommend that you put the date in your diary now.
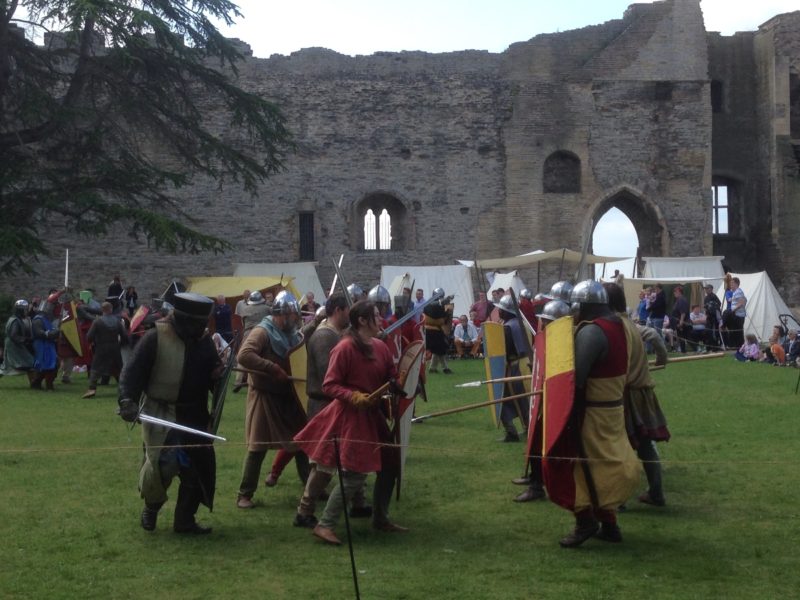
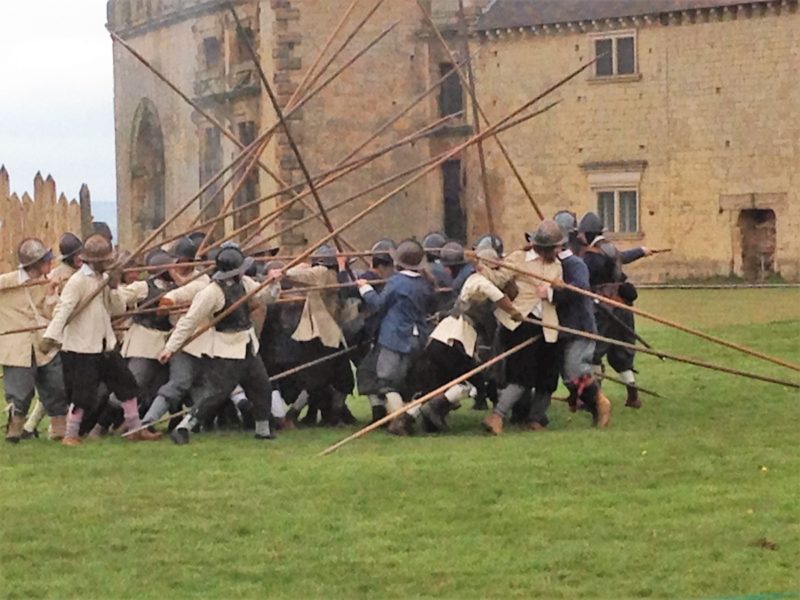
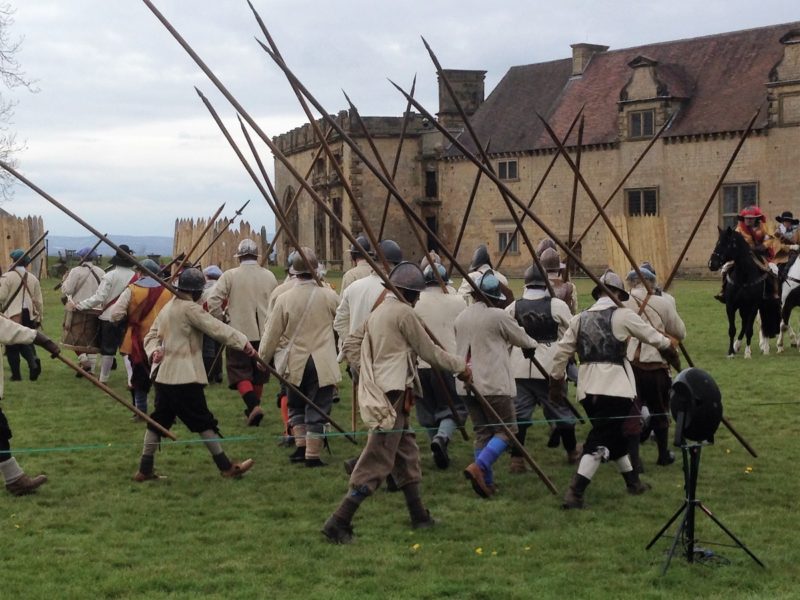
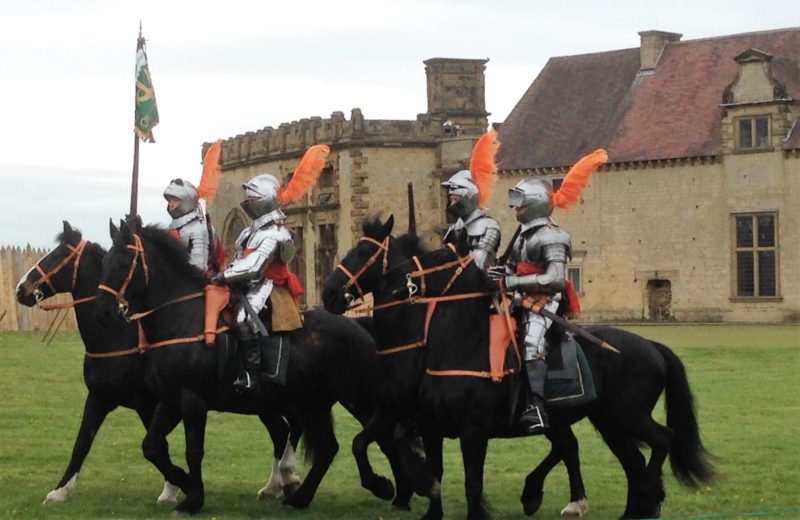
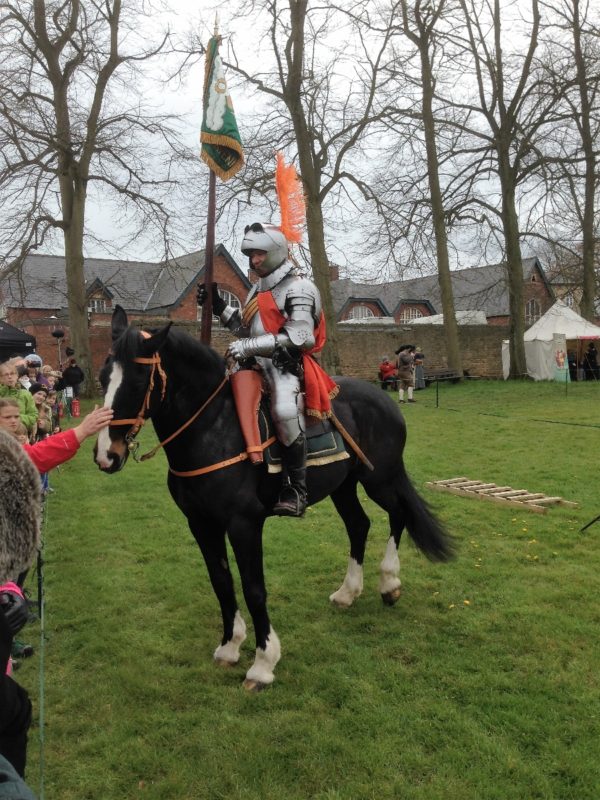
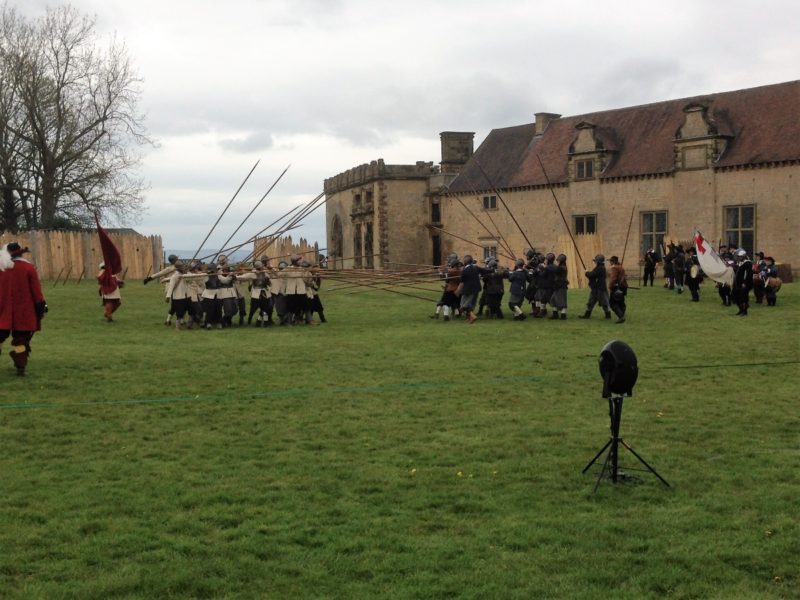
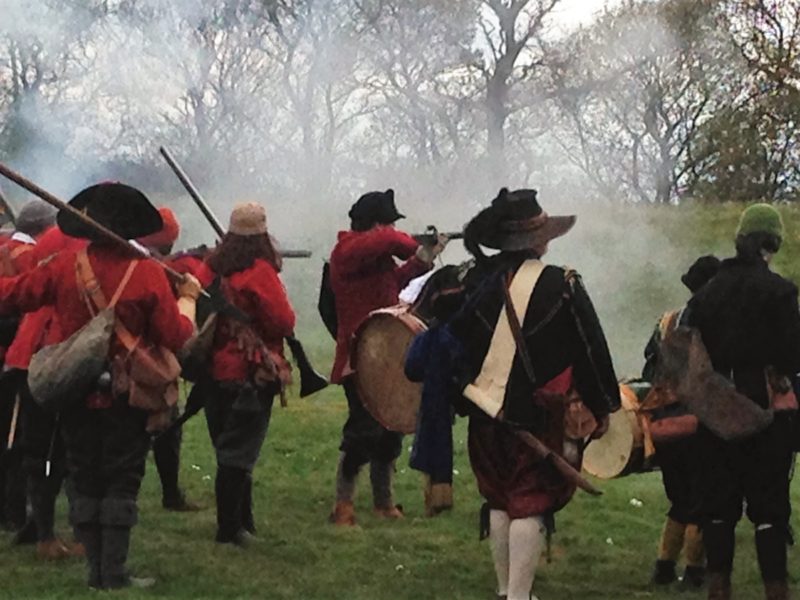
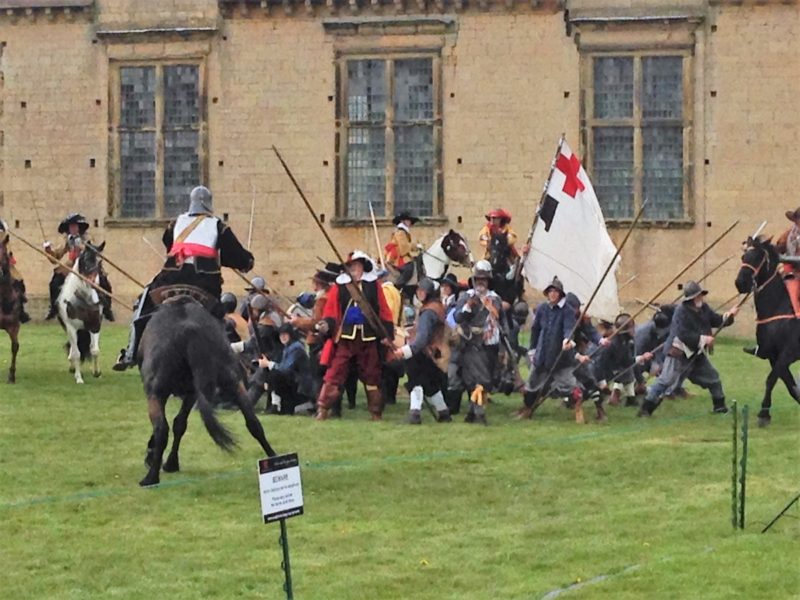
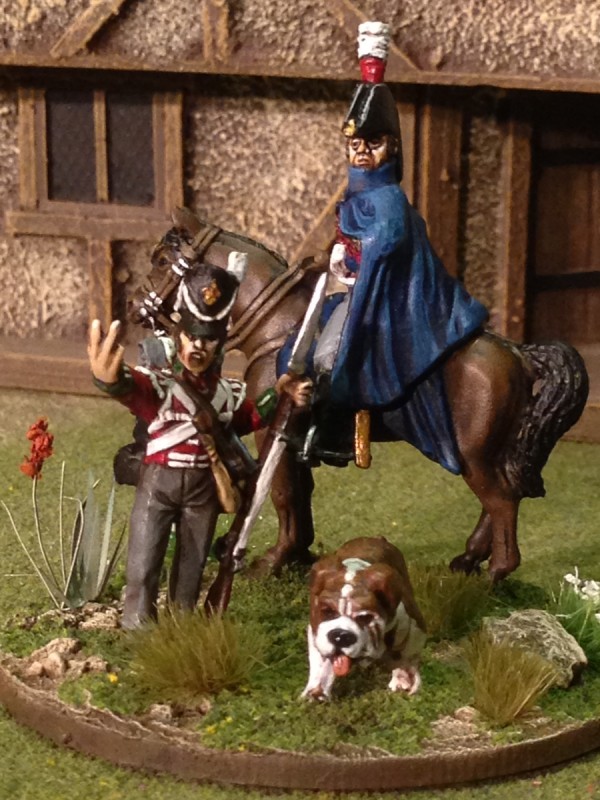
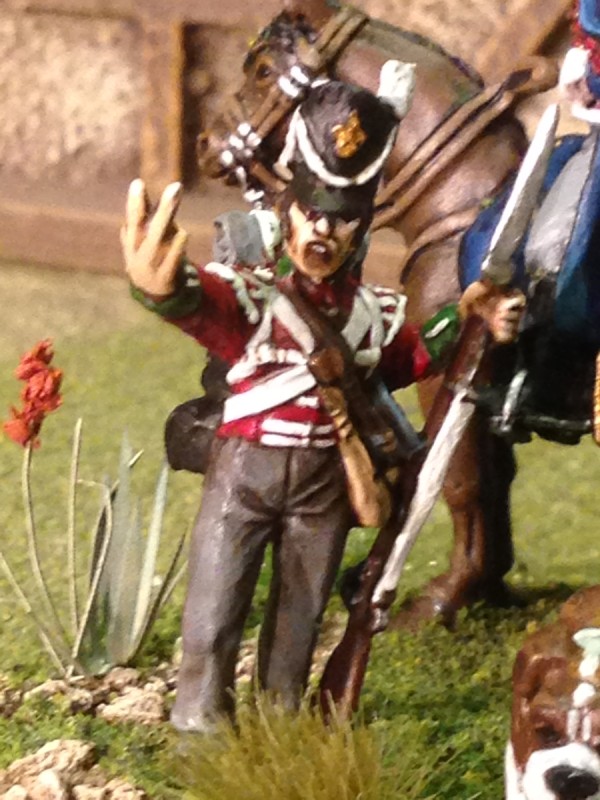
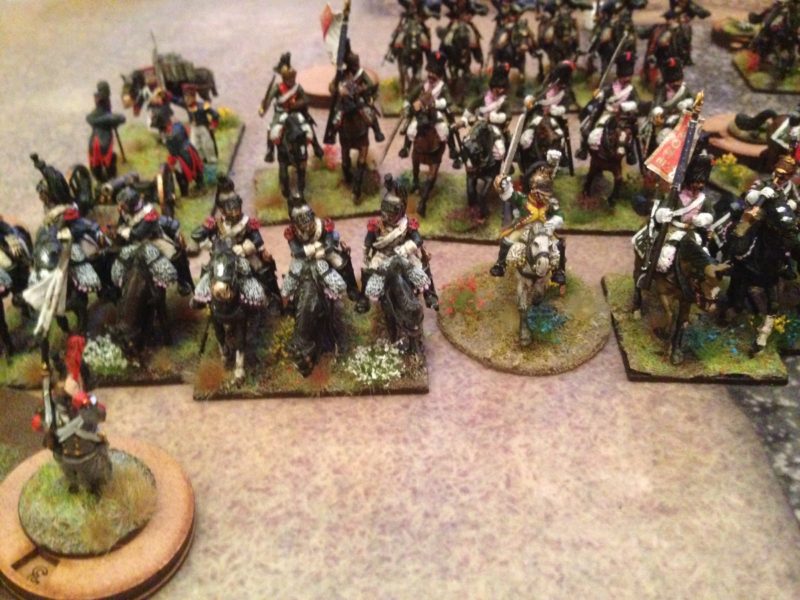
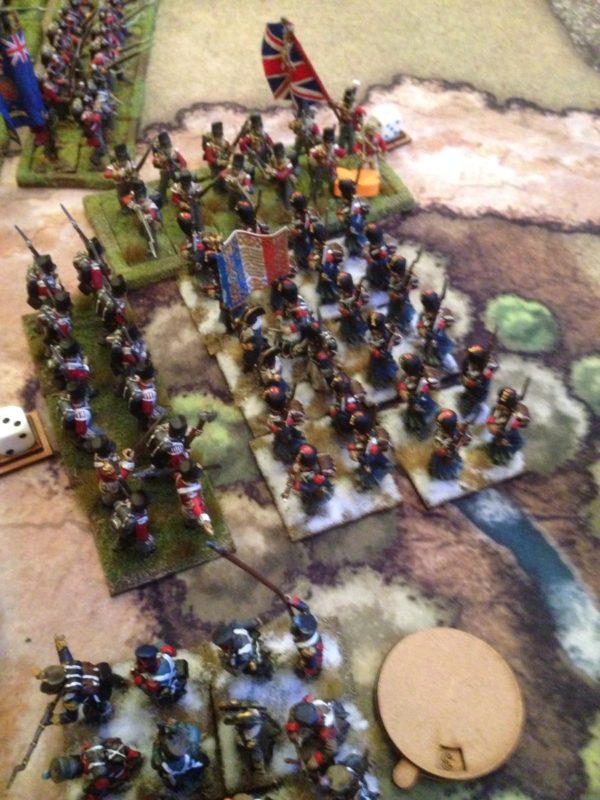
The Grand Melee starts!
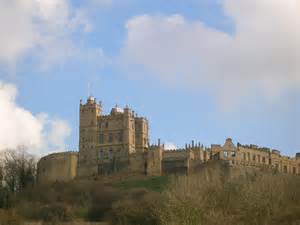
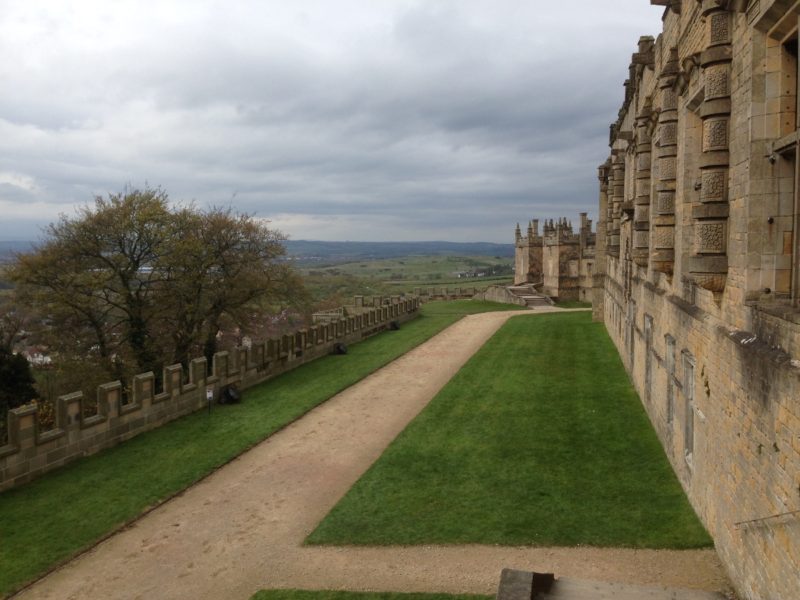
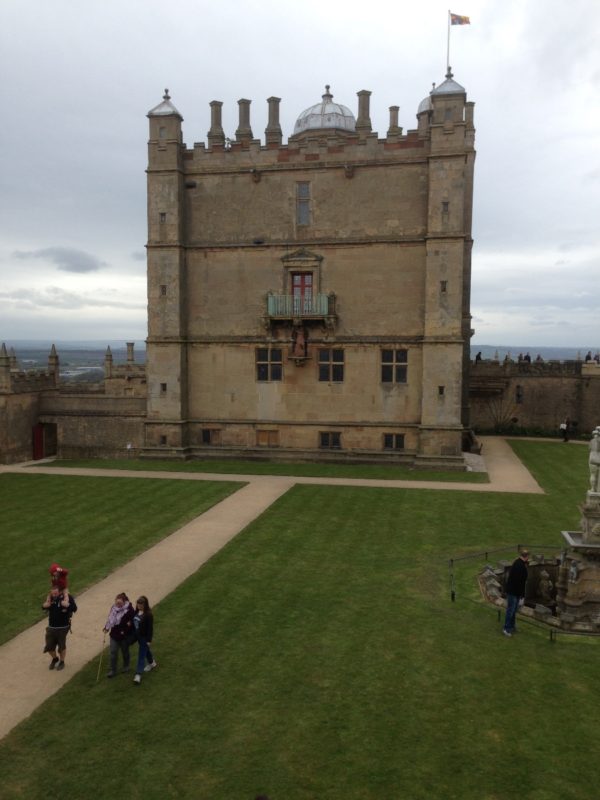
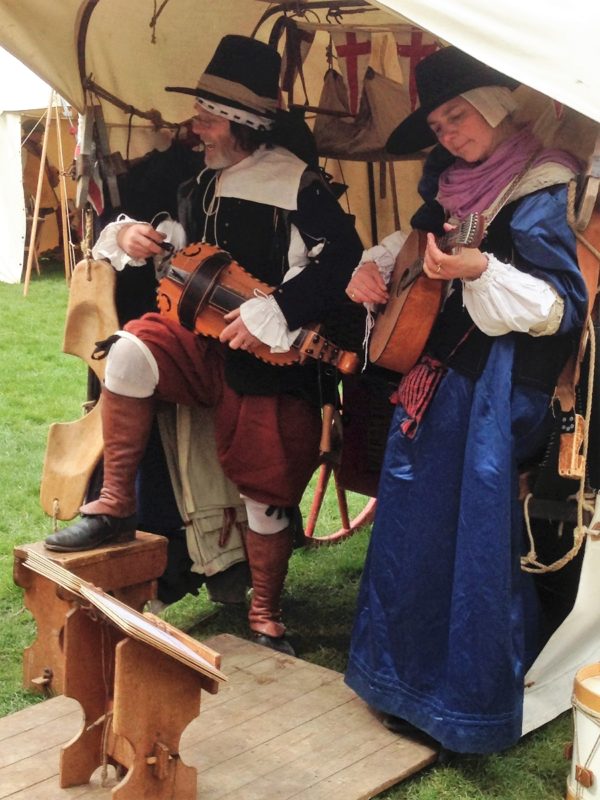
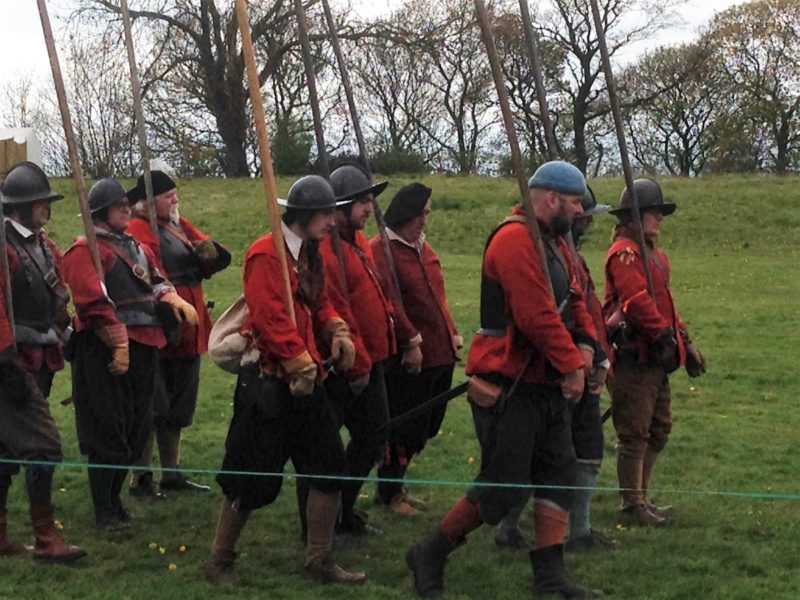
When it came to the Bank Holiday itself, I was back in Newark, this time at the Castle, watching another re-enactment event. This time it was commemorating King John and his last visit to Newark. Of course this was just an excuse for the Medieval Re-enactors to camp out at the Castle and do their stuff! I enjoy attending these sort of events and the guys doing the re-enacting usually know their subject and your can learn a lot from watching & talking to them. The ‘Grand Melee’ held at the end of the afternoon wasn’t exactly up to Game of Thrones standards. For a start, every one kept their clothes on! However, it was all good fun and free, so no complaints from me!
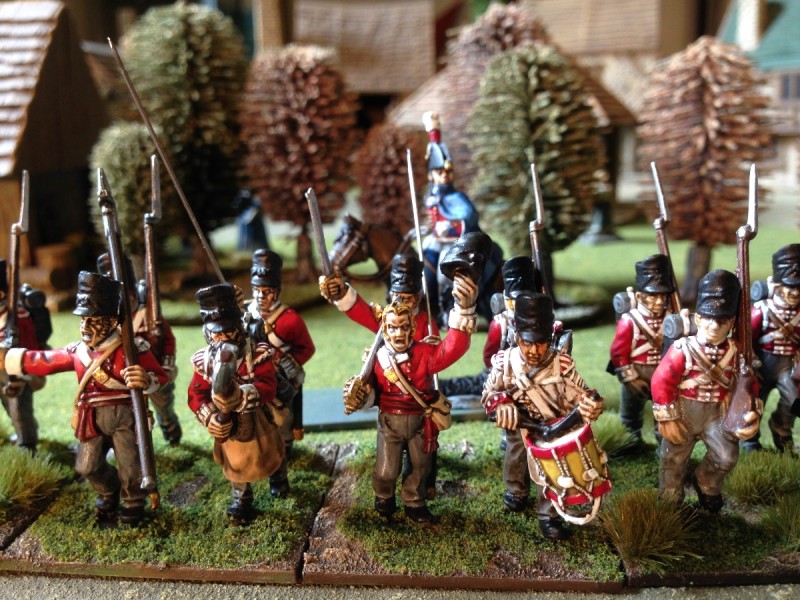
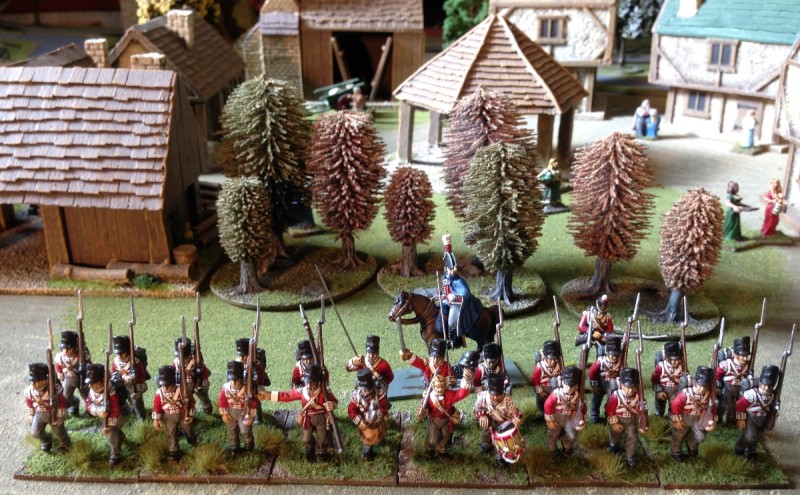
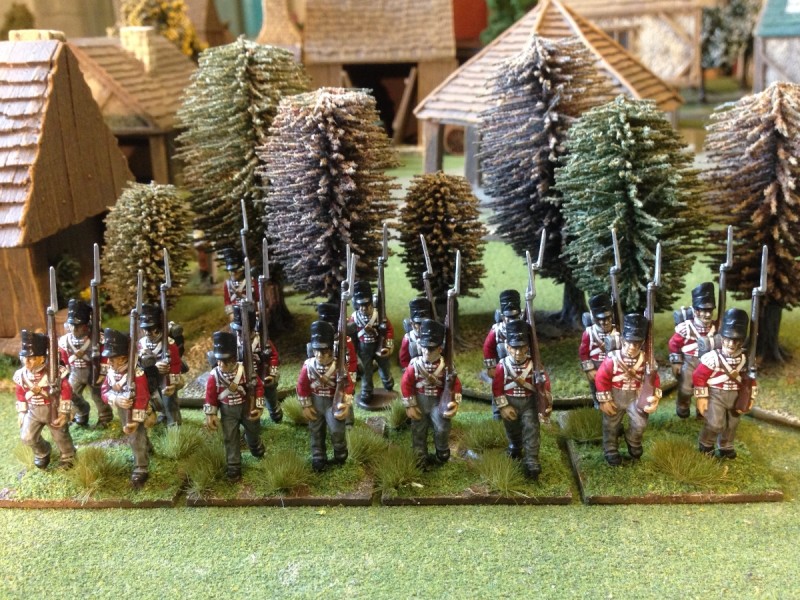
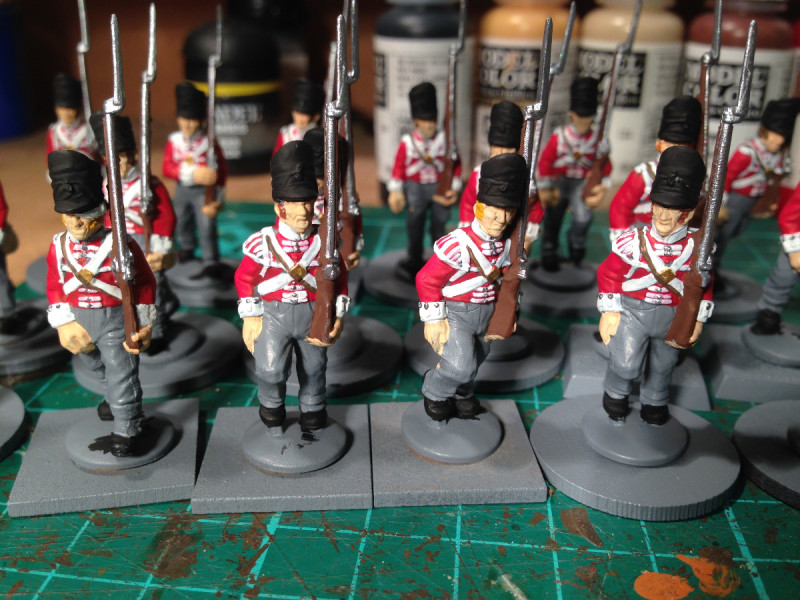
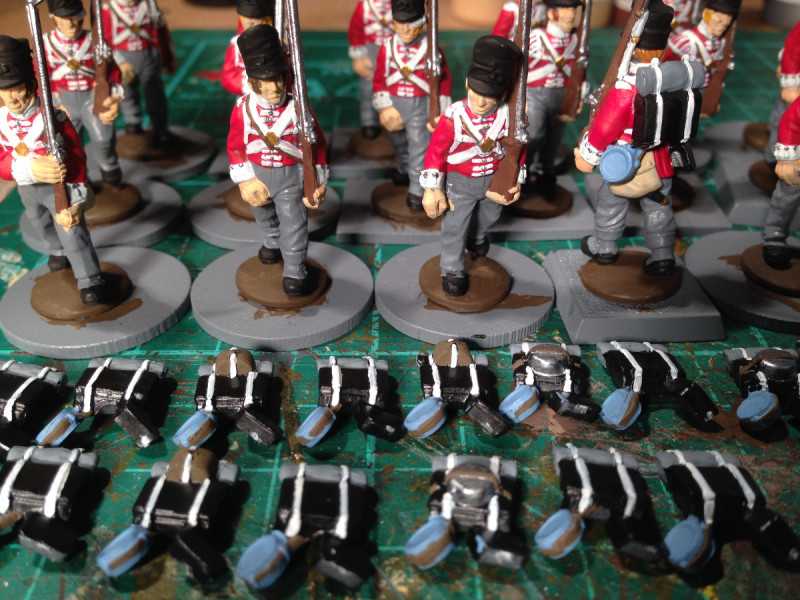
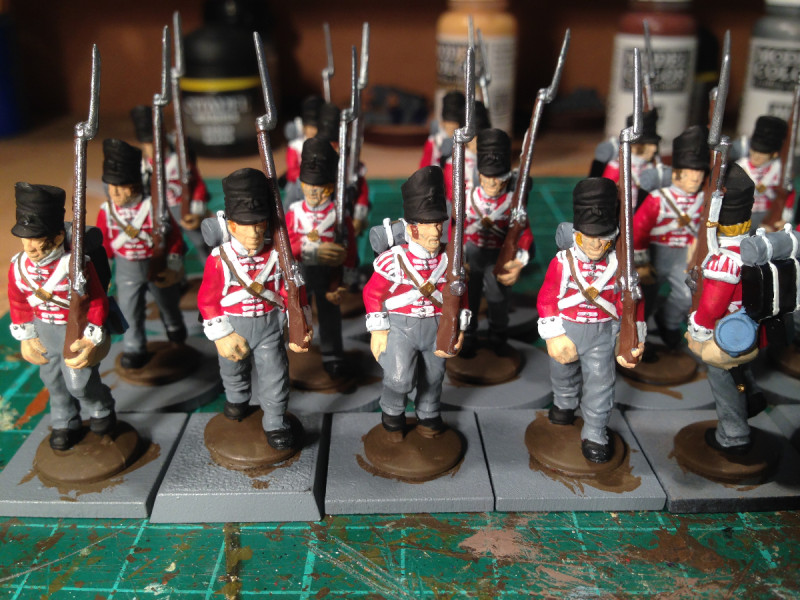
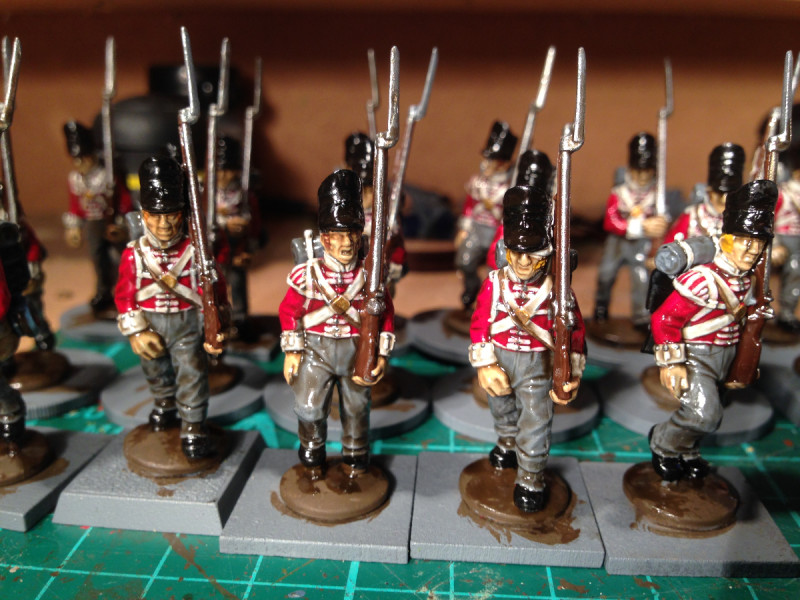
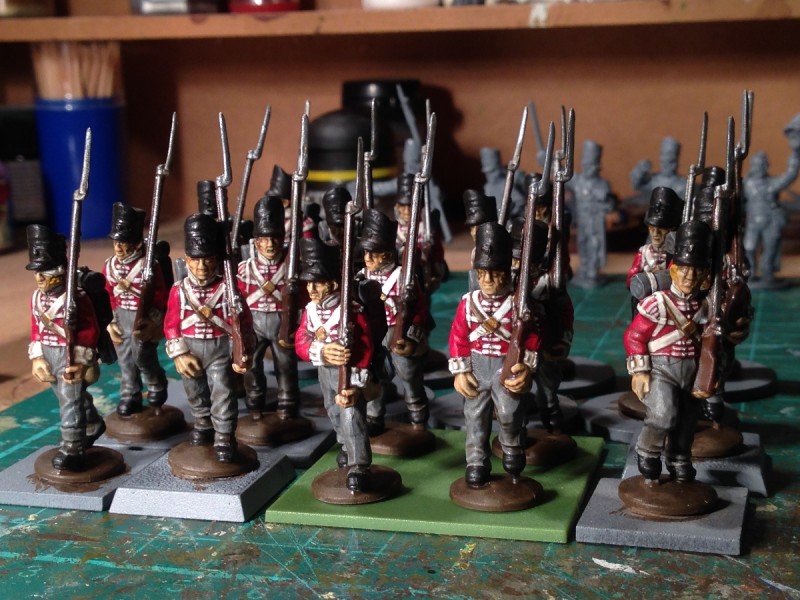
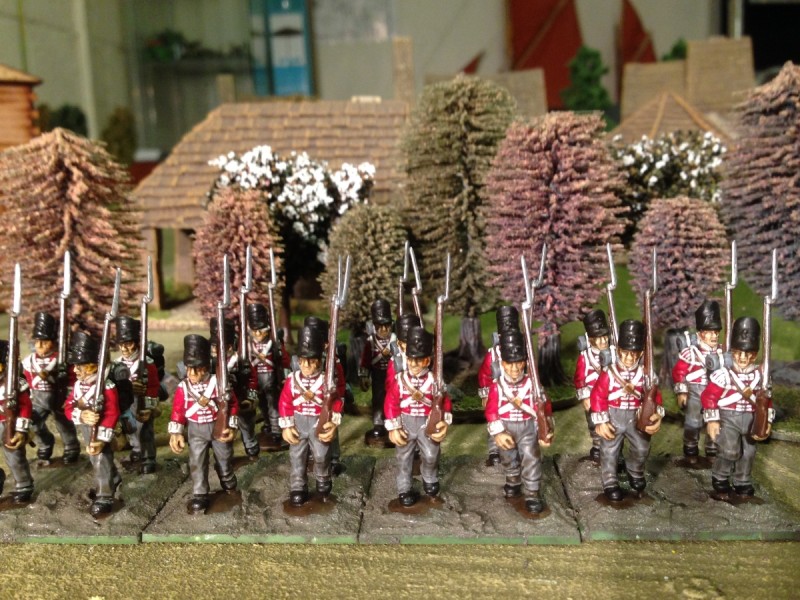
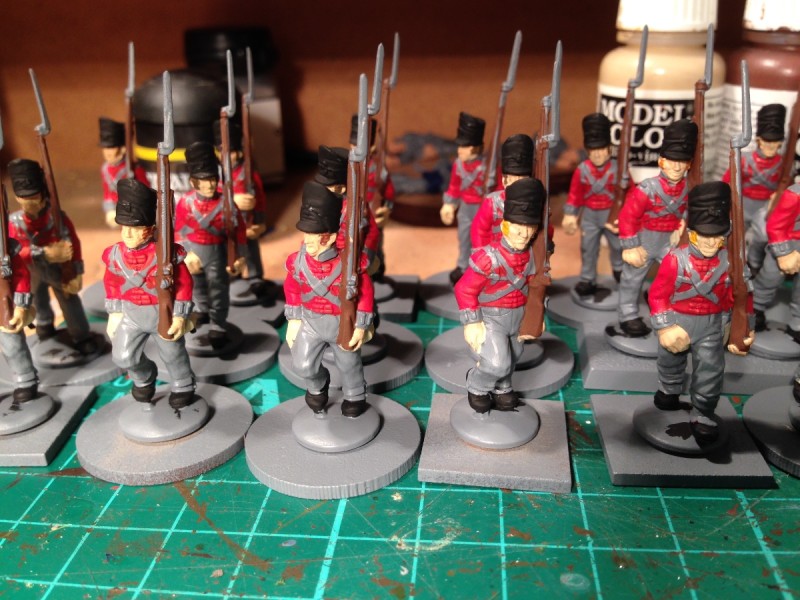
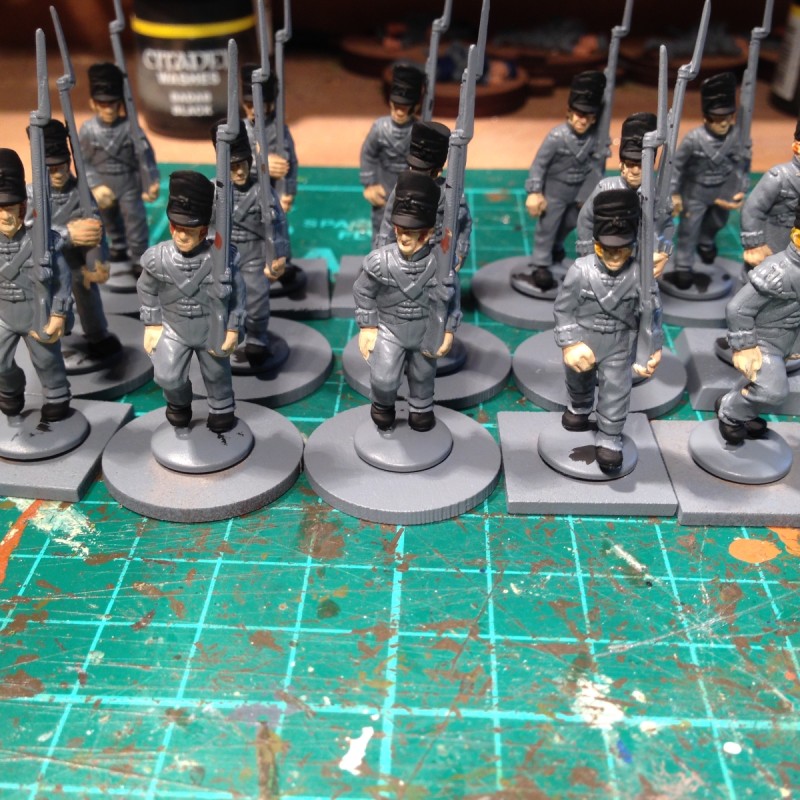
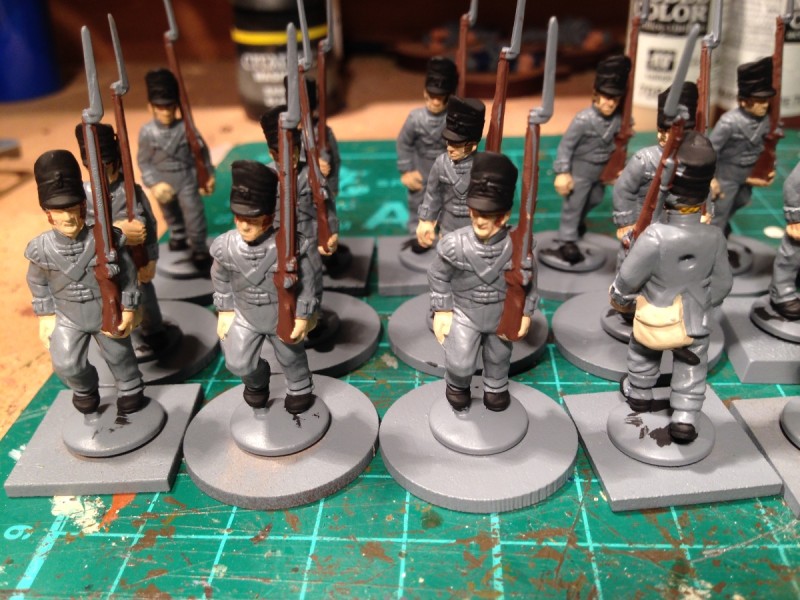
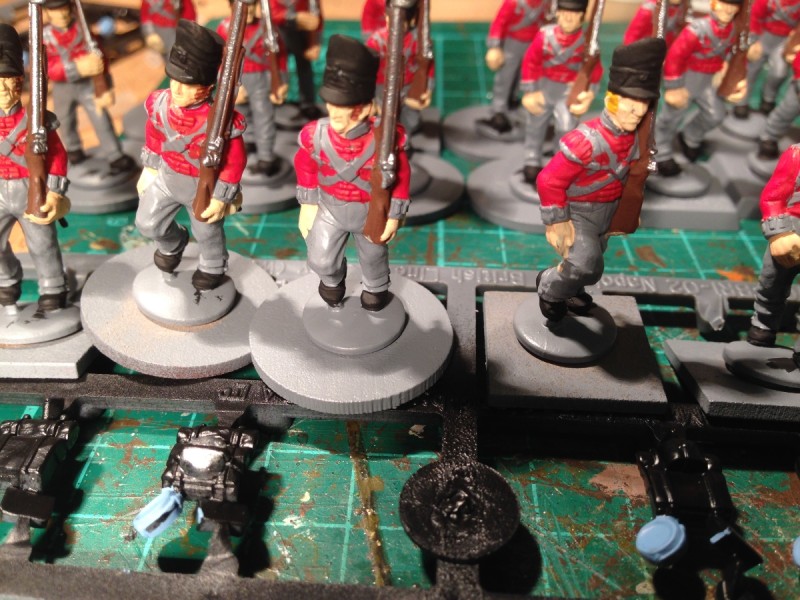
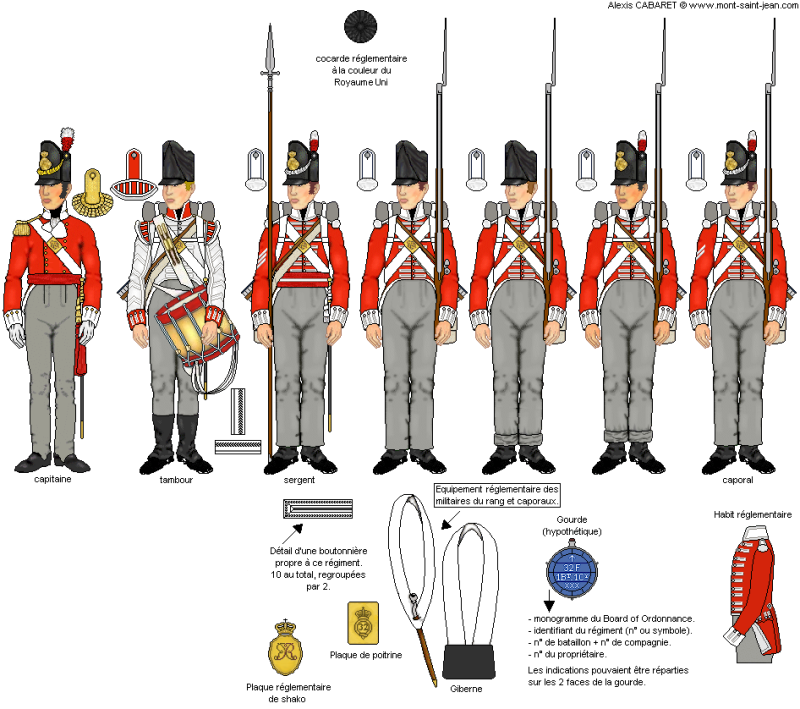
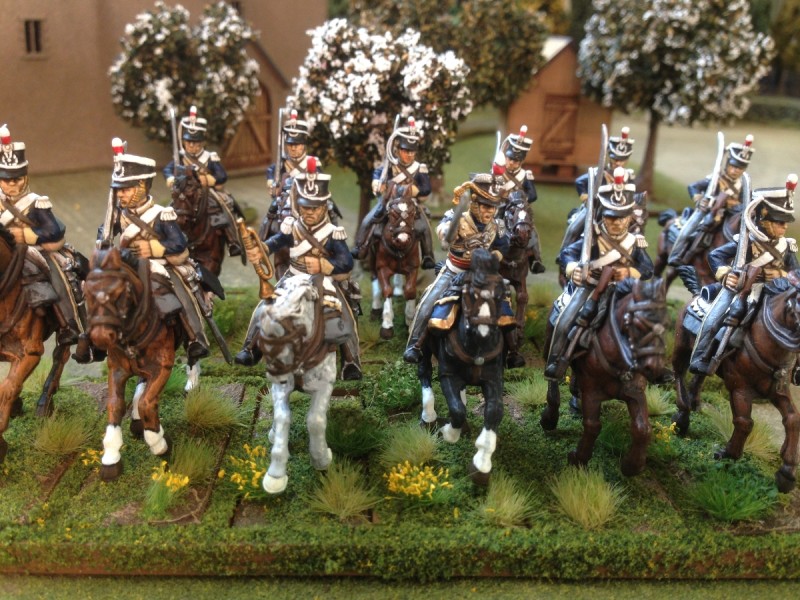
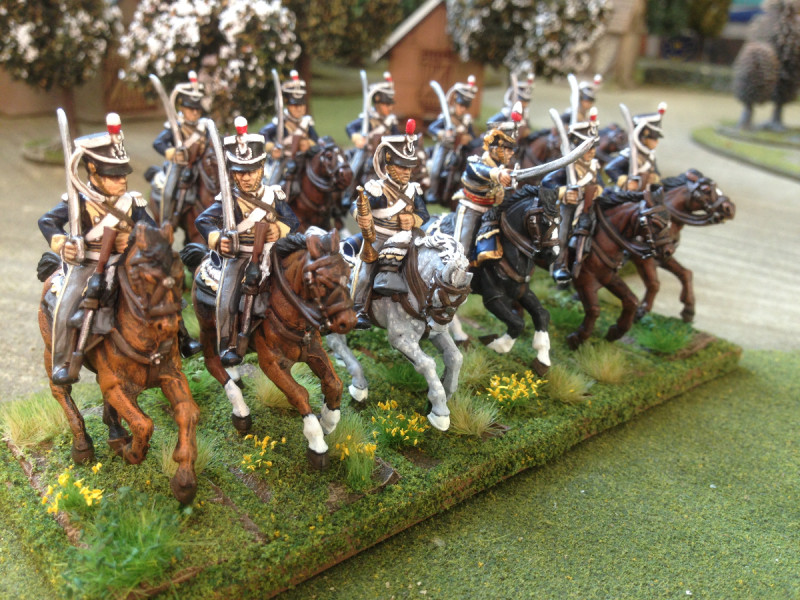
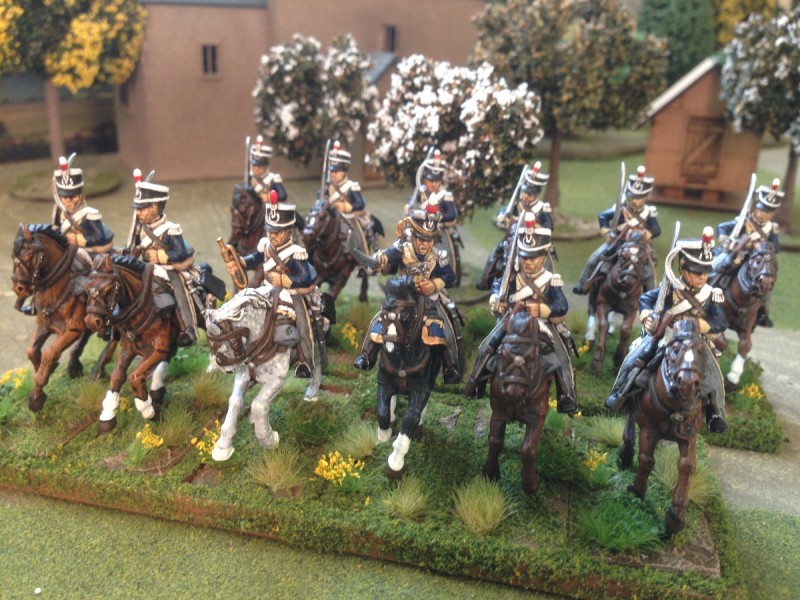
If you are wondering what I have been up to with regards to painting model soldiers, then I am happy to report that I have been quite busy. I have been painting Napoleonic Portuguese Line Infantry and I have almost finished 2 complete regiments, some 48 figures! However, I hope that the step by step painting instructions along with the research that I completed will form the basis for an article in Wargames Illustrated so I cannot yet publish this on my blog. However, here is a picture of the Grenadiers…
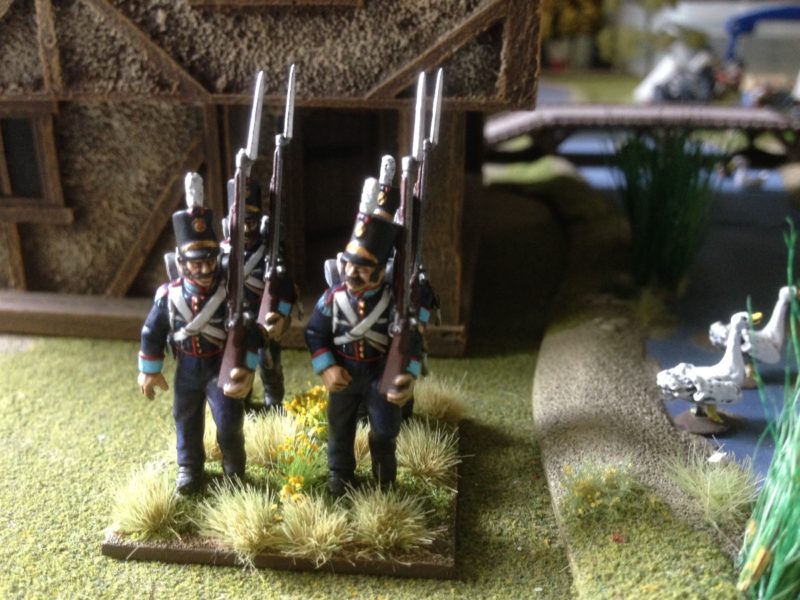
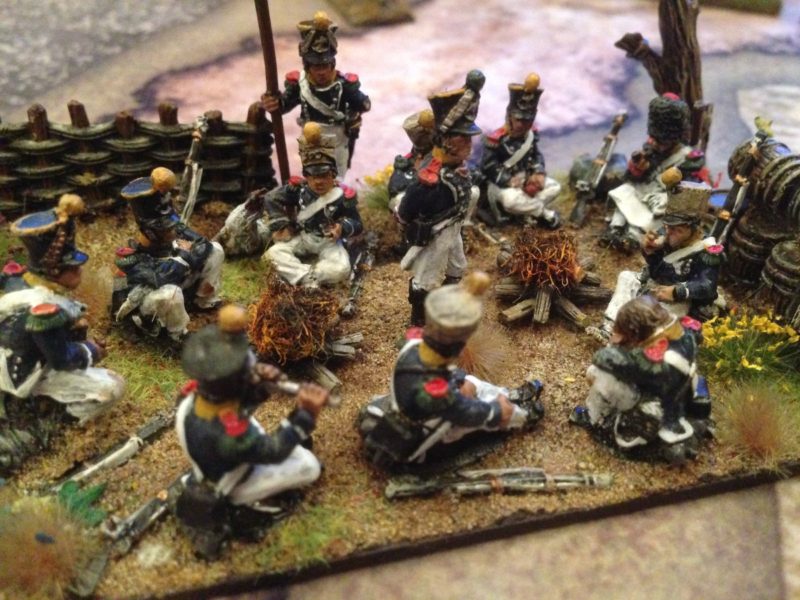
Portuguese Grenadiers
To see more, you will have to wait for the magazine! I’m sure that Dan’s photography will be better than mine!


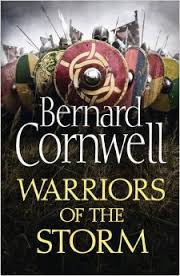
 Of course there are plenty of other books out there that will inspire and I suspect that we all have a few favourites on our shelf. My next read, although I will finish Death before Glory first, is Conn Iggulden’s Wars of the Roses ‘Bloodline’. It’s time I painted a few more troops for my WOTR retinue…