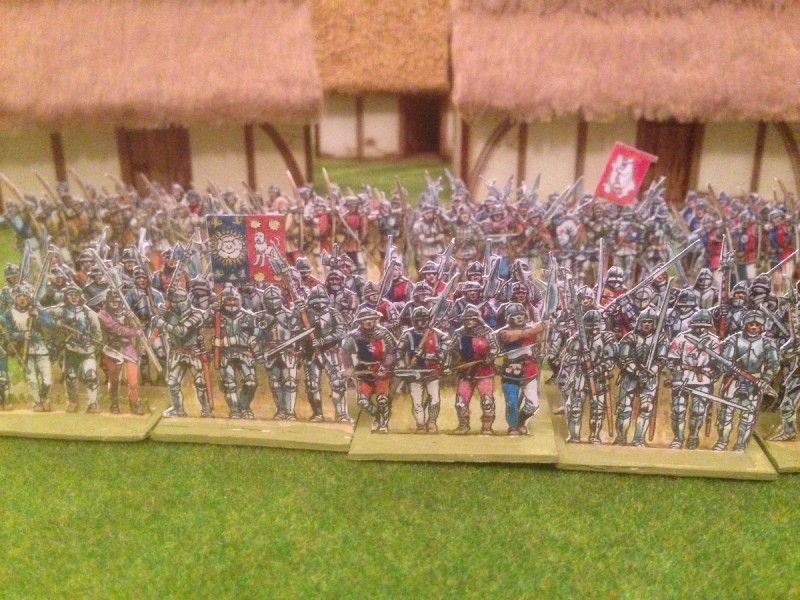
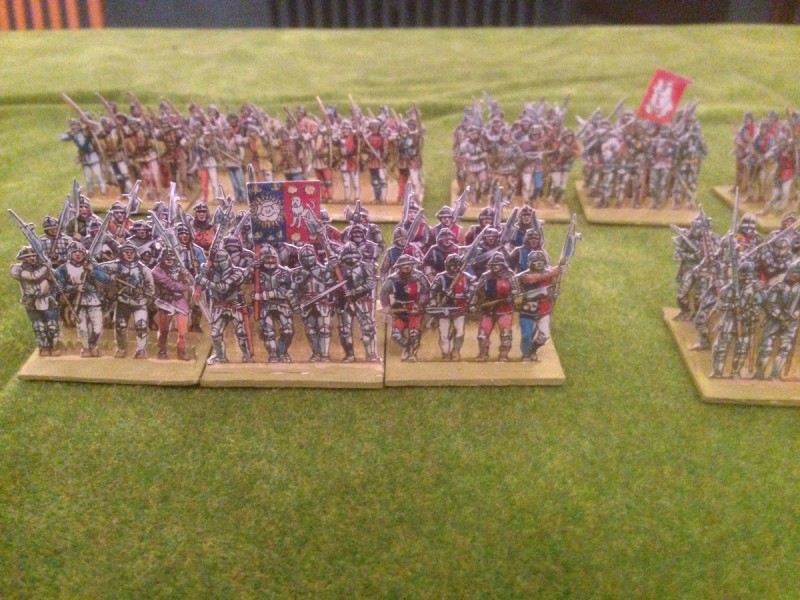
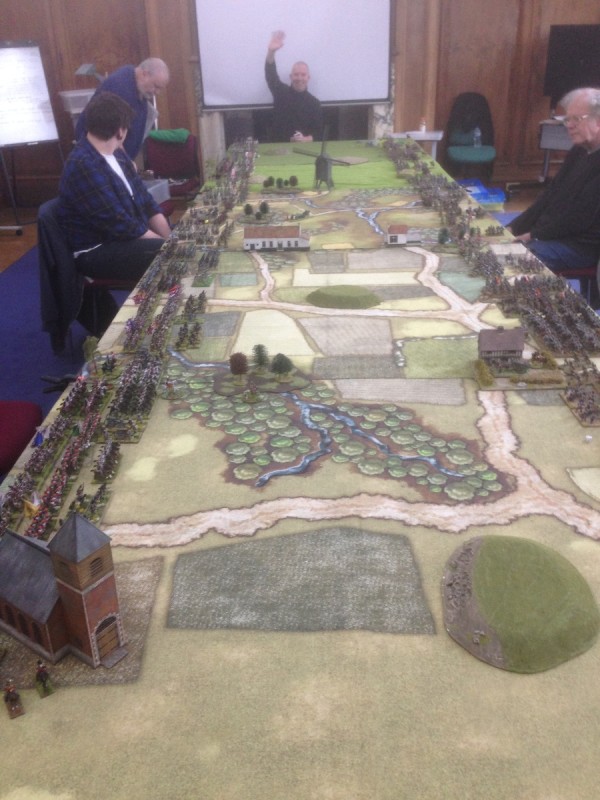
In the last report, I explained the background and set up to our fictional game ‘The Battle of Bitteburg’ In this article, the focus is on the battle itself. As a player, it is quite difficult to write an entirely impartial view of a battle. Not only are you very involved with the battle as it unfolds around you, but it is easy to lose touch with the detail of what is happening elsewhere. In my case, I could see what was happening to my immediate left and right, but our far right wing was very much out of sight. I could only rely on the reports of the general commanding the Division there. Those reports tended to be somewhat vague. When asked how it was going, the standard reply appeared to be ‘OK’. There was very little detail to flesh out the situation and to be fair, once I had ascertained that things were OK, I was happy to focus on my own problems!
Now if I was having trouble working out what was happening on a large wargames table, goodness knows how they managed it in real life! So with that in mind, on with the battle report.
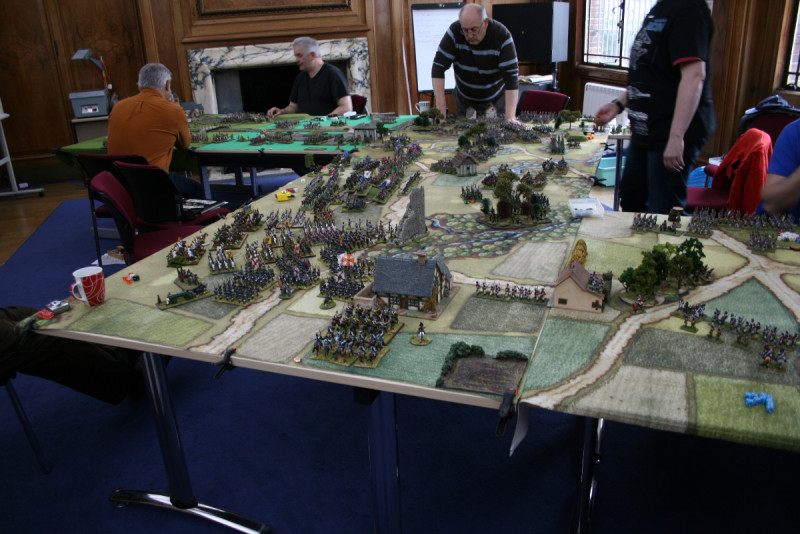
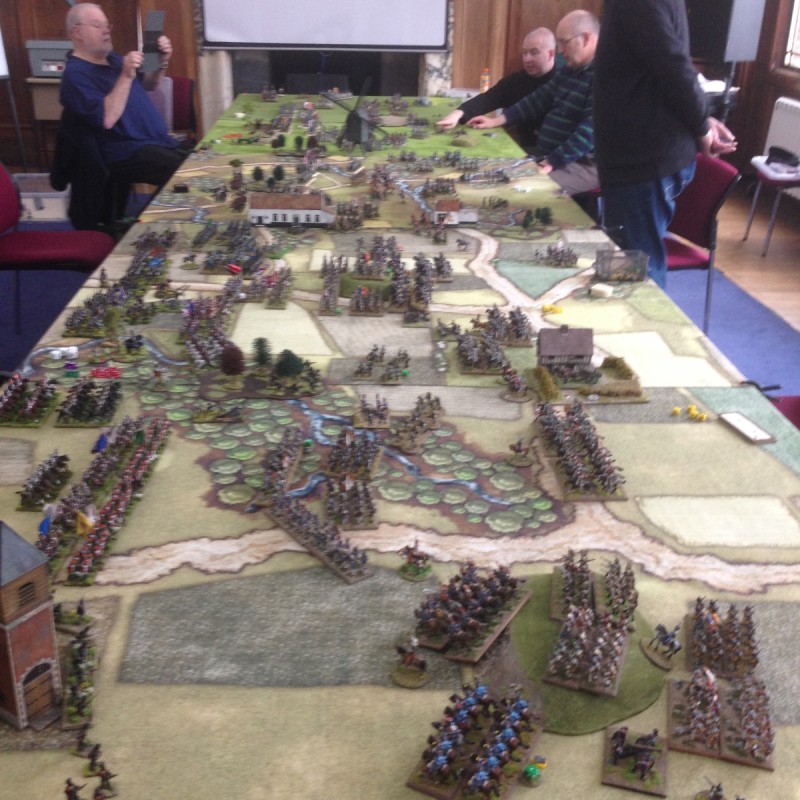
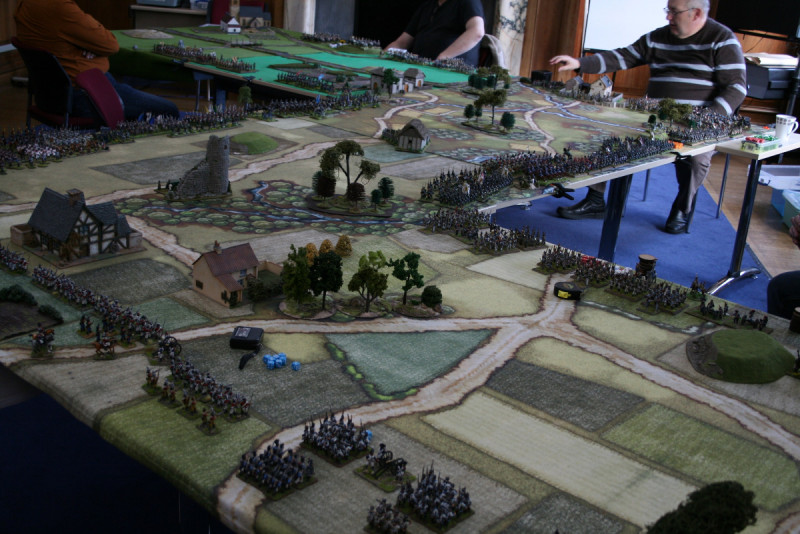
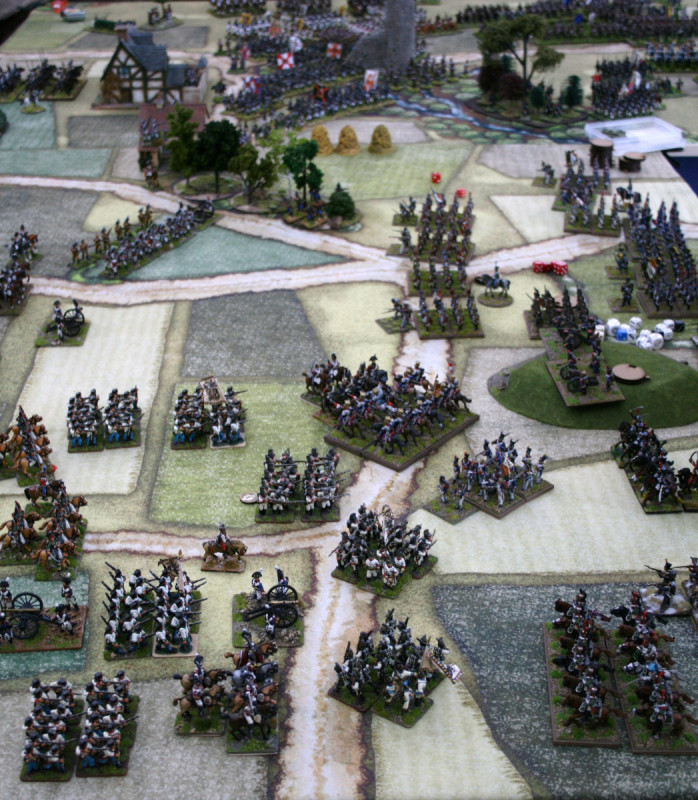
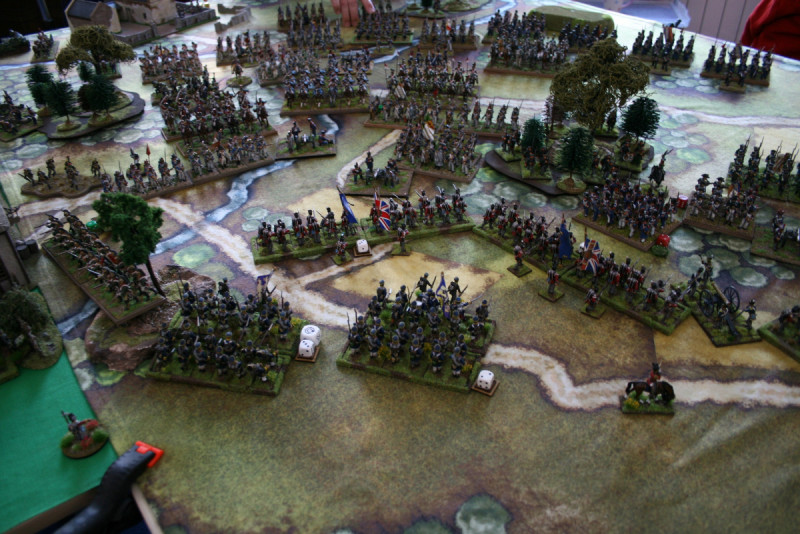
Turn 1. The armies advance
Turn 1. Having started the game with a blunder on the far left wing, the Allies seemed to hesitate as orders were failed all across the left wing and the two divisions involved simply stalled. On the French side, progress was much faster as the whole Army advanced in good order, taking up positions in the woods and buildings that occupied the centre of the table. On the Left, the French advanced in good order to the river, taking advantage of the confusion in the Austrian Division. The only firing was from a solitary British rocket battery. No casualties were inflicted but the French were rattled at the range and potential damage that could be caused.

Turn 2 French advance to the River
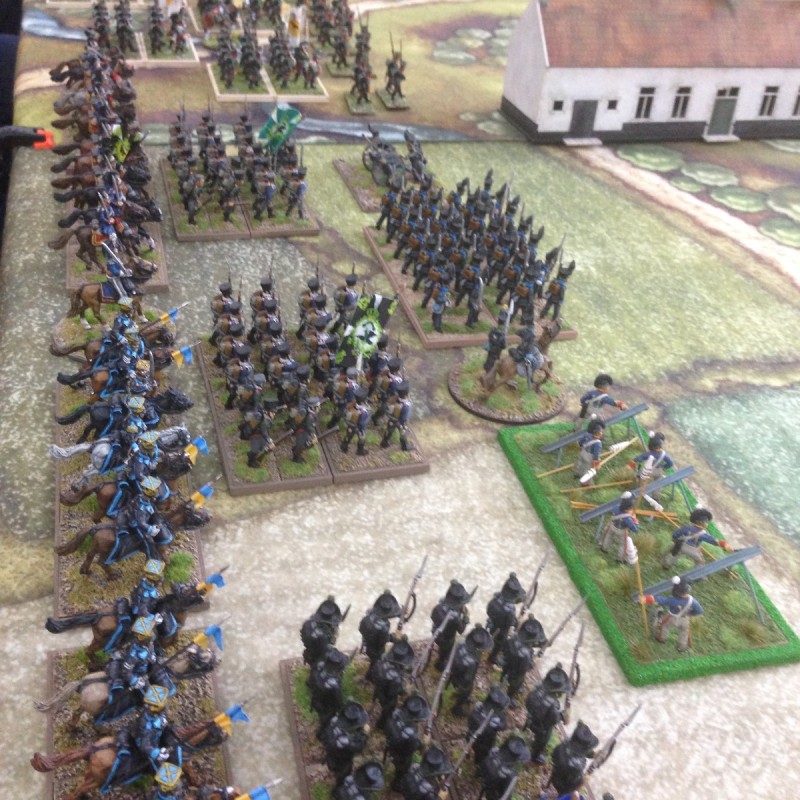
Turn 2 saw the Allied army making slow progress forward, with the first reinforcements arriving on the battlefield. On the left, the Austrians had started to sort themselves into some sort of battle line. The Prussians had occupied the village in the Austrian deployment zone and the rest of the Prussian brigade in this sector attempted to bolster the weaker wing of the Austrian Division. In the centre, the British and Hanoverians had successfully advanced and joined with the main Austrian force on their right. The French in reply, continued with their remorseless advance, their army looking the more cohesive of the two. The first Cavalry skirmish resulted in a minor victory for the British Hussars as they shook their French equivalents forcing two French Cavalry Regiments to retire shaken.
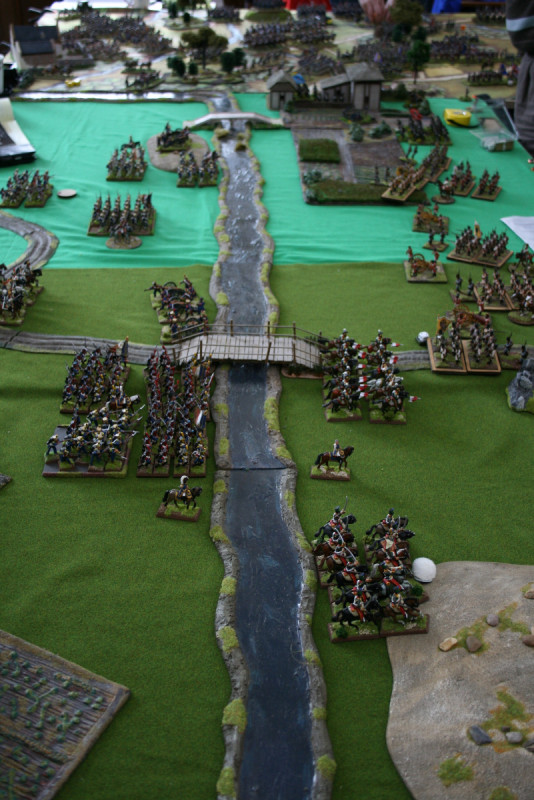
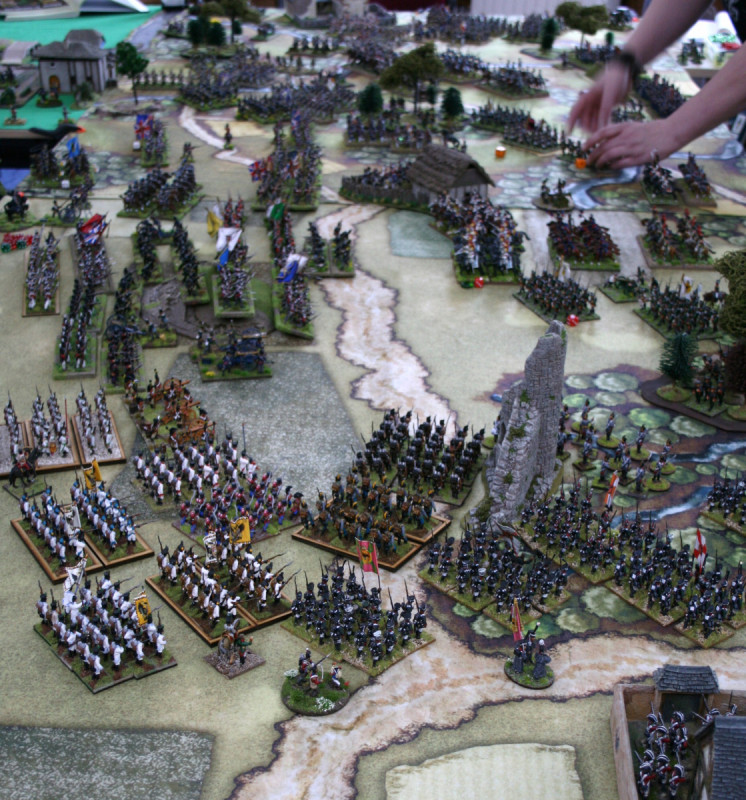
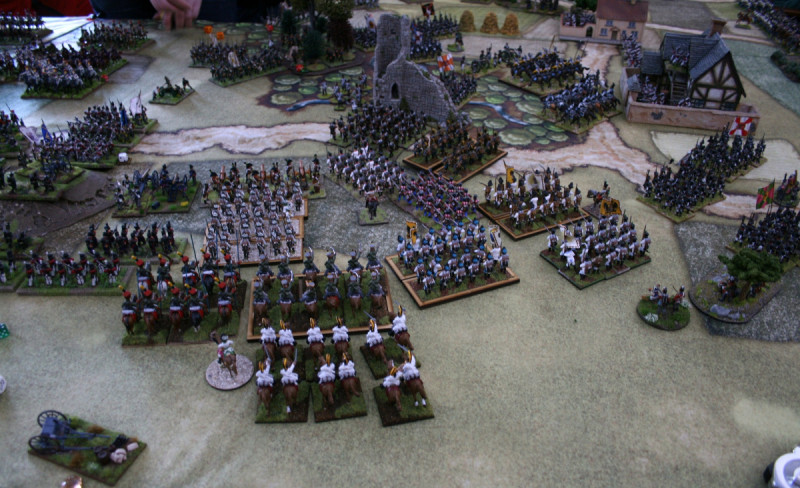
Turn 3 French cross the river
Turn 3 The battle for the centre
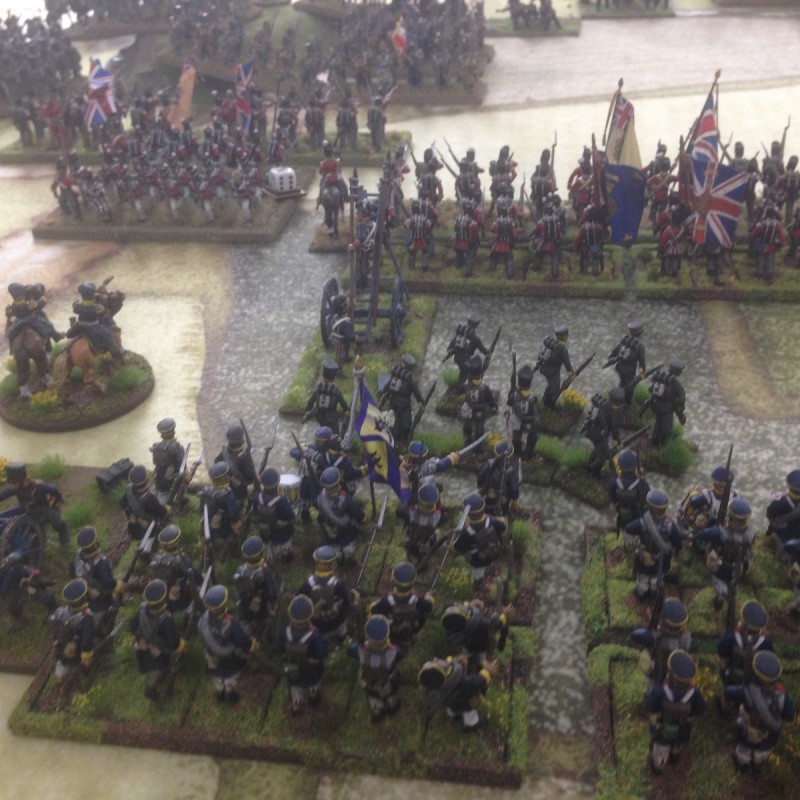
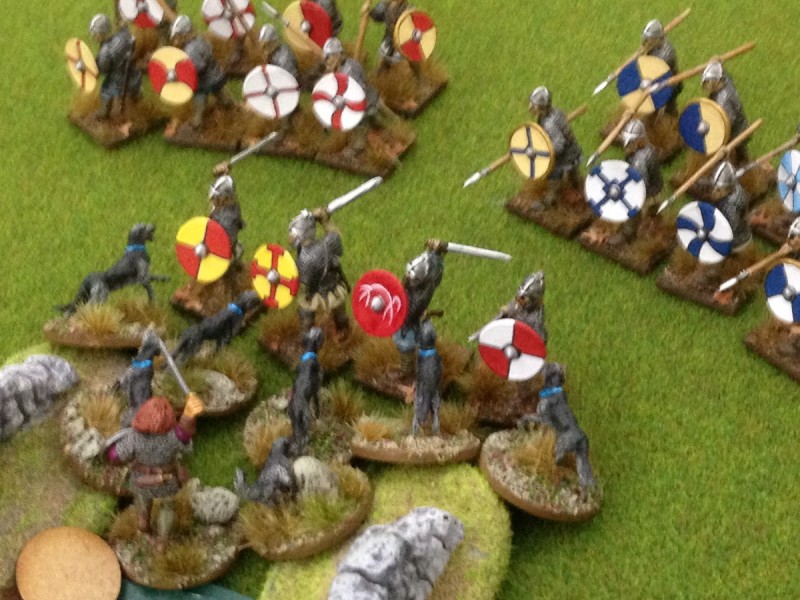
Turns 3 and 4. As the armies closed in the centre, the action really started and the game began to take shape. On the left an Austrian Cavalry charge ended disastrously, with the Austrians being soundly beaten both in the initial combat and the follow up move, resulting in the loss of a brigade of heavy cavalry. This allowed the French army to confidently cross the river, putting even more pressure on the Austrians. Left of Centre, the British and Prussians closed with the French, initially with some success as a French Battalion was broken by fire power and many casualties were inflicted. The French reply was equally devastating, with the Somersetshire Battalion broken and the Prussians occupying the village hammered by artillery fire and forced to evacuate. Frustratingly, the main body of Austrian troops in the centre, commanded by the Supreme Commander were struggling to move and make their numbers felt. The ‘Grand Battery’ of 5 guns that had been set up was largely ineffective and was becoming masked by Allied troops, limiting the targets available. On the far right things were going ‘OK’…
Turn 4 French are pushed back on the right.
Turn 4 things are getting hot in the center
Turn 5. The Austrians on the left were trying desperately to hold back the advancing French but refused all aid offered. They were convinced that the tide would turn and that Callans first rule of wargaming, ‘He who crosses the river first will lose’ would apply. The British and Prussians were ready to deliver a killing blow to the French Centre. Unfortunately, the firing was ineffective and the French weathered the storm, their morale intact. Once again, the Superior Austrian forces in the centre were unable to engineer a break through and the majority of their forces were snarled up in the rear of the battlefield. Meanwhile, on the right, the Austrian division had pushed forward and although four battalions were forced into square they had effectively bottled up the French on this wing.
Turn 5 The pressure mounts on the Austrian Right
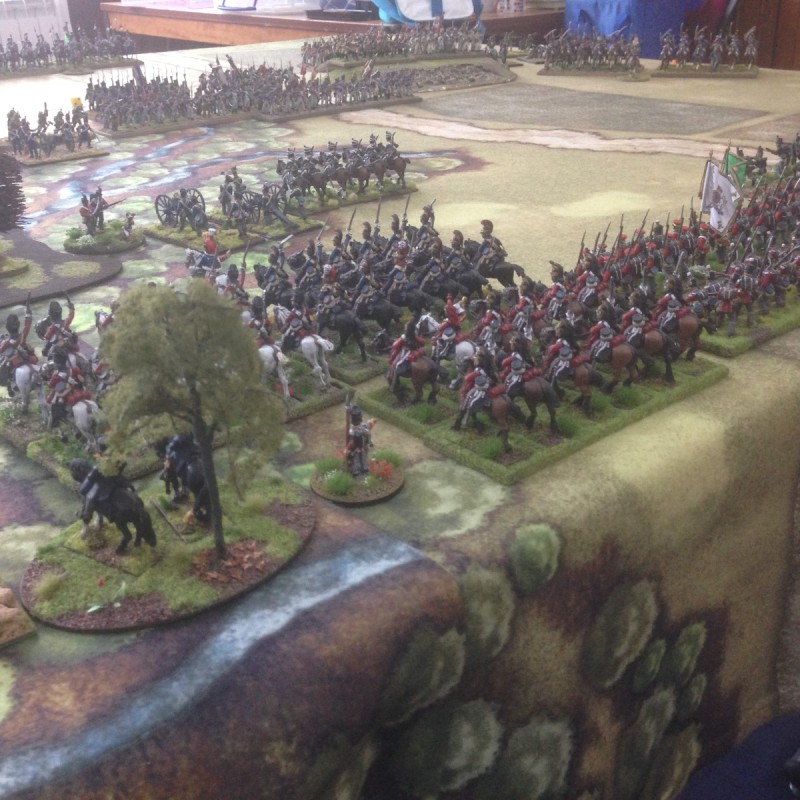
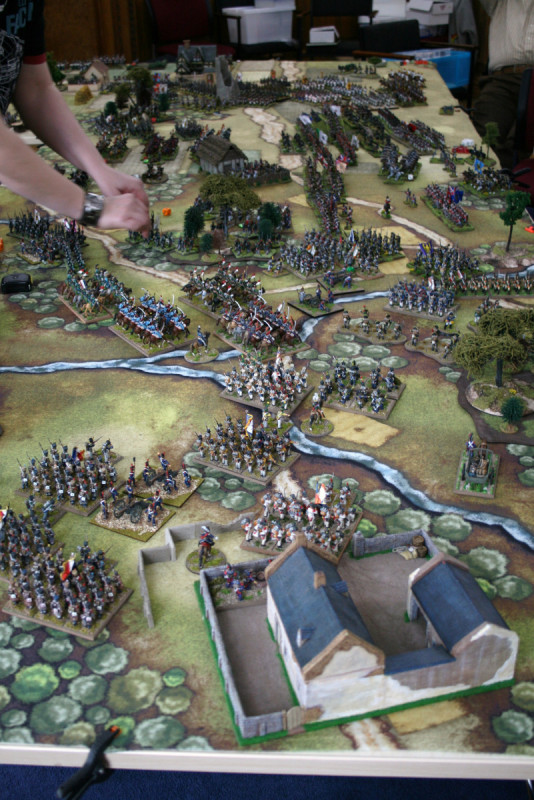
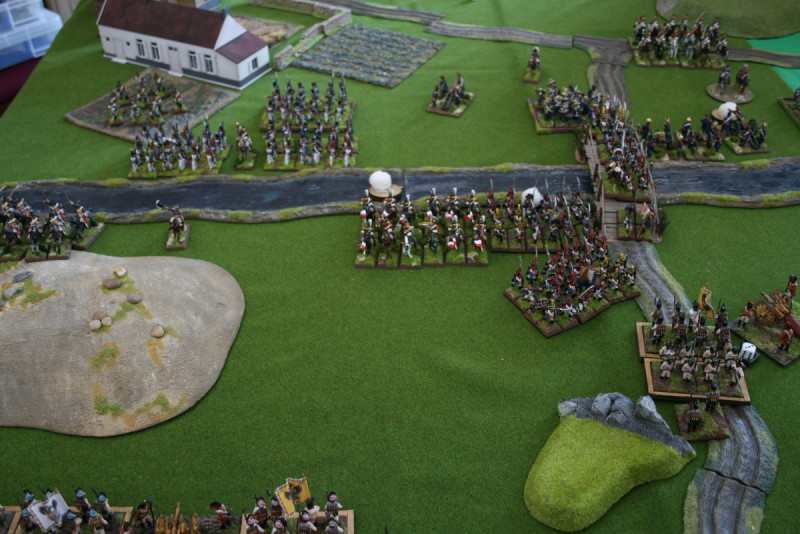
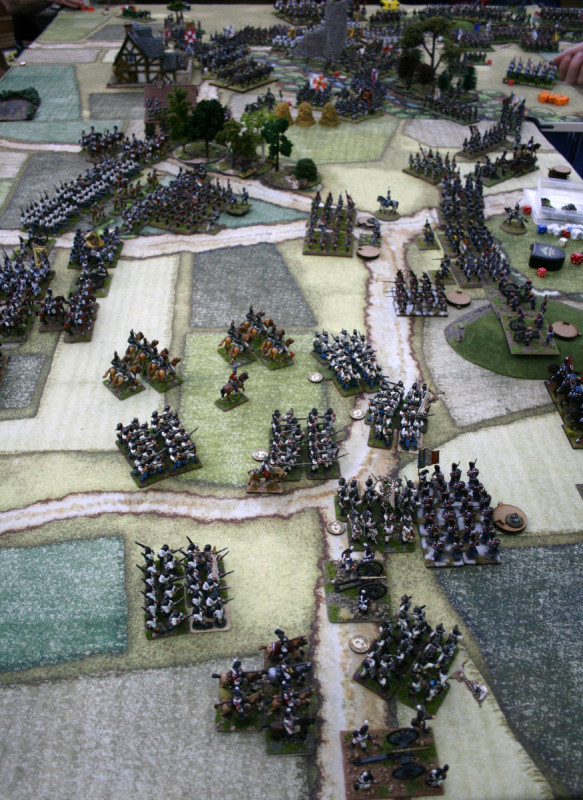
Turn 6 The British are held – The French Cavalry plug the gap
Turn 6. Left of centre turned into a blood bath! A whole British brigade was broken and effectively wiped out. The French also lost a brigade but managed to retire in good order as replacements were on hand to cover them. The Prussians in the ‘hinge’ were also severely mauled and on the point of breaking. The Austrians on the left were now crumbling in the face of the French advance. The French had now secured all of the river crossings and were moving up the reserve artillery. In the centre, the main Austrian army remained deadlocked, unable to exploit the few small gaps that had opened up. At least over on the right things were ‘OK’…
Turn 6 The French cut the hinge
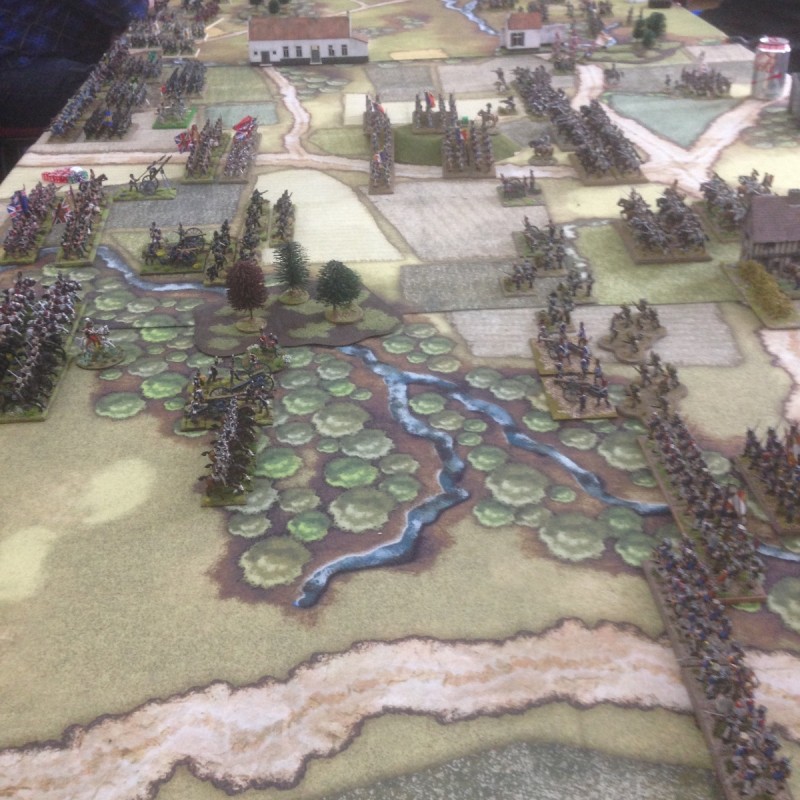
Turn 7. The French tighten the noose! Despite there being clear gaps and weaknesses in the French line, the Allies seemed unable to exploit them or break through. A clever redeployment of French Heavy cavalry plugged one gap and the continued arrival of reinforcements kept the allies on the back foot, penned to the edge of the Battlefield (table!). The Austrian Left flank had all but failed and was desperately holding on. The Prussians holding the ‘hinge’ between the Austrian and British divisions were now on the back foot, holding as best they could. The strong Austrian centre had pushed forward but was unable to relieve the pressure on the left. The only good news was that these Austrians were now in contact with French forces on the right and the Allies right wing was now secure and making progress.
Turn 6 at last the Austrian Centre is on the move

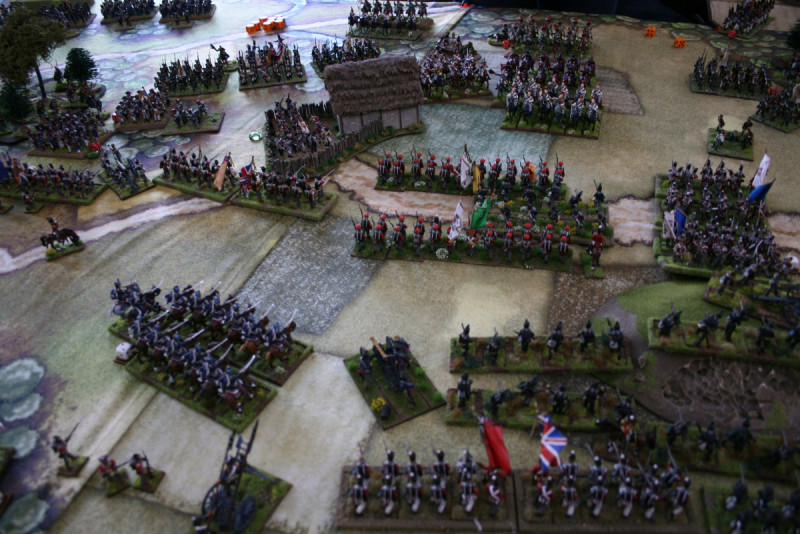
Turn7 the Austrians threaten the French Flank
Turn 8. There’s a certain look that winning players have as the game swings in their favour and I could see it across the table. The French confidence was high, their strategy had worked, the dice had not been too unkind and the end was in sight! On the left, the Austrian division was fading away and to make matters worse, they had been cut off from the rest of the army as the French had now secured the village guarding the ‘Hinge’. The British and Prussians had been badly mauled, losing two brigades of infantry and were effectively pinned with their left flank badly exposed. The main Austrian force in the centre was largely untouched but had been unable to fully deploy or break through any gaps that appeared in the French lines. The only good news for the allies was that things were ‘OK’ on the right… Well, to be fair they had steadily fought their way into a winning position but were unlikely to be able to influence the outcome of the battle.
Turn 8 The Austrian right pushes the French back
With the French winning in two sectors, drawing in one and only under pressure on the far right wing a victory was declared and once again, Napoleon had triumphed. The Allies were retreating in reasonable order although, it was possible that one wing of the army would be entirely lost in the retreat.
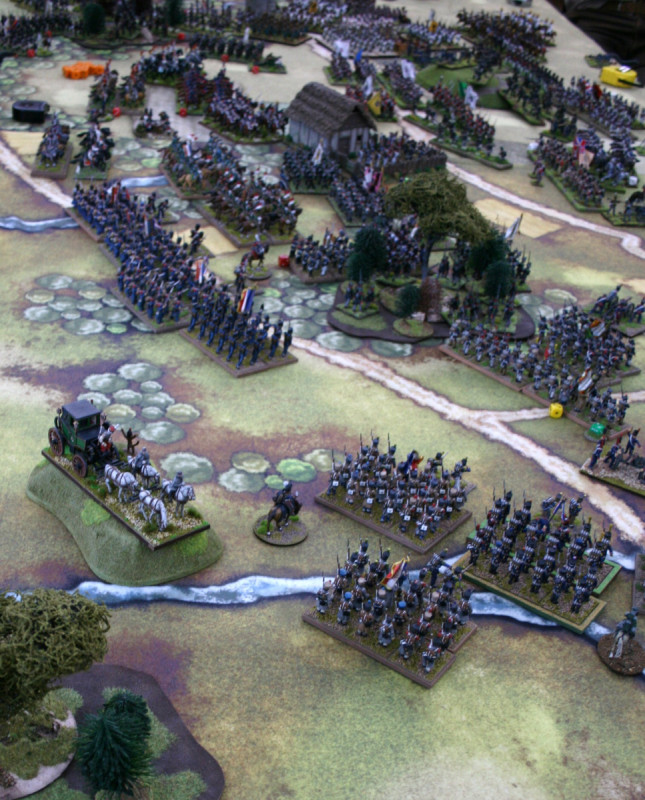
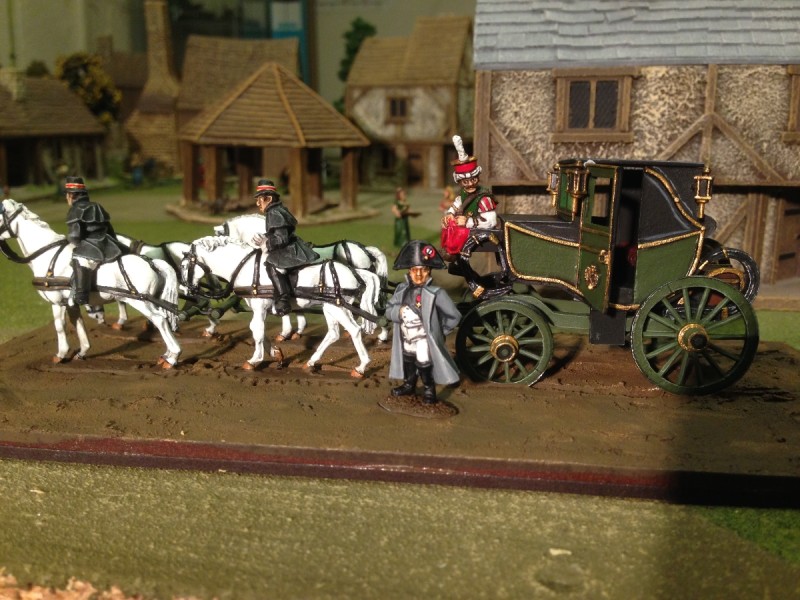
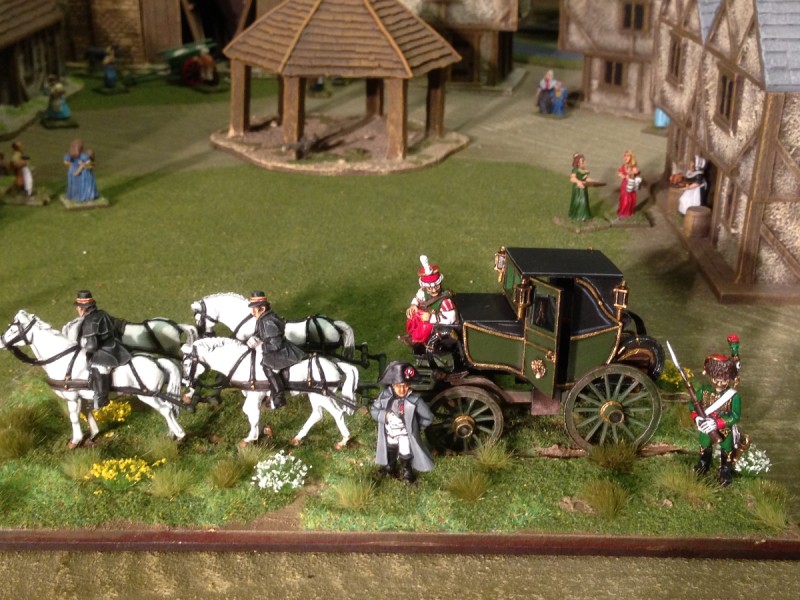
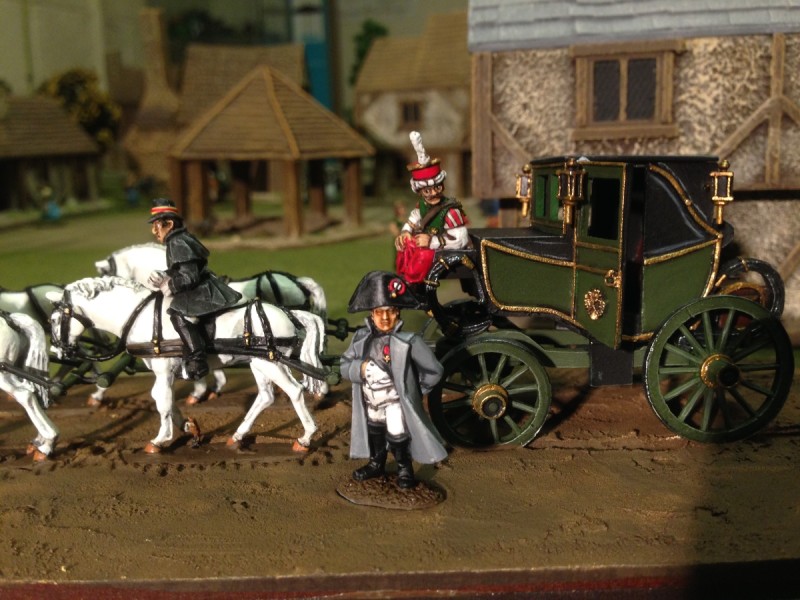
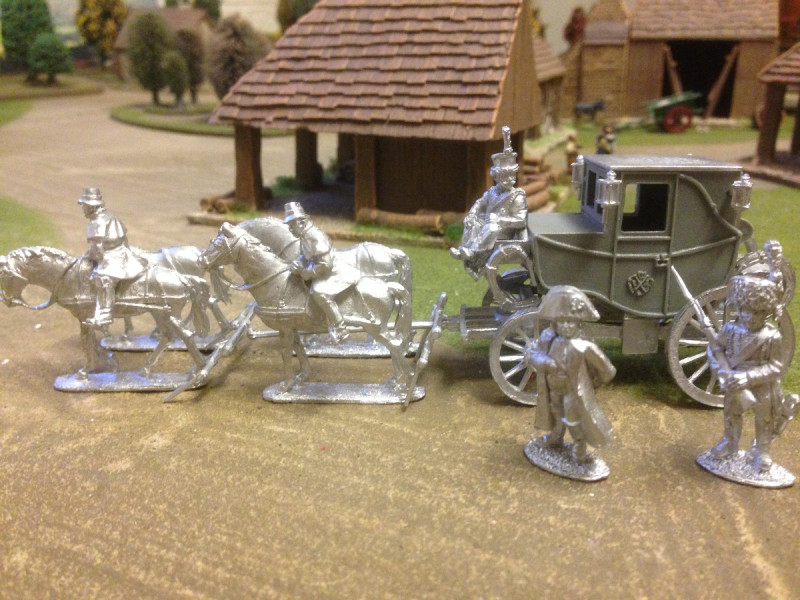
Turn 8 Napoleon watches the French advance
It was time to mull over the battle, the victors enthusiastically planning the next meeting, the losers holding a ‘post mortem’ to work out what had gone wrong!
We will be back again in the New Year!