It’s been an exciting week for the ‘Never mind the Bill Hooks’ project. On Tuesday, Andy (Author and rules guru), Pete and myself met with Dan of Wargames Illustrated for a photo shoot for the forthcoming publication of the rules in Wargames Illustrated magazine. Dont worry, it wasn’t us old geezers that Dan was photographing but our WOTR armies. The photos would be used to illustrate the rules and to explain how the mechanics of assembling your army, movement and combat works in the game in detail. The plan is to include ‘Never mind the Bill hooks’ as a separate colour supplement with the April edition of the magazine so you will soon be able to get you hands on a copy of the rules and try it for yourself, if you fancy a bit of WOTR tabletop action.
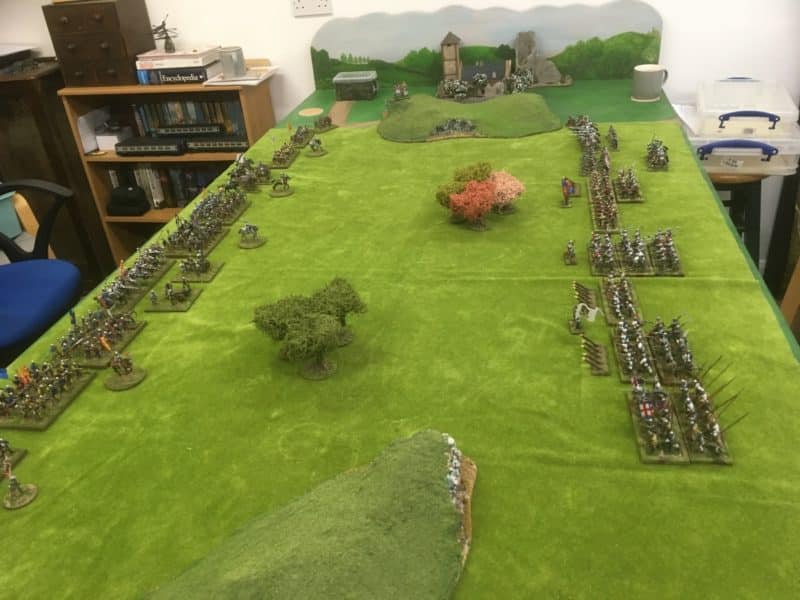
Two armies on display – not all of these units will fight in the battle!
To give you a flavour of the game, here is a battle report of our game played on Thursday evening. Well actually, it’s two games, but more on that later. Sir Harry Hotspur (Yorkist) and retinue were giving battle to the Lancastrian sympathiser, Lord Bingham and his retinue on Woodborough fields! The Armies were of a similar size but Andy, playing Lord Bingham had randomly generated his retinue from the battle cards, once he had taken his mandatory core force of Bows and Billmen. I had opted for a cunningly designed bespoke retinue that would allow me to try out a different strategy to my usual suicidal charge in the centre…
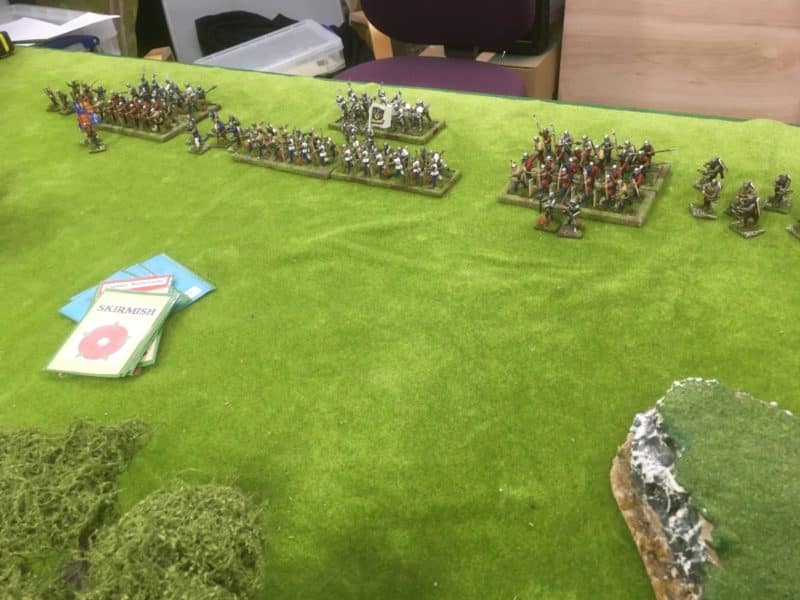
Sir Harry Hotspurs retinue ready for battle.
On the Yorkist side, Sir Harry Hotspur was commanding two units of Bowmen, supported by a unit of Men at arms. On the right, Sir Eric Diehard commanded a ward of a bowmen and Bill men and on the left wing, Sgt Danny Rose also stood ready with his ward of Bowmen and Bills. The army was supplemented by three groups of skirmishers who are allowed to act independently of the main command. There was one unit each of Bows, Crossbows and Hand gunners.
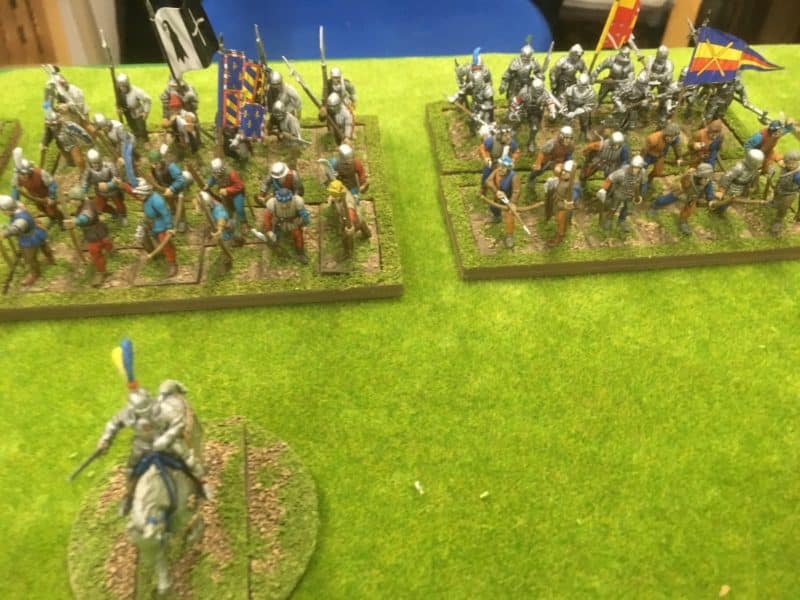
Lord Binghams Ward
The Lancastrian side took the field with Lord Bingham in command of 2 units of bows supported with two units of billmen. On his left, Sergeant Longacre commanded a unit of Light Horse and to the right Captain Buttercross commanded two units of Bowmen and a unit of Billmen. Again, the Lancastrians were reinforced by three independent units of skirmishers, two of hand gunners and one of Crossbows.
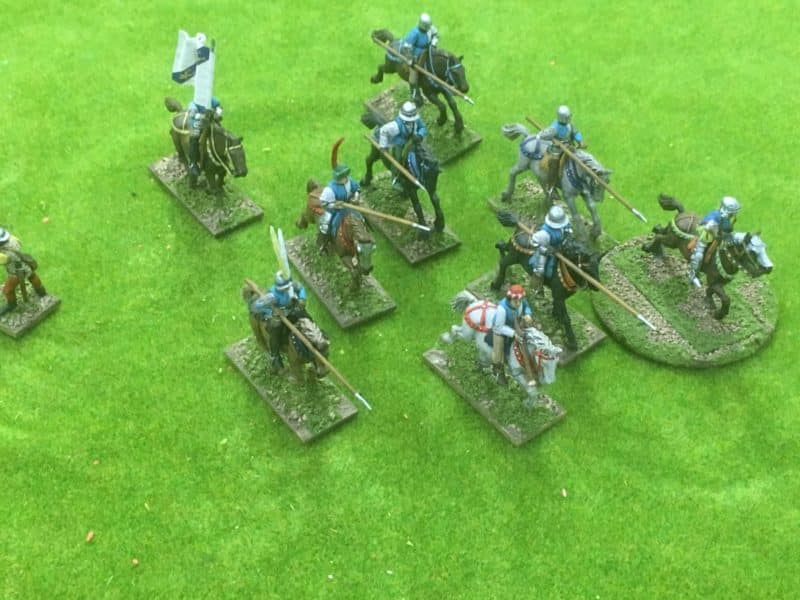
Sgt Longacres light horse
Both armies deployed within 9 inches of the table edge and after dicing for the first turn, the Commanders began to move their units. At the start of the battle, commanders are free to move units alternatively. The Yorkist skirmishers hurried into cover in the woods on the right of the battlefield just as Sgt. Longacre led his light horse in a flanking movement, threatening Sir Eric Diehard. Sgt Longacre had ventured too close to the wood and so the Yorkists skirmishers let loose a well aimed volley of arrows, bringing down two of the light horse men. This first shot signaled the start of the battle and from now, commanders would rely on their card being drawn to activate their units!
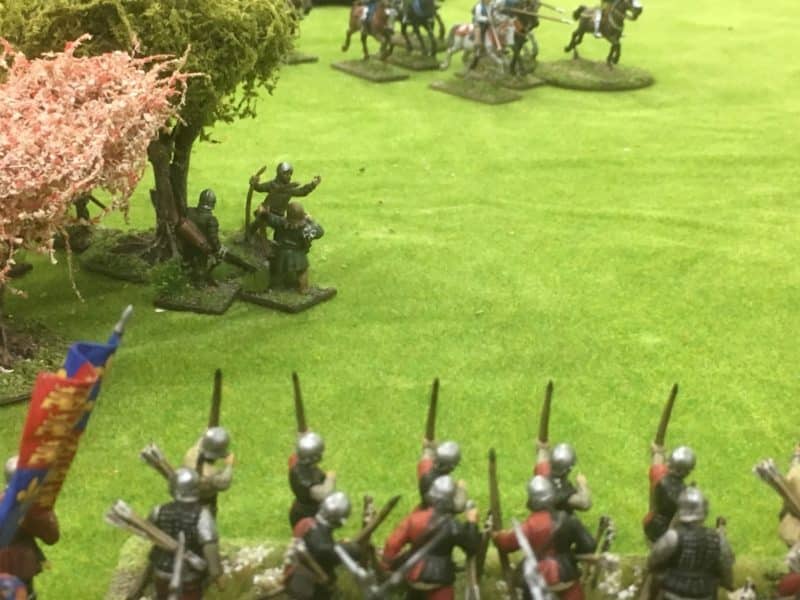
The Lancastrians are coming!
On the left wing, Sgt Danny Rose advanced cautiously, supported by a unit of hand gunners. In the centre, Harry Hotspur edged forwards to bring his bowmen to bear against Lord Binghams ward. It was Lord Bingham who took the initiative, moving forwards and unleashing an arrow storm on the Yorkists. The wind was clearly against them and although they caused a number of casualties, the Yorkists were able to weather the storm and launched their men at arms into the fray. The Yorkist men at arms were met by the Lancastrian billmen, who were no match for the fully armoured Men at Arms. Having lost the combat, The Lancastrians then failed their morale check and routed from the table. This meant that the units within command range had to test their morale – Andy’s dice appeared to be cursed and the bulk of his army ran off the table! Game over and victory for the Yorkists!
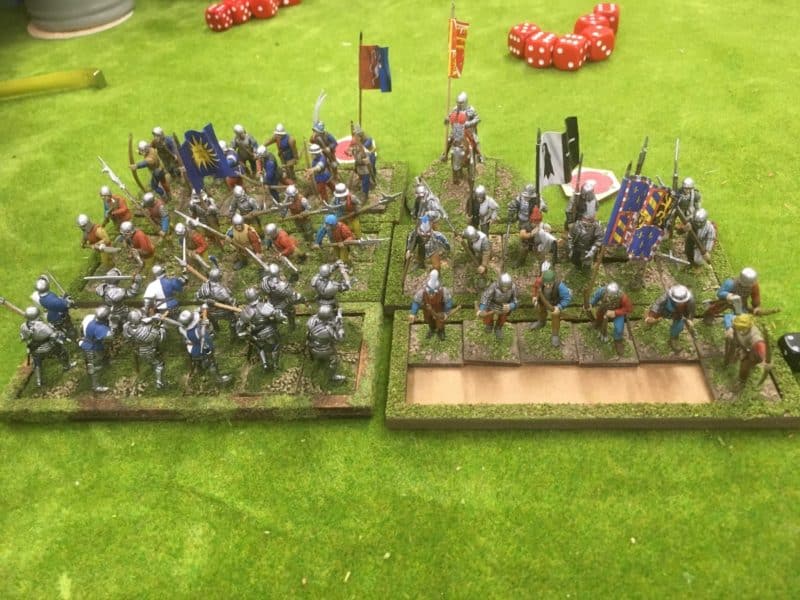
Take one! Men at arms charge home!
It was only in the post mortem that Andy then remembered that he had a special event card that he had won, that would allow him to protect one of his units with a terrain advantage, causing the charging unit to loose it’s bonuses and fight as ‘disarrayed’….
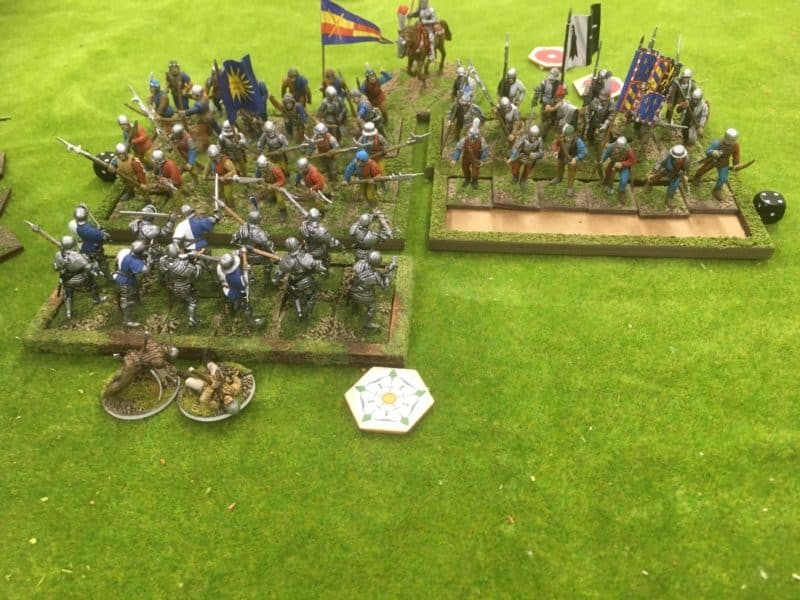
Take two! Men at Arms charge home – this time disarrayed by the hidden terrain.
As the night was young, we rewound the combat and played on with the card in place. The combat this time was more even, with the Bill men holding the Yorkists – game on!
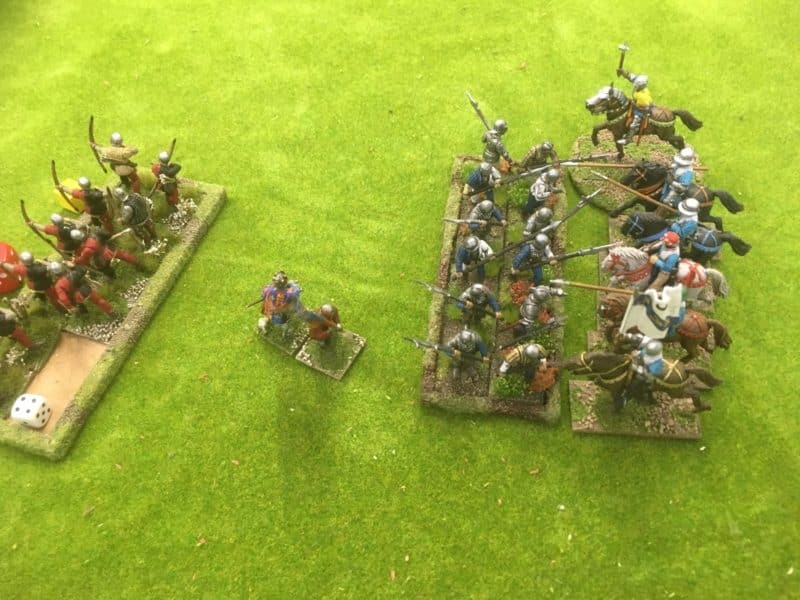
Sgt Longacres last hurrah!
So with the centre locked in combat, attention turned to the two wings. Sir Eric Diehard was way out of position but cautiously moved around the wood to attempt to come to the aid of Sir Harry. Progress was slowed by the need to protect the archers from the marauding Sgt Longacre and his light horse. Sgt Longacre lost patience and as Sir Eric moved ever closer to the centre, Longacre launched a forlorn charge at the waiting Billmen. It was always going to be a difficult task for the horsemen to break through but my dice were only rolling 6’s – the light horse were wiped out!
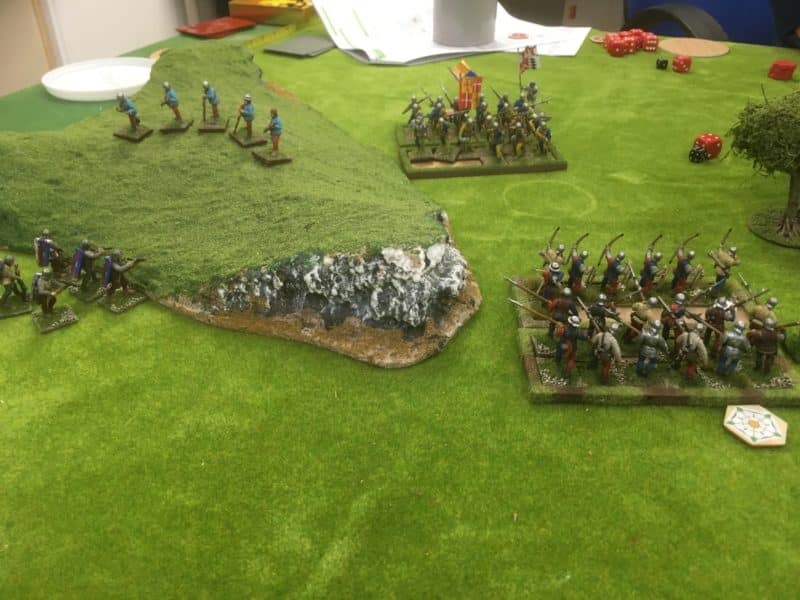
Sgt Rose under pressure.
On the left wing, Sgt Rose had suffered an injury and his bowmen were out numbered and taking casualties from the superior force commanded by Captain Buttercross. The unit of bowmen under his command were wiped out to a man by the superior archery of the Lancastrians – the left was looking shakey! Unlike his namesake, Sgt. Rose soldiered on, carrying his injury and thanks to another special event card (only two special event cards are permitted in a game) that caused confusion in the Lancastrian ranks, Rose was able to charge home with his Bill men.
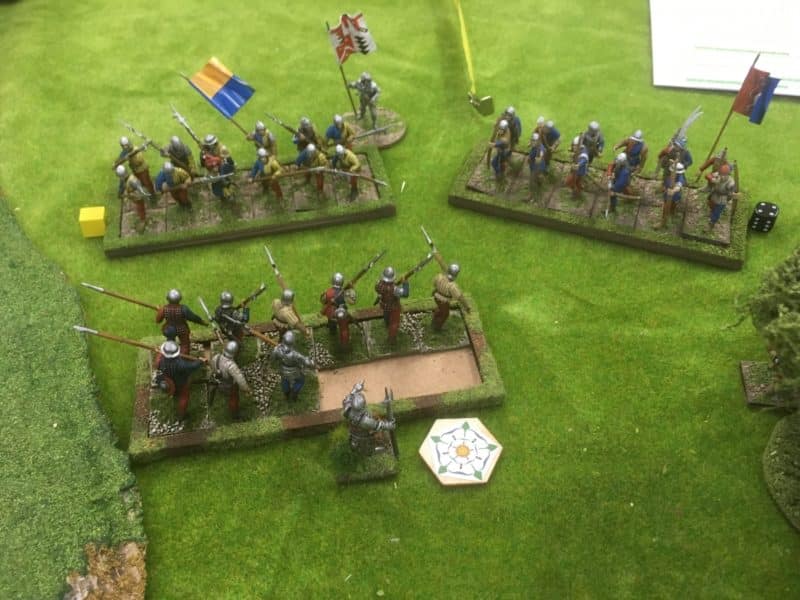
Sgt Rose makes progress against all odds!
The Lancastrian archers were put to flight and the supporting billmen were left in disarray by their retreat. Sgt Rose pressed home his advantage and charged again, his dwindling band of billmen once again locking the enemy into combat.
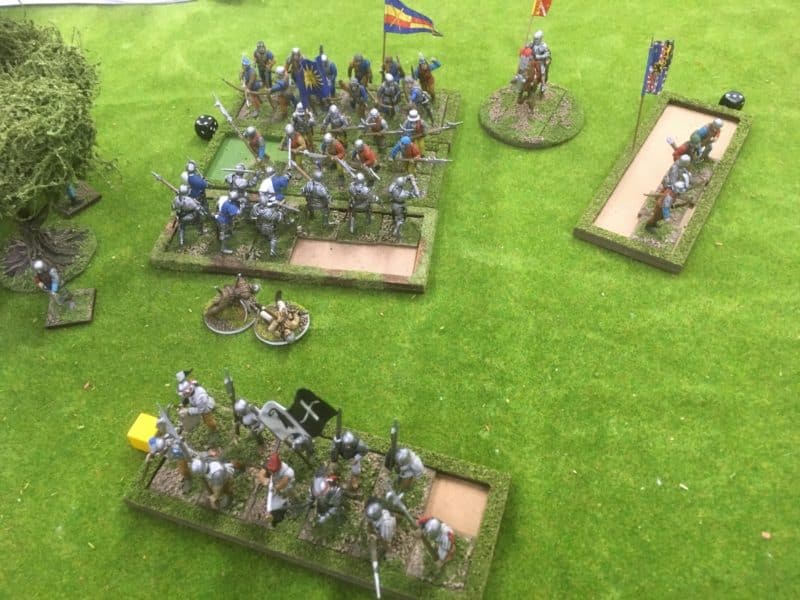
Trouble in the centre for Lord Bingham!
Back in the centre, the hand to hand combat continued, with the Yorkist men at arms now held. A glimmer of hope arose for the Lancastrians when one of Hotspurs Bowmen units was put to flight, causing two units of Yorkists skirmishers to run off in panic. The victory was short lived, the remaining bowmen on the Yorkist side, although now desperately short of arrows, were able to reduce their opposite number to just four men. In desperation, Long Bingham pulled away from the combat forcing a morale check on his own men so that he could direct the last undamaged unit of bill men to attack the Yorkists archers. The Bowmen managed not only to evade the attack but turned and fired their last arrows into the Bill men. Once again, the dice were kind ( an understatement !) for the Yorkists and they decimated the Lancastrians.
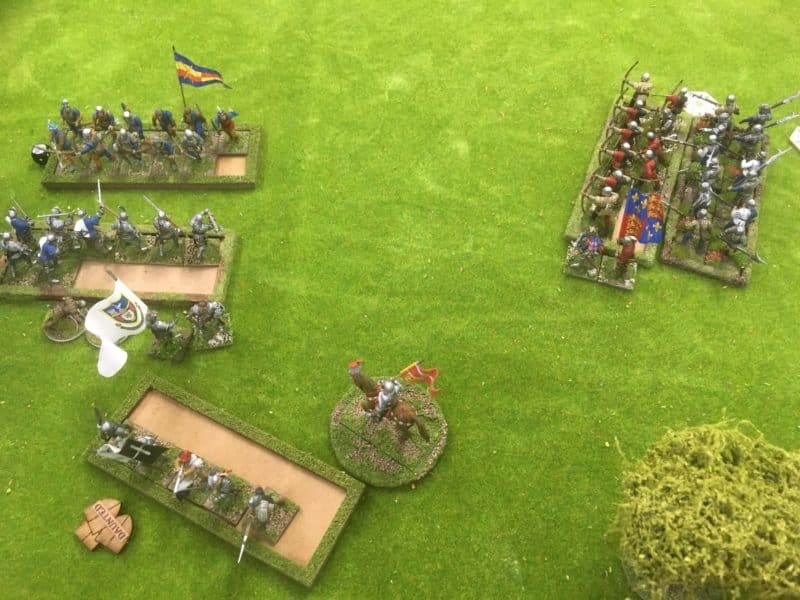
It’s over now!
At last the Yorkist men at arms broke the bill men forcing them to retreat. In one last desperate attempt to win the field, Lord Bingham challenged Hotspur to a duel. A draw ensued and as Eric diehard finally arrived to bolster the centre, Lord Bingham left the field, his army in tatters! Victory for Sir Harry!
As usual, I apologise to my gaming buddies for the one sided account of the battle but in keeping with the chronicles, history is written by the victor and the man with the camera…. By the way, I should point out that the dice were borrowed from Andy and not my own. even I was beginning to think that they were loaded – 10 hits of 5 & 6 from 12 dice is pretty unusual. I wont put into print Andy’s response…
THE COMMERCIAL BIT
Almost all of the paints, miniatures, bases, basing materials and anything that you are likely to need for your hobby are available POST FREE from my shop here:
Perry’s WOTR plastic range are here:
As already mentioned, the rules will be available as a full colour supplement with the April edition of Wargames Illustrated. If you would like the current issue, click here:
Happy Modelling!
