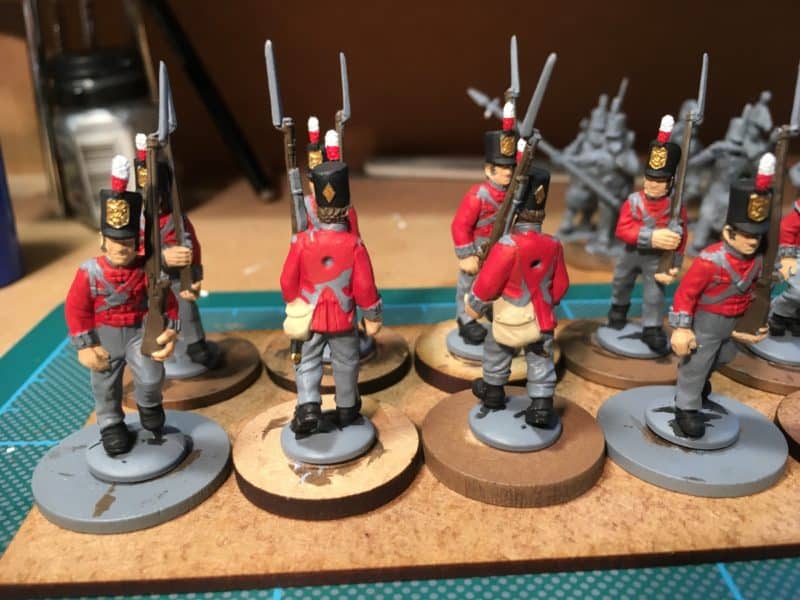
On with the next colour
Having painted the shakos black, it is a straight forward job to paint the plumes in white – I use Vallejo off white 70820. The shako plates are painted with 70801 Brass. Notice that I will have to use these colours again, but the point about the batch paint process is that small progress is better than no progress. It is easy for me to find 10 or 20 minutes to paint the plumes and shako plates rather than block out a whole evening or part of my weekend trying to complete a whole figure or batch of figures. This is why the process works so well for me. Any spare time that I have, I use to paint a couple or more figures in one colour and the Battalion gradually takes shape. I do admire those painters that can sit and gallop through 24 figures in one sitting. However, first of all my back would seize up after a couple of hours, then my eyes will get tired, until finally, I start to make mistakes. So short sharp bursts work for me! It’s not so daunting to work through a battalion in this way, over the course of a week, you will find that the unit moves to completion.
Back to the painting. The next colour is Red 70957 for the jackets and the bottom of the shako plumes. There is a fair degree of discourse that takes place on forums as to what colour or shade British redcoats really were. Without repeating the general thread of this conversation, my view is simply to take a pragmatic approach, they were red. To be fair, the quick shade will darken and dirty this colour to a less garish red, so the effect is about right for my eyes. The other colour the I have used is Iraqi Sand 70819 for the food haversacks. These were usually made from canvass or a strong linen and although they started out as perhaps a paler shade than this, they would have been discoloured from use. If you prefer, you can use off white for these as well.
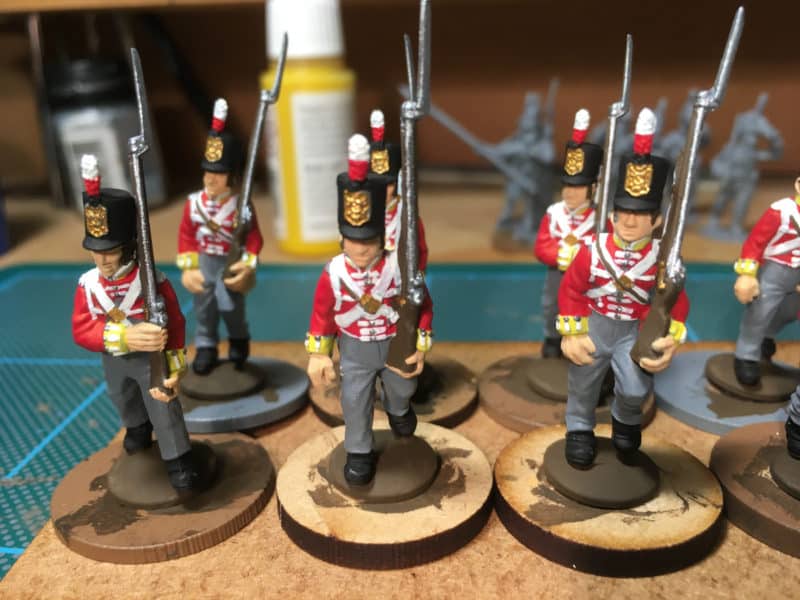
White lace and yellow facings added
The picture above shows the next stage. When it comes to painting yellow, I always find it very difficult to get a decent coverage and colour. To help overcome this, I first painted the collars and cuffs ( facings) in sand yellow 70916 and then when dry, over painted this with flat yellow 70953, although the vallejo 70915 deep yellow may have been more effective. Next up, the laborious job of painting the belts, lace, collar edging and rifle strap in off white 70820. I prefer the off white as it is a softer white, but if you prefer, you can use 70951 white or the Foundation white 70919 for a brighter finish. The next colour is Natural steel 70864 for the buttons, musket barrel and bayonet. I’ve also added some detail to the muskets and at the same time painted the main buckle plate using Brass. Finally, I’ve painted the water bottle strap in Leather brown 70871. The figures are nearly complete.
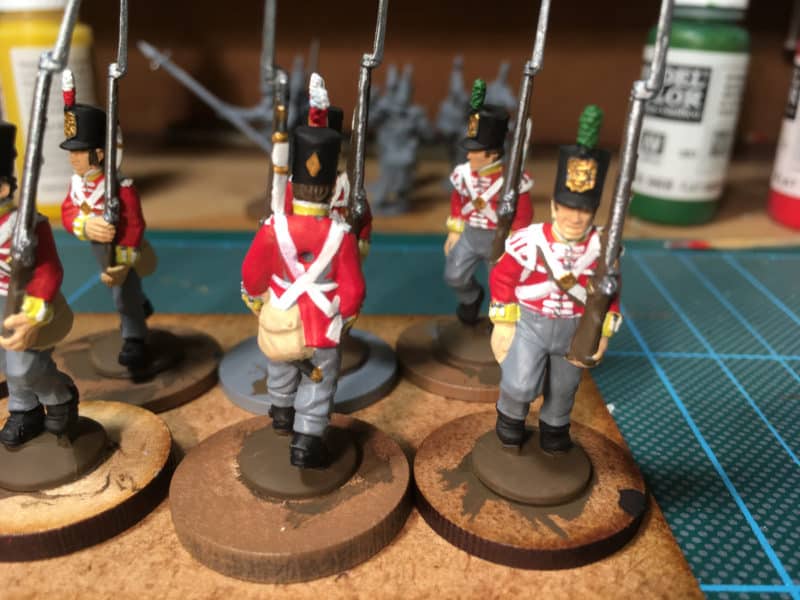
Rear view & Flank Company
The picture above shows the rear view of the figures with the brass painted onto Musket sling, bayonet scabbard and rear shako plate. (which keeps looking bigger…see last blog entry!) Note also that the Light Company figures have green plumes and the Grenadiers, which are not pictured, will have all white plumes. If at this stage you think that the painting is a bit messy, bear in mind that the quick shade will cover some of the errors, I will tidy anything too obvious and of course, the pictures tend to magnify errors. On to the backpacks!
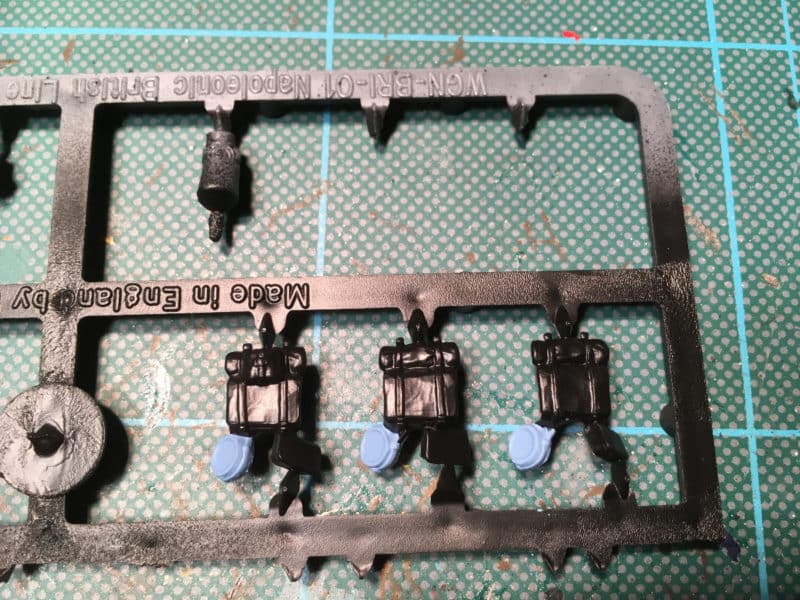
Back packs primed in black
As you can see, I have primed the back packs with army painter black spray to save some time. I have also painted the water bottles with Vallejo 70901 Pastel blue, which I think is about right. If it looks too light here, it will darken down with the quickshade.
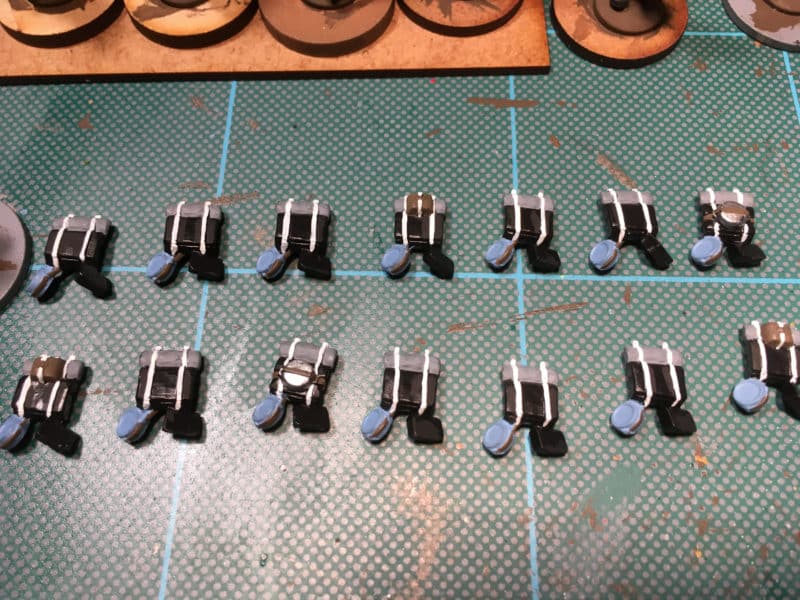
Back packs completed
To finish the back packs, I used Neutral Grey 70992 for the blankets ( I also used this to tidy any overruns onto the troops trousers), off white for the straps, leather brown for the water bottle straps and miscellaneous pouches and steel for the pan. I suspect that the mess pan is far too clean for being on campaign and should be a smoky black, but it looks nice! You will notice the tidying up that I have done around the white strapping. Once again the quick shade will cover this up.
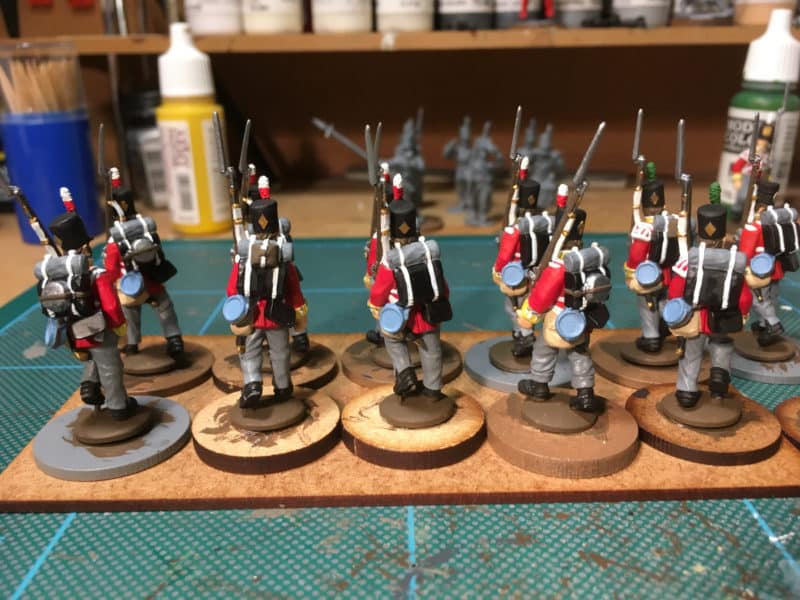
Ready for action – well quick shading…
I’ve now attached the back packs to the troops using super glue. As we are gluing two painted surfaces together, super glue will be more effective than polystyrene cement. The main painting is now complete. The next stage is to use the army painter quick shade to add depth and definition to the models. Now you could use, either an Army painter ink or another brand – I’ve used the Windsor & Newton Ink in the past to good effect. However, I do like the finish that you get with the Army painter quick shade. I do not ‘dip’ the models as army painter advise, simply paint the model with the quick shade. I prefer the Dark tone, which is a black shade, rather than the dark brown strong tone, although some prefer to use strong tone over red. I know that there are reservations about using this stuff and to be fair I agree with many. The quick shade is too expensive, more because I have yet to completely finish a tin before it starts to ‘skin’ over. This isn’t to do with the seal on the lid but the air that gets trapped as the level in the tin goes down. The tins are simply too big. I have passed my concerns on to Army painter but I cant see them designing a new tin just for me! Having got my gripe out of the way, I have to say that otherwise the product is excellent and does do what it says on the (oversized) tin!
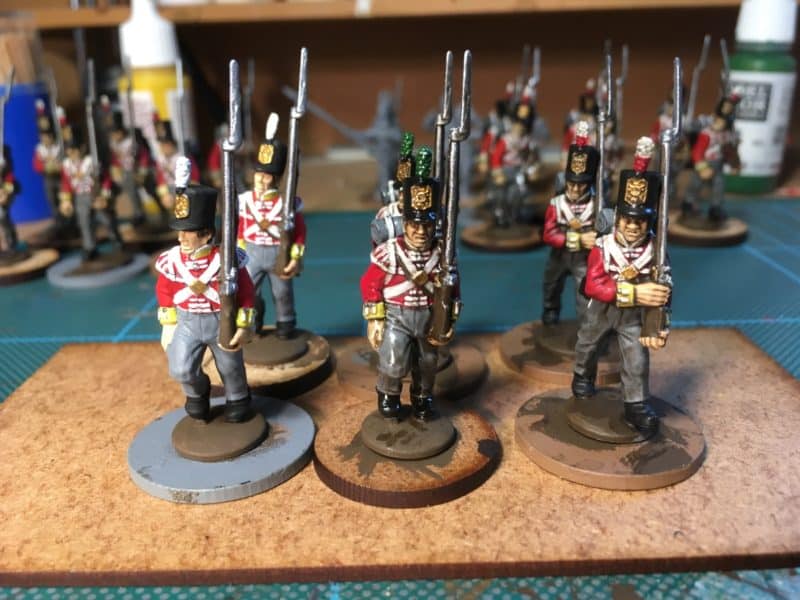
Three stages of quick shade
The picture above shows the effect of quick shade. The first figure is just block painted, the second has been painted with quick shade and the third has had a coat of army painter matt varnish or as they call it anti shine. You can see that the shaded figures look as though there is more depth to them. The Quickshade does ‘dirty down’ the colours and close up this looks messy but in ‘real life’ the effect is quite acceptable.
So to recap, once the figures have been coated with quick shade, leave them to dry for at least 24 hours to harden off properly. Then spray with a good matt varnish. Matt varnish can be very temperamental and I could write a blog just on this subject – just carefully follow the instructions.
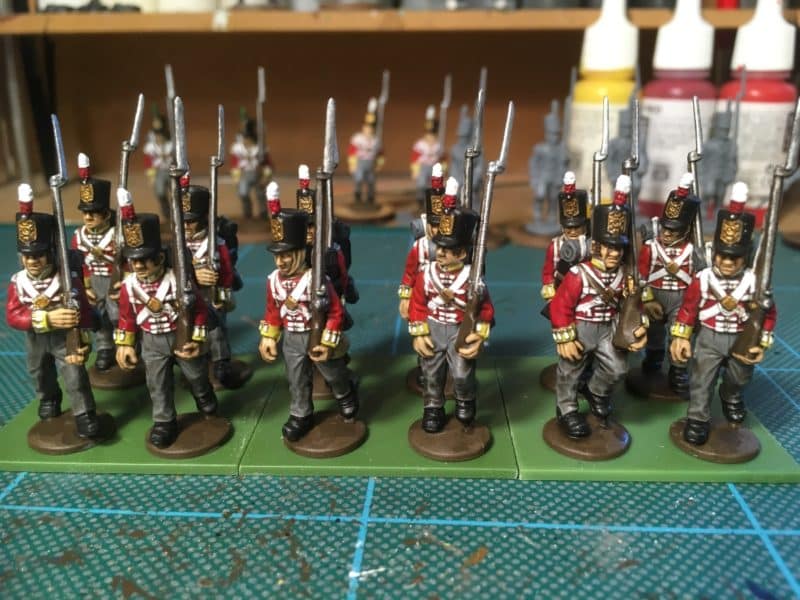
Ready to base!
The final part of the painting process is to retouch some of the lighter colours. You can ignore this stage but you will find that if you carefully retouch the most prominent parts of the figure, the effect is well worth the extra effort. For these figures, I have repainted the white cross belts, tip of the shako plume, shoulder tufts and lacing on the cuffs. I have also retouched the yellow facings and finally, painted the bayonets in silver 70997, to make them shine!
The figures are now ready to be based. I will cover this in detail in my next blog. I’ll also show you the Grenadiers with their French backpacks and the completed Battalion.
If you are new to Napoleonics and would like to give it a try, at the time of writing, we have an offer running in the shop. If you buy the set of Black Powder rules, we will add in a free box of figures. we also send post free to most worldwide locatios. Click here for details:
All of the products mentioned above are also available from my shop here:
