Well, in the song, Elton sings that ‘I think it’s going to be a long, long time’. As it turns out, I have managed to finish the diorama featuring the Warlord Rocketeer within a couple of weekends. The idea of just getting on with the model rather than spending ages researching has paid dividends. I have cut some corners, made some assumptions and used a bit of artistic licence but I am pleased with the result. Here’s how I went about the final stages of finishing and basing the figures.
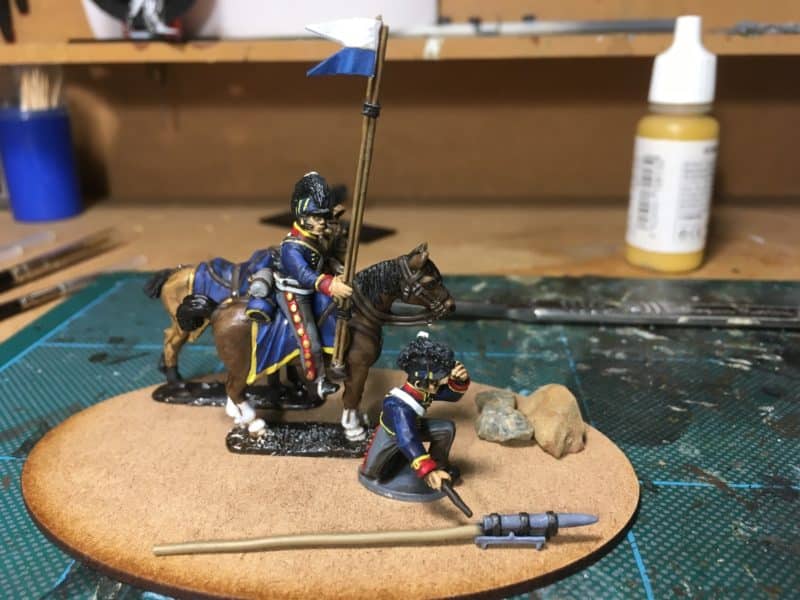
Rocket troop basing plan
I replaced the original lances that I made from spears with some thinner 0.8mm brass rod from Albion alloys. I may have cut them a bit too long but went for an unsophisticated approach in keeping with the rest of the model and simply guessed the ‘right length’ based on the reference pictures. The ‘string’ holding the two sticks together is some thin Florists wire wound around the rod and super glued into place. The Pennant on the sticks was simply cut from paper and painted. I used a darker blue than two of the reference pictures show, preferring this over the light blue.
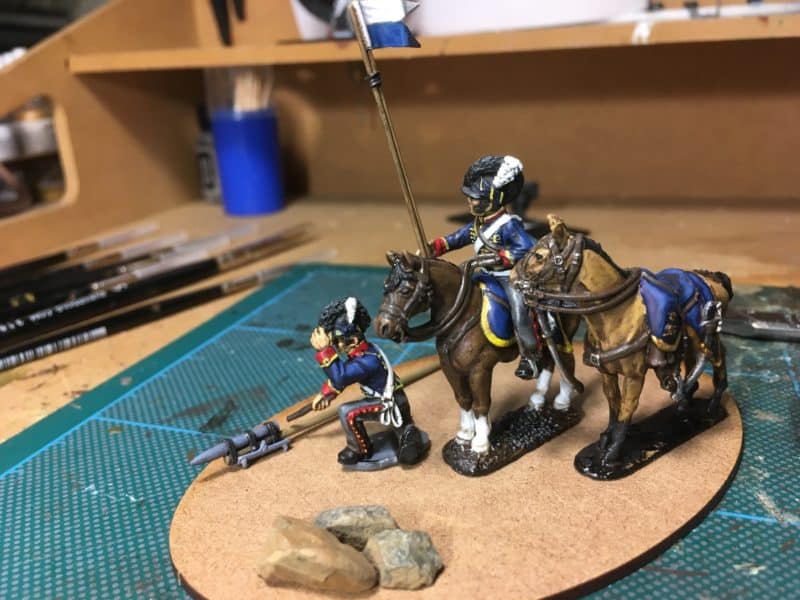
View from the other side.
Once the painting was finished, I positioned the figures on the base that I had chosen. I prefered a smaller MDF Oval base rather than a Rectangular artillery type base. I doubt that the model will get regular use on the wargames table and the oval base looked nicer. I also wanted to keep things close together – I suspect in reality, the horses would have been a bit further away from a rocket that was being launched!
The ‘rocks’ at the front of the base are there to fill a space although they are extremely accurate, having been picked up from a certain area in Belgium!
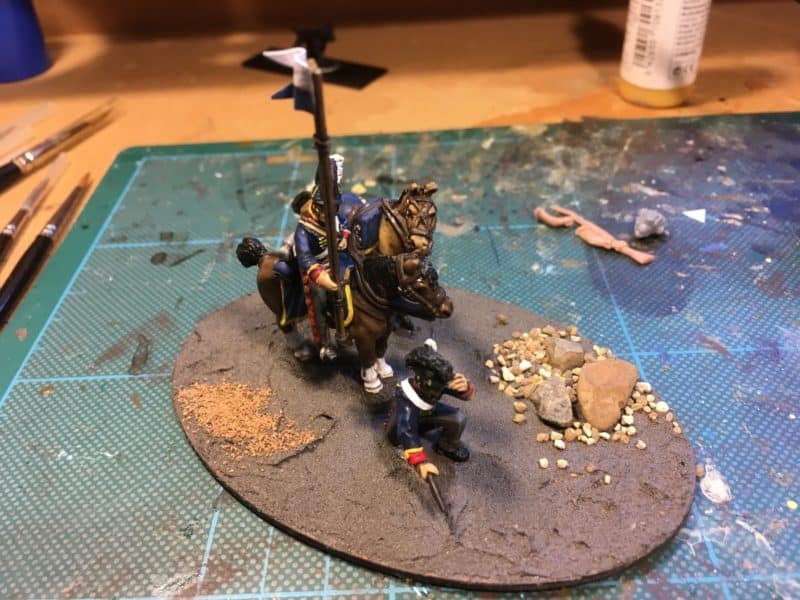
Basing in Progress
Once I was happy with the layout, I covered the base with Vallejo Dark Earth Texture paste and placed the figures into the paste. There is no need for glue, the paste will hold them securely but in the unlikely event that I decide to re base the figures, it is a simple matter to cut them free. I also sprinkled some coarse grit around the stones and some finer grit at the rear of the base to give some additional texture.
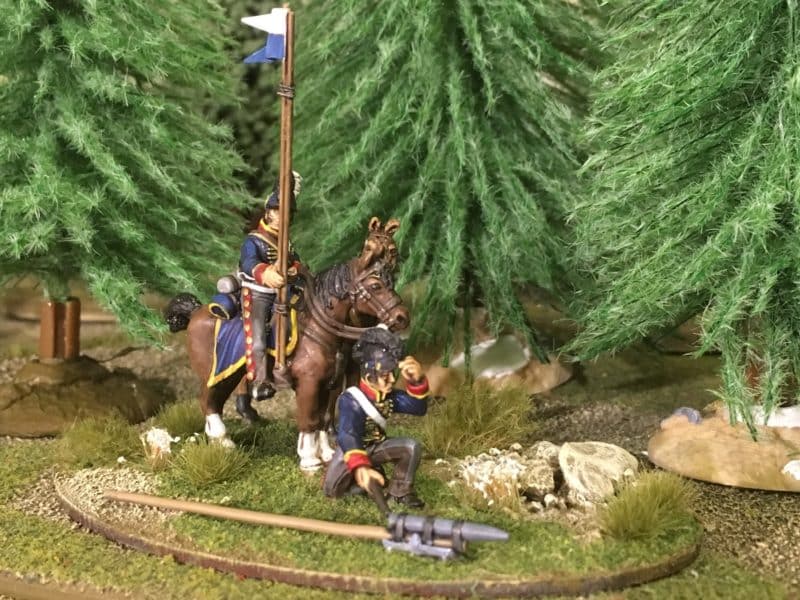
Rocket troop ready!
The next stage was to paint the base. I use a earth coloured emulsion called ‘Delhi Bazaar’ that I picked up from a DIY store as the first coat. I then dry brushed it with the same colour mixed with increasing amounts of Vallejo Iraqi Sand. The rocks and grit were also highlighted with a final coat mixed with white. I then added some scatter (Woodlands Scenics Green Blended Turf) and once this was dry, pressed the rocket launcher tray into place & glued the rocket in. It was then a question of adding some nice tufts and flowers and my Diorama was completed! Incidentally, the officer in the pictures is nothing to do with the Rocketeer. He’s another Warlord figure that I finished basing at the same time.
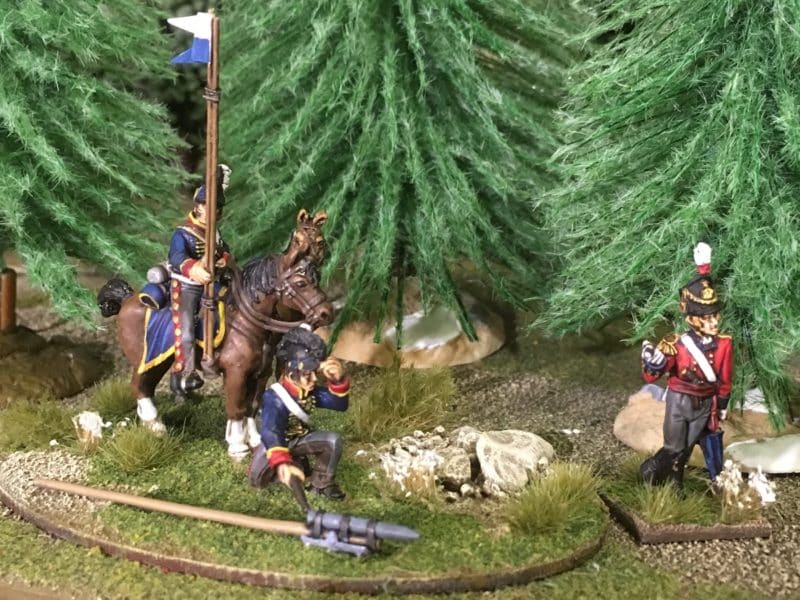
An Officer observes the launch!
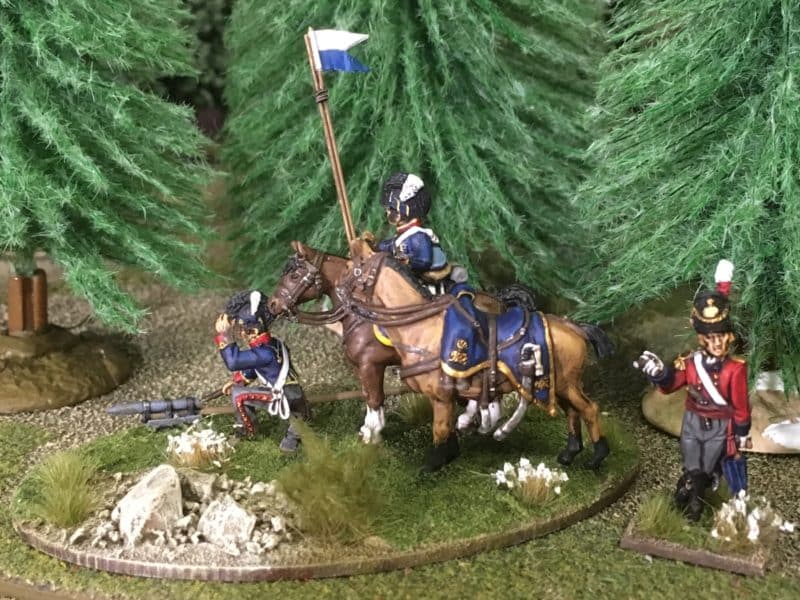
View from the other side.
So another project from the lead pile is complete, Next up some Peninsular War Light infantry for a forth coming Napoleonic day in Bingham – More details to follow!
THE COMMERCIAL BIT
Nearly all of the materials that I used are from my shop, Arcane Scenery:
To make life easy, we post out free to most worldwide locations! You can see our range of Woodlands Scenics here:
Vallejo Textures & pastes can be found here:
Albion Brass rod can be found here:
If you would like to get hold of a Warlord Rocketeer, you can go to their web site or contact me here:
Our web store shows live stocks, so if something that you want isn’t there, just email me and I will let you know whether we can get it and how approximately long it will take.
Happy Modelling!
