Following on from last weeks blog, here are the final steps in completing my Portuguese Artillery guns and crews. The figures were more or less complete but before I painted them with Army Painter quick shade, I added some detail to the equipment, painting the bucket and ram rod staff with first flat brown and then with a highlight of flat earth. I also gave the soldiers plumes and the ram rod head a coat of black grey as a highlight.
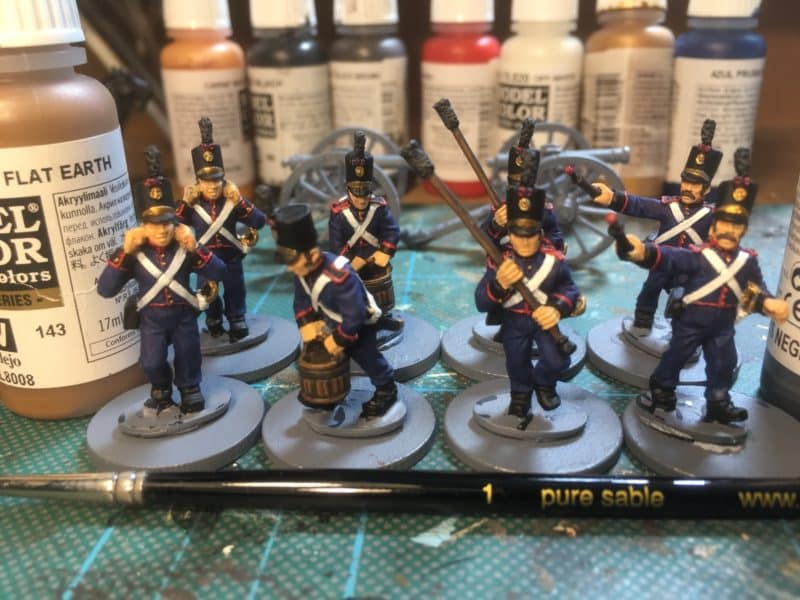
Portuguese Artillery – details added.
The next task was to paint them ( not Dip them) with Army painter dark tone. This will add some definition to the block painting, add some shading and provide a protective coat for the miniatures, reducing the likelihood of damage during gaming.
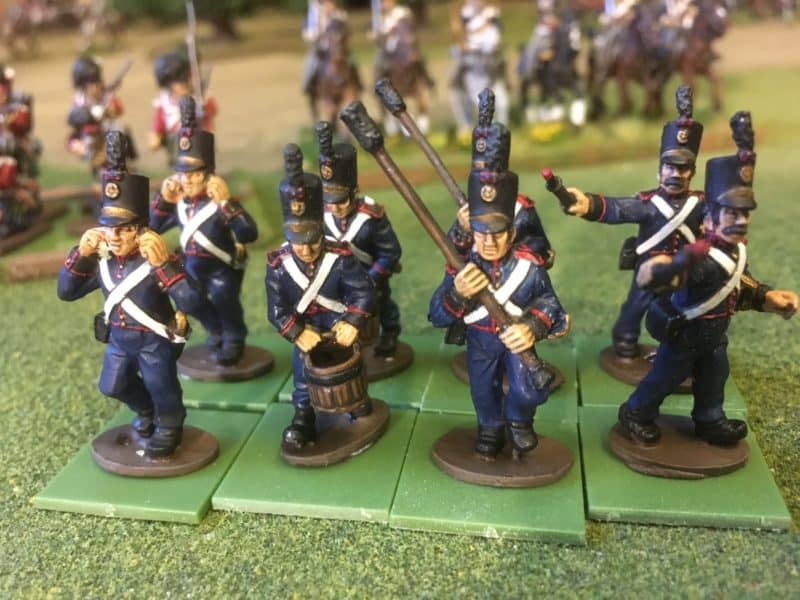
Portuguese Artillery – quick shade and matt varnished.
The figures are on temporary bases – I toyed with the idea of basing them individually and using a sabot system for the Artillery base but discarded this idea as too complicated. With the figures more or less complete, it was onto the guns!
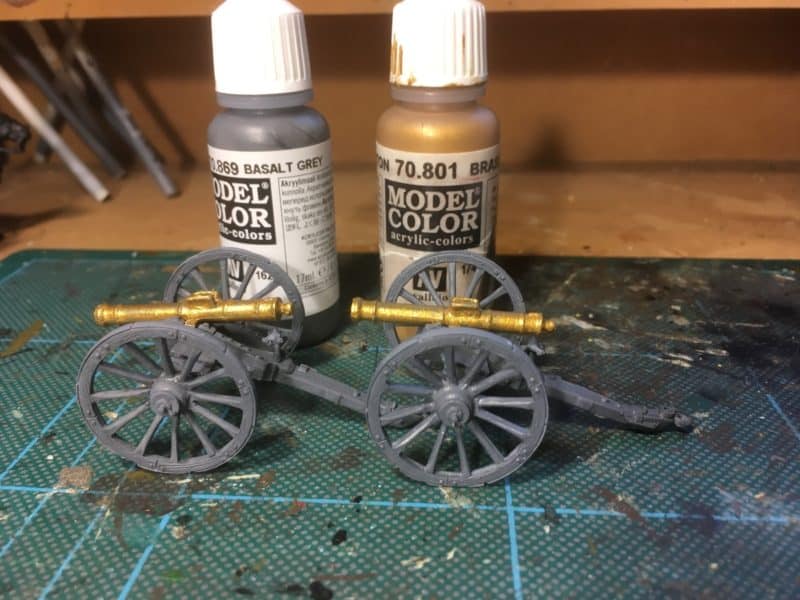
Guns under way
After priming the guns, I painted the carriages with Vallejo Basalt Grey 70869 and the barrels in brass 70801. I usually use a foundry triad for my artillery but there is a slight blue tinge to their paint so I decided to go for a grey as this is thought to be more accurate.
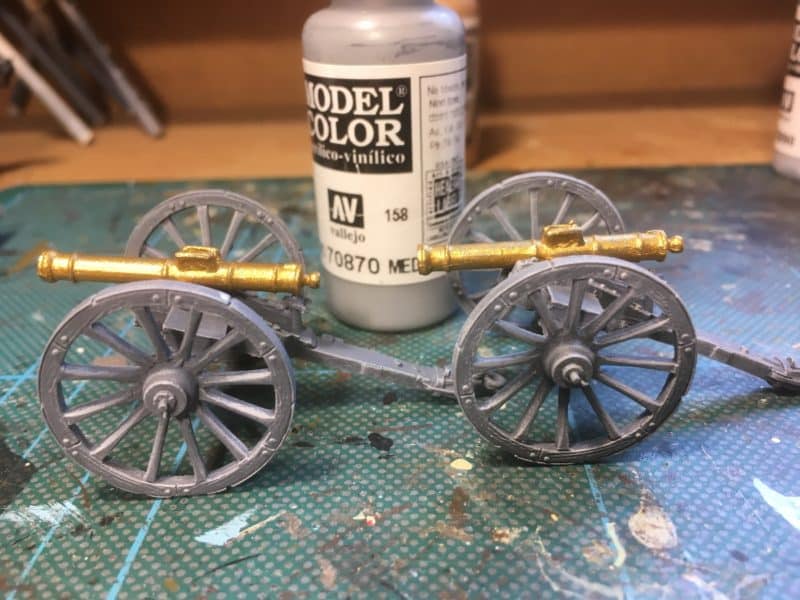
First dry brush
I then gave the carriages a dry brush in 70870 medium sea grey.
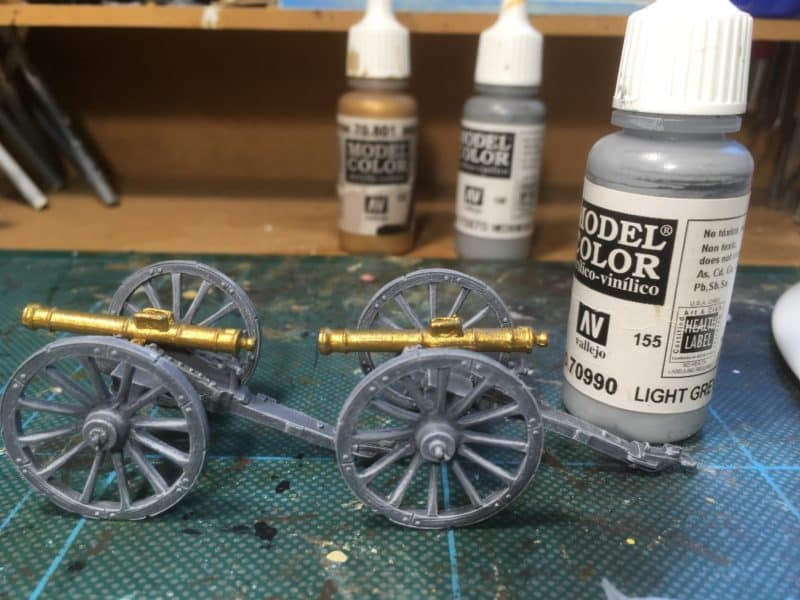
Second dry brush
I followed this with a second dry brush in 70990 Light grey. With hindsight, I think that I could have used a heavier dry brush for both coats as when using the quick shade, the finish is darker than I planned.
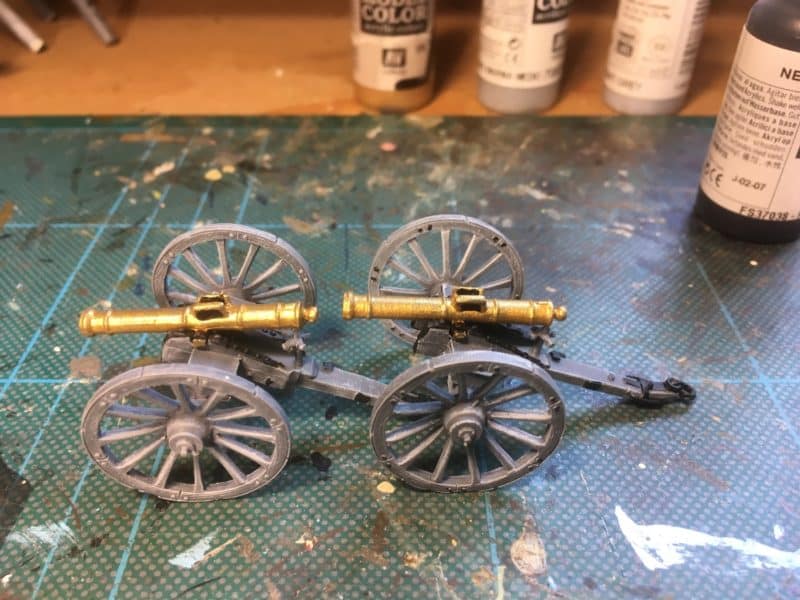
Detail picked out in black
I picked the detail out in black – it was at this stage that I realised that I had glued the elevation screw in upside down…I’m not changing it now – just don’t mention it if you see me….I painted this and the wheel tyres and plates in Vallejo steel.
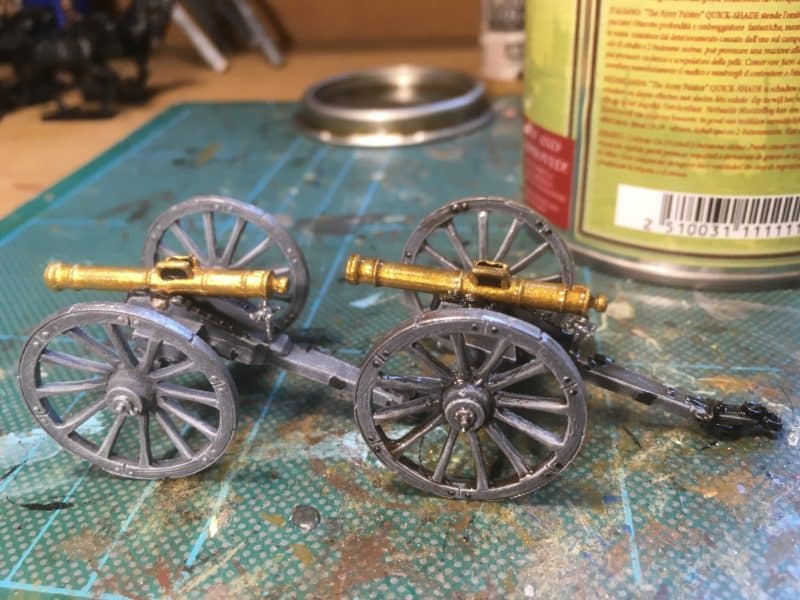
Guns – quick shade on the right hand gun.
I then painted the guns in quick shade Strong tone. I’ve shown one gun done in comparison to the left hand gun that is awaiting a coat. I think that it illustrates how the quickshade brings out the detail, although, as I mentioned before I have finished with a darker look than planned. The guns were then coated with matt varnish, although on this occasion, I have left the gun barrels in a gloss finish – I just liked the look.
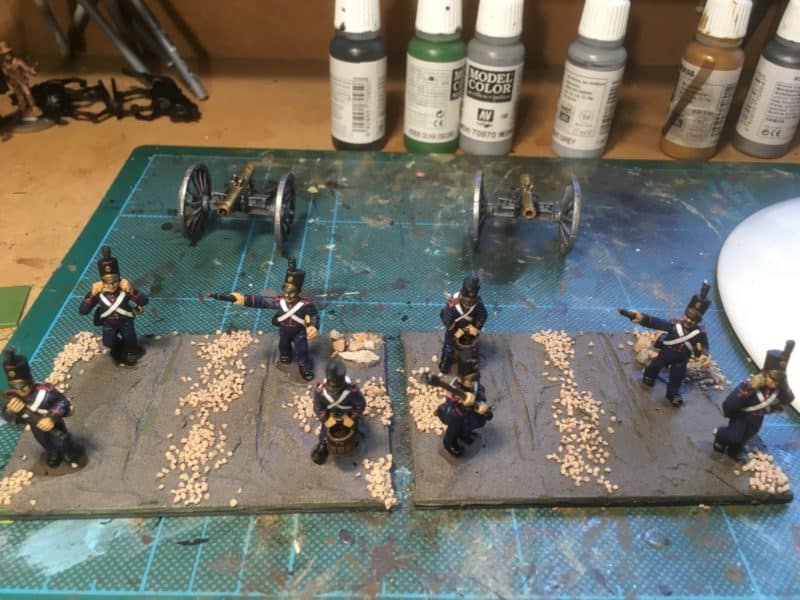
Basing in progress
I used 90mm x 60mm bases that are actually made from two 60mm x 45mm bases glued over a piece of 40/000 plasticard cut to the correct size. Why? Because I have these bases spare from other projects and the size is about right for Artillery. I positioned the crew around the gun a lightly glued them in place. I then Covered the base in Vallejo textured dark earth paste and added some gravel (Woodland scenic ballast) and some rocks (from the garden!). The guns are not attached to the base at all – I can limber them up if required.
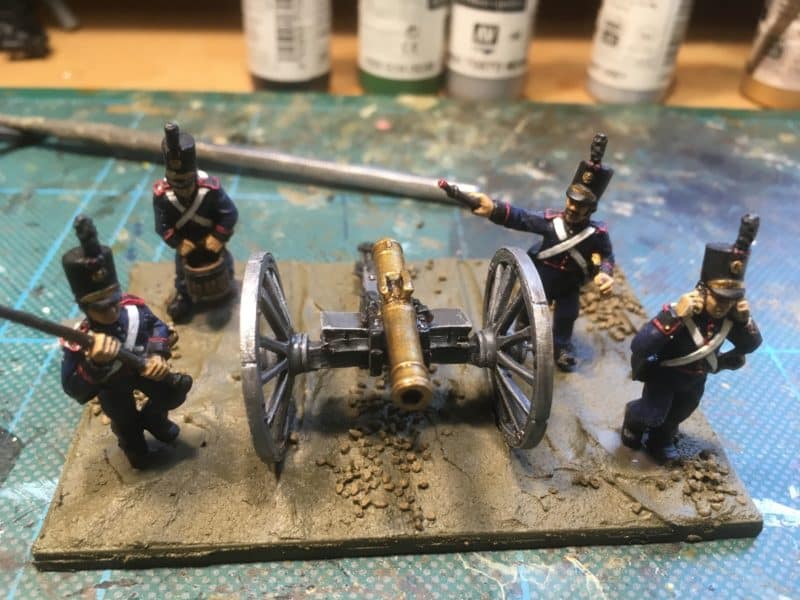
First coat of Emulsion
The base was then coated in my new emulsion paint – Dehli Bazhar – see my previous blog for details!
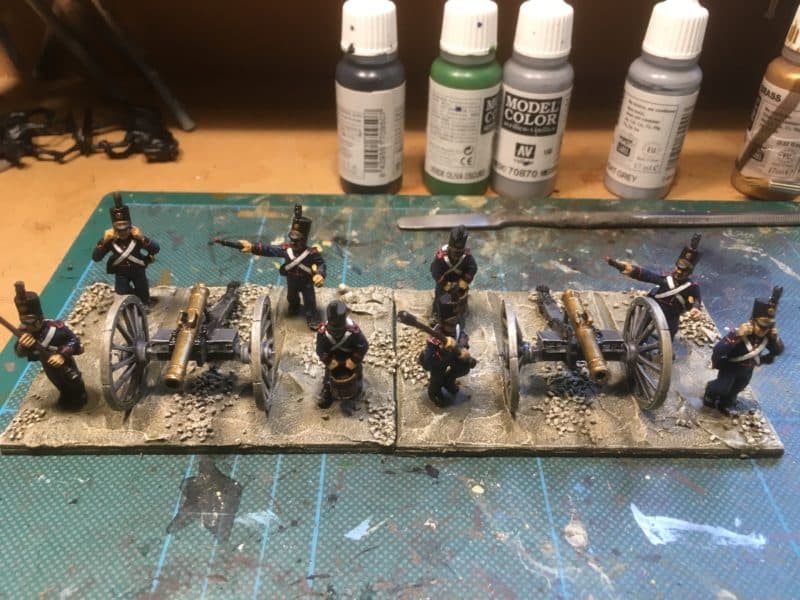
Bases Dry brushed
The bases were then dry brushed with successive layers of Delhi Bazhar and Iraqi Sand mix until I got the look that I was happy with. I added some white to the mix to really highlight the rocks. I wasn’t too worried if I caught the boots of the figures with the dry brush and I also lightly dry brushed the guns, particularly the wheels with the base earth colour.
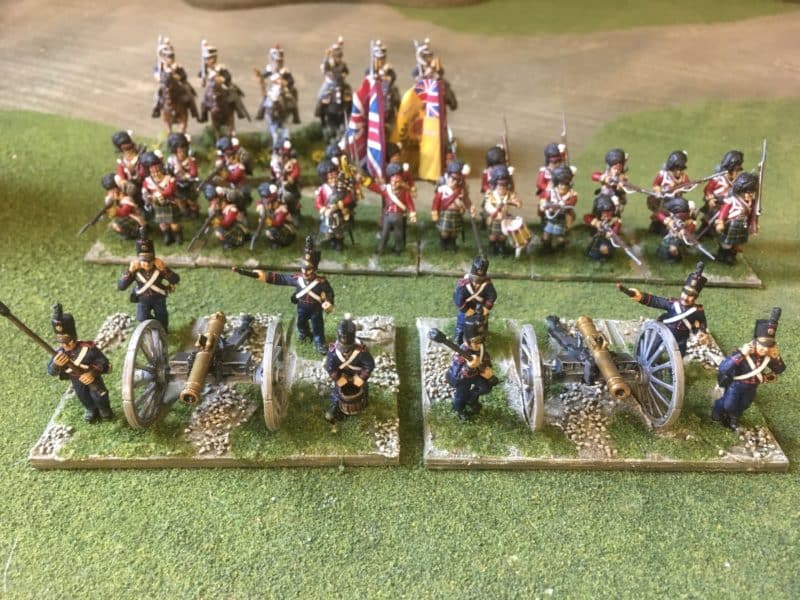
Scatter added to bases
Using watered down PVA white glue, I added some green scatter to the bases. The final touch would be to add some gamers grass tufts. In the back ground you can see my battalion of Gordon Highlanders that I was basing at the same time. I often ‘batch base’ my units as it saves on paint and glue!
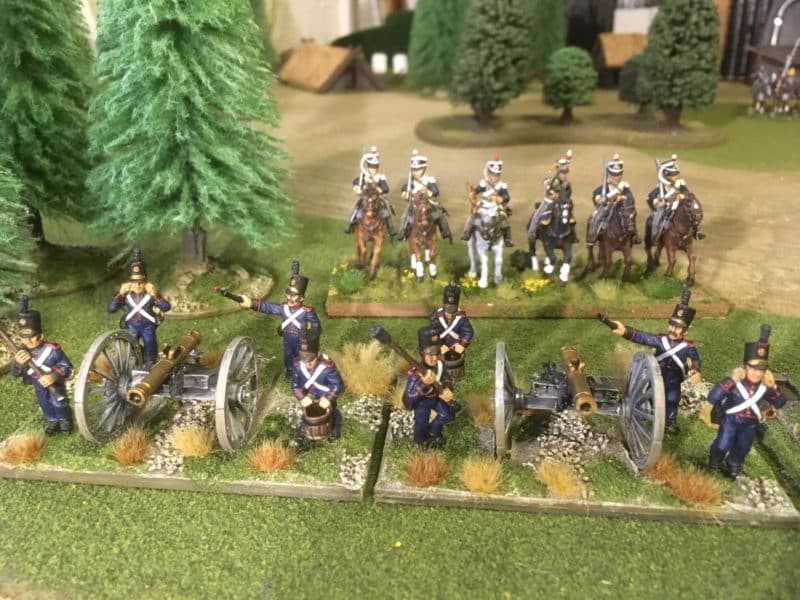
Potuguese Artillery ready for action!
I used a mixture of the Gamers grass dry and beige tufts to represent the drier look of the Iberian Peninsular. The guns are ready to take to the battlefield!
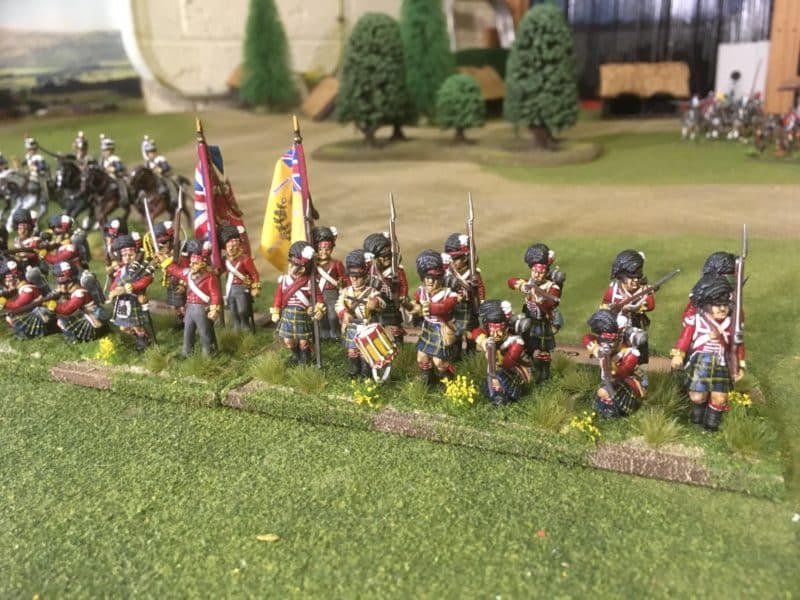
Gordon Highlanders completed
I also finished basing my battalion of Gordon Highlanders, so two projects off the desk – back to my War of the Roses Cavalry now!
THE COMMERIAL BIT
Nearly every thing that I use in my modelling projects comes from the Arcane Scenery shop. We supply post free to most worldwide locations!
If you are looking for a particular paint, use the code that I have given in the shop search bar.
Happy Modelling!
