For my 60th birthday present I asked for one of what was then a new release, the Perry Miniatures Napoleonic Flat Boat and full compliment of crew. I thought that it was a lovely model and would look nice in the cabinet as a display piece. As I am now approaching 66, I thought that it was time to get it painted!
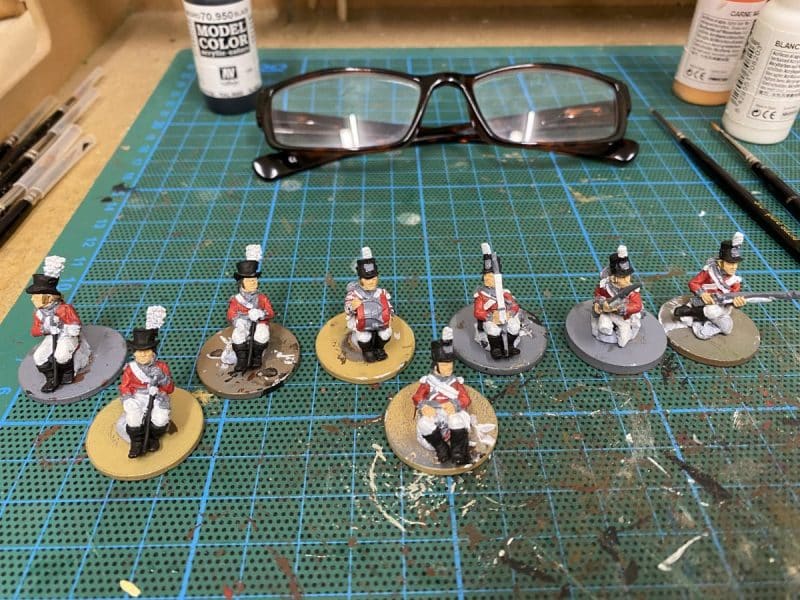
The kit comprises of a resin boat with six of the oarsmen molded on board, six metal oarsmen, a midshipman, a party of 3 officers, a sergeant, drummer and three troopers and finally, four blocks of seated infantrymen – 18 in total. I know why I put off painting the model. It is quite an undertaking to paint, in effect, nearly 40 figures and a boat. That’s before you even think about to how to base it.
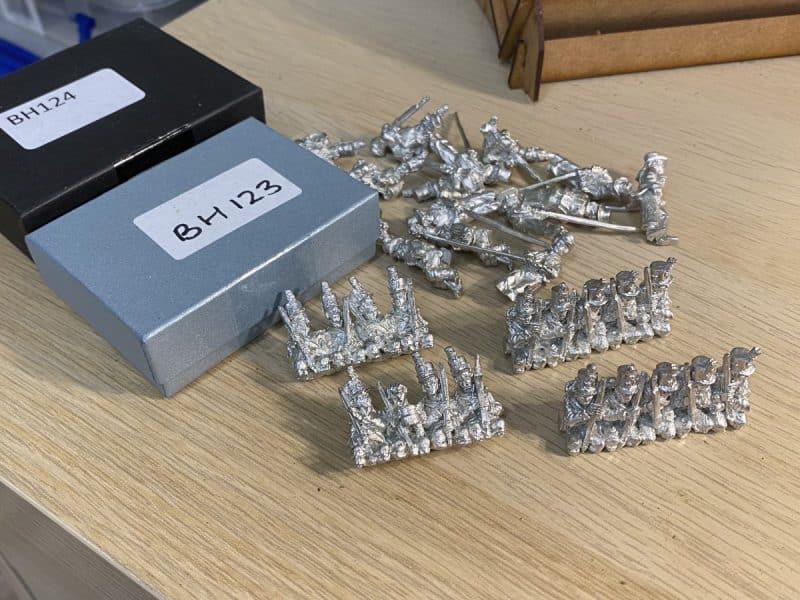
As usual, the best way to approach such a project is to break it down into stages. Stage one being the clean up and preparation of the pieces. I’ve said before but I’ll say it again, I believe that the Perry’s are the best sculptors in the business. Unfortunately, the casting of their models is not to the same high standard and the clean up of the pieces was quite a job. In the event, I think that you will see from the pictures that I may have missed some mold lines but often removing some of the casting errors results in damage to the sculpts. Better to leave the lines and try to cover them with paint rather than file off the beautiful detail.
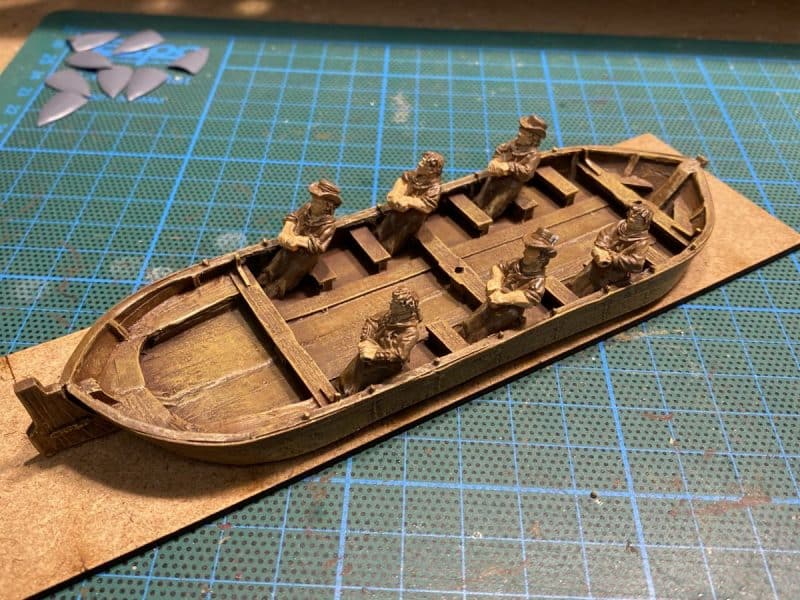
That said, on with the project. I washed the resin boat in warm soapy water and when dry, glued the two halves of the boat together. Once primed in Leather brown, I painted the boat using my standard finish for wood. Base coat of Chocolate Brown, Wet coat of Flat Brown, Wet brush of Flat Earth, Dry brush of Orange Brown, highlight of Yellow Ochre. If this sounds a bit OTT, I do like the result, so I tend to stick with this method whenever I am painting wood effects. I’ve written a more detailed article on how the process of painting wood works for me in an earlier blog article. You can see it here:
Painting Wood – Trebuchet article
Once I was happy with the boat I started on the oarsmen. These are a bit tricky to paint as they are fixed into the boat so angling my paint brush was a challenge at times. As regards the colours, I simply copied the pictures on the Perry web site. I noticed that the resin oarsmen are more casually dressed than the metal ones, who are in uniform. I found the stripey trousers and shirts a bit of a challenge but my freehand is gradually improving. The secret ( apart from a steady hand) is to use well thinned paint that flows nicely off of the brush. And of course, a decent brush. Any ‘wobbly bits on the stripes are easily touched up.
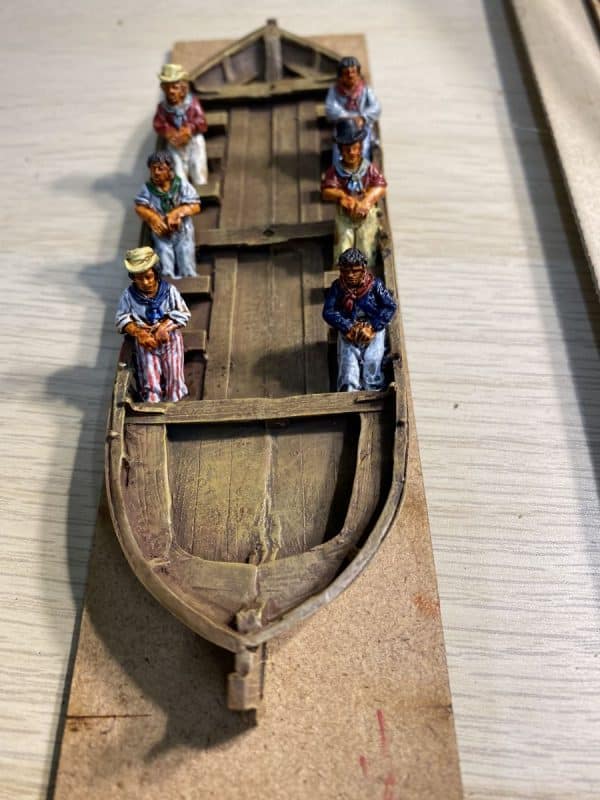
Once the crew were block painted, I gave the flesh an Ink wash with vallejo flesh ink and the rest of the figures a wash with army painter dark tone. When the ink was dry, I then went back over the figures, highlighting with the original colours and tidying up any obvious errors.
The next stage in the process was to tackle the metal oarsmen and midshipman. Again, I followed my usual block paint, ink wash and highlight process. For the uniform, I just used the Perry’s pictures as reference although I also checked out my copy of Stephen Beisty’s Incredible cross sections book of the Victory!
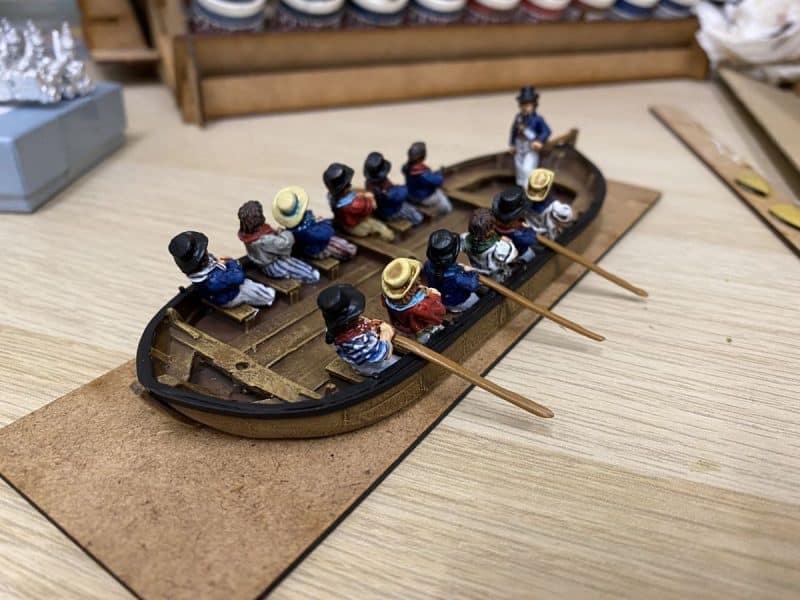
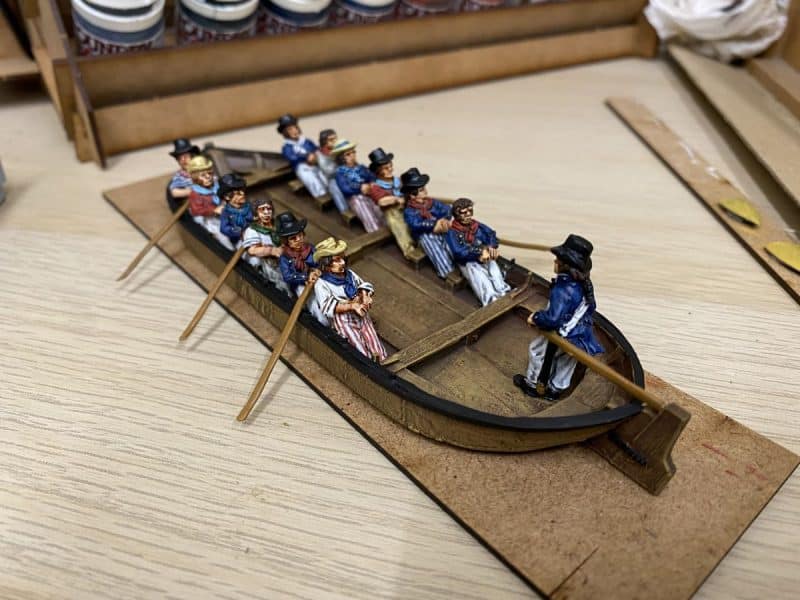
As you will have noticed, the boat has been temporarily mounted on a base for painting and handling as I finish the crew. Talking of which, the Officers and troopers were next up.
I also decided that I didn’t like the wooden finish on the outside of the boat, so I’ve given it a white finish with a black gun whale. Here is the progress so far, with the officers taking their seats!
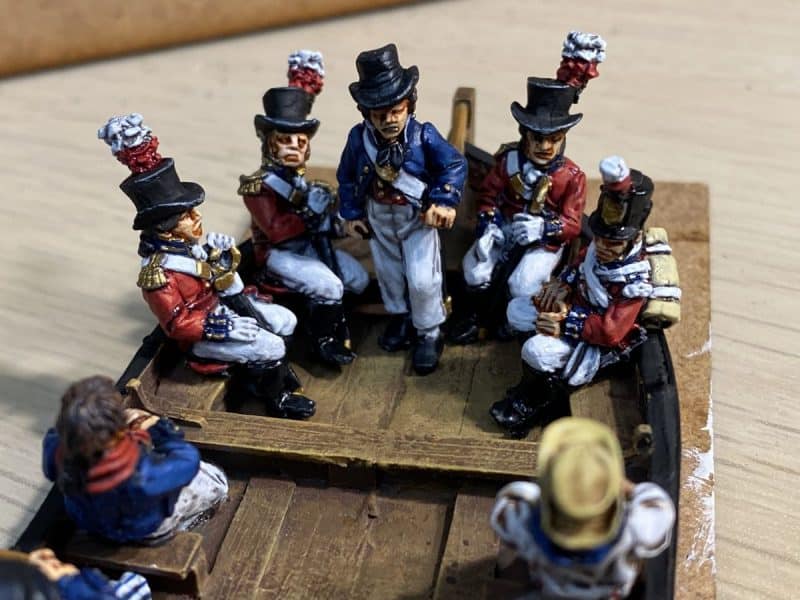
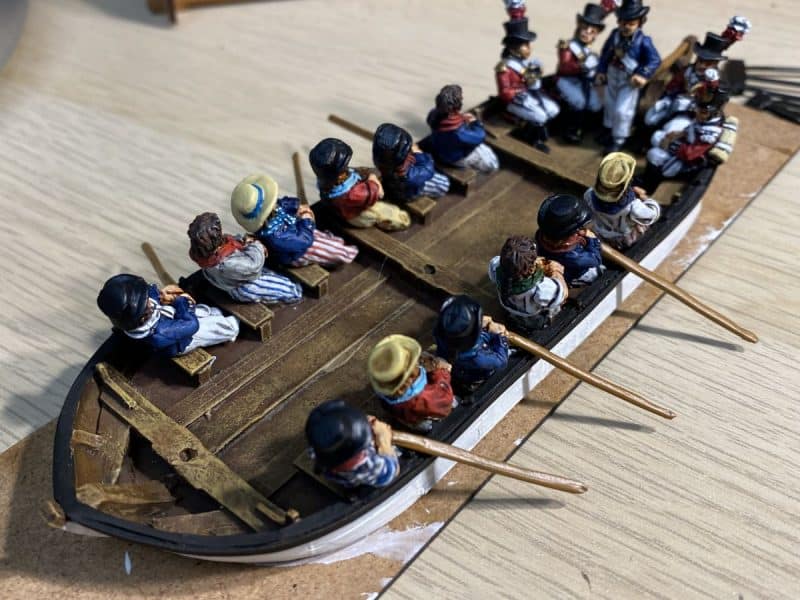
The next stage is to finish the individual figures – the drummers and guards and then it is on to the blocks of sitting troopers.
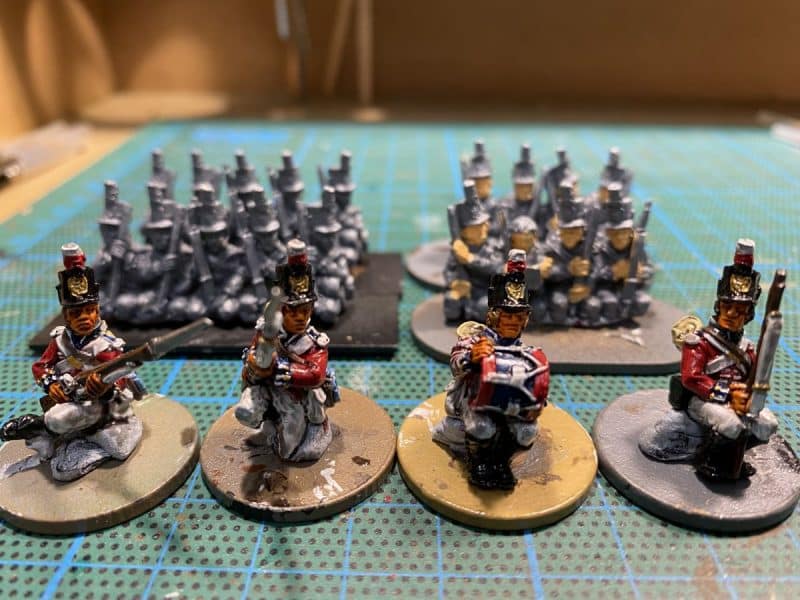
I have yet to glue everything in place but I am pleased with the way that the model is gradually taking shape. Hopefully, in my next blog, I will be close to finishing this lovely model!
THE COMMERCIAL BIT
I hope that you all enjoy your hobby as much as I do – our web site will have much of what you need! Click here to see our shop.
You can find all the Vallejo Model colour paints here. If you don’t want to browse, just enter the paint number into the shop search bar;
Happy Modelling!
