At long last we have started our Black Powder Campaign. The idea is that the campaign will provide an ongoing narrative to our regular Thursday night Club battles and encourage us to try out new scenarios and of course build our armies. This week there were three battles happening and to give you an idea of how the campaign works, I’ll describe the battle that my General, Sir Sydney Ruff-Diamond was involved in.
The first part of the campaign was to randomly choose one trait for each of our Commanders. Fortunately, all of my brigadiers were ‘normal’ with the exception of my Light Cavalry commander, Rowland Hill, who came up with Timid for his aggression Trait meaning that he will have a -1 when issuing a charge order. My opponent, Wayne, or rather his General, Michel Loup, the infamous French commander also had just one Brigadier with a unique trait. One of his Brigadiers, Colonel Cantona, had the High Decisive Trait giving him the option of a re roll for failed commands but failed re rolls will result in a blunder!
We were using our own points system, which although imperfect, is quick and easy to use and allows us to put similar sized forces on the table. If you would like to know more, I’ve covered this in a previous blog here:
http://arcanesceneryandmodels.co.uk/black-powder-for-club-nights/
Tonight we were gaming with about 40 points a side.
We then chose our scenario by rolling a D6. Again, we use a simple list that I have previously posted here:
http://arcanesceneryandmodels.co.uk/scenarios-for-black-powder/
Tonight’s battle would follow the ‘Off Table Deployment’ rules.
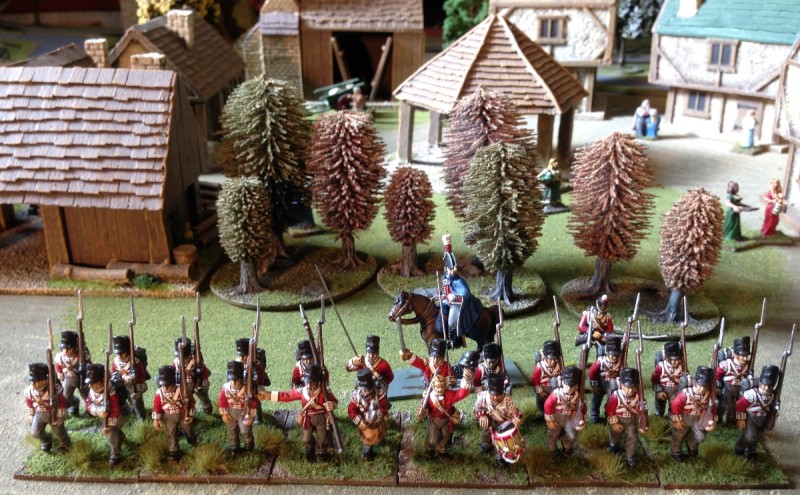
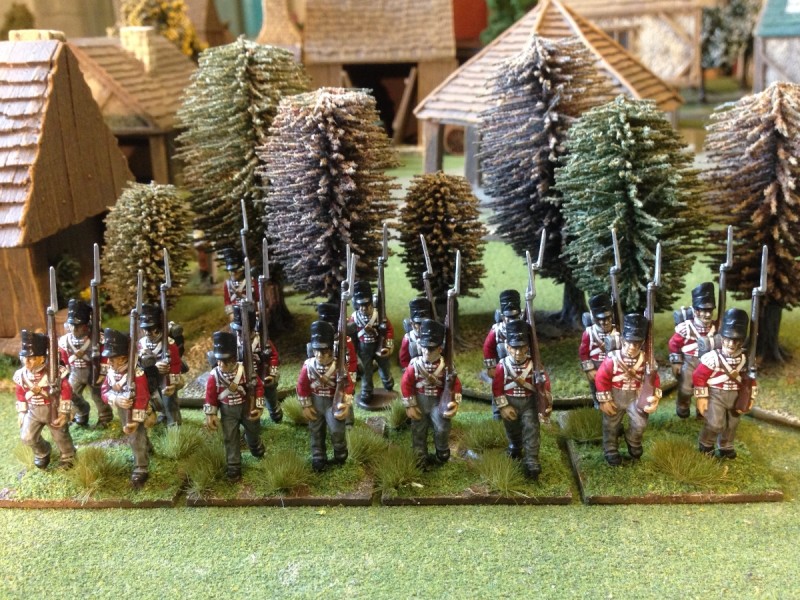
With the scene set it was on with the battle. The British started well, deploying onto the table successfully in two turns and they quickly formed into a defensive line ready for the French. Except the French failed to arrive. On the first turn, none of the French brigades deployed and it was not until turn three that the French Army was actually on the Table.
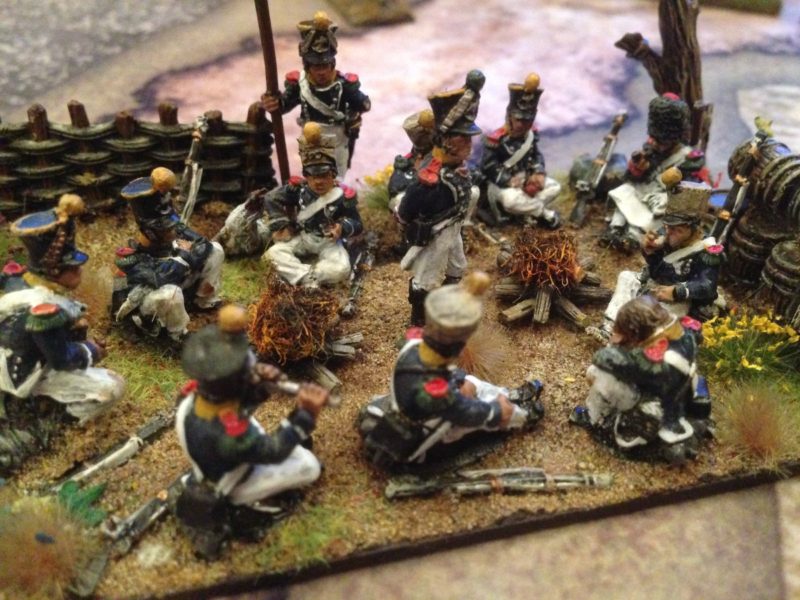
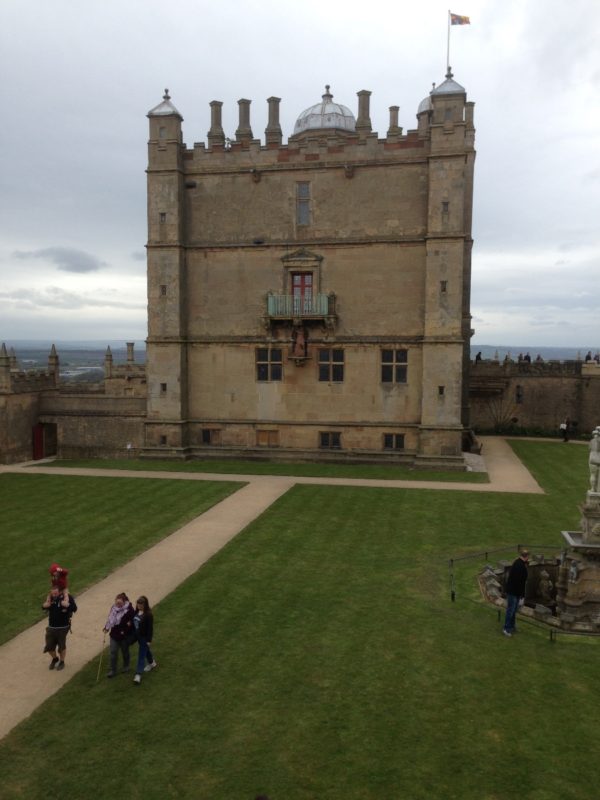
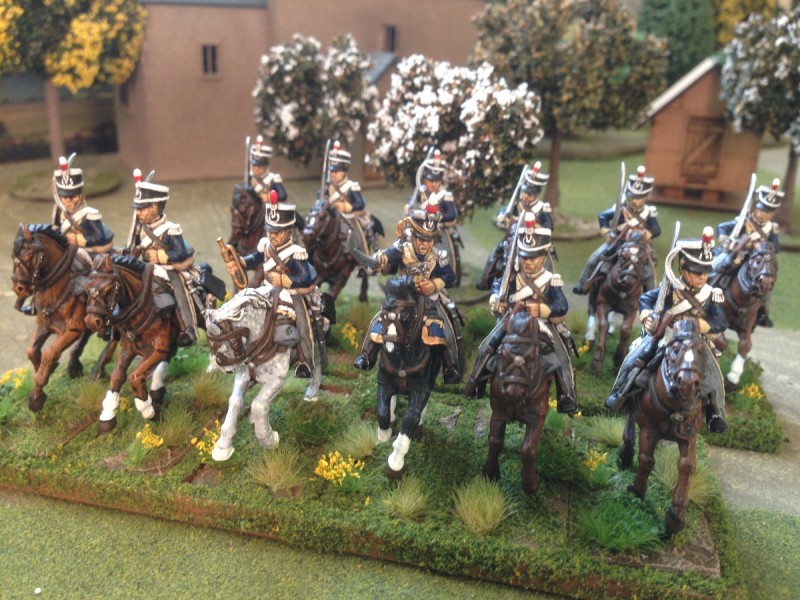
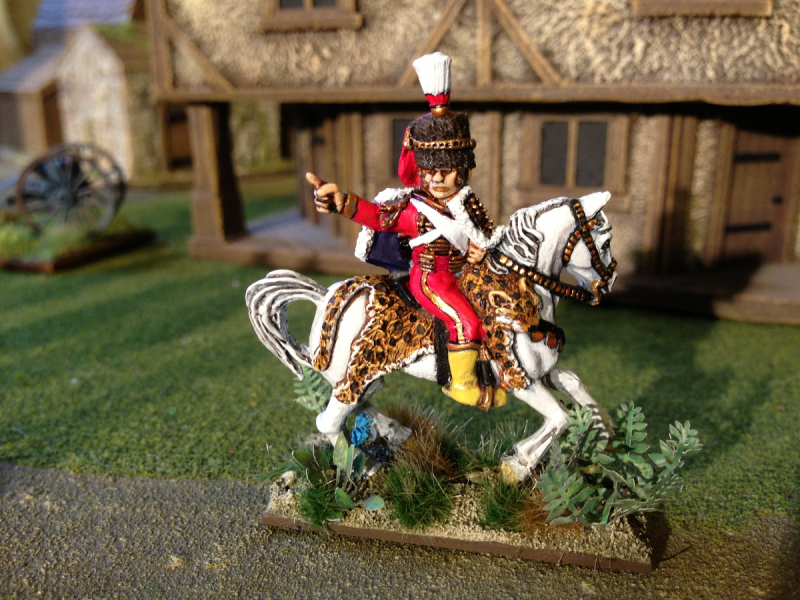
The French Army finish a leisurely meal before deciding whether to give battle!
With the French arriving so late on the battlefield, they were unable to use their superior mobility to out manoeuvre the British but found they had to commit to a full frontal assault. To make matters more difficult, whilst they were superior in Cavalry strength and Artillery, they lacked infantry support should things go wrong. Sir Sydney Ruff-Diamond had anchored his right flank against a wood, preventing any break though here by the French. He deployed all of his Cavalry on the left flank, opposing the main bulk of the French cavalry. Although out numbered, Sir Sydney was confident that the British Heavy cavalry would be up to the task of holding the French.
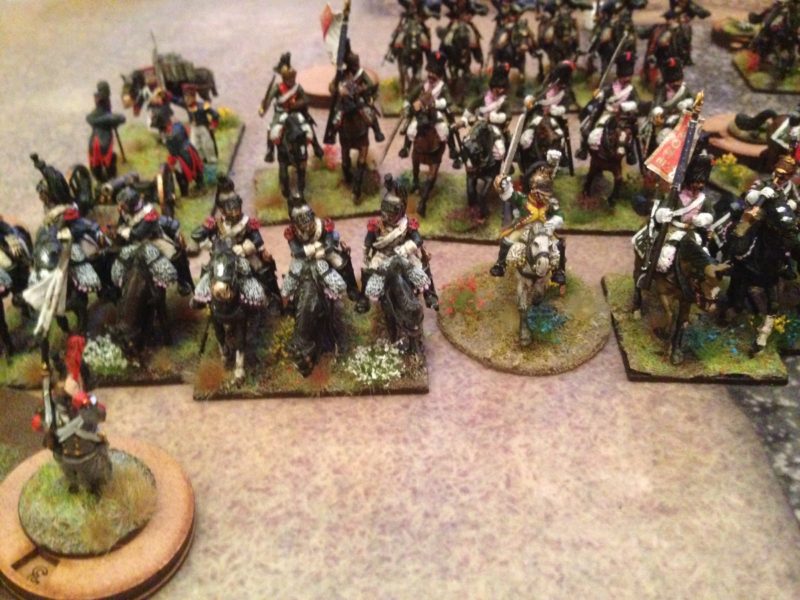
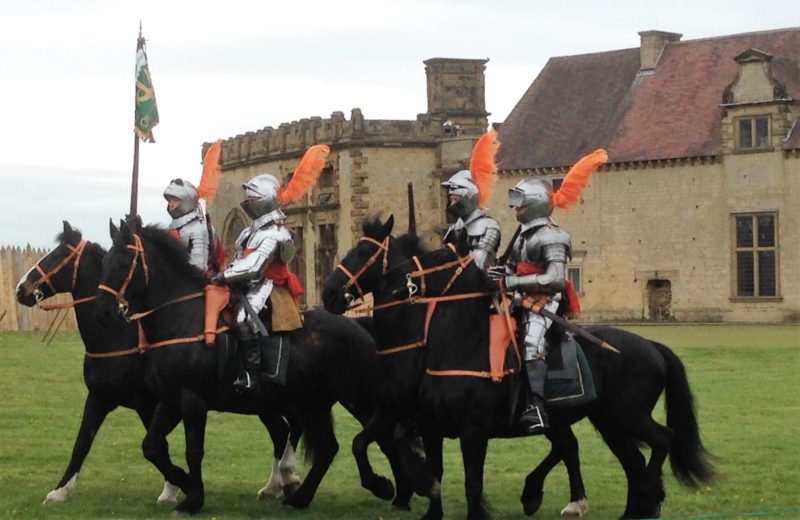
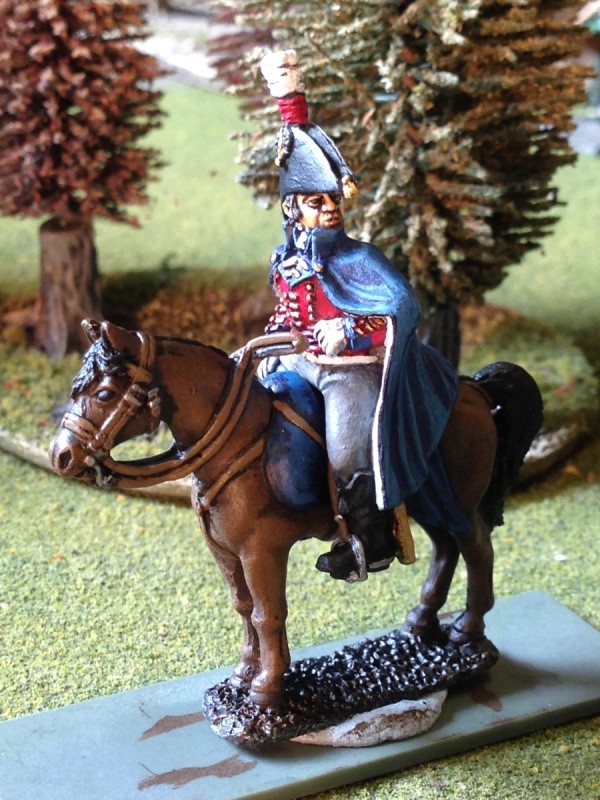
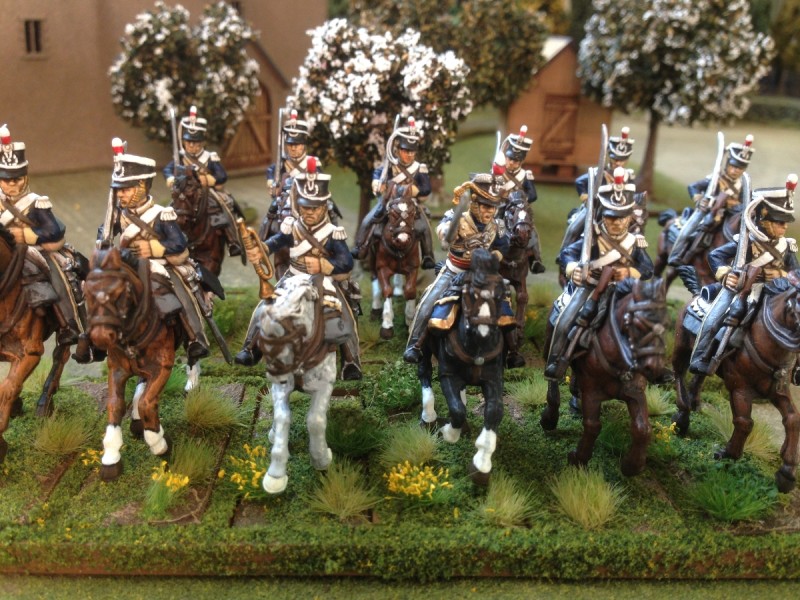
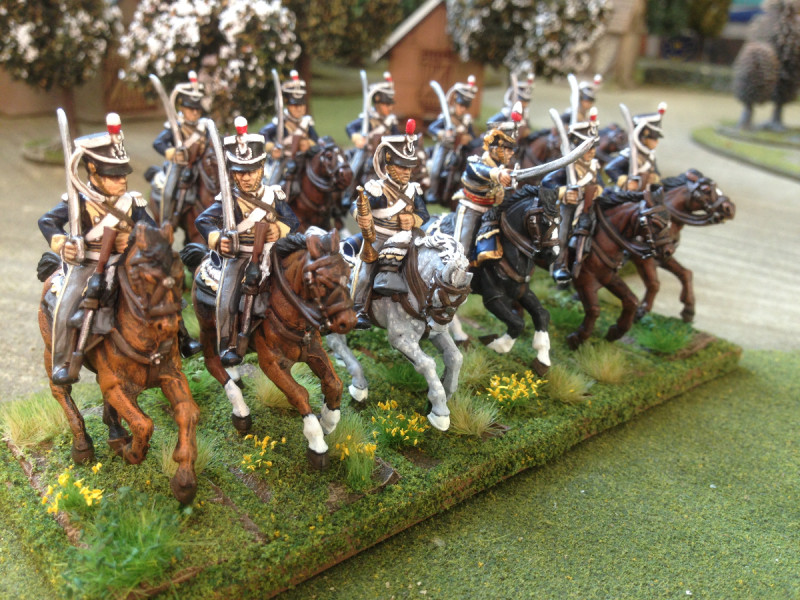
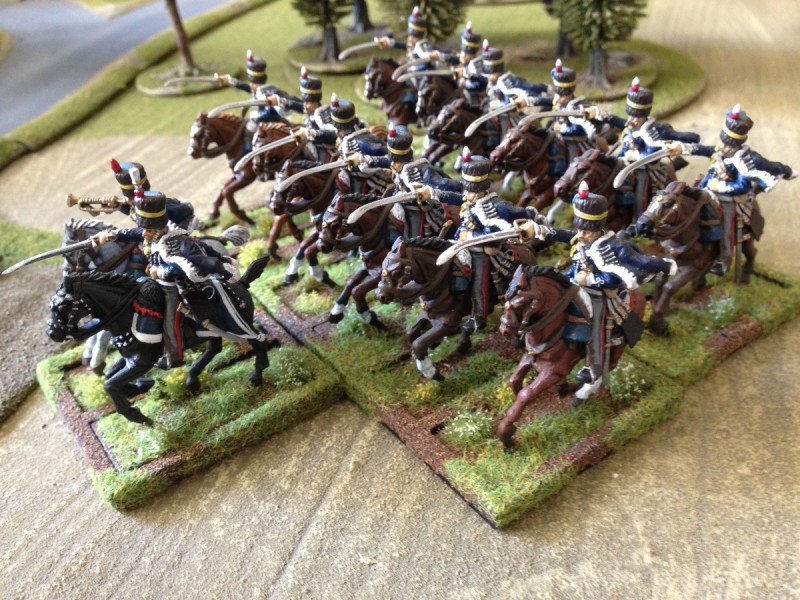
French Cavalry threaten the British left flank.
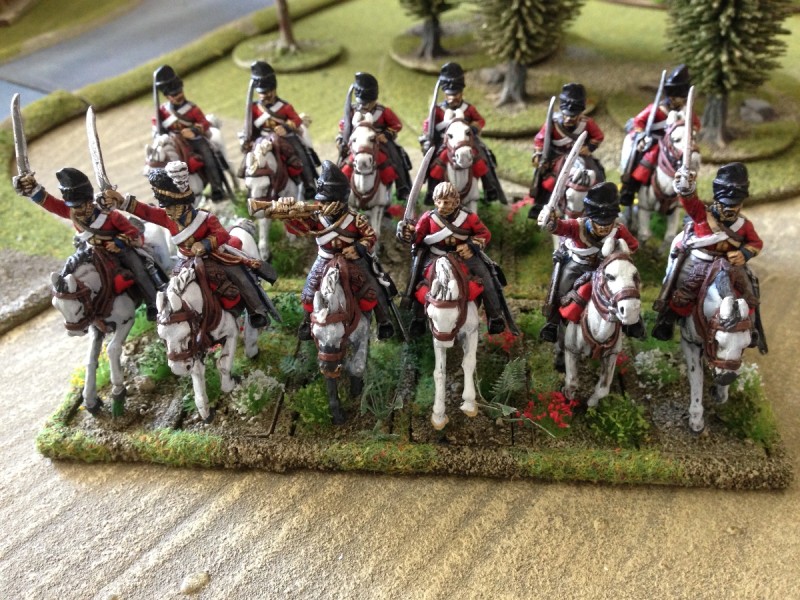
General Loup ordered his Cavalry forward but due to a misunderstanding ( failed order…) the French Light Cavalry found themselves leading the charge whilst the heavies sat back and watched. The British response was immediate and the Scots Greys charged into action, mauling the French Lights and pushing them back, masking their own artillery.
On the right, a French Hussar unit was holding the entire British flank in position but unfortunately, despite Colonel Cantona’s decisive orders, he was unable to get his brigade into position to take advantage of the situation. So rapidly did he give orders, that eventually, some of the French blundered and moved in the opposite direction! Sir Sydney, as cool as ever, held his position, wearing the French down with artillery fire awaiting the inevitable French charge.

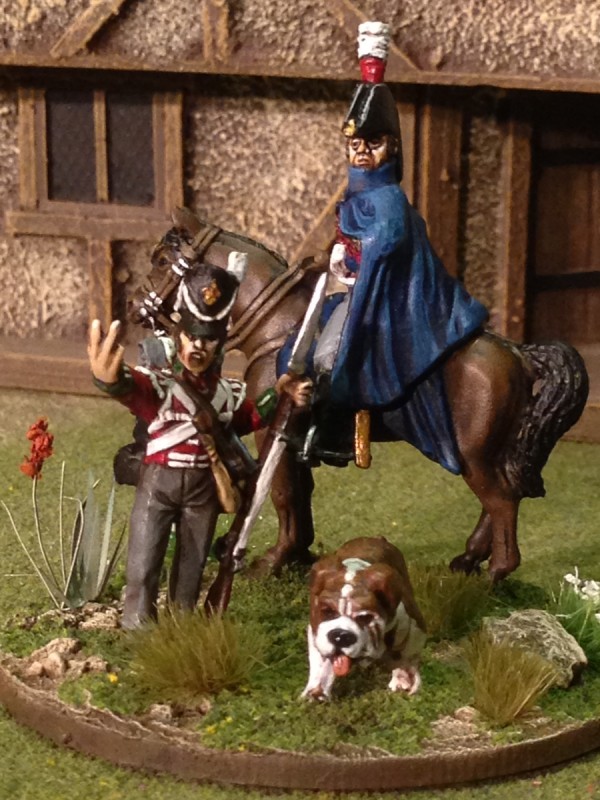
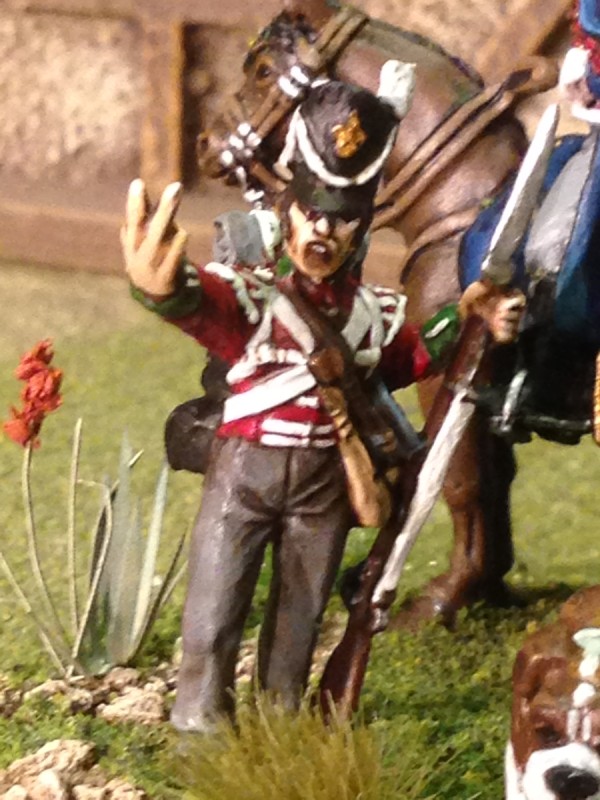
Once again, the French Cavalry surged forwards and once again, they were met by the counter charge of the Scots Greys. The French Heavy’s had the worst of it and even though they were led in a personal charge by none other than General Loup himself, they were pushed back, the General barely surviving the combat.

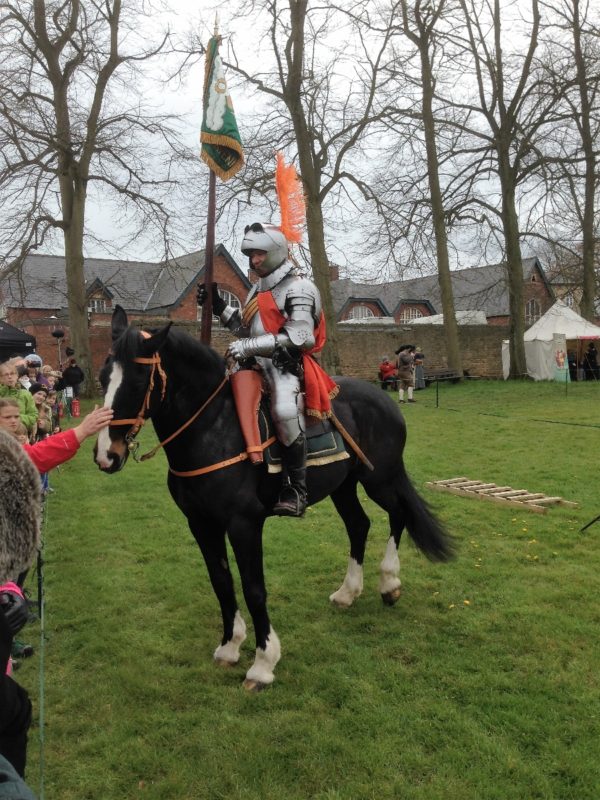
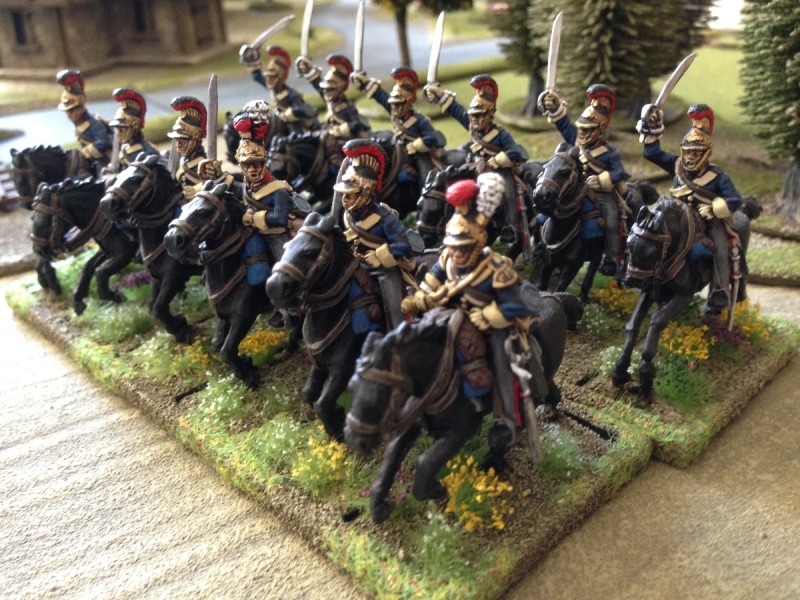
General Loup leads the French into battle only to be repulsed by the Greys!
The British, encouraged by the success of the Cavalry began to edge forward into musket range and the French line started to take casualties. Goaded by the impertinence of the British and still still battle crazed from the abortive cavalry charge, General Loup ordered his infantry brigade to charge the British line. When a clear head is required, Colonel Cantona is the wrong man to have as your advisor. He too, ordered his Brigade to charge and the French Infantry smashed into the British. After some initial success, the French now paid the price for their lack of infantry. The British line held and the subsequent counter attacks allowed them to outflank the French Brigades, counter charging to great effect.
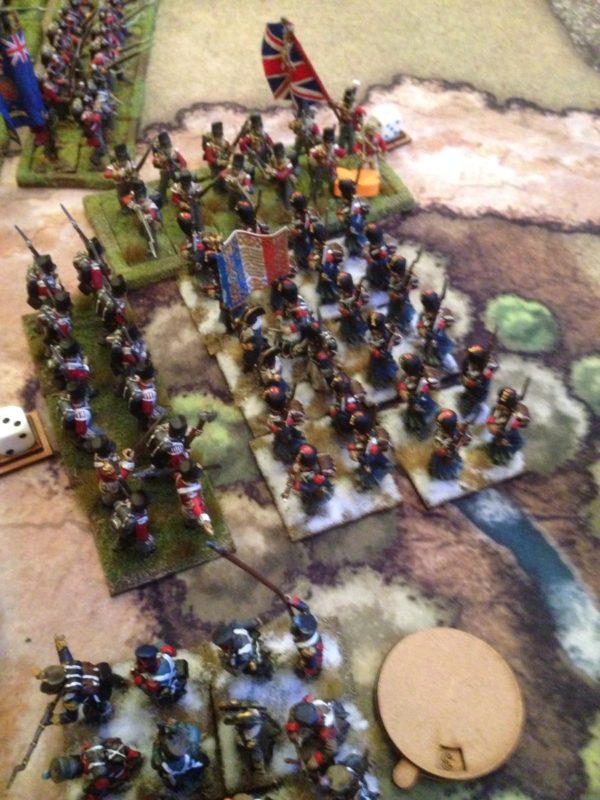
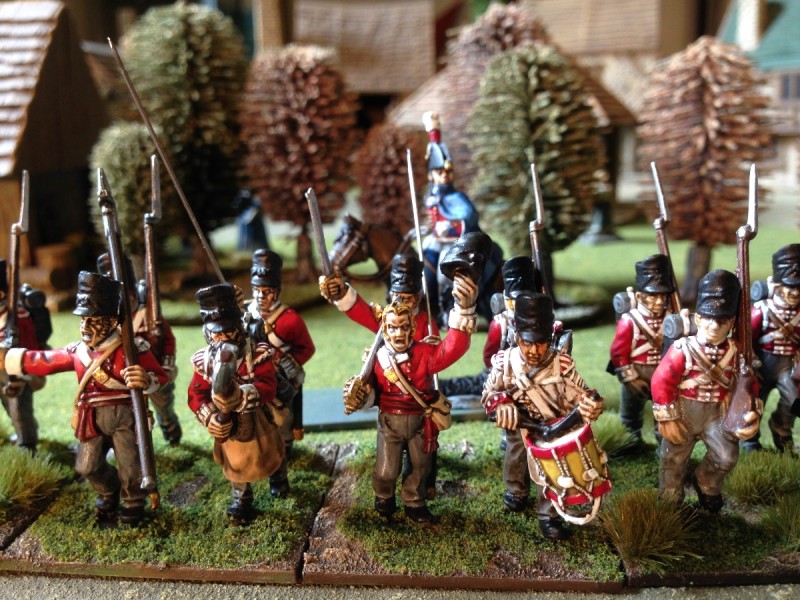
Pressure relieved as the British charge home to the flank
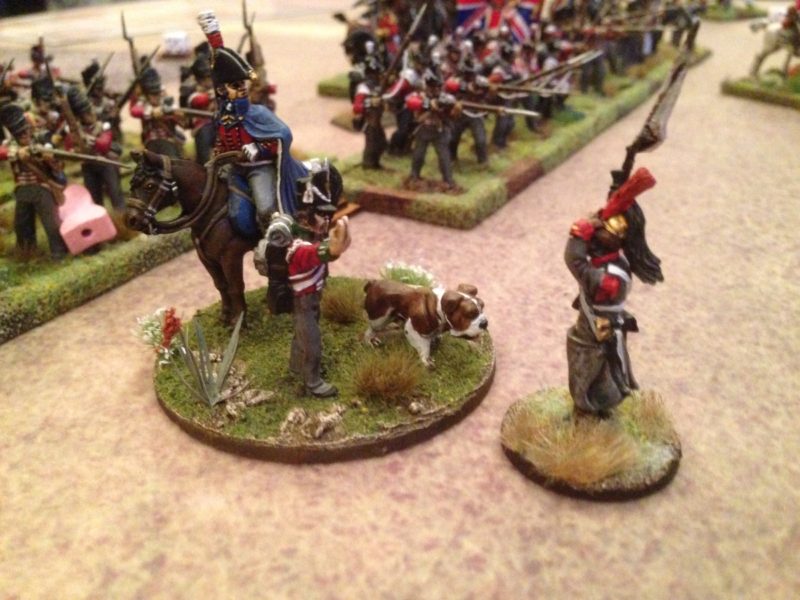
General Sydney Ruff-Diamond looked on with pride as the French were repulsed in disarray. General Loup had gambled that he could break the British line and allow his Cavalry to mop up but he had under estimated the British resolve. There was nothing left but to surrender the field.

Sir Sydney graciously accepts the French surrender.
A great start to the Campaign, with certain Commanders already making a name for themselves and in Cantona’s case, living up to the name that he had been given! Both army commanders will gain an experience point for their Army that in time will allow them to improve that traits of their commanders. The British also gained a French flag, a victory marker that will, if sufficient are accumulated, allow Sir Sydney to upgrade one of his units.
I hope that more battles will follow!

 Of course there are plenty of other books out there that will inspire and I suspect that we all have a few favourites on our shelf. My next read, although I will finish Death before Glory first, is Conn Iggulden’s Wars of the Roses ‘Bloodline’. It’s time I painted a few more troops for my WOTR retinue…