Ok for those of you who haven’t heard of Douglas Bader, he was a World War Two spitfire ace with 22 victories to his credit. Incredibly, Bader had lost both of his legs in a flying accident in 1931 but despite this set back, recovered, retrained and fought in the Second World War with ‘tin legs’. A truly remarkable man who overcame incredible obstacles throughout his career. If you want to know more, have a look at Wickopedia on the subject. I like the summary of his character:
“Bader was considered to be an inspirational British hero of the era. His brutally forthright, dogmatic and often highly opinionated views (especially against authority) coupled with his boundless energy and enthusiasm inspired adoration and frustration in equal measures with both his subordinates and peers.”
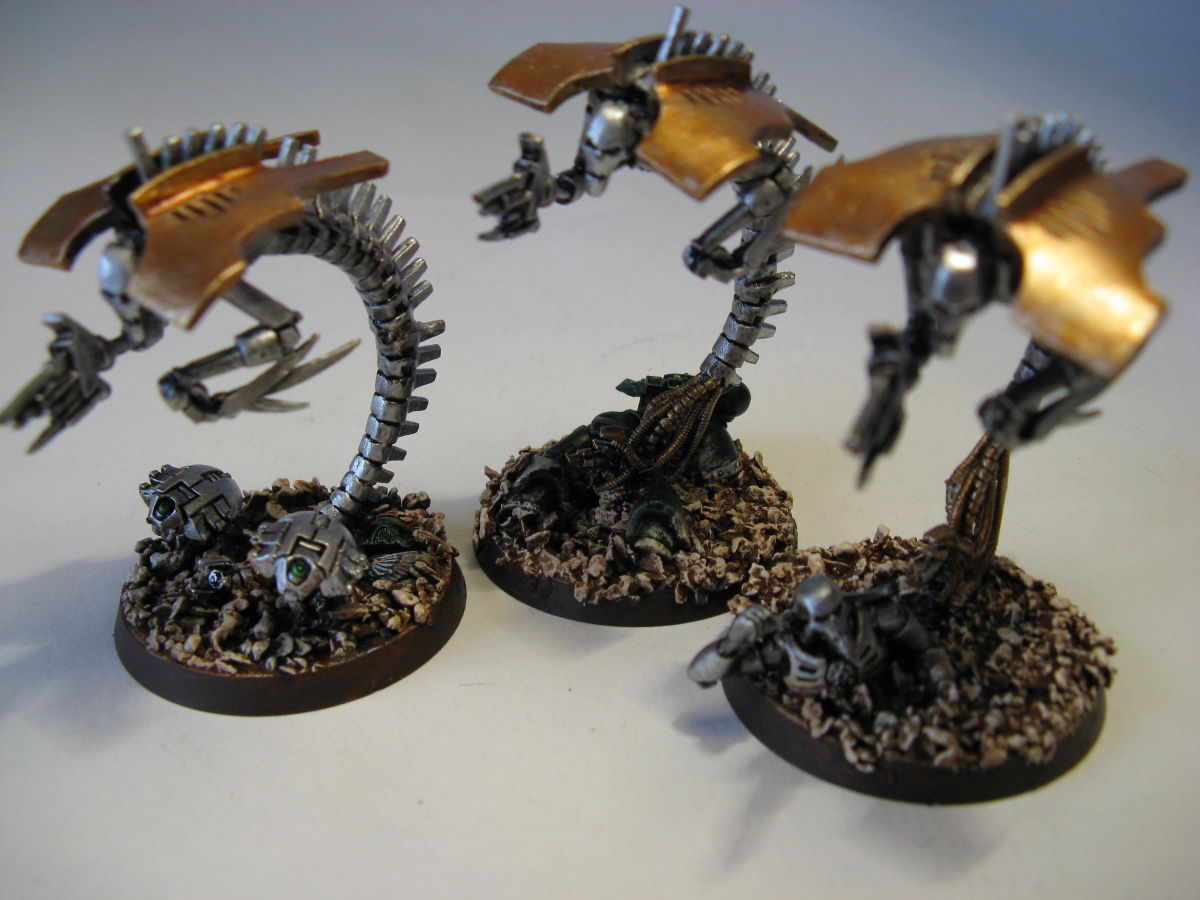
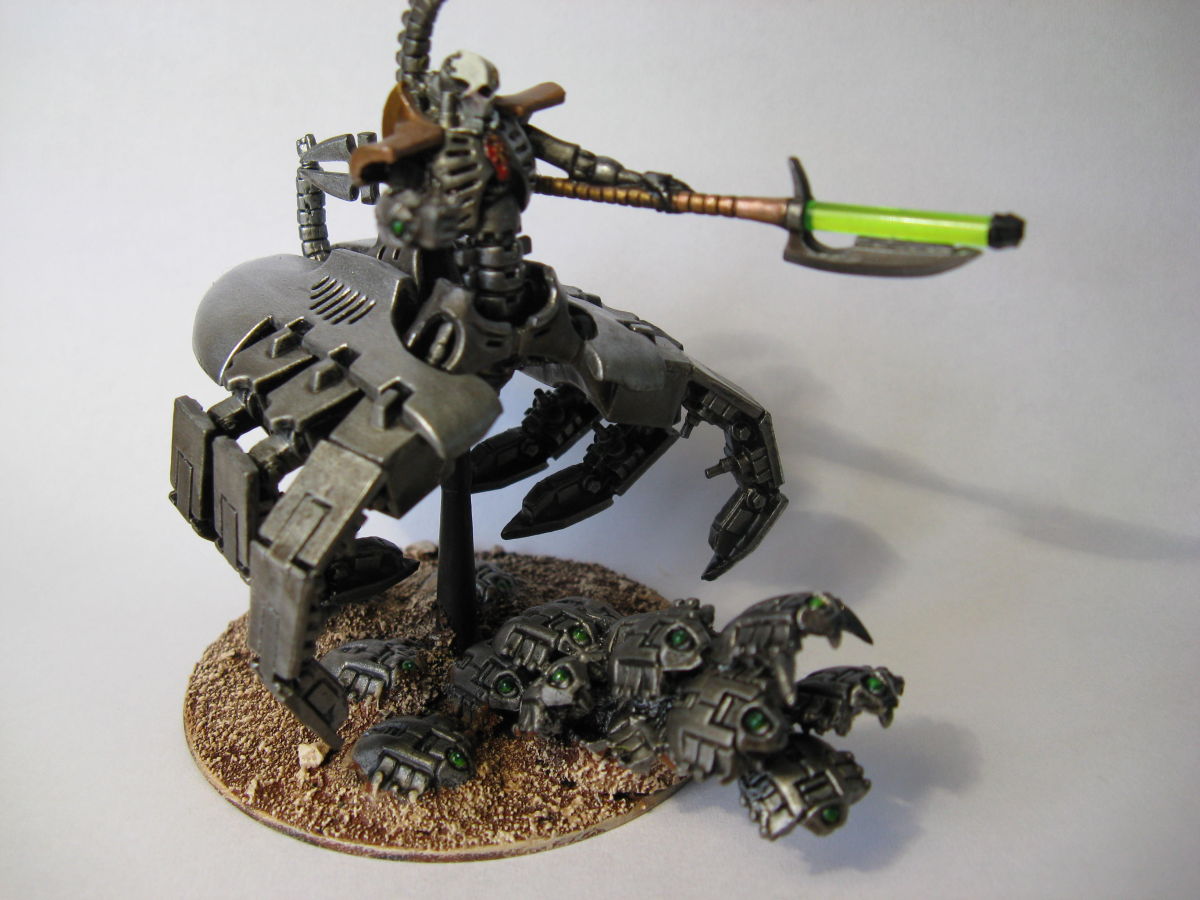
Sounds like my sort of hero! So whats all that got to do with Necrons? Well avoiding bad jokes about his tin legs qualifying him as an honorary Necron, Bader was a believer in the ‘Big Wing’ theory, which basically meant that instead of sending Spitfire squadrons up piece meal to attack the incoming German raids in hit and run style, you should send up everything at once in a large formation and hit the enemy in one big battle. So with this in mind, I had decided to rewrite my necron Army list. I was going to be playing a Tau Army and I wanted something nasty to cause problems in the Tau firing line. I had heard that the ‘big wing’ formation for the Necrons is two squads of Wraiths, led by a Destroyer Lord with Res. Orb.
So the complete army of 1500 points was Destroyer Lord + Res. Orb, 2 squads of three wraiths, a unit of 7 scarabs, 3 squads of 10 Necrons, one squad of 10 flayed ones and 10 Immortals.
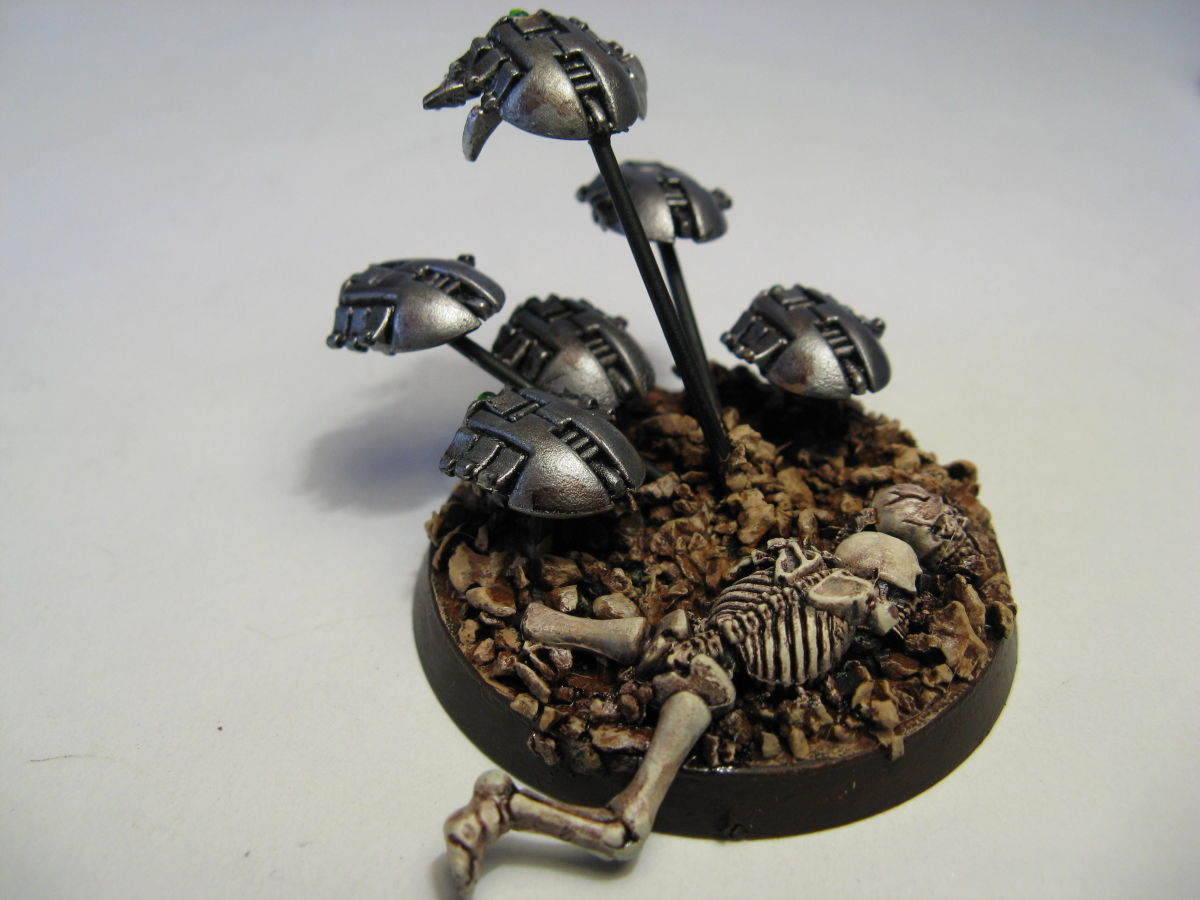
The theory being that the scarabs turbo boost towards the enemy attracting suppressing fire ( their turboboost & swarm size give them a 2+ cover save….nice!), the Lord & Wraith squads also charge forward in concert, the lords Resurrection Orb providing protection from heavy fire & the Wraiths 3+ invulnerable save keeping enough of them alive for the next round. Add to that, the flayed ones are going to flank attack, so if my opponent is sitting at the rear of the board there’s a good chance that they are going to pile into his gun line. Of course, while all of this nastiness is going on, the 3 Necron squads will be advancing implacably, ( all within 6 inches of each other, so we’ll be back means that even if one squad goes down, there’s still another nearby for casualties to join) whilst being supported by the Immortals.
So how did it all work in practice? It worked beautifully. As I said, I was playing a Tau army and the set up was Dawn of war with each of us defending and objective. The Tau seized initiative & went first but this turned out to be an advantage as it let me see their disposition and took the sting out of the first round of fighting. The Tau have little to shoot at, so they whittle away at the nearest Necron squad & knock down 6, of which 2 get up. Necrons to move. So Scarabs turbo boost towards the Fire warriors, The Big Wing of Wraiths move out towards the core of his army, everything else moves and then runs under the cover of darkness……
Second turn, the Tau open fire but there’s too much to shoot at! The scarabs are already about to assault, the Big wing of Wraiths looks very threatening and the Necron Phalanx has made it clear that it’s going to take the opponents objective. So the Tau open up with everything but I get very lucky with the saving throws on the scarabs & Wraiths and only lose a squad of necrons.
Half of which get up and join the nearest unit to form a mega squad of 13 necrons. Second move for the necrons, Scarabs into combat with a squad of Stealth suits, Big Wing of wraiths now right into the Tau army ( with hind sight I should have turbo boosted these as they would have been into assault by now), Necron Phalanx move & fire and the nearest Kroot are either dead or running and joy of joys, the flayed ones are on assaulting the nearest broadside battle suit. To paraphrase Corporal Jones, the Tau ‘dont like it up ’em!’
Tau turn three and the Tau finally focus everything on the Big Wraith Wing. helped by three crisis suits that have turned up in deep strike, 4 Wraiths go down and the Lord suffers two wounds, leaving him vulnerable to further rail gun hits. One small problem for the Tau through, The Necron Phalanx is untouched and so to turn three for the Necrons. At this point I made a mistake and split the wraith wing. Of the four that went down, two got up again and so I sent two wraiths to deal with the Crisis suits whilst the lord and two wraiths assaulted a fire warrior squad. As it happens, the crisis suits beat the wraiths in combat and the Lord was left with just one Fire warrior to deal with after the nearby Necron phalanx had rapid fired so by splitting my Big Wraith wing I caused it’s demise. I’ll never do that again! However, the Flayed ones had skinned their first broadside and were now advancing on the second, whilst the necron Phalanx had dealt out a fearsome amount of firepower, killing another kroot squad & a firewarrior squad.
Tau turn four and now things are looking bleak. The Necrons are tying down some of his best units in close assault, limiting the amount of fire power at the Tau’s disposal. Add to this, the fact that the Necron phalanx is close enough to choose to assault or rapid fire and there’s no where to hide and the Tau are beginning to crumble. If there is a Tau Corporal Hicks you would hear him saying ‘it’s game over man, we’re history’ in true Aliens style. So the Tau try to redeploy and fire with what they can. The last of the Wraiths go down, along with the Lord and just a couple of warriors and a couple of flayed ones. Necron turn four, the lord gets up again! so it’s back into combat and into the Tau commander! Meanwhile, down go a squad of Pathfinders under fire from the Necron Phalanx. The Phalanx is also now taken the enemy objective and pushed or killed all the Kroot & firewarriors defending it. The Flayed ones have caught up with the last Broadside suit and the scarabs, which have finished chewing up the stealth suits have launched a cheeky assault on the squad of crisis suits!
So to Tau turn five…….nothing left to fire other than a Hammerhead & the burst cannon on the remaining devil fish. Time to try a desperate attempt to contest the objective by flying the devil fish into the danger zone. Necron turn five and the devil fish is toasted leaving the last five fire warriors sitting outside the wreck. The Tau commander is history although the scarabs have now been killed. The Immortals aving safely shepherded the Necron warriors to the enemy objective manage to stun the Hammerhead. The Tau are in big trouble and hoping for no turn six…….unfortunately there is a turn six, so after a pretty ineffectual turn of shooting & the resolution of the remaining assaults, theres not a lot for the Necrons to do other than mop up that last fire warrior team and the game ends with a resounding Necron victory!
Well it’s about time that I had a win with my Necrons, having spent the last month getting beaten to a pulp. So I will bask in my victory for the rest of the week! The new army list worked a treat and although the Wraith Big Wing didn’t actually kill very much, it attracted so much fire that the rest of the army could advance and do it’s job….relentlessly killing the opposition. To be fair, it’s an army designed to beat the Tau. How it will fair against troops with a tougher assault capability remains to be seen. That said, I’ve learnt my lesson, dont split the big wing, overkill is better than no kill and if the Wraiths get pulled out of position, they have a 24 inch turbo boost move to get back to the battle. So the Douglas Bader Big Wraith Wing flys again!


