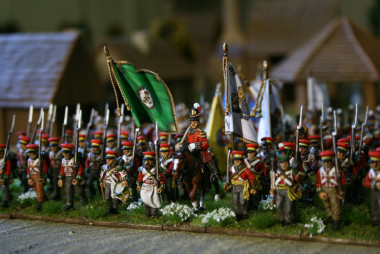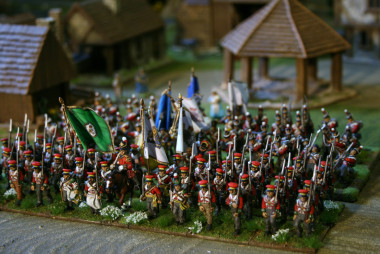
I mentioned in a recent blog post that I was having a break from painting my Napoleonic army and I am now concentrating on clearing down my back list of projects. This is really my way of painting all of those odd figures that I have picked up from shows over the past couple of years. To be fair, I am fairly disciplined when I go to shows and only tend to pick up items that will fit in to my planned collection. I have yet to go off on a complete tangent, tempting though it is!
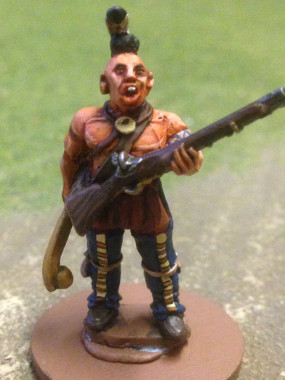
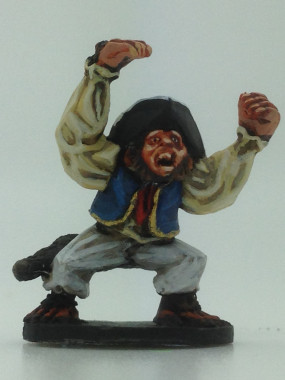
Mohawk Indian Character
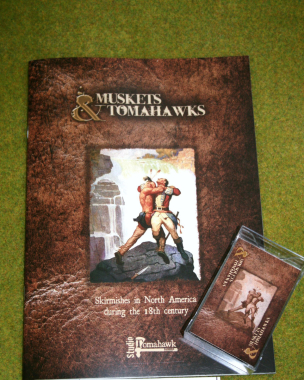
So next on my list of painting subjects were some very nice Indians that I had picked up from ‘The Galloping Major’ at a show at Owthorpe, of all places. ( see my review of the show here). I intend them to be the start of my French – Indian Wars/AWI skirmishing force that I will use in future games of Muskets and Tomahawks. My initial thought was that these would be quick and easy to paint, after all, there was no uniform to worry about. I could paint them in what ever colours I fancied. Well, not quite, it seems. Even Indians have their own style and one Indian tribe will tend to be slightly different to another. I guess it makes sense. If you are a Mohawk Indian, of the Iroquois tribe, you would not want to be mistaken for a Huron Indian, your deadliest enemy.
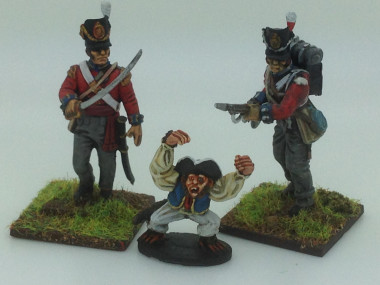
Mohawk with two Huron friends…
Fortunately, there is a great painting guide on the Galloping Majors web site to help out, so I had somewhere to start. I had of course chosen Mohawk Indians as my force ( they were allied to the British) but had also acquired a couple of Huron Indians – they were limited edition figures that had been given to me by friends that didn’t need them. Regardless, I decided that they would be part of my force and I would include them in the painting project. It was now that things began to get complicated.
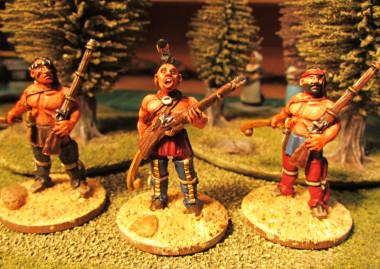
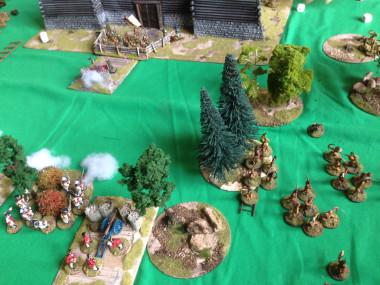
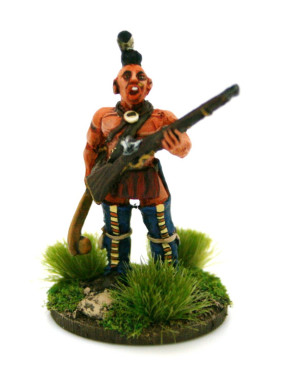
Woodland Indians a bit more at home
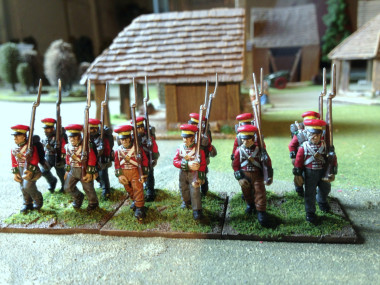
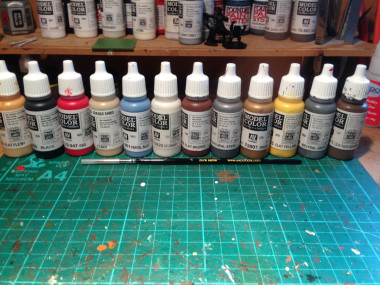
When you are batch painting a group of troops in uniforms, once you have worked out the colours, it is just a question of working in a logical manner and every figure gets the same colour painted in the same sequence. These Indians weren’t like that. They are all dressed differently and would have been wearing different colours – they wanted to stand out as individuals! So even with just three figures, two of which were identical, I just couldn’t get a painting rhythm going. Sure, the flesh was all the same colour – I used Vallejo Beige red, washed over with a skin coloured wash and highlighted with the beige red again, with Flat flesh mixed in to provide top highlights. The hair is black. The muskets are painted the same, Flat brown stocks with light brown to give a bit of wood grain effect, Steel gun barrel & lock, brass for the fittings, Beige/Ivory powder horn. But after that, although the colours that I used were similar, they were not the same and they weren’t going on in the same place at the same time if you see what I mean! It has taken me as long to paint three Indians as it would to paint eight Napoleonic Prussians!
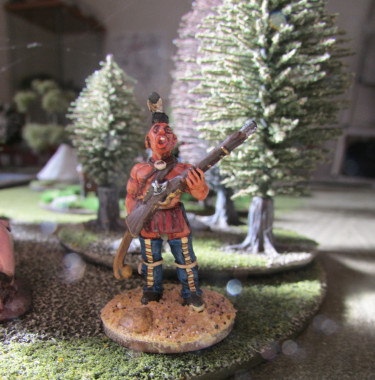
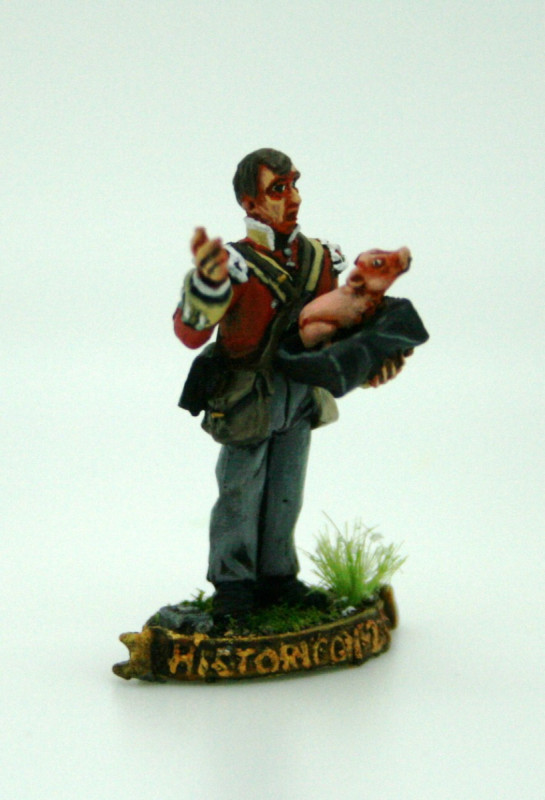
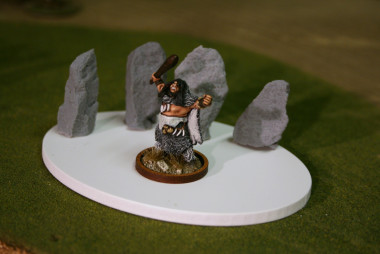
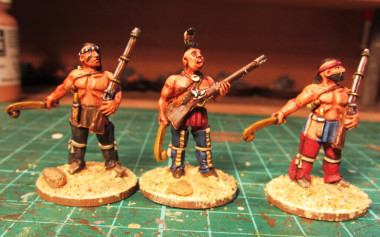
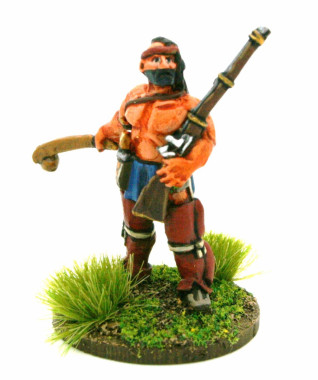
Mohawk Character is waiting for his base to be finished!
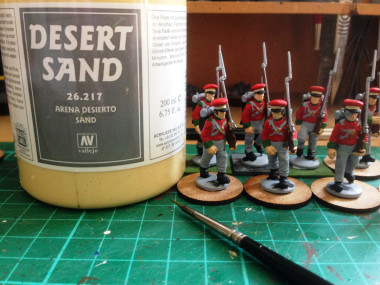
I eventually decided that the best way was to pick a few good colours and use these. So, Prussian Blue, Light Blue, Burnt red, Leather Brown, Light Brown, Iraqi Sand, German Camouflage Beige all made it on the the work board and I finished each character individually. The first three Indians are more or less ready for the basing process. As you can see I have started, with my latest preferred basing method. Vallejo Desert Sand paste spread over the base, the figure pushed into this and then a sprinkle of real sand as I wanted a bit of a rough texture for the bases – I’ve also added a ‘rock’ or two. I now need to paint these and add some grass & tufts.
I’ve certainly learnt a lot whilst painting these three characters and there is another six to go! Rather than trying to batch paint them, I think I’ll do them one at a time, it might be faster and will save me faffing about trying to figure out if I can use the same colour more than once!
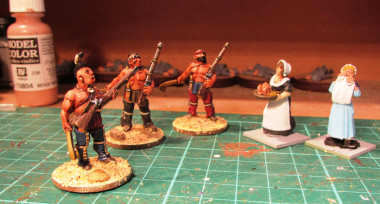
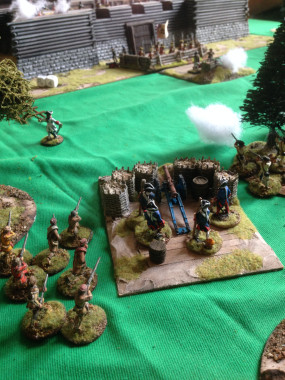
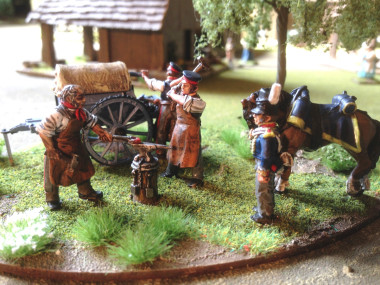
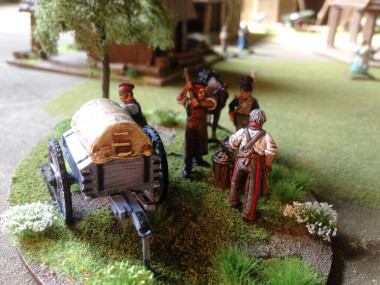
An offer of roast chicken fails to impress the Indians!
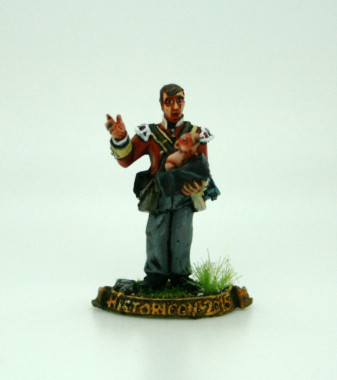
STOP PRESS!
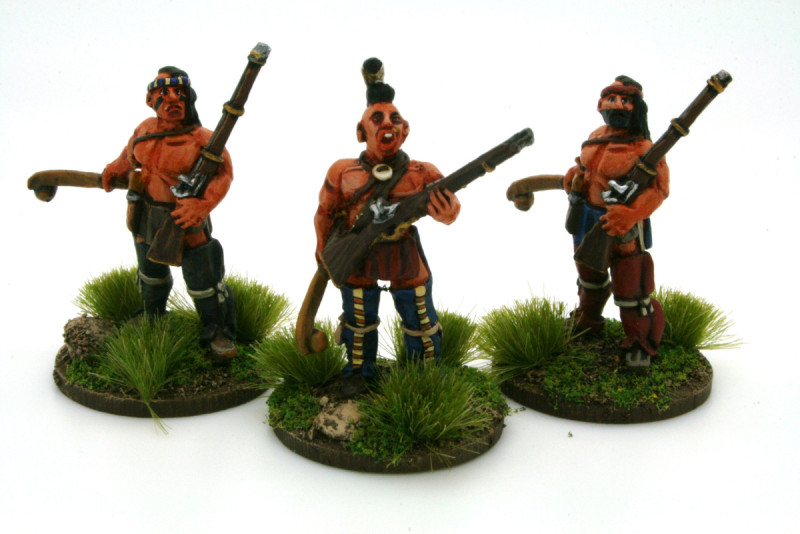
I managed to get the basing done, a few little corrections and took a few pictures using a light box. Here are the results. I’m a bit happier with these now. They are ready to endevour to persevere!
Mohawk Character, AKA Bubba!
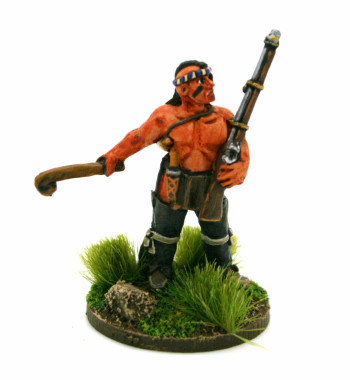
Huron Warior 1
Huron Warrior 2

Three indians