
Before anyone gets too excited, it’s worth pointing out that the question is aimed at Black Powder players and is somewhat rhetorical. The question arose from my last battle at the White Hart with Duncan. A battle that I lost and as is often the case, as I drove home, I reflected on the turning points of the engagement. Of course the dice could have been kinder but that is often the first thought when you lose a battle. You remember all those failed saves, poor rolls to hit, command rolls that failed and of course the dice imposed blunders.
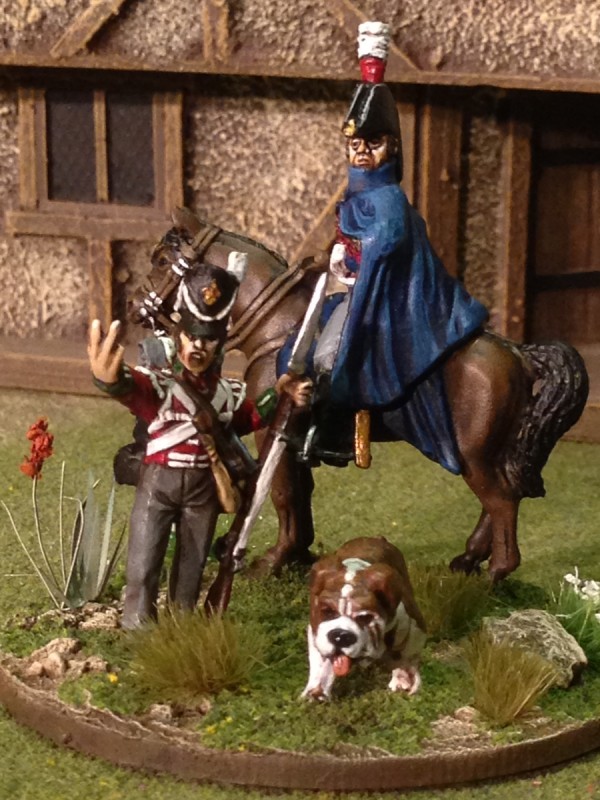
Sir Sydney Ruff- Diamond watches on as Private James Riddles rebukes the French!
However, there was a moment when I recognised that some of my frustration should have been reserved for the way in which I had been managing my army, in particular the use of my Commander, Sir Sydney Ruff-Diamond.
The battle between Duncan and I was a pretty standard club game, although Duncan had chosen to make one of his Brigades reflective of a French Avant Garde brigade. It was composed of four small light battalions, three small light cavalry regiments and two horse artillery guns. A strange mix to be sure and not from the standard Black powder order of battle. To add to the unfamiliar line up, another brigade was composed of ‘large’ units of Polish Battalions, with a further brigade of French Infantry, supported by Heavy cavalry. I was fielding my usual British force of 3 Brigades of infantry in the centre, supported by a brigade of Light Cavalry on the left and a brigade of Heavies on the right.
The battle at first followed my usual plan. Form a decent defensive line, hold the flanks with the cavalry, threatening when there was an opportunity and break the opposition with fire power. There was a problem though. At first the French Avant Garde brigade (or light Brigade), was just a nuisance, picking away at my superior numbers. It was also somewhat cumbersome in that with so many units to move, brigade orders were not suitable and inevitably a failed order resulted in many of the units not moving.
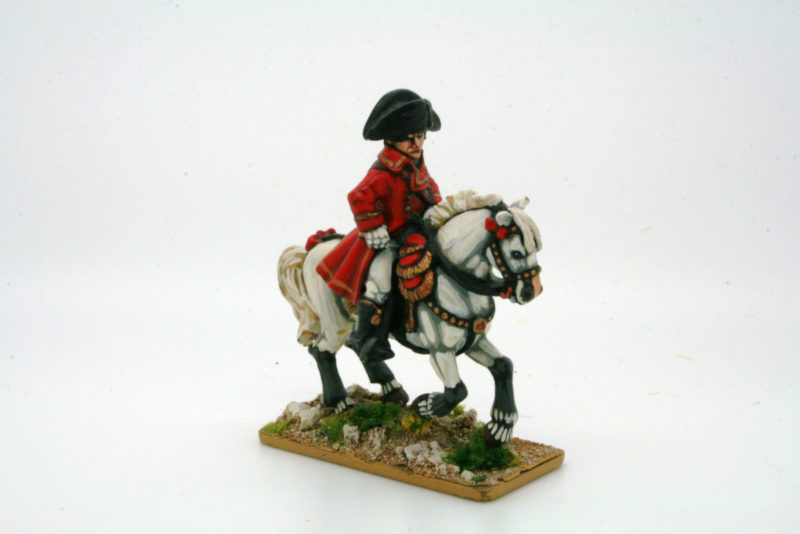
Napoleon takes charge!
That changed when Duncan committed his commander in chief ( Napoleon no less) to the far flank of his army to support the brigadier. With two attempts at command rolls, the brigade stated to function even more effectively. Not only were the units moving as they should but there were two commanders on the spot to rally shaken units and send them back into battle again.
Meanwhile, the British continued with the time honoured method of leaving the army commander some where in the middle of the battlefield just in case he was needed to move a unit. Of course the problem being, the further you are from your units, the more likely you are to suffer a penalty on your command roll and fail. By not committing my Commander he became ineffective, whereas Napoleon was right on the spot, controlling the critical thrust of the French attack.
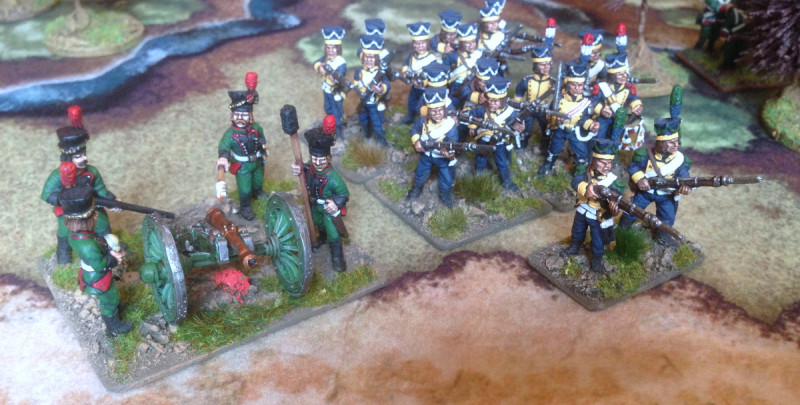
Polish Artillery supported by infantry
The outcome of the battle was resting on either flank. To my left, I was losing to the French Light Brigade who were gaining territory and gradually shaking more units than was healthy. To my right, I was enjoying a certain amount of success, although in driving back the large units of Polish Infantry I was again taking casualties. Things came to a head when my right flank failed to sort itself out from repelling the Polish and began to fall back. Had Sir Sydney been on hand, he may have been able to rally a unit or order a spare battalion to plug the gap. He was however, sitting serenely in the centre, just in case he was needed…
The balance tilted in favour of the French and it was Napoleon himself who was on hand to observe the final casualties forcing the British from the table!
So in future, I will remember that the Commander figure of my army is not just there as decoration. He needs to be near to the critical action to support the brigadier should things not work out as planned.
As we all know, at Waterloo, it was Wellington who was the ‘hands on’ General, riding up and down the Allied Lines all day, bolstering his troops where necessary. On the other hand, it was Napoleon that was ‘hands off’ delegating control of the Battle to his Marshals. Perhaps in future, Sir Sydney will be more like Wellington!