This weeks post is a guest post by the very talented Chris Kirk. Chris has recently ‘converted’ to Napoleonics and is in the process of building his army. Like most of us, he has agonised over how many men should be painted to form a Battalion and then how best to base them. There is of course no correct answers to these questions. It largely depends on what rules set you have decided to use and even then, there is usually some flexibility. After much thought, Chris had decided that he would like his battalions to be made up of 32 figures and that to make life easier on the Wargames table, he would put his figures into a movement tray, complete with Battalion name plate and space for casualty and disorder markers. We had these trays custom made for him by those clever people at Sarissa Precision and they were based on the smaller 12 man trays that I use for club night games.
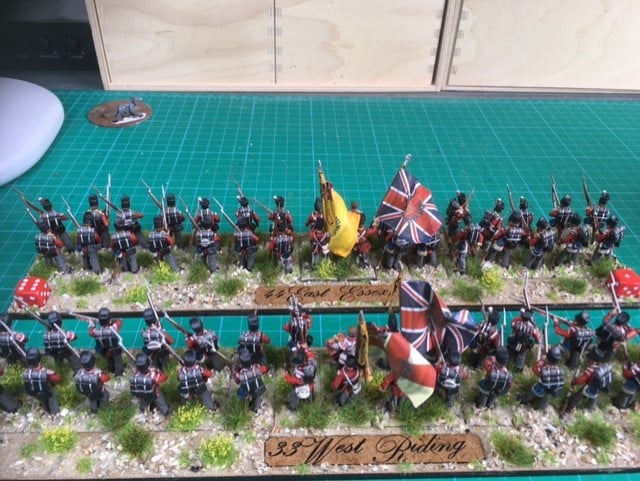
As he was building British battalions, they would spend much of their time in Line formation so the need to take them out of the tray would be mainly limited to when they were forced into square when using Black Powder rules. In the course of discussing this, Chris decided that rather than take the figures out of the movement tray, he would make some ‘generic’ square markers that could be used to replace the line if forced into square during a game.
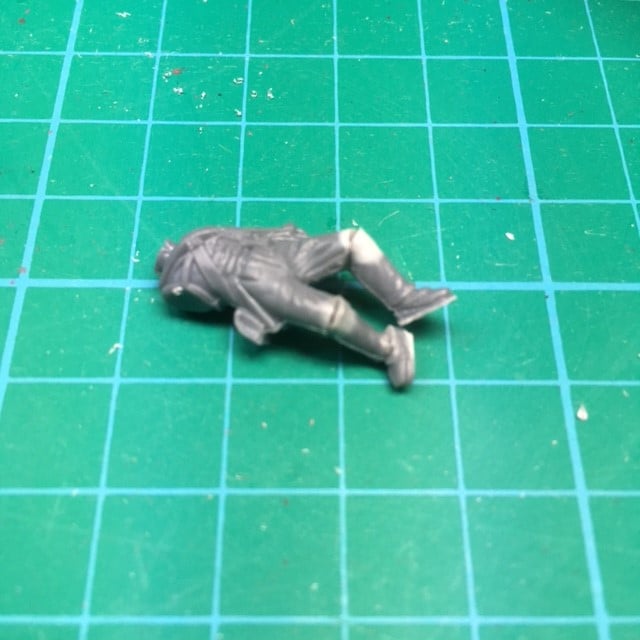
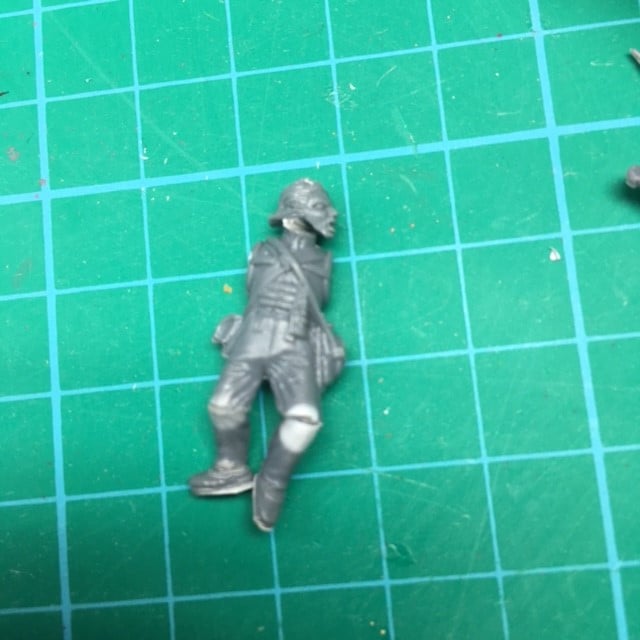
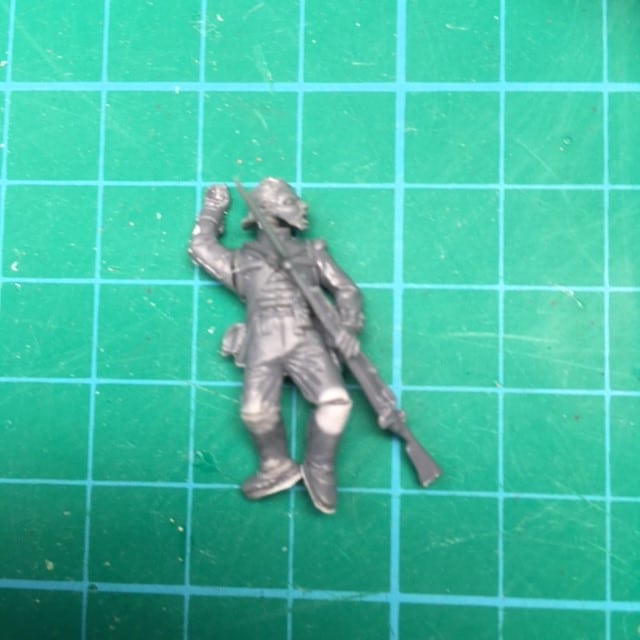
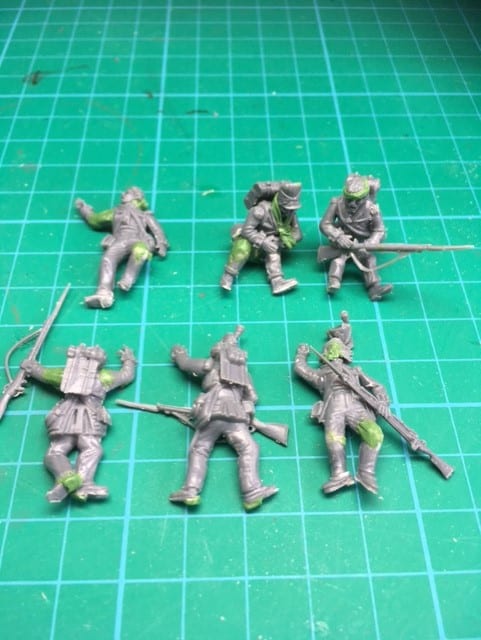
If this seems like a lot of extra work, it is, in the short term! However, Chris really enjoys his modelling and painting and the option of making some mini dioramas was too tempting for him. Rather than paint another 32 figures for each square, Chris decided on using a 120mm x 120mm movement tray to represent the area would then build & paint just enough figures and scenery to give the impression of a square. In doing so, he needed plenty of casualties and the following sequence of pictures shows how he achieved this. I hope that you find it as instructive and useful as I did. I have now added another project to my list!
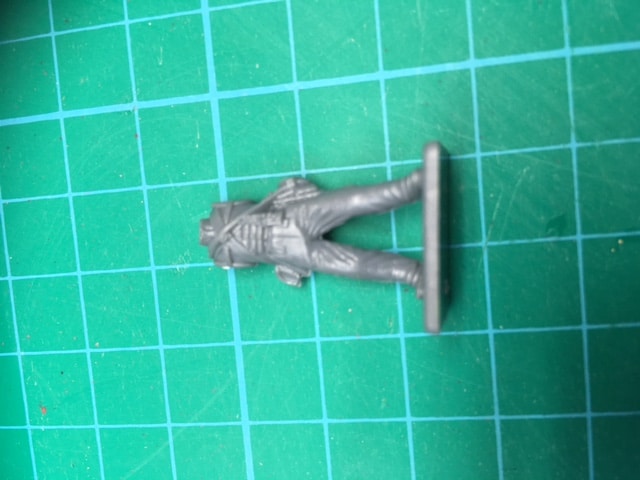
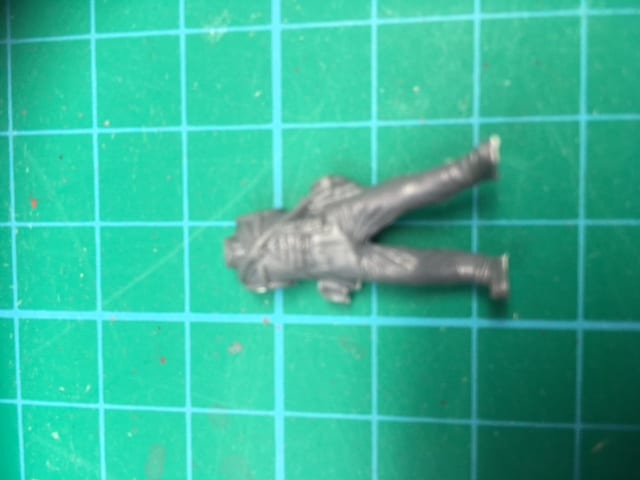
Remove the base, leaving as much of the boots as you can!
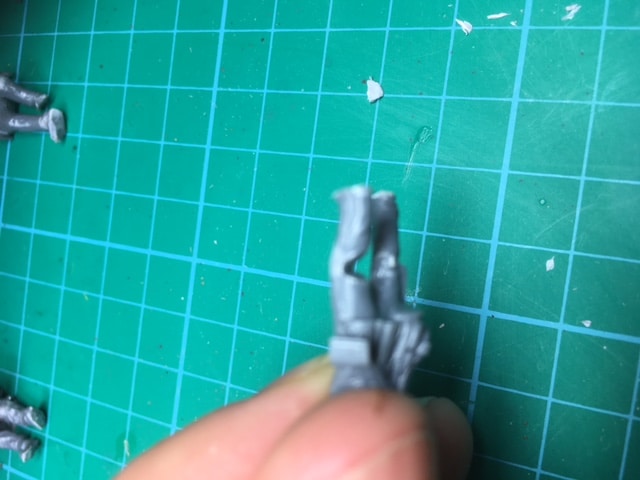
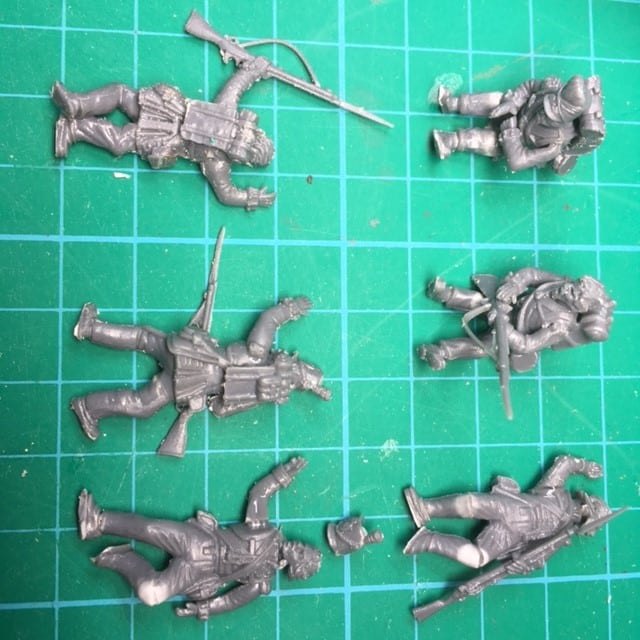
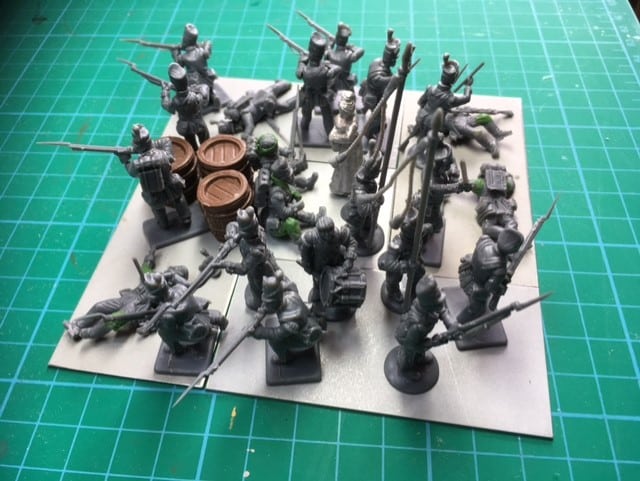
The Square takes shape!
I hope that this has been useful. As you can see, it is a work in progress and once Chris gets the rest of the figures to complete the square and of course, paints them we will return with the finished article. I think it shows how useful Plastic figures can be when it comes to making your own units. I know that some wargamers have very fixed views when it comes to plastics versus metals. I like both and when it comes to converting, I think that this article shows how plastic figures can be adapted and remodelled far easier than metals.
If you would like to try your hand at conversions, we have a massive selection of fillers and tools to browse through here:
FILLERS AND TOOLS
You can get Victrix plastics here:
VICTRIX MODELS
and Glues and Adhesives here:
