This weeks blog is just a progress report on this weeks modelling. I am somewhat consumed by my War of the Roses army but progress is slower than expected, partly because the model of the Mary Rose that I am working on has been a pleasurable diversion from ‘grinding out’ more billmen!
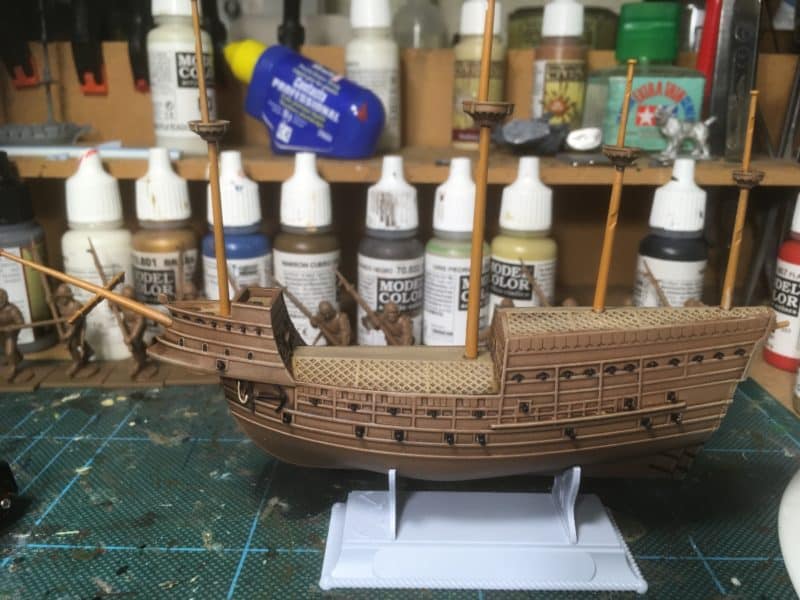
Mary Rose – washed with Strong Tone
As you can see from the picture above, I have used similar techniques to paint the ship as I would one of my figures. I gave the hull a couple of light washes with Army painter Strong tone ink. Once this had dried, I gave the ‘deck’ ( it’s actually a representation of the rope grid that was there to prevent boarders – in the event it is thought that this prevented the crew from escaping when the ship capsized.) a dry brush with Vallejo Old wood, lightened with Iraqui Sand. I also gave the rest of the hull a very light dry drush with the same mix. It was then a case of carefully picking the guns out with matt black.
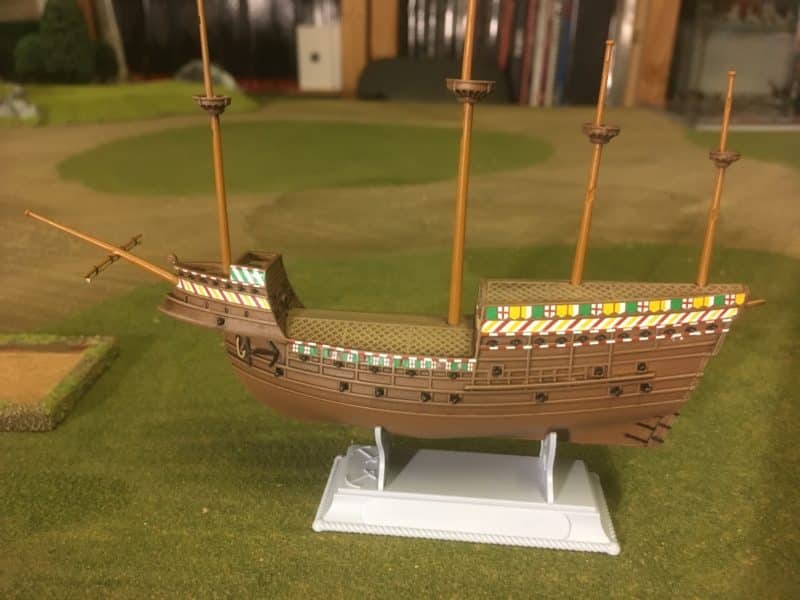
Mary Rose – Decals added
The next stage was to add the decals. Well, what a fiddly job. It took about three hours in a couple of sessions to get these on. I used the Vallejo Decal Medium and Decal fix to help with this job. There was a reason to do this job over a couple of nights – I was very concerned to make sure that one side of the ship had dried thoroughly before handling it. The decals are so small it would have been easy to unseat them whilst they were drying.
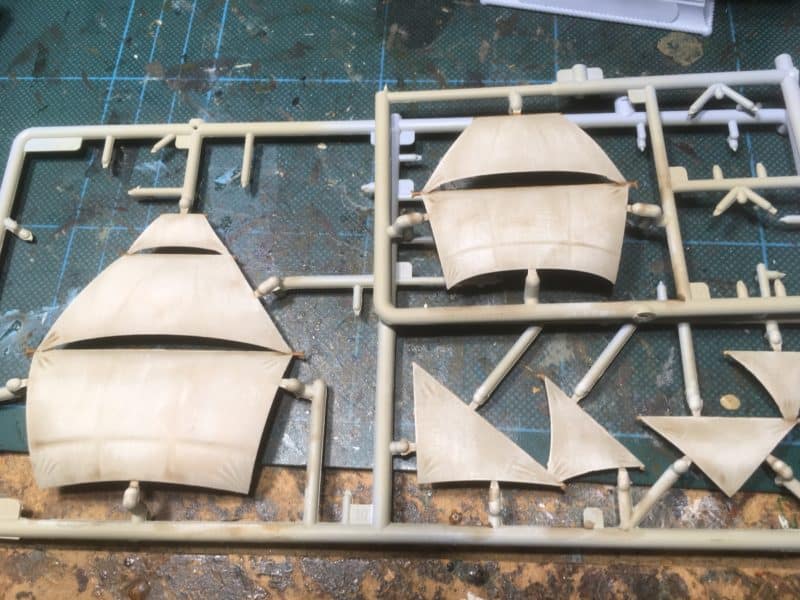
Sails – dry brushed
In between fixing the decals, I went to work on the sails. I dry brushed them with a mix of Army Painter Skeleton bone mixed with white, gradually increasing the white until I was happy with the effect. I then gave the sails a wash of Army Painter soft tone ink mixed 50:50 with the Army Painter mixing medium. The mixing medium helps to dilute the colour and helps the ink to flow over the larger surfaces of the sails. Unlike when thinned with water, it doesn’t pull away from the edges.
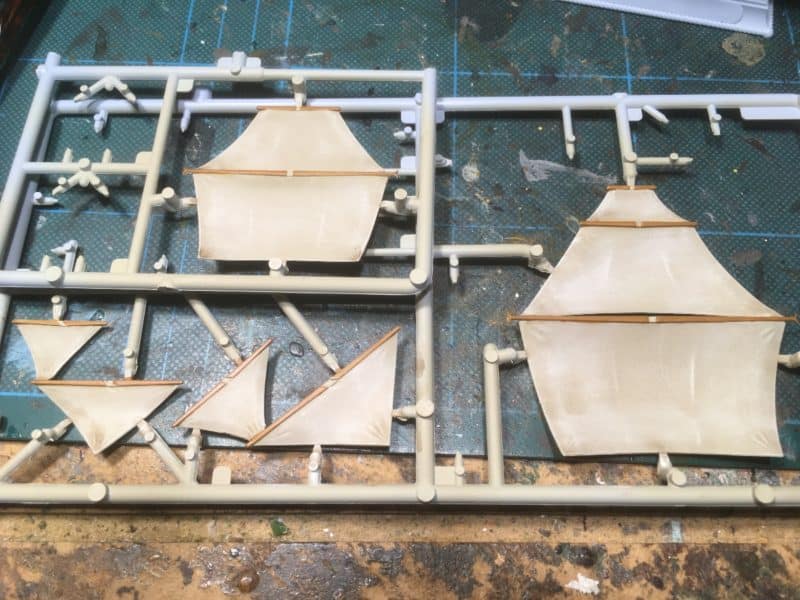
Sails – Spars painted
I’ve then painted the spars with Vallejo new wood and it was back to the hull. When fixing the decals I realised that parts of the hull should have been painted white. This would have been easier to do before applying the decals but as I said in a previous blog, I had tended to ignore the instructions and just did my own thing! This particularly applied to the paint scheme. I have broadly followed the picture but where it has suited me, I have used ‘artistic interpretation’ to emphasise details or just to get a nice finish.
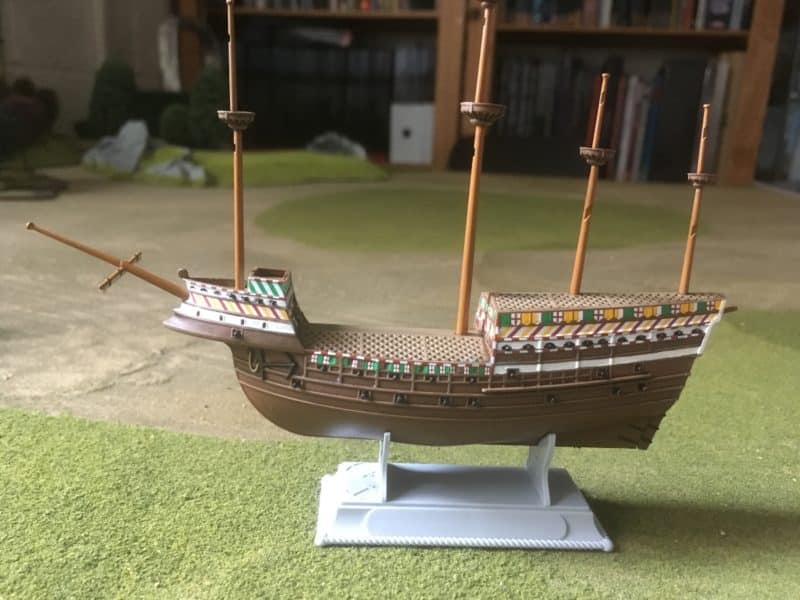
Mary Rose – hull about finished.
So with the hull and sails about done, the next stages will involve fixing the sails to the hull, painting the stand and adding the rigging. However, I was happy to pause there as the Billmen on my work bench were glowering at me and demanding that I get back to finishing them!
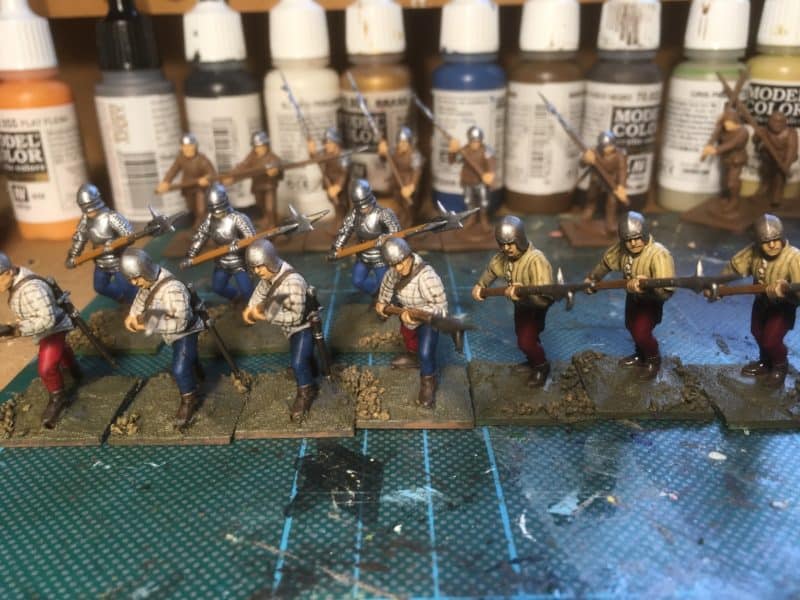
Bill men ready for basing.
As you can see, I’ve nearly completed another unit, with another 12 underway. My army is approaching completion. To celebrate, I bought a Perry Miniatures Artillery piece…
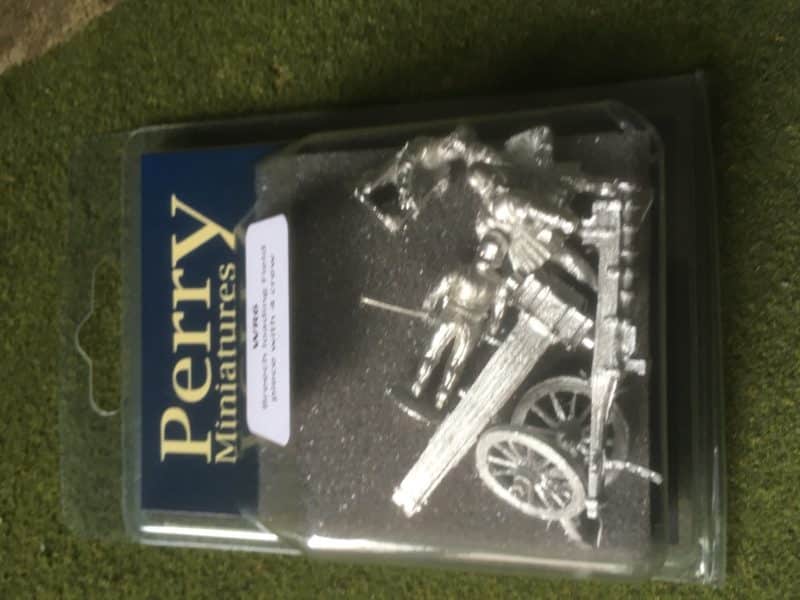
Artillery!
Once the Bill men are complete, I’ll add this to my army and I am nearly done!
THE COMMERCIAL BIT
Almost all of the paints, miniatures, bases, basing materials and anything that you are likely to need for your hobby are available POST FREE from my shop here:
Perry’s WOTR plastic range are here:
Happy Modelling!
