I had been taking my hobby a bit too seriously at the back end of last year and getting overly concerned with ‘what is right’. Fortunately, I have my mates to sort me out and inject some common sense into the debate. When it comes to Napoleonics, detail is both a blessing and a curse. It is the details and minutiae of the uniforms that make the period so fascinating whilst at the same time providing a ‘barrier to entry’ to many in the wargaming hobby, who decide that having fun is more important than arguing about buttons and facings and so move into Fantasy or Science fiction for their hobby fix.
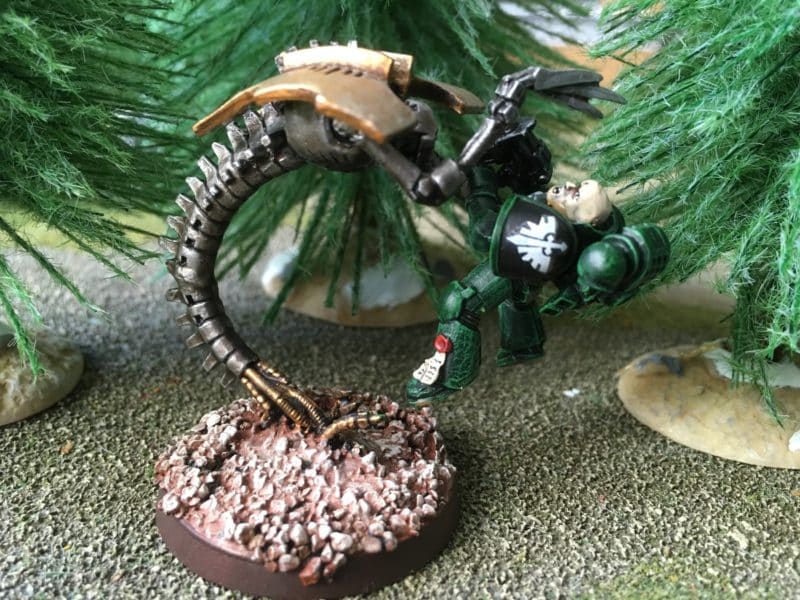
That Space marine has got the wrong colour facings!
I had fallen into the ‘too much analysis causes paralysis’ mode and as a result some of the projects that I had consigned to the lead pile were being buried ever deeper because I was worried that I wouldn’t make a decent enough job of them. I’m not sure what happened over the Christmas Holiday period but something triggered my JFDI switch and I decided to just get on with what ever I fancied to the best of my ability and knowledge.
I’m not sure if this is the book but I have enjoyed all of them!
So I started on a little project that had been on my mind for a while. I actually first got the idea years ago from reading a Bernard Cornwell Sharpe novel. I can’t remember which one it was but it involved some troopers from a Rocket detachment pretending to be Lancers. I then saw the Warlord model of a Rocketeer launching his rocket from the ground and thought that he really needed a mate to hold his horse. Put the two ideas together and you have one guy with the rocket sticks looking like a Lancer with his pennant on the rocket sticks and the Officer firing off the rocket on the ground.
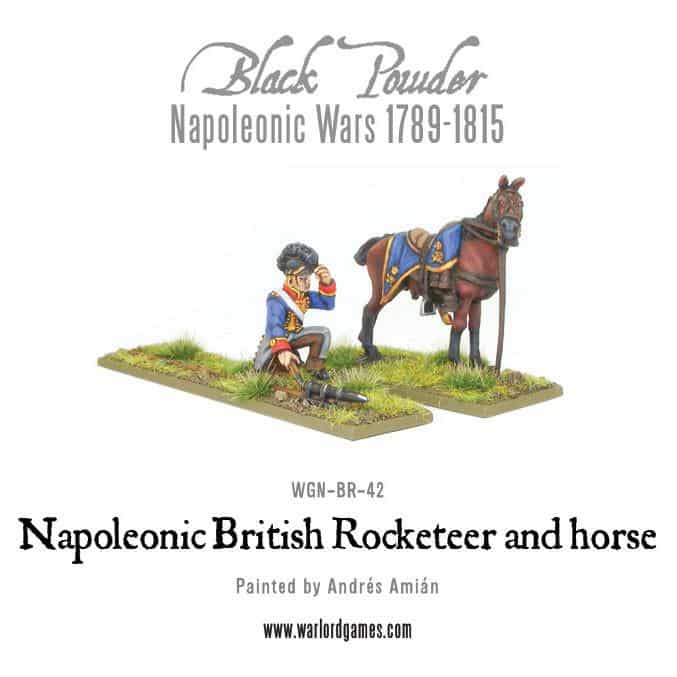
Warlord Rocketeer.
As far as I know there is no model of a Rocket detachment trooper riding with the rocket sticks so I would have to convert one myself. So in the spirit of JFDI, rather than wait to find the exact figure or horse, I went through my bits box and this is what I came up with:
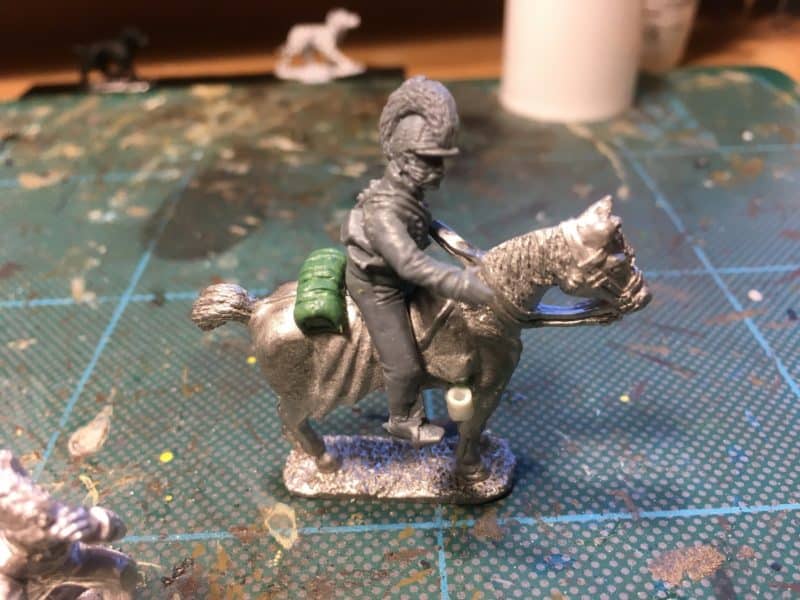
Rocket trooper WIP
I’ve no idea where the horse is from – it just looked about right. I did have to ‘dock’ his tail though and remodel his hind quarters. I also added a saddle roll from green stuff and a cup for the rocket sticks from a piece of evergreen tube. The rider is a ‘spare’ from the Perry’s British Light Dragoons set. I have shaved off his boots, cut off his sword hand and added an open hand from a spare Victrix arm.
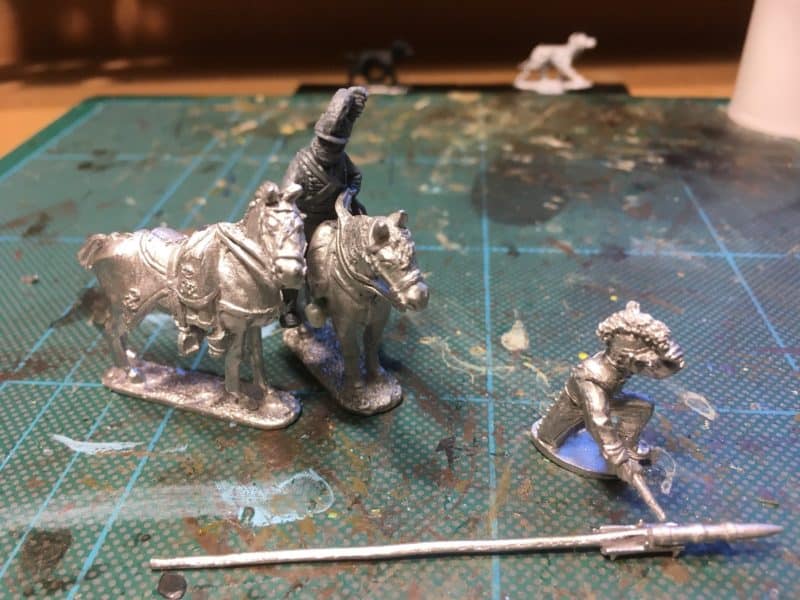
Rocketeer Diorama WIP
This is how the Diorama was shaping up but at this point I thought it might be worth doing some research. I found these three pictures on Pinterest and added them to my reference board.
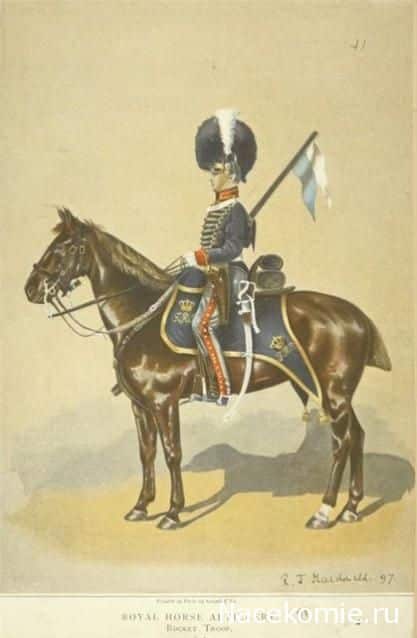
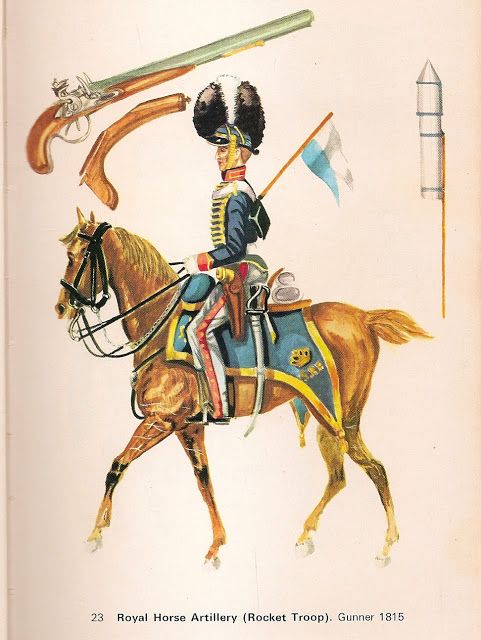
Rocketeer Ref 2
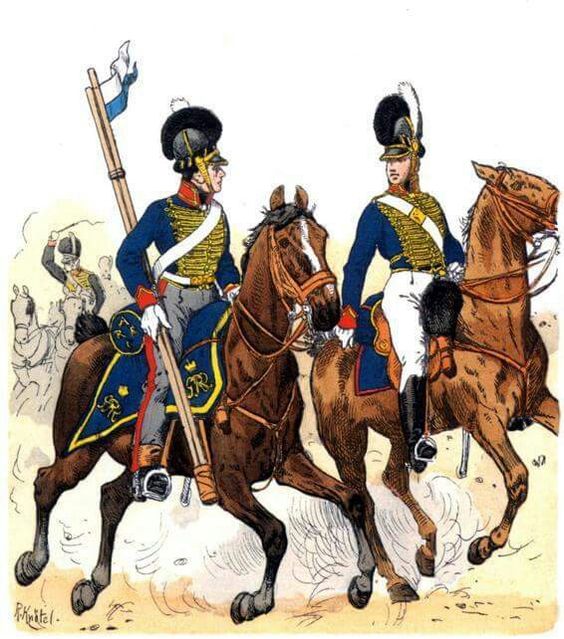
As a result, I changed the saddle roll to two saddle rolls or valises, I also extended the docked tail with green stuff as I thought that it looked a bit short. I also made the rocket sticks from some spears and changed the pose so that the rider was now holding the spare rocket sticks.
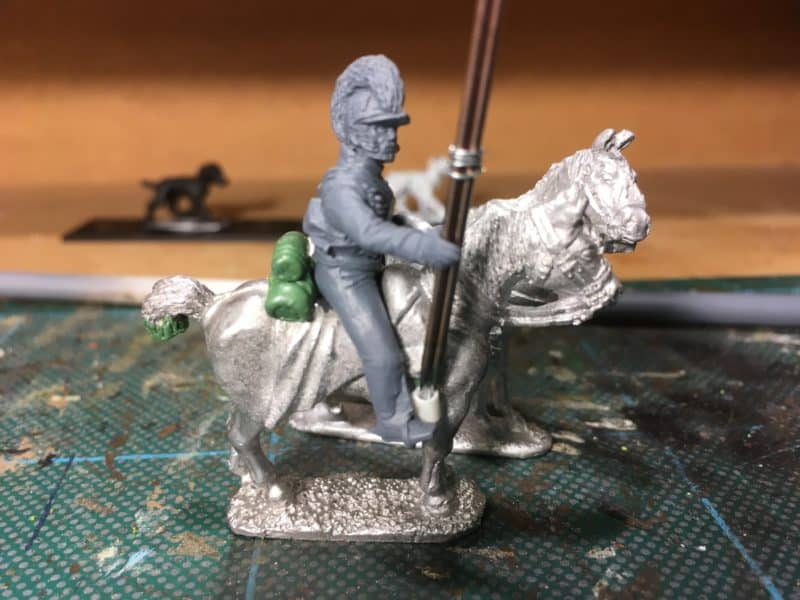
Rocket trooper WIP 2
Having slept on the changes, I decide that I needed to add a stripe and buttons to the troopers’ overall. Again, a dive into the bits box and I found some Evergreen 10/000 plastic strip which I used to make the stripe and some 40/000 rod that I sliced to make the buttons. Evergreen strip is an excellent material to use and reacts well to liquid polystyrene glue, so a few coats of glue and it was relatively simple to mold the stripe to the legs of the trooper. 40/000 is the equivalent of 1mm and slicing this sized rod is a challenge for my eyes but once glued in place, a quick sanding down meant that they too blended in with the trousers. With hindsight, the buttons are a bit on the large side, as is the stripe but the job was done and if I convert another dragoon, I’ll get a smaller sized evergreen rod to slice! I had intended to photograph the conversion in progress but stupidly undercoated the conversion in my rush to get the project moving. Below is a picture of the trooper, now painted.
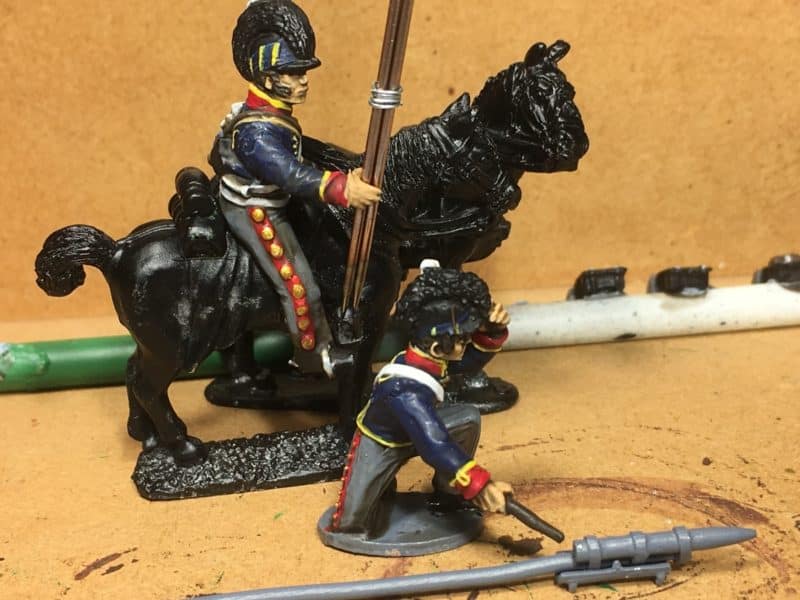
Painted Troopers
The next job was to paint the horses. I decided to change from my usual ‘recipe’ for brown horses and try a much paler brown. So the base coat was Vallejo Flat Earth, followed by Cork brown with a Green Ochre top coat/highlight. The Horse furniture was painted with leather brown, blanket dark Prussian Blue and I used Brass for the blanket detail. With the colours blocked in, I will either use a quick shade or ink to bring out the details.
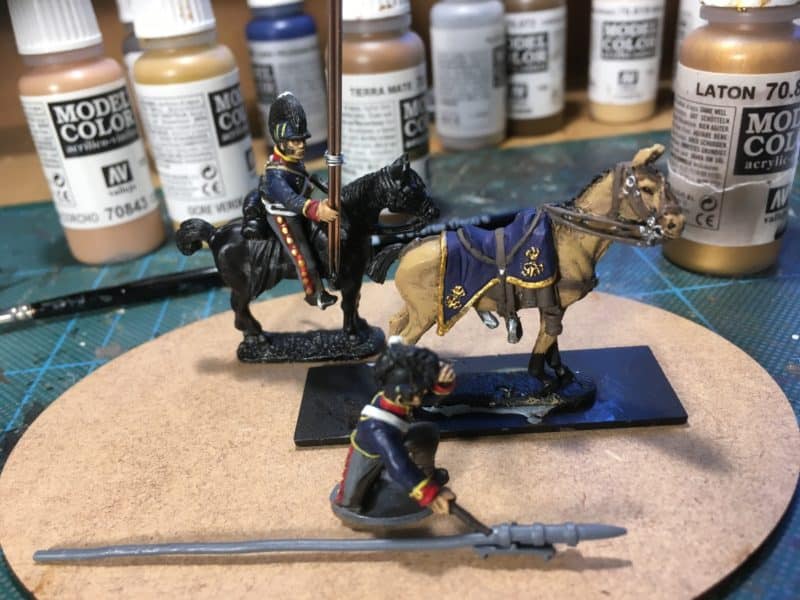
Officers horse colour blocked, awaiting ink wash.
The next task was to get the troopers horse painted. I decided on my usual triad of Chocolate brown, Flat brown and Flat earth for the horse. The rest of the model was painted as above.
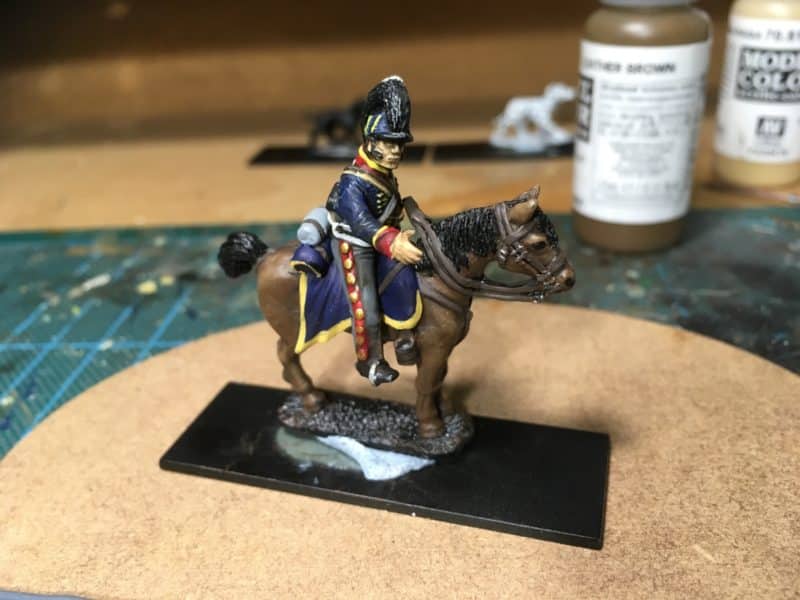
Troopers horse, block painted
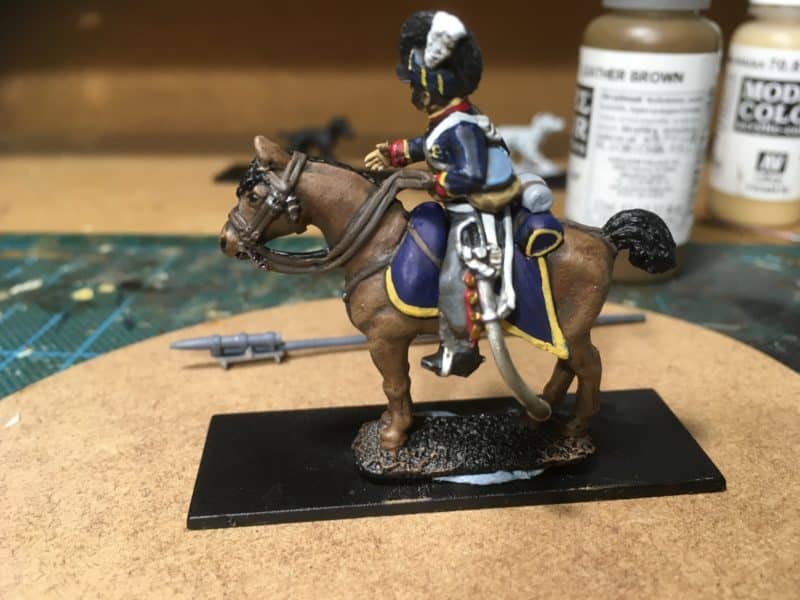
Troopers horse, reverse view.
As you can see, I don’t have a fixed plan of how things should look and use the photographs to modify or correct as I go along! The diorama is coming together though and in the next picture you might notice that I have decided to use a smaller oval base for the diorama and I have decided to ‘quick shade the Officers horse. I will do the same with the troopers horse using the strong tone or dark brown quick shade.
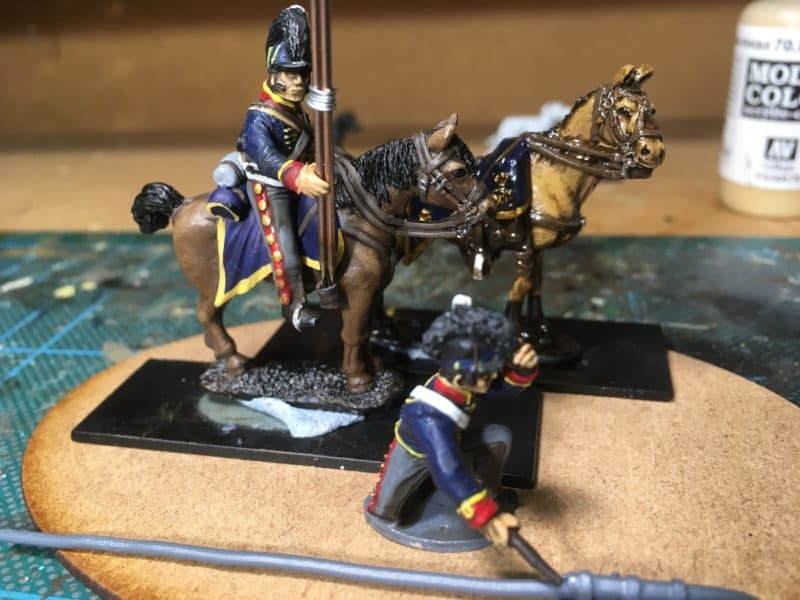
The diorama is coming together!
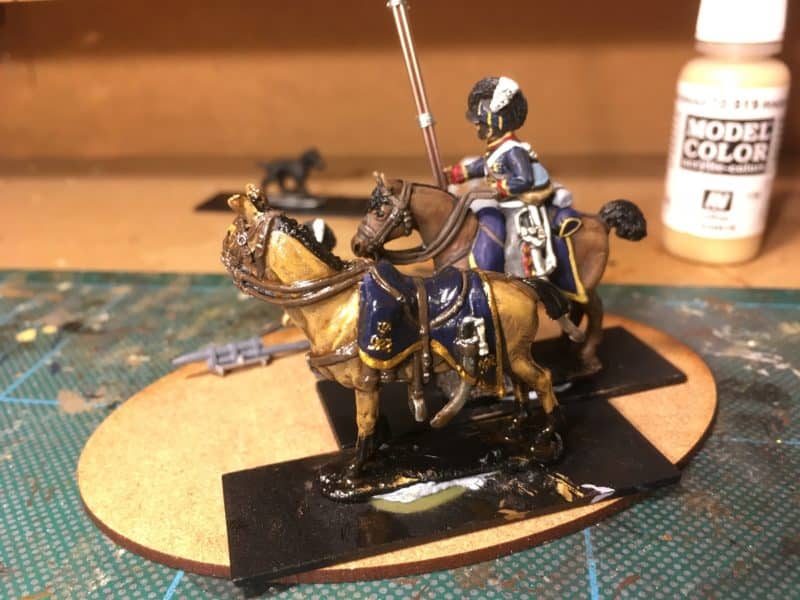
A different view – The quick shade will matt down nicely.
Having had a look at the pictures, I decided to add some socks to the troopers horse.
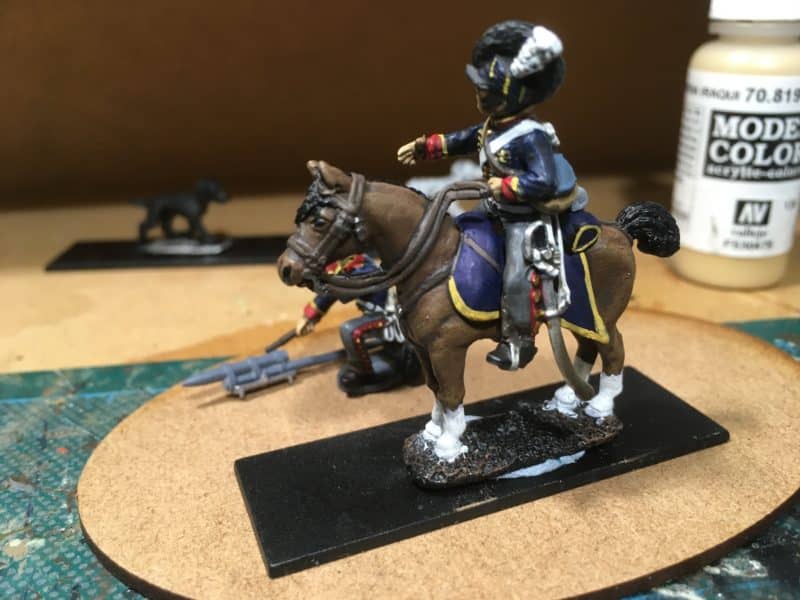
Pull your socks up!
And that is as far as I have progressed with the project this week. I’ll quick shade the troopers horse and then Matt Varnish both horses. I’ll need to highlight some areas on the horse, specifically the blanket and possibily the leatherwork. I’ve also decide to replace the rocket sticks with some Albion Alloys Brass rod that is a bit thinner than the spears that I am currently using. The rocket also needs painting but I am nearly at the basing stage. I think that I will also add some definition to the troopers overalls just above his boots as it doesn’t show up very well.
It is a bit nippy out in my Garage at the moment and even with a heater on, when sitting still, painting, it is easy to get a chill, so my painting sessions are a bit shorter than in the Spring! However, this coming weekend should see a bit more progress – perhaps even basing!
THE COMMERCIAL BIT
Regular readers of my blog will know that most of the materials and models that I use are available post free from my shop here:
It’s worth pointing you to the Evergreen plastics range this week – I find this stuff invaluable when converting.
The bases are from the Sarissa MDF range here:
and if you would like to have a look at my references on the Pinterest site just click here:
Incidentally, joining Pinterest is free. If you haven’t got an account, I very much recommend it as a way of collecting reference pictures.
Happy modelling!
