It might seem that I am jumping around with different projects but there is a method in the madness. I have a Demo game coming up at the Warlord Games Open Day on 20th July here in Nottingham. The NG13 wargamers will be re running a Black powder version of the game ‘Combat at Foz D’Arouce’. We thought that it would be fun to show how Black powder can be adapted to run a Company level game on a small 4′ x 4′ table. Rather than use a British force, I thought that I would get my Portuguese detachment on to the table. Whilst I have plenty of troops, I have no Portuguese Artillery. The Demo game was a good excuse to remedy this.
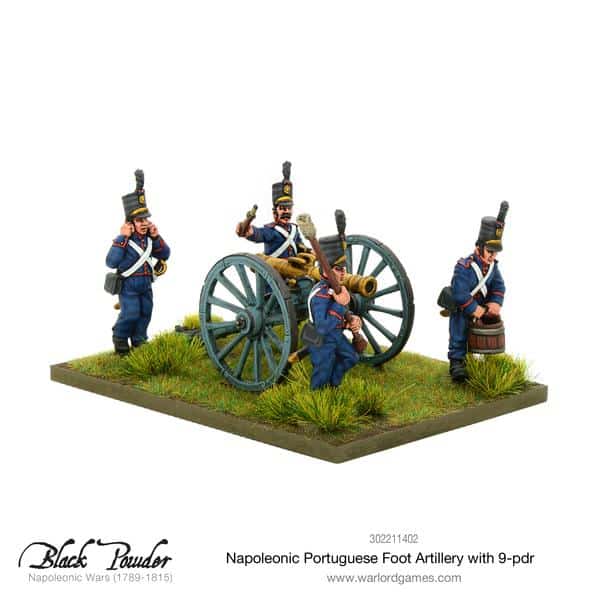
Warlord Games Portuguese 9 pounder.
As you can see, Warlord make a nice Portuguese Artillery set, available as a 6pdr, 9pdr or Howitzer. I went for the 9pdr version and ordered a couple to compliment my Brigade of Infantry, even though I only needed one for the demo game!
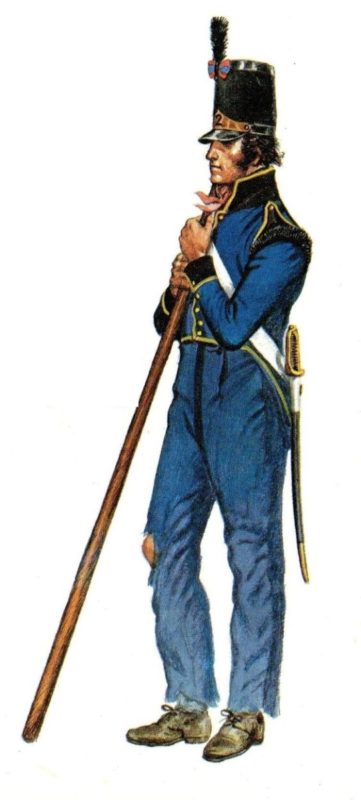
Portuguese Artillery from Pinterest board.
The next issue was to research the colour scheme. I guess I could have taken the easy option and just copied the Warlord photo but I wanted to check to see if there were any alternatives. Unfortunately, that resulted in the usual confusion as different references gave slightly different schemes. The Osprey book that I had gave the colour scheme as ‘Dark blue coat of infantry style with red collar and cuffs…’ However, the Napoleonic source book gives the uniform as ‘Dark Blue infantry style coats with black facings and plumes.’ It also goes on to explain that there were four different regiments but gave no idea if they had different uniforms. As you can see from the picture above, The second Regiment appeared to have yellow piping – nice, but is it accurate?
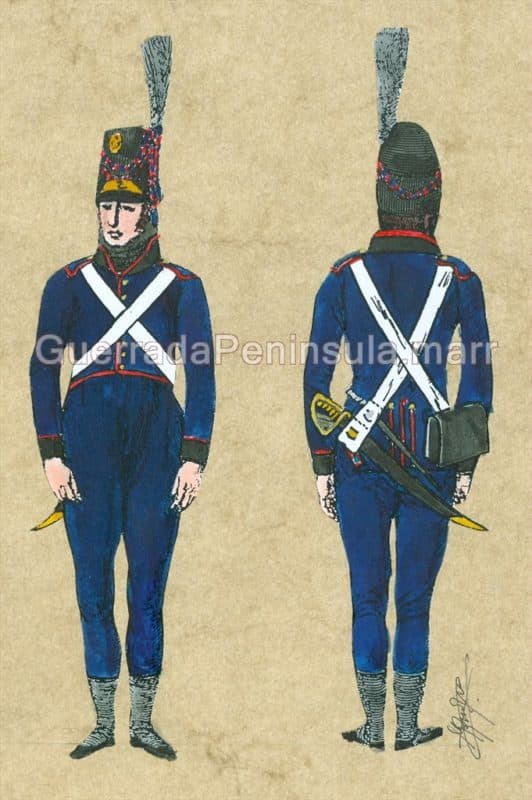
Another version of the same regiment?
After trawling through the rest of my references and numerous google and pinterest searches I resorted to asking on the TMP forum. As ever, I received some excellent help and information. I was refered to the Osprey books again – this time to volume three of the Portuguese army – I only had two volumes so had missed this! The information was:
If you have Osprey vol 3, turn to page 3, Table C.
It shows the regimental distinctions for the four regiments (1st to 4th). Coat blue, then collar and cuff in a combination of blue or black – blue blue, black black, black blue, blue black in that order.
Turnbacks and piping were red for all regiments. Britches were blue in winter, white in summer. Gaiters black. Buttons yellow.
Stovepipe shako replaced barretino in 1810. Brass plate. Black plume.
Does that help?
Another contributor kindly supplied the above picture. So on balance, I went for the second Regiment but despite my liking for the yellow piping, I have gone with red!
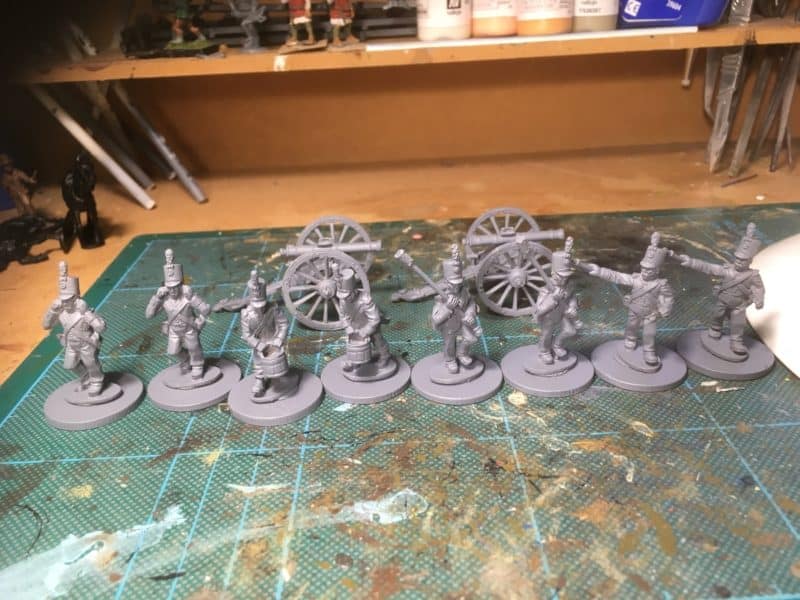
Portuguese Artillery – primed!
So, decision made as regards the colour scheme that I would use, it was on with the painting. As usual, I will batch paint, which will involve a combination of colour blocking, Army Shade and highlighting. First job was to clean the figures, attach them to temporary base and prime in Army Painter grey.
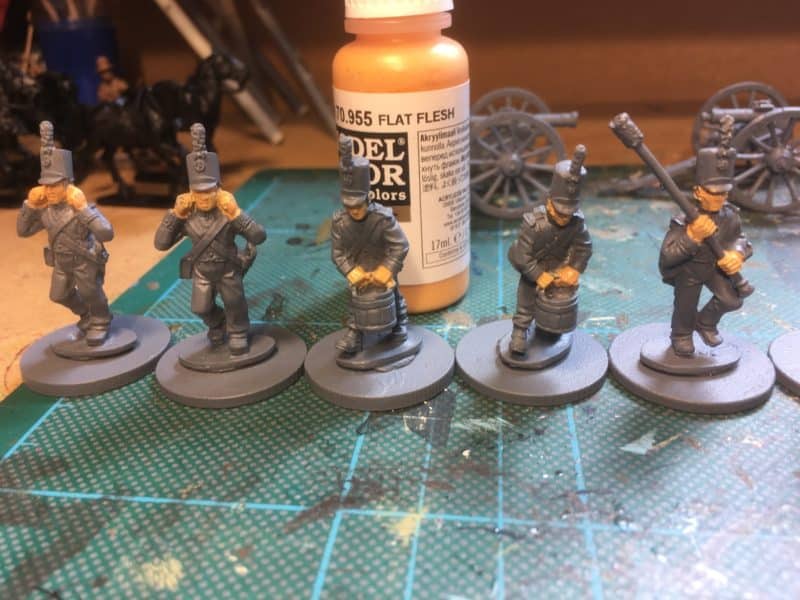
Portuguese Artillery – Flesh
I use Vallejo 70955 flesh for the face and hands.
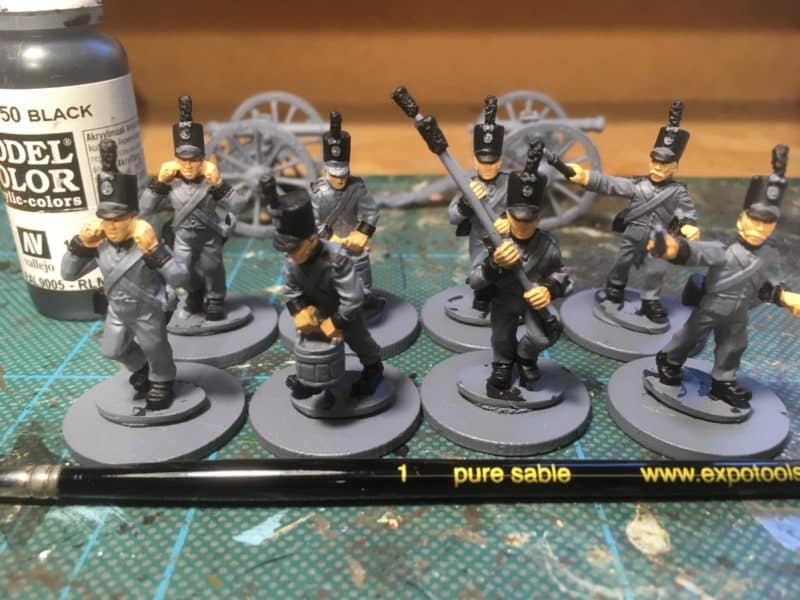
Portuguese Artillery – black
Vallejo 70950 black for plumes, hat, facings ( collars & Cuffs) boots, cartridge case and sword scarbard.
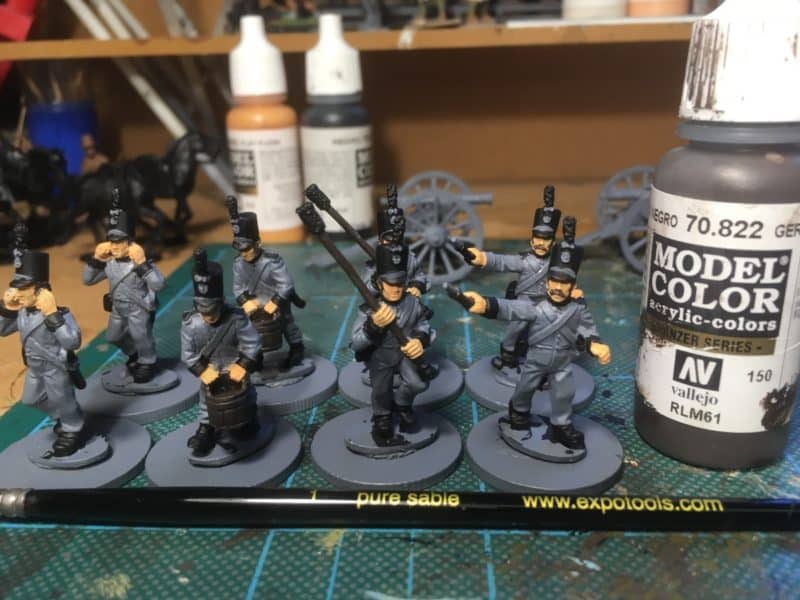
Portuguese Artillery – hair and accessories.
I used 70822, German Camouflage black brown for the hair (I could have used Black but wanted a slight contrast between the hair and shako) and as a base for the Artillery equipment.
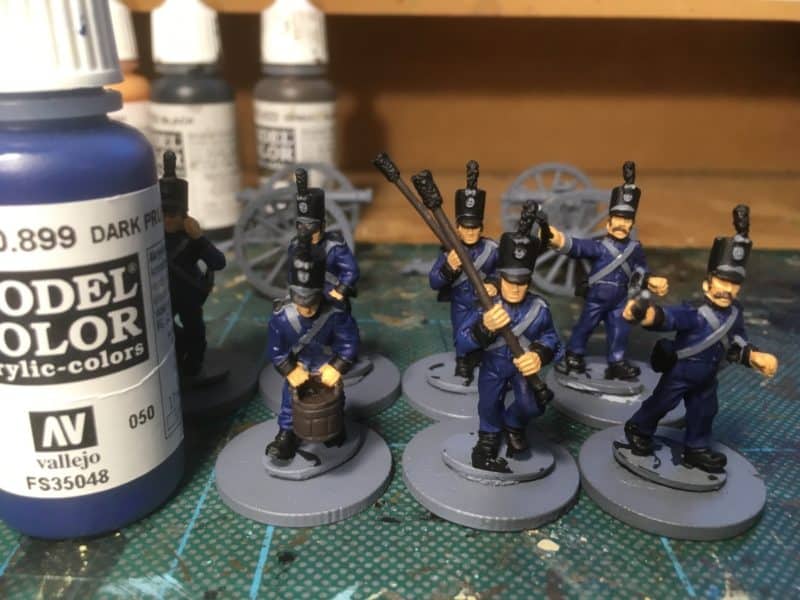
Portuguese Artillery – Uniforms.
The uniforms were painted Dark Prussian Blue, Vallejo 70899.
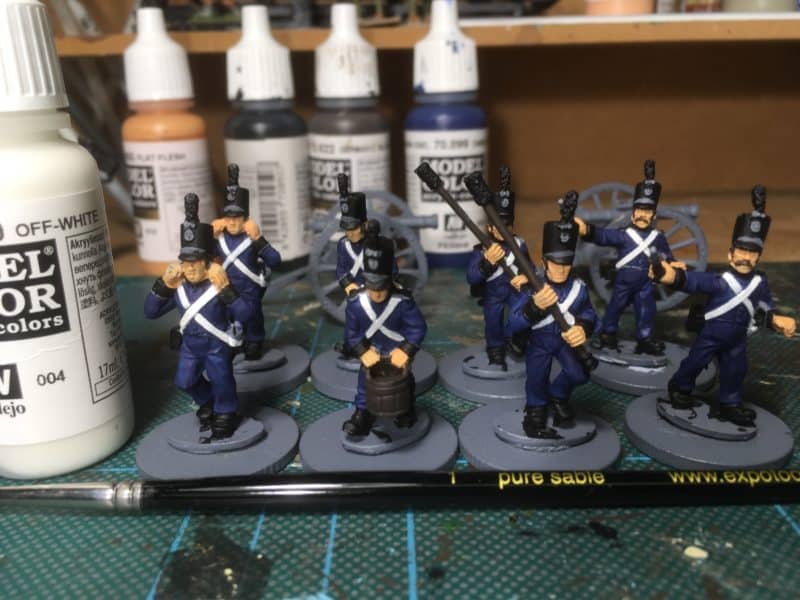
Portuguese Artillery – white belts
I use Vallejo Off white 70820 for the belts and prefer the softer look to this than the normal Vallejo white.
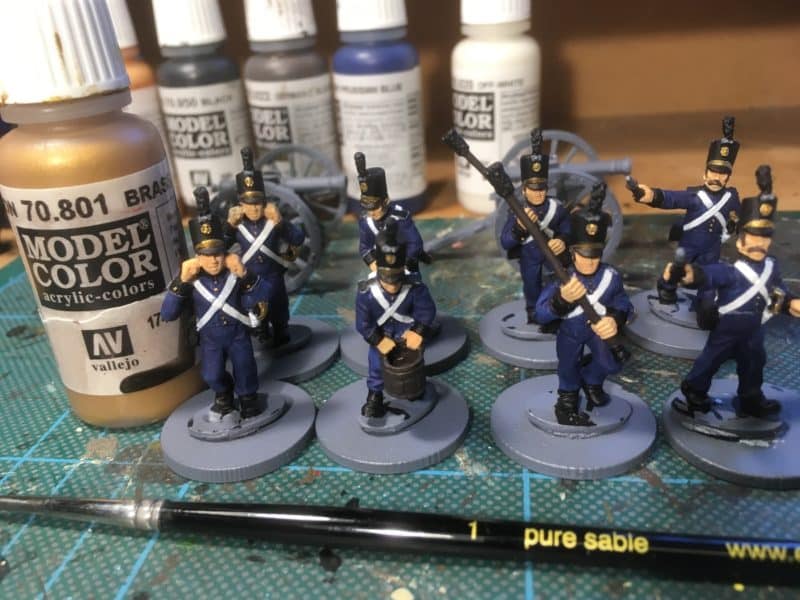
Portuguese Artillery – Brass
Vallejo 70801 brass for the cap badges, plates buttons and sword hilts & scabbard detail. With hindsight, I have gone out of my usual sequence here. I should have done the red piping next and the brass last. It keeps the brush cleaning water free of metallic specs and the piping will run over the buttons as I was to find out…
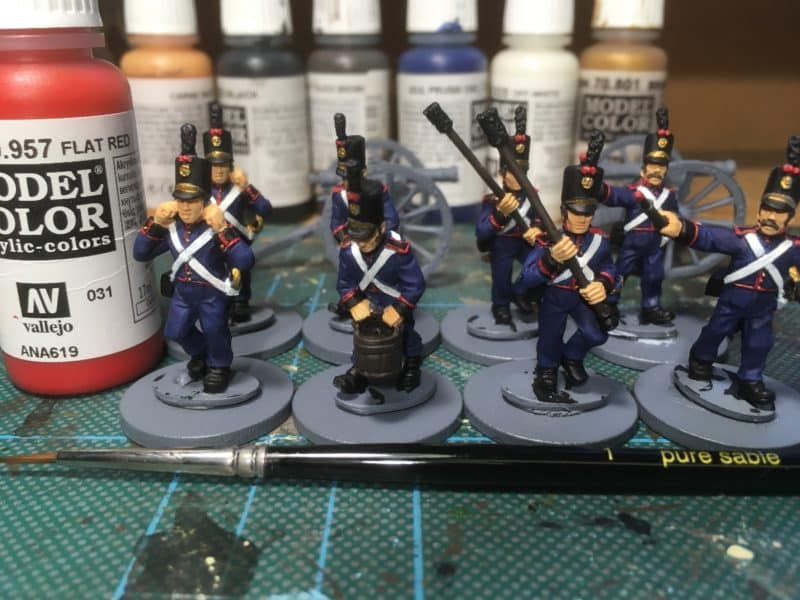
Portuguese artillery – Red Piping
The red piping, turnbacks and ribbons on the shako were done with Vallejo 70957 red and the figures are nearly complete. That’s as far as I have got with them but all being well, they will be completed for next week and I will return with pictures of them based and ready for action!
Still to do – I will highlight the Plumes and ram rod heads in black grey, add the blue ribbon and detail to the shako’s, add the detail to the buckets and other equipment and then use quick shade to bring out the detail and seal the figures. A quick coat of matt varnish and re highlight the white belts if necessary.
The beauty of the batch paint method is that there’s no need to do the figures in one sitting. In reality, these figures could be completed to this stage in a few hours. However, my back and eyes wont last more than an hour and it’s rare that I get that much painting time in one session. The batch paint sequence allows me to make progress even in the smallest time gap. So Although I watched the Footie on Tuesday, I used half time to slap some paint on!
THE COMMERCIAL BIT
First of all, if you would like to visit my pinterest board to see other pictures of Portuguese Napoleonic Army, click here:
To see the TMP discussion, click here:
We sell a huge range of Vallejo paints and finishes in our shop. Just click below:
If you are looking for a particular paint, use the code that I have given in the shop search bar.
Happy Modelling!
