I thought that it might be useful to document a step by step guide to painting WW2 British infantry, as much for my own reference but I hope that it might be useful for other wargamers. The figures that I am using are Crusader Miniatures British infantry. I wanted some additional troops for my growing BEF force and fancied a bit of variety from the superb Warlord BEF figures. The Crusader miniatures are every bit as good, both in terms of sculpting and casting and completely compatible size wise. However, I had made a mistake in thinking that these were early war as opposed to the Late War packs in the Crusader Miniatures range. I am by no means an expert on uniforms of WW2 but these figures are missing the gas mask pack worn on the chest, the rifle bandoleer and the entrenching tool is a two piece item rather than the earlier one piece. I suspect that this means that a purist would say that they are not suitable to join my BEF force. Fortunately, I am by no means a purist and they look great, so they are in the platoon!
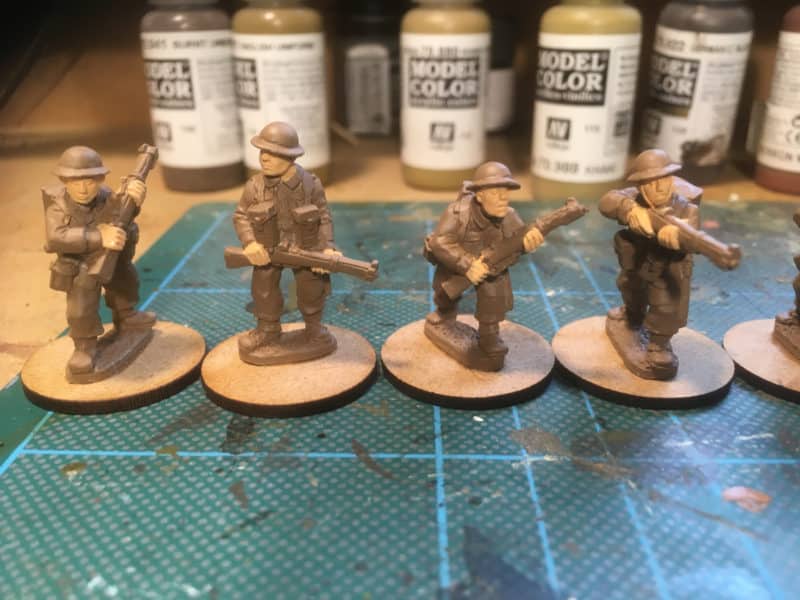
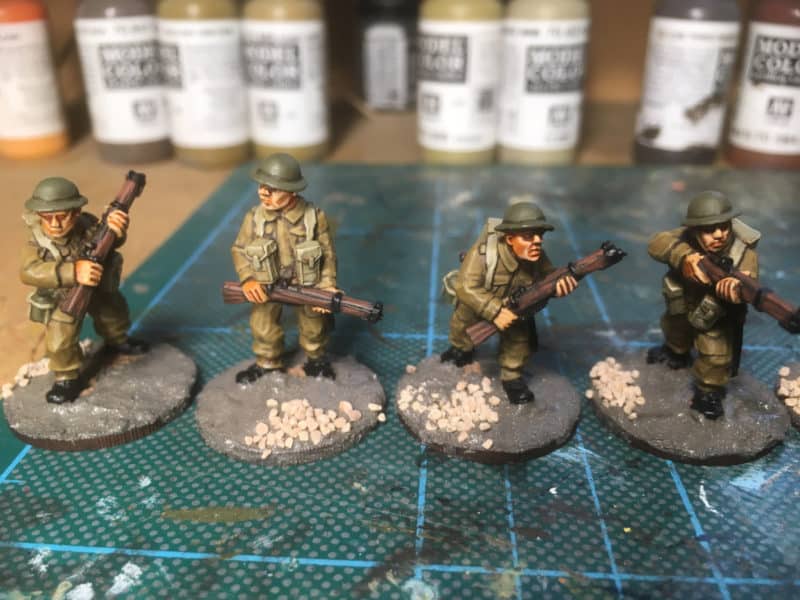
The picture above shows four of the figures, cleaned up, primed with leather brown Army Painter spray, attached to Sarissa 25mm MDF bases and the first vallejo colour applied, Vallejo Flat Flesh 70955. Unless specified, all of the paints used are from the Vallejo model colour range.
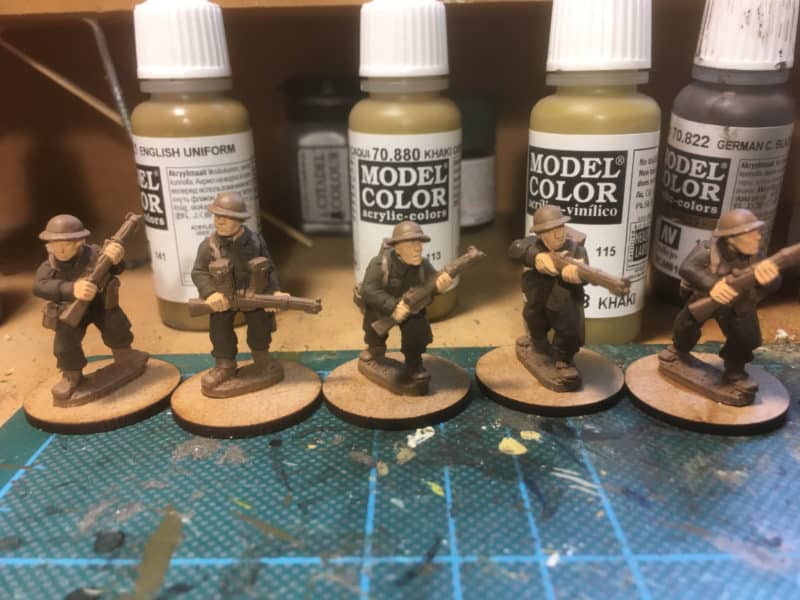
All of the uniform is painted with Burnt Umber 70941.
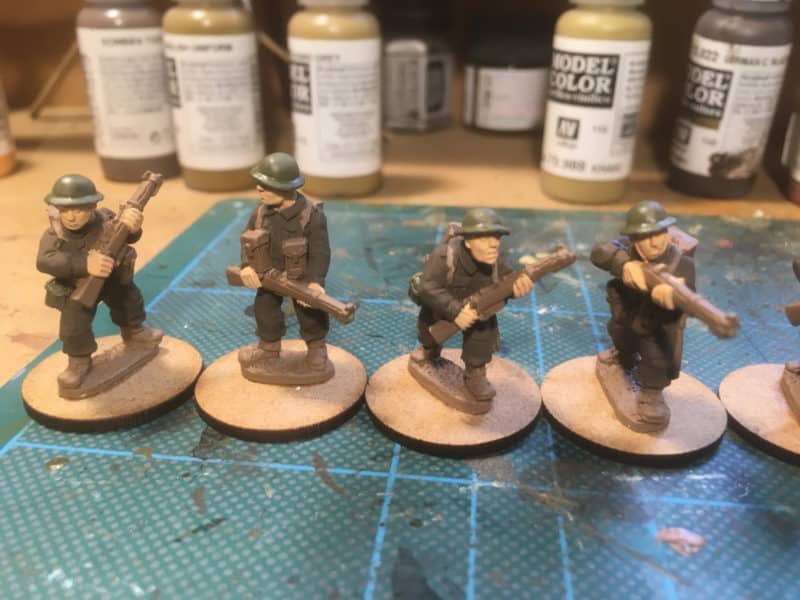
The helmets and water bottle are painted with 70887 US olive drab.
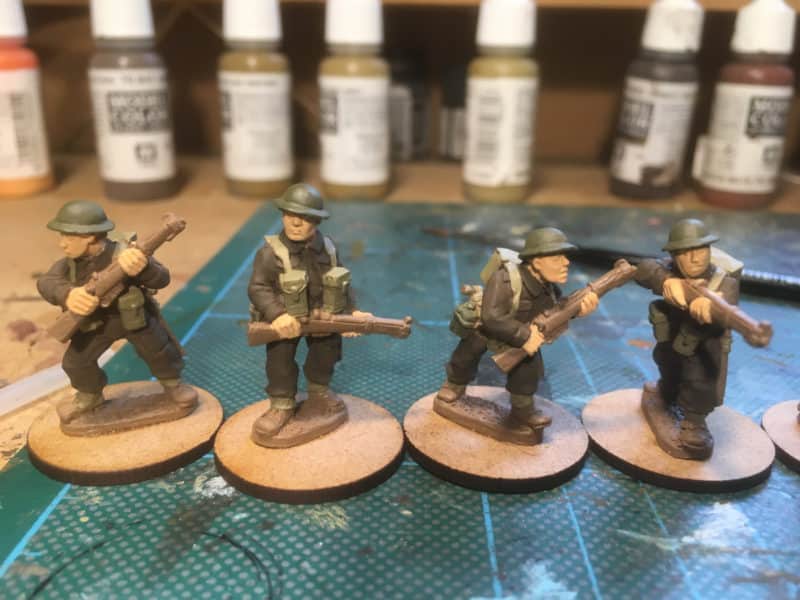
The webbing, packs, belt and gaiters are painted with 70988 Khaki.
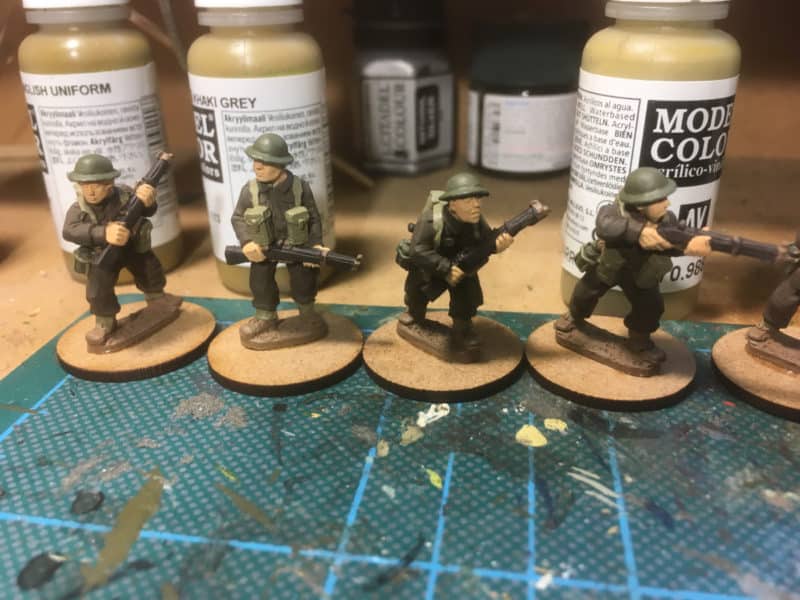
The rifles and entrenching tool handle were painted with German Cam. Black Brown 70822. I also paint the hair with the same colour – not that there is much to see!
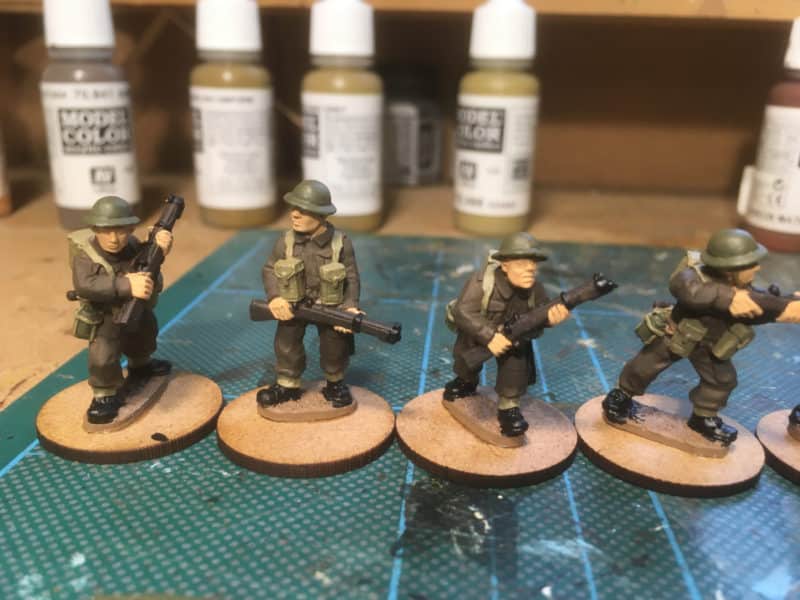
The detail on the rifles, bayonet cover and boots were painted Black 70950.
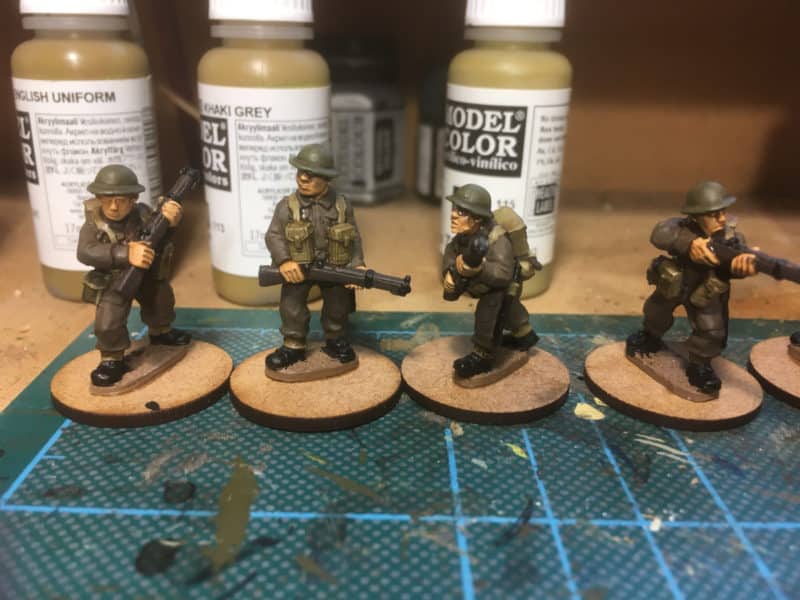
The faces, hands, Helmets, water bottle and all khaki were painted over with Army painter soft tone ink. It doesn’t matter if you get some on the uniform, you will be over painting this in future steps
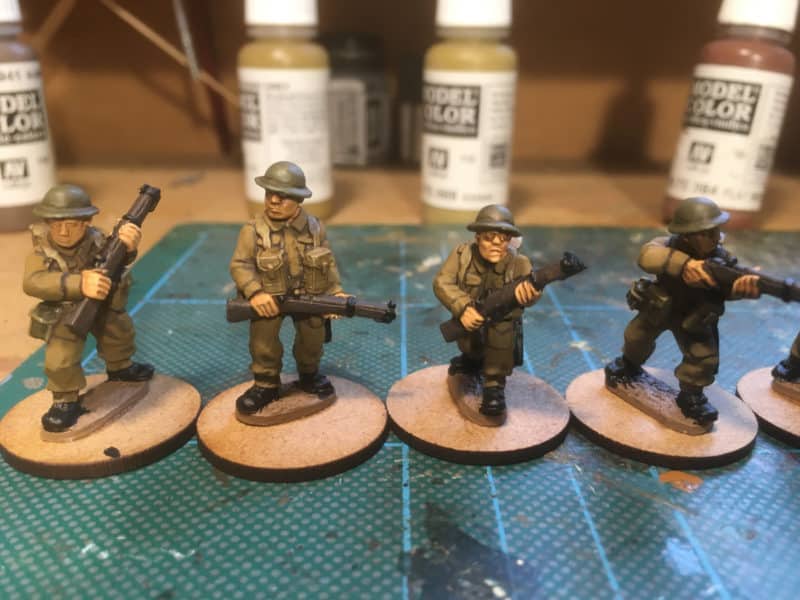
The uniforms were painted with English uniform 70921, leaving the burnt umber in the shadows and creases.
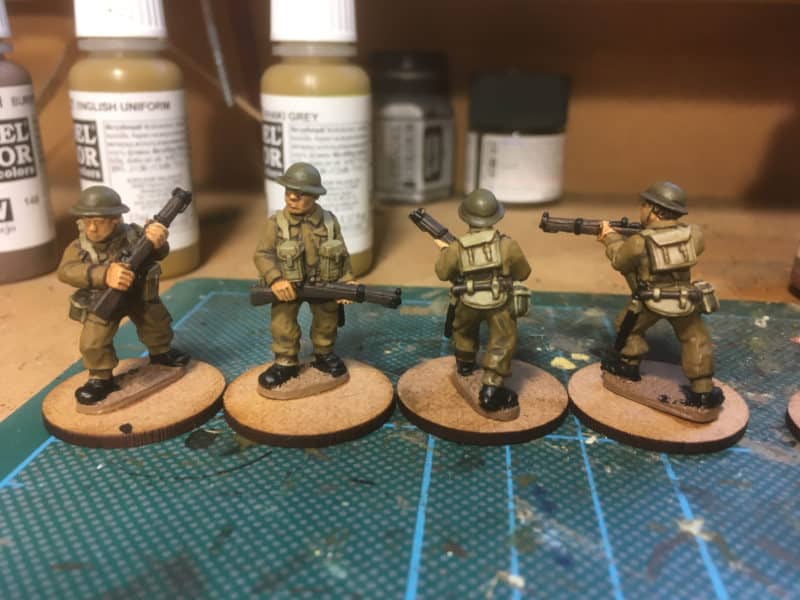
The Helmets and water bottles were repainted with 70887 US Olive drab, leaving some of the shading at the base of the helmet and around the webbing of the water bottle. All the Khaki, except the gaiters was repainted, again, leaving the shadows caused by the soft tone ink. I decided to leave the Gaiters a dirtier dark colour.
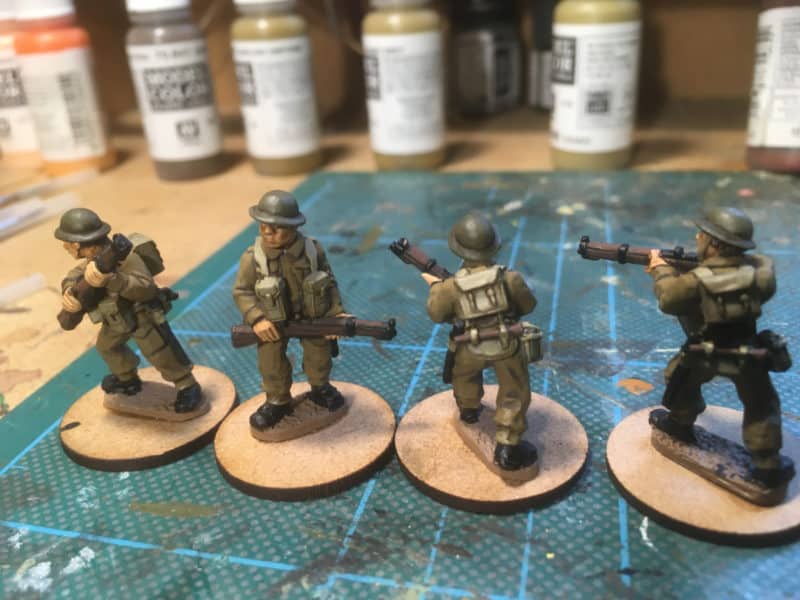
The Webbing and packs are highlighted with German Camouflage Beige 70821. The wood on the rifles highlighted with flat brown 70984.
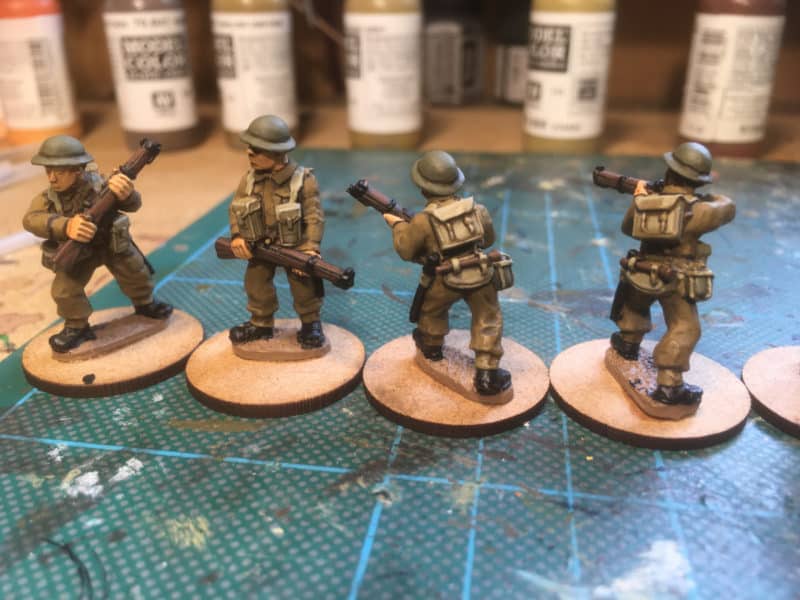
The uniform is highlighted on the tops of the creases with 70880 Khaki Grey.
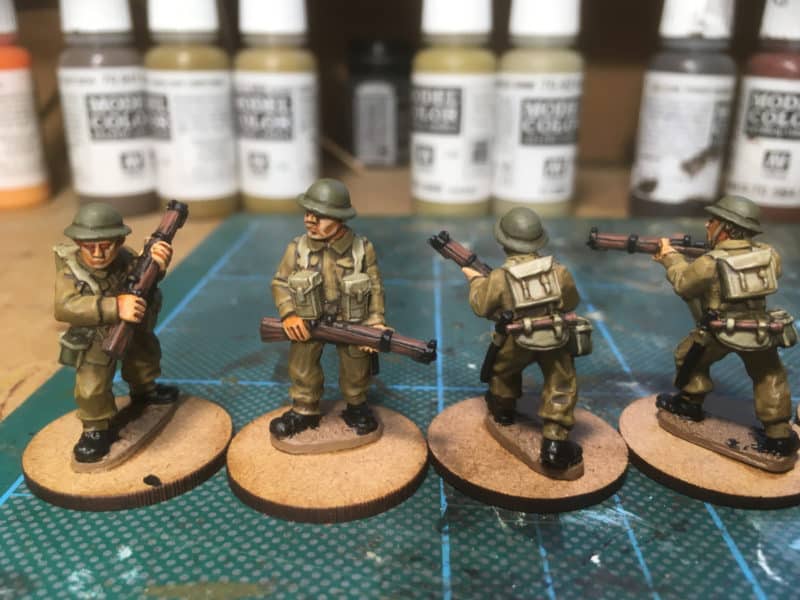
The flesh is highlighted with Flat Flesh 70855 and then skin tome70815. The rifles and shovel handle highlighted with 70846 Mahogany Brown.
The flesh is highlighted with Flat Flesh 70855 and then skin tone70815. The rifles and shovel handle highlighted with 70846 Mahogany Brown.
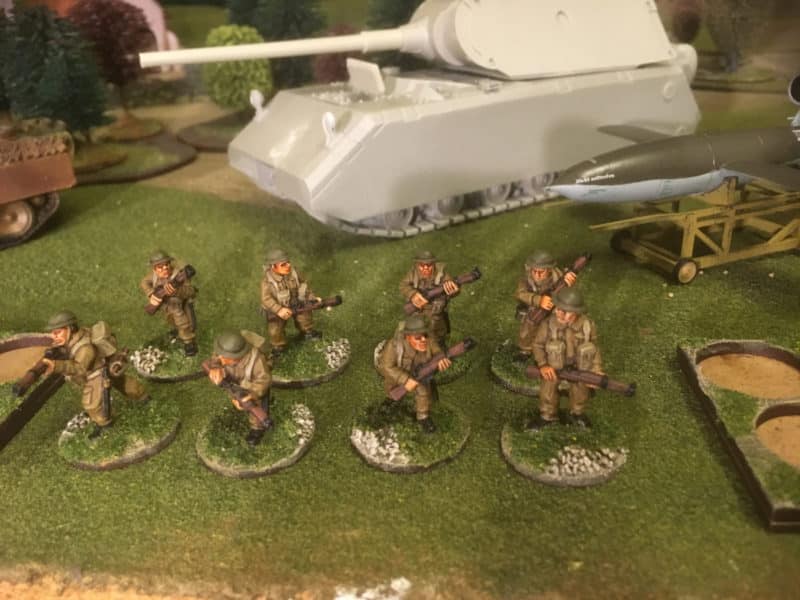
Bases painted with Dehli Bazaar Brown emulsion and then highlighted with an Iraqui sand mix. Sprinkled with Woodlands Scenics green grass T1349.
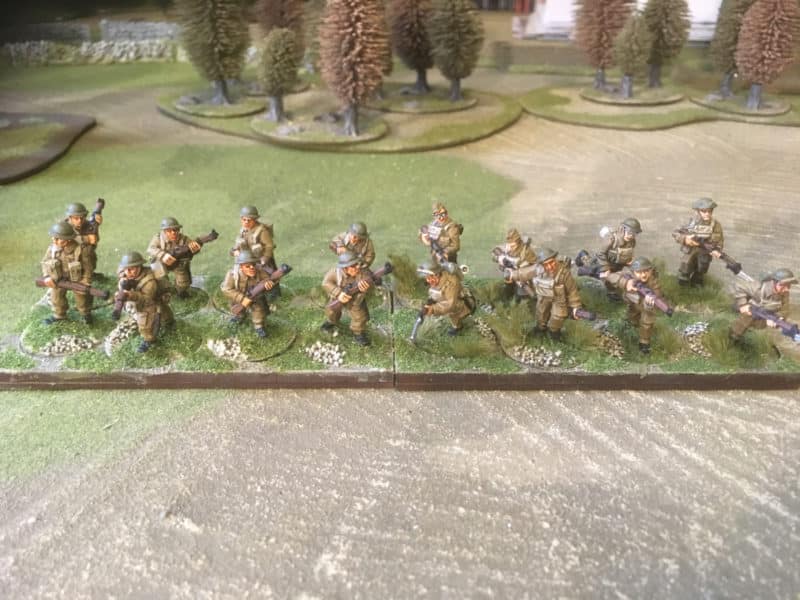
Crusader and Warlord WW2 British Infantry
And that’s another section completed – well nearly. They need a bren gun team to join them – I’ll get that painted later. Here’s a final shot of the two sections that I now have completed. On the right, the warlord figures, on the left, Crusader. They are in Movement trays for organisational and display purposes. If they ever do take to the table, the movement trays wont be in use.
THE COMMERCIAL BIT
Almost all of the paints, miniatures, bases, basing materials and anything that you are likely to need for your hobby are available POST FREE at the time of writing, from my shop here:
You can find the Warlord Games WW2 British sets ( including the Dads Army set) here;
we carry a huge range of Vallejo paint and accessories here:
Sarissa bases and movement trays are available here:
Crusader miniatures are available from North Star Games or from Arcane via special order email.
Happy Modelling!
