In my last blog I gave some back ground into how and why I was painting Nassau troops for my Napoleonic Army. This week is just a walk through of the basic steps in batch painting the unit. I was on a fairly tight deadline with about three weeks to finish the unit. For me getting 24 troops finished in that time would be a record but I had a plan! Actually, the unit would eventually consist of 36 troops but I quickly realised that this was just not going to happen. I am using the Perry’s metal Nassau troops to build my unit and my painting guide is the plate from the Mont St Jean site – see last weeks blog for more details.
I wont go through the preparation stage other than to say although the Perrys models are beautiful sculpts, some of the castings need a bit of work to get rid of the flash and feeds. There was nothing that couldn’t be sorted with a quick file and scrape with a scalpel. Once cleaned up, I blutack the models to a temporary base and using the Army Painter Green skin primer, sprayed the figures. When batch painting, I usually work on batches of 6 to 8 models to start with. That said, if I am familiar with the colour scheme, I have painted up to 24 in one go.
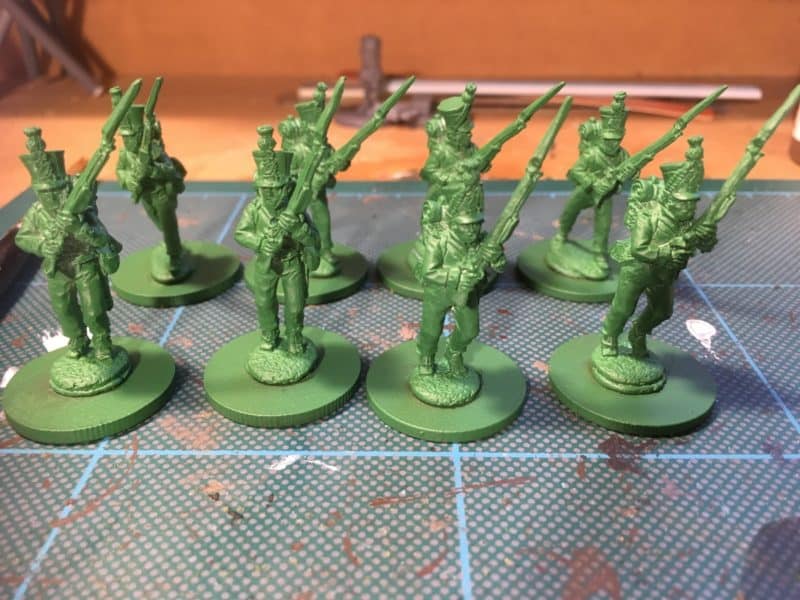
The first batch of Nassau primed with green skin!
Once I had checked that primer had covered the models, the batch paint starts with the faces and hands. I use Vallejo colours from now and I will list the colours used at the bottom of the blog. With the flesh done, my next colour is usually Black, to paint the hats, boots, sword scabbard, cartridge case, collars and cuffs.
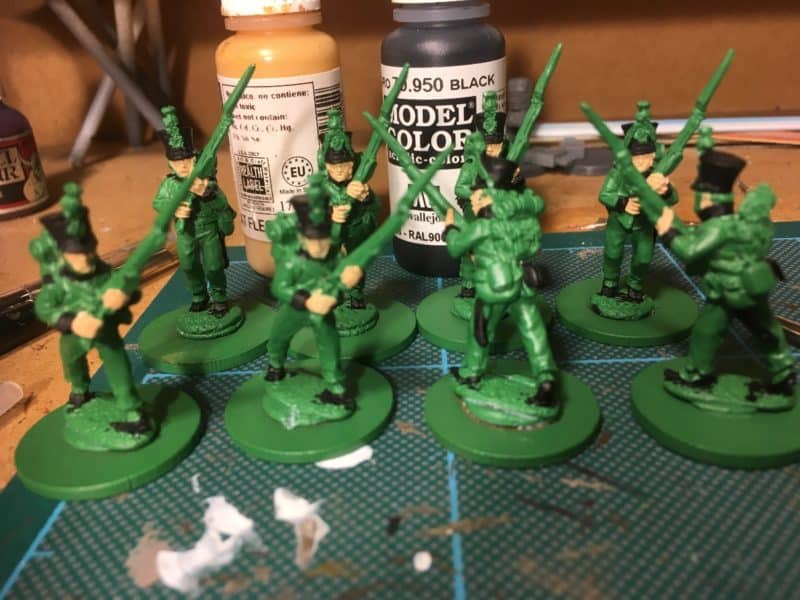
The next stage is to work through the equipment. I used leather brown for the hair, backpack, bayonet scabbard, and water bottle strap. This is an example of me cutting corners – if you want a more professional look, you would vary the hair colour and use different shade of brown for each item but these are war games figures and I am on a deadline! I used yellow ochre for the straps, off white for the food bag, black grey for the water bottle and sea grey for the blankets.
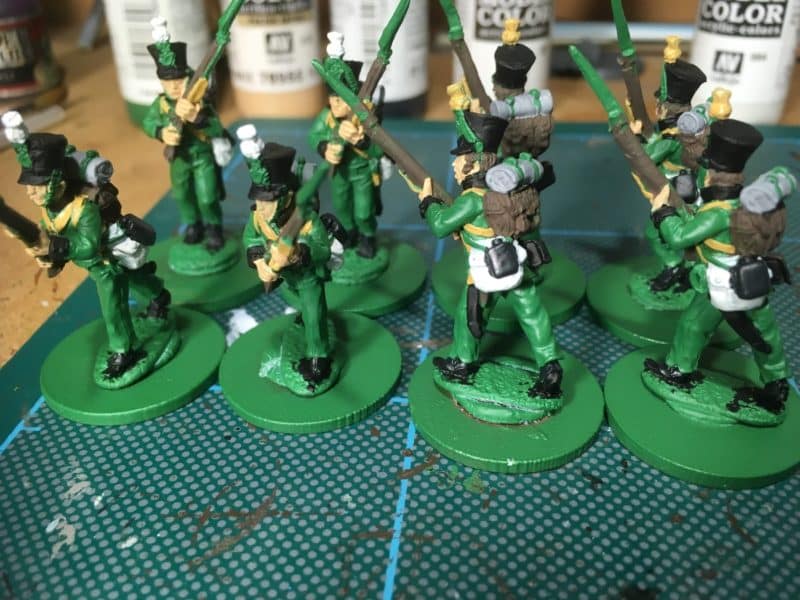
Nassau, main equipment done.
Each of the centre companies have a different coloured plume on their hats. Company 1 is yellow, Coy 2 is white, Coy 3 is Blue and Coy 4 is black. Orange was used to paint the rosette on the shako. The next stage was to paint the metallic colours, brass for the hat badges and chin straps, detail on musket and sword. I use steel for the muskets and bayonets. I also painted the piping around the collar and cuffs and tidied up any obvious errors.
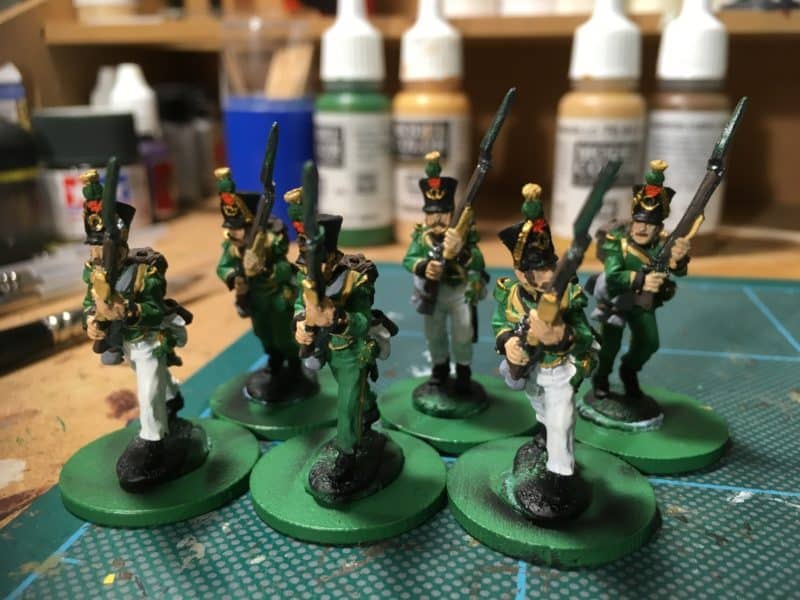
Voltigeurs block painted
The picture above is a bit of a cheat as this is the Voltigeur company that actually was not ready for the battle! However, it does show the figures at the block painted stage. The figures are now ready to be painted in quick shade – I use the black or dark tone. Note that I don’t dip the figures as suggested by the manufacturer. I find this wasteful and messy. Simply use an old brush to apply the quick shade and you will have a better control over the finish. As a side issue, I decided to give some of the light company off white trousers, just for a bit of variance.
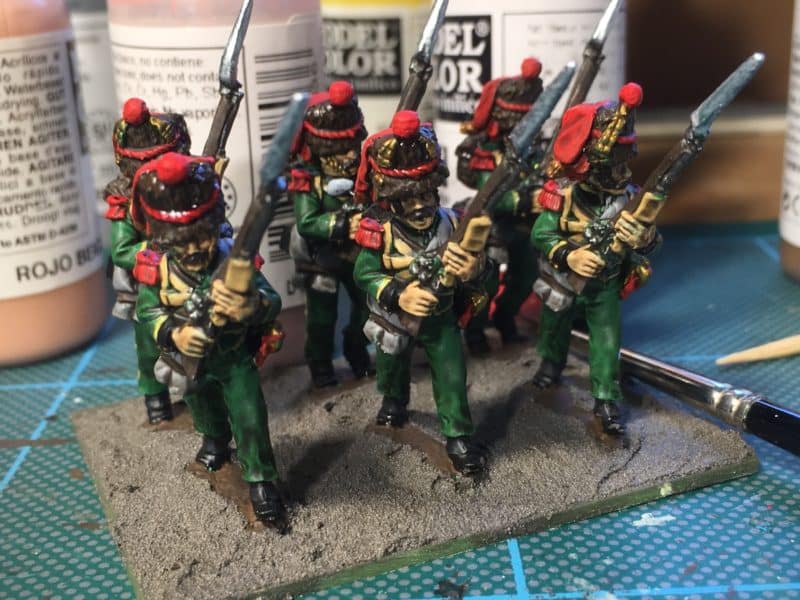
Nassau Grenadiers – quick shade applied
The picture above again is a bit of a cheat in that these were also not ready for the battle but it shows a unit with the quick shade applied and the first coat of matt varnish. I have now resorted to brushing on matt varnish and currently use the artists Galleria varnish. I have had a few recent mishaps with spray varnish and the Galleria seems to give a better finish.
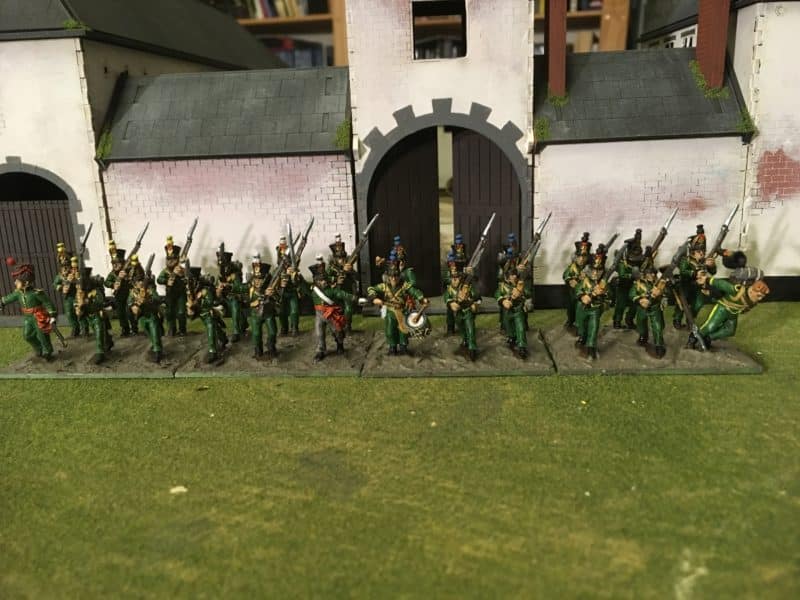
Nassau line Companies ready for basing!
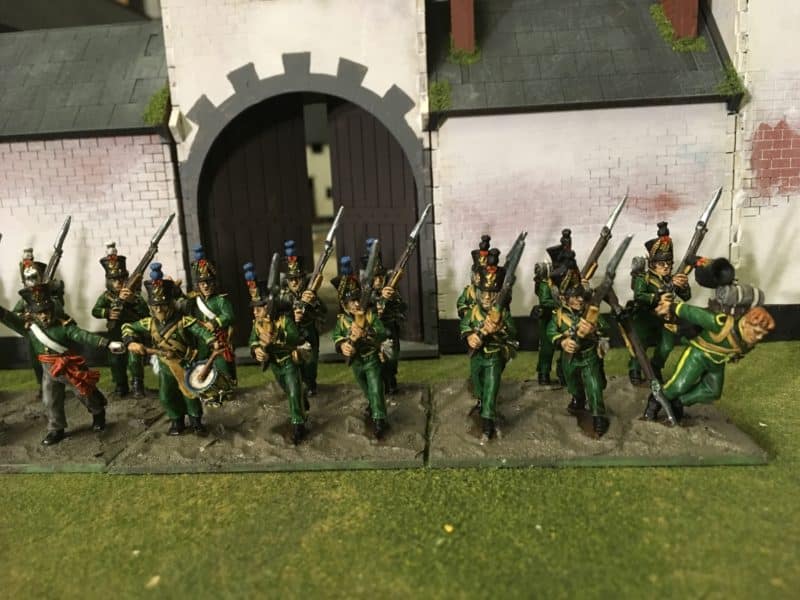
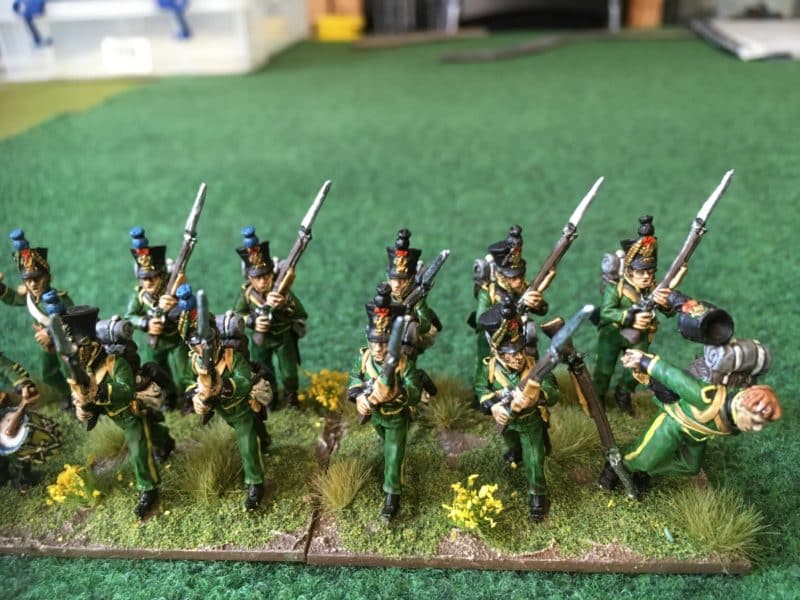
A closer look at the Nassau line
As you can see from the pictures above, the unit of 24 is complete and ready for basing. The figure on the end is from a the casualty pack and I added him in for a bit of variety. To base the figures, I use Renedra plastic bases or I am happy to use the Sarissa MDF bases. In this case, my haste led me to choose Renedra as I had some spare at home (I usually use wood bases for metal figures, plastic for plastic figures). I thought that I was using 60mm by 40mm but in my rush, I picked up 60mm by 45mm by accident. It’s not really an issue for me as depth of bases is often of no particular consequence in rules sets and certainly not in Black powder. I will be more careful in future!
When using the Vallejo paste , there no need to glue the figures to the base, the paste will secure the models. Just draw some of the paste up around the base to hold the figures in place. Once the paste is dry, I give the base a coat of Vallejo Chocolate brown to blend everything together and then add some Iraqi Sand to provide highlights.
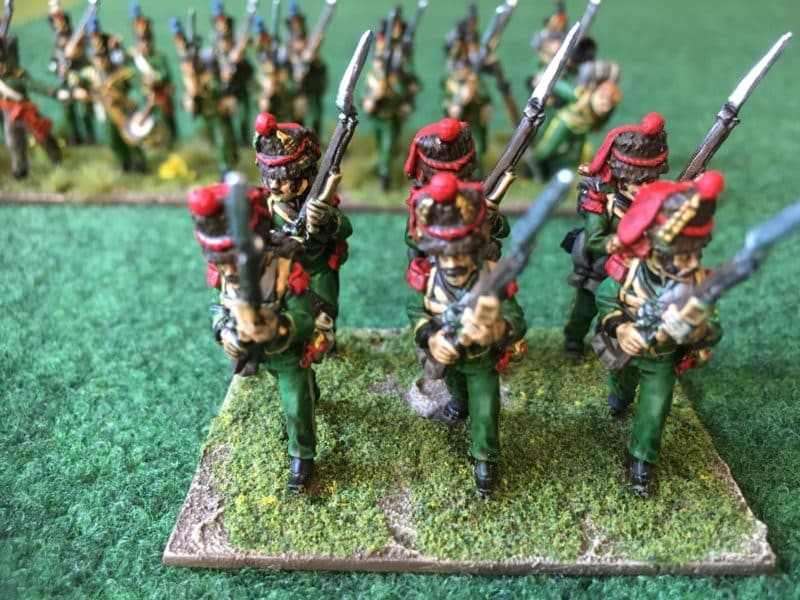
Nassau Grenadiers based
The picture above shows the Grenadiers based and I have added some Woodland Scenic scatter to represent grass and to help blend the bases together. The final part of the process is to add some grass tufts and a few flowers – yellow seemed appropriate.
The Nassau line based and ready for action
The picture above shows the bases completed. There is one step that I have missed out from my narrative. Once the figures have received their coat of matt varnish, I will go back over some of the lighter colours and metallics to tidy them up and make them shine out. So the collars ,cuffs and piping were highlighted with flat yellow, I used gold to highlight the brass and silver for the bayonets. I also retouched the yellow ochre where the quick shade had ‘dirtied’ it down too much.
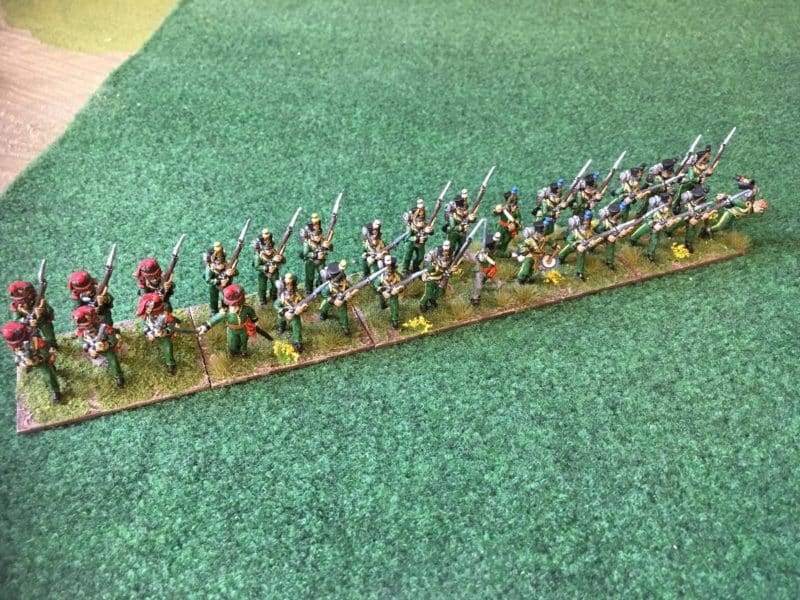
Nassau – Ussingen 2nd battalion almost complete. Just the Voltigeurs to add.
So the 24 figures in the line Companies were completed ready for the battle and I have nearly finished the Voltigeurs and Grenadier company’s. I now have a large unit of Nassau to add to my Napoleonic army. Next up, the small Jaeger unit and of course Prince Bernard of Saxe-Weimar to complet and my lead mountain will return to it’s starting level in February.
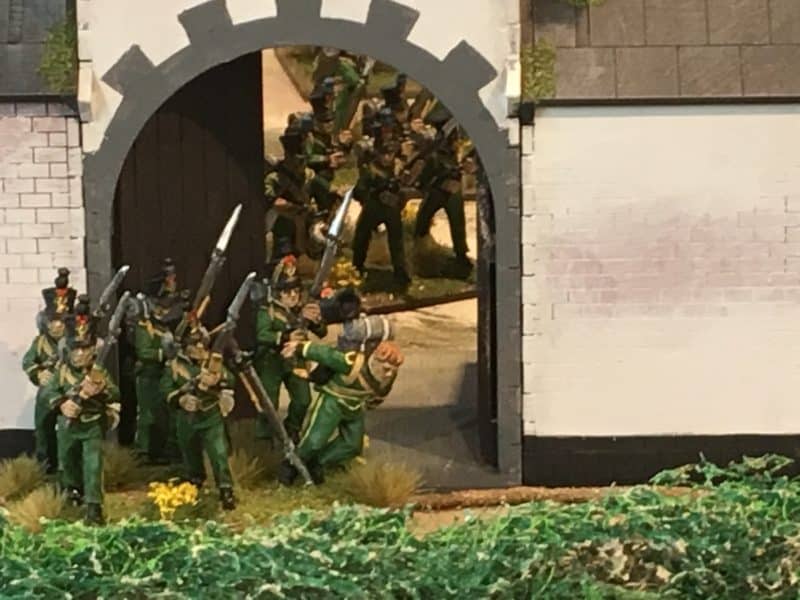
Despite taking casualties, the Nassau hold the gate at Papelotte!
The picture above shows the Nassau ‘in action’. Papelotte was held – whether the battle was won is another matter! Below are just some shots of the finished Battalion taken in front of Papelotte at a later date.
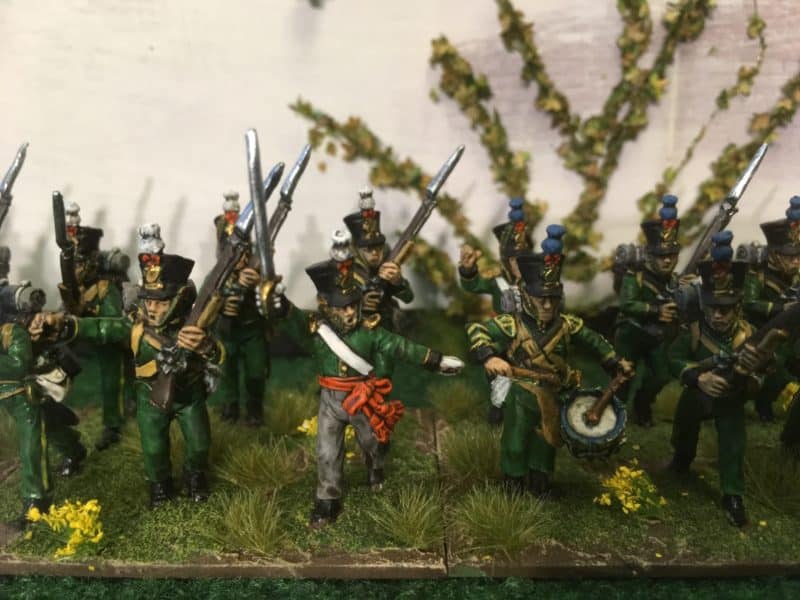
Nassau command – still waiting for a flag!
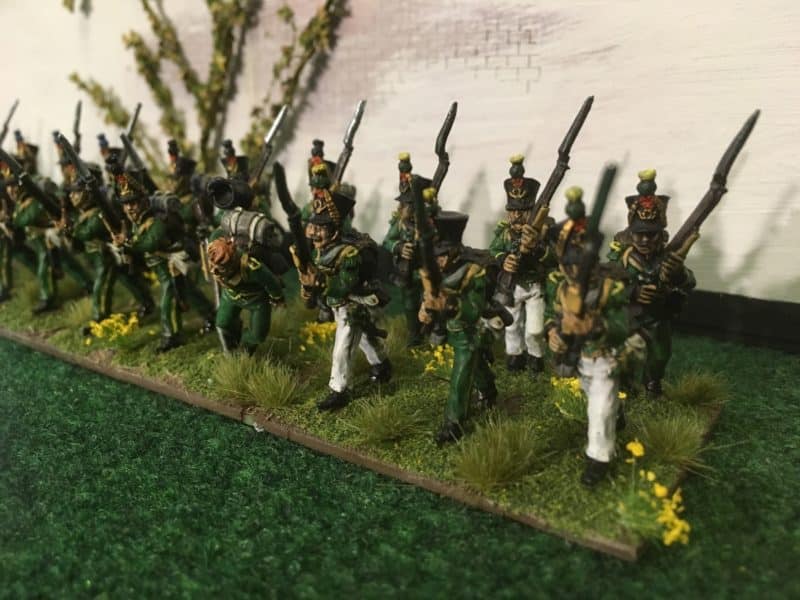
Nassau Voltiguers
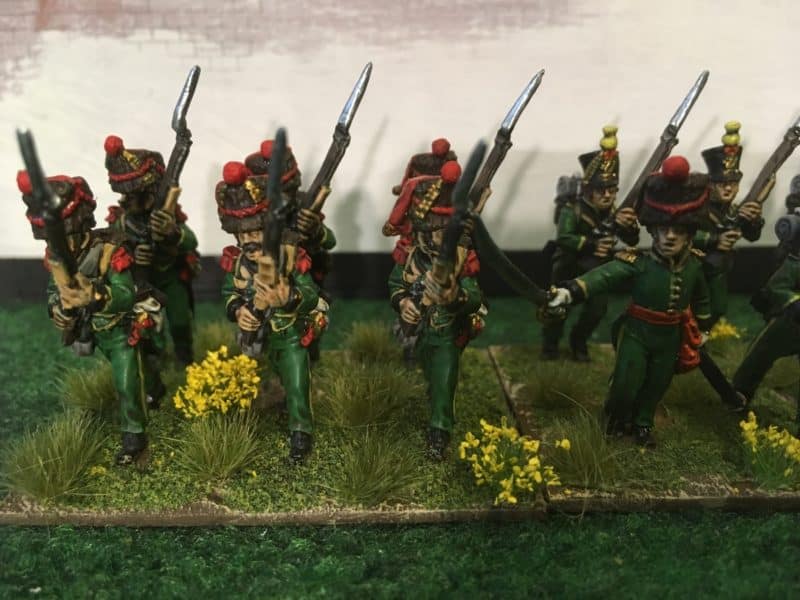
Nassau Grenadiers
The final two pictures show that I did manage to get the Voltiguers and Grenadier companies completed – my photography skills don’t allow a full picture of the 36 man unit but hopefully, you will get an idea of how the battalion looks.
The Commercial Bit!
The Vallejo colours used were as follows:
Flesh 70955, Black 70950, Leather Brown 70871, Yellow Ochre 70913, Black grey 70862, Medium sea grey 70862, Off white 70820, Steel 70864, Brass70801, Flat yellow 70953, Silver 70997, Gold 70996, Orange red 70910, Light Orange 70911.
All paints are available, post free at the time of writing, from the Arcane Scenery shop here:
VALLEJO MODEL COLOUR
Tufts and basing stuff is here:
BASING MATERIALS
For more updates, blogs and new release information, please remember to like us on facebook
