After more or less completing my Napoleonic Nassau Infantry, I thought that I would have a change of period and complete a Test of Honour Boxed set, Daimyos retinue. I had decided to build the retinue as a continuation of the other Samurai cavalry boxed set and would be using a similar colour scheme for the armour. At some point in the future I’m sure that I will start to play games with larger formations rather than just individual figures and having a degree of coherency in the colour scheme will help.
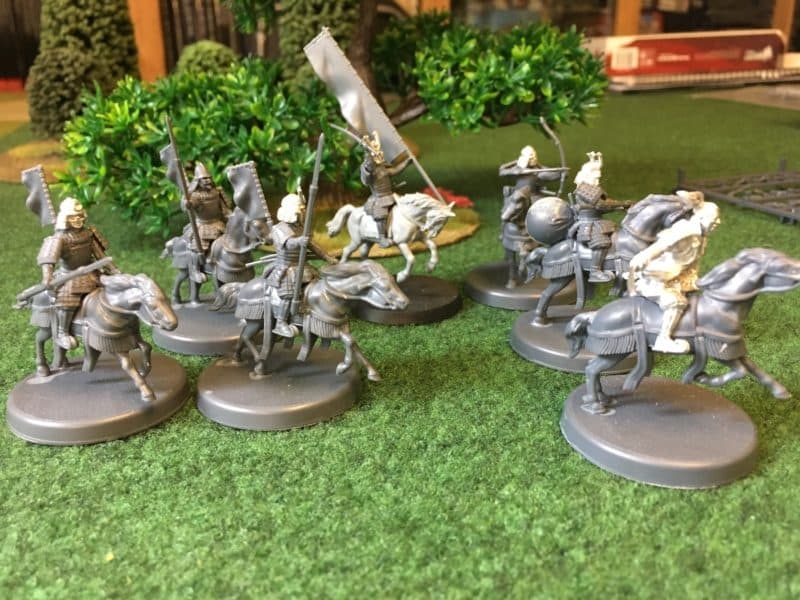
Daimyo’s retinue ready for priming.
There are actually six plastic Samurai in the set and a metal figure of Daimyo, so with only six horses, I was left with a spare Samurai. It was a straight forward option to find a spare horse in my ‘bits box’, so as you can see, there are now seven riders to paint! The spare horse is actually an old GW ‘Elf horse’ but I will add some green stuff decoration to make it a bit more Samurai. You can see that I have done this before with the other cavalry set by checking a previous blog here, so I will have 14 Mounted Samurai rather than 12, when everything is finished.
Assembly is the usual fiddly process with these plastic models but it is worth using a good plastic glue and of course with patience, the models do look nice once put together. I usually paint the riders separately from the horses but I managed to glue two of the riders onto the horses whilst test fitting everything…What was I saying about patience… To be fair, I had decided to use the arrow catcher on one of the models and it was quite tricky figuring out how it actually fitted to the model. I’m confident that I now have it right but as you can see from the picture below, once primed, it was clear that I had some filling to do before painting! I used the Vallejo putty. It’s fairly quick drying and sands well.
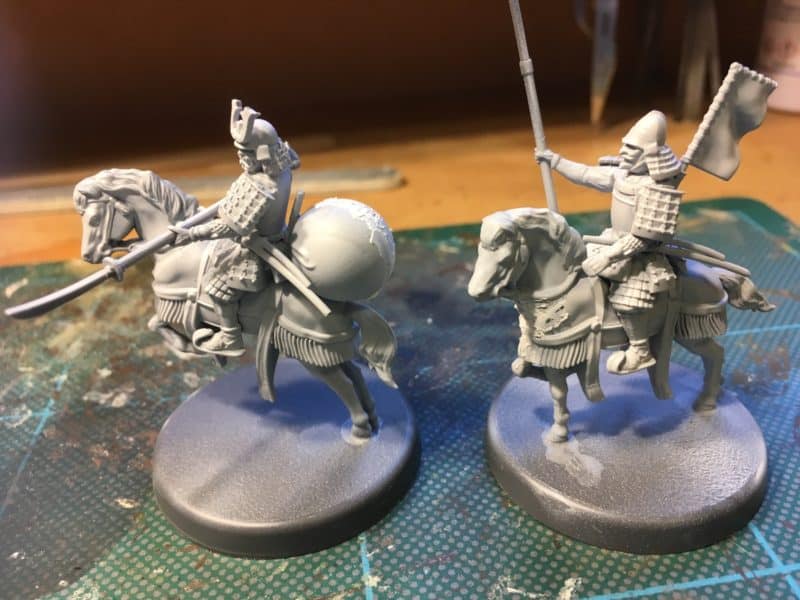
Rider with arrow catcher fitted .
I will have to paint these as one piece models but I don’t think this will be a problem. The other models were primed in black as separate horses and riders
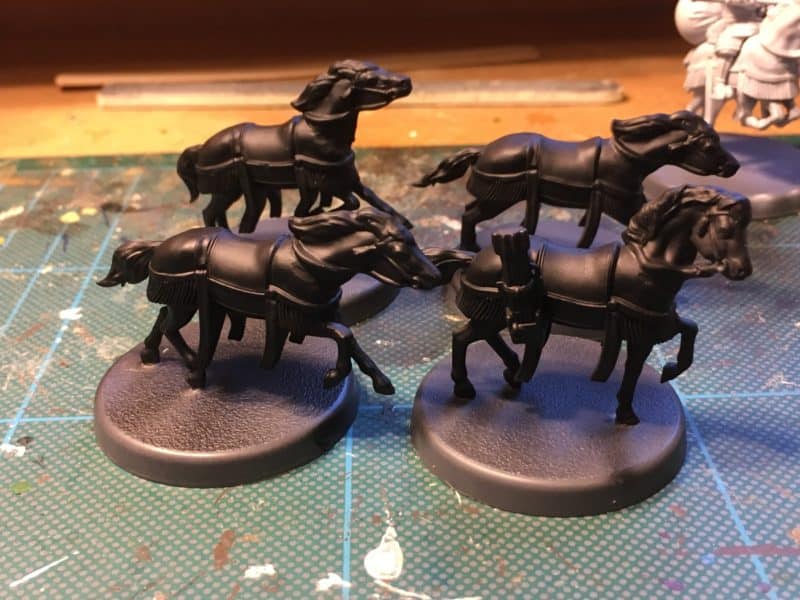
Horses primed
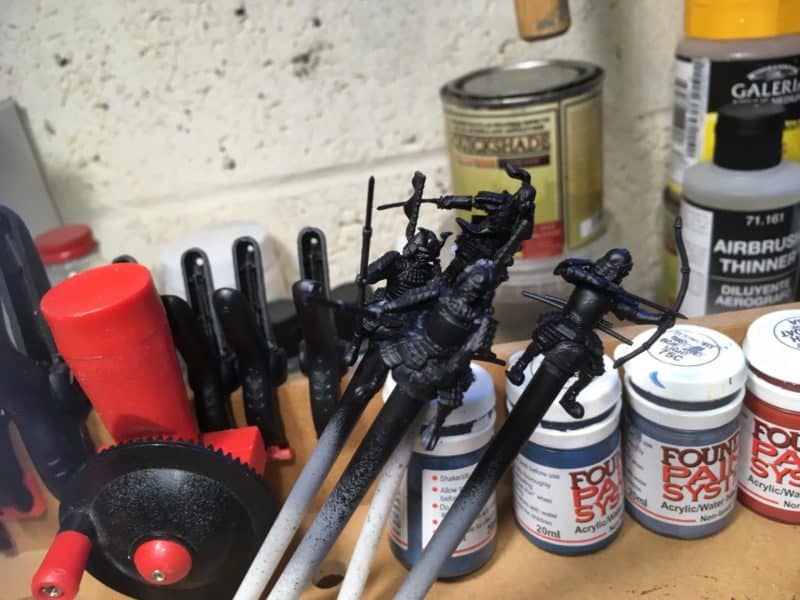
Riders ready for painting
I used my airbrush and Vallejo primer for these models. I am still very much a novice when it comes to using an airbrush but it means that I can prime my models indoors, unlike using spray cans. To be fair, it’s just as easy, and I’m finding that I get better coverage without ‘soaking’ the model.
So I’m ready to start painting. I thought that I would show a step by step guide to how I paint horses. It’s not a strong point for me and there are plenty of great guides out there to help you but here goes with my method that I have put together from watching and listening to other far more talented painters than I!
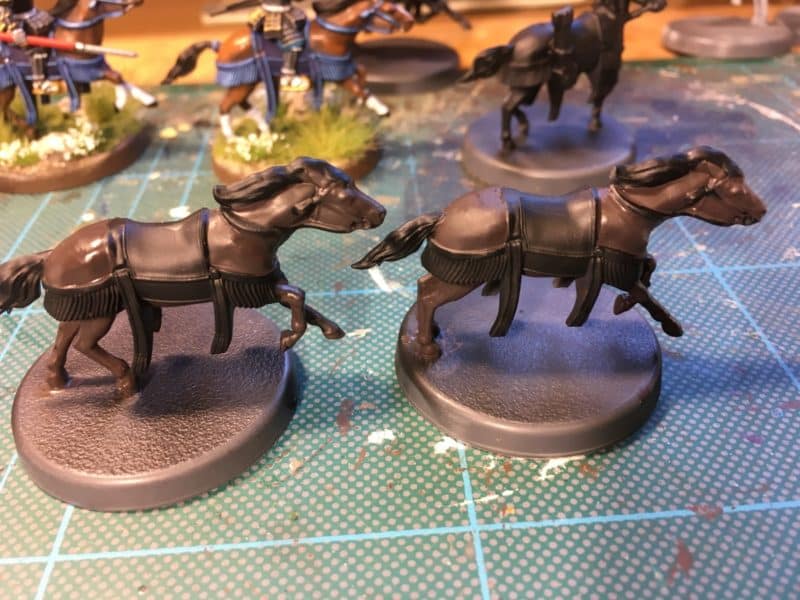
German Cam. Black Brown – first coat.
I use three colours layered on top of each other and as I want a brown/chestnut horse I’m starting with a dark brown, German Camouflage black brown 70822. Paint as much of the horse as you can see, leaving the saddle cloth etc. and the mane and tail.
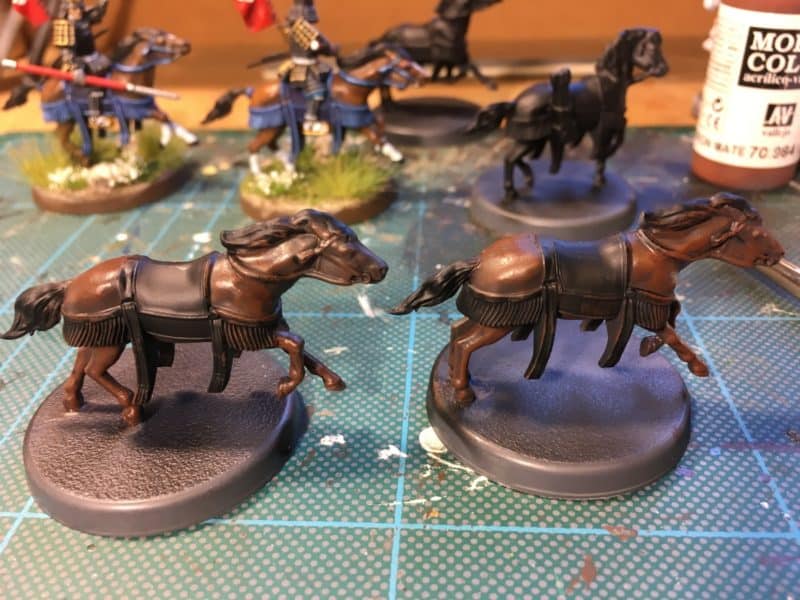
Flat brown 70984
The next step is to dry brush the horse flesh with Flat brown 70984. It’s inevitable that the dry brush will stray onto the saddle etc -I don’t worry at this stage as it will be cleaned up later.
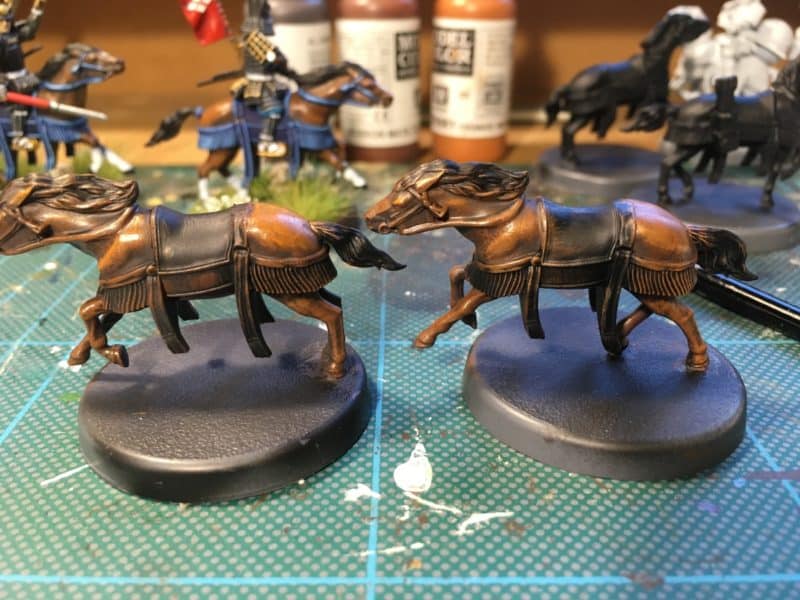
Orange Brown 70981
The next stage is a dry brush of Orange Brown 70981 – again you can see that I haven’t been too careful and over painted painted the reins. The idea is really to ensure that what texture there is modeled into the horse itself, is picked up by the dry brushing.
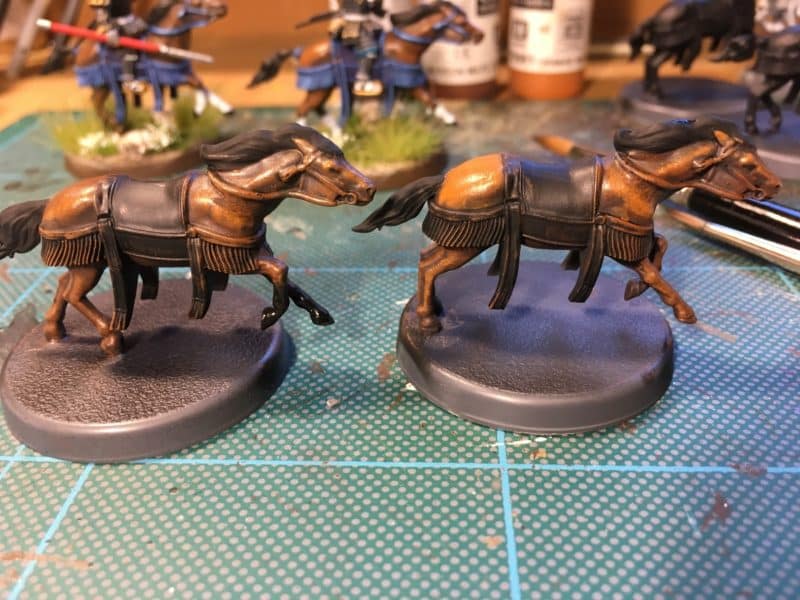
Mane & tail Black 70950
The next stage is to paint the mane and tail black. I also painted the forelegs on the left horse black as he is going to have socks! You can see that I have made a mistake with the right hand horse and been too heavy with the orange brown on his rump and by his front. The front can be tidied and I might tone down the rear with some ink but for now I’ve stuck with it!
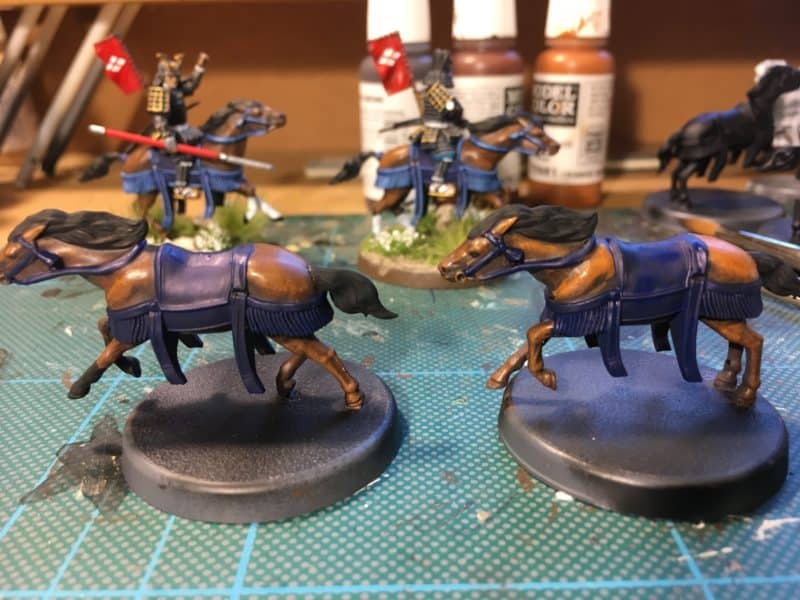
Saddle cloth and furniture Dark Prussian Blue 70899
I’ve now painted the saddle cloth and horse furniture with Dark Prussian Blue – things are looking a bit neater now! I’ve also given the mane and tale a very light dry brush using a light grey to bring out the texture.
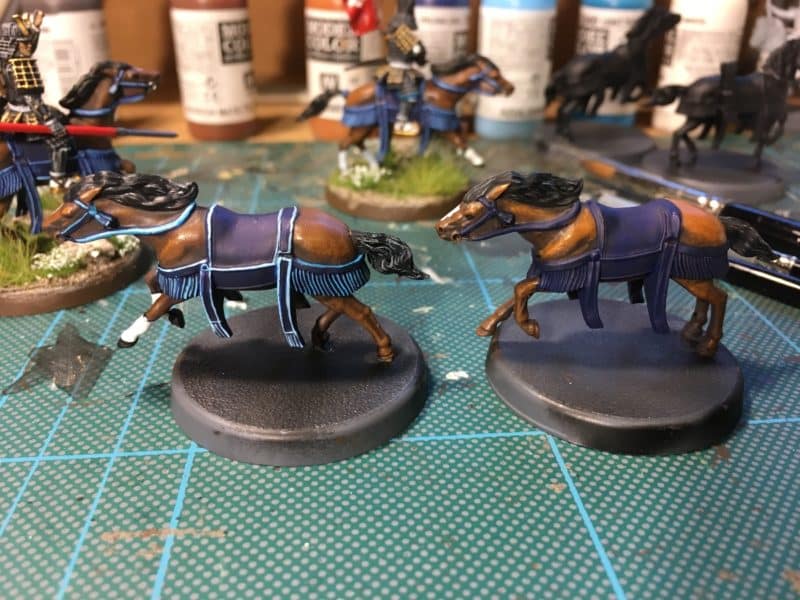
Lining on the horse furniture!
The next stage was to paint the white socks on the left horse and I added a white patch to both horses heads. I’ve also painted the eyes black. The Horse furniture is lined with a sky blue 70961. I found it a bit stark so I’ve toned it down with some of the dark Prussian blue. The effect is not subtle, particularly close up but it works for me and the lighting is exaggerating the contrast.
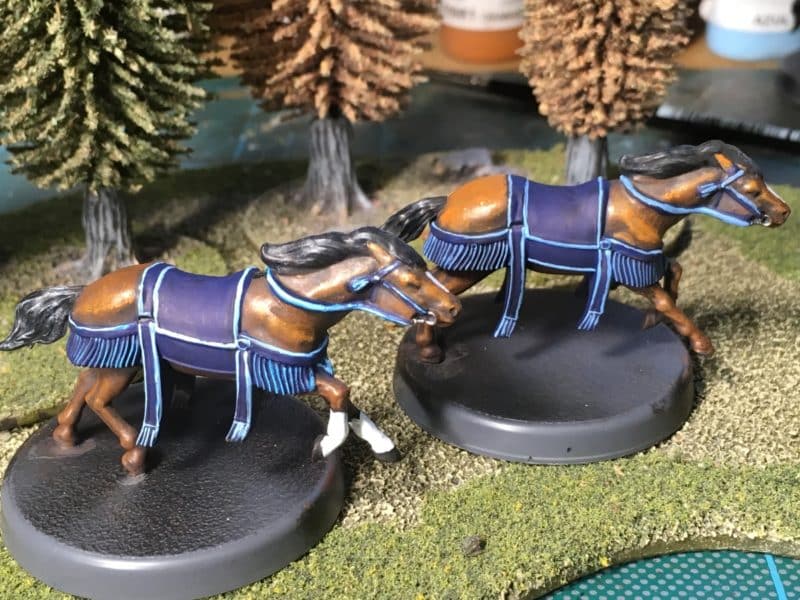
Both horses complete!
That’s just about finished for now. I’ve painted the ‘bits’ in steel and done a bit of tidying. After this picture was taken, I painted the hooves black for a bit more contrast. Once the riders are in place and the bases finished they will look fine for the table.
So that is it. I hope that you will find the article useful and it will help you with developing your own technique.
The Commercial bit
Nearly all of the items that I use in my hobby are from my shop. At the time of writing we send post free to most Worldwide locations!
ARCANE SCENERY
If you are looking for glues or Fillers:
GLUES & FILLERS
Vallejo Paints are here:
VALLEJO PAINTS
Our Samurai range is here
