I’m not sure why I am so attracted to Early War British Armour. In my youth I was obsessed with the more ‘glamorous’ German Armour and the idea of Blitzkrieg. But as I’ve got older, the quirky nature of the British Armour and the ‘Dads Army’ attitude to making the best of what they had has taken a hold in my imagination. So my focus now is building a collection representing these vehicles and weapons.
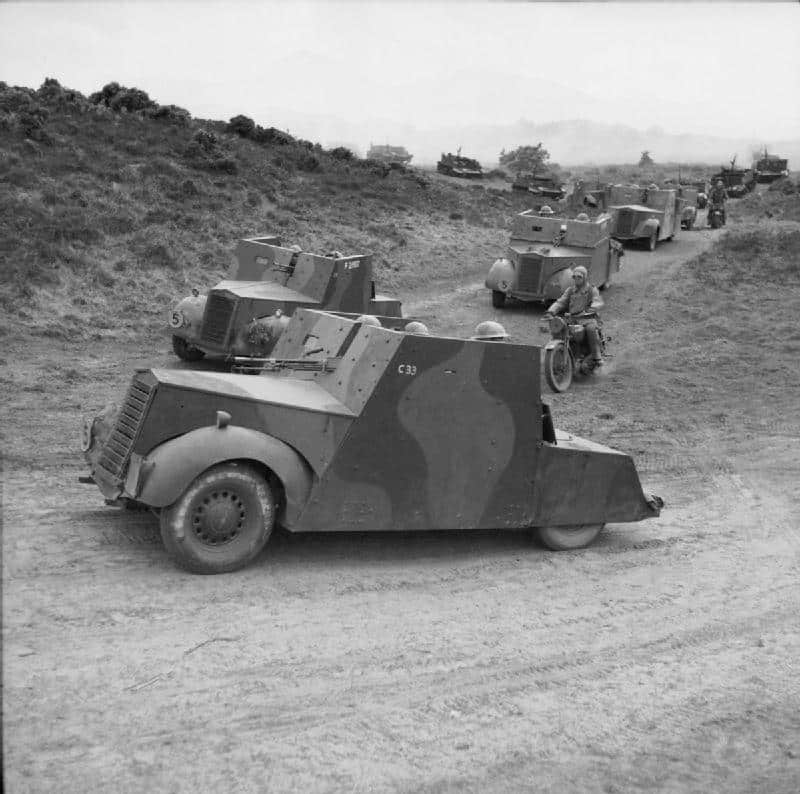
A perfect example of making the best of what you have is the Standard Beaverette Armoured Car. It really is an armoured car. That is, a car with armour bolted on to it. The first version of the vehicle was a Standard Motor Company chassis with 11mm steel plates bolted on to it. The steel was backed with 3 inch oak planks for extra protection. The driver could barely see where he was going and needed the help of an additional crew member to watch the roads. It was named the ‘Beaverette’ after Lord Beaverbrook, who was desperate to get some sort of replacement for the Armour lost in France and Dunkirk. The armament generally consisted of a Bren, Lewis gun or Boyes Anti Tank gun. Later models were used by the RAF for airfield defence and had twin Vickers or even a Turret from the Bolton Paul Defiant night Fighter.
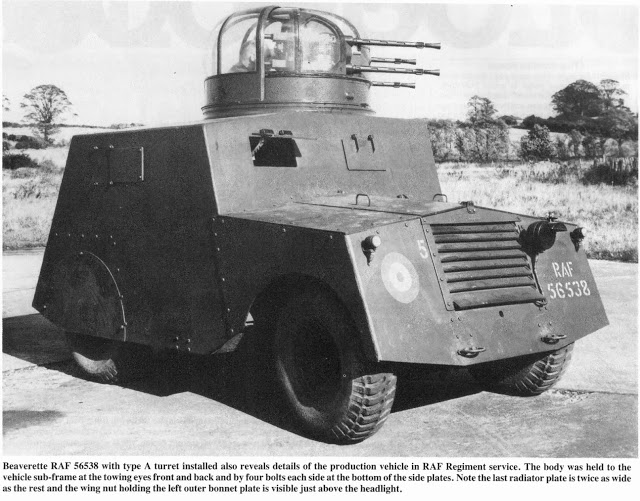
The Beavette was never used overseas and production stopped in 1942. It was used mainly by the Home Guard and as has already been mentioned, by the RAF. Indeed, I first was made aware of the Beaverette when researching the ‘Rogation Raid’ on Torquay ( my home town), a ‘tip and run’ air raid that occurred in 1943. Beaverettes formed part of the towns Anti Aircraft defense that shot down 6 of the 21 Focke wulf 190 raiders.
I decided I had to have one for my collection.
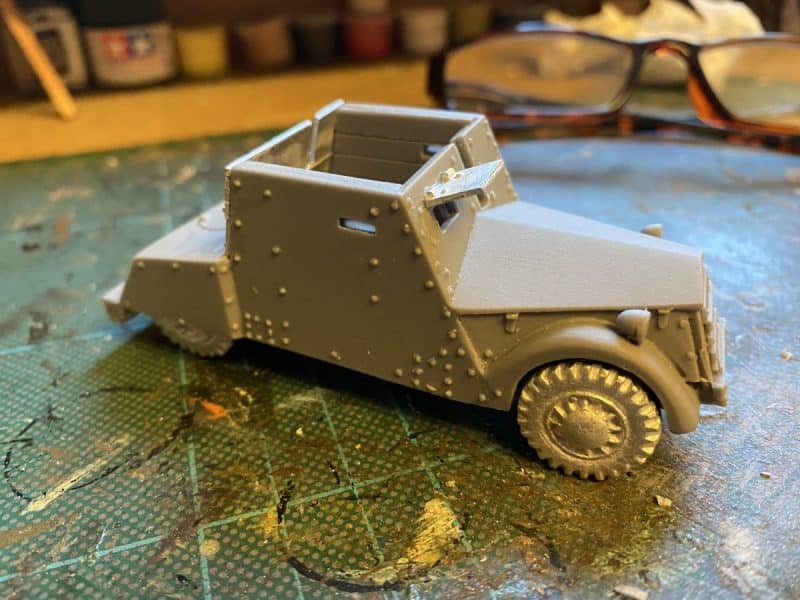
After a great deal of searching, I found that 1st Corps made a lovely model in 1/48th scale, complete with crew. The model consists of a resin body with metal Accessories – wheels, hatches and of course, the crew. It was a simple matter to wash, clean and assemble it and prime it ready for painting.
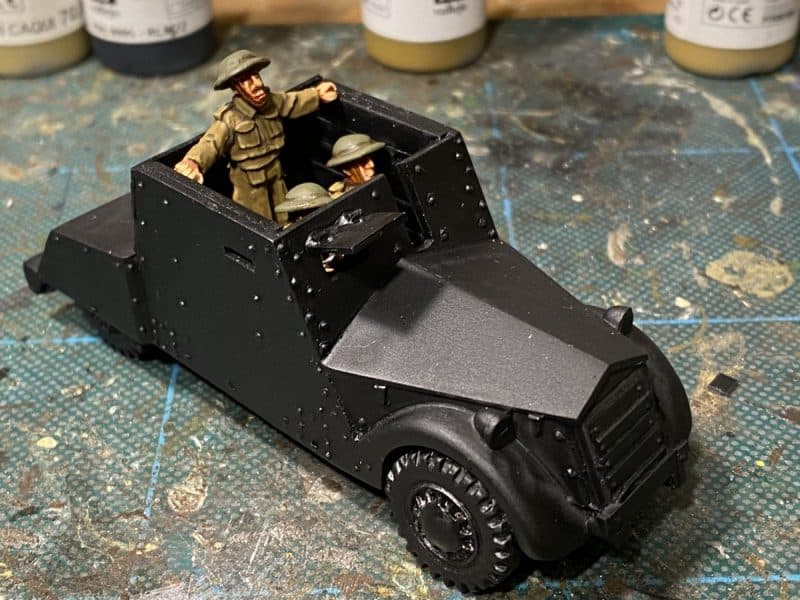
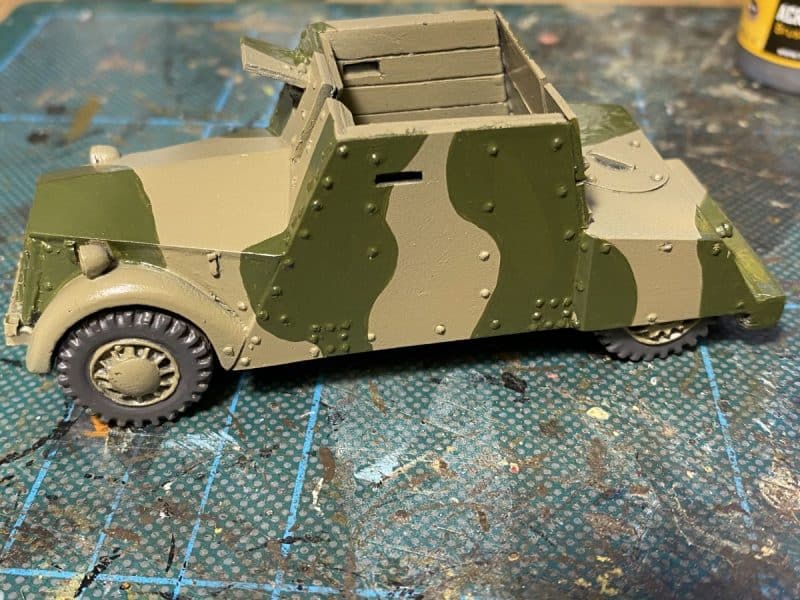
I used my airbrush to base coat the model with Mig Ammo Khaki Green (1939- 42) MIG113. I then hand painted the camouflage using British Olive Drab (1944-45) MIG0112. I should have masked off the model and used the airbrush again but I was too lazy and it seemed easier to use a brush. I wasn’t too worried about the colour either. Clearly, a 1944 olive drab isn’t going to be exactly the right shade but it gave me the effect that I wanted. In some of the reference pictures that I found, modellers had used a green/black combo but I quite liked the version below, which looks to me like the dark green on Khakhi green used by the BEF and so I based my scheme on this.
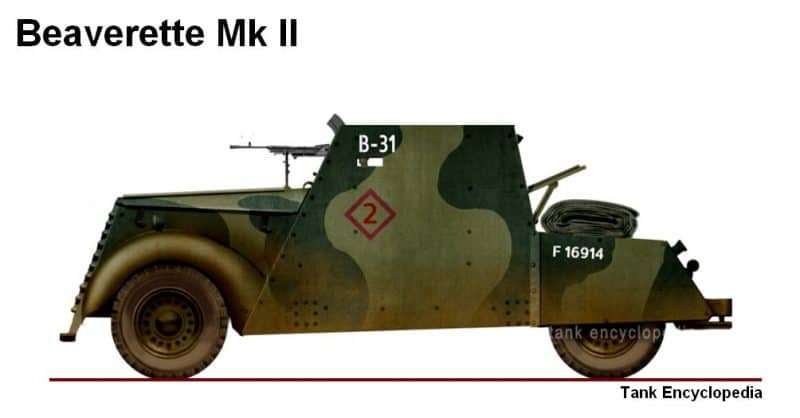
After the camouflage, I weathered the model with a pin wash of Dark tone ink around the rivets and panel lines and then I dry brushed the model using the original camouflage colours, lightened with Iraqi sand. The tyres were painted using Mig Ammo Rubber and tyres MIG0033 and darkened with a wash of dark tone. The markings were added using a combination of generic 1/56th markings that I had spare from Warlord games and I hand painted some of them. the vehicle number is ficticious. I then airbrushed the whole model with Mig Ultra matt varnish and when this was dry, I added some weathering in the form of pigments on the sides and wheel arches.
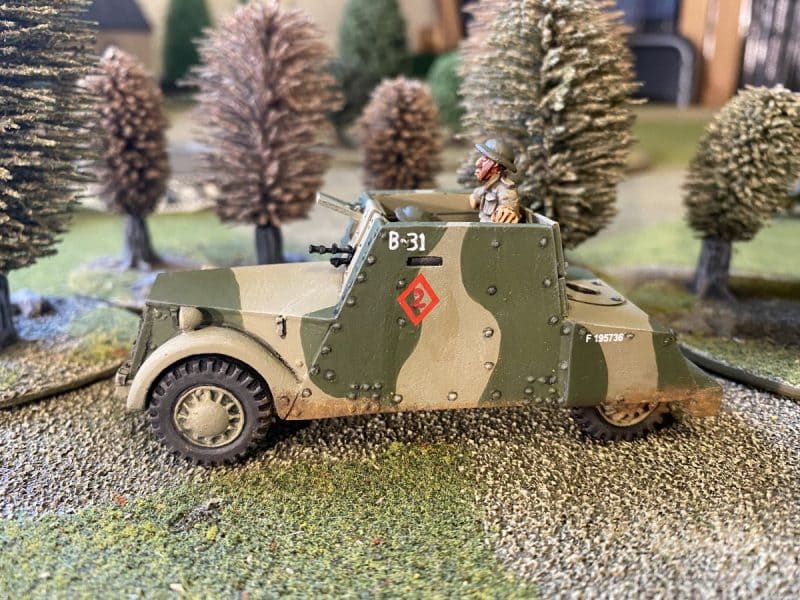
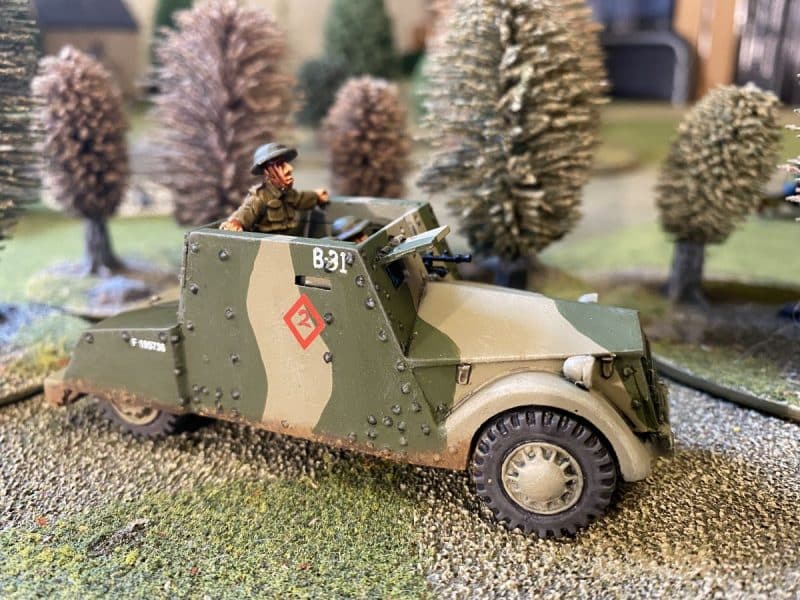
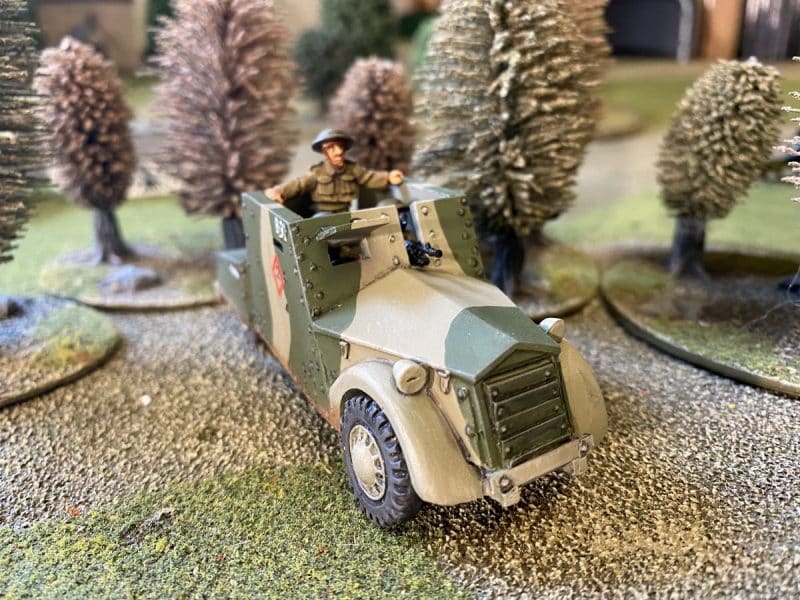
I had previously painted the crew in normal British army Khaki and added them, together with the bren gun to complete the model. So another model goes into the cabinet!
THE COMMERCIAL BIT
Almost all of the paints, miniatures, bases, basing materials and anything that you are likely to need for your hobby are available from my shop here:
You can see our range of MIG ammo paints and accessories here:
we carry a huge range of Vallejo paint and accessories here:
We dont carry 1st Corps models but you can order them direct here:
Happy Modelling!
