Gendarmes

Having finished my Landsknechts force (for the time being…) I thought that I would add some heavy cavalry and I fancied painting some Gendarmes. Although it goes against the grain somewhat – adding French troops to my collection, that is – I couldn’t resist having a go at painting these ‘fancy Dans’!

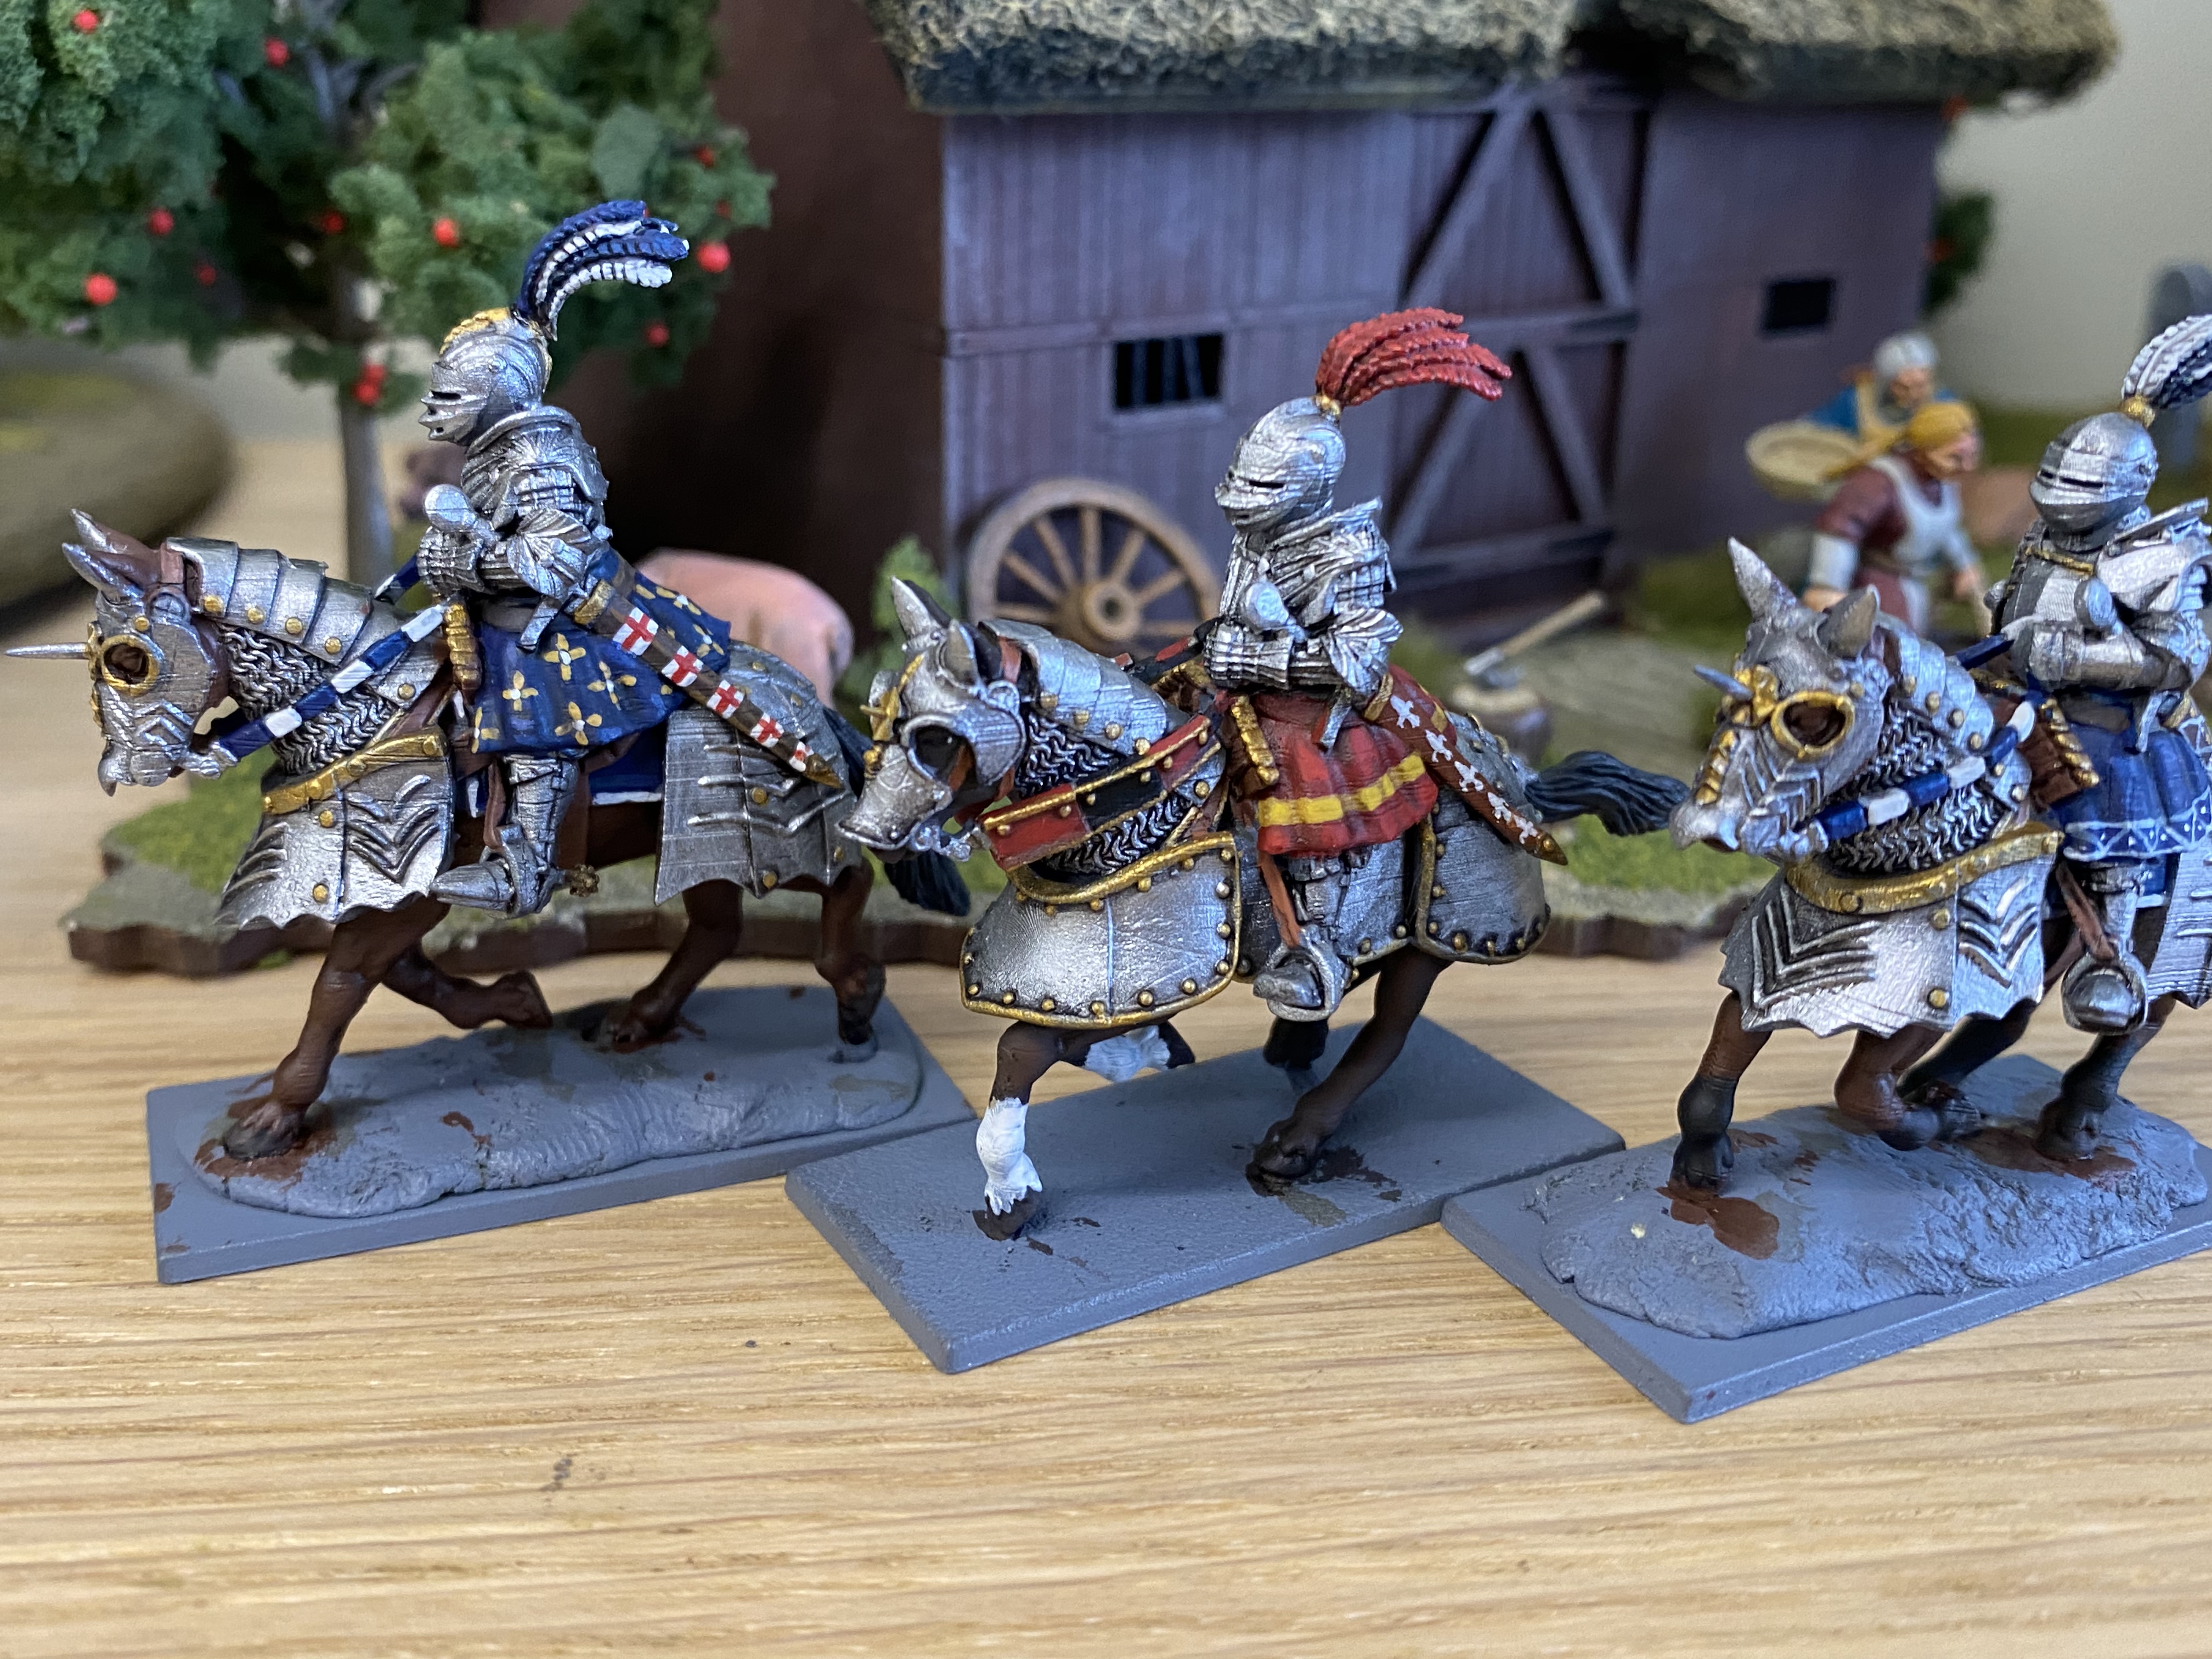
Having spent a little time researching the options to purchase some of these heavily armoured knights, I chose two very different options. I bought eight 3D printed resin knights from Terrain Store on eBay and six metal ones from Foundry Miniatures. I also had three spare Perry Miniatures plastic knights that would give me a total of 17 figures; two units of 8 gendarmes and a commander. I am happy to mix and match manufacturers. By and large the size difference is minimal and can be hidden with some careful basing.

At 24 points a unit, the chances of fitting these Gendarmes into a typical ‘Bill Hooks’ army seems remote and for that matter, impractical but they will look nice in the cabinet!
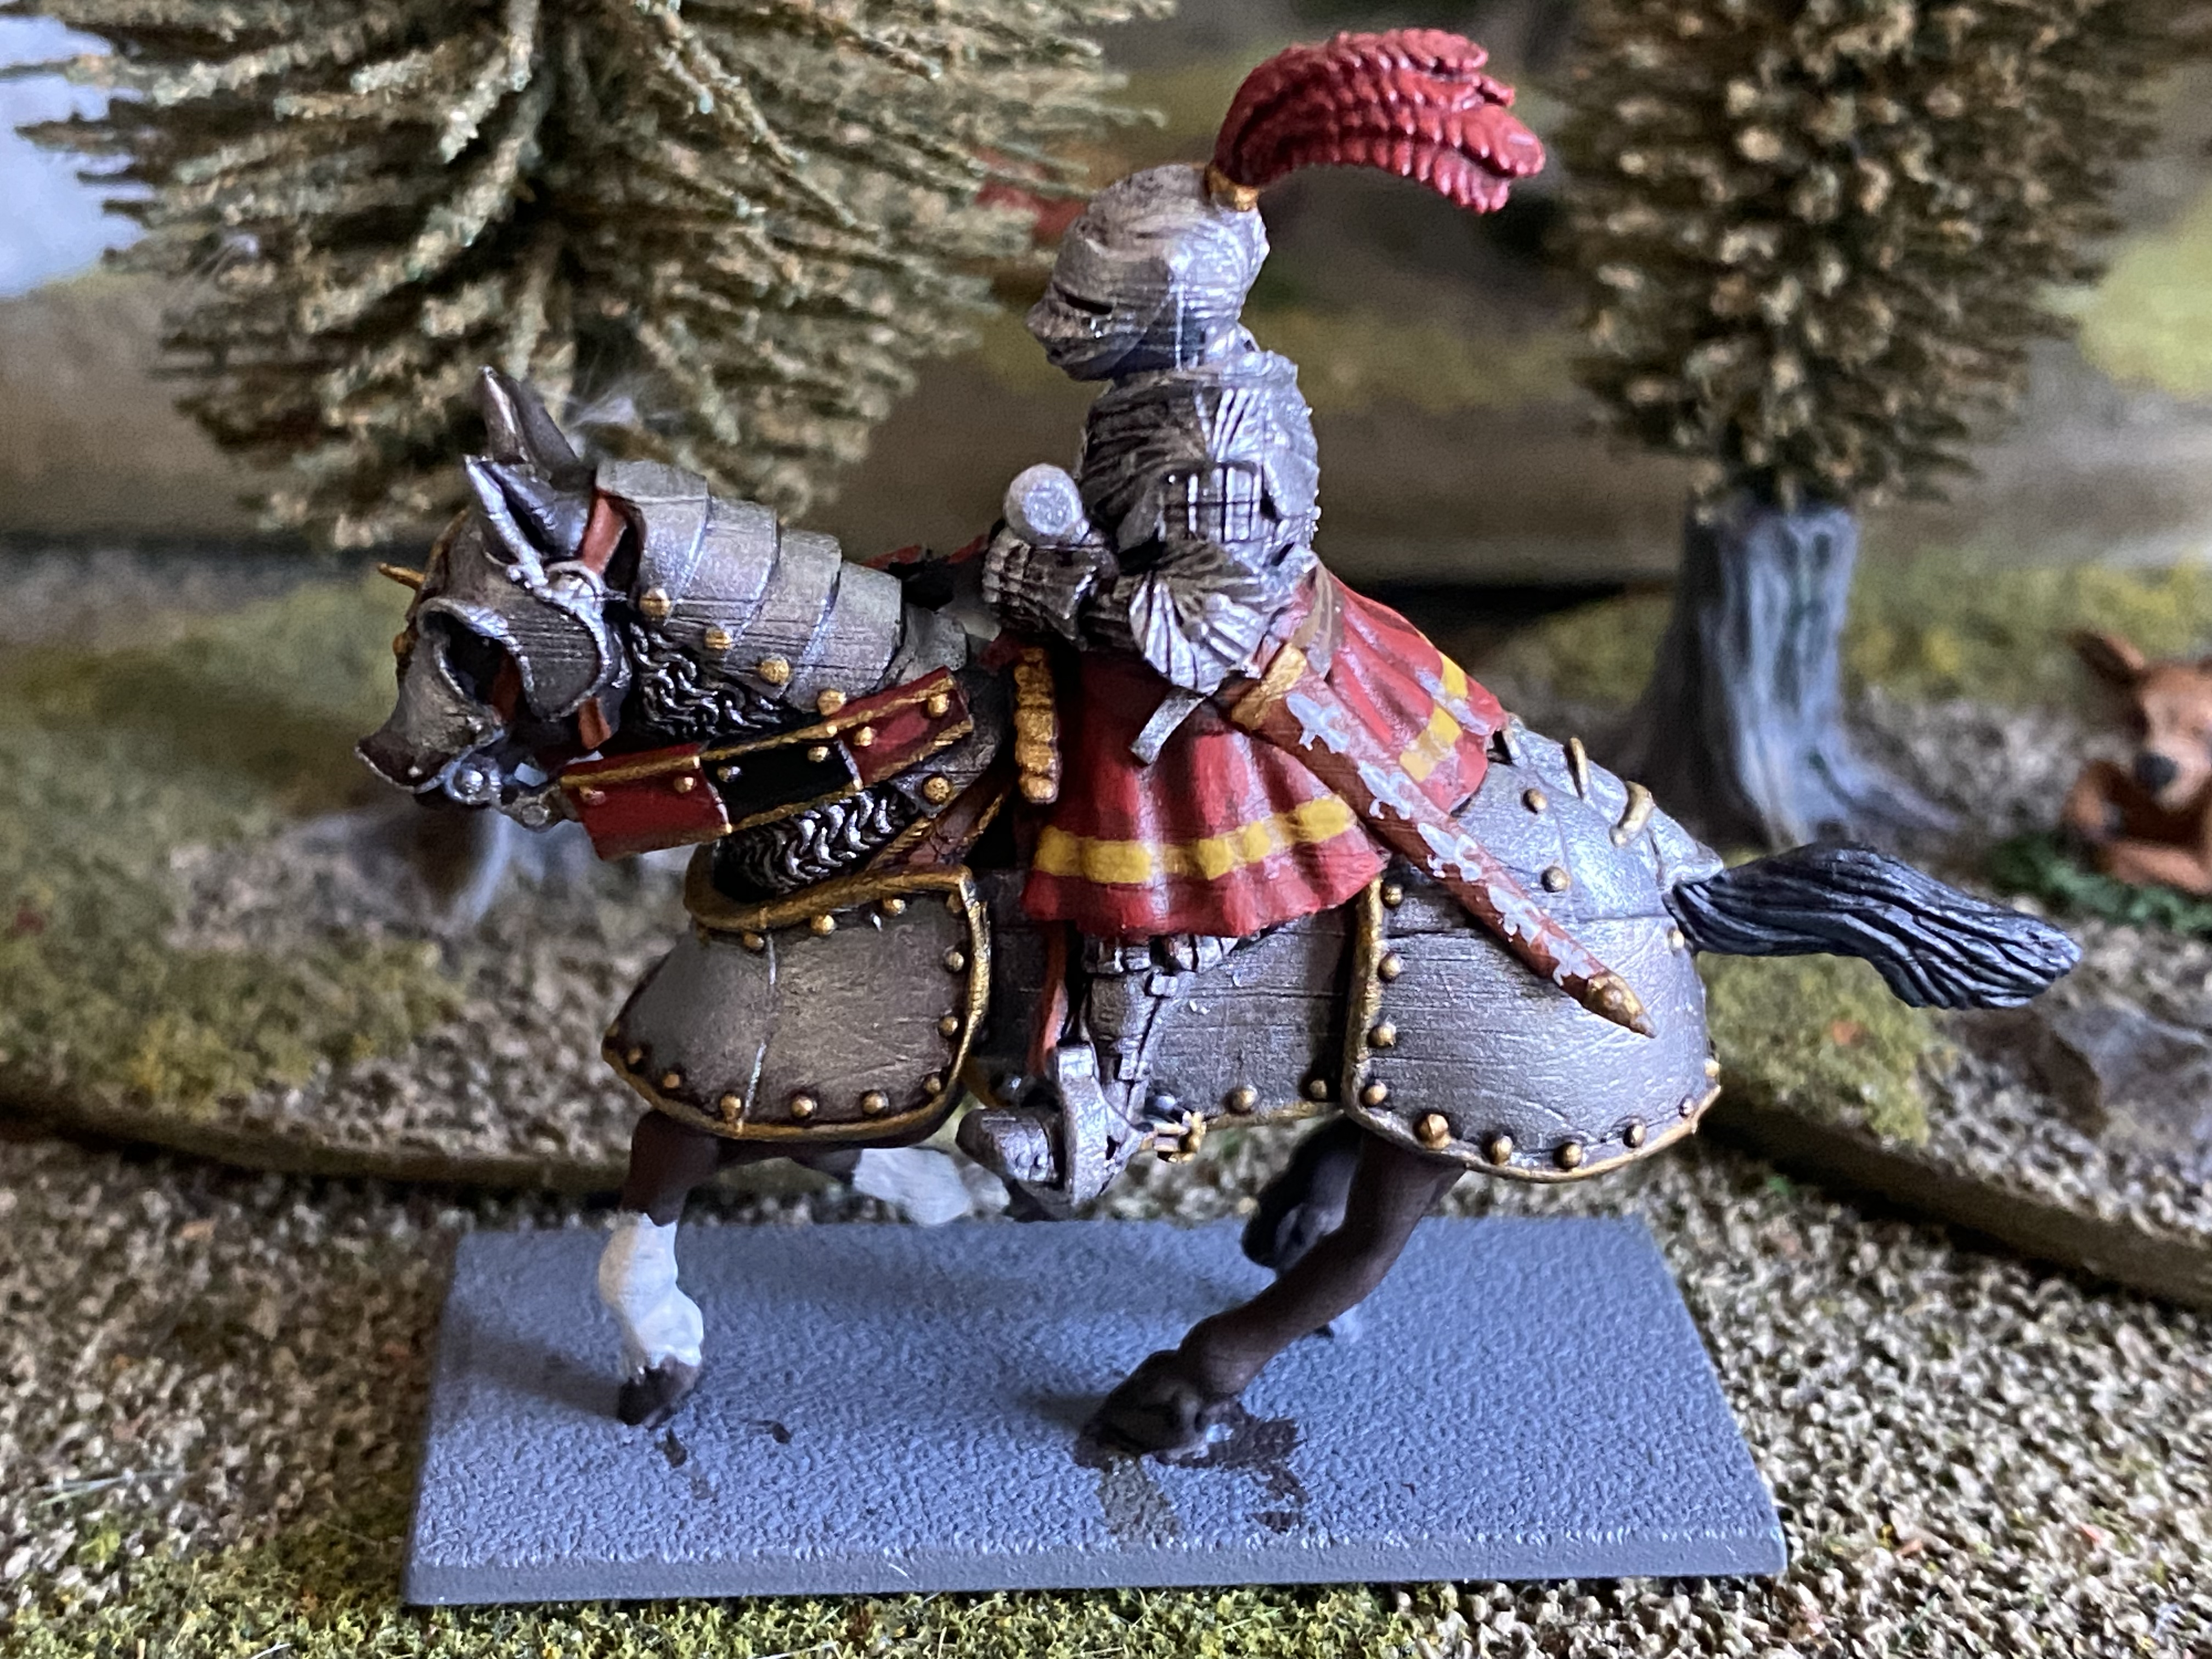
Work in progress – some of the 3D print lines are obvious from this close up – they’ll pass as battle damage!

Just a brief note about the 3d resin figures. The detail on these figures is simply beyond anything achievable in casting metal or plastic. With separate reins on the horses, detailed spurs, raised visors with open vision slits and more, I couldn’t wait to get paint onto these figures. There was a slight downside, however. Whilst the fine detail is wonderful, larger surfaces are actually not so good, with the 3d printing lines showing up across some of the armour plates and other flat surfaces. You could really only see these once the models were painted and I was happy to treat these as ‘battle damage and scratches!
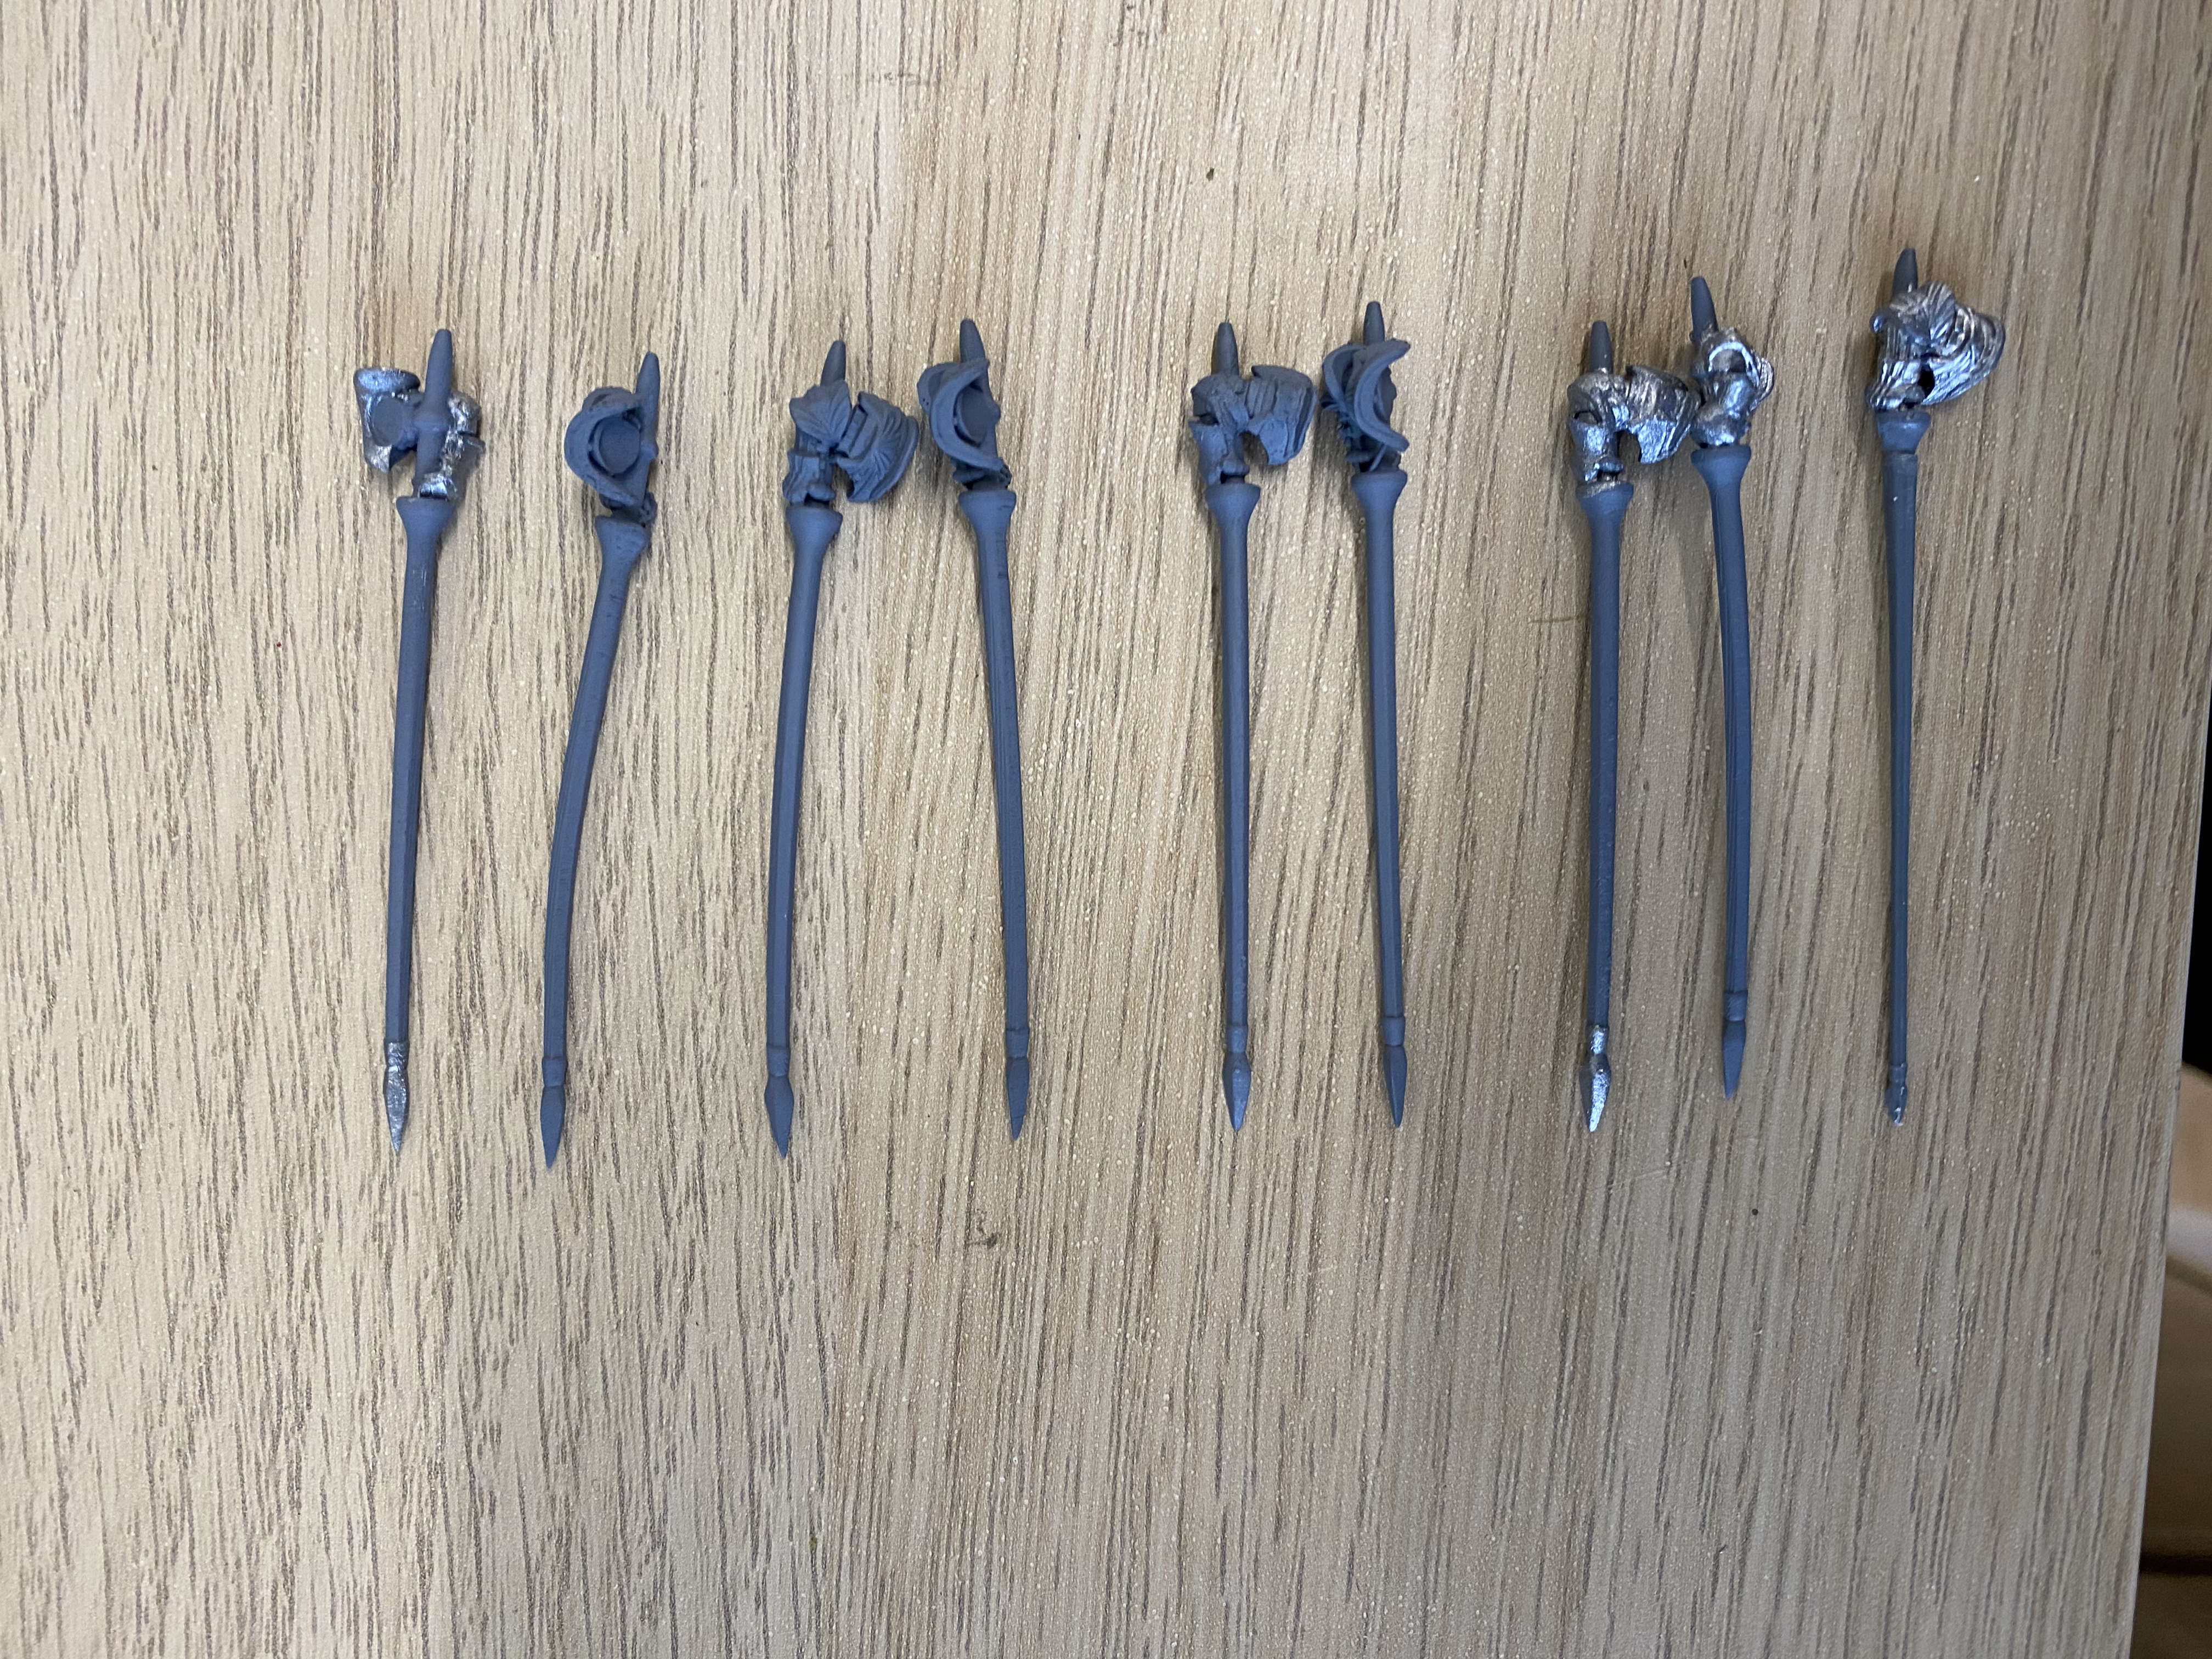
The resin lances were quite badly bent and difficult to straighten, even with hot water treatment.

Also the lances were anything but straight. I managed to correct some by dipping them into hot water and clamping to a straight surface but lost a number to breakage in the process. I had to replace the broken lances with ones from the Perry mounted men at arms set. So, I’m not quite a convert to 3d resin figures yet and I have yet to see how they will survive the rigors of gaming or for that matter, time.
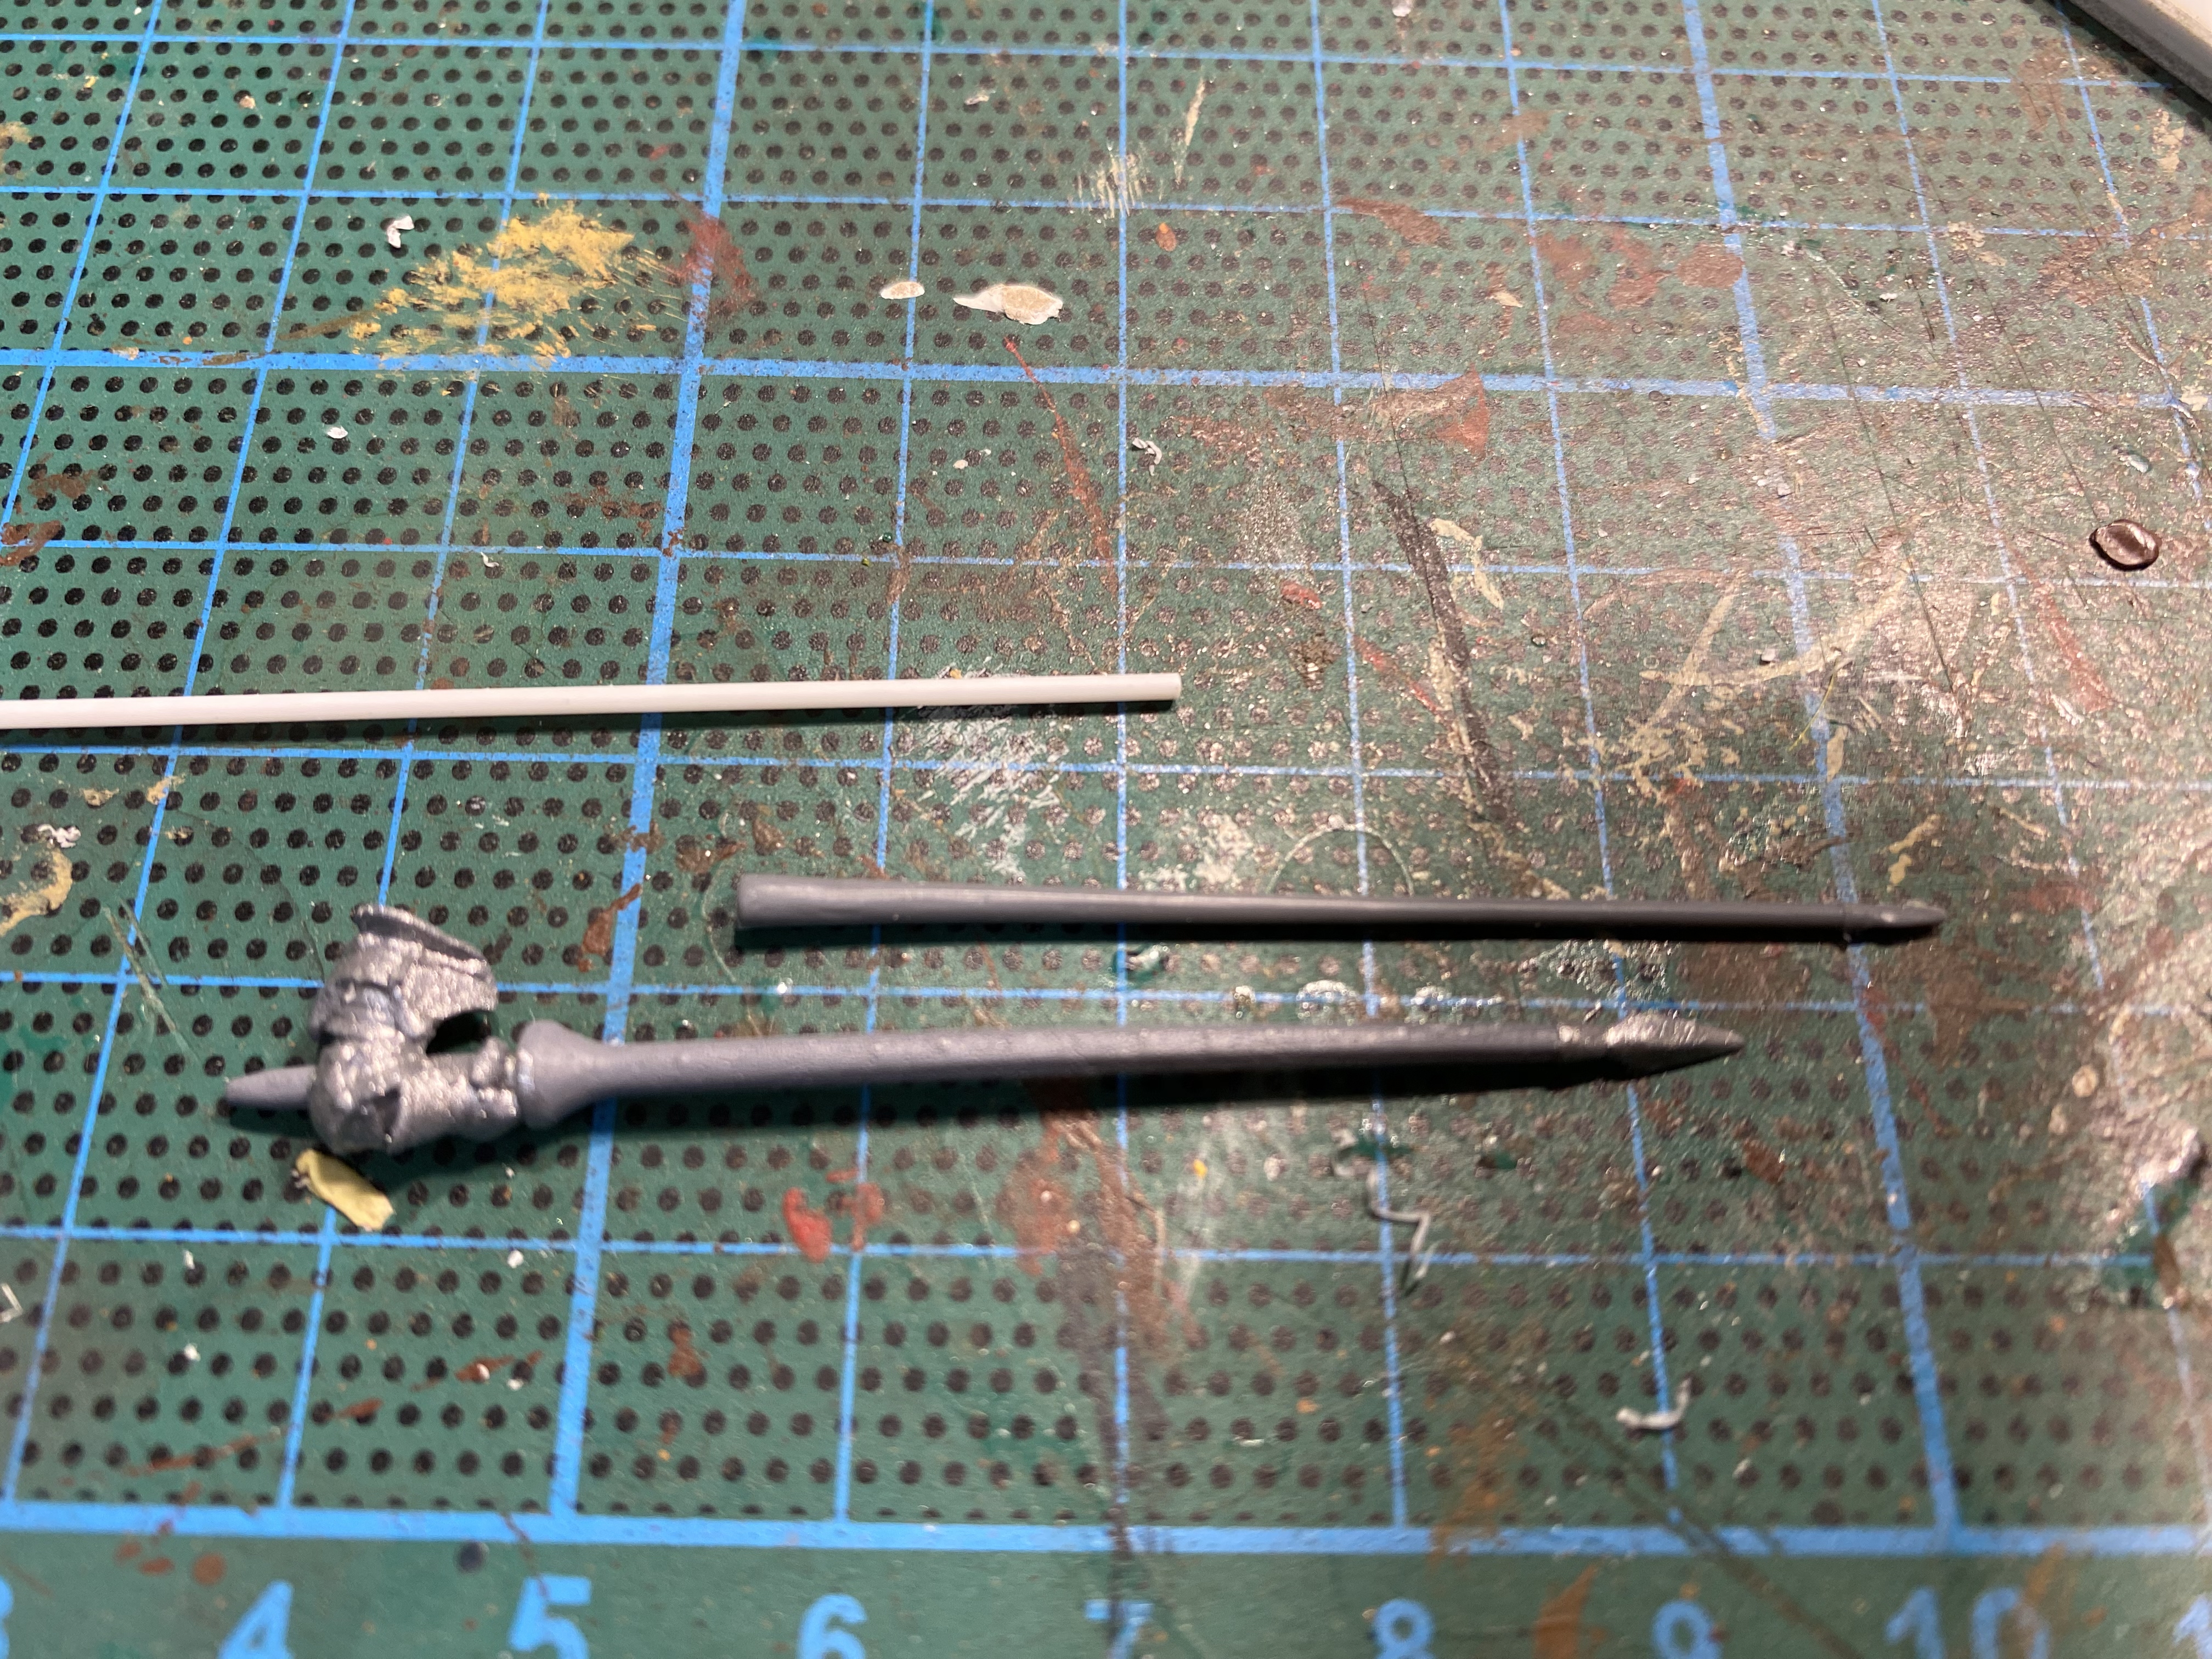
A Perry plastic lance cut ready to replace the bent resin one – I used a razor saw to cut near the base of the resin lance and simply super glued the replacement.

When it came to painting the figures, my main references were Pinterest and other internet picture sites. There has been some discussion on the Facebook Bill Hooks site recently, as to what is ‘accurate’ when it comes to livery or colours for this period. As I rarely attempt to model a specific character or unit for a specific battle, I’m not too concerned with the detail. There were 2000 or so Gendarmes at the Battle of Pavia. If I was so minded, I suppose that I could find out who they were and maybe what they were wearing but it’s not my idea of a good use of my time. I wanted to paint some really colourful Knights that will look good on the table as they make a glorious charge to victory or oblivion in my little table top battles.
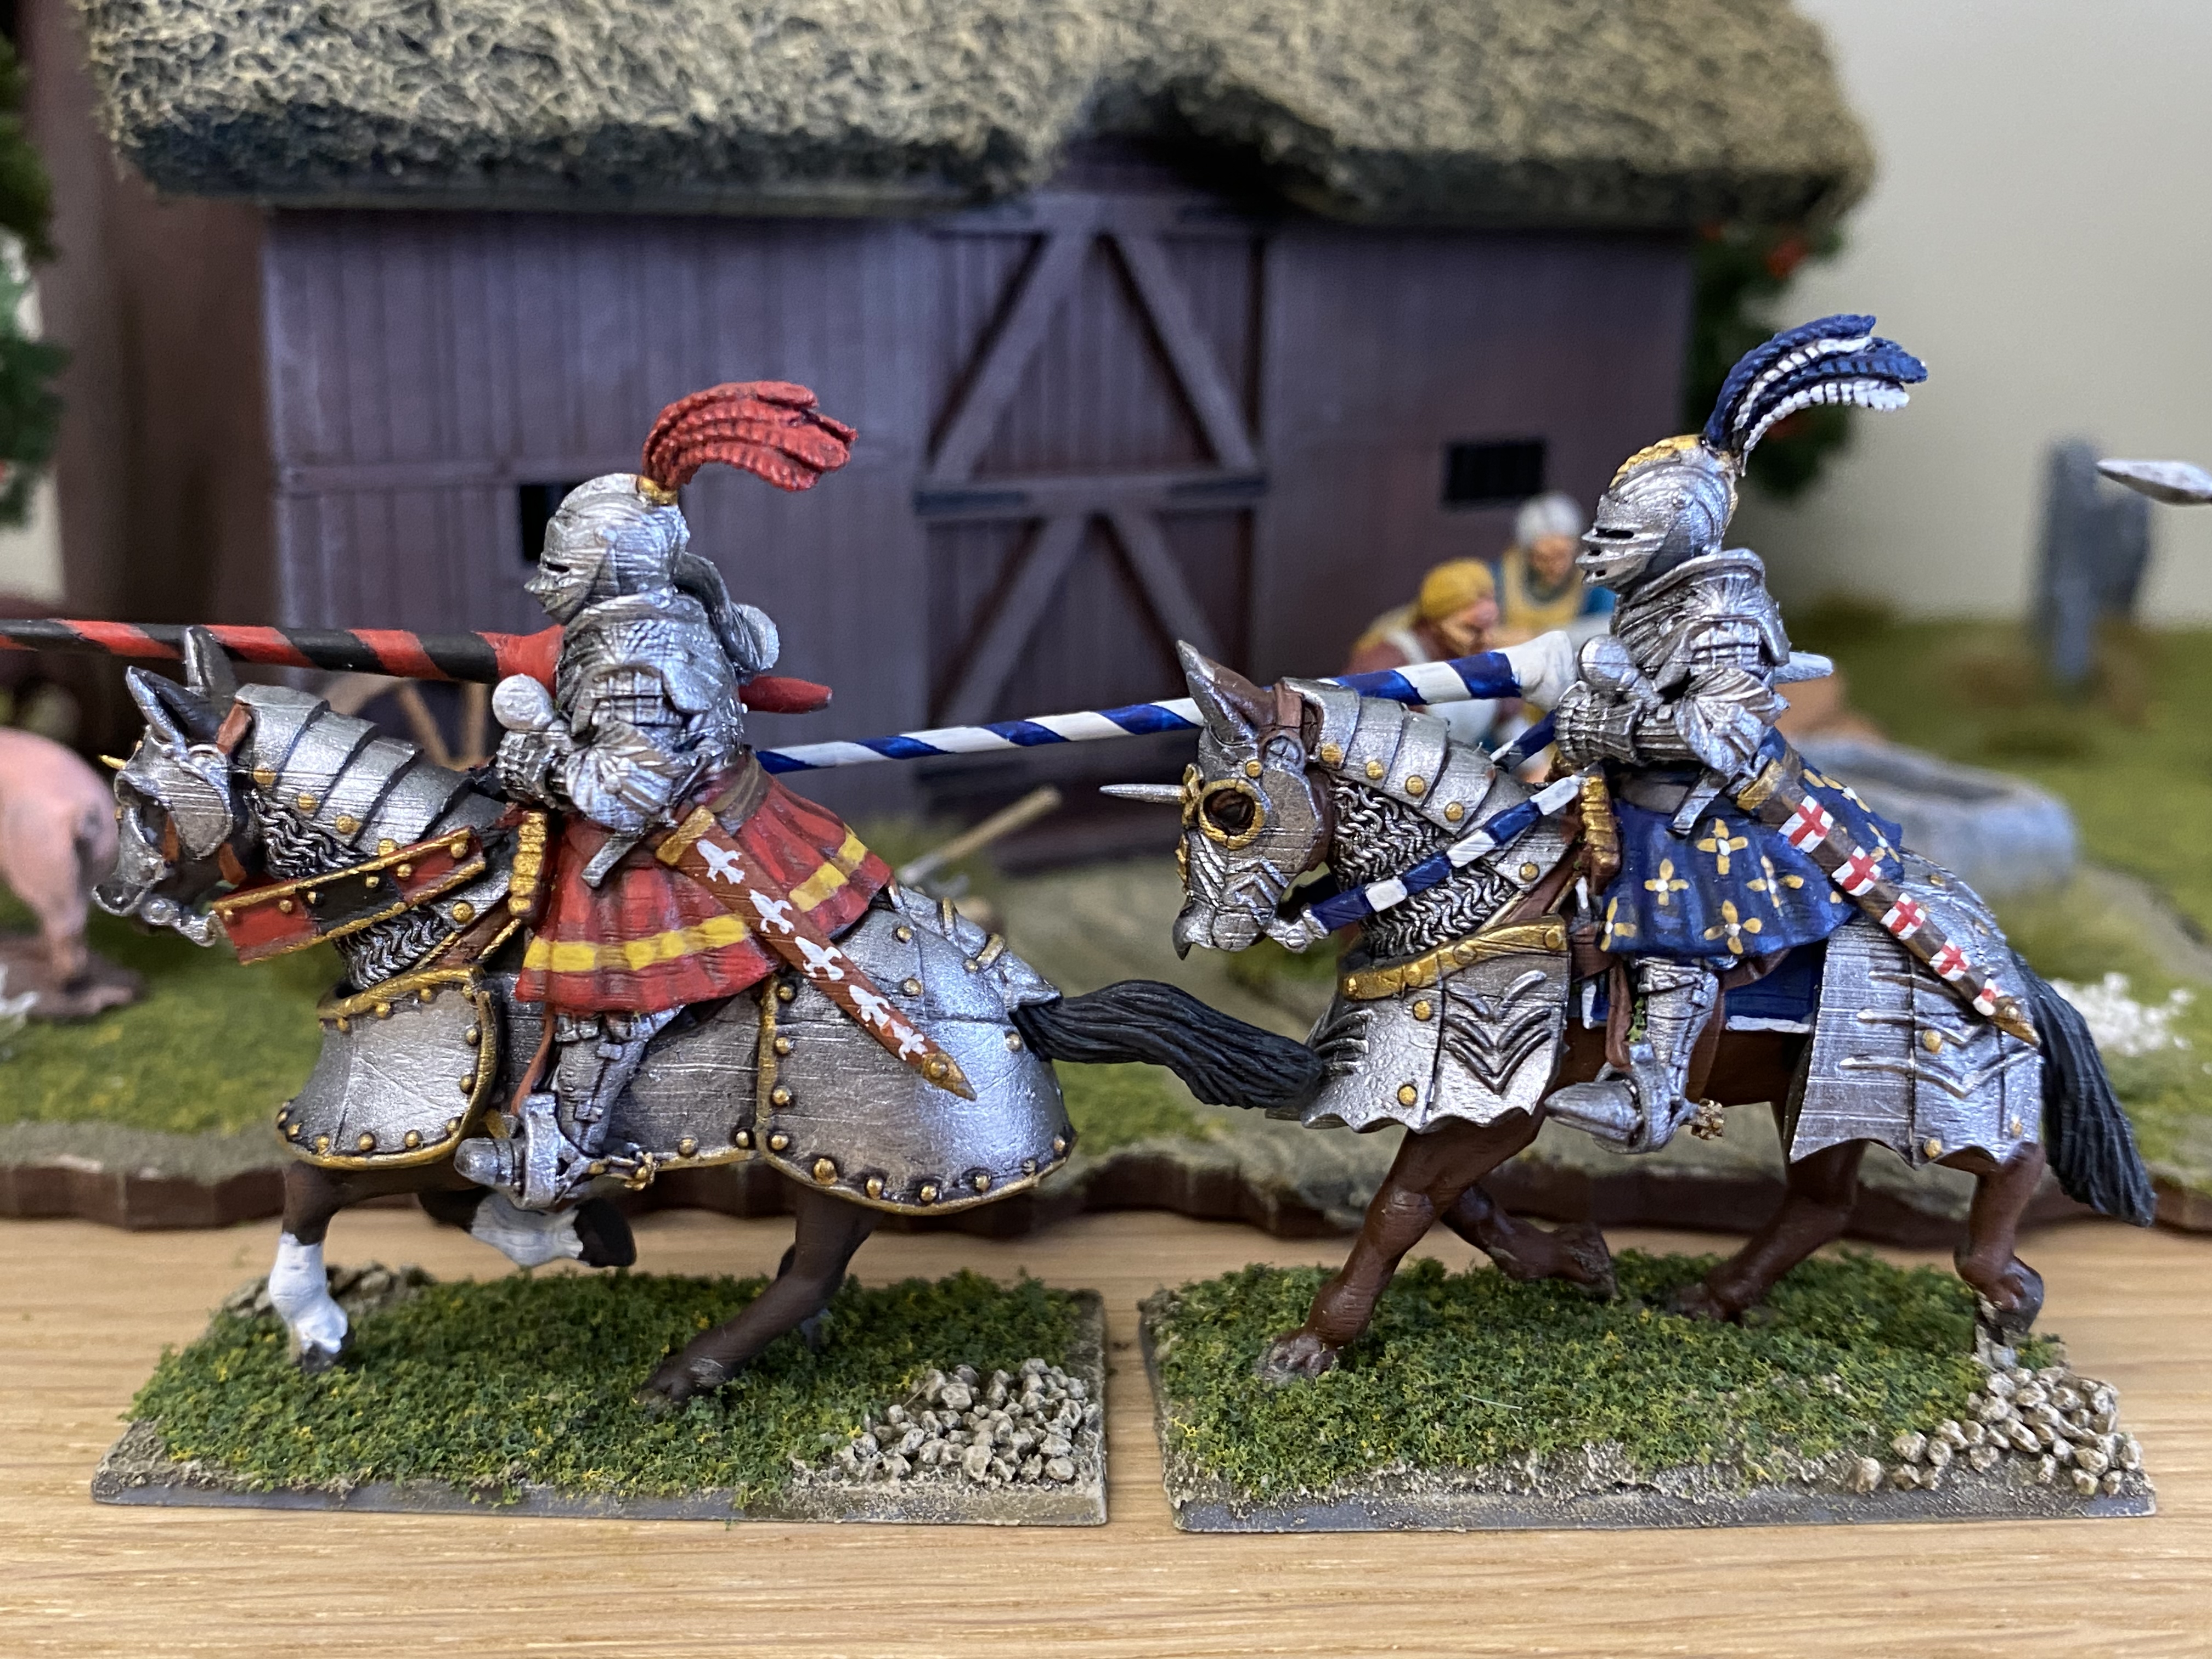
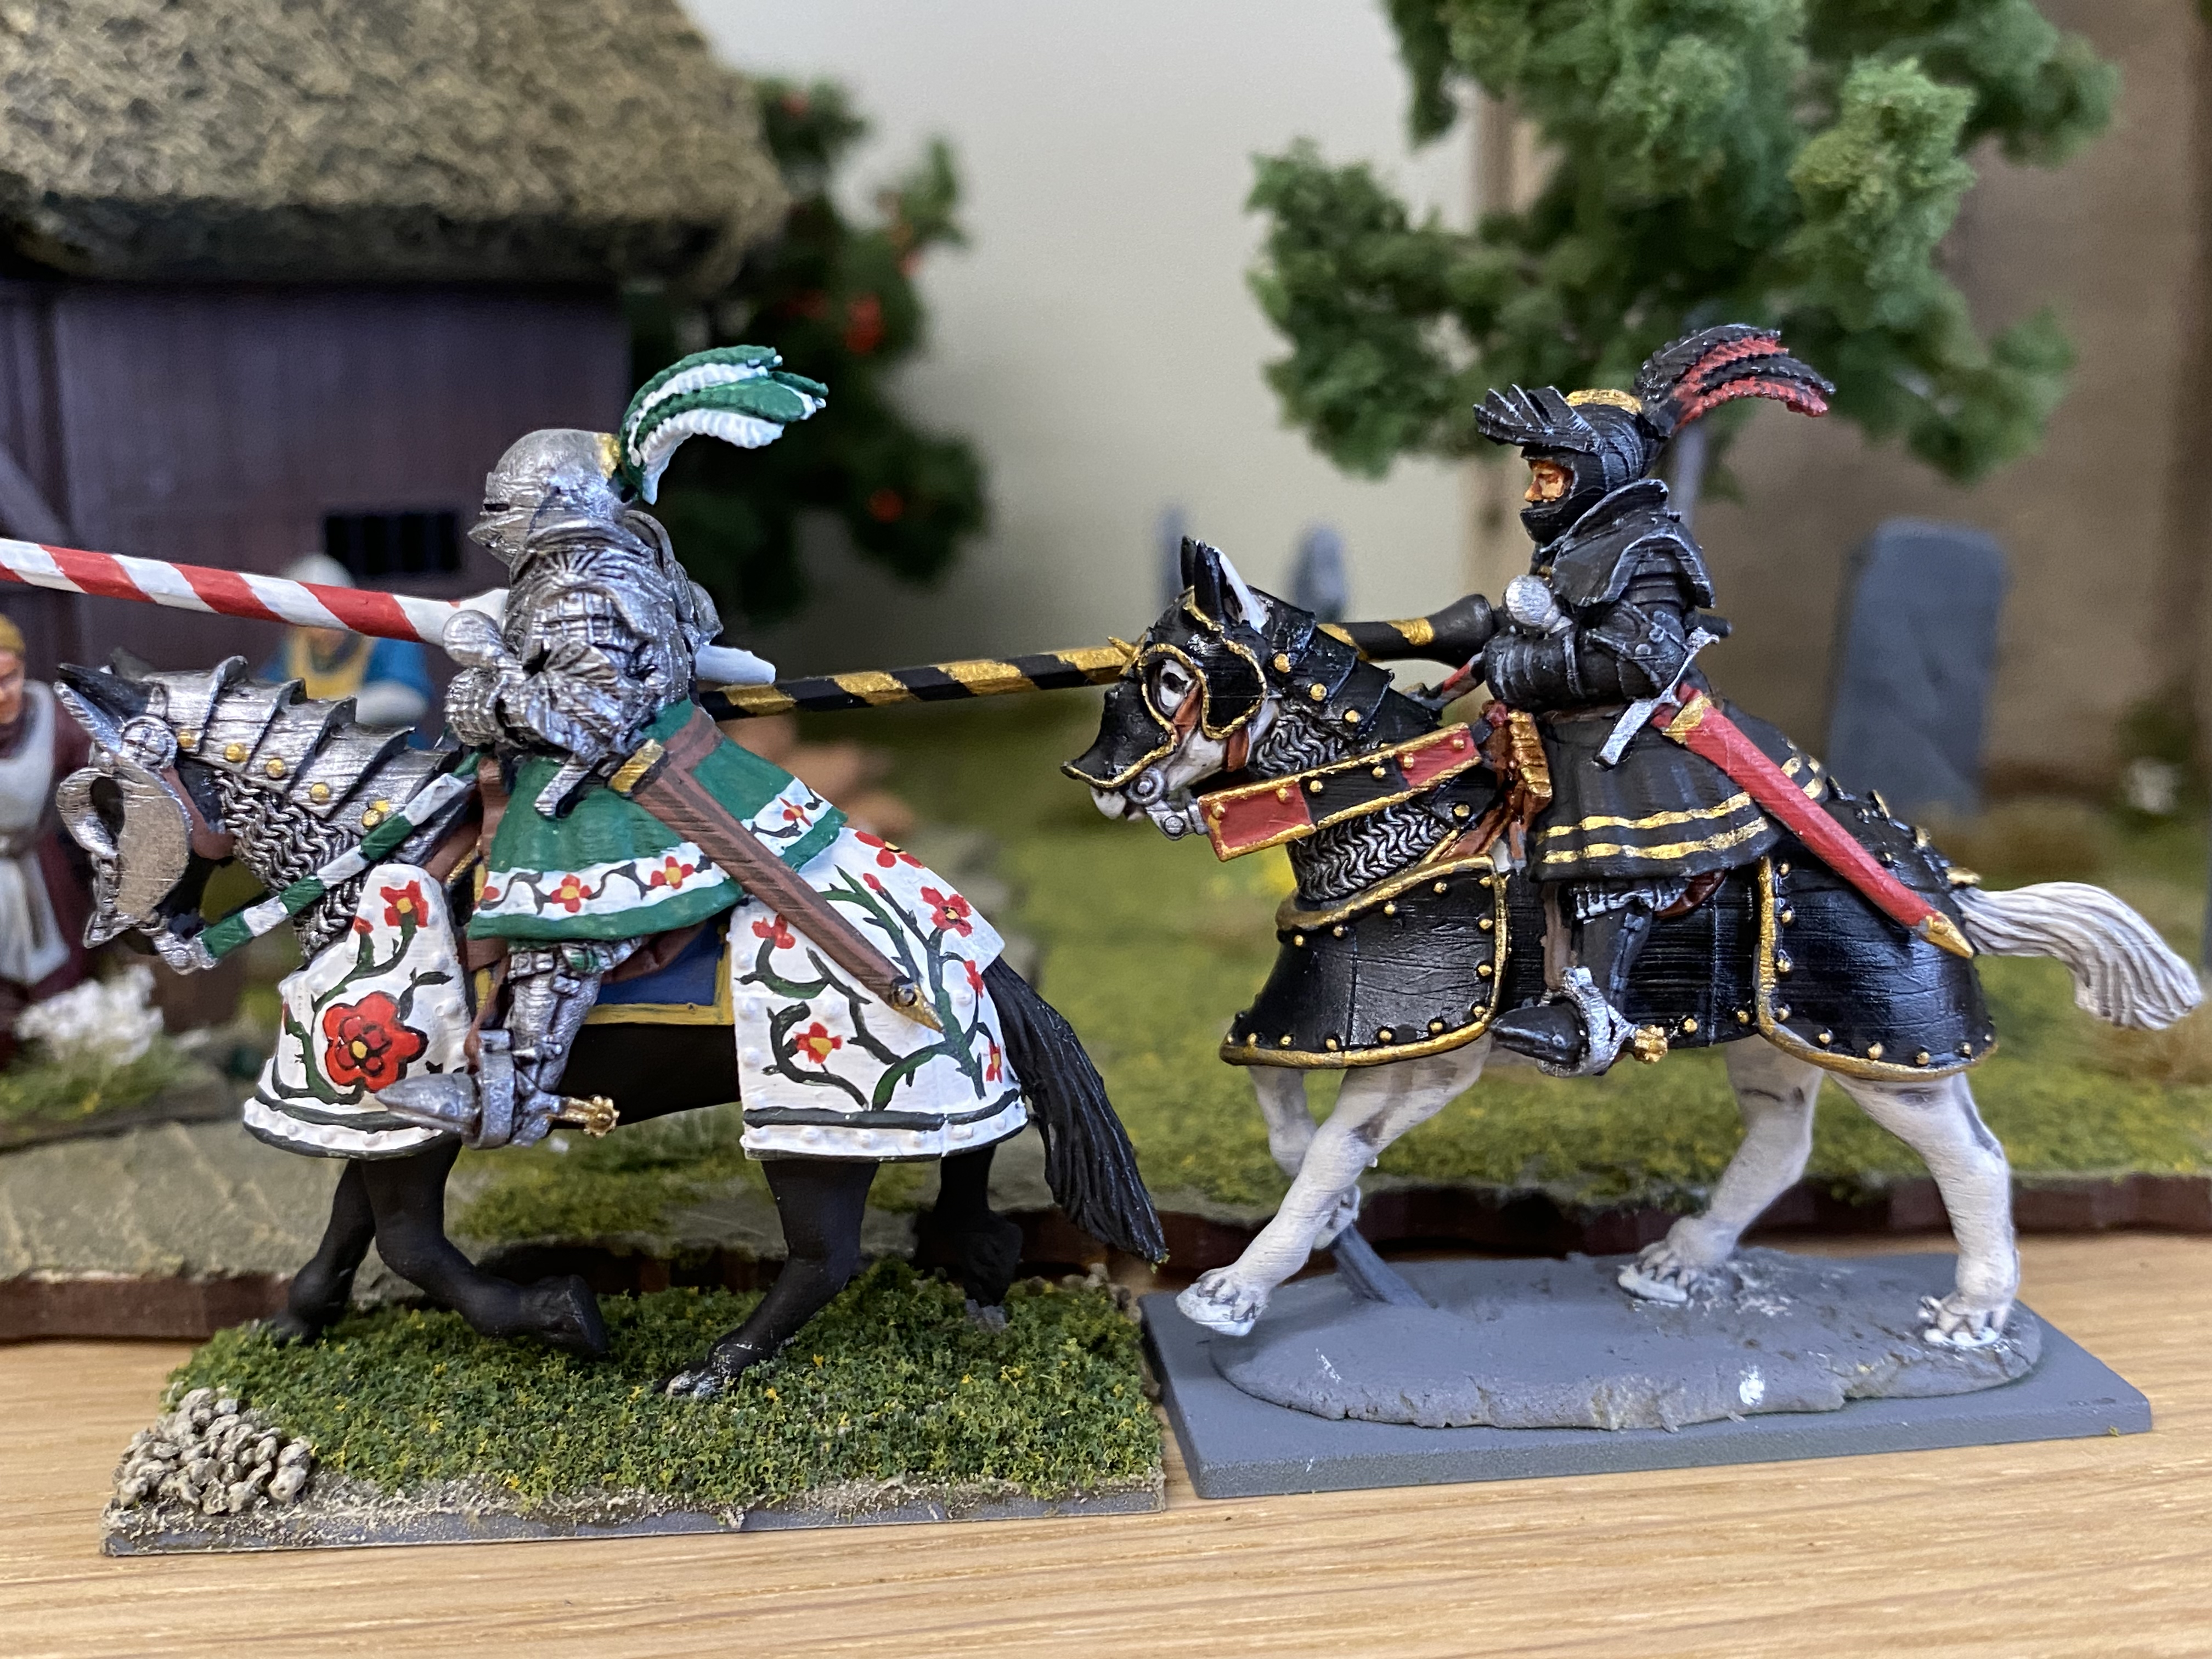
First two knights in plain armour.
Ser Loras leads the charge!

With the freedom to use whatever colour scheme took my fancy, I have gone from some fairly conservative colours to those bordering on fantasy. The white armour with the roses is inspired by the Tyrells of Highgarden – they use a yellow rose on a green background but when I first read the Game of Throne books, I had imagined Ser Loras in white armour.
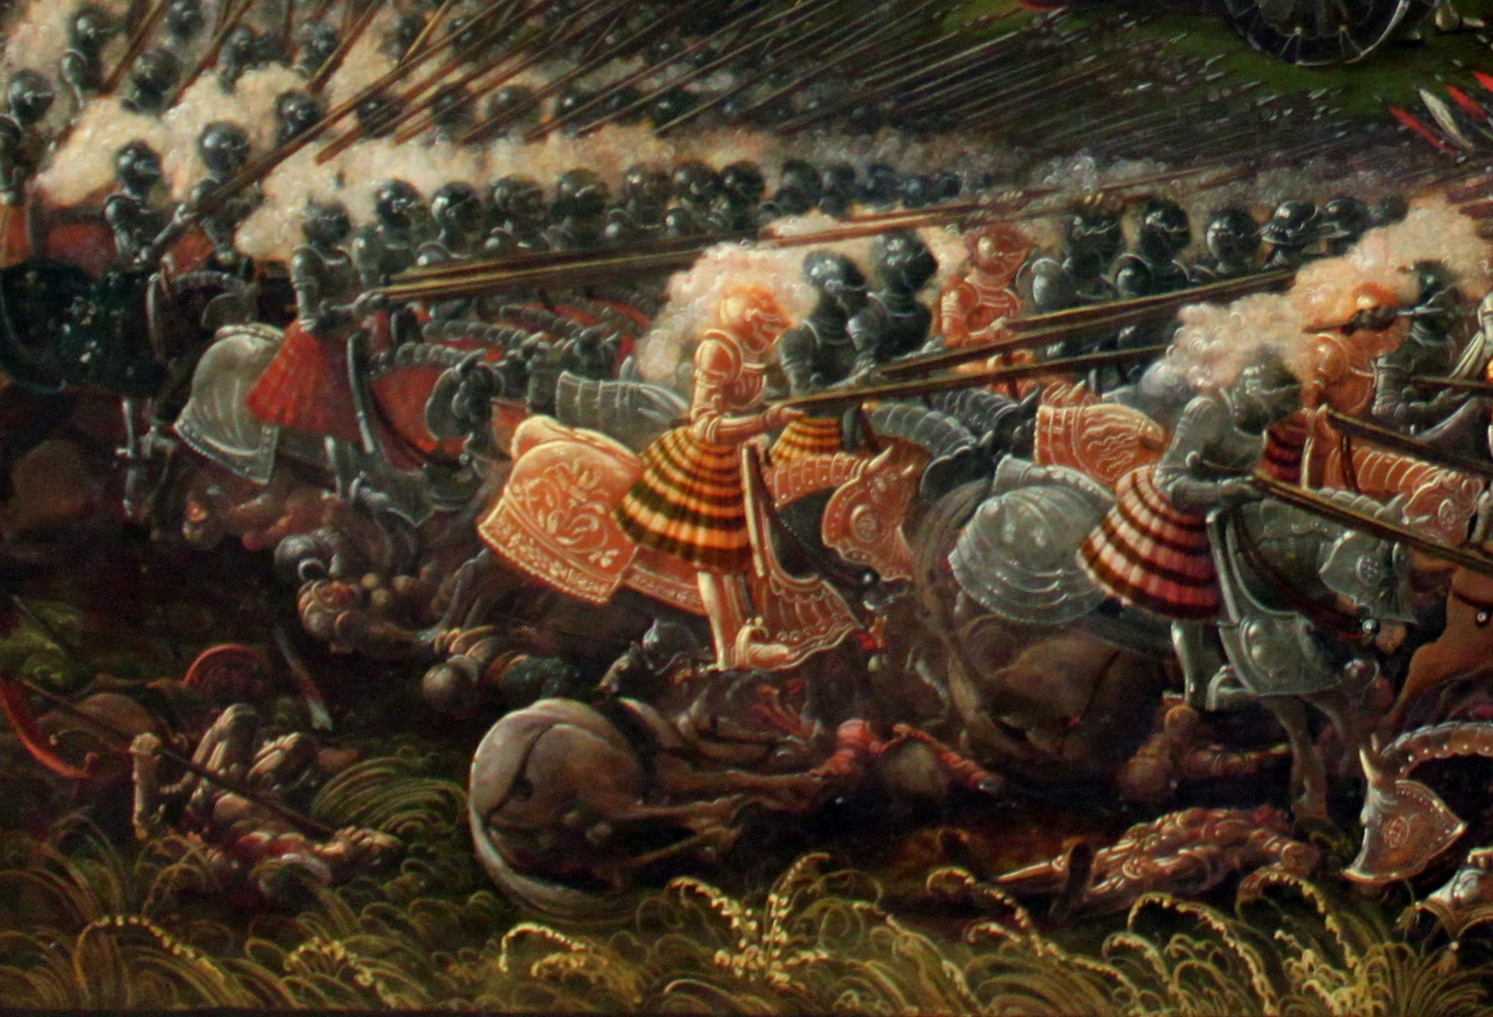
The black and red schemes are based on various illustrations that I have seen, although my freehand skills were not up to some of the details! As for the lances, the ‘barber shop’ twisting patterns were inspired by other models that I had seen and look pretty, if unlikely. I doubt that they were used in battle but rather saved for the tournaments in the tilt yard. It’s fairly easy to paint the spirals using 2mm flexible masking tape (Tamiya) to mask off the base colour as you apply the darker top colour.
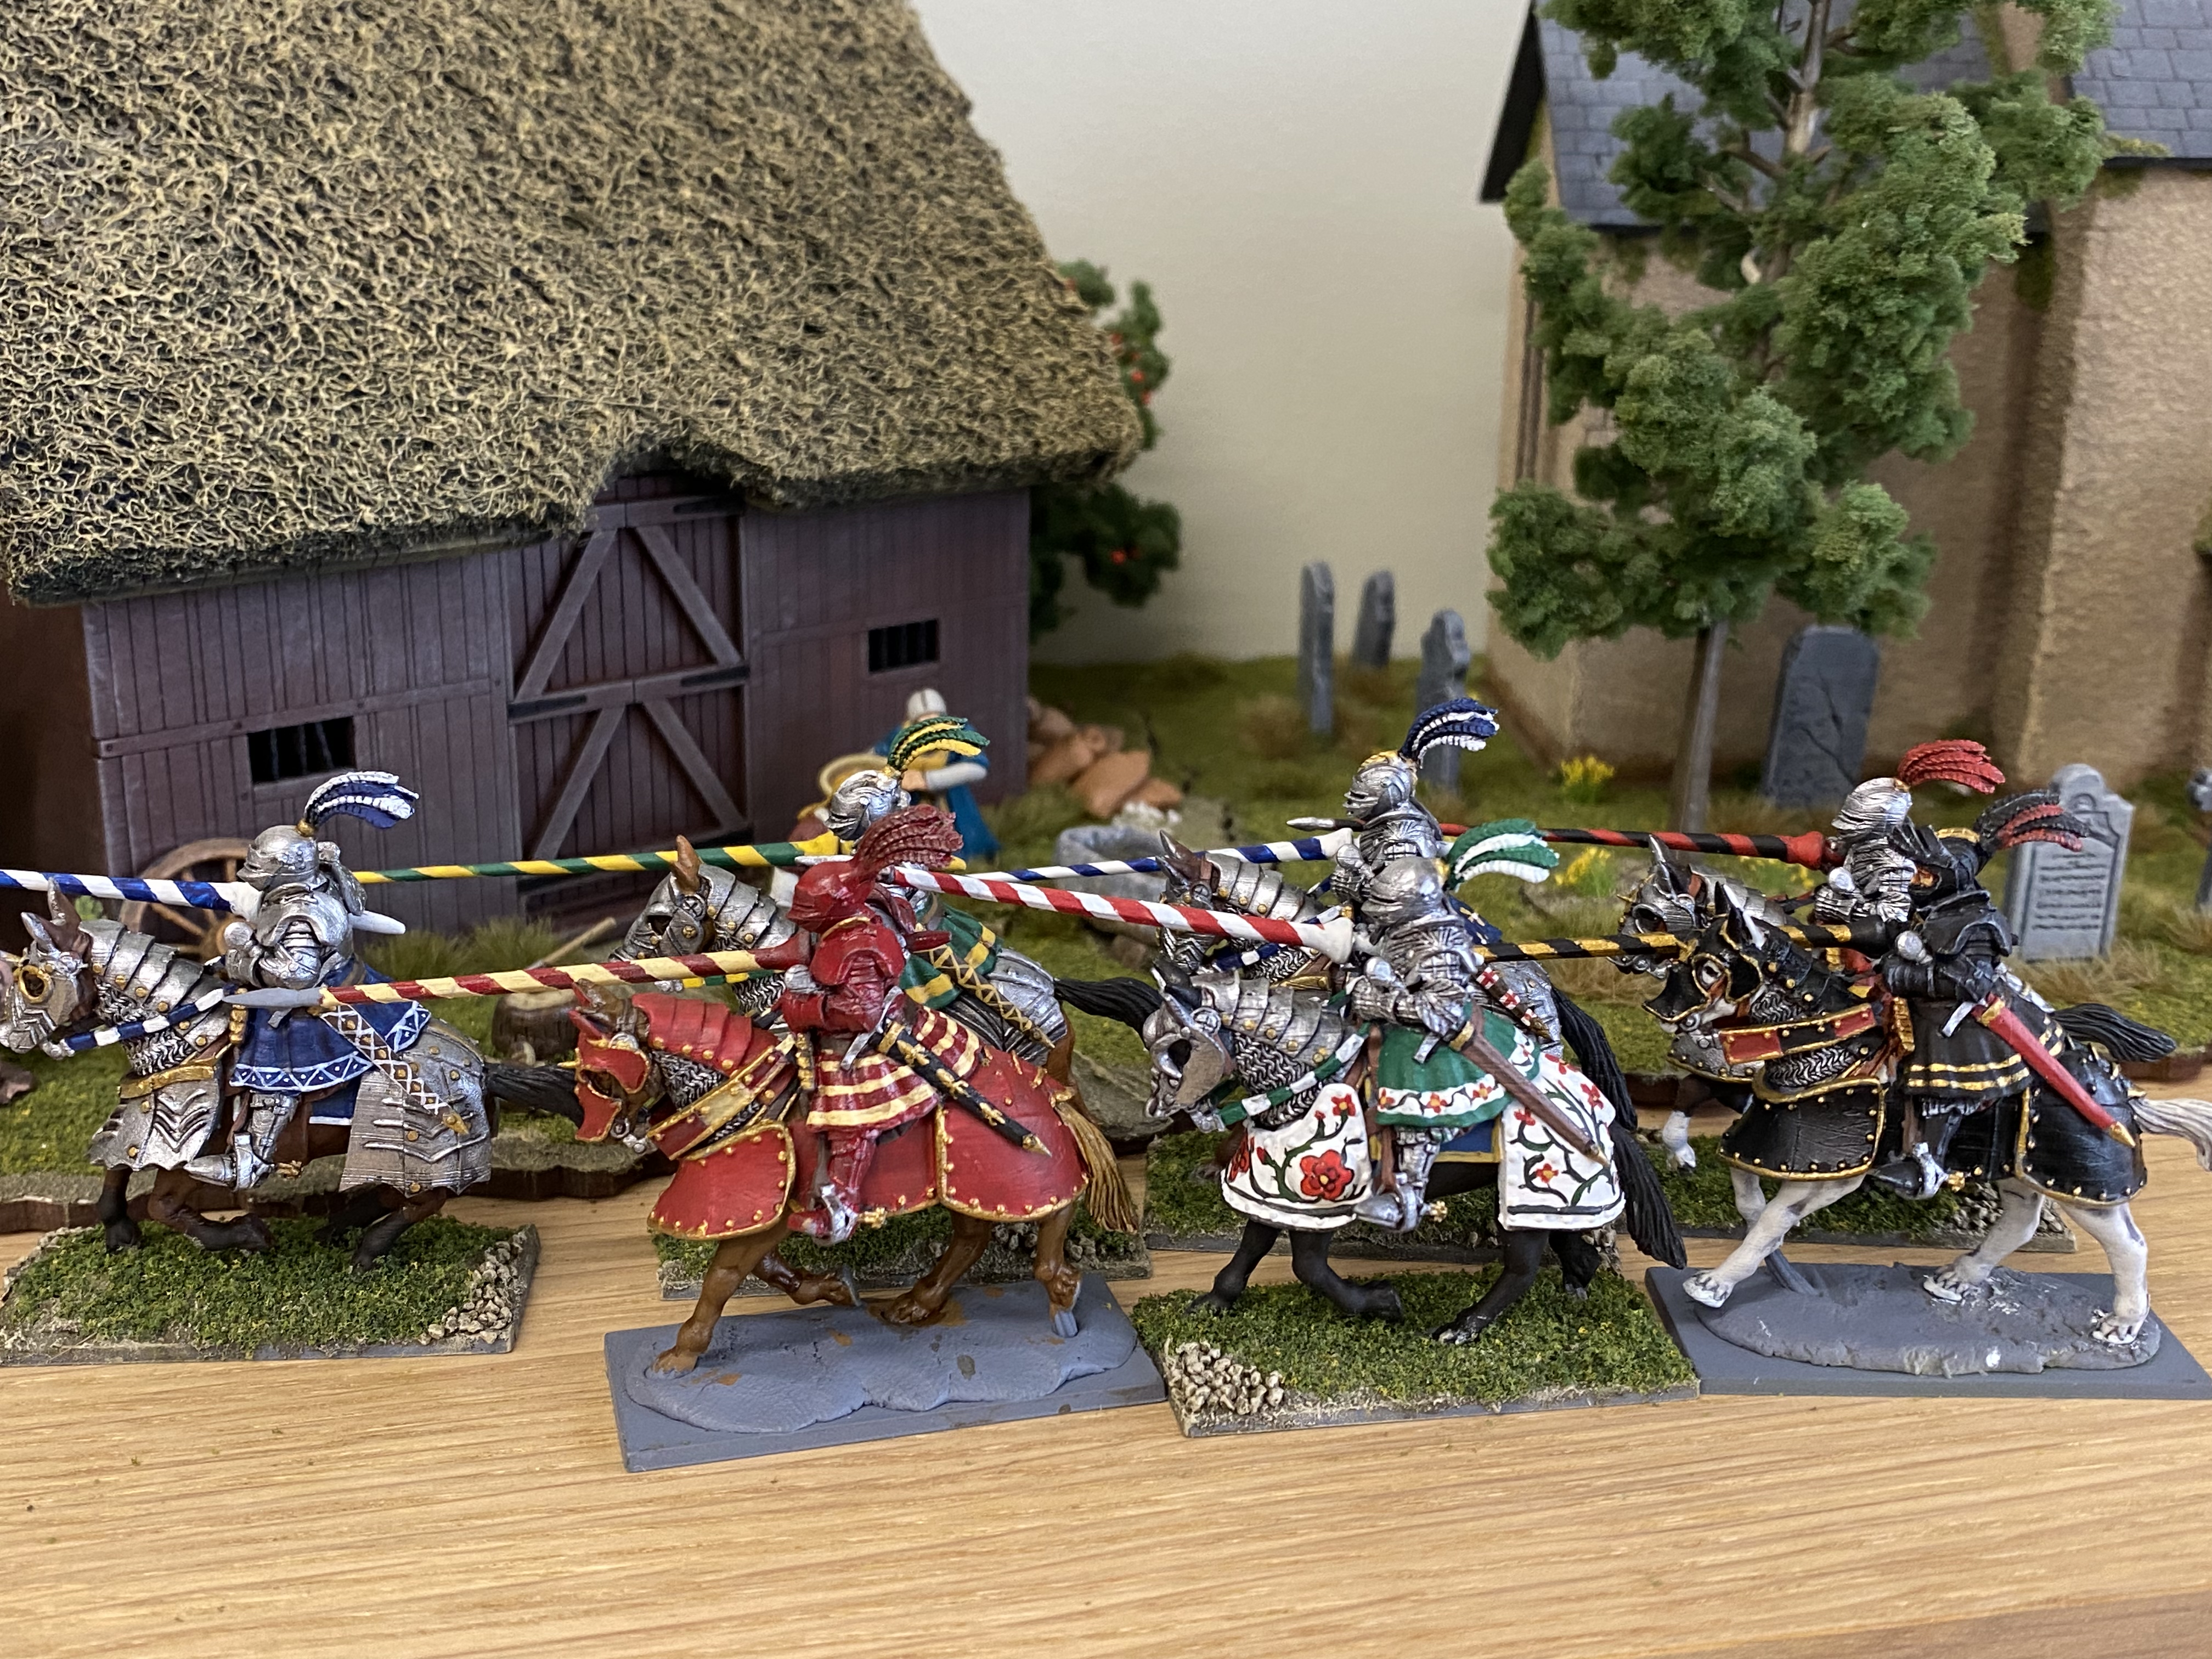
Seven Knights in the picture but the red knight is still being painted and the Black knight needs basing.

I’ve completed six of the resin knights so far, with two more in progress, so this will be my first unit. I intend to paint the Foundry knights as well and I will go for flamboyant colour schemes to see if I can push my freehand on again! I haven’t covered the details of painting these figures. I’ve used the same procedure as usual; that is block paint, wash and highlight. The exact colours are not important as I have already ‘confessed’ that I have not followed a particular livery scheme.
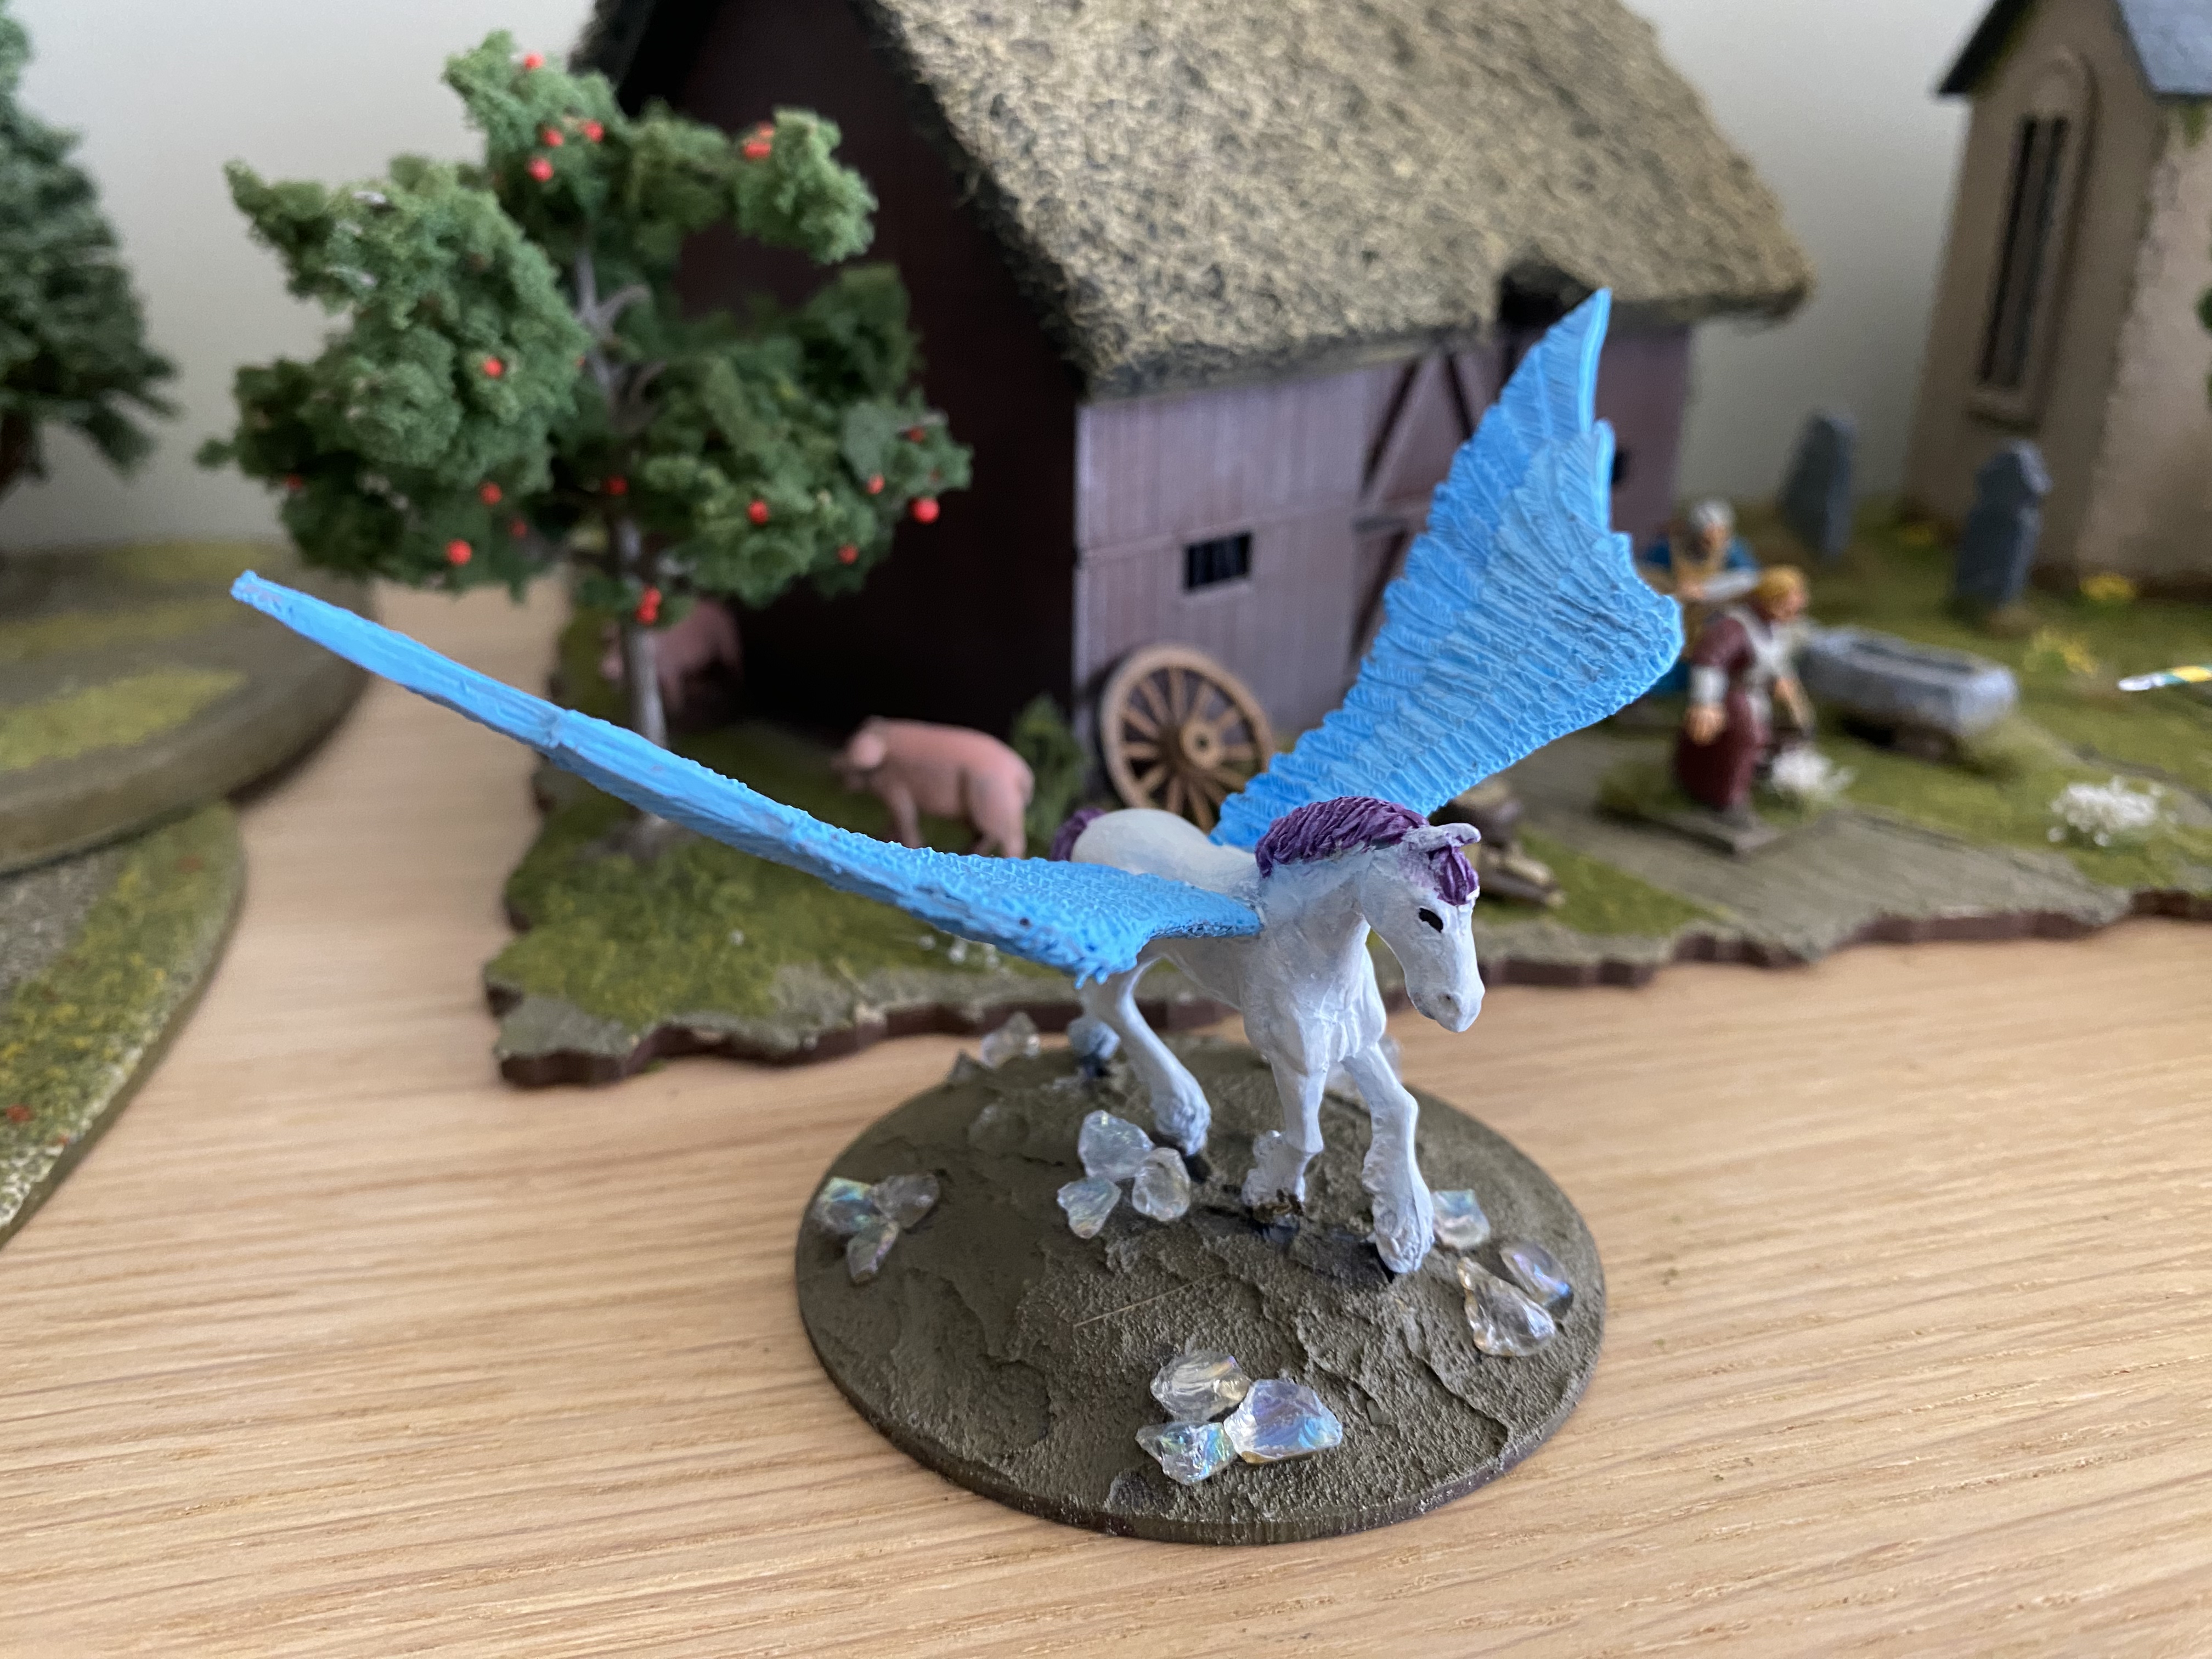
Finally, I mentioned that I had bought a Pegasus from Foundry for my Granddaughter Emily. Well, here’s a picture of her progress with the model. She has of course chosen the colour scheme and followed the block paint and ink method to paint it – just some basing to finish and Emily will have a nice model for her bedroom shelf. I may yet convert her to wargaming!

THE COMMERCIAL BIT

I hope that you all enjoy your hobby as much as I do – our web site will have much of what you need! Click here to see our shop.

ARCANE SCENERY

Happy modelling!
Landsknechts – Finishing The Army

My intention was to produce a Landsknecht force that I could field using the Bill Hooks Deluxe rules set. Having painted a force of three units of 24 pikemen, along with three units of 6 gunsmen, I felt that the only other requirement would be to add some artillery. I already have a few guns in my collection but any excuse to add some more sent me searching online. I also needed an army commander and although I had some nice models on foot that could fulfill the role, I wanted a mounted general so that he could move quickly on the battlefield to rally any daunted troops.

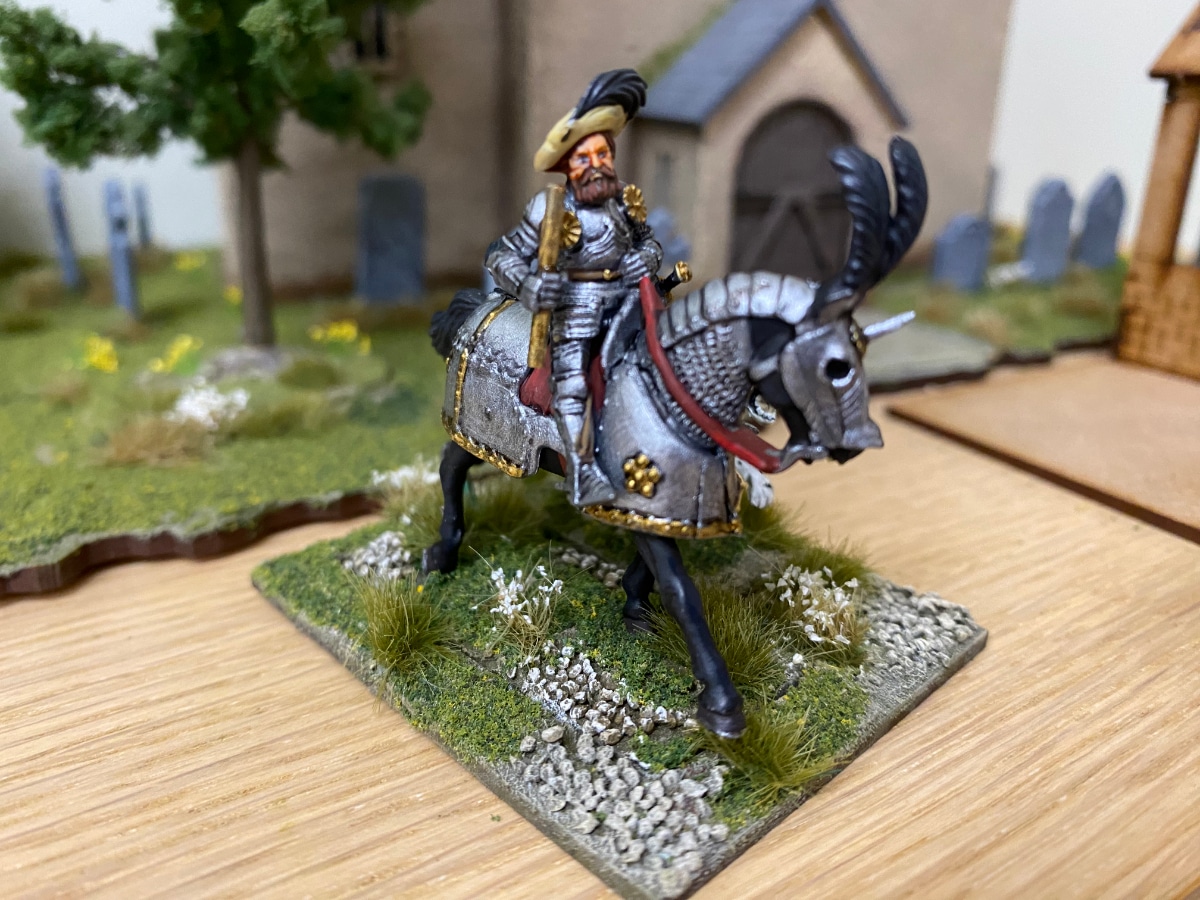
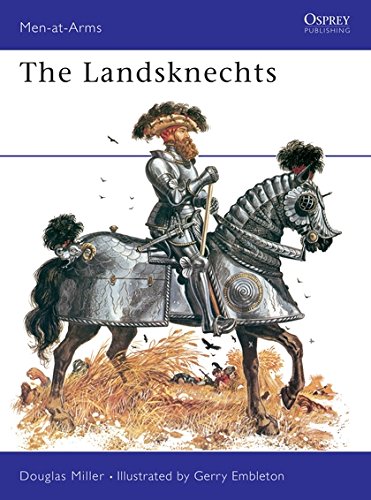
To start with the General first, I copied an idea from Andy Callan, who in turn based his model on the cover of the Osprey book on Landsknechts.

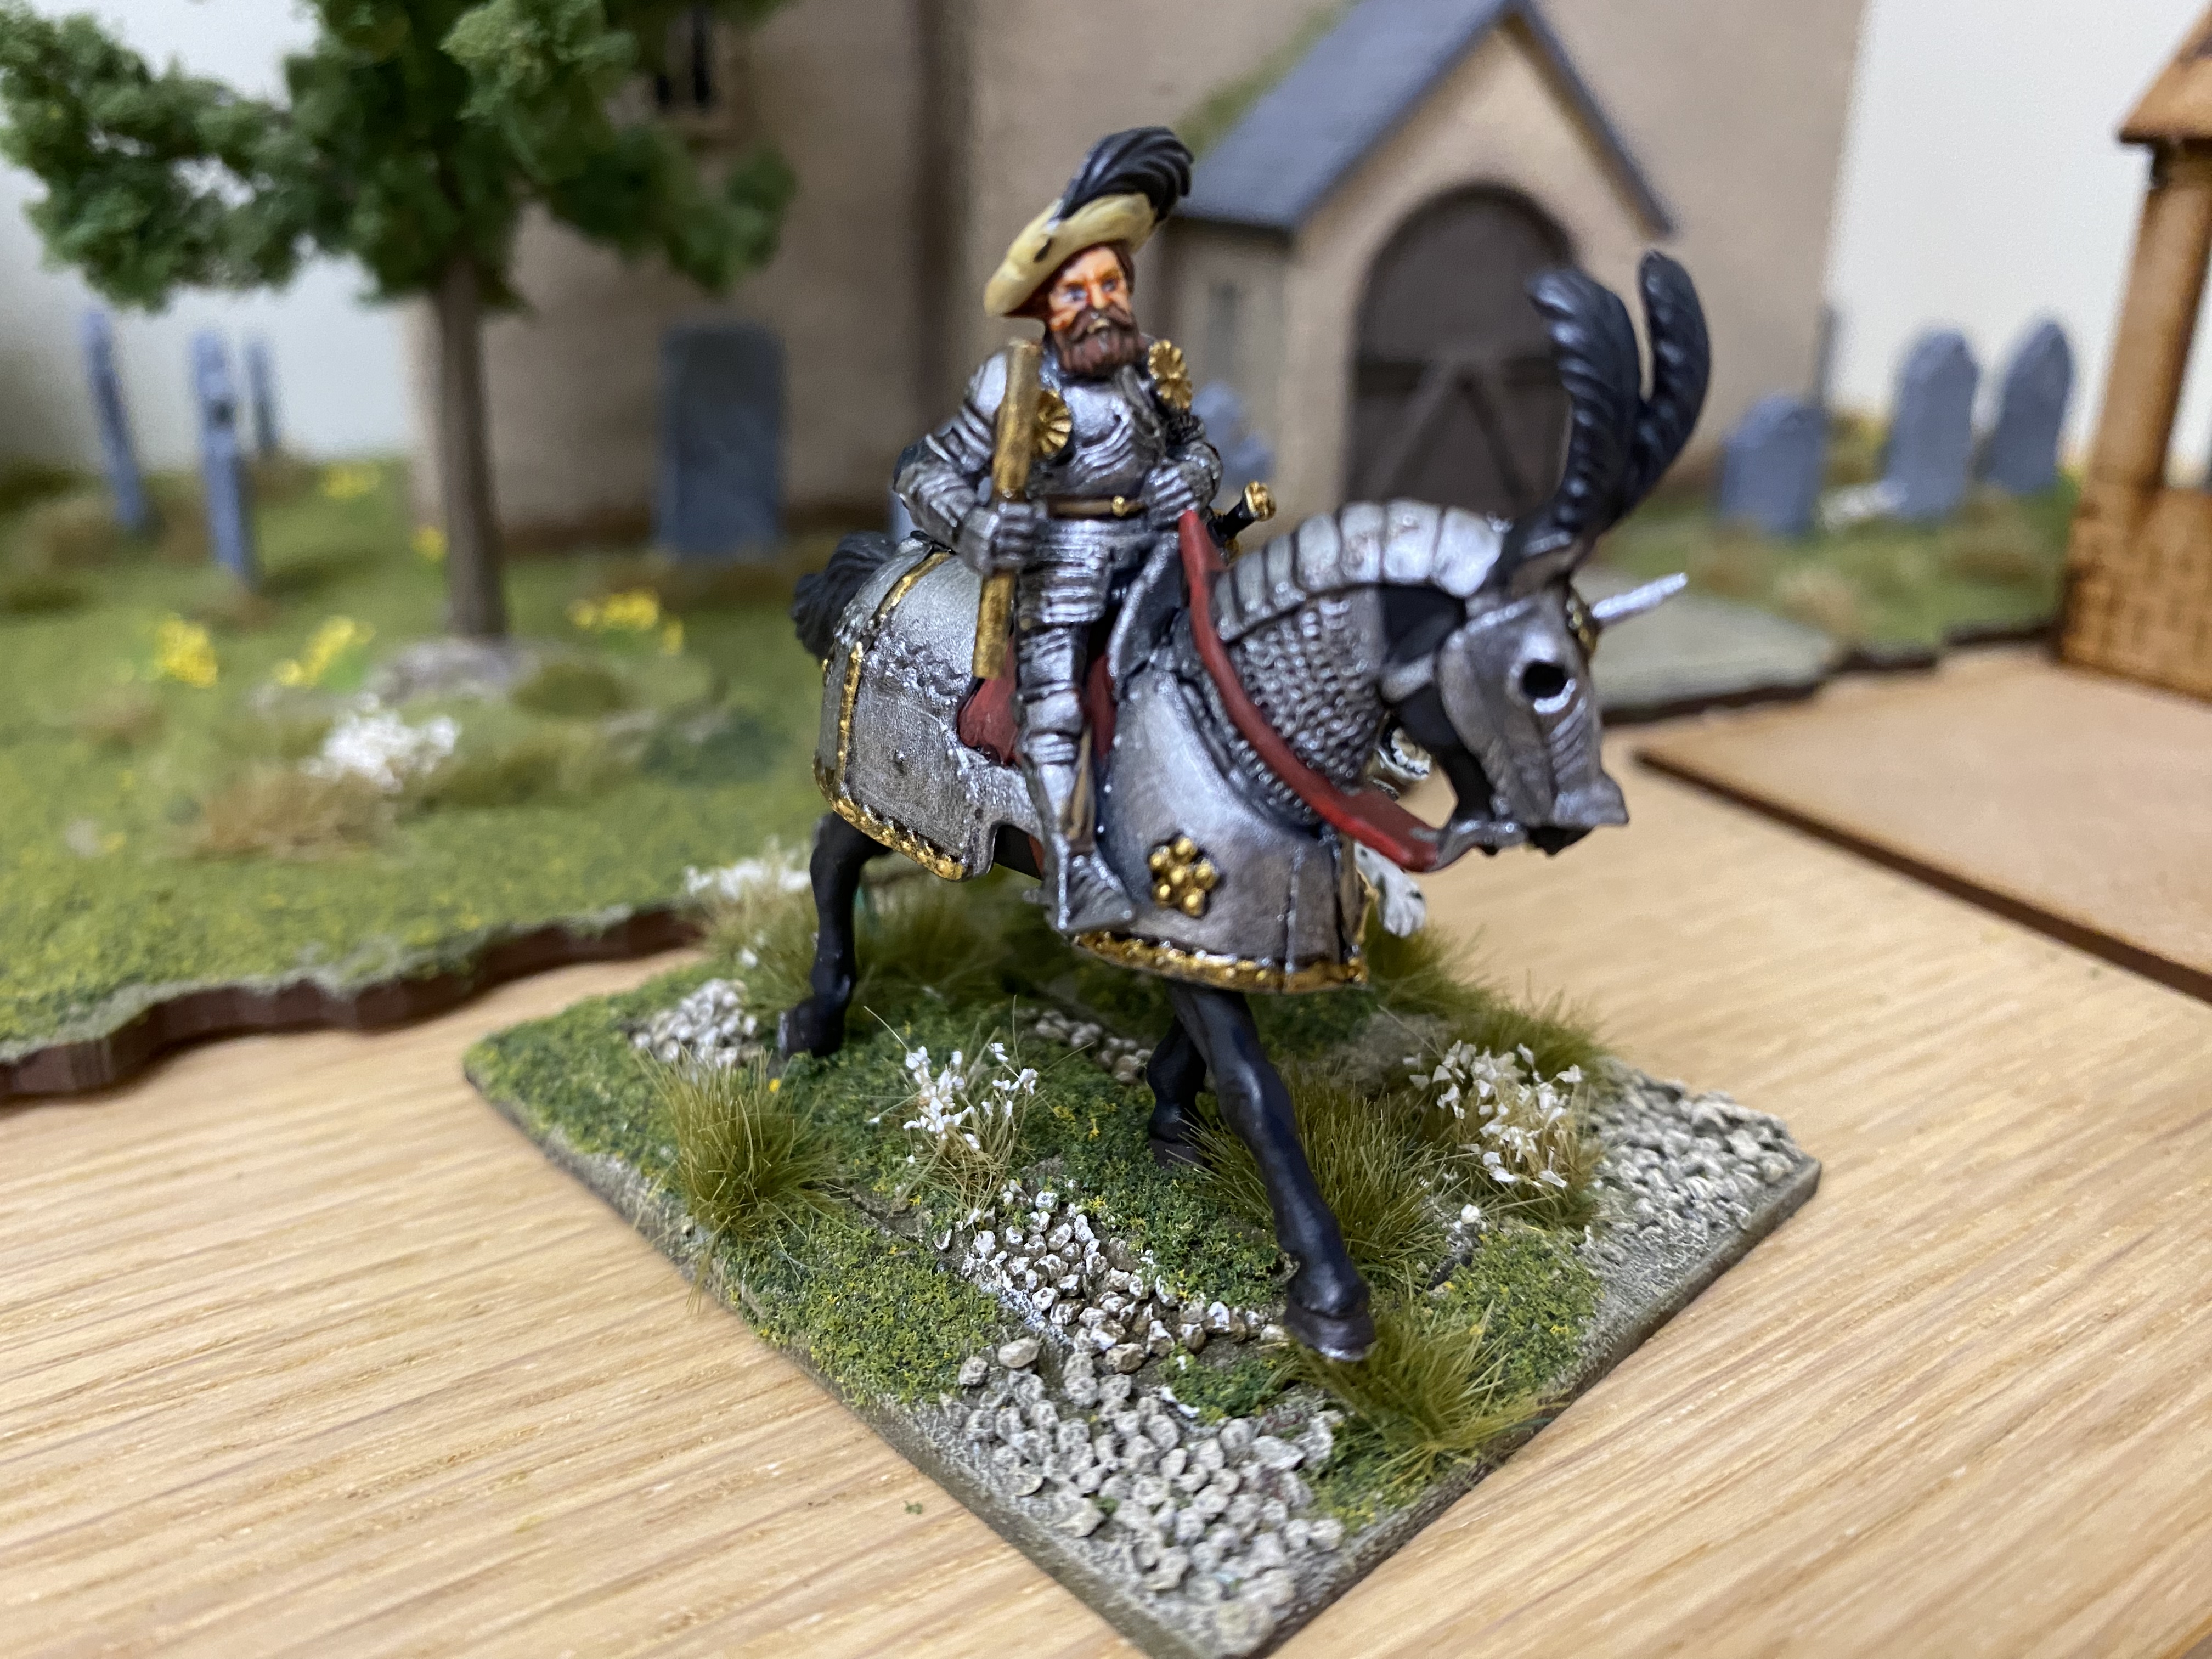
It’s actually a very straight forward conversion. I simply took a Perry Miniature mounted man at Arms with the fully armoured horse and added a Warlord games Landsknecht head that looked about the same as the guy in the picture. I also added some spare feathers to the the rear of the horse armour and the commanders staff was made by cutting down a spear arm from the same Perry’s set.

My Landsknecht commander – Heinrich Kane of Bayern!

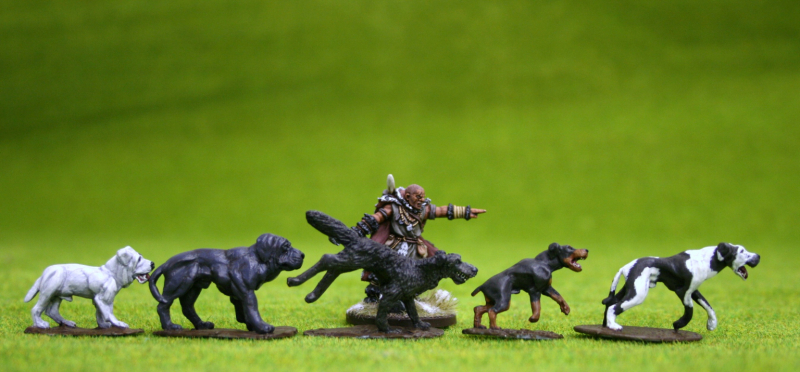
You can’t see it in the above picture but I’ve also given him a big dog as a companion. I’ve re-used an existing base that I had and will at some point make another and change the dog from ‘the biggest spotty dog you ever did see’ (older readers will get the reference and joke) to something more Germanic – a Great Dane or Rottweiler seems appropriate. I like to add dogs to my army – it helps that I have direct access to the Deezee range!

DZ30 Large Dogs Pack

With the General sorted it was back to the artillery. My internet search had resulted in me settling on the guns and crew produced by Foundry Miniatures. Again, I am lucky to have easy access to Foundry. They are just 9 miles up the road from my house, so I was able to spend a pleasant couple of hours visiting them and showing my Granddaughter the Church and Battlefield at East Stoke. As well as purchasing two of the guns and crew, I also picked up a couple of packs of Gendarmes and a winged unicorn for my Granddaughter Emily! I have to report that the service at Foundry was first class. The young lad on ‘front of house’ was extremely helpful and ensured that I was able to get the models that I wanted. You can read about one of my previous visits to the Stokes Field Battlefield and find links to Foundry here:

THE BATTLE OF STOKES FIELD

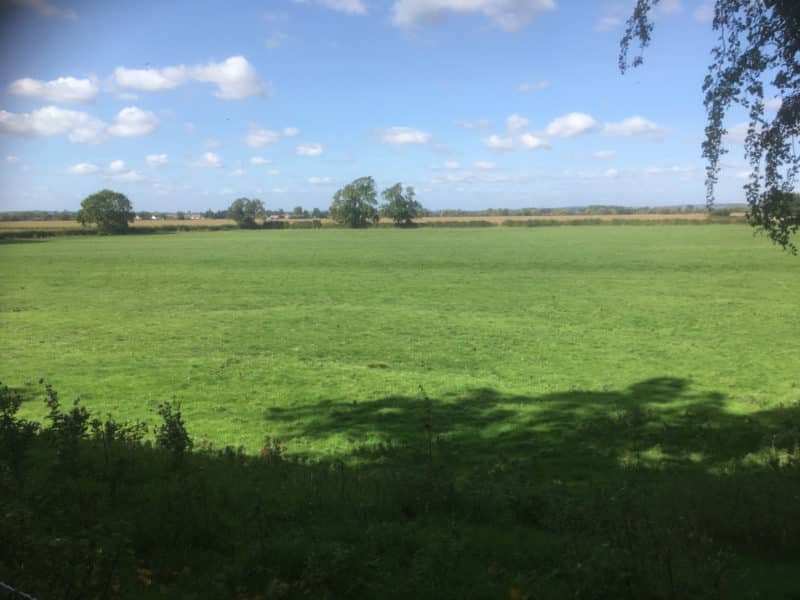
Stokes field – the view to Hoveringham and the Trent – The Yorkists retreated over these fields!

Foundry Miniatures are sometimes thought of as being smaller than the current ’28mm’ crop of models. I have not found this to be so. As a general rule, some of the older ranges maybe but I found that the Landsknechts were, if anything, more on the large size but certainly compatible with Warlord and Perry Miniatures. I suspect that one of the Perry’s probably sculpted these figures.

When it came to painting them, I simply copied the figures on the Foundry web site. I actually went a bit rogue with the colours on the guns. According to one reference that I had read, the wheels were natural wood and the carriages painted red. I decided I preferred the wheels painted red and the carriages in natural wood. What a rebel, Heh!

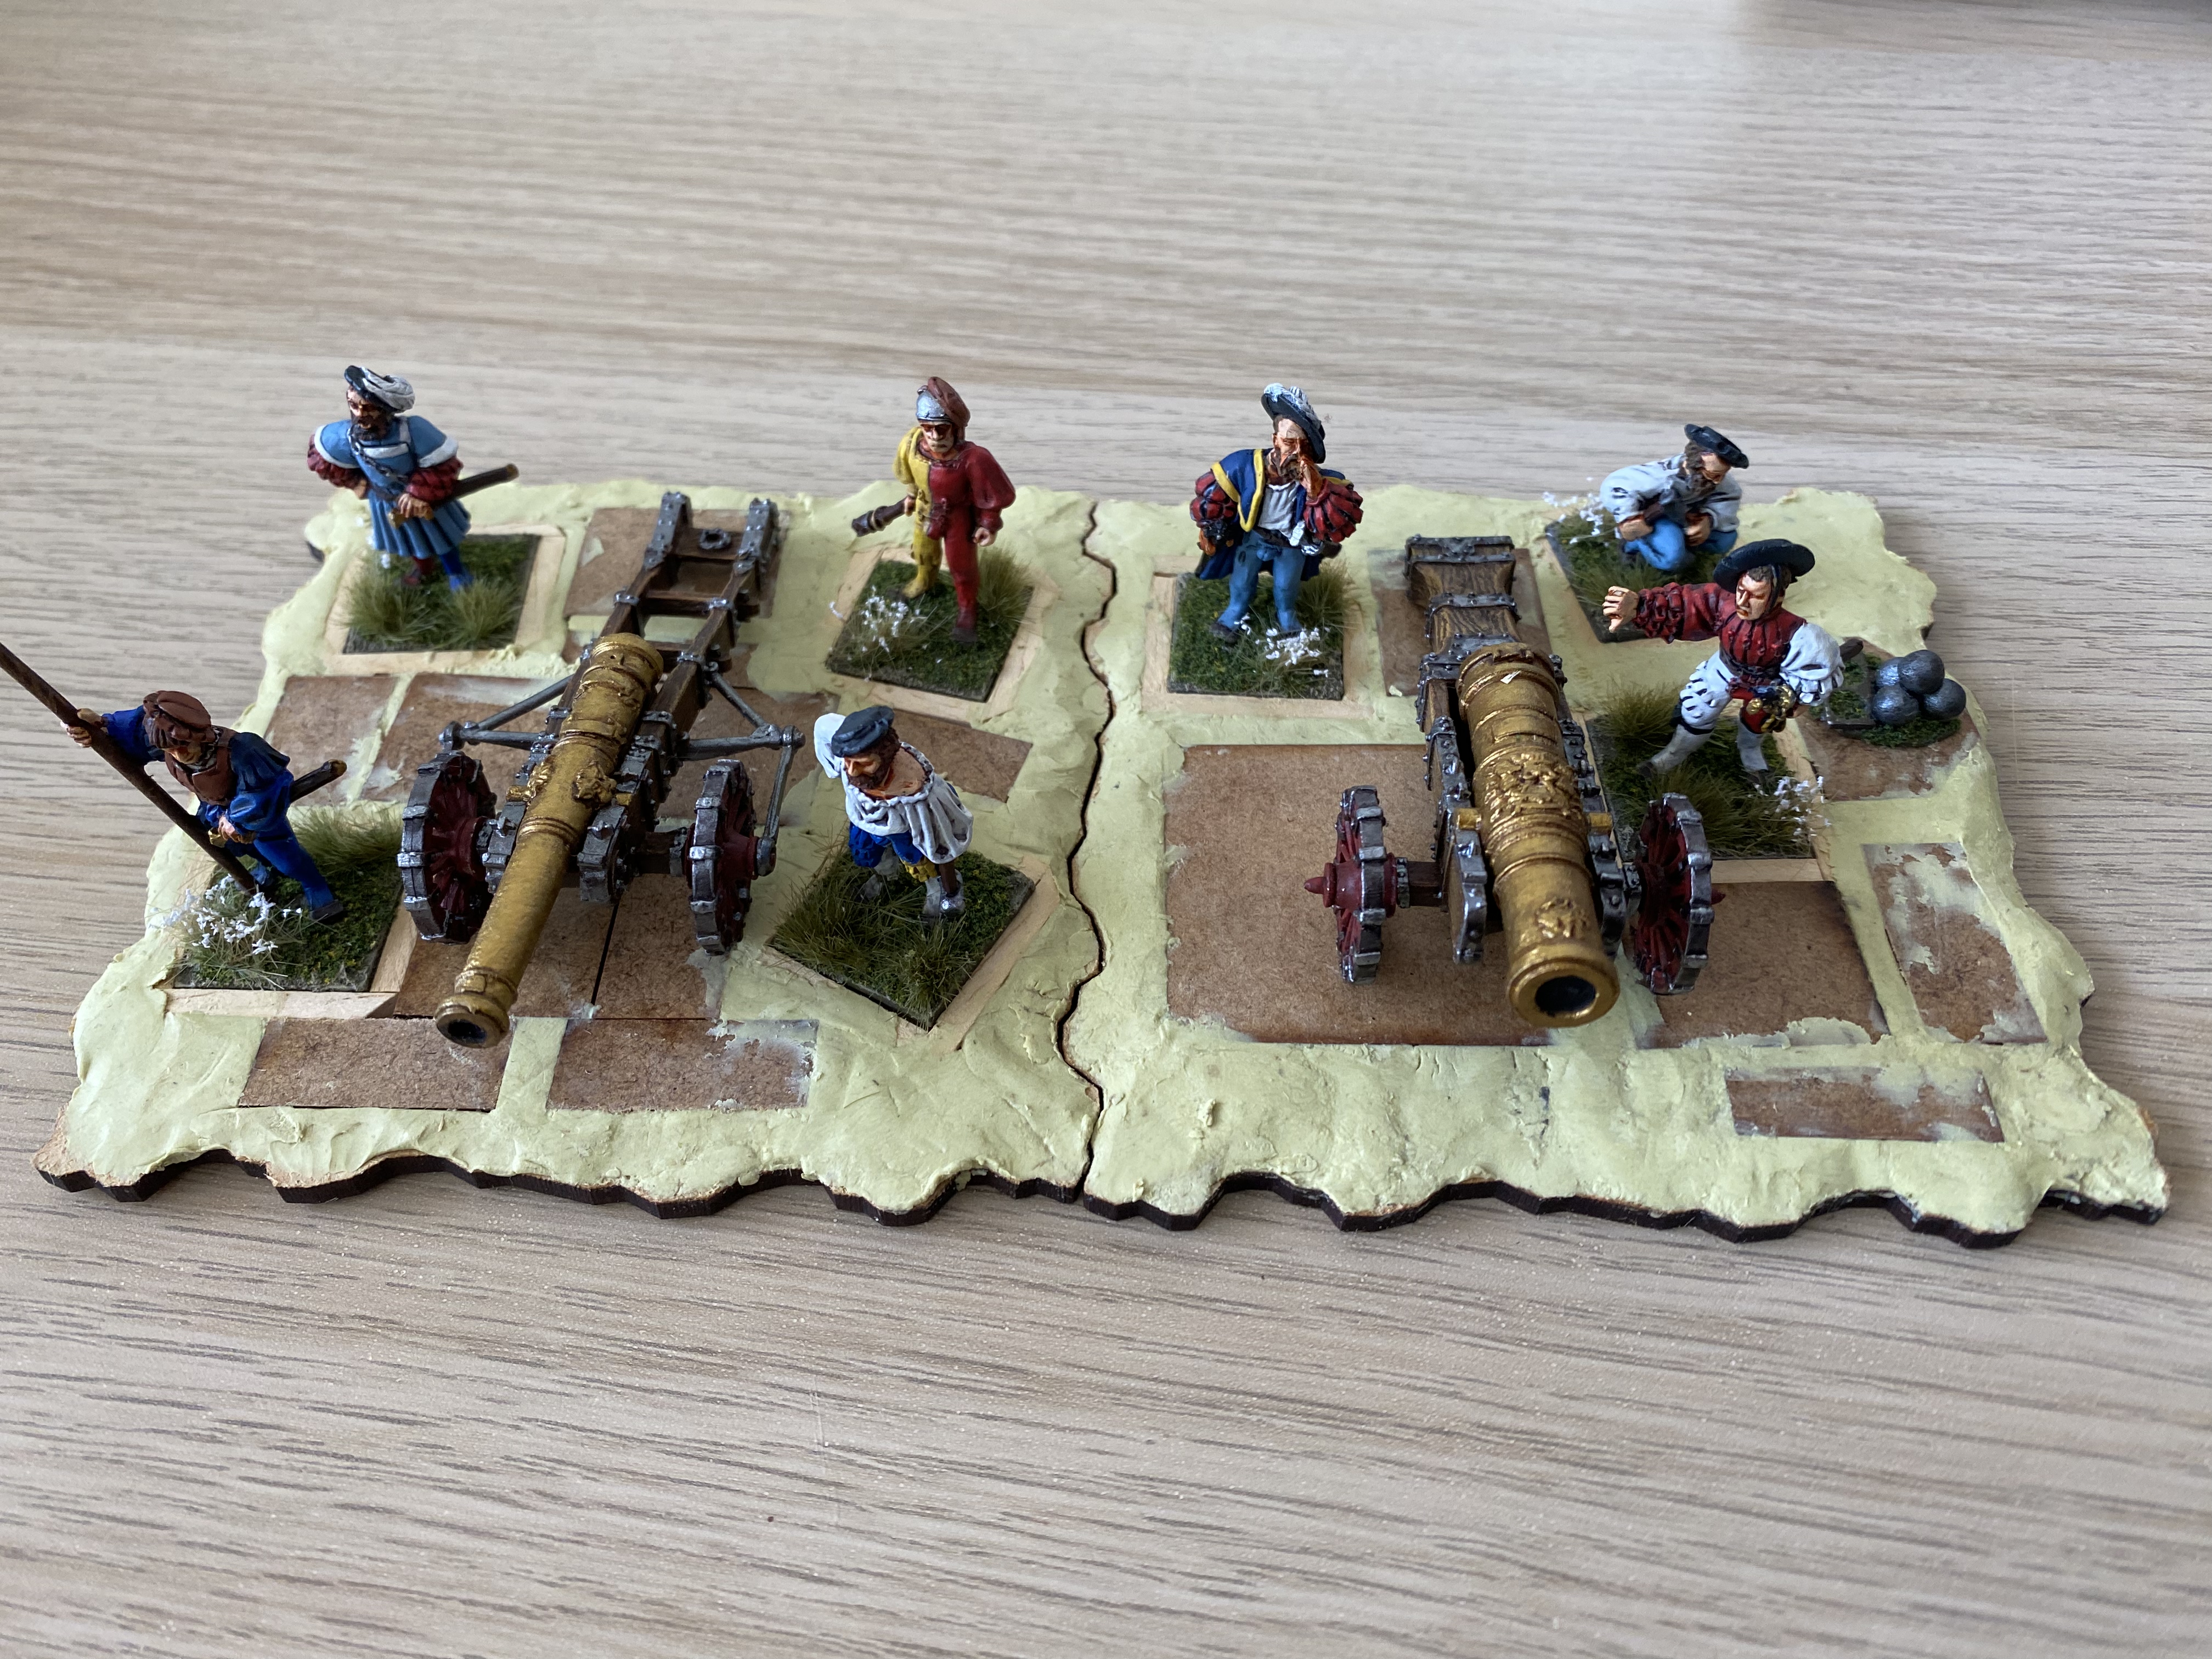
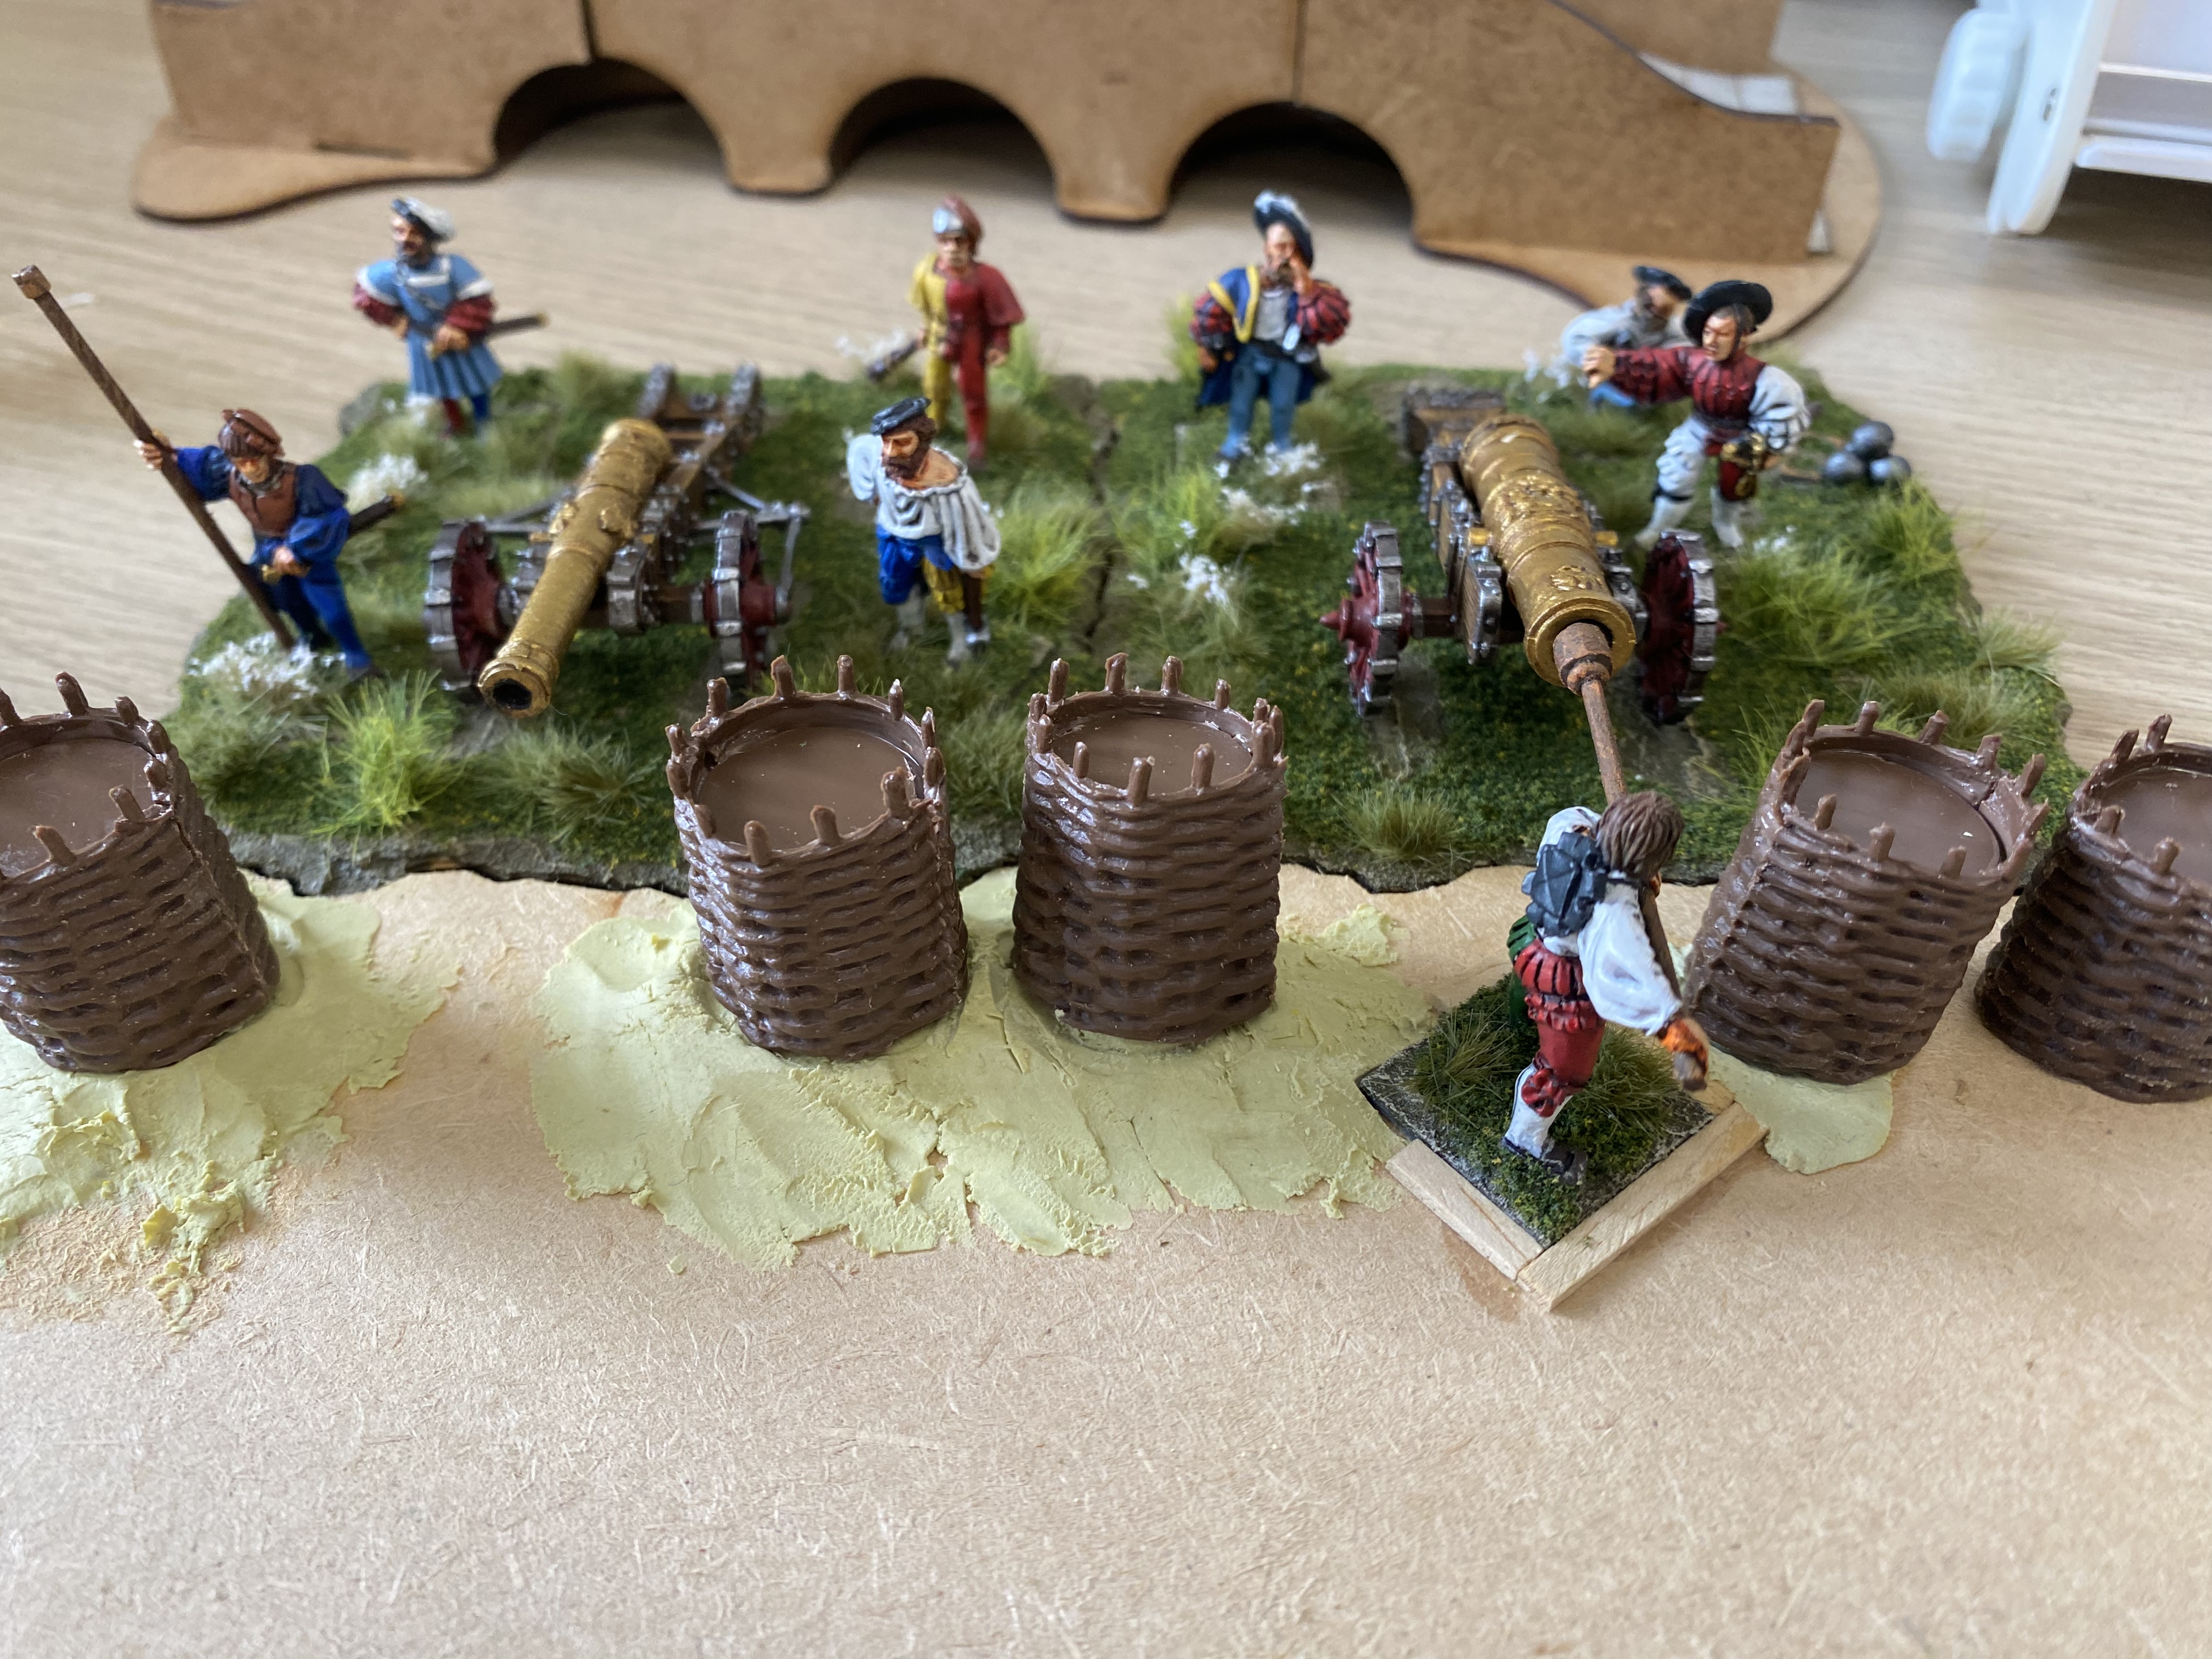
I decided to base them on the Sarrisa Precision Terrain tiles for a couple of reasons. First of all they were large enough to accommodate the guns and secondly, I have vague ideas of making a larger diorama/encampment. Here’s the painted guns and crews on the bases.

Landsknecht Artillery on bases prior to finishing.

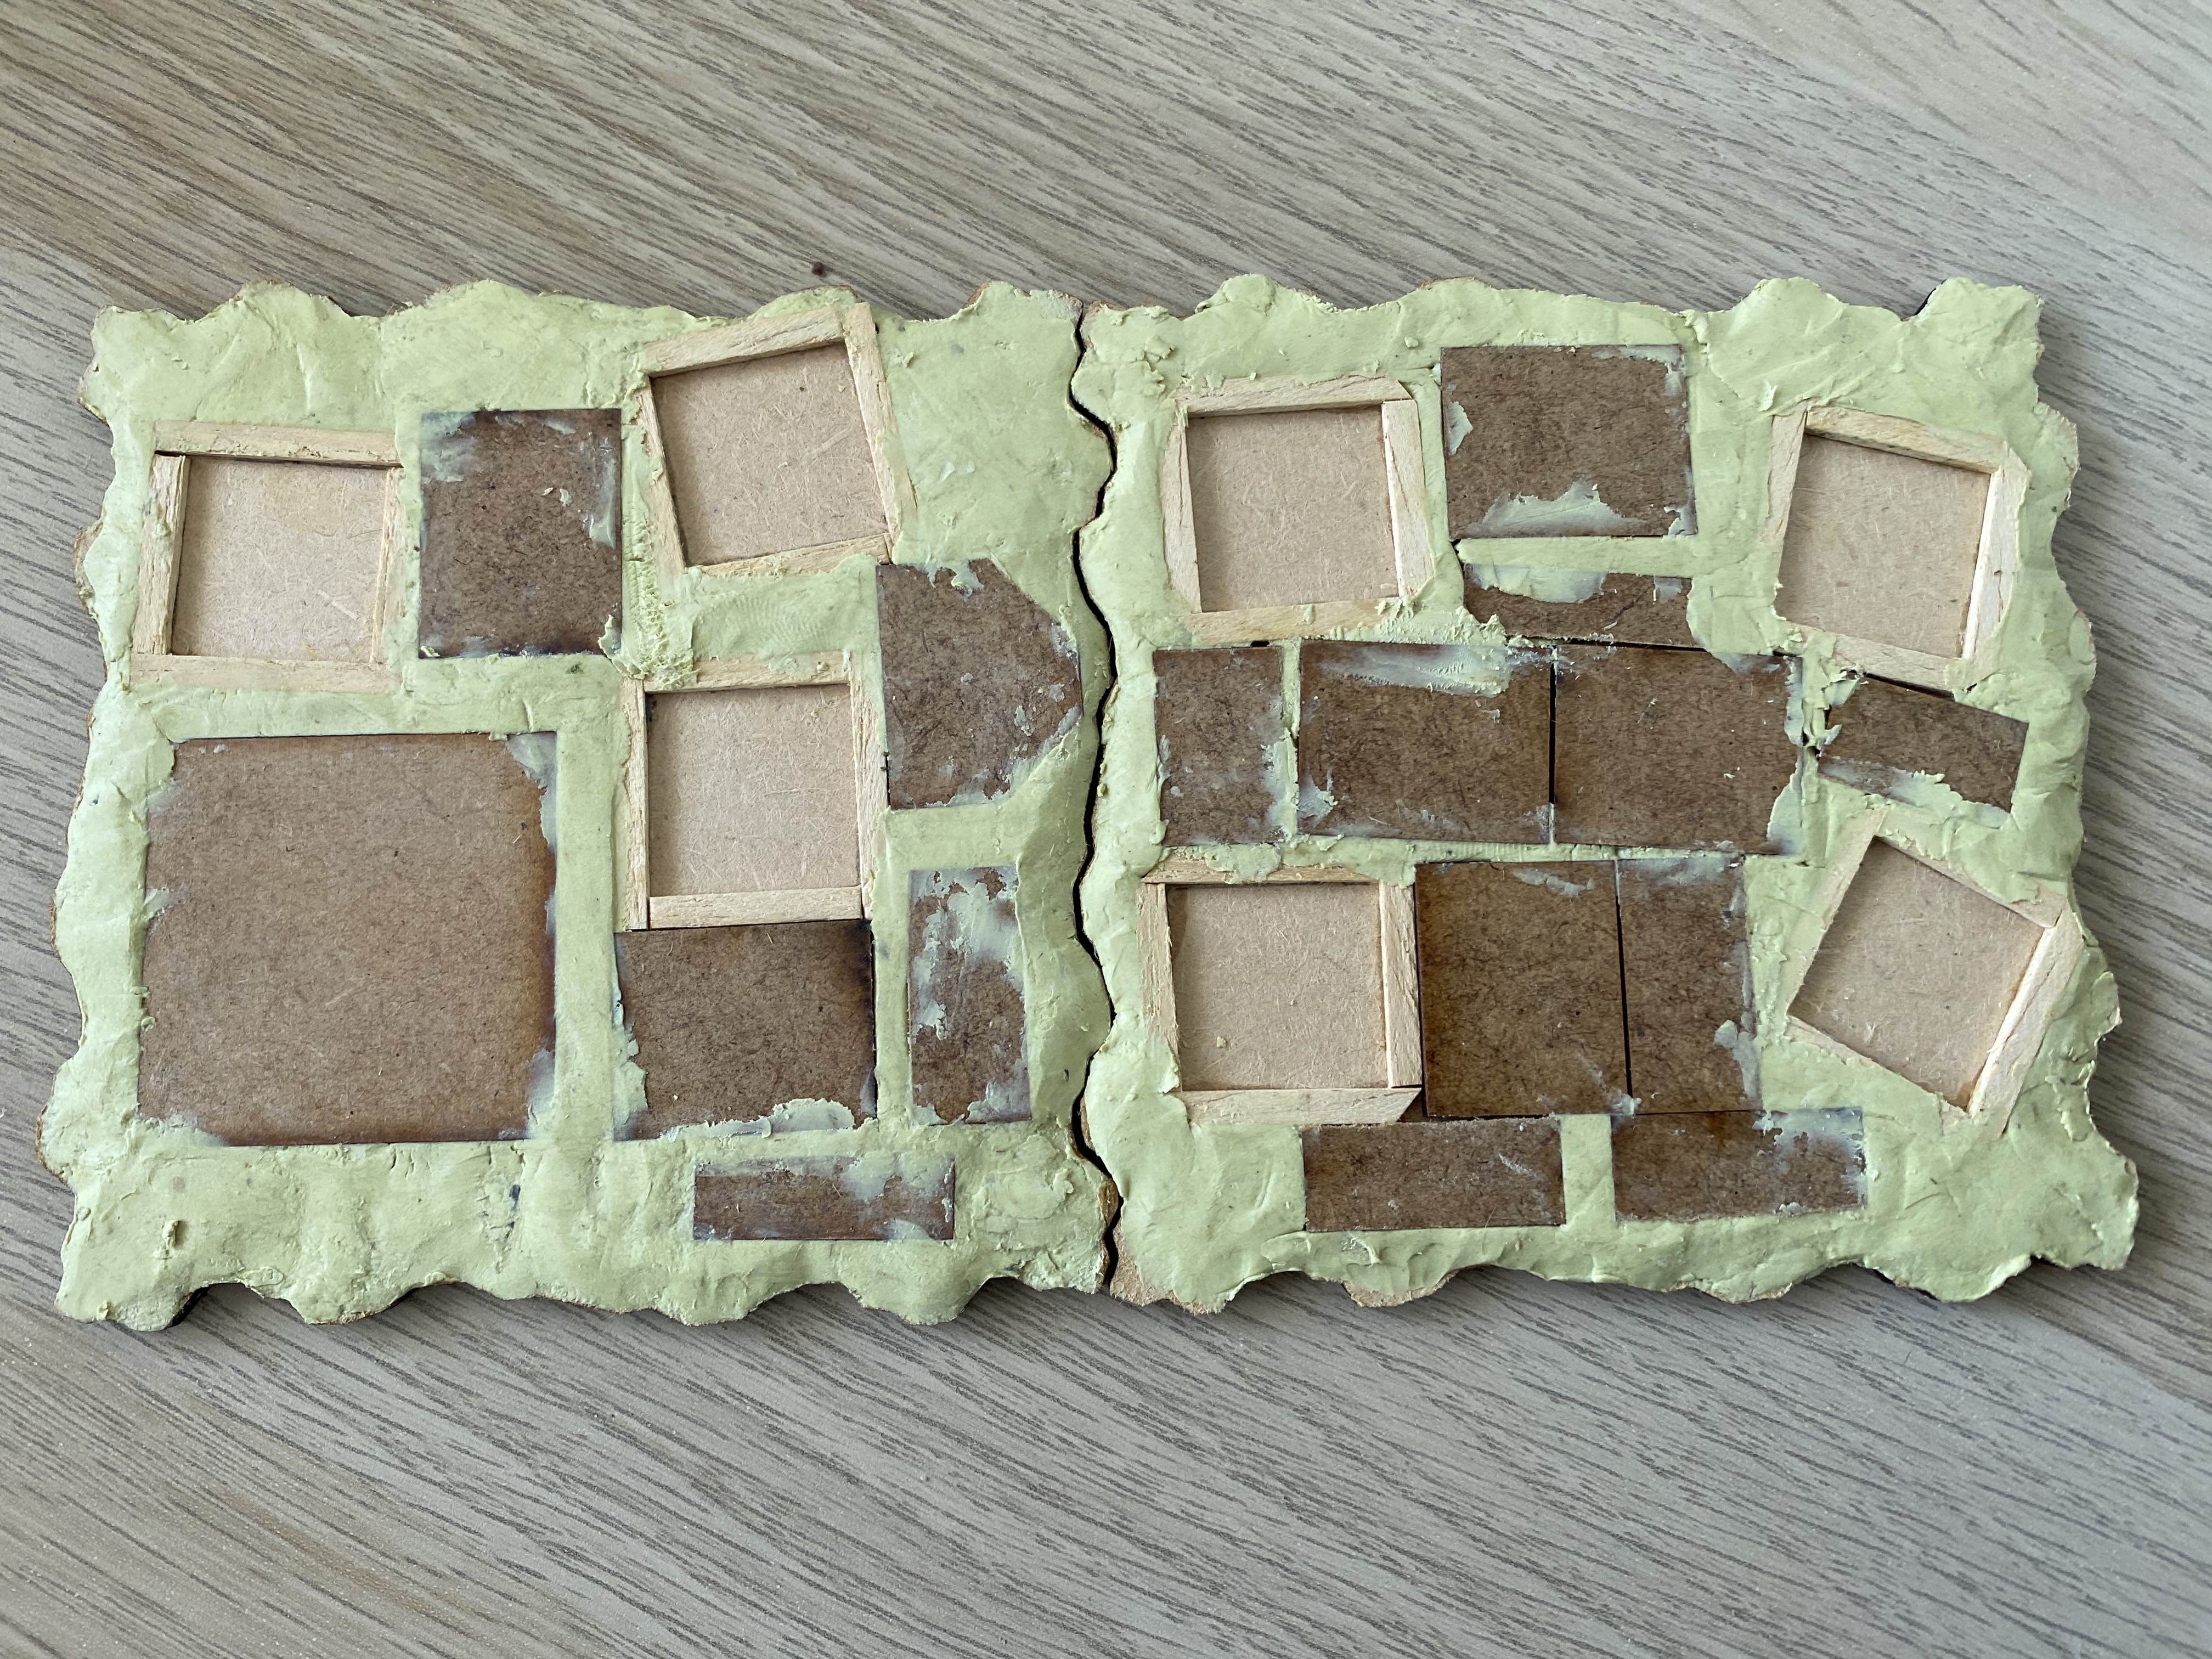
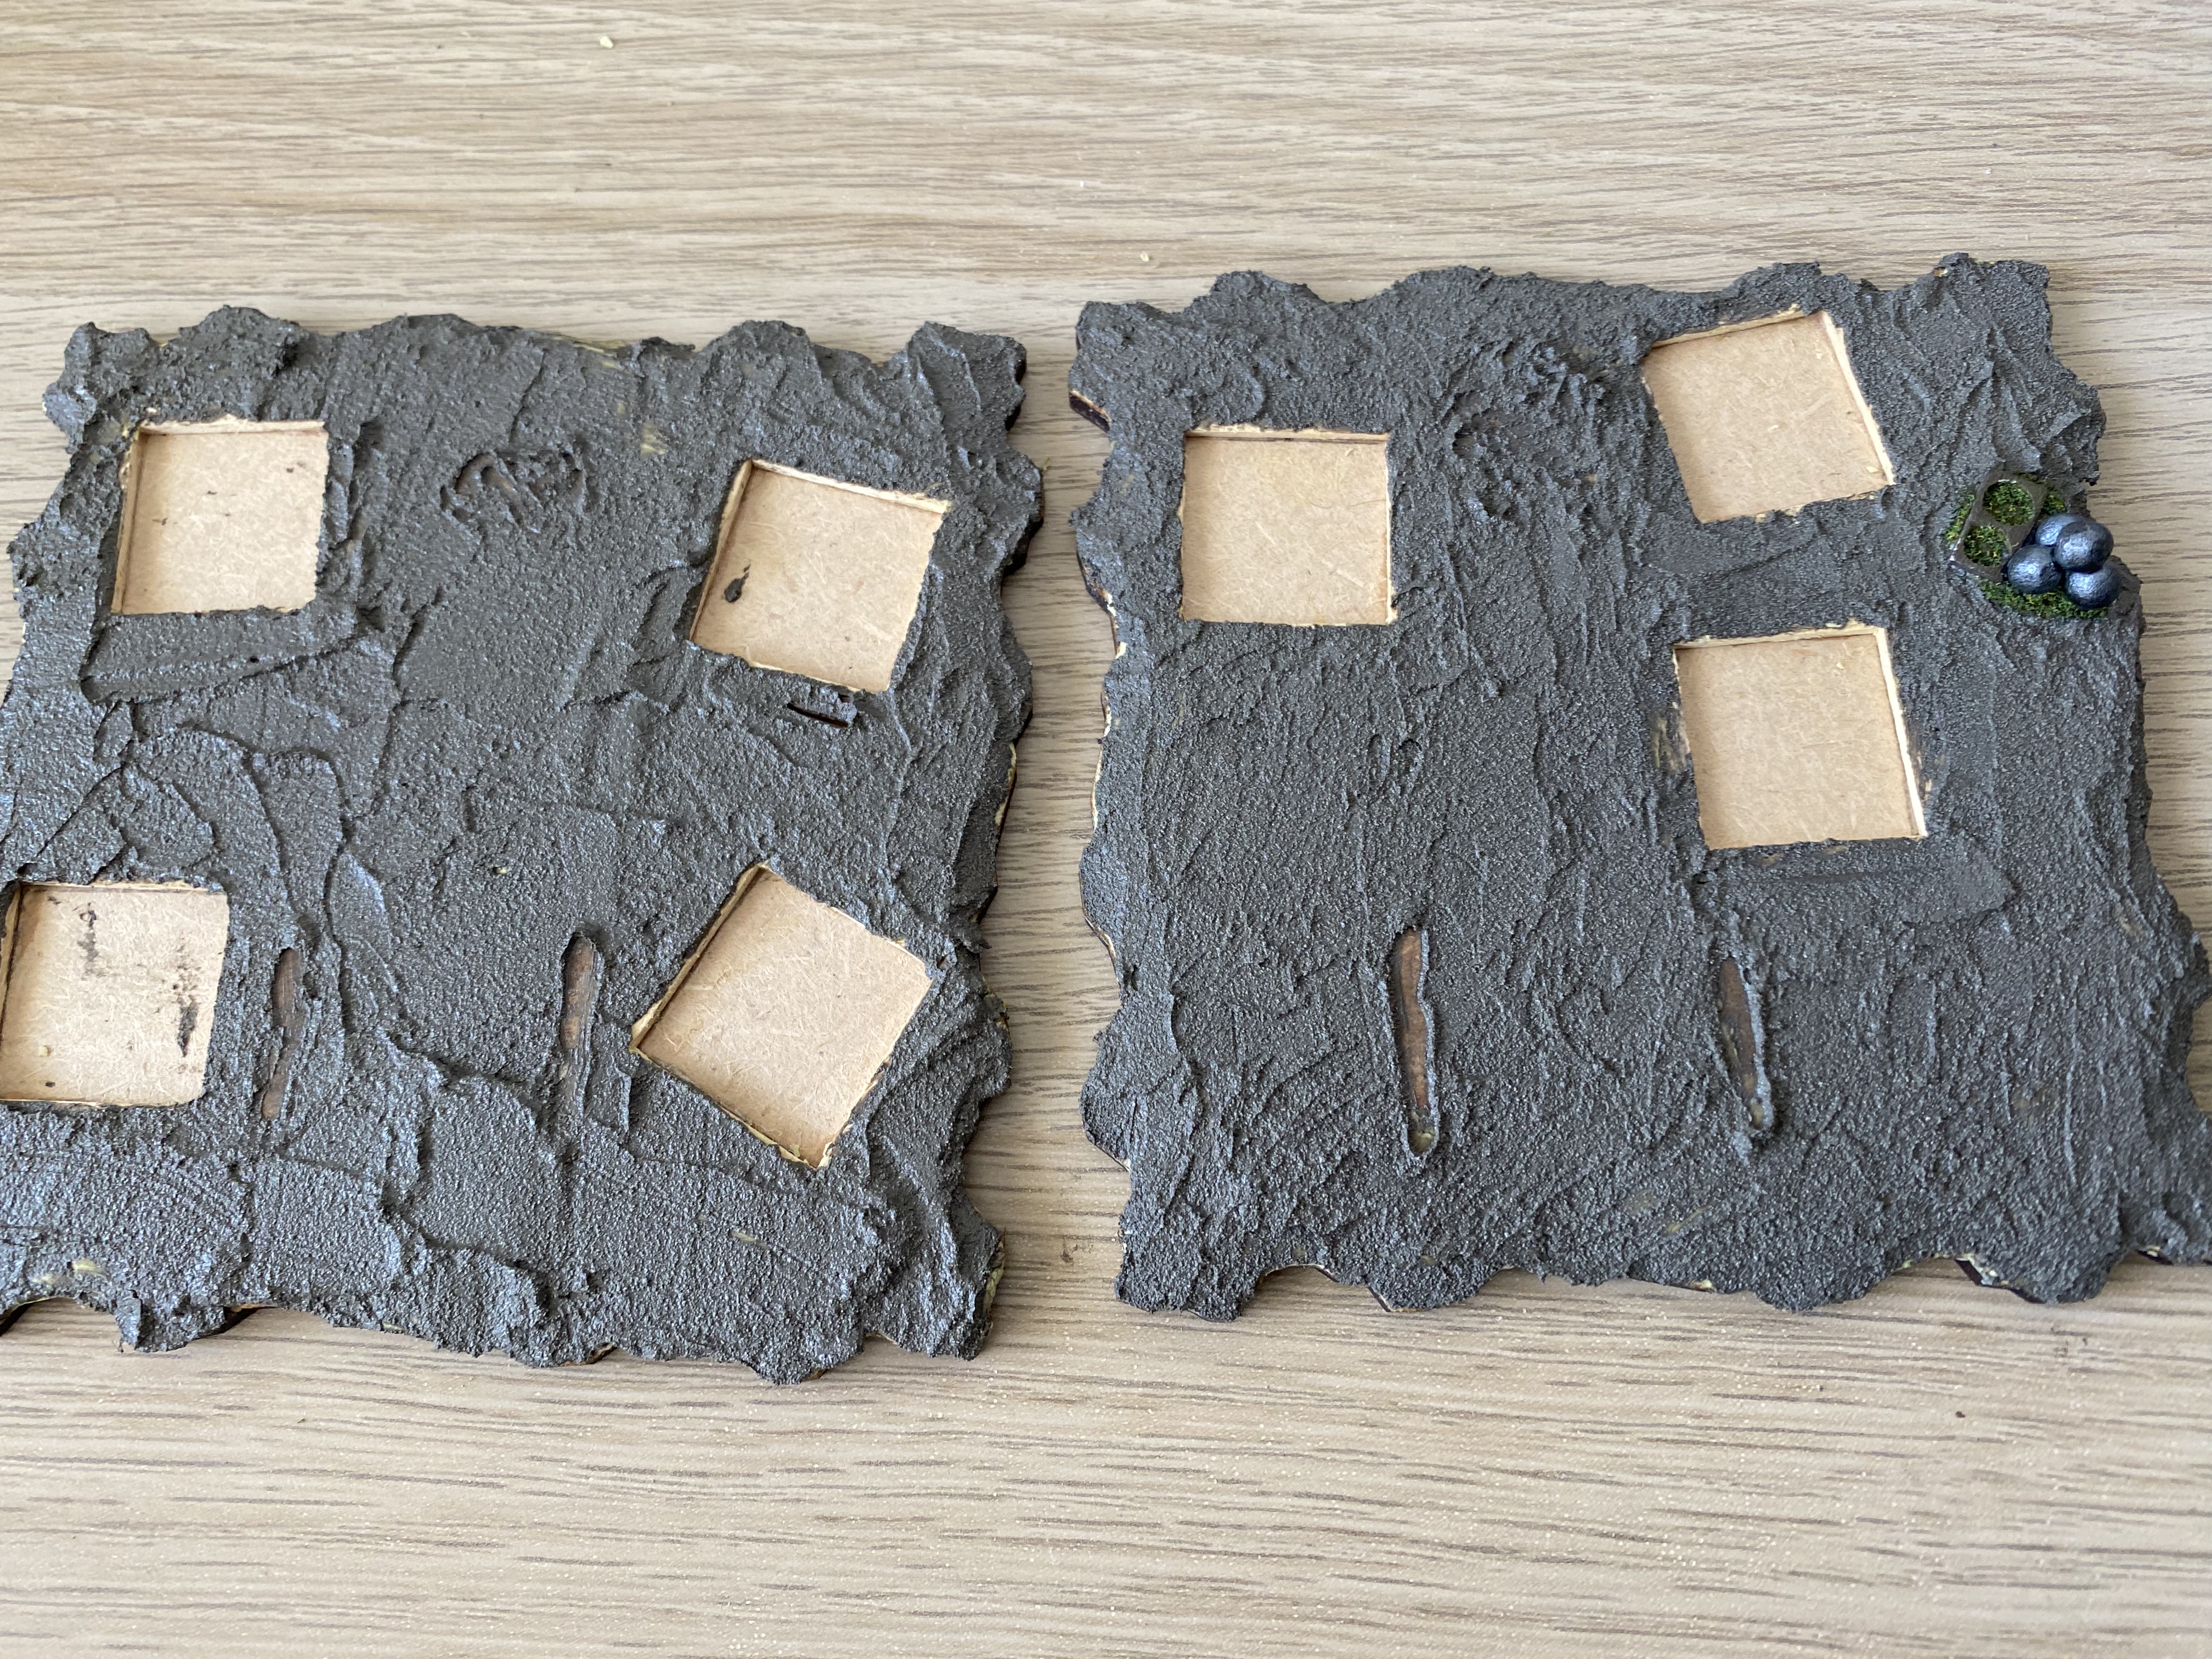
You can see that I use sabot style basing so if in the future I change my mind, it’s a simple matter to remove the figures and guns. The following picture sequence shows how I made the bases.

The frames are made from thin box wood, the gaps roughly filled with spare MDF and then all the gaps filled with milliput.
The bases are covered with Vallejo texture Paste.
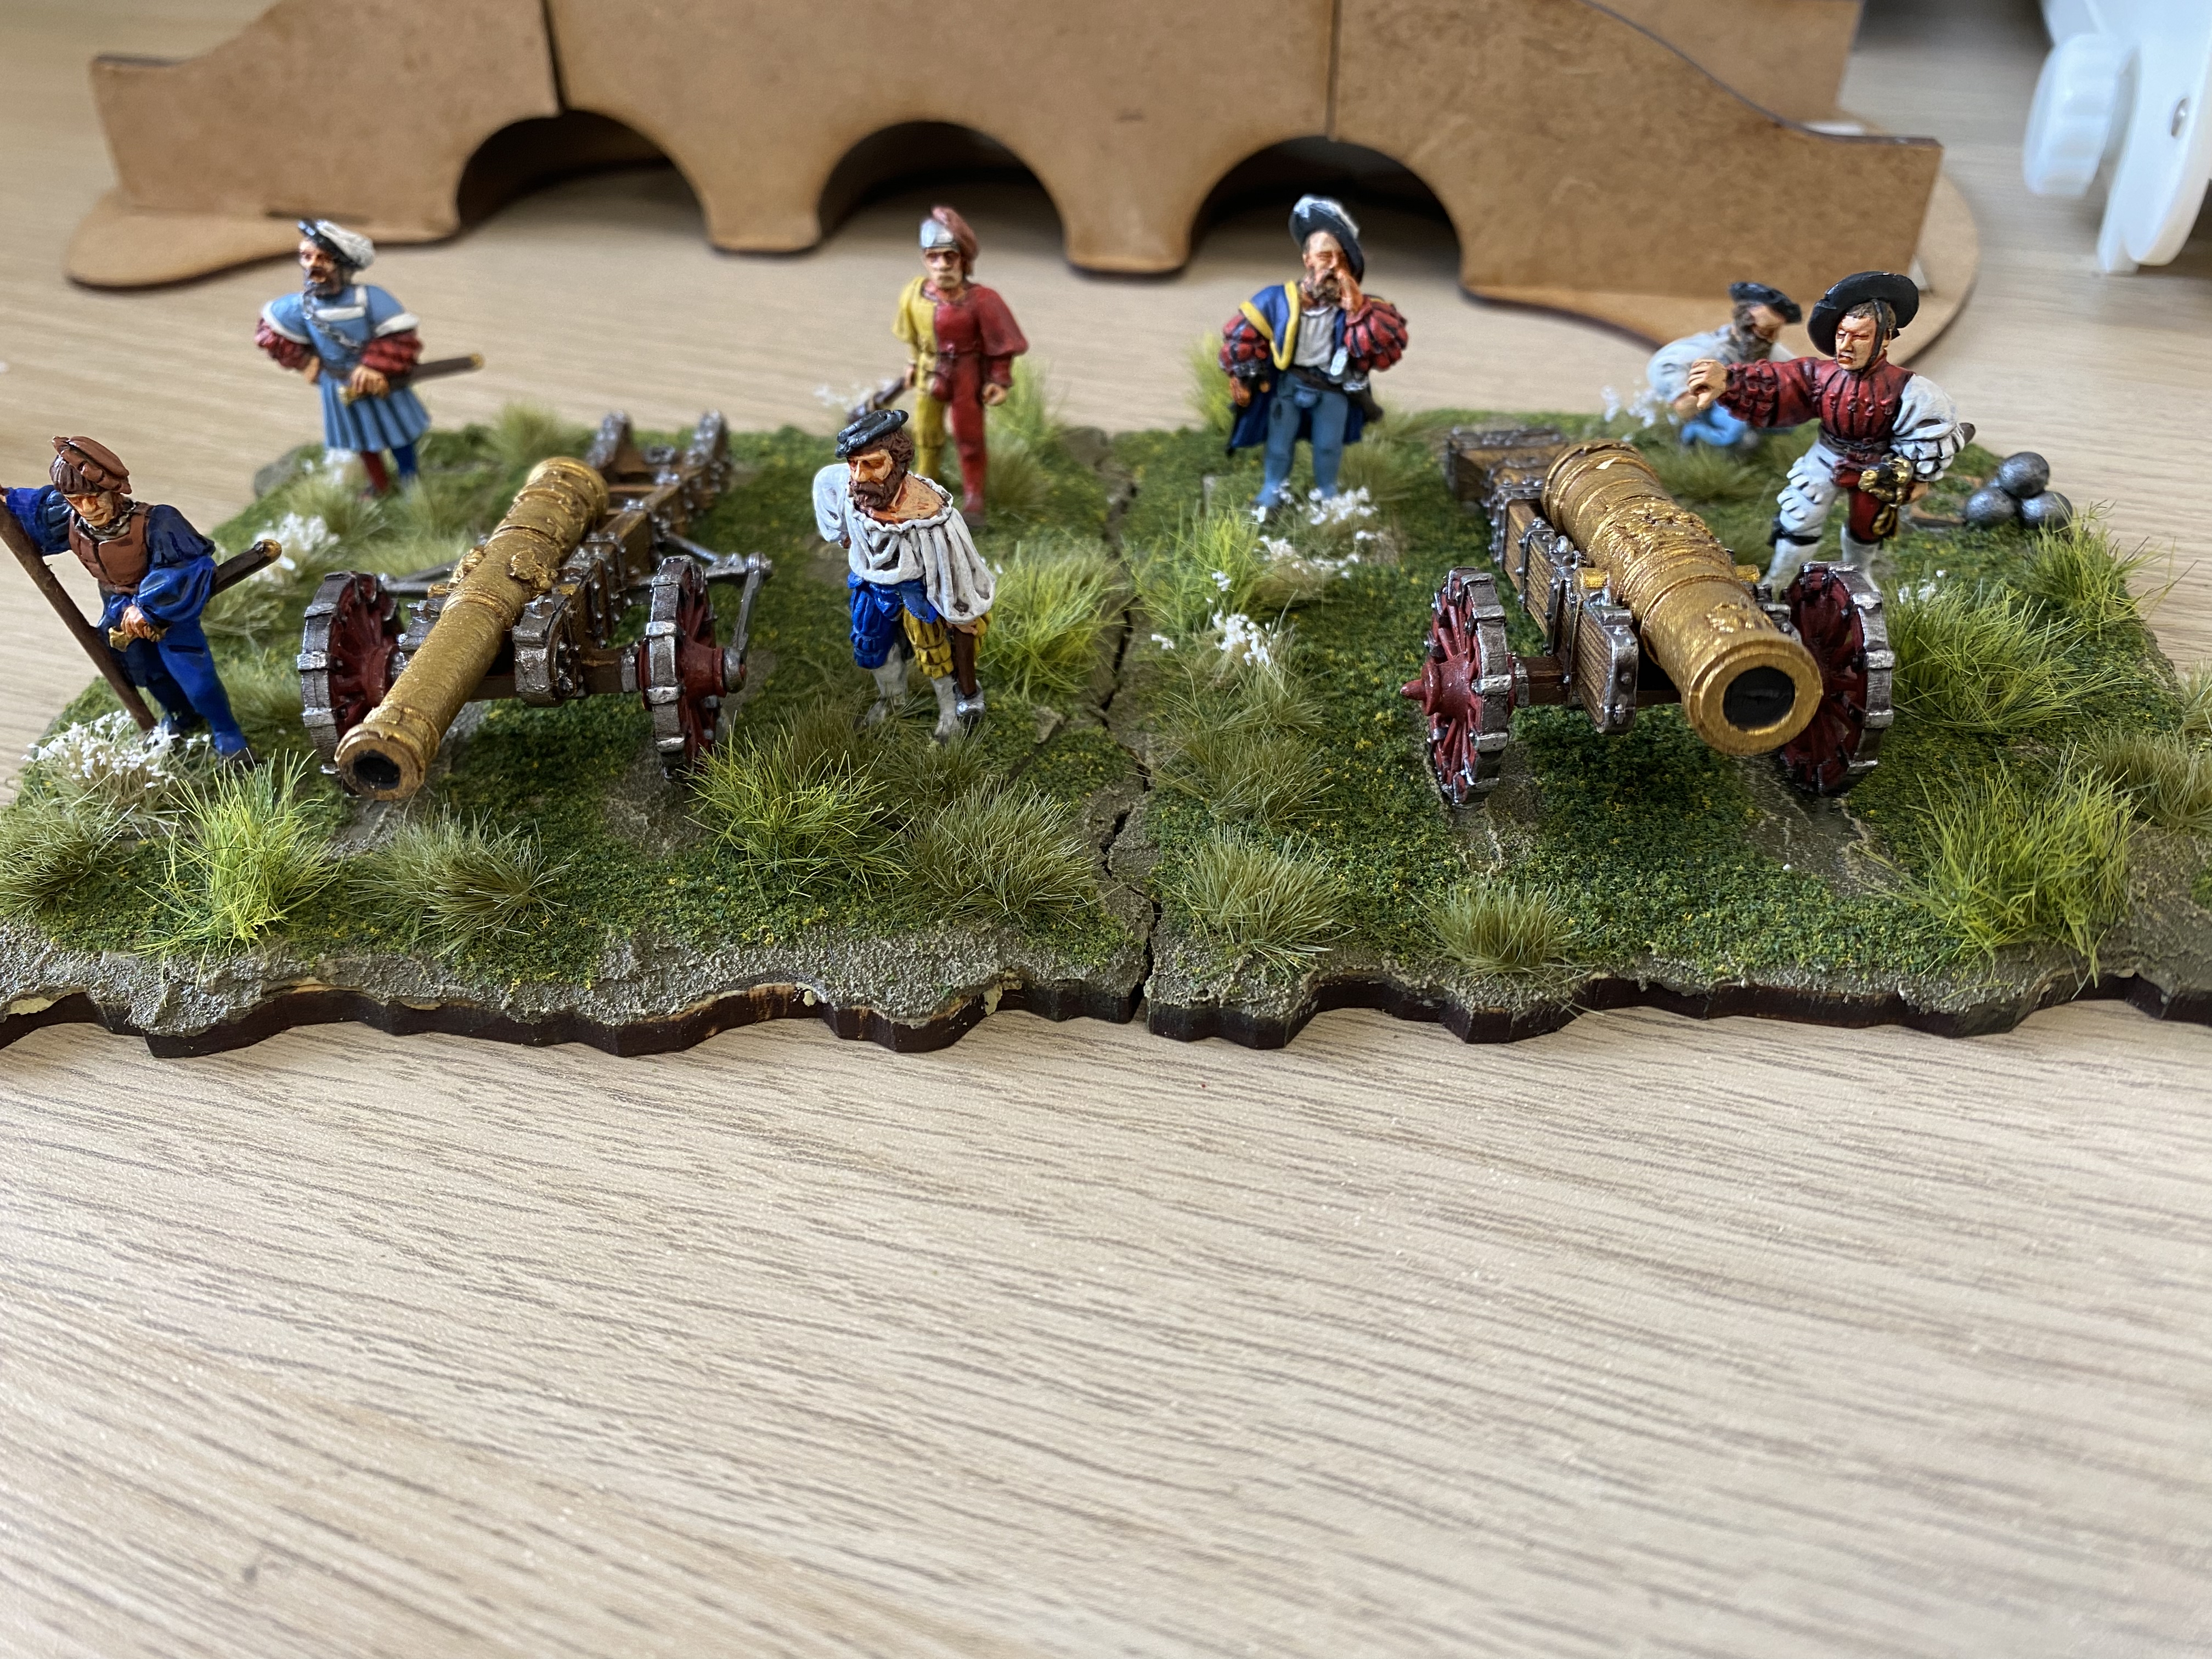
The bases now painted, scatter and tufts added
A bit of work in progress, the next terrain tile with gabions will be an extra that I can add if I want a defended position!

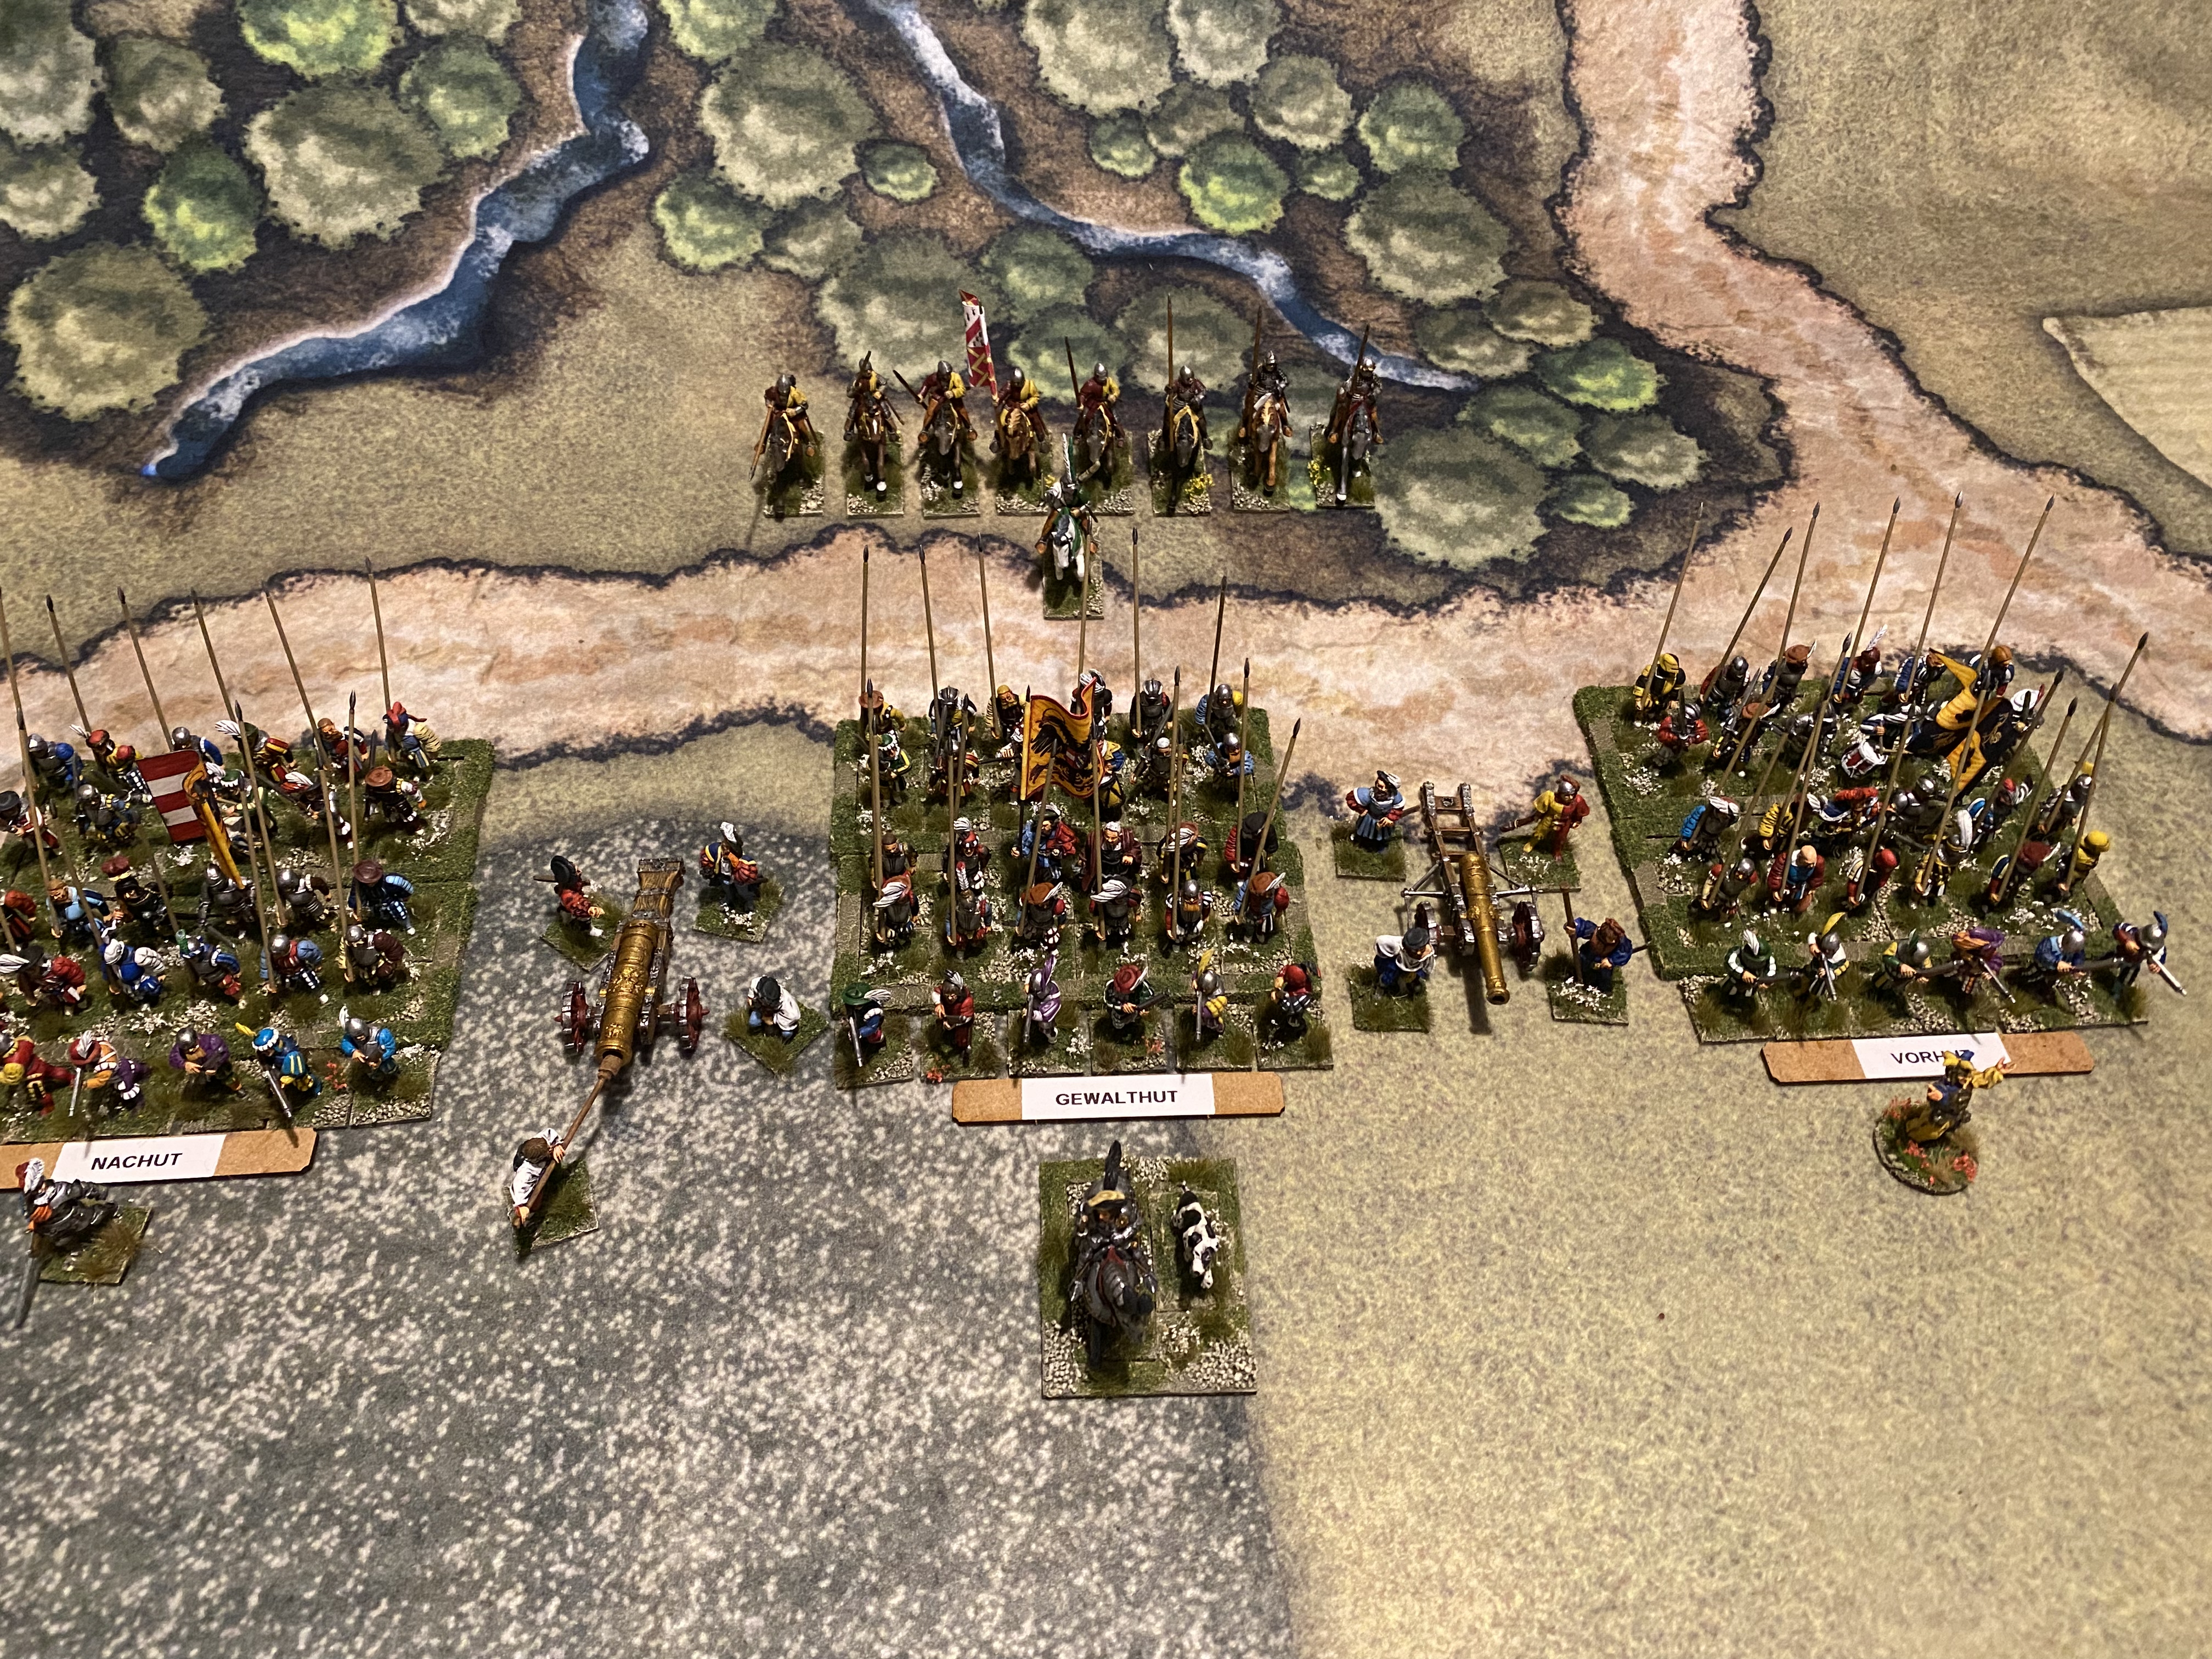
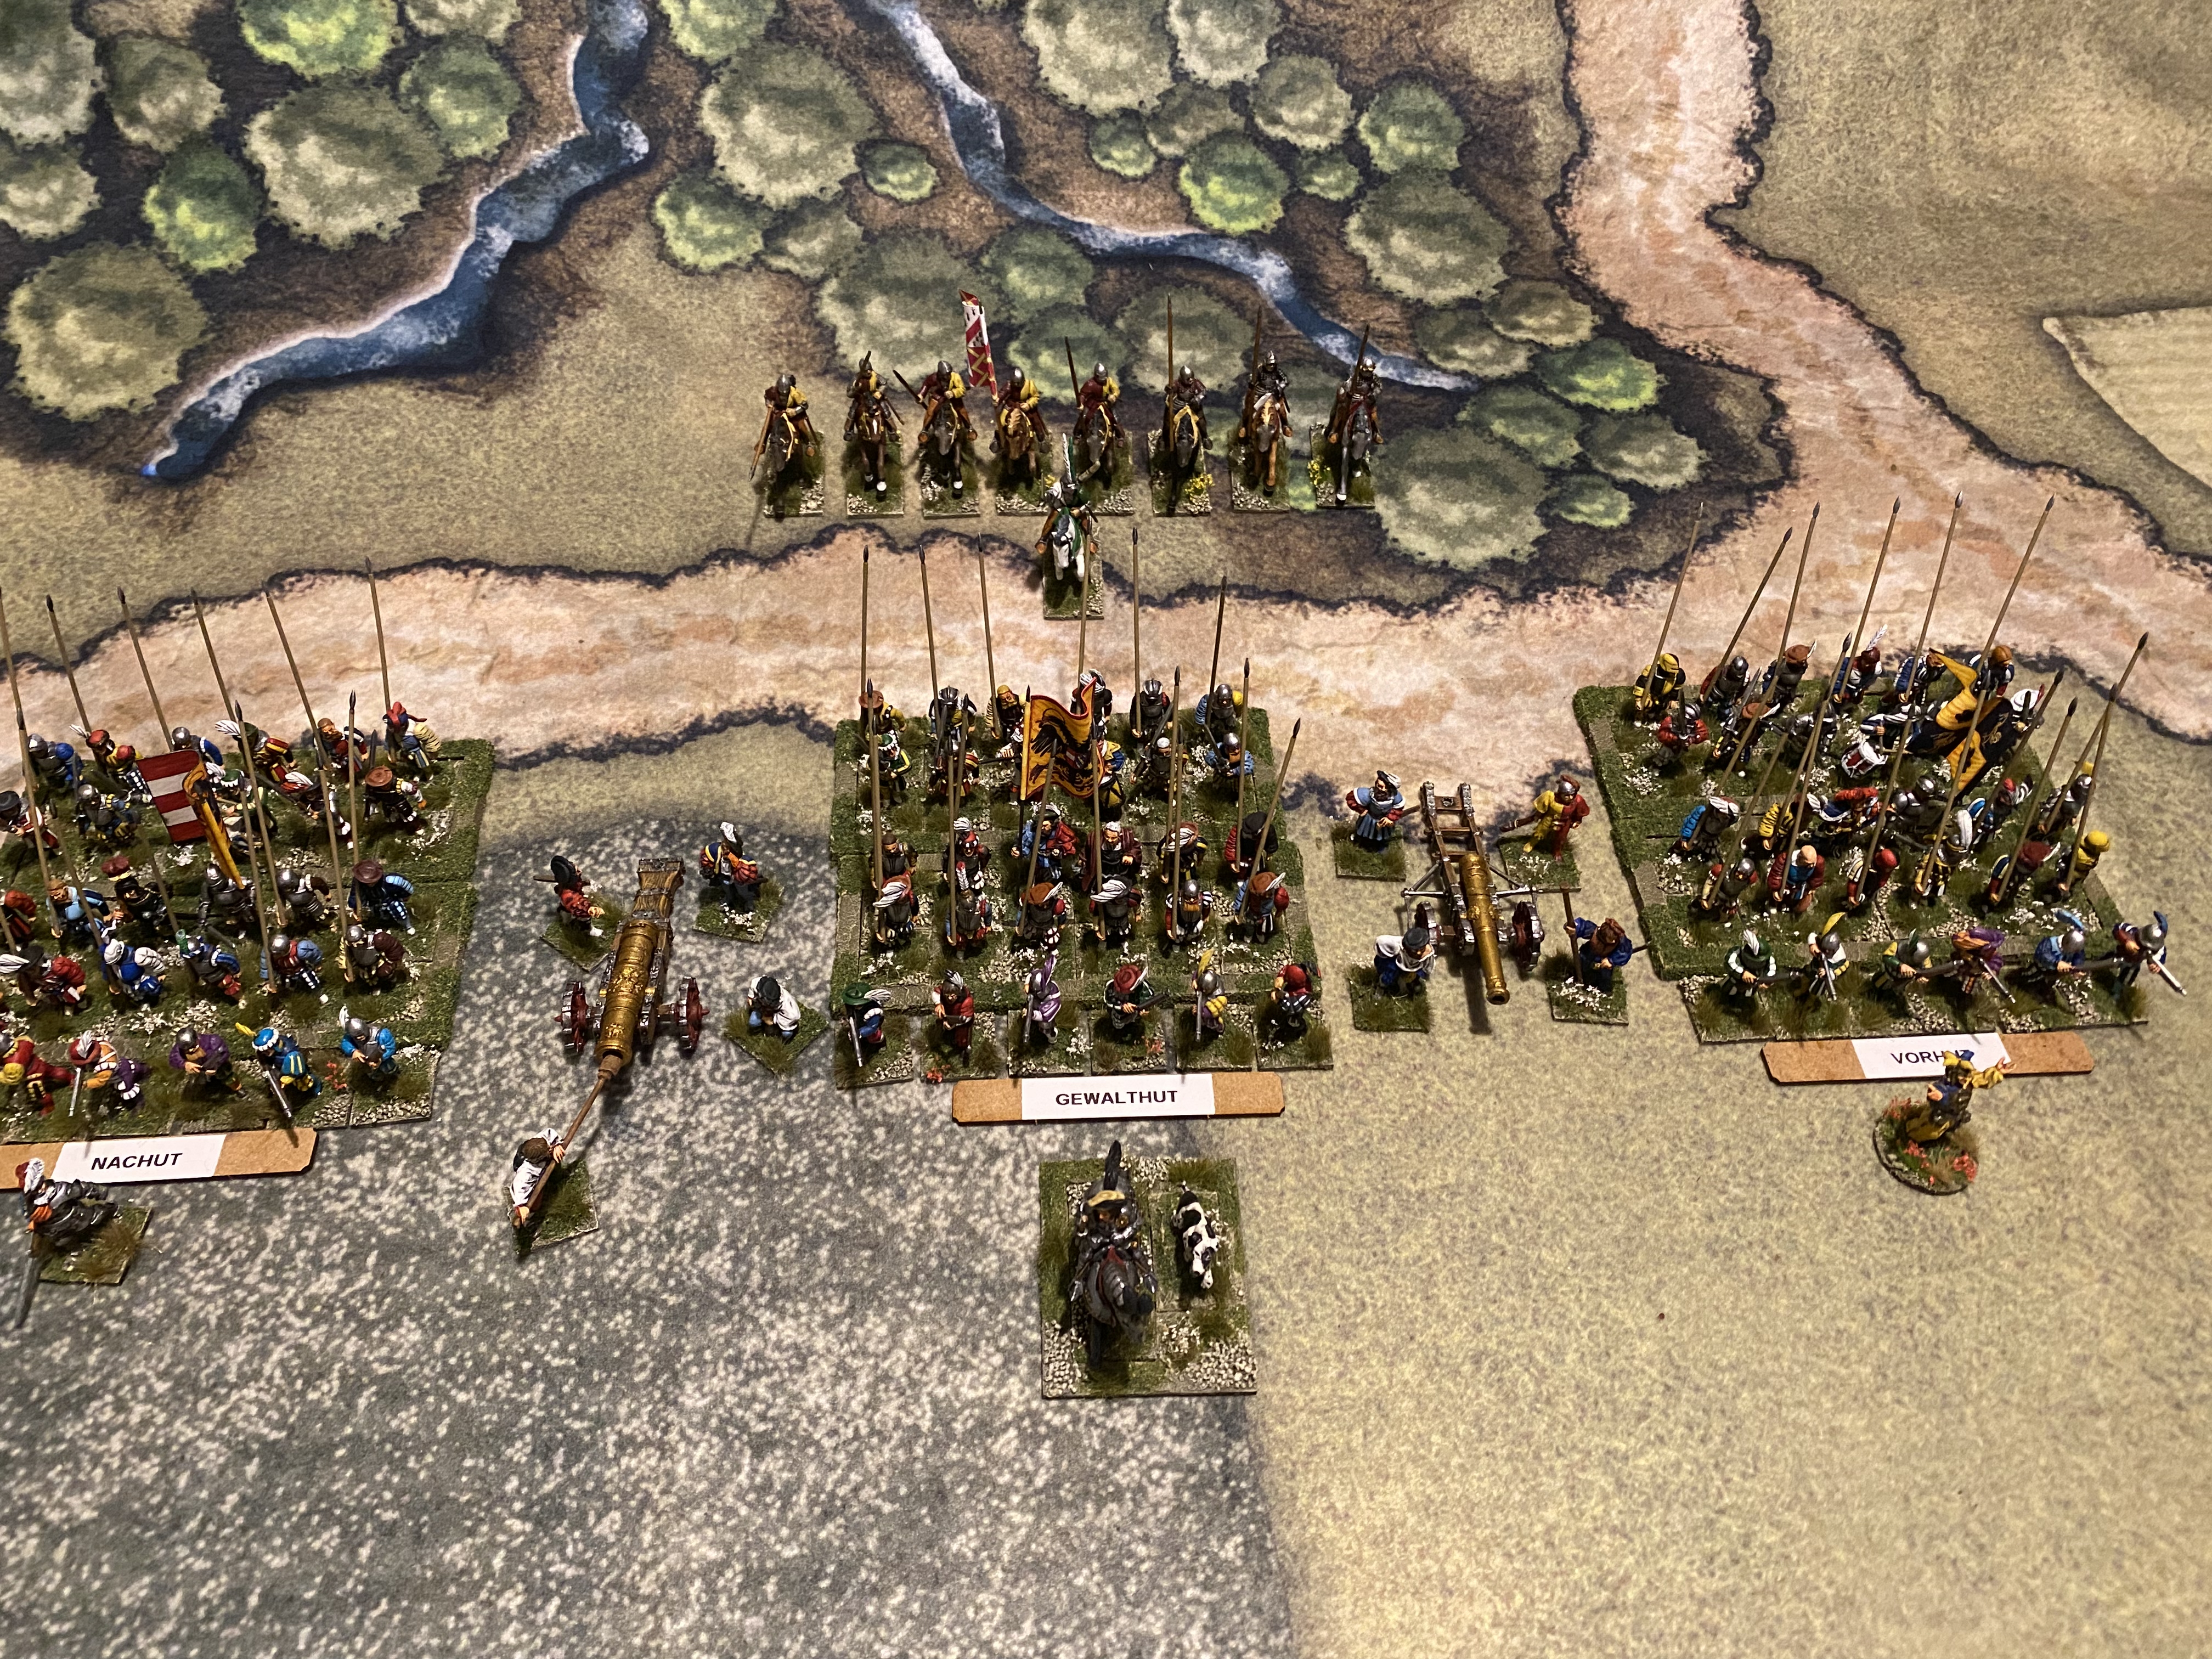
So that’s the Landsknechts done – here’s a view of the army ( with the artillery not on the bases.)

The light cavalry in the background are a temporary unit – I intend to add some Stradiots in the near future. That’s once I have finished my Gendarmes…

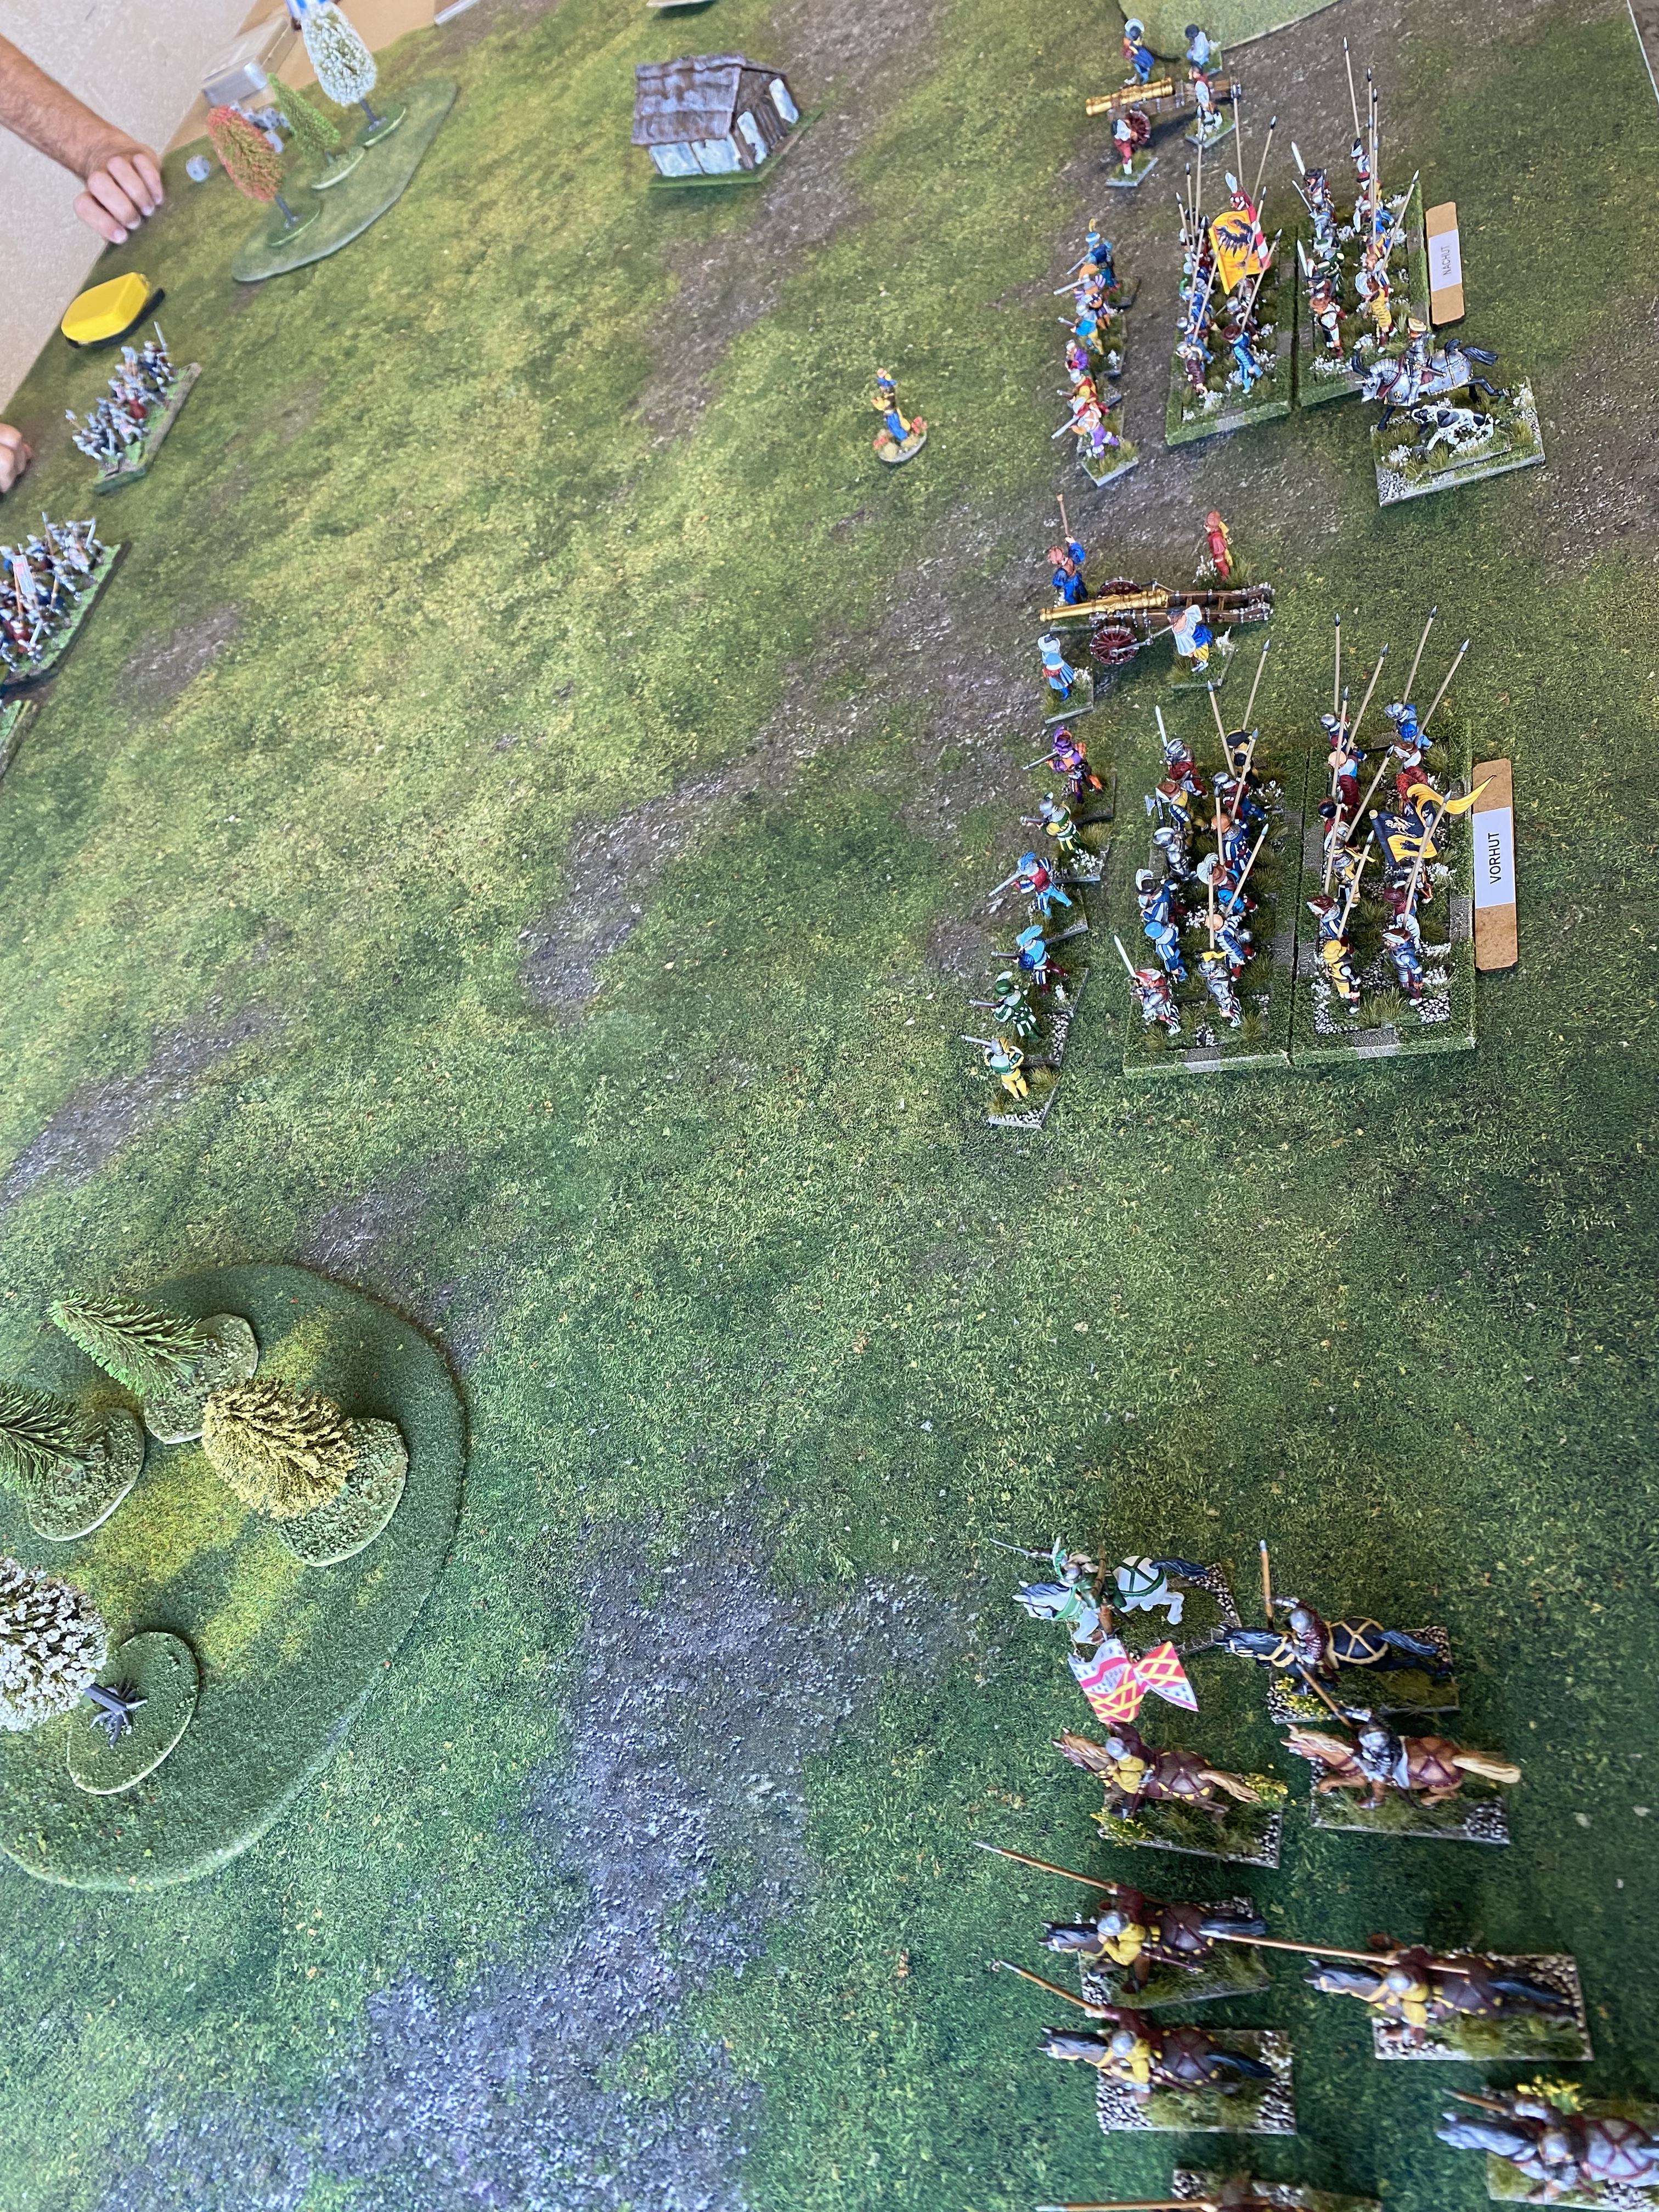
Work in progress – Gendarmes – I plan to have two units of 8 and a leader!

THE COMMERCIAL BIT

I hope that you all enjoy your hobby as much as I do – our web site will have much of what you need! Click here to see our shop.

ARCANE SCENERY

Never Mind the Billhooks BASH 5

I’m a bit late writing this up as the event took place on Saturday 2nd September and a lot of beer and bourbon has flowed under the bridge since then…..As usual, I started the day by taking a few pictures and making notes of the battles but as the day continued and the battles became more intense, my note taking dried up, as did my photography. So what follows is more of an impression of the day and some of the lessons that I learnt using my Landsknechts.

The event is organised by Pete Harris and held at the Derby Boards and Swords venue ( link below). Regulars to the event tend to meet up on the Friday evening and have a pre BASH meal and refreshments. Pete Harris had also kindly organised the evening, with the group first meeting in the Derby pub, the Tap (great beer!) and then walking on to the Exeter (great food!). After the usual pre-event banter and an extremely humorous and at times hilarious evening, we retired to the Travel Lodge for a night cap.

The next morning, a full English breakfast and multiple coffees helped to start the day and it was off to Boards and Swords to commence battle.

My Landsknecht force on parade!

My Landsknecht force consisted of three blocks of 24 pikes, each with an accompanying band of six gunsmen. As each block is activated by it’s own card, I only had one army commander, Heinrich Kane, who’s main task was to undaunt any units in trouble or to issue orders to any unit that needed to react quickly to unfolding danger. As well as the troops, I had two Artillery pieces and a unit of light cavalry with their own leader.

Heinrich Kane, my newly imported mercenary leader!

This gave me 7 Army morale tokens, which sounds good but losing just two pike blocks would cost me 8 morale tokens. If that sounds unlikely, bear in mind that only the army commander can ‘undaunt’ a unit so if a block ‘daunts’ in combat it will split and the commander, assuming he is available, will have his hands full trying to rally the units. However, the upside is that the Army will have 5 commander cards plus the skirmishers and so plenty of opportunity and flexibility to move during the game.

The other issue with Landsknechts in the game is their lack of fire power compared to some armies and that they will only save on a 5 or a 6 when shot at. As a pike block, they will also take an extra casualty if hit by artillery fire. To offset this, Landsknechts have the attached gunsmen, that can be detached and sent forwards as skirmishers to harass the enemy and tie up their skirmishers (they can’t directly ‘block’ fire from opposition artillery or full units of archers). In addition, they have the ability to spread casualties through the block, making them less likely to require a morale check due to incoming fire and are therefore more durable in combat.

My Artillery pieces – now based

My choice of two artillery pieces might seem extravagant, particularly as artillery seems to have the habit of blowing up in games. Despite this, I believed the odds ( apparently 216 to 1) would make this unlikely and decided that I need something to intimidate the enemy and inflict casualties at range. This proved to be a double edged sword as I will explain below!

My final unit was a Light cavalry squadron. I will be changing these to Stradiots in the future – any excuse to buy some more toys….but for now they were a mercenary band of Welsh Cavalry led by Owen FitzTudor! I think that light cavalry are a valuable addition to any army. They can be brittle – a couple of lucky fusilades from skirmishers can see them off but they have the advantage of mobility and of course can get around the flanks of an army and cause mayhem.

And so to battle.

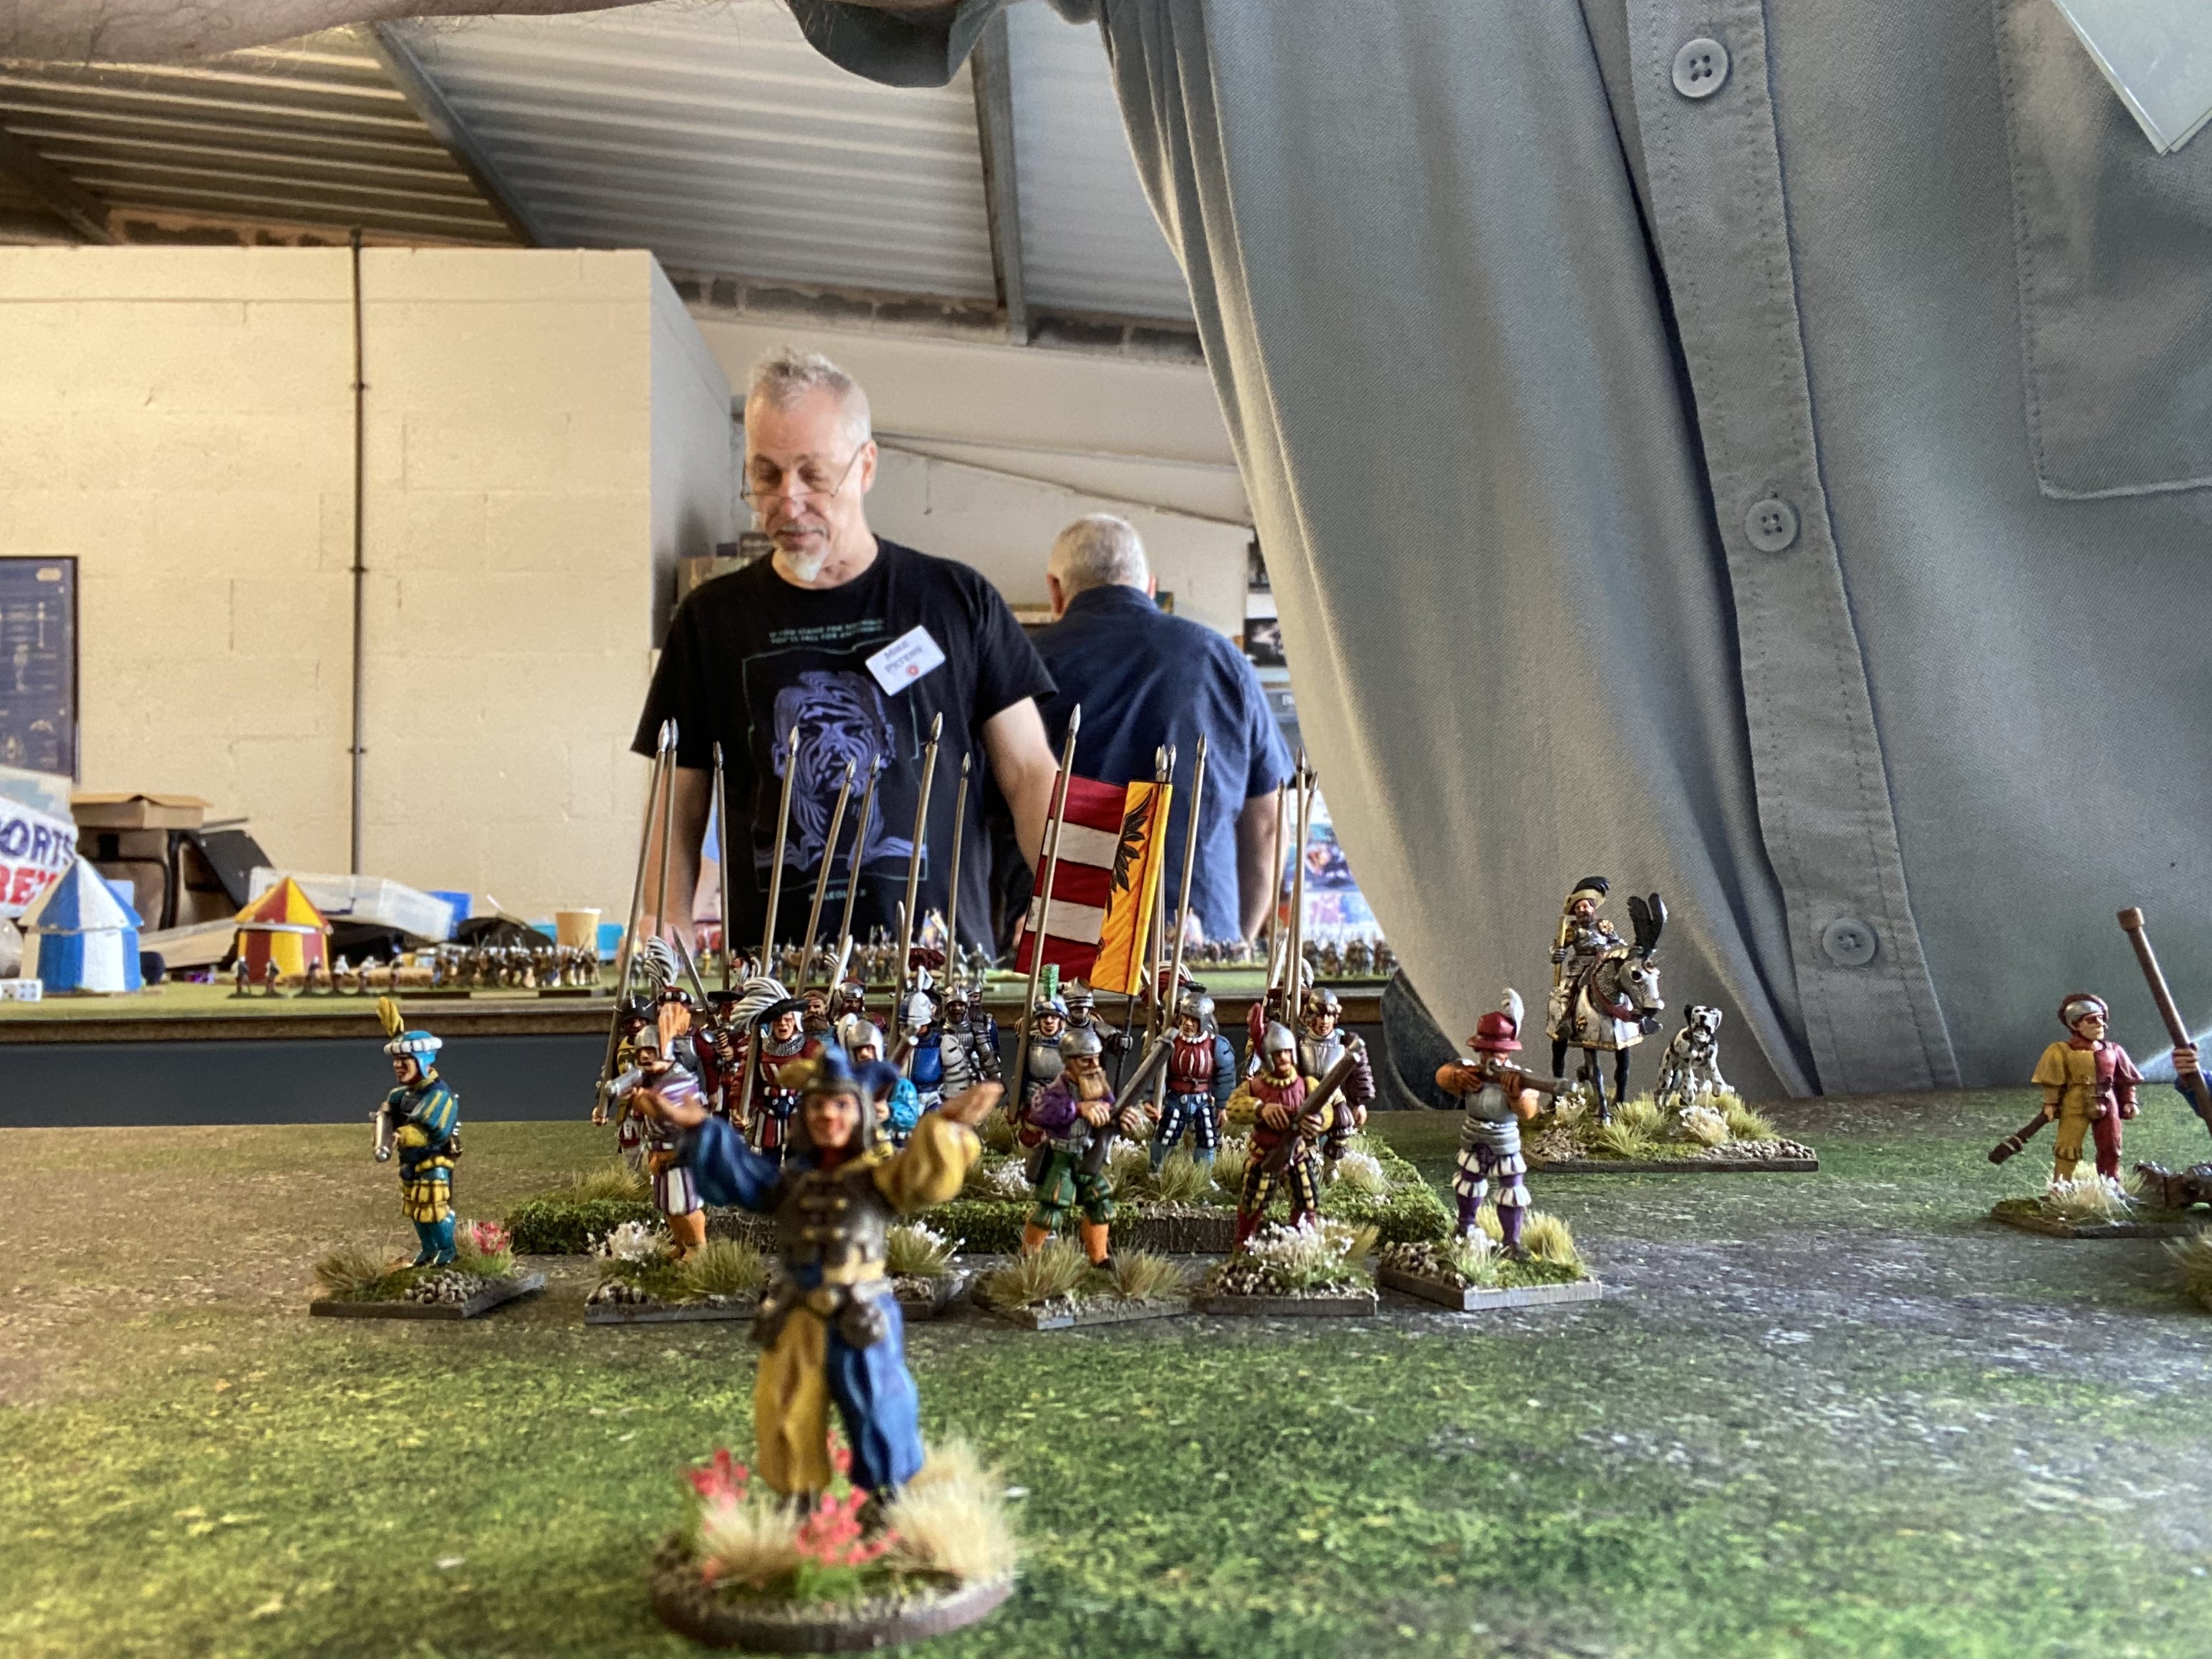
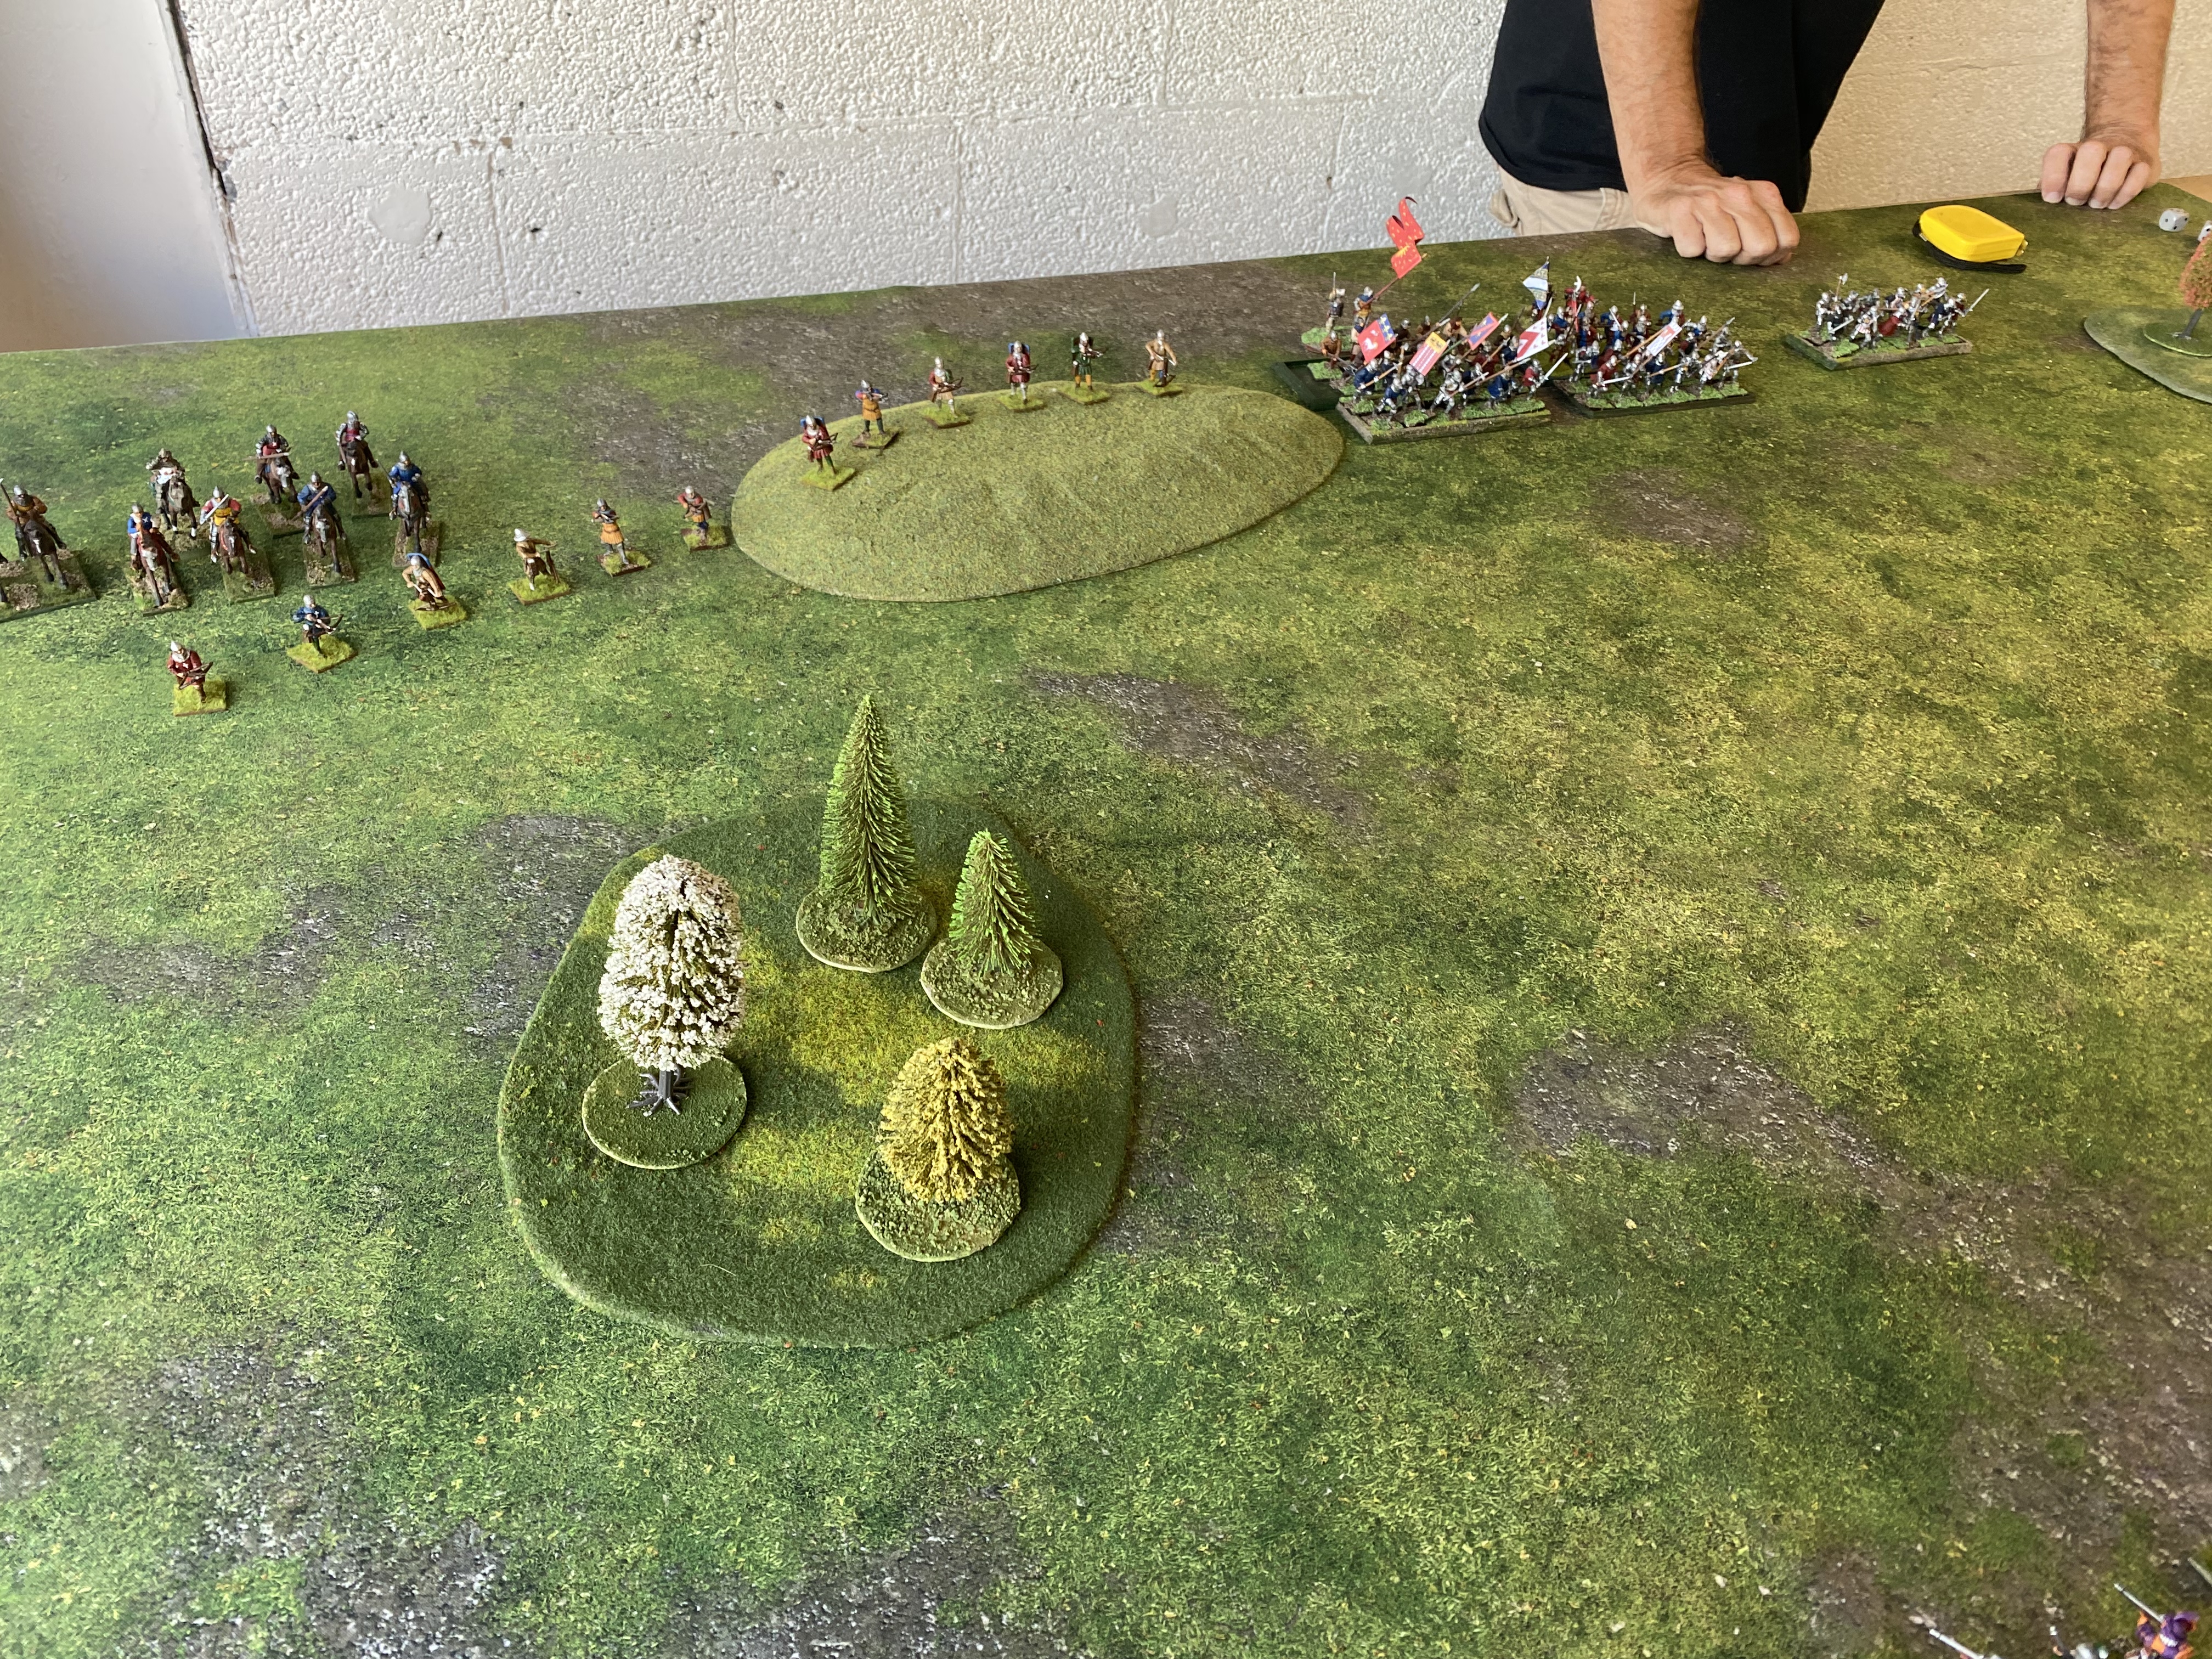
Let battle commence – in the background, Mike Peters surveys his table and plans his attack!

Battle one vs Richard Robinsons Burgundian Force

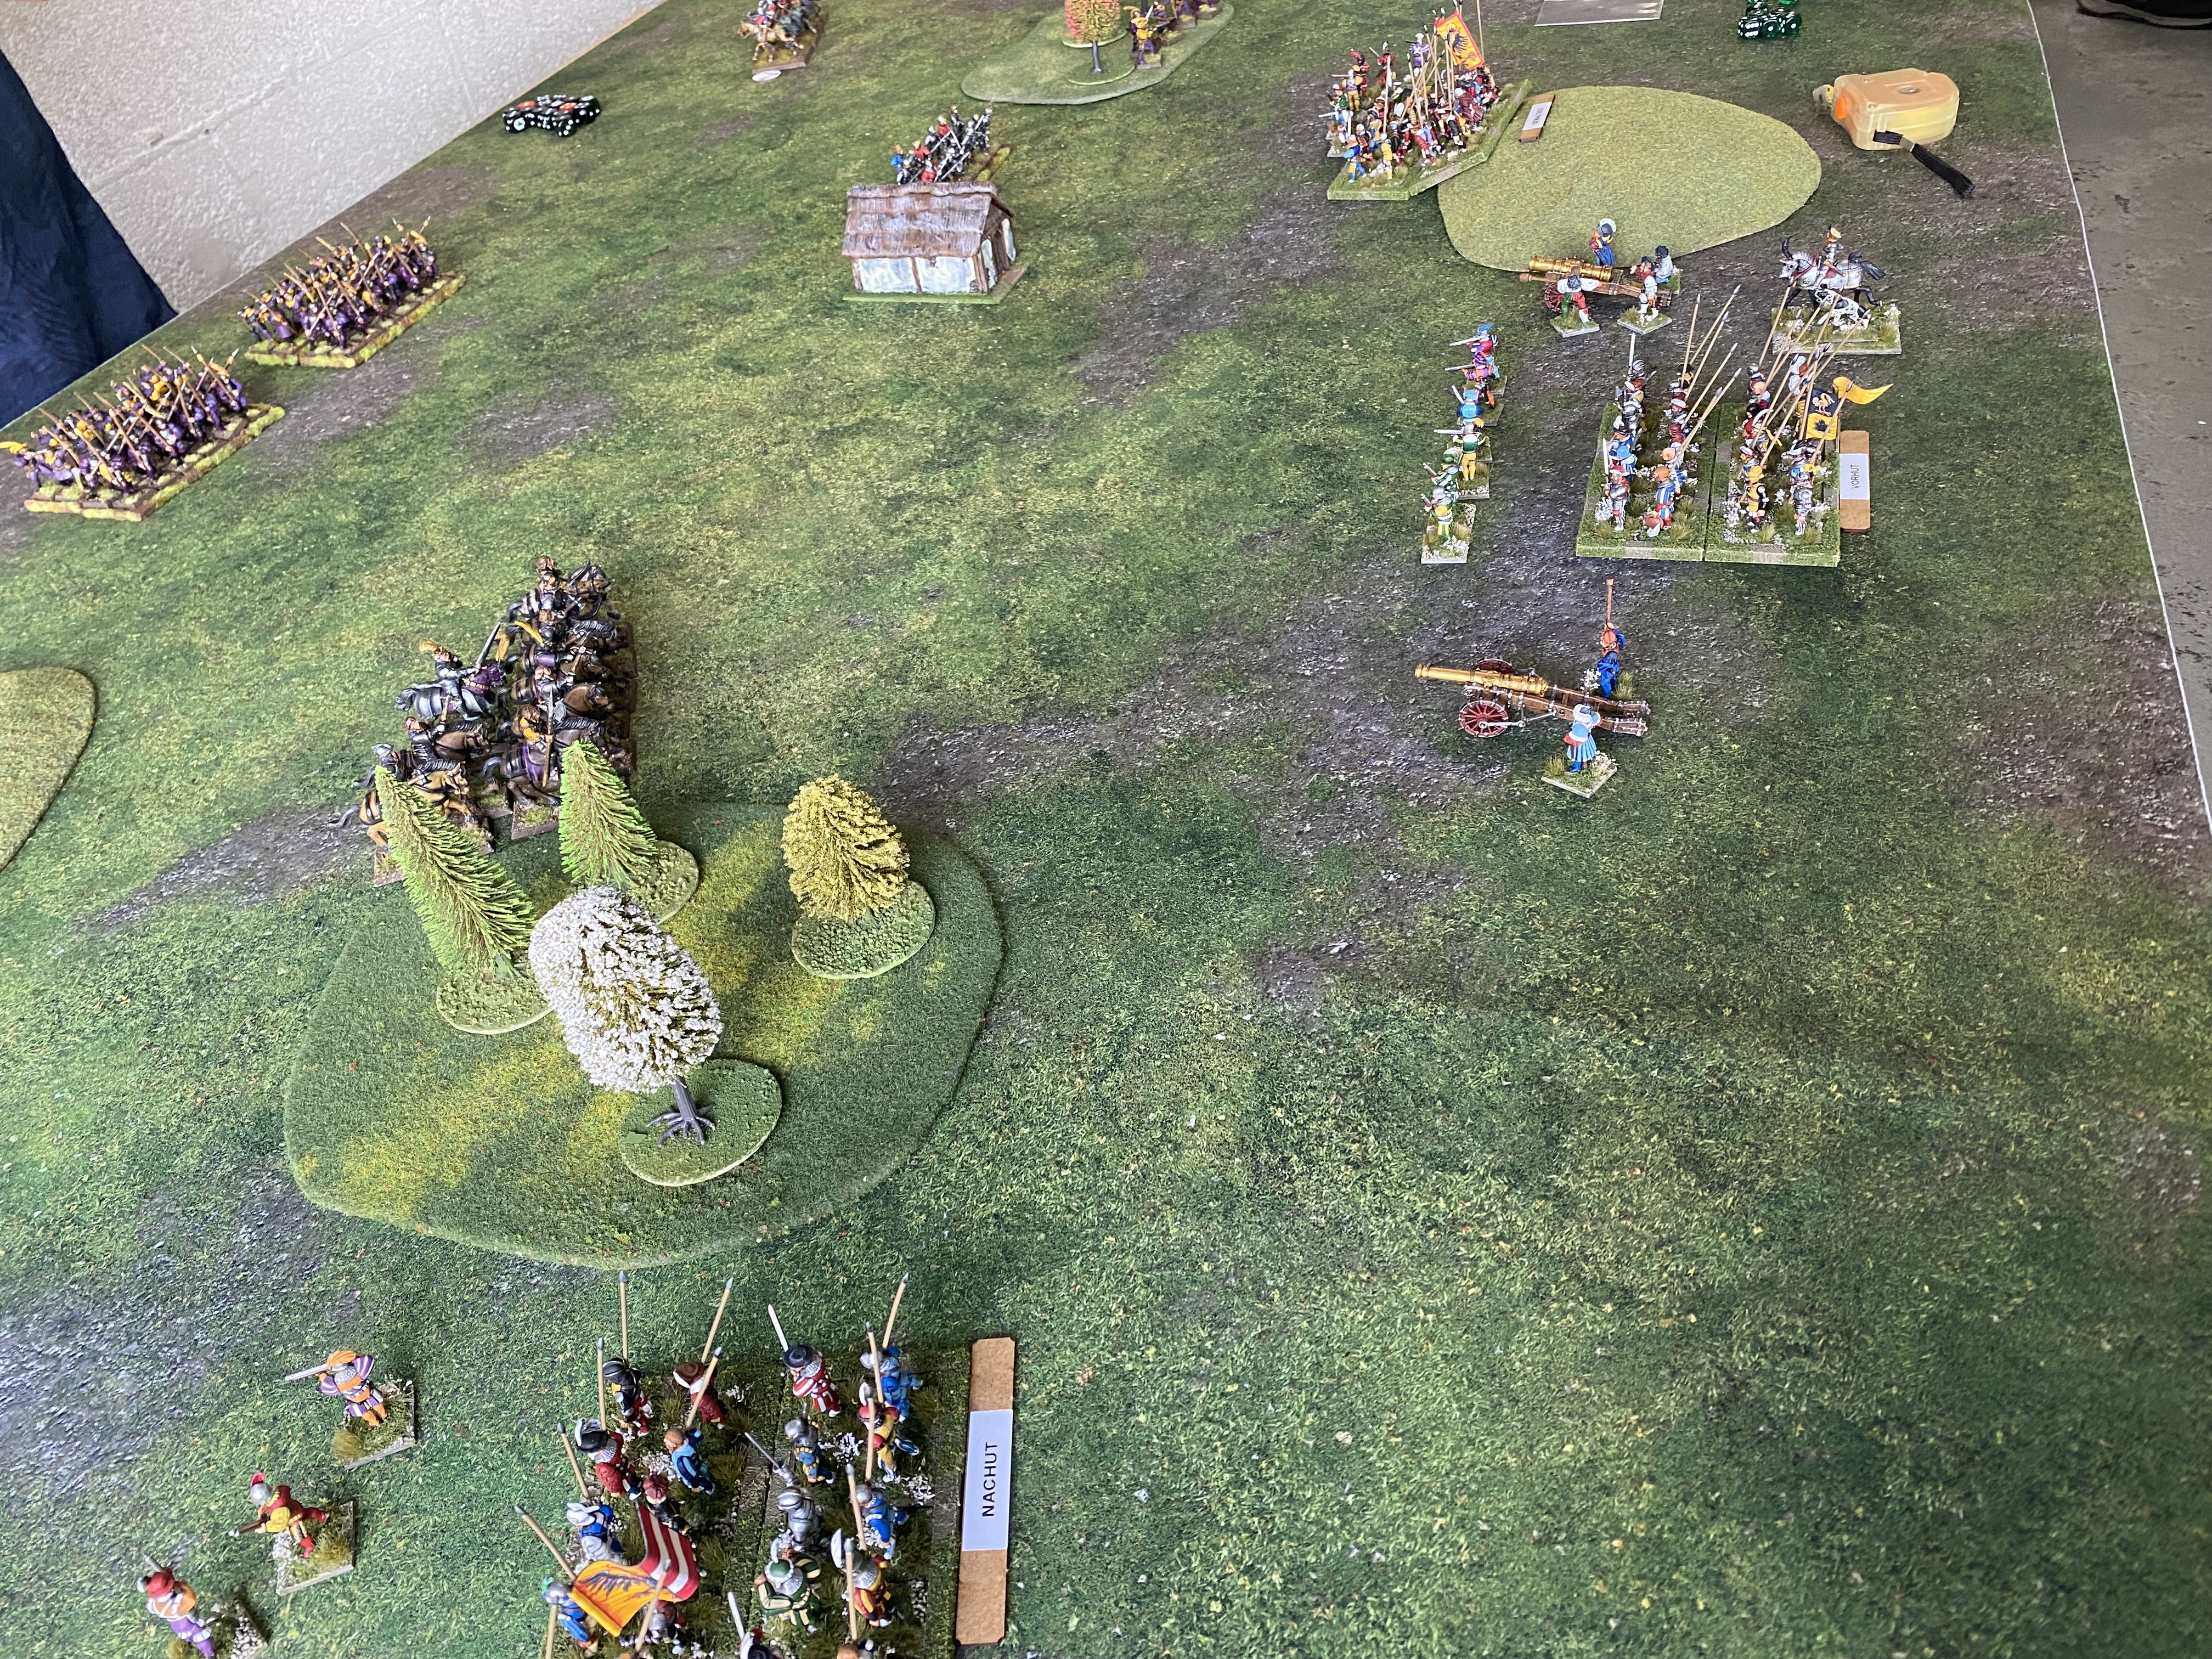
My Nachult block sneeking around the flank!

Richard opened the game immediately by firing his cannon. Despite my earlier comments regarding 216:1 odds of a catastrophe, Richards gun blew up, much to my amusement. So it was straight to the cards with the initial phases consisting of the skirmishers exchanging fire and my light cavalry winning the dice off with Richards light cavalry.

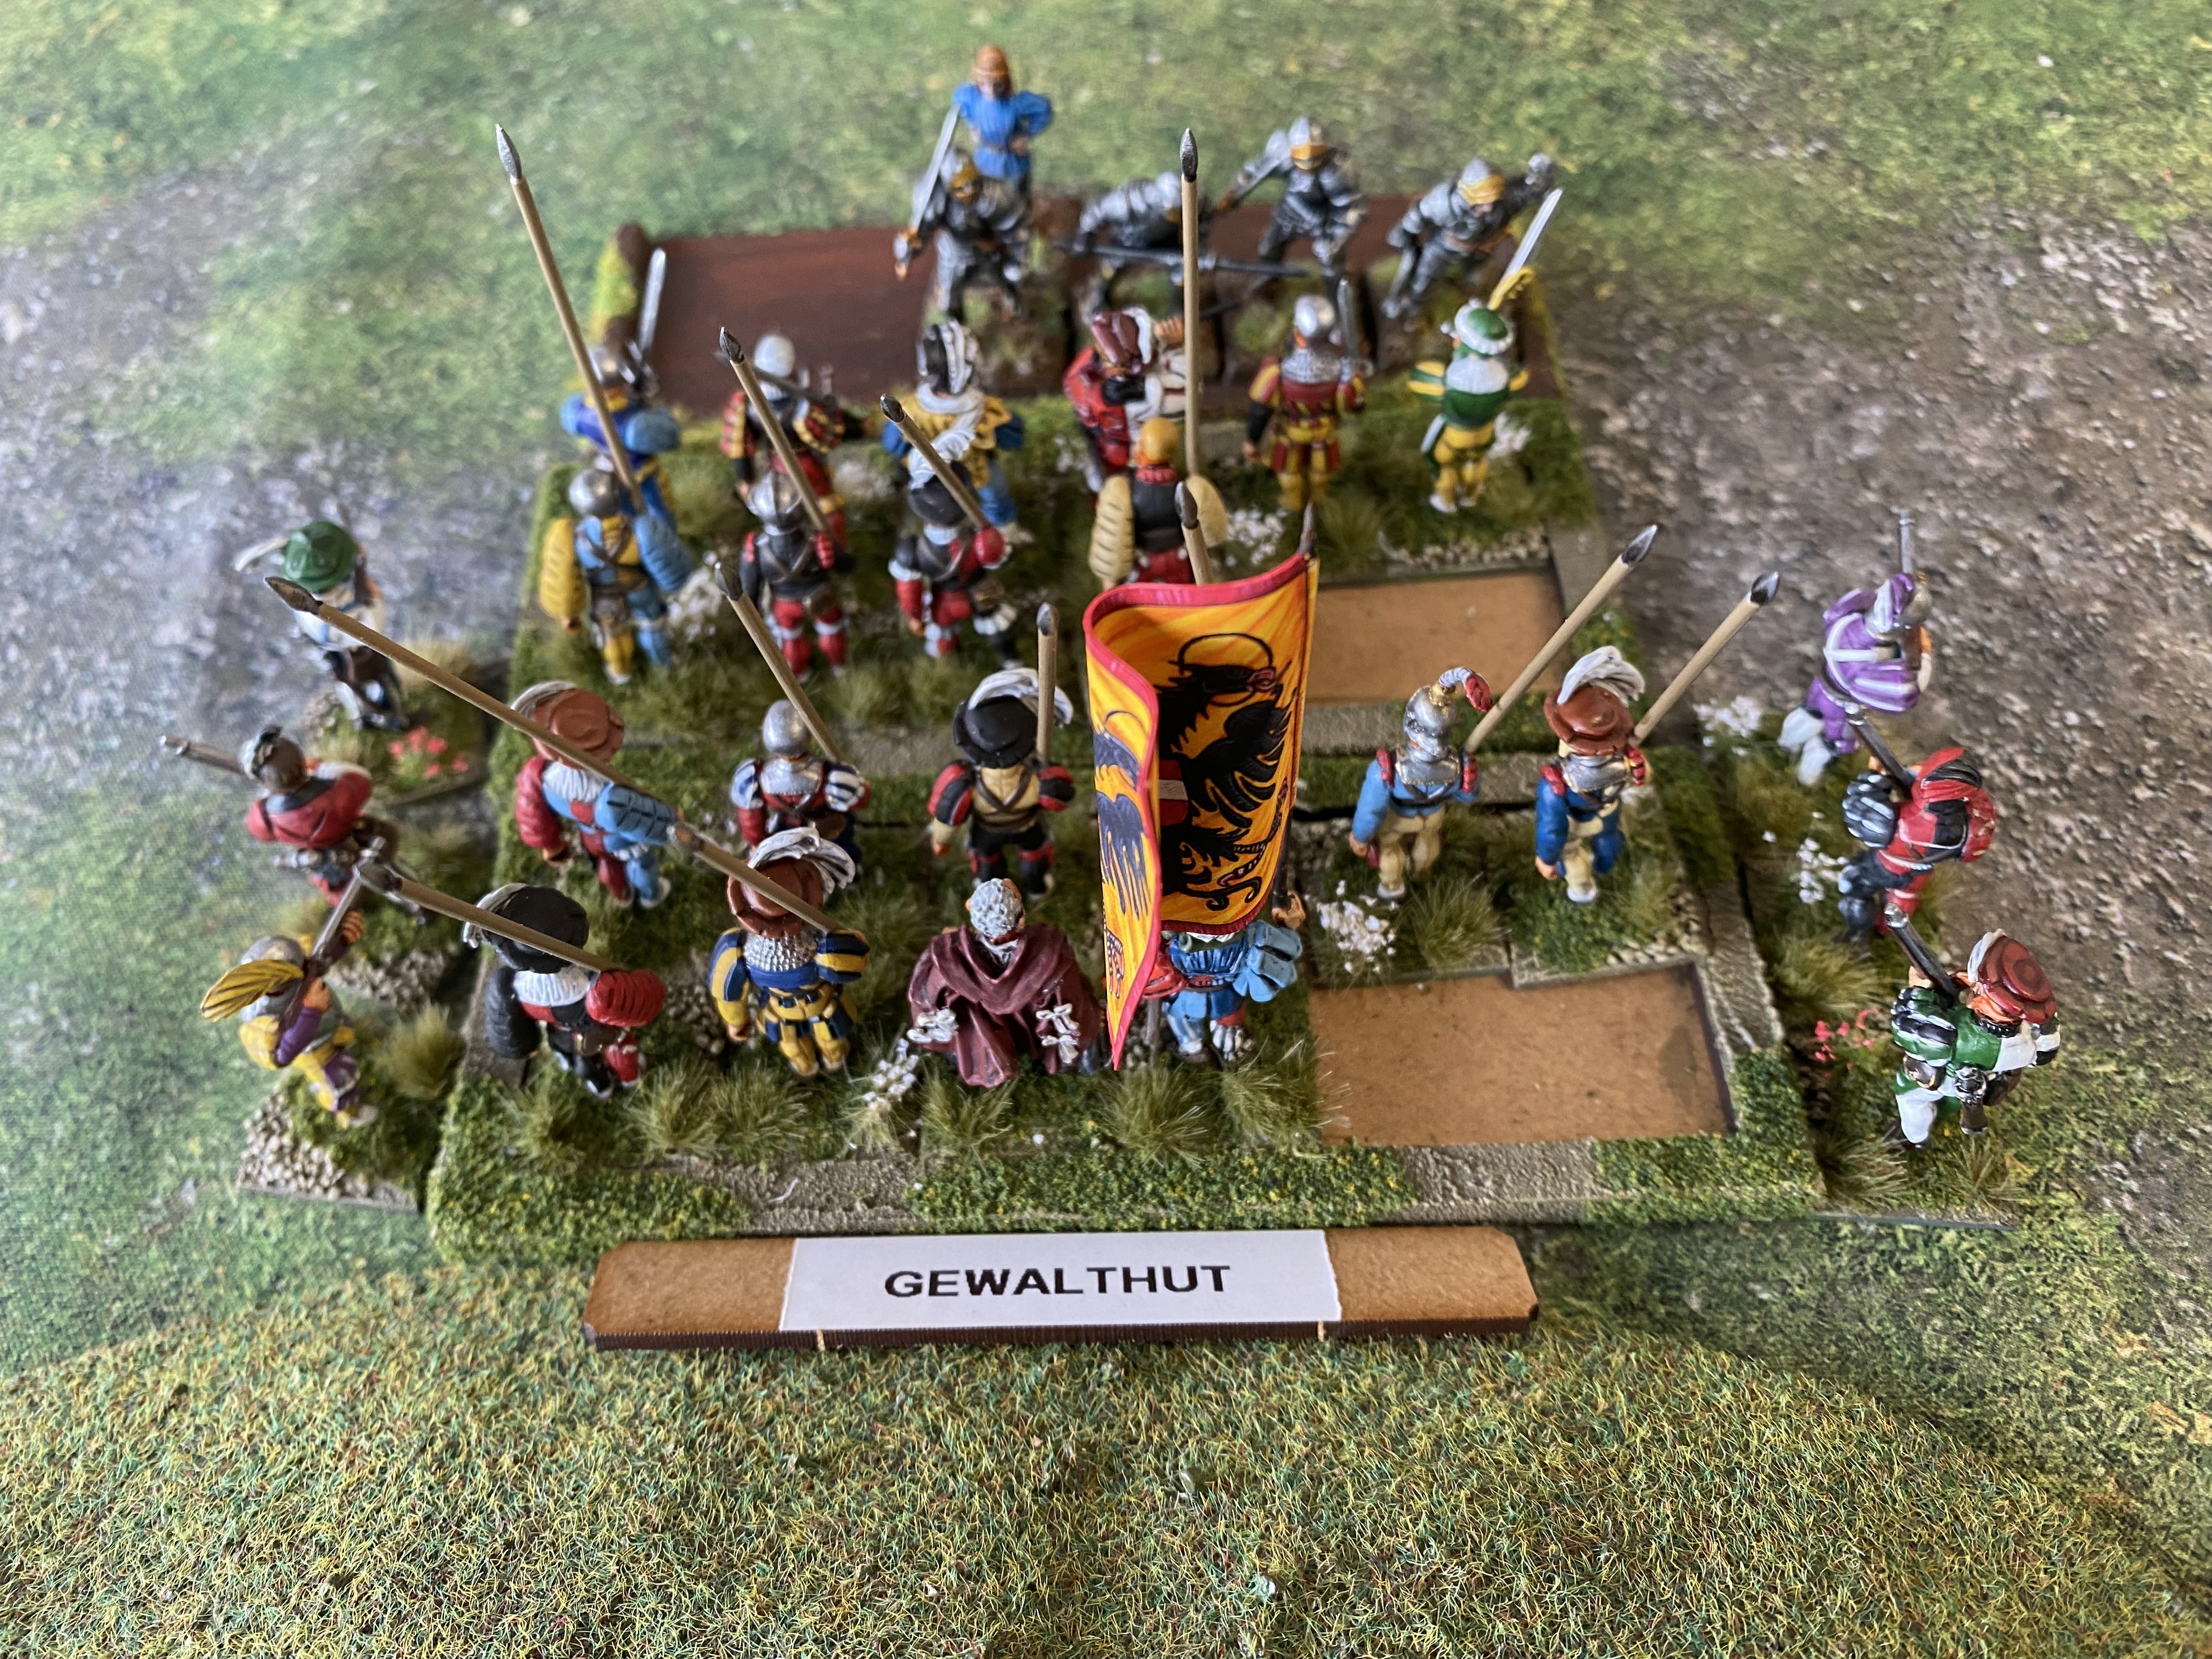
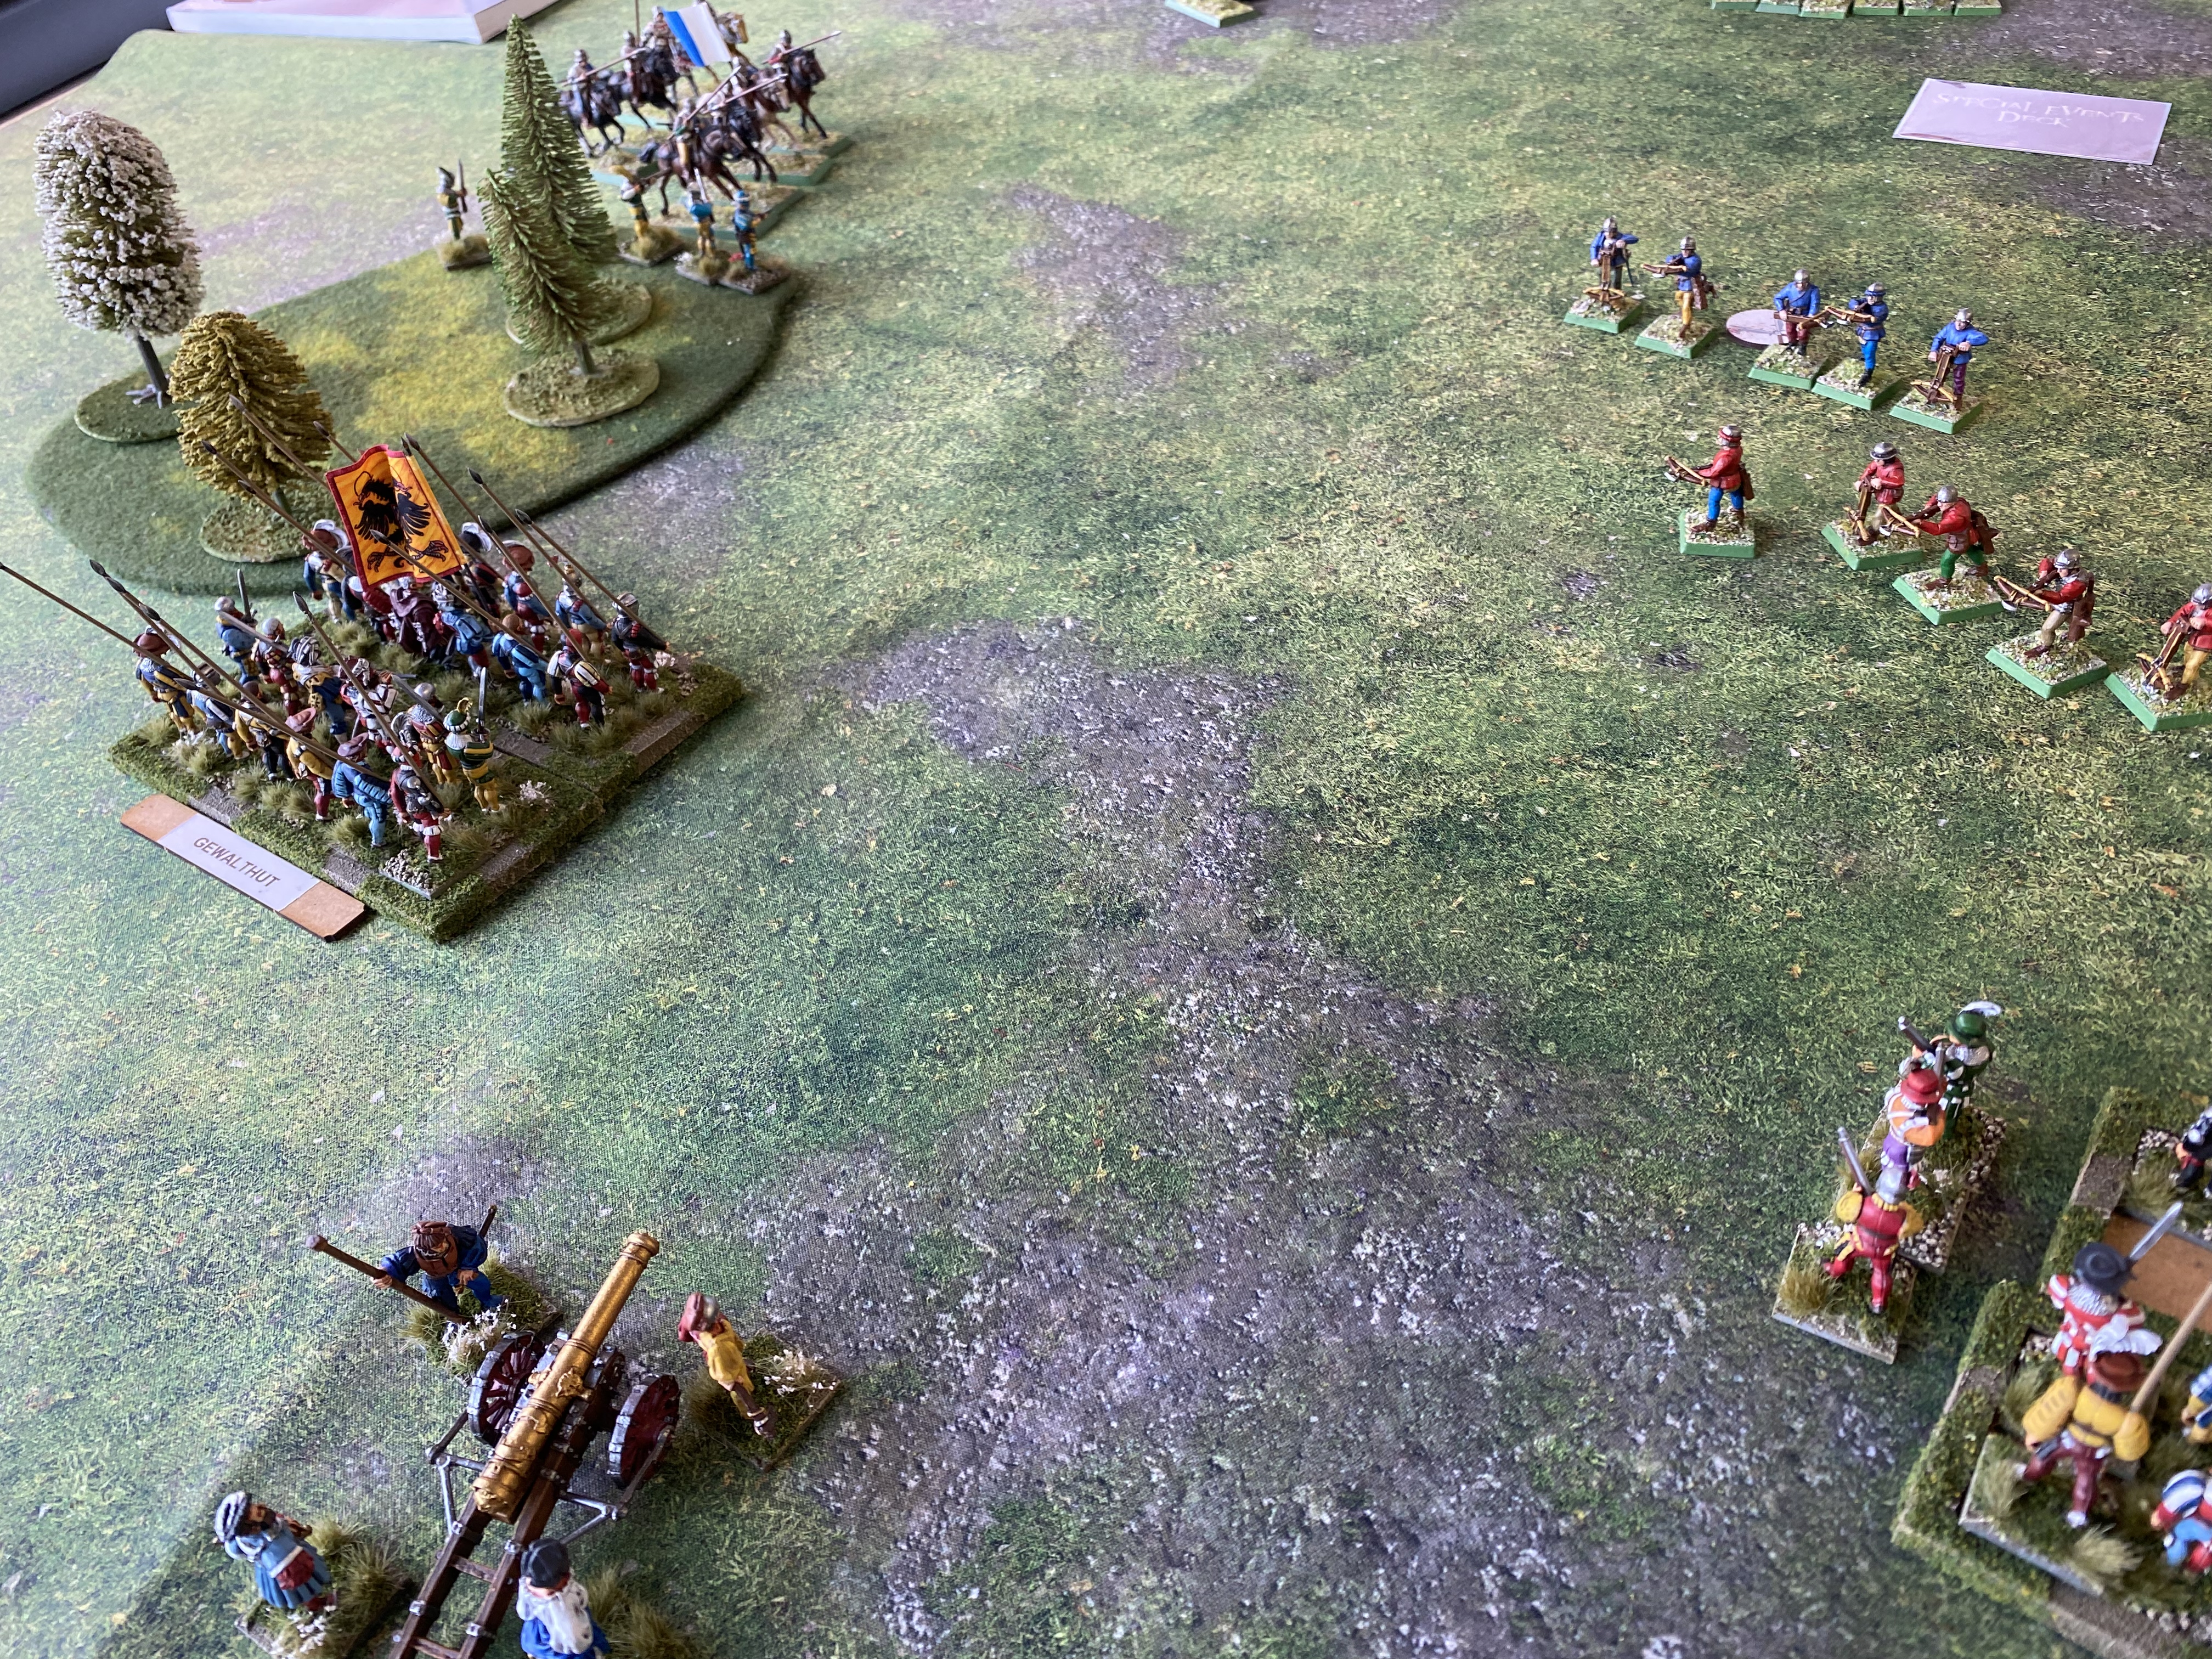
Gewalthut takes on the lone MAA unit and pushes it back!

It was now that I realised that my artillery were counter productive. Although they didn’t succumb to an accident, they just spurred Richard into advancing as quickly as possible! Fortunately for me, this led to Richards army being split, with his bowmen units being left behind whilst his Men at Arms charged home. I was able to defeat the MAA in combat, the pike blocks easily able to match them in combat, and with a pike block sneeking around the Burgundians left flank, they were out numbered and unable get enough shots off to weaken the approaching Landsknechts.

Despite taking casualties from the bowmen, who were protected in a block by spearmen, once combat was joined the pike block was able to use it’s superior numbers the win the melee. Victory to the Landsknechts!

Battle Two vs Ian Callans French Gallia Force

My set up – Cavalry out on the flank, Infantry in the centre

The French force was light on firepower but with blocks of MAA supported by spearmen, the offensive capability in melee is worrying! They get 24 dice for a full unit in combat but are saving on a 3+. Ian set up with a ‘refused’ right flank, pinning my opposing flank with his light cavalry and skirmishers.

Ian’s French with the refused flank

I opened the battle by firing with one of my guns and again, rather than provoke a cautious response, the opposite happened! Ian’s French came charging across the battlefield, eager to engage in combat before they took any more casualties. In addition, his light cavalry slaughtered my lights and then went on to cause mayhem with a flank charge on a pike block and then chasing off one of my artillery crews!

The battle was decided with a large melee in the centre involving two pike blocks and two of the French MAA and spear combo’s. After a three turn ‘slugfest’, it was the French that were victorious, daunting one pike block and breaking the other. Victory to the French!

Battle Three vs Ralph Duttons French Gallia Force

I was hoping for a different match up after the last battle but drew Ralph’s French in a near identical set up to Ian’s army.

Ralph’s cavalry play hide and seek with my Landsknechts!

Ralph was somewhat wary of the Landsknechts, initially focusing on their strengths rather than trying to find the weaknesses! Once again, that changed when I opened fire with my guns, prompting him to get into combat as quickly as possible! Despite initially holding their own in combat, the 3+ save of the French MAA gradually won the day.

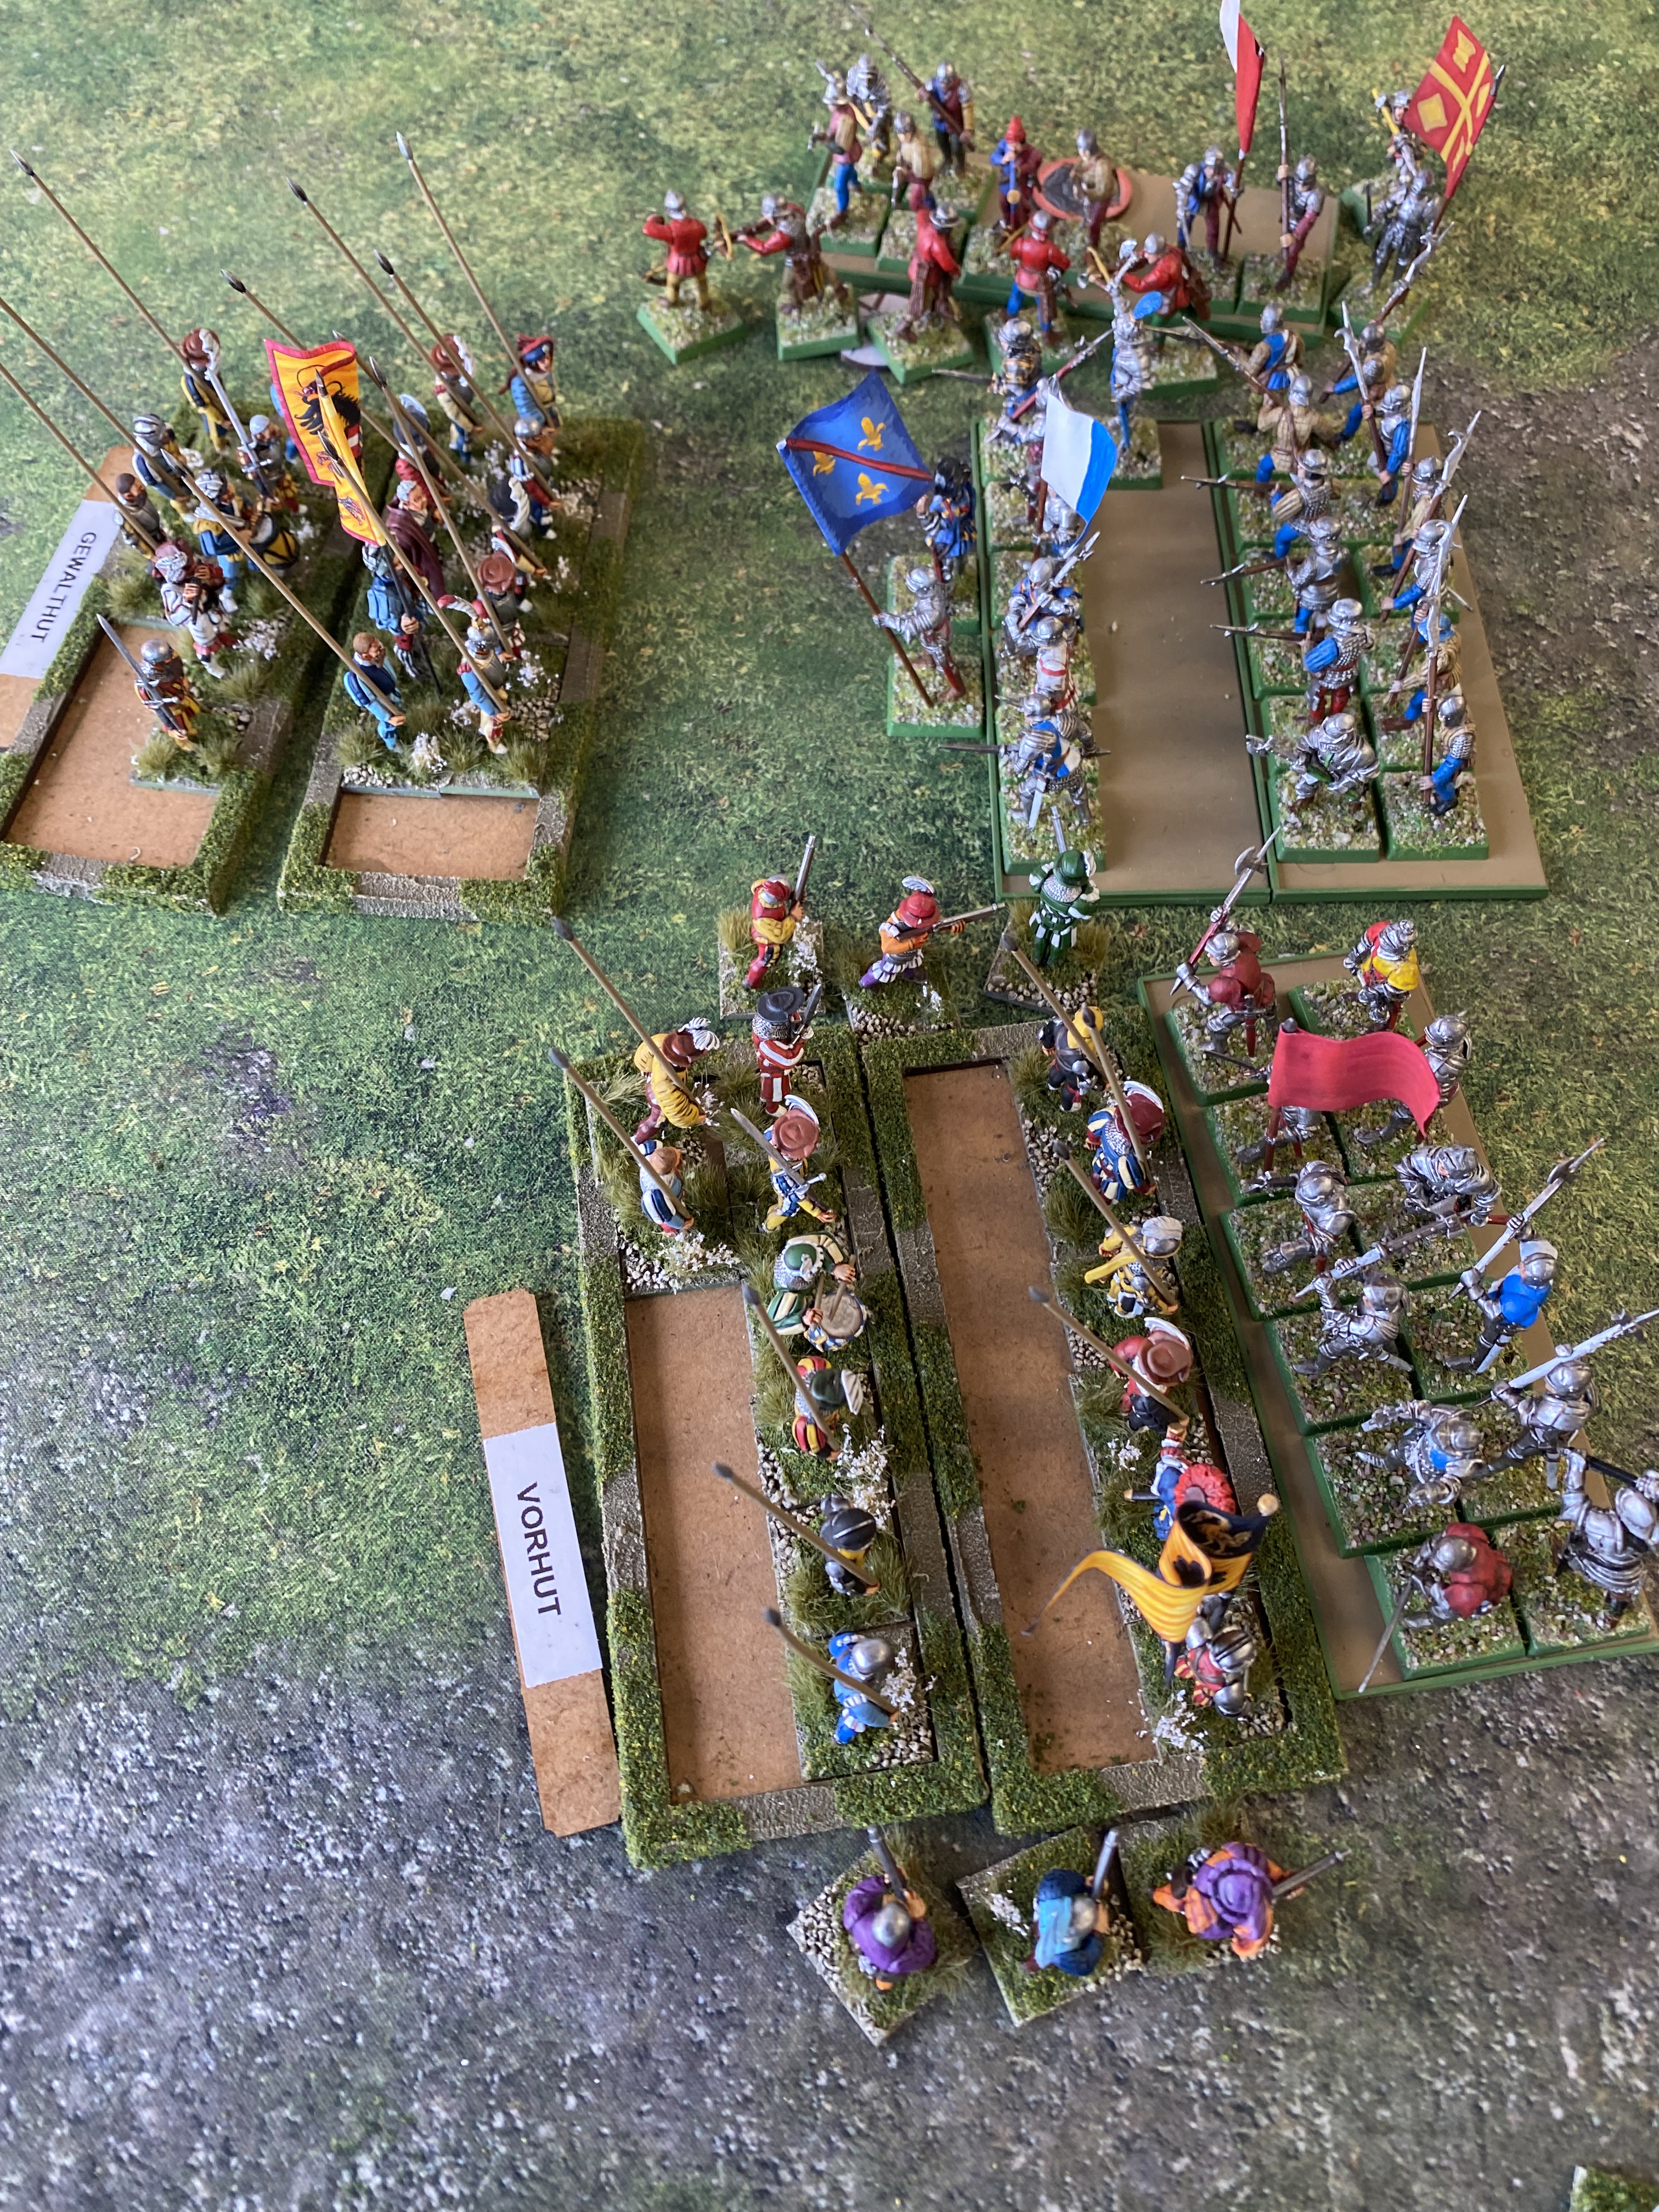
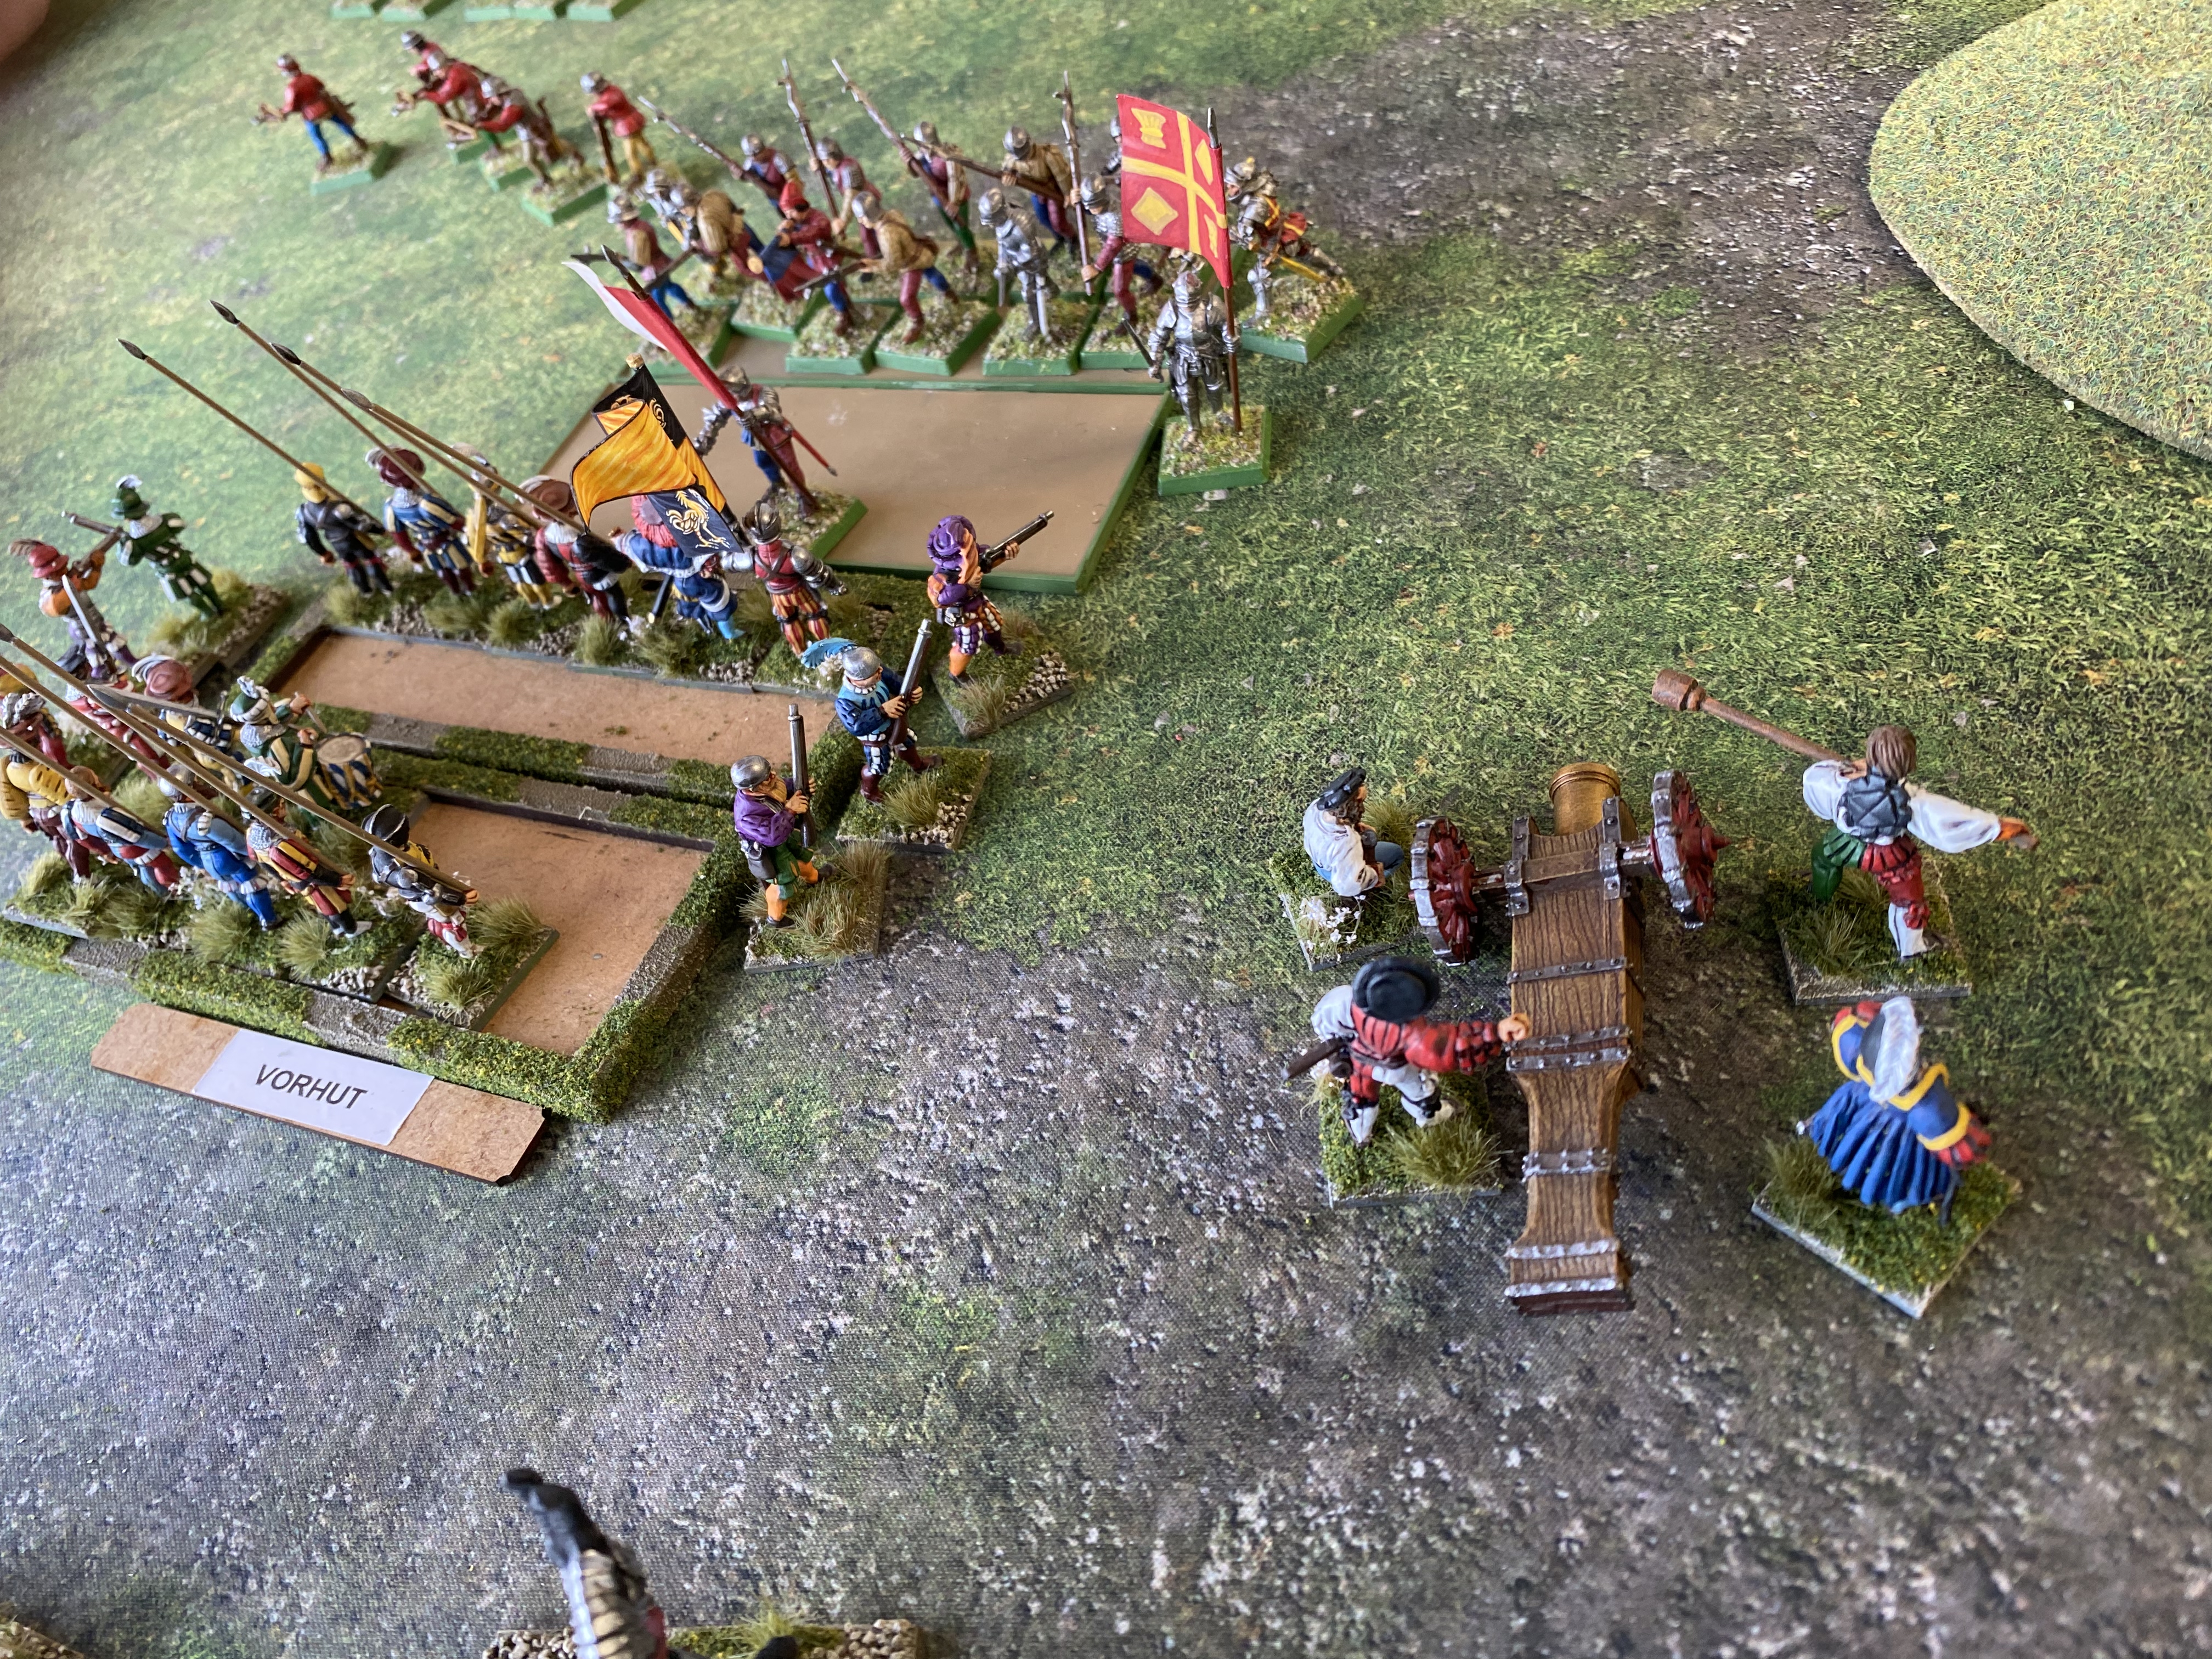
The Vorhut are about to break! In the background, the Gerwalthut have daunted one unit but are facing a charge for the next block – they lose this time!

After a protracted, hard fought combat sequence, again, going into the third round, the Landsknechts had to withdraw, in disarray, as it was them who initiated combat. They were unable to withstand the next charge of the French MAA and were driven from the battlefield. The French were victorious!

The Consultation prize

Well they didn’t fair so well in battle but the Landsknechts were voted the best painted army. So I was pleased with the effort that it took to get them to the table! I have learnt a great deal though. I tended to fight a defensive battle, trying to wear down my opponent before closing in melee. I think that this is a mistake and in future, I will try to be more aggressive and attack first. This will give me all four ranks of pikes in the first round of combat and a re roll of any ones.

There she blows! my only loss to a miss fire!

The artillery is a mixed blessing. I think that the chance of a gun blowing up is exaggerated ( I only lost one throughout the day). However, there were turns when they hit nothing and as the battle progressed, the targets available diminished as my own troops got in the way and combat was joined. The 18 points that I paid for them would upgrade all three blocks to veterans! The other issue with the artillery was that it just forces the opposition into action, in effect giving them the initiative.

Hmmm, as a certain wise man once sang, ‘I think I better think it out again’

Oh! and it wasn’t Chris De Burgh…..

THE COMMERCIAL BIT

I hope that you all enjoy your hobby as much as I do – remember that our web site will have much of what you need! Click here to see our shop:

ARCANE SCENERY

We also have a category devoted to Never Mind the Bill Hooks:

NEVER MIND THE BILL HOOKS!

To visit the Boards and Swords website for directions and details of the venue, click here:

BOARDS AND SWORDS

Happy Modelling!
Painting Landsknechts

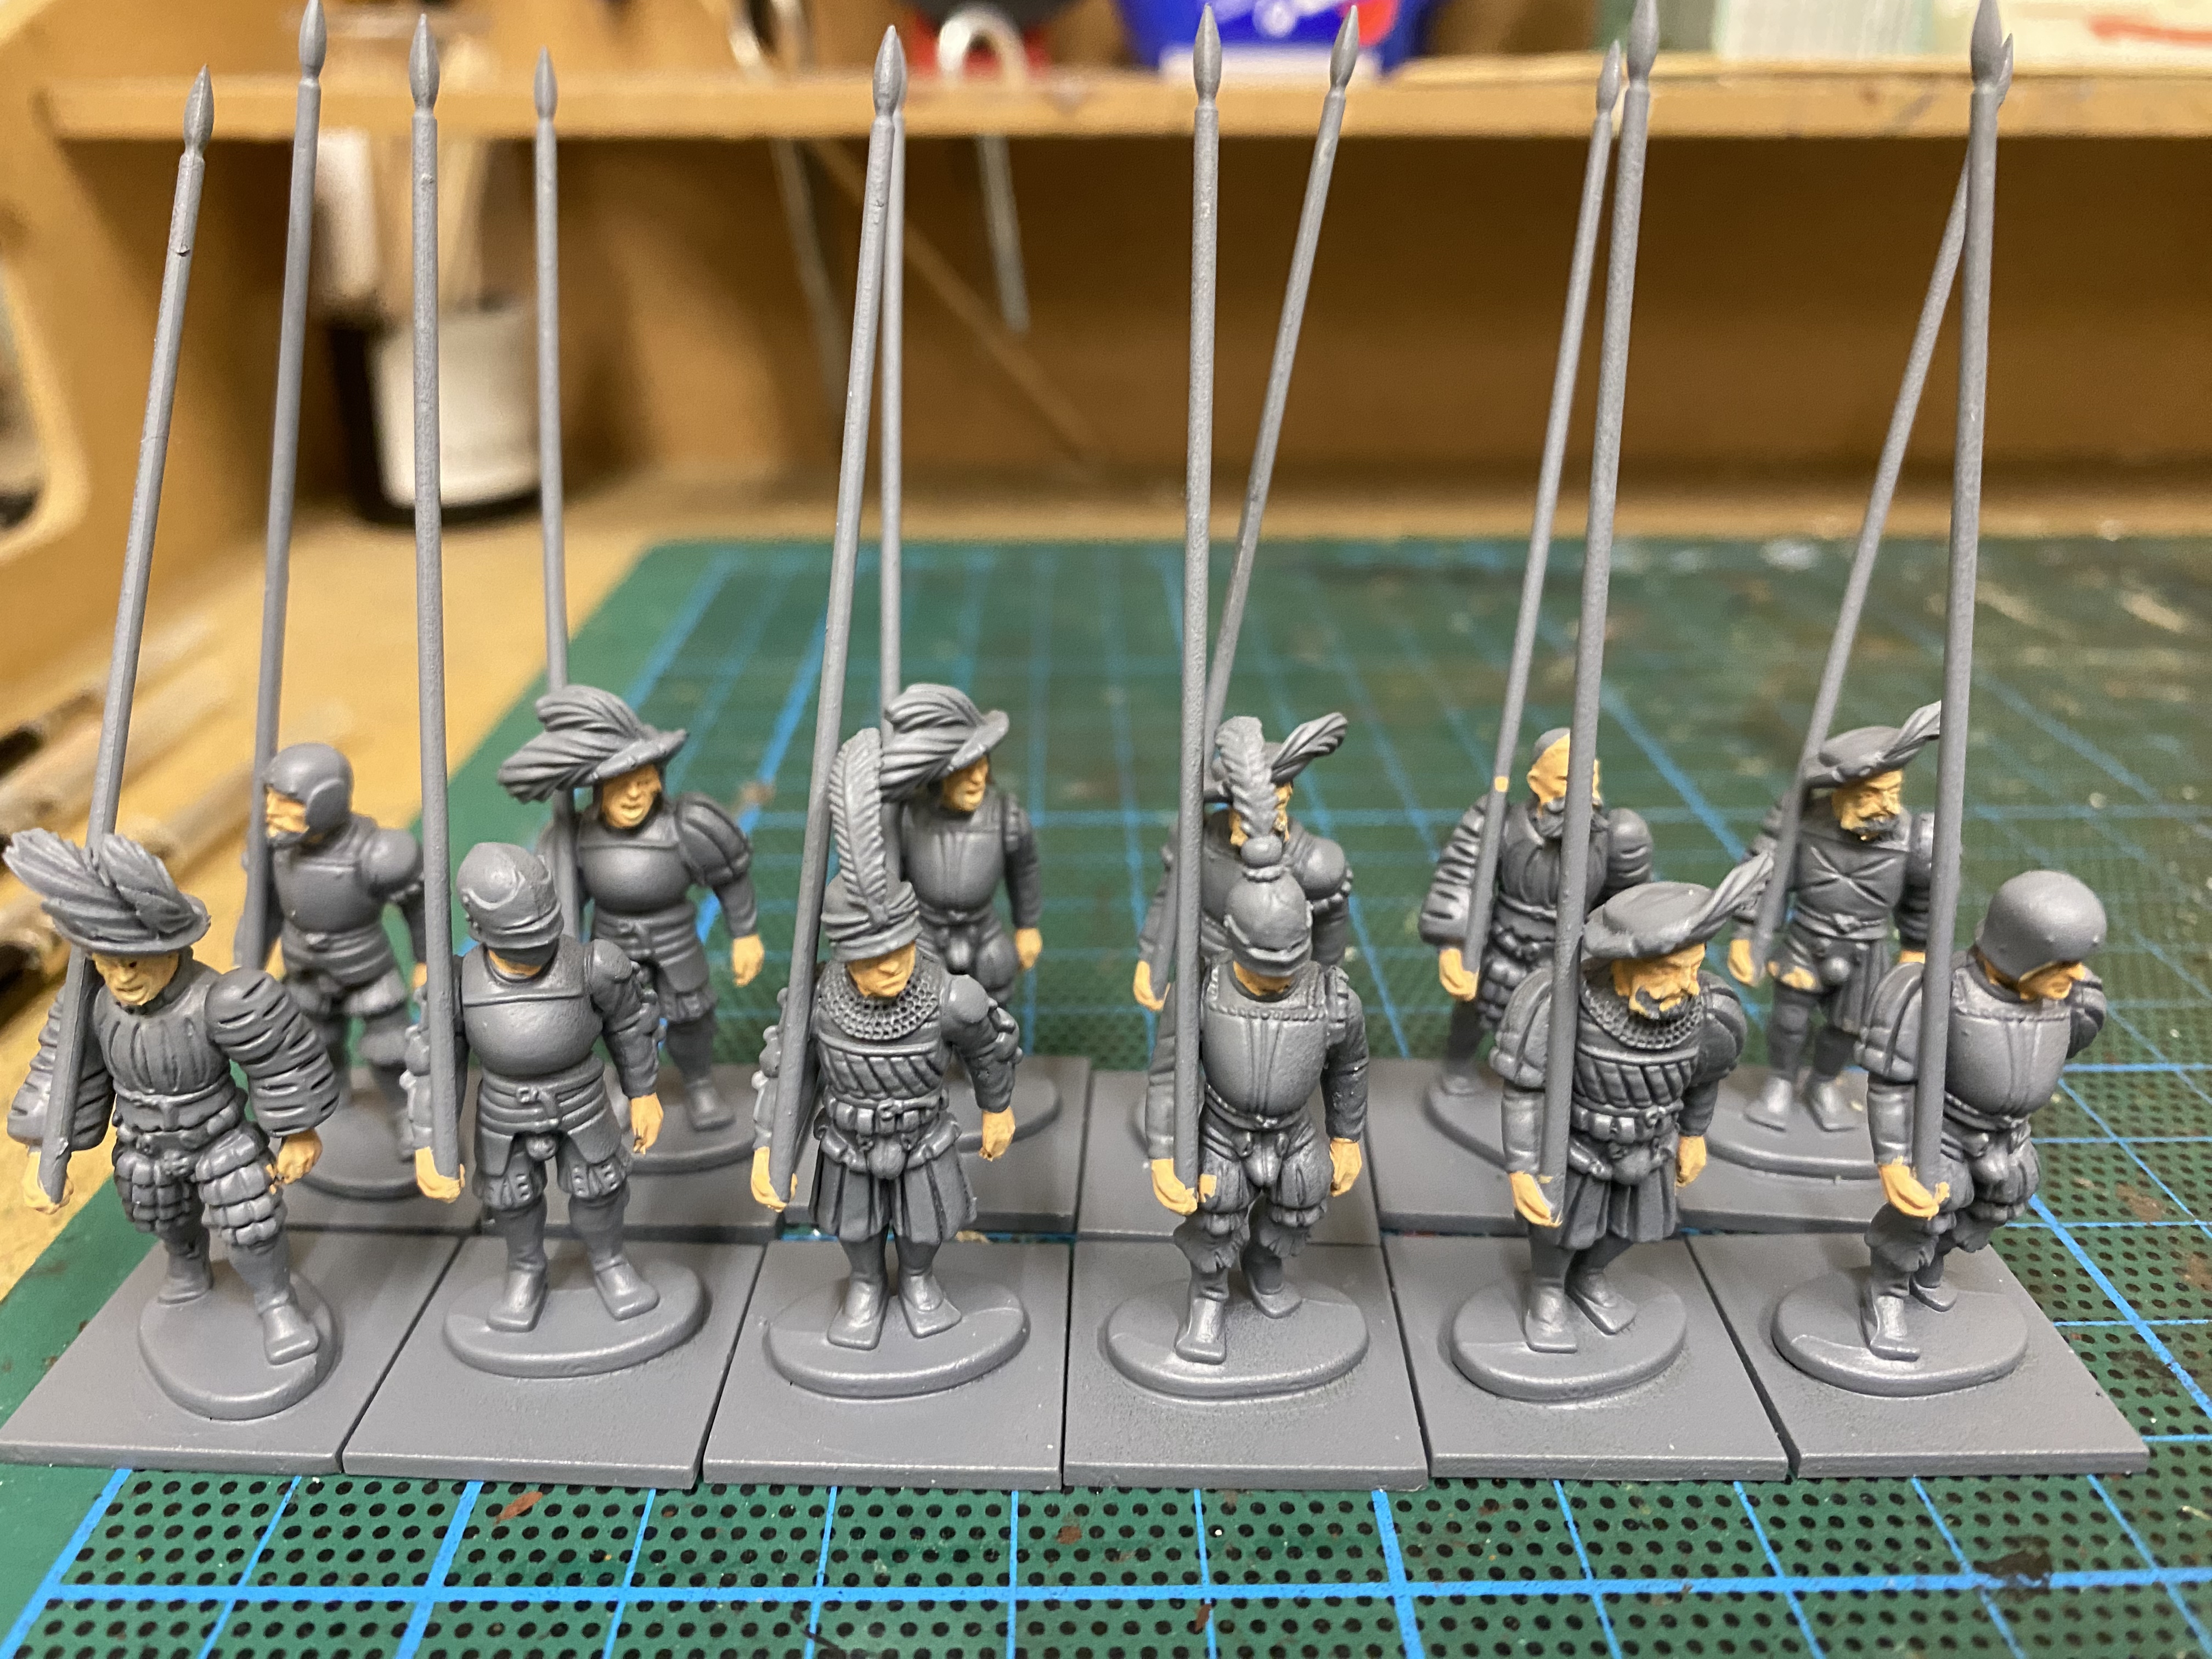
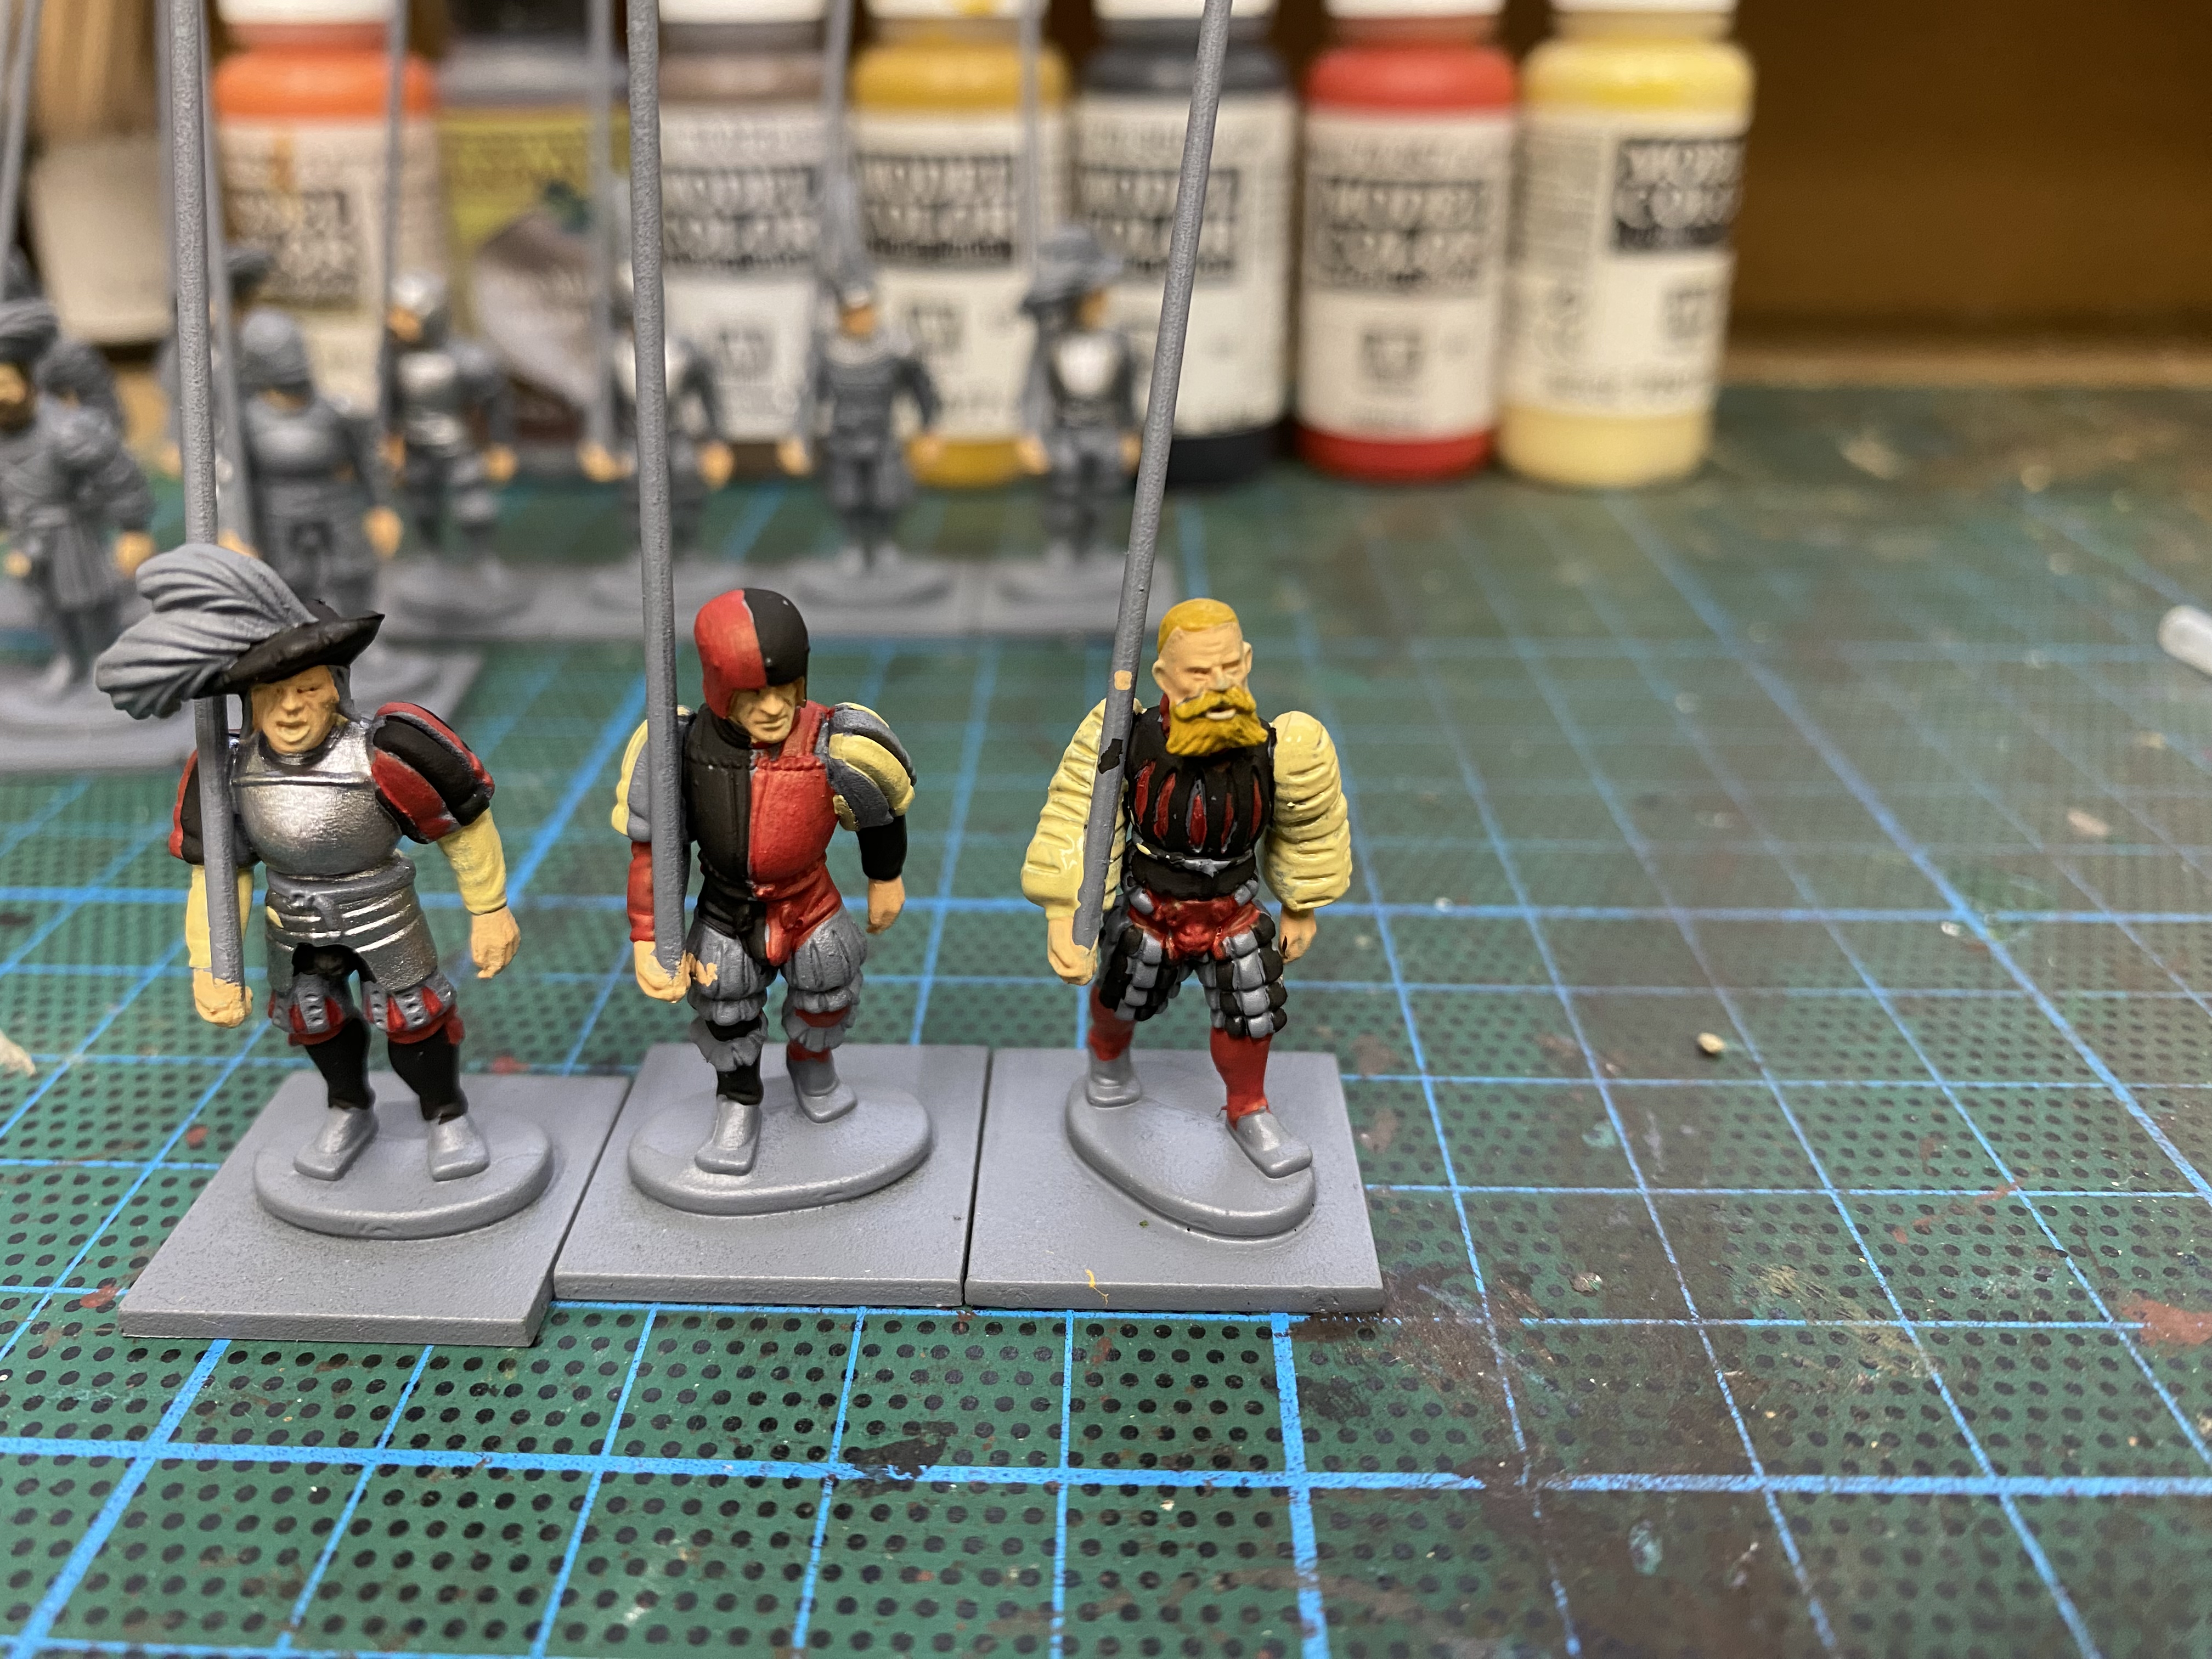
Following on from my last blog post. Here is a rough guide to how I batch painted my Landsknechts. I am using Warlord Games plastic Landsknechts. I assembled them in batches of 12 models and once assembled and cleaned up, I primed them in Army Painter Uniform grey. I had thought about using a white primer, which would have given the colours a brighter base to paint over but decide to stick with grey as I find it more forgiving if you miss a bit of painting on a figure!
Once primed, I painted the flesh with Vallejo flesh 70955.

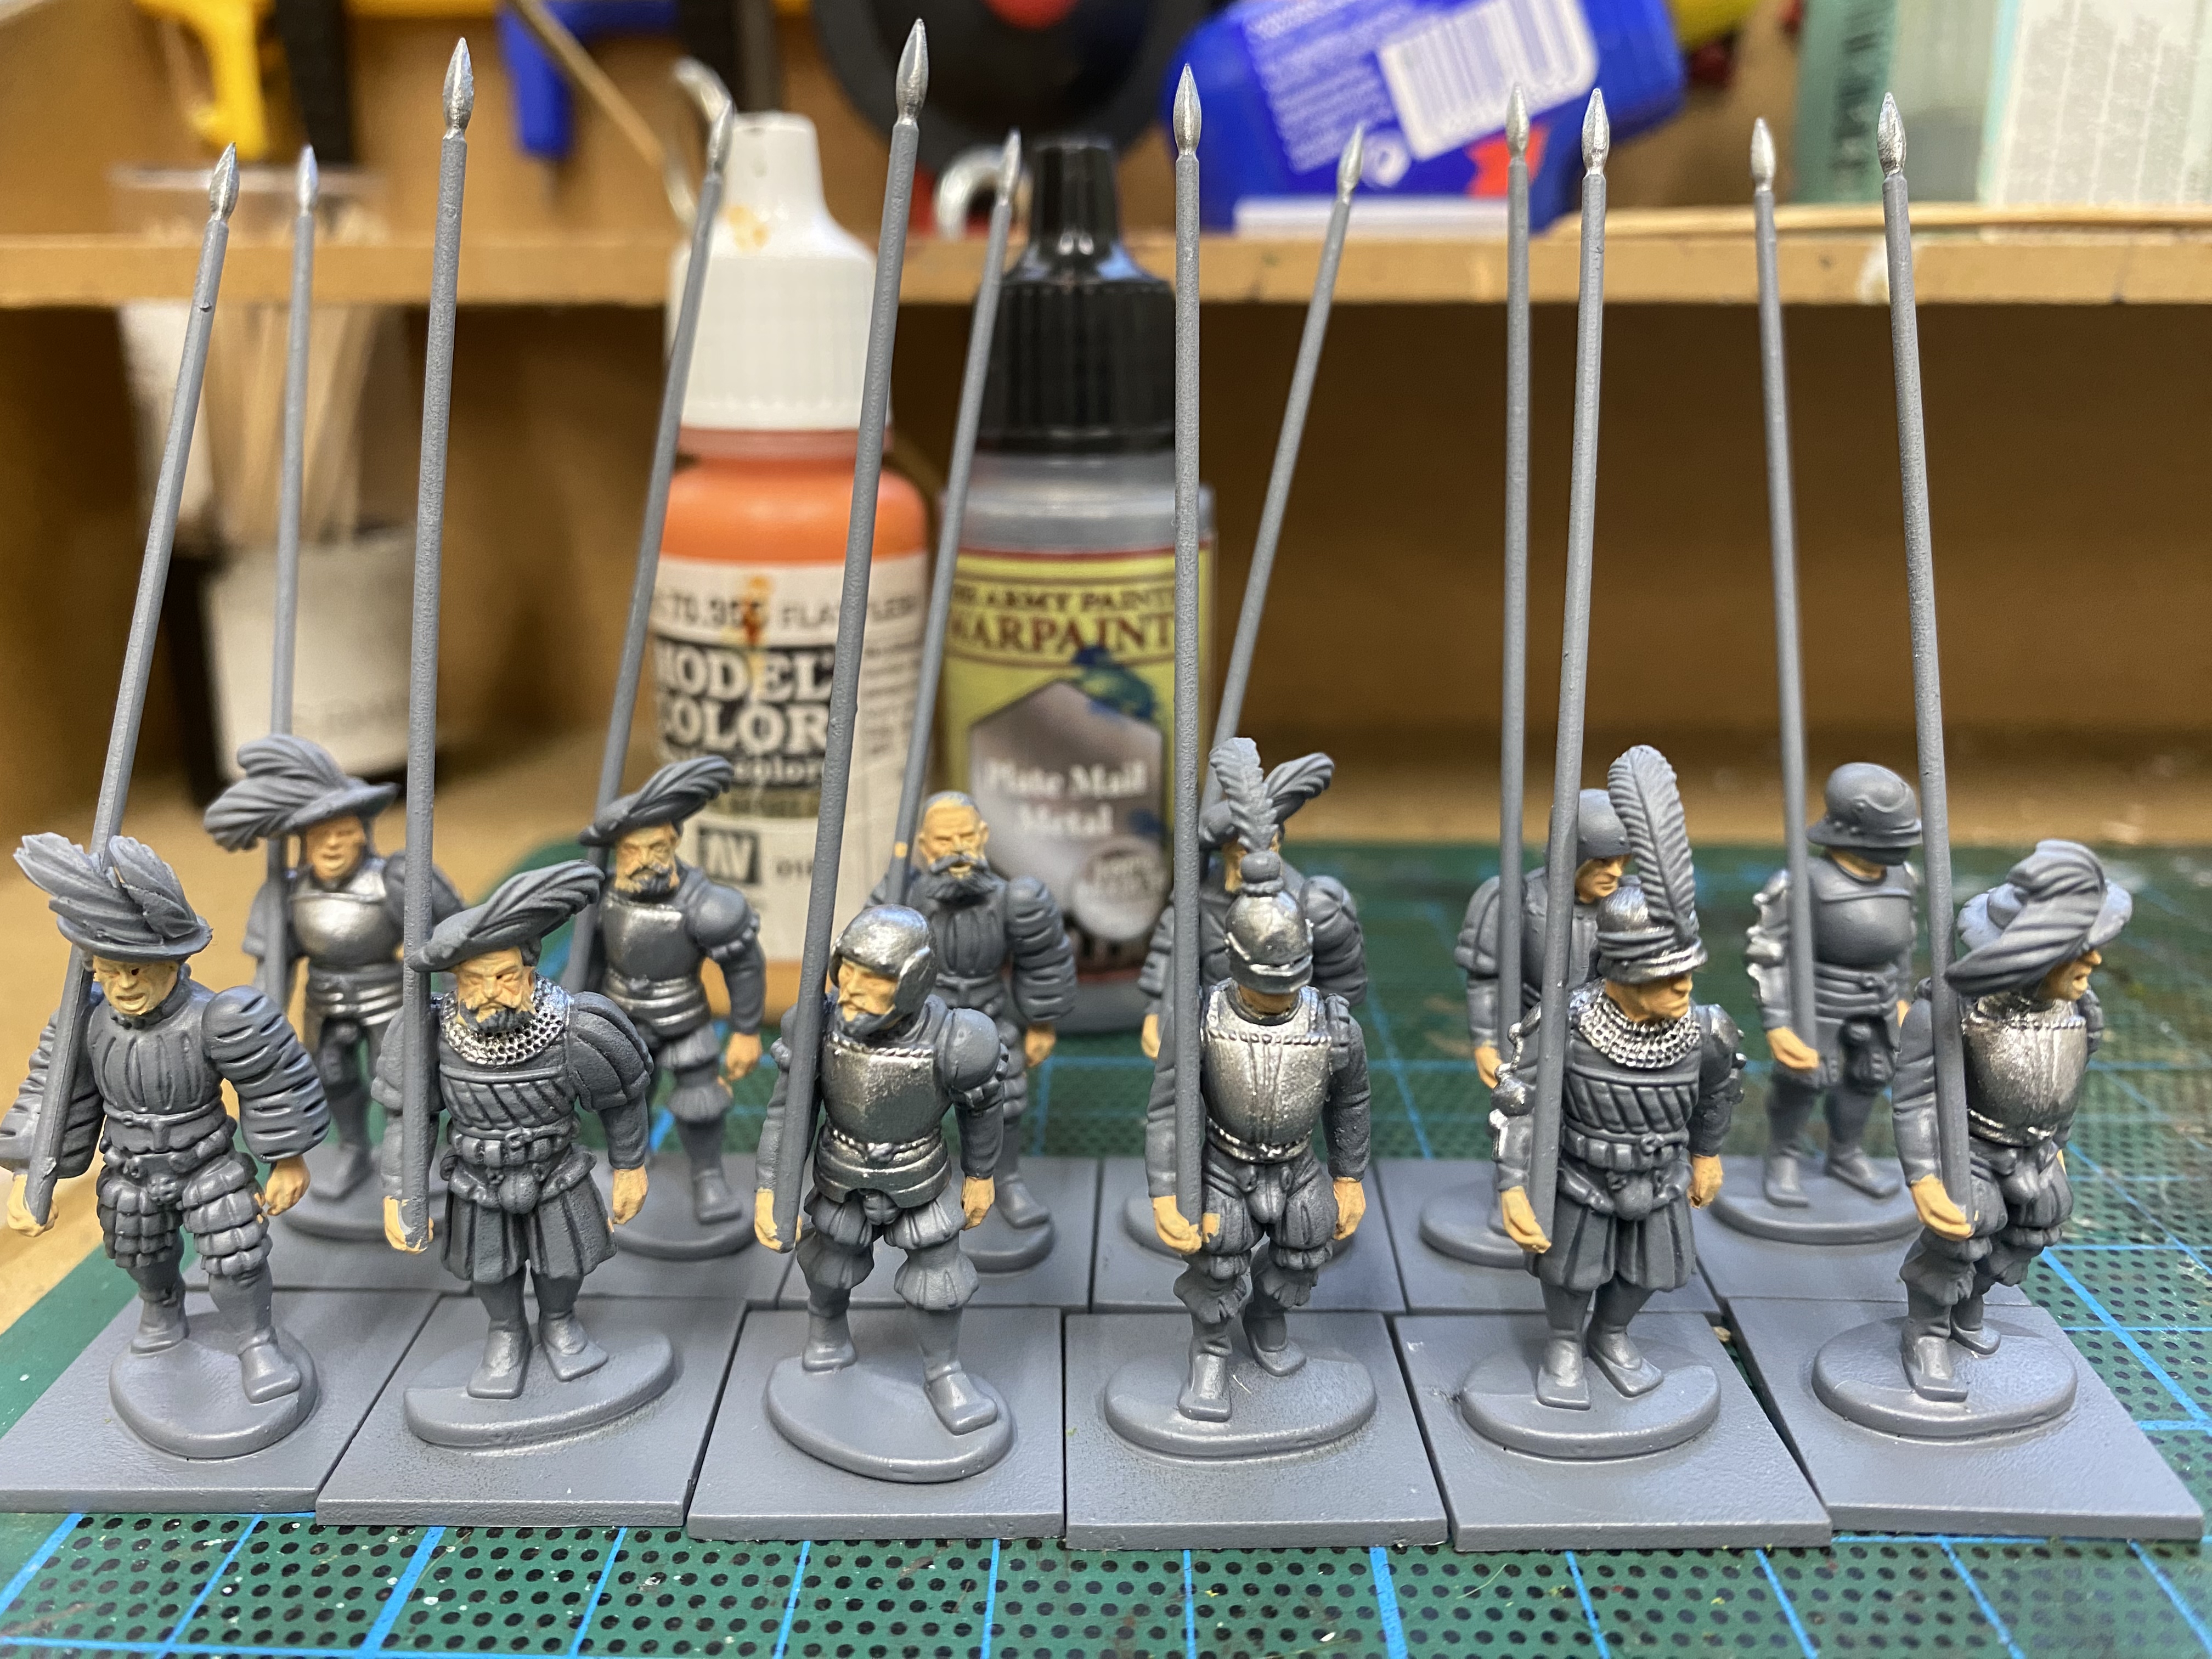
I then picked out the armour plates, chain mail and spear tips in Army Painter plate mail. There was one exception, The figures on the far right of the back rank was left as I intended to give him painted armour. I’ve no idea whether this is historically accurate but I had seen some pictures of helmets painted in this way.

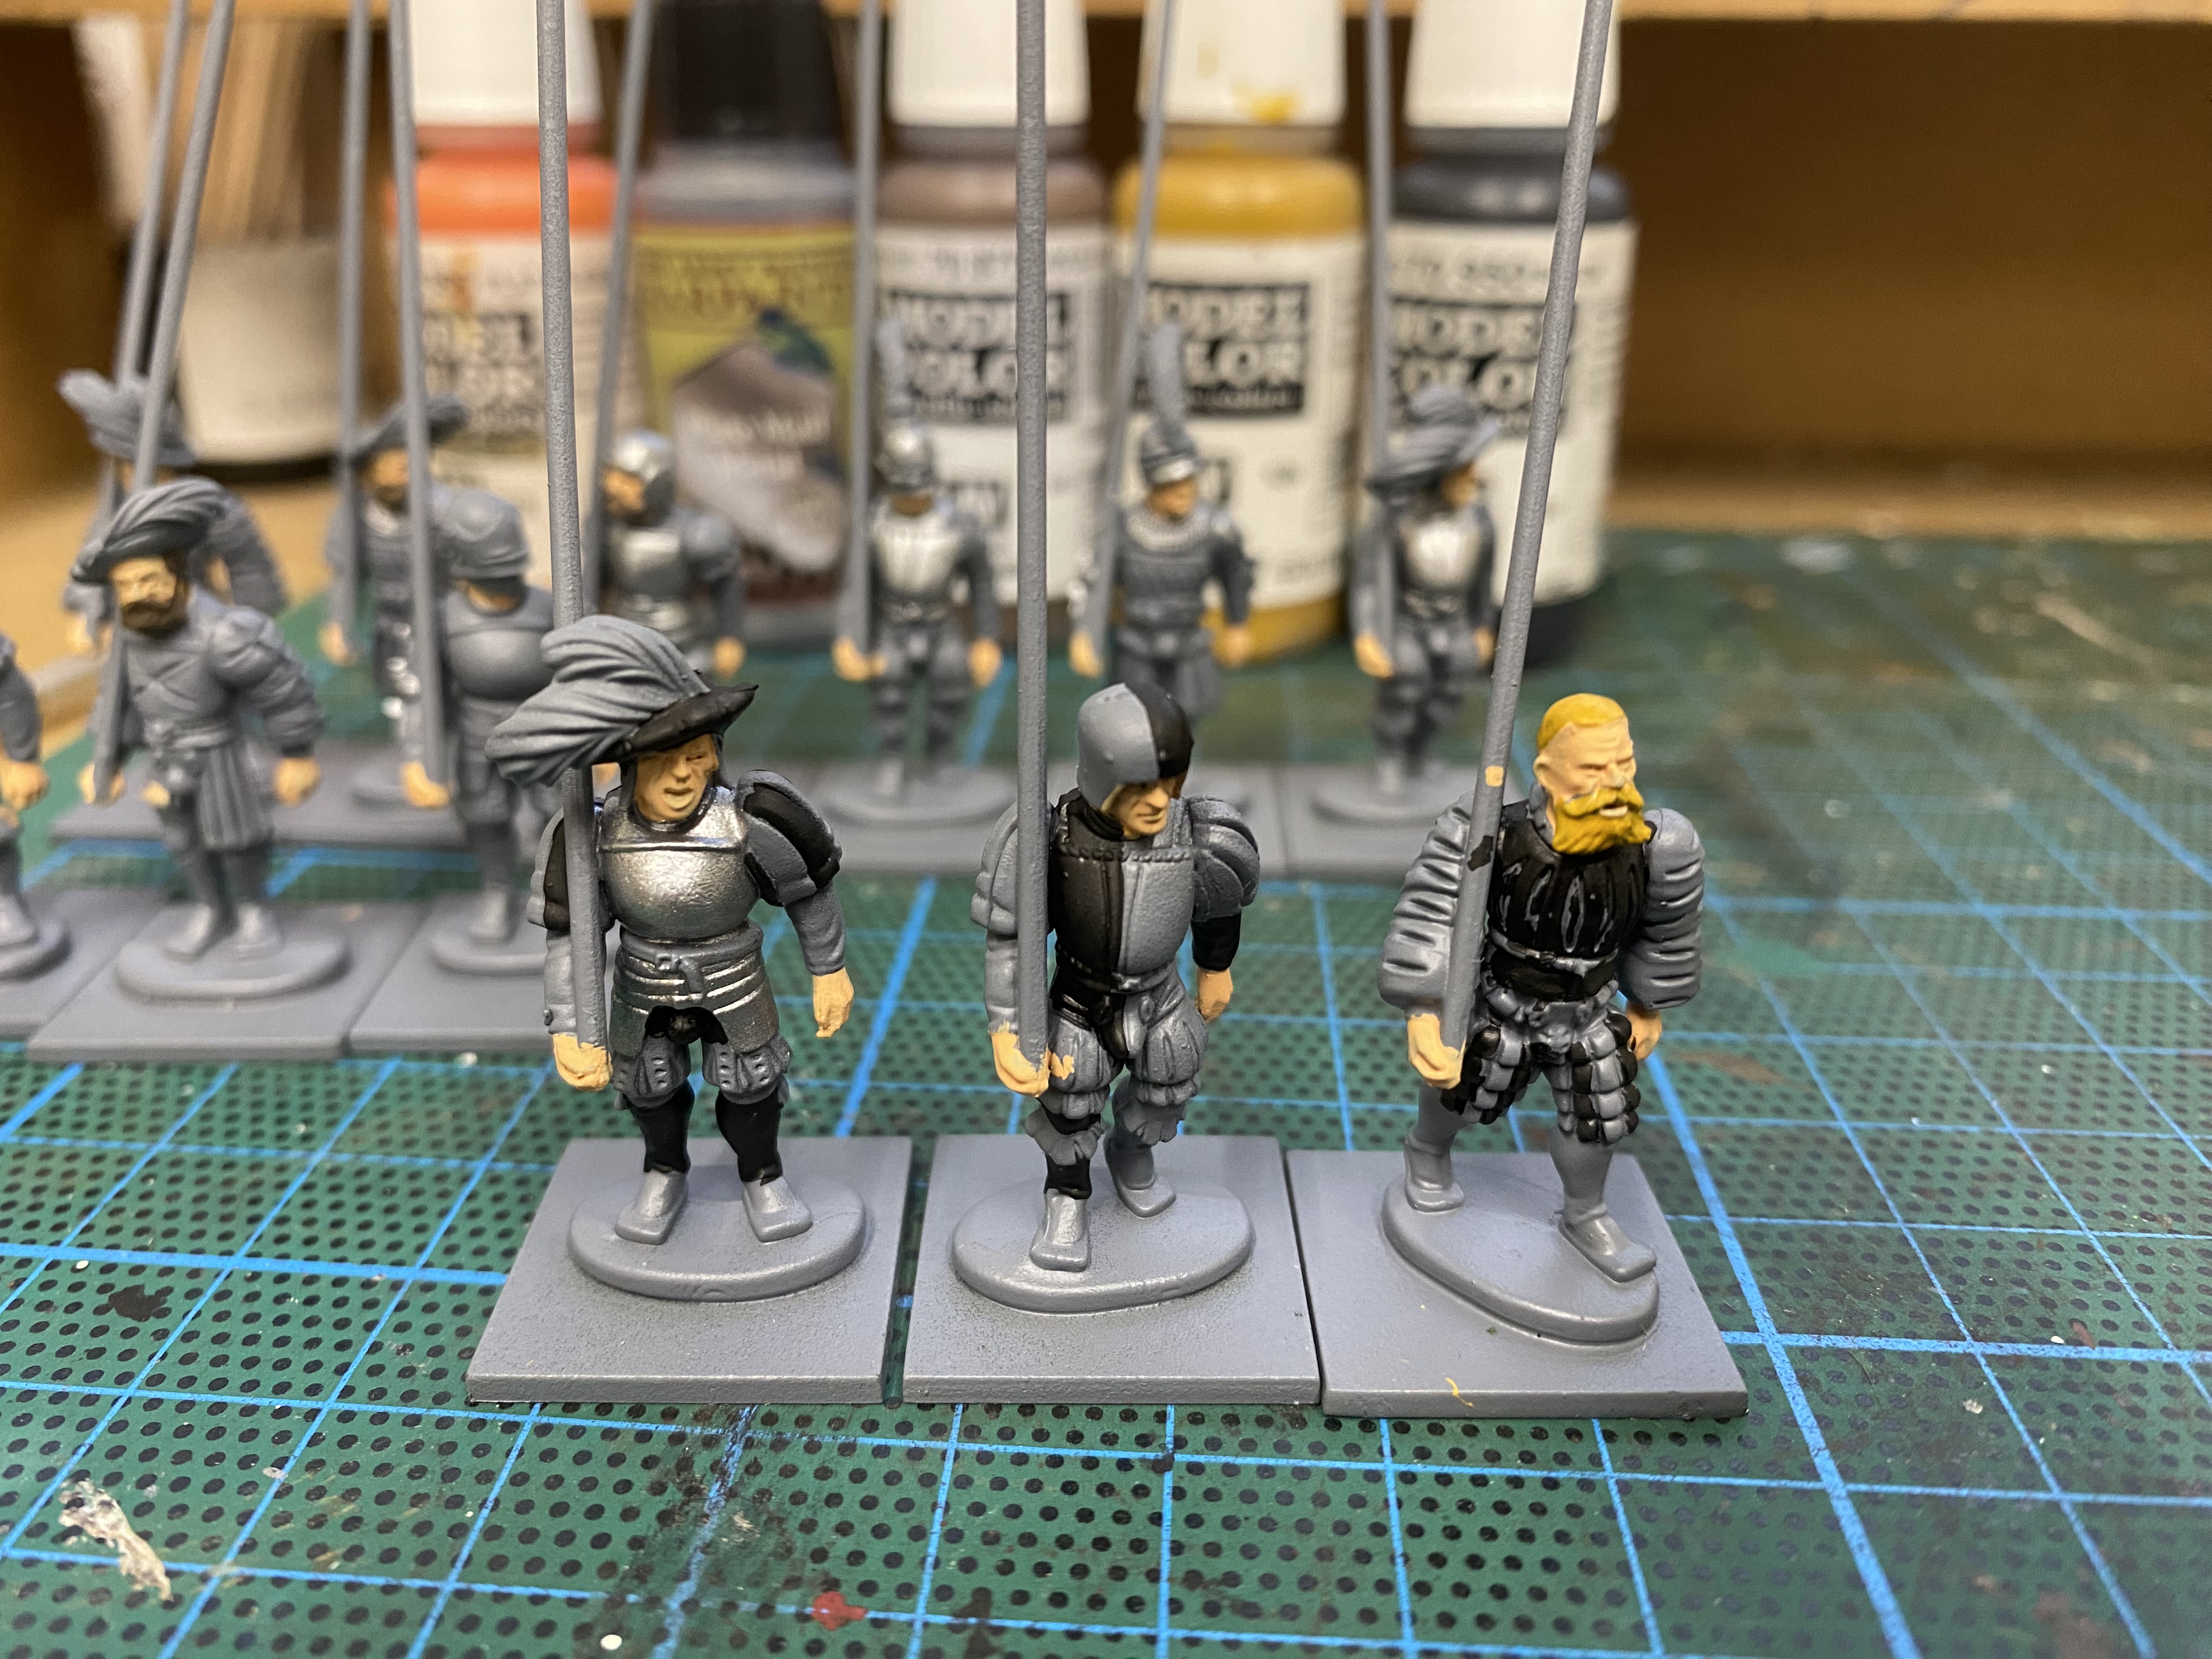
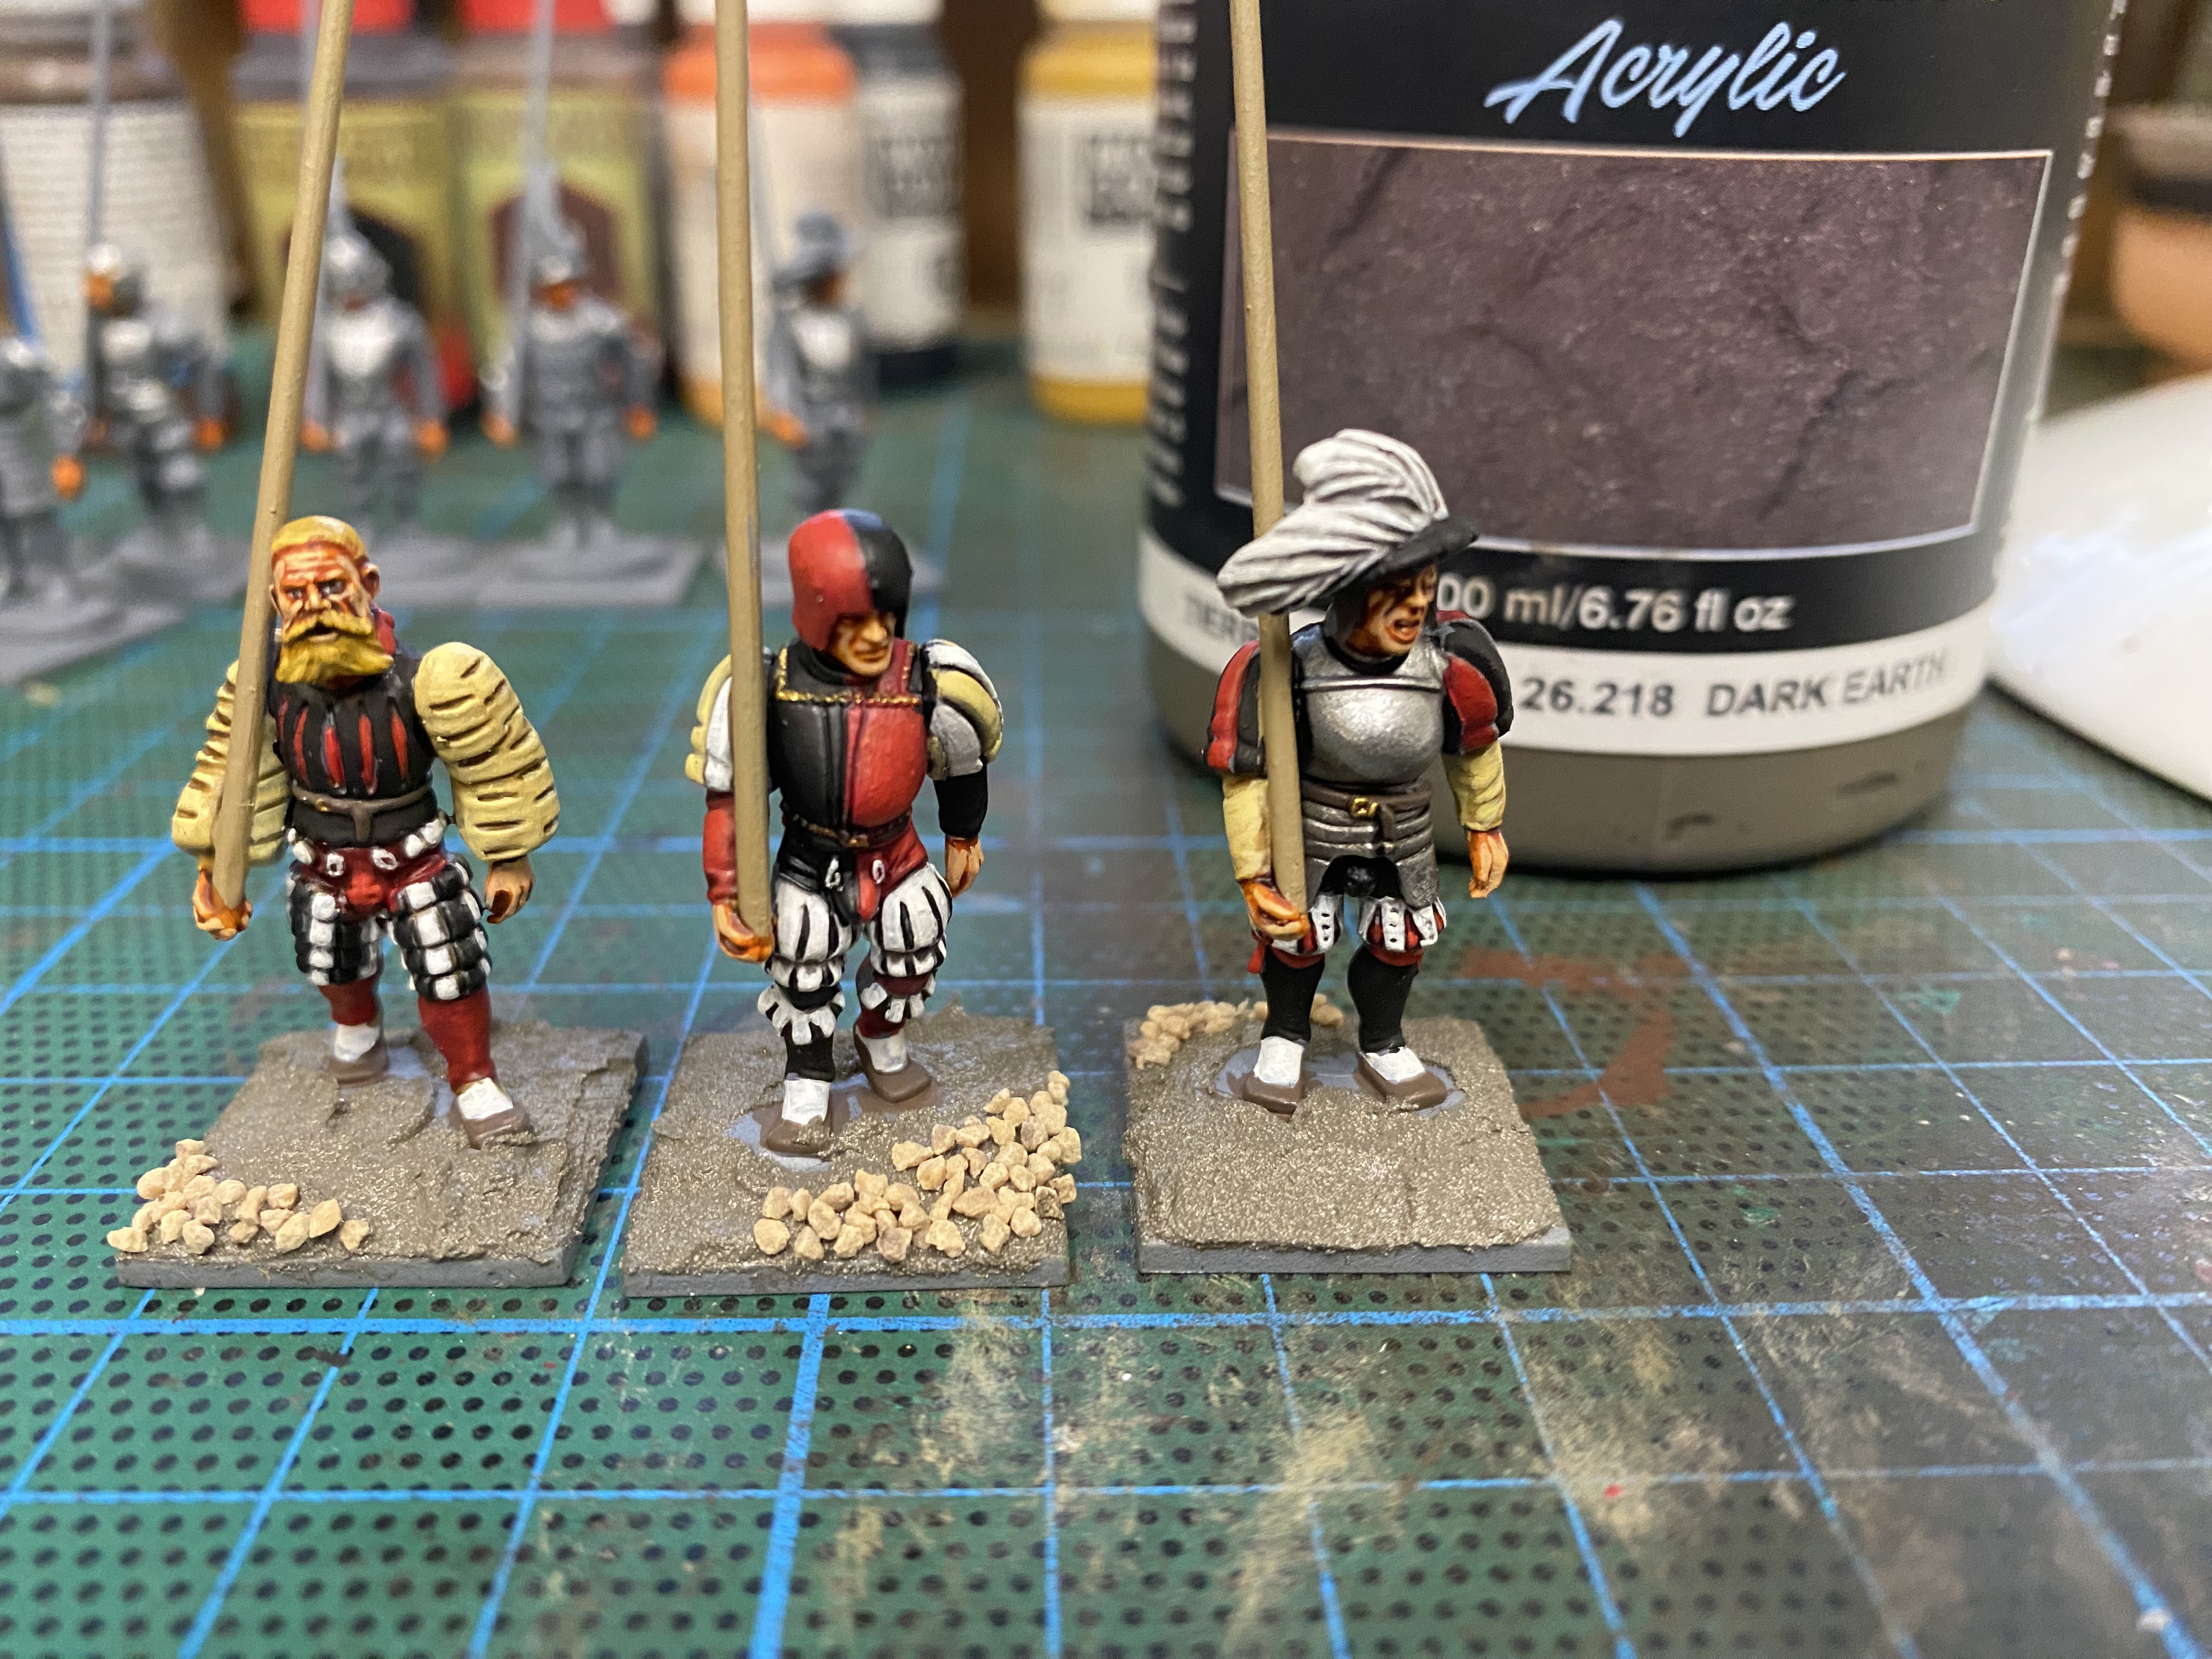
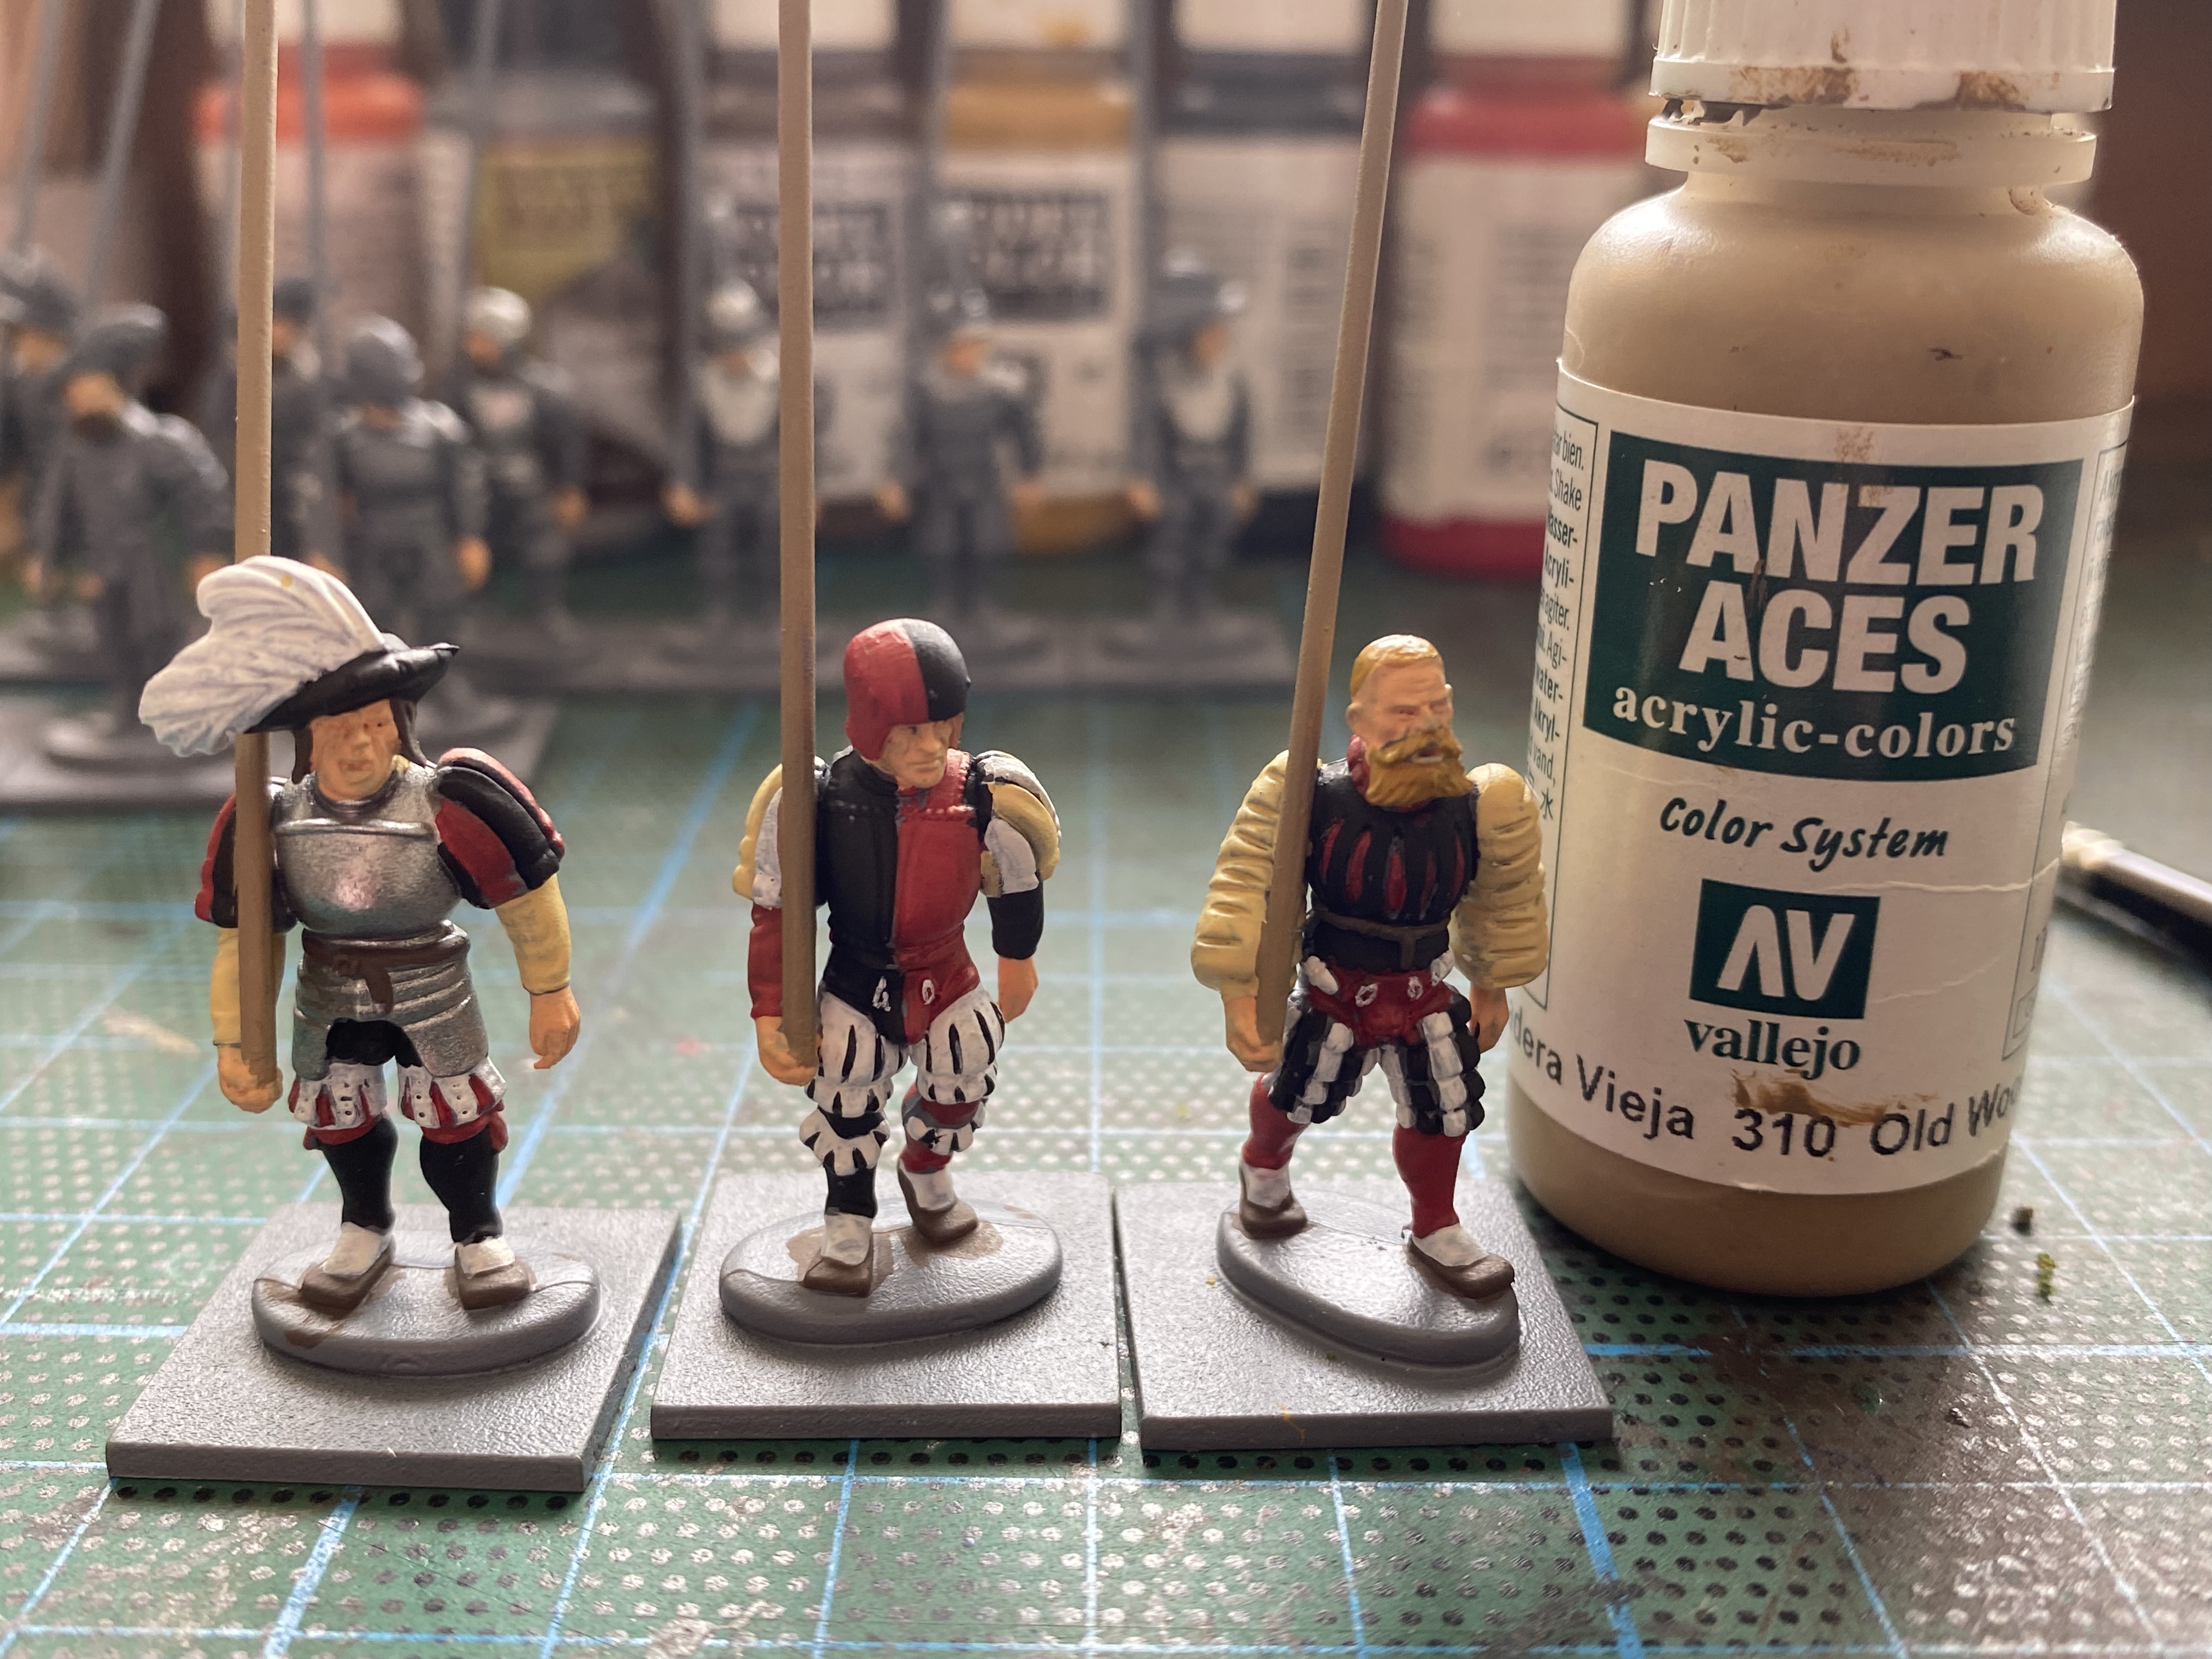
At this point, I decided that a batch of twelve wasn’t going to work for me, so I took three figures, painted the hair and then started to block paint the first colour – in this example 70950 Black.

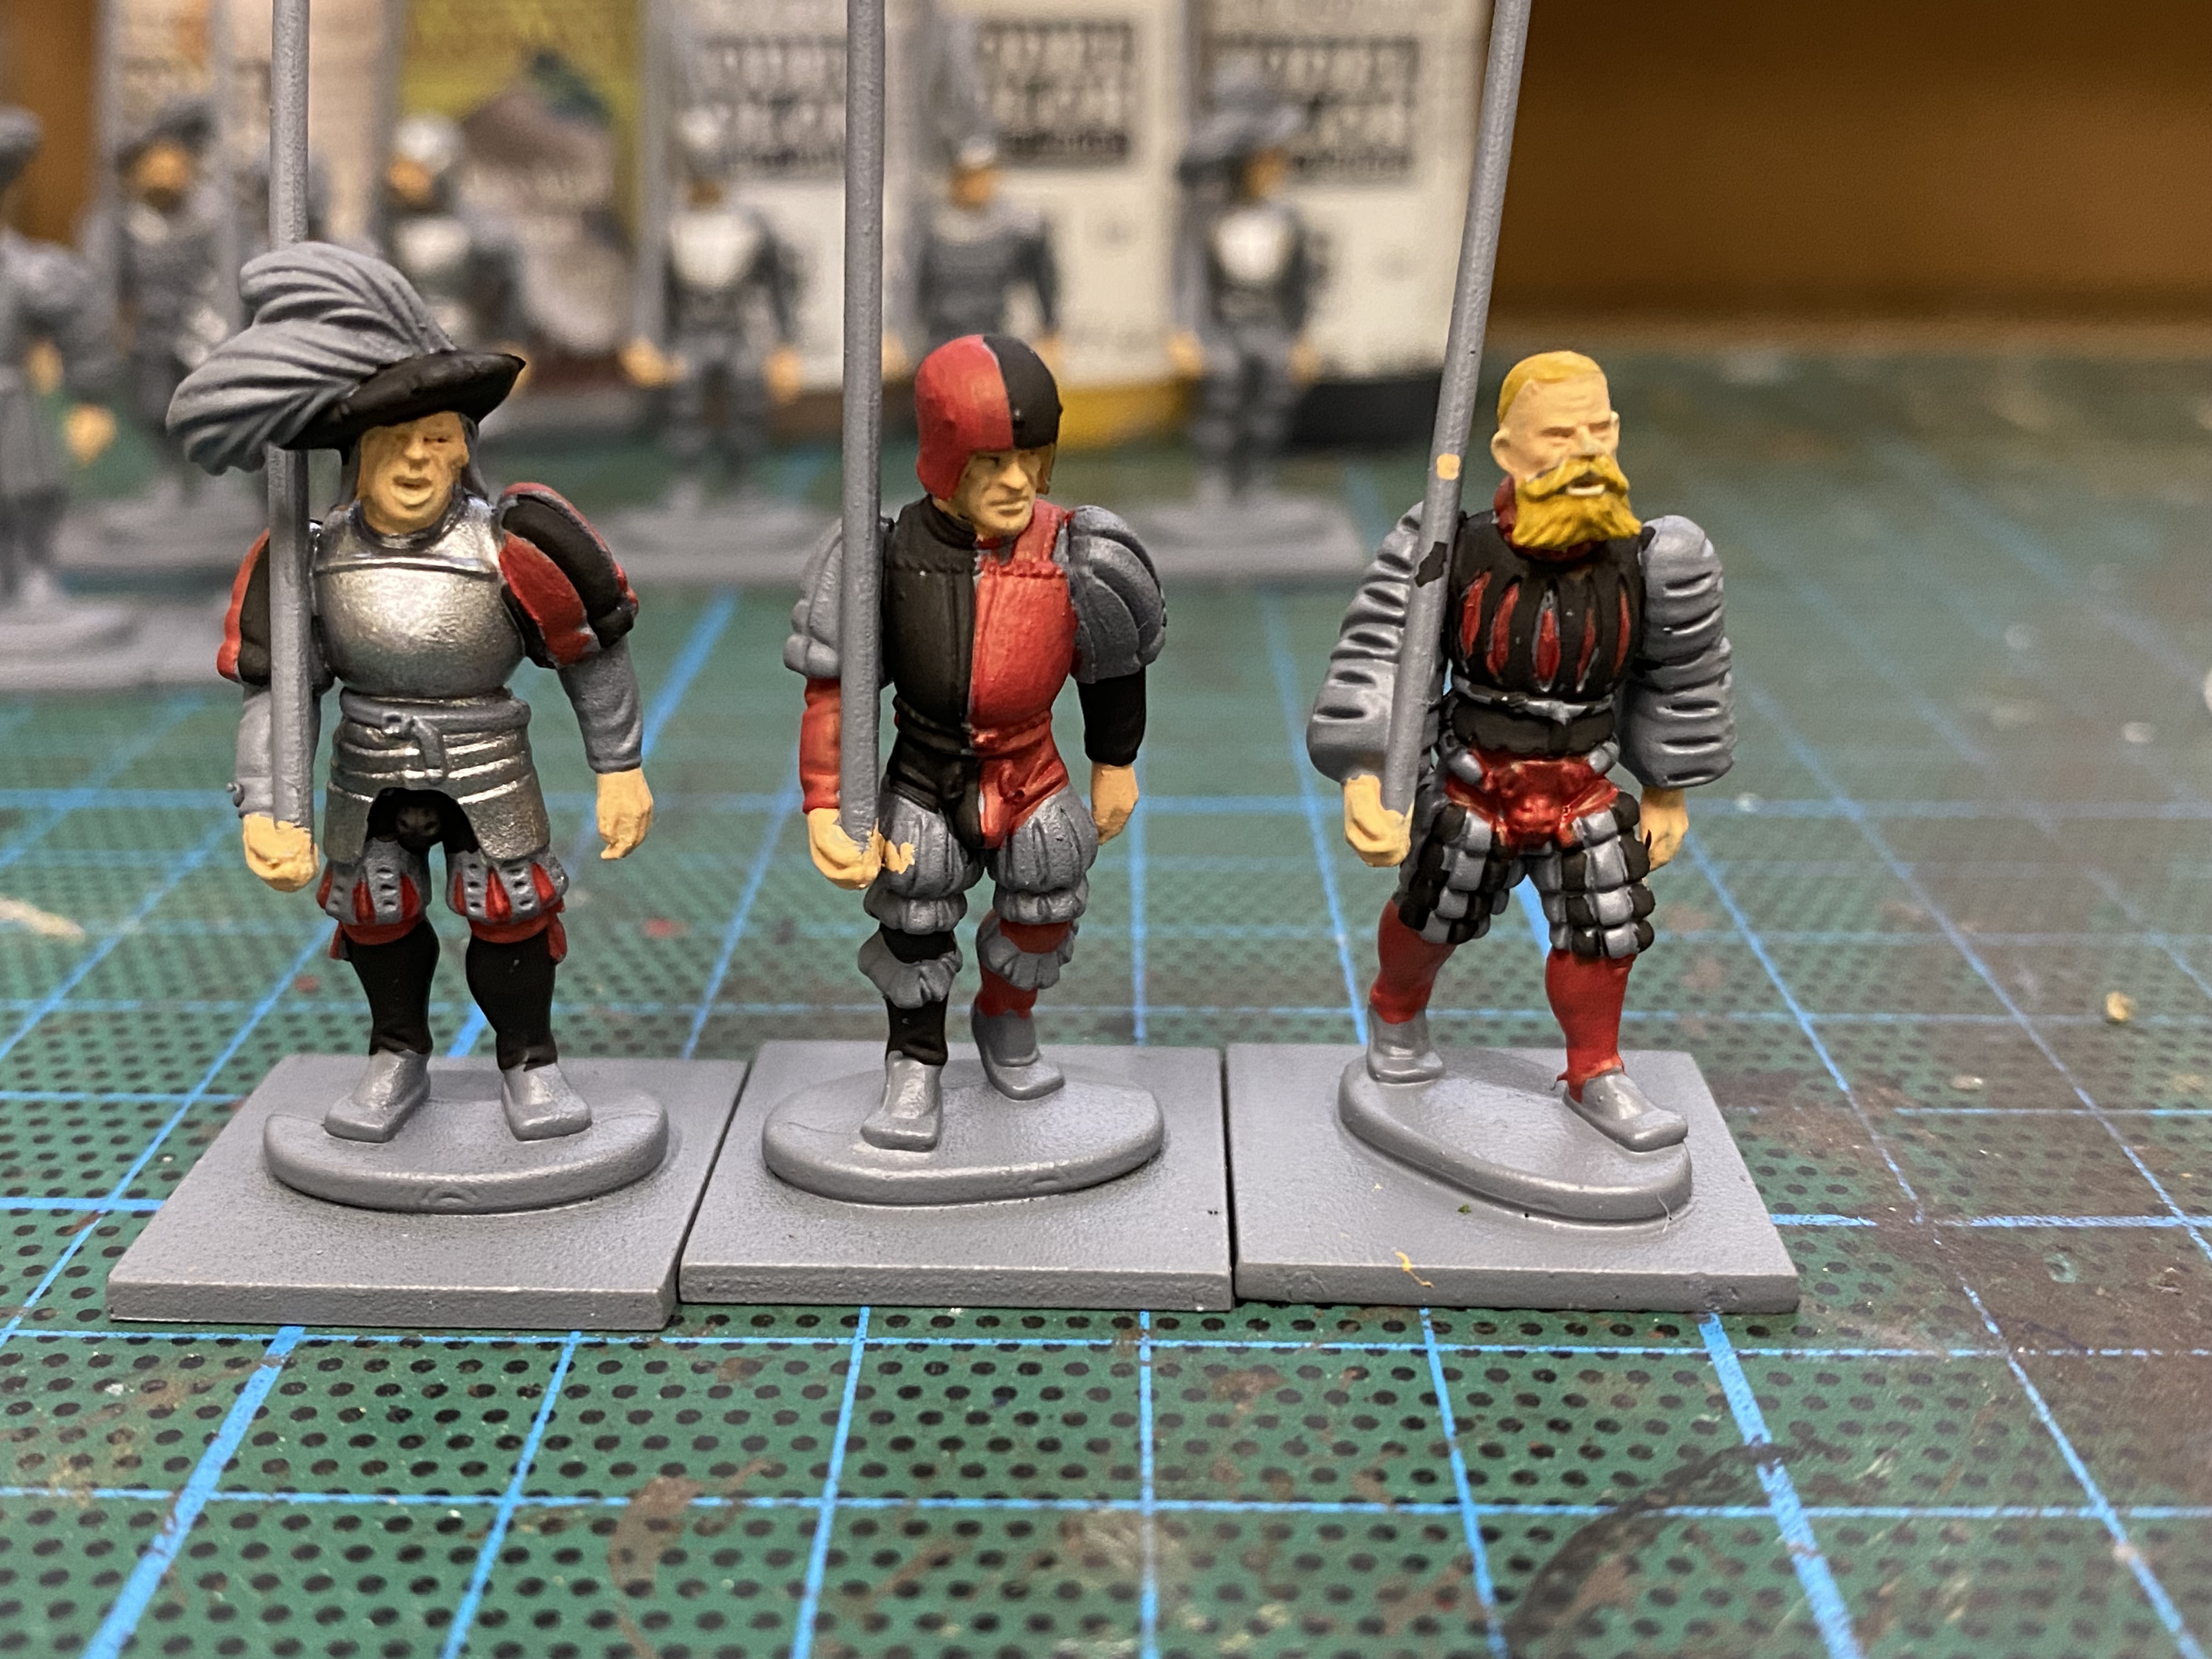
Next, I added the red, 70957. It looks a bit messy at this stage but I tend to tidy up as I go. There’s no plan that I’m following – I just paint the block colours in as the mood takes me!

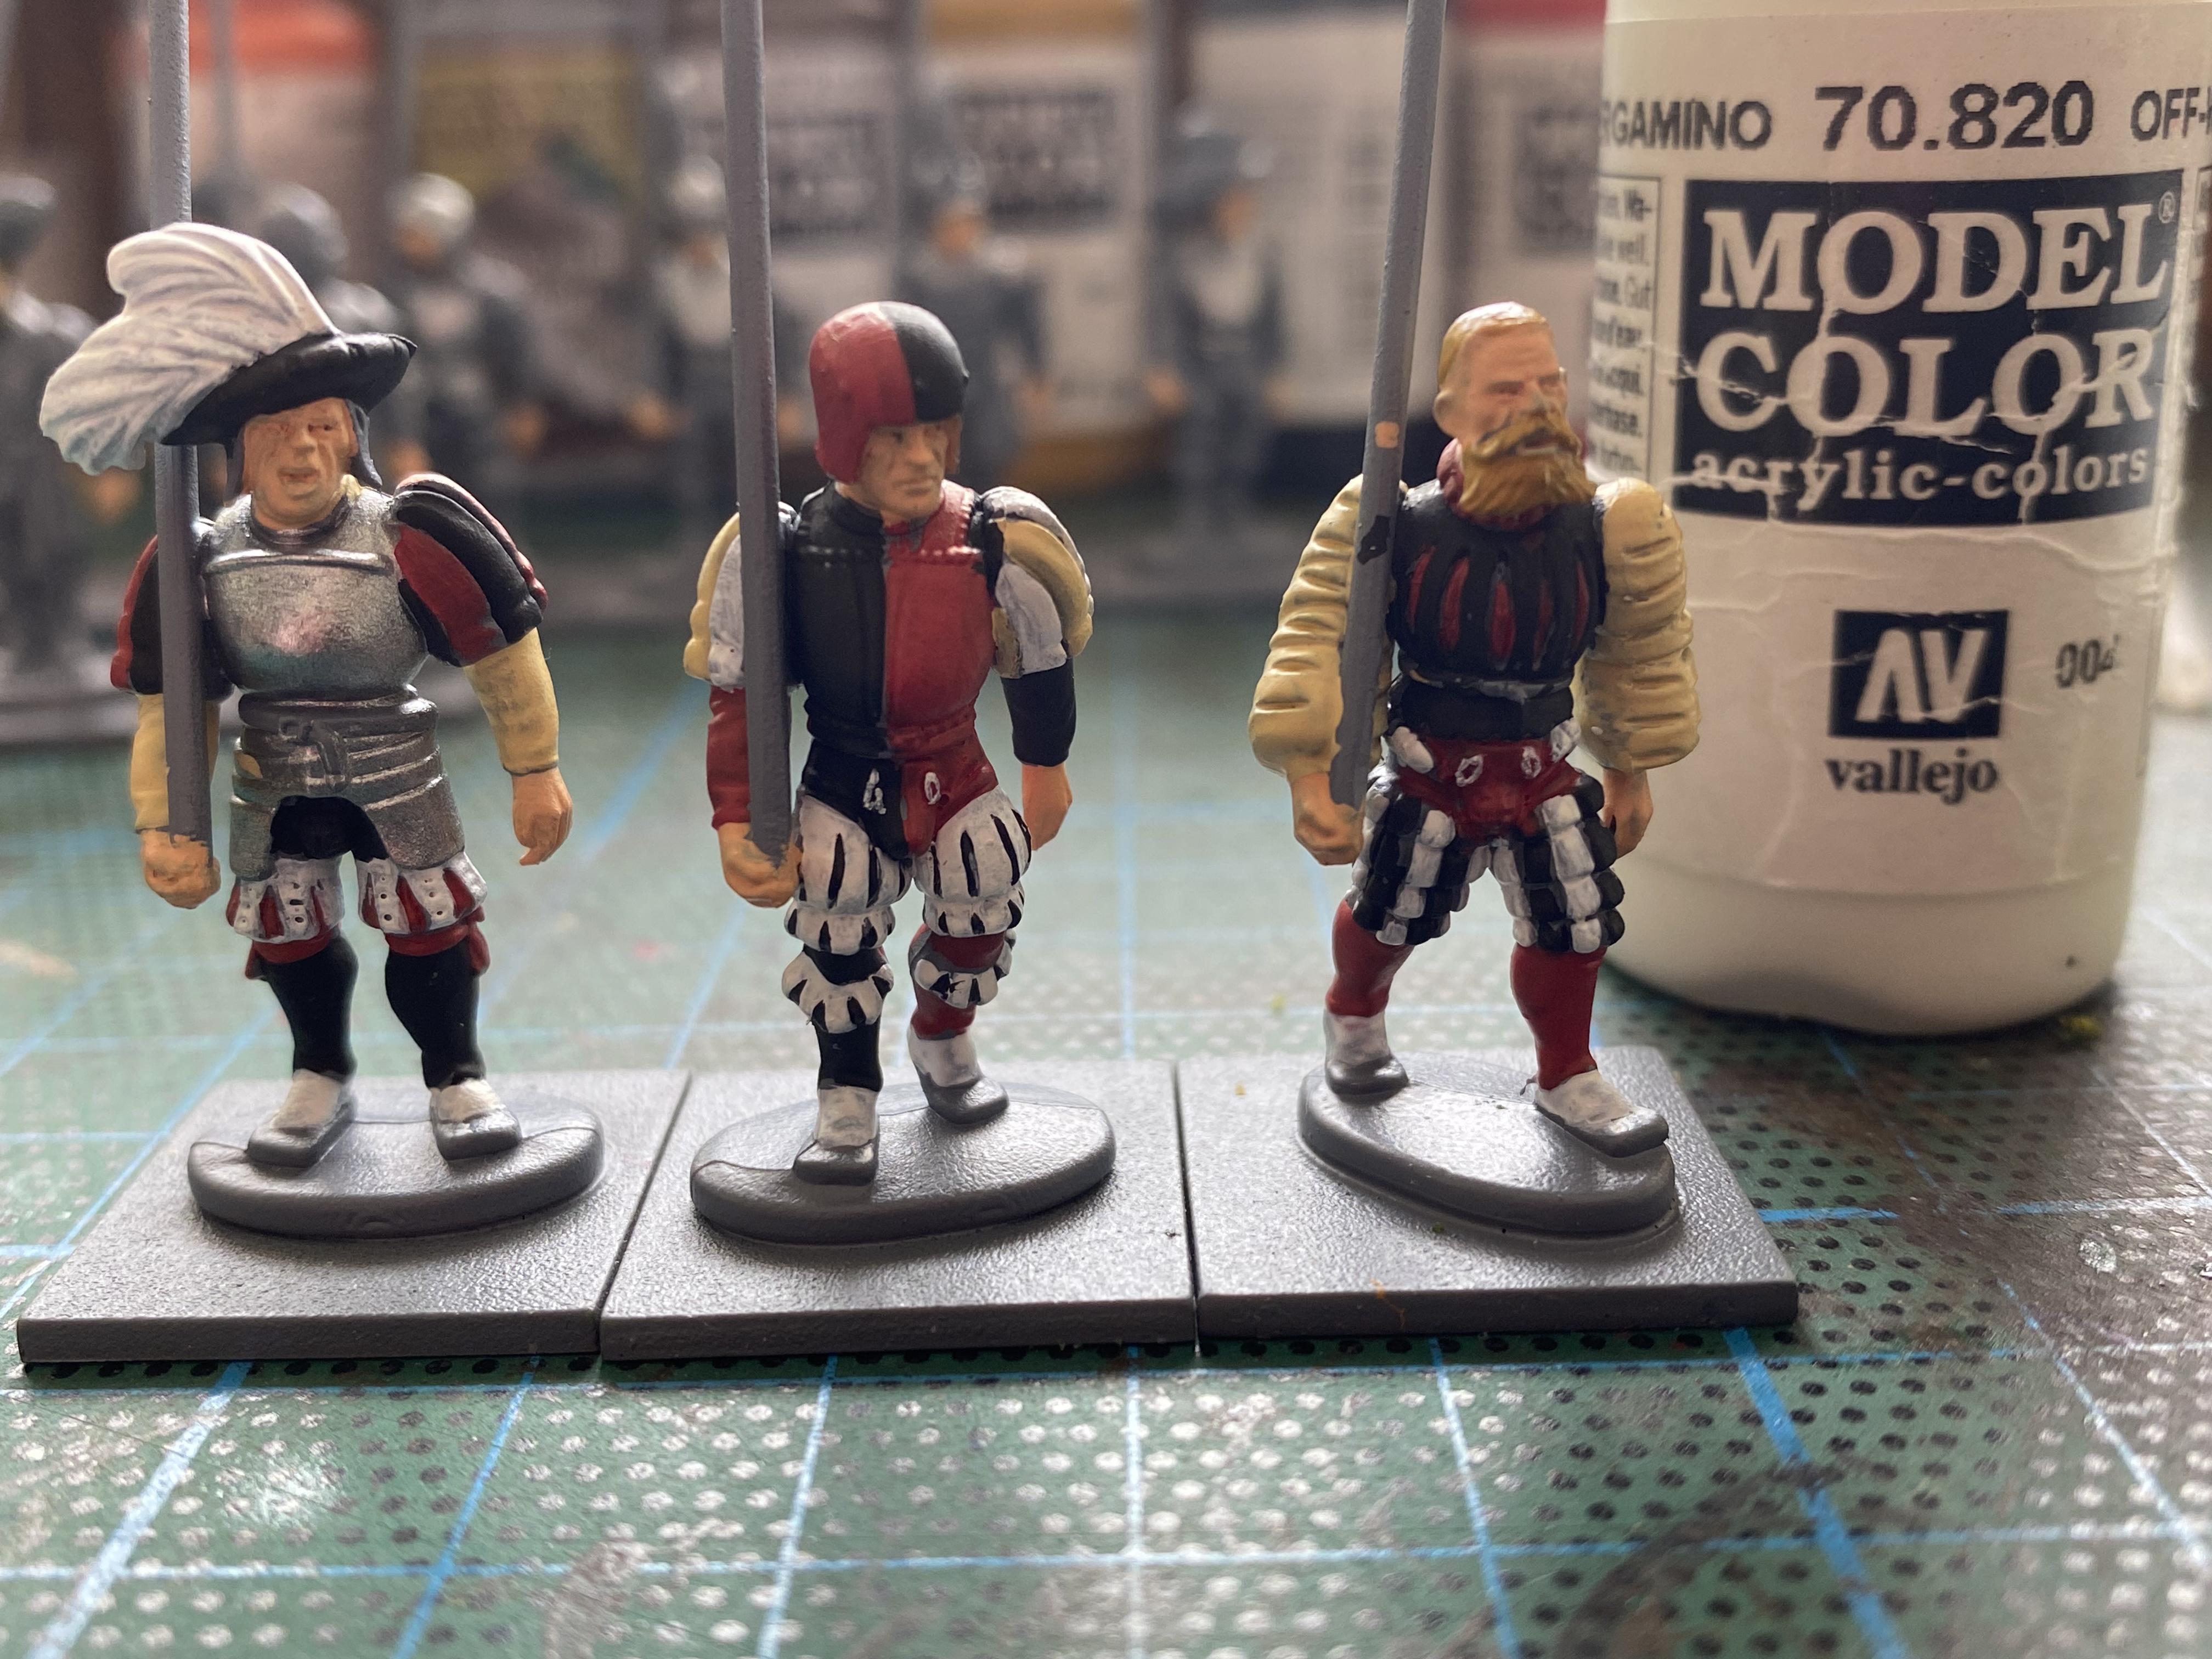
I’ve now added a third colour to the figures – 70917 beige.

The fourth colour is off white 70820 – we are nearly done with the block paint!

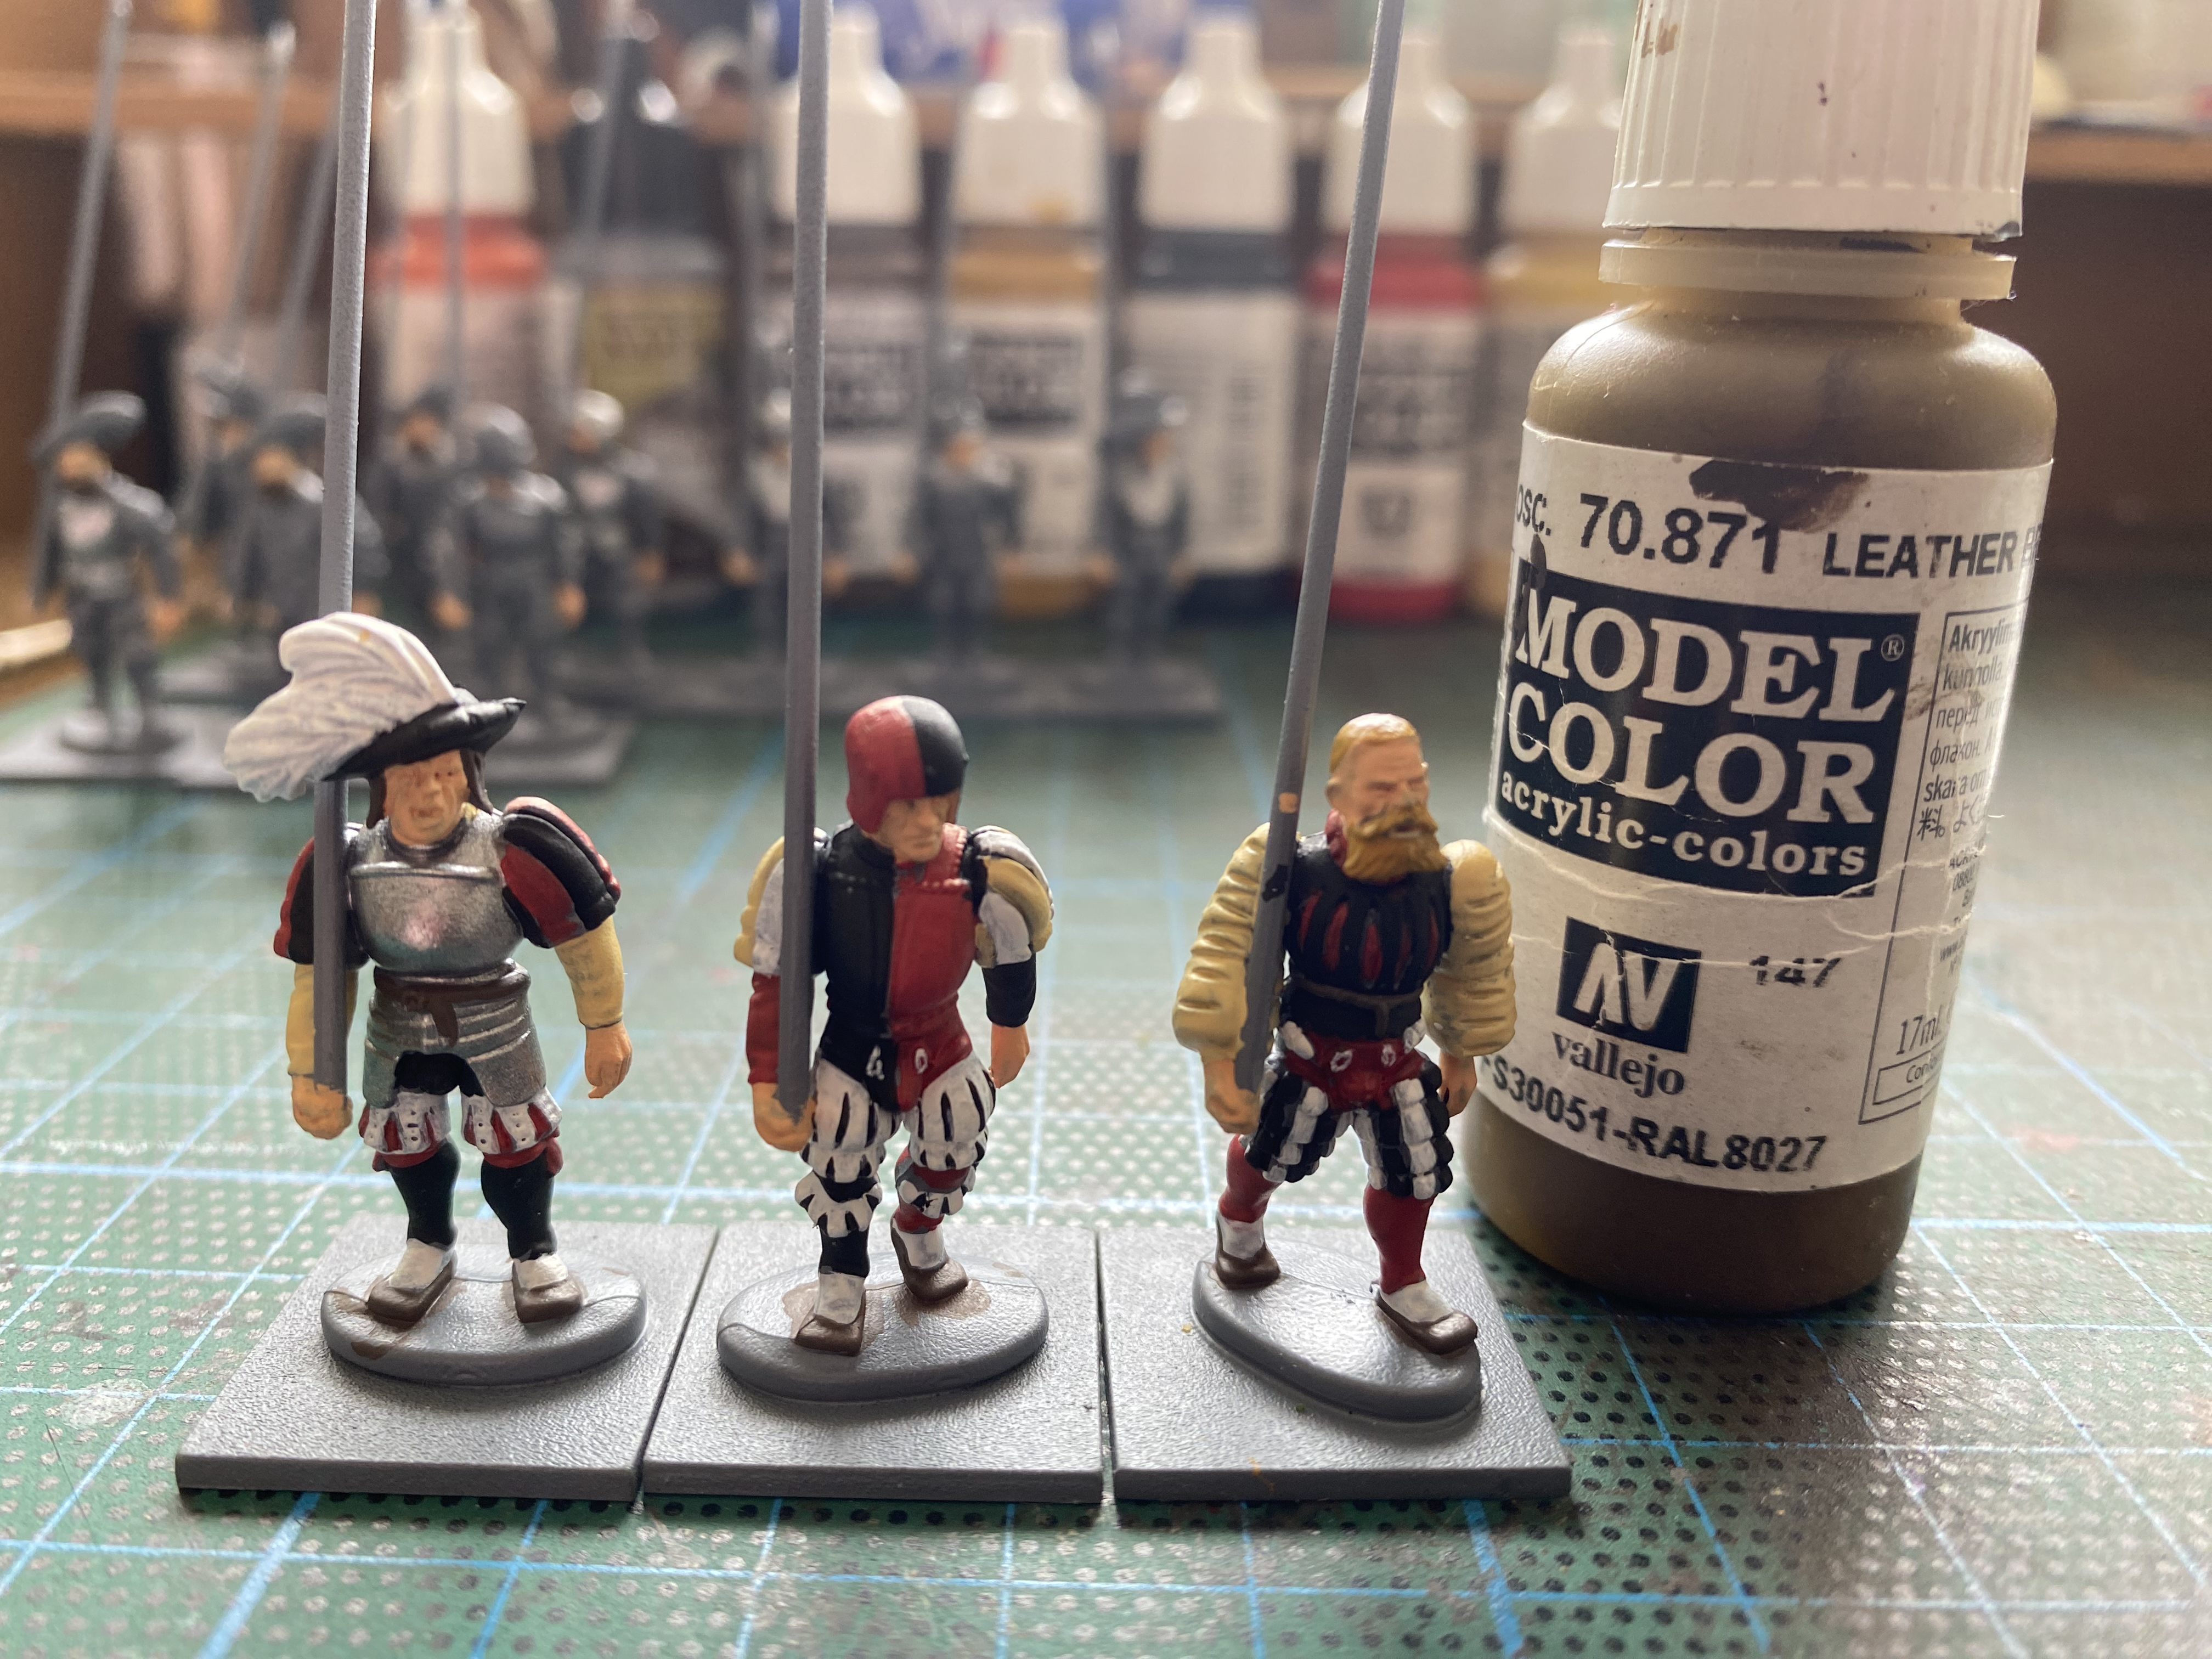
The belts ( front and back) and the shoes are painted 70871 leather. I used this on all of my figures regardless of the colour scheme chosen.

The pikes are painted with Panzer Aces Old Wood 310.

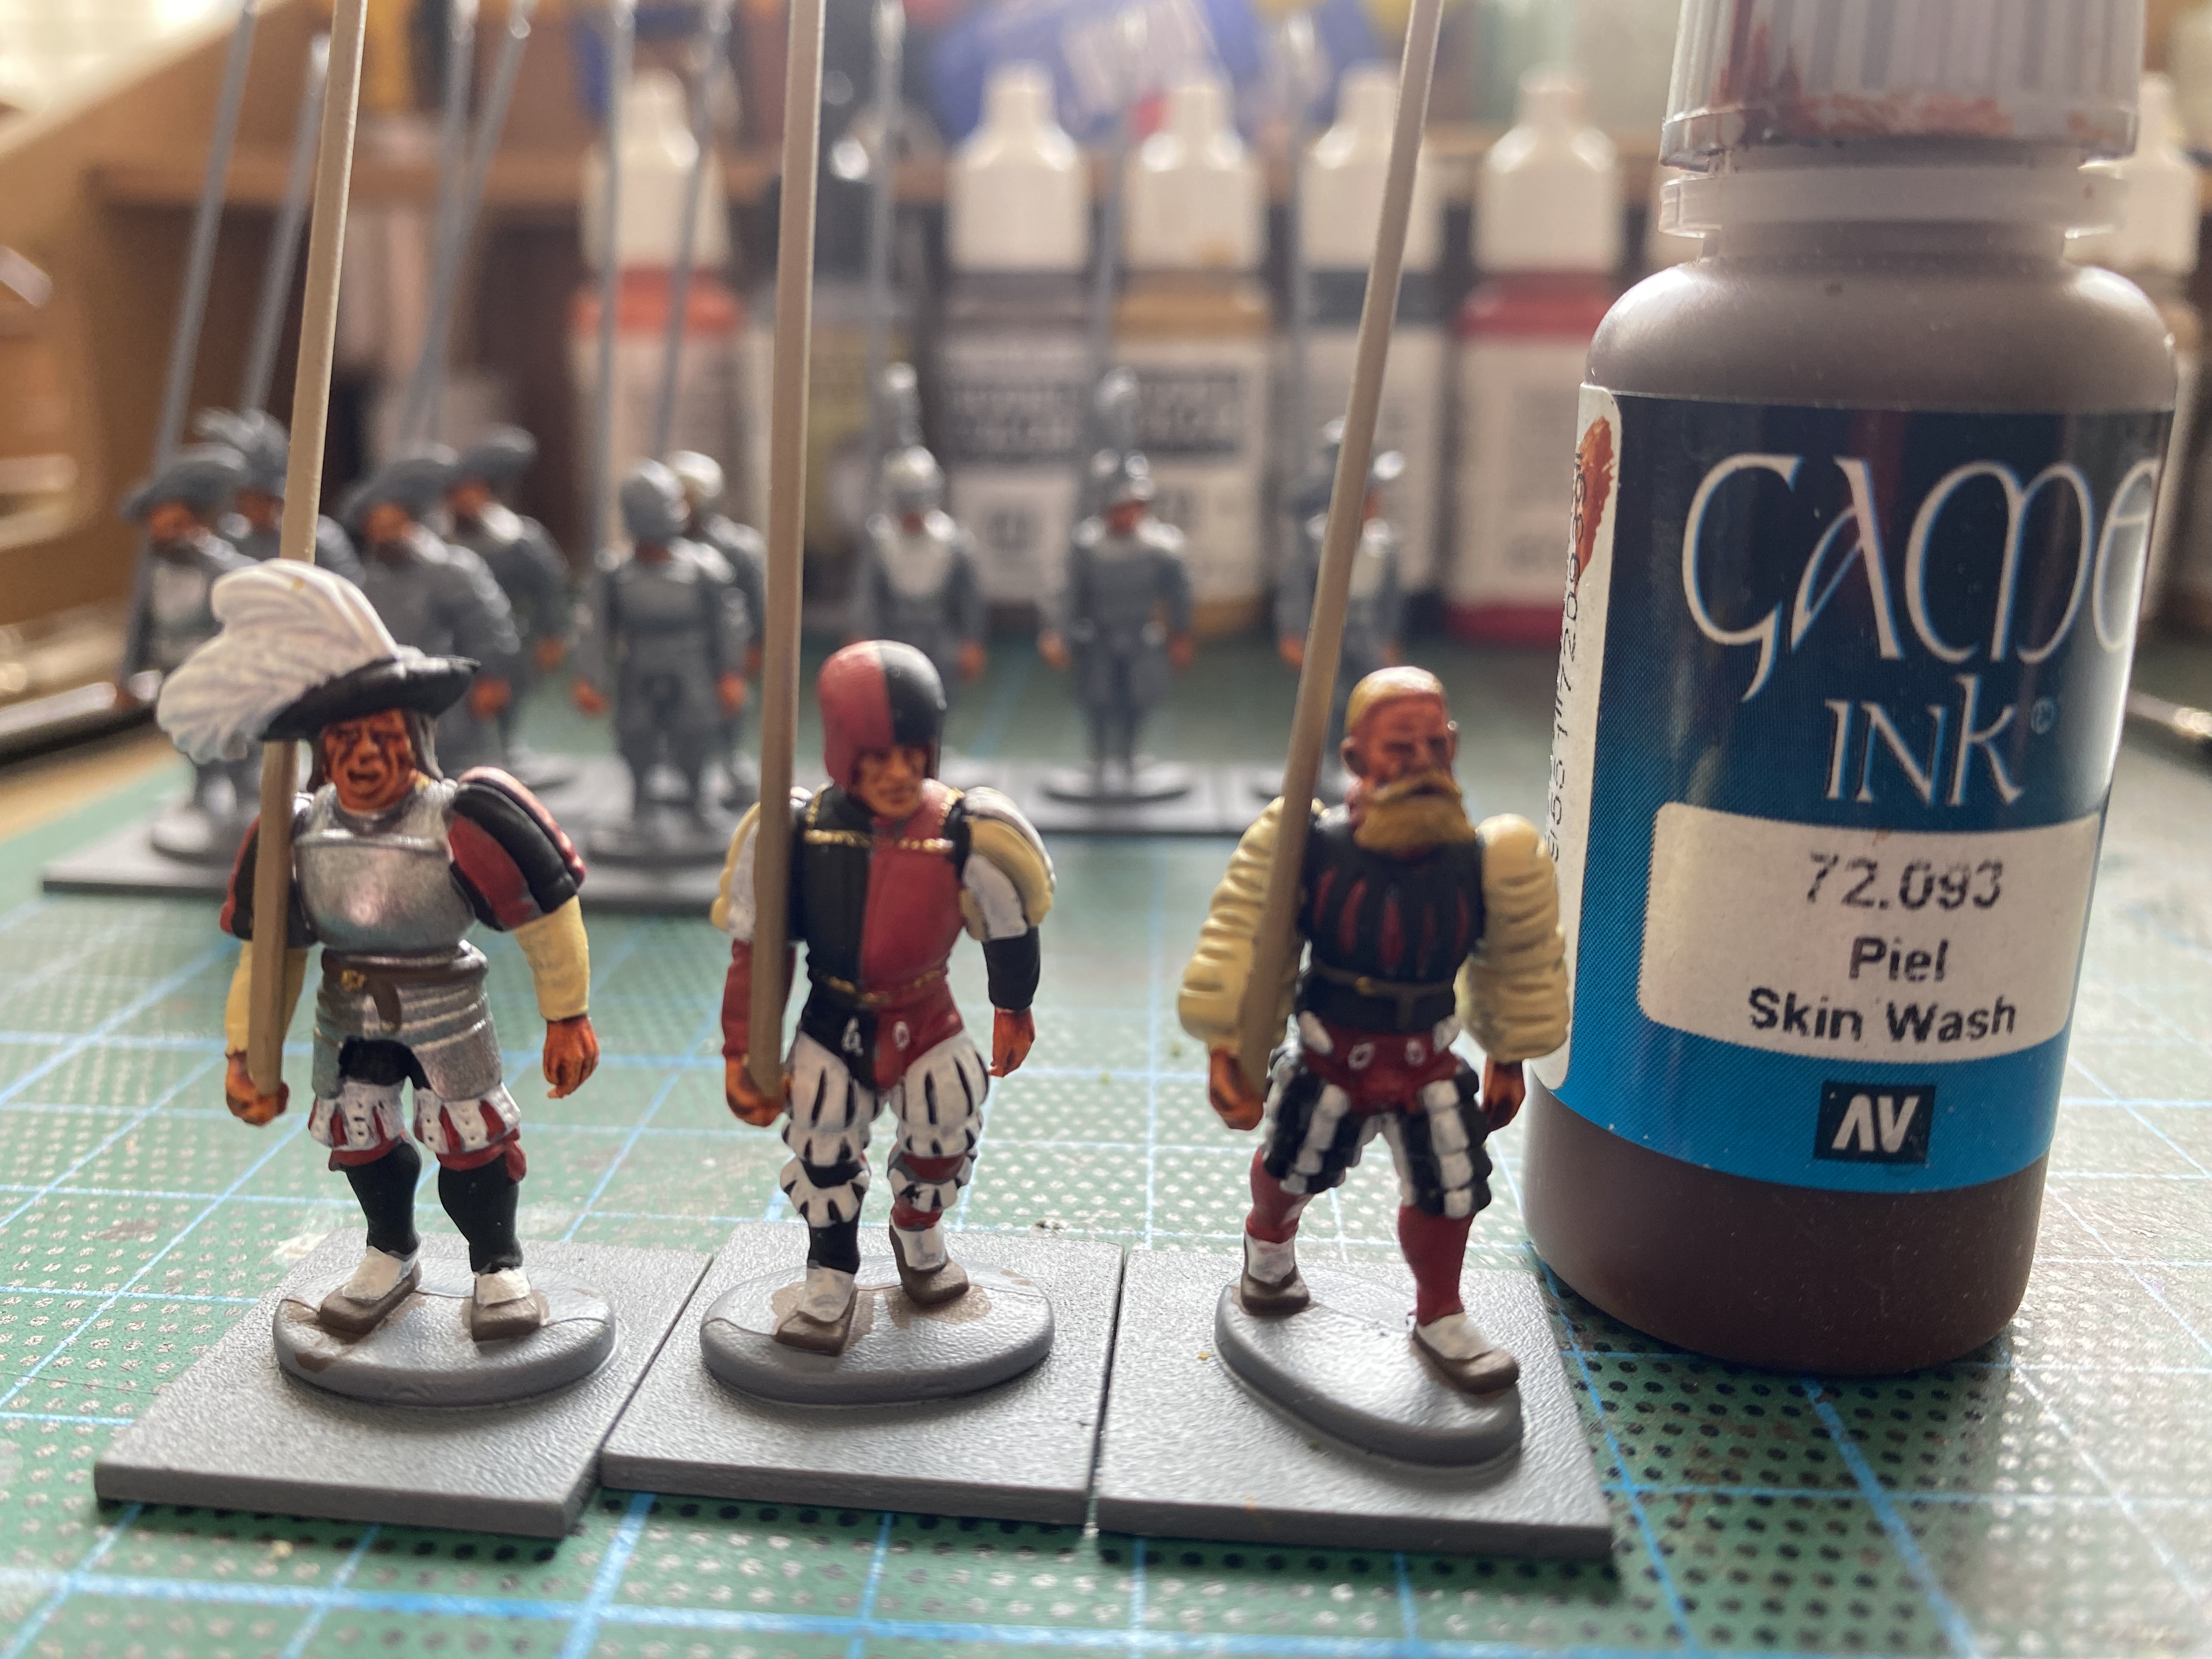
The flesh is now given a wash using Game Ink 72093.

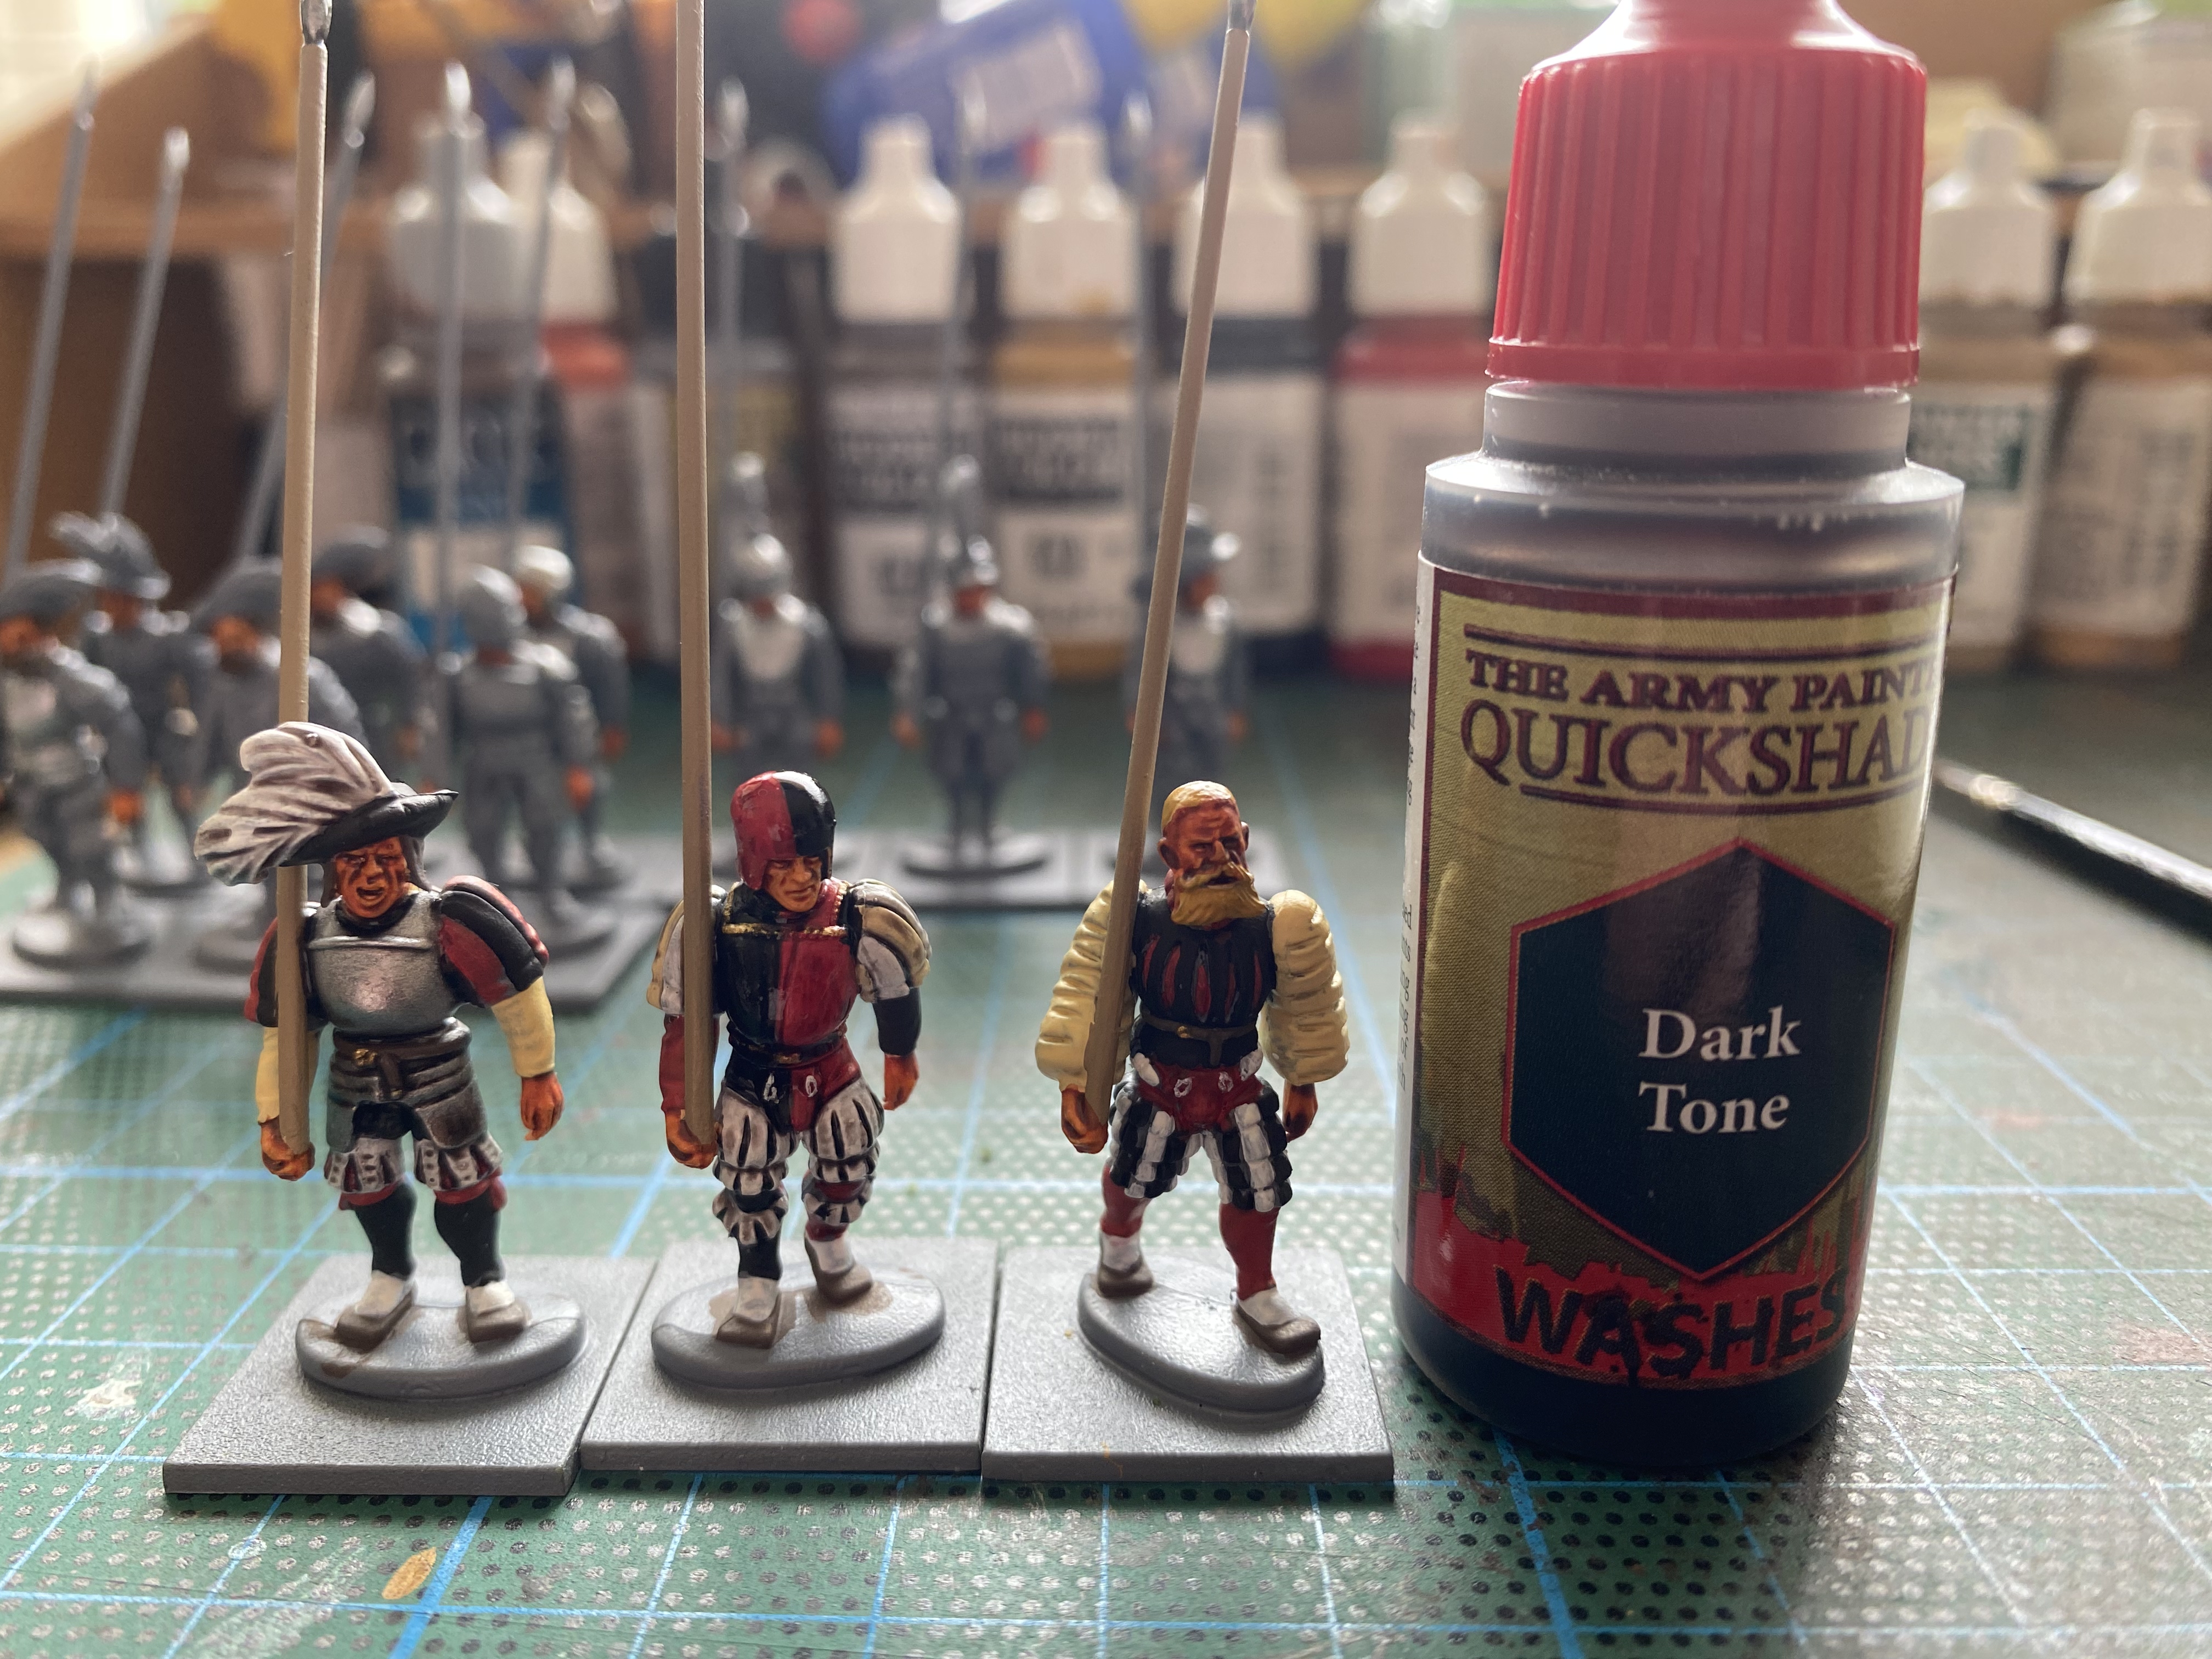
The Black, Red, Plate Mail and White ares are washed with Army painter dark tone – I thin this down slighty with water to make it a bit lighter and easier to flow.

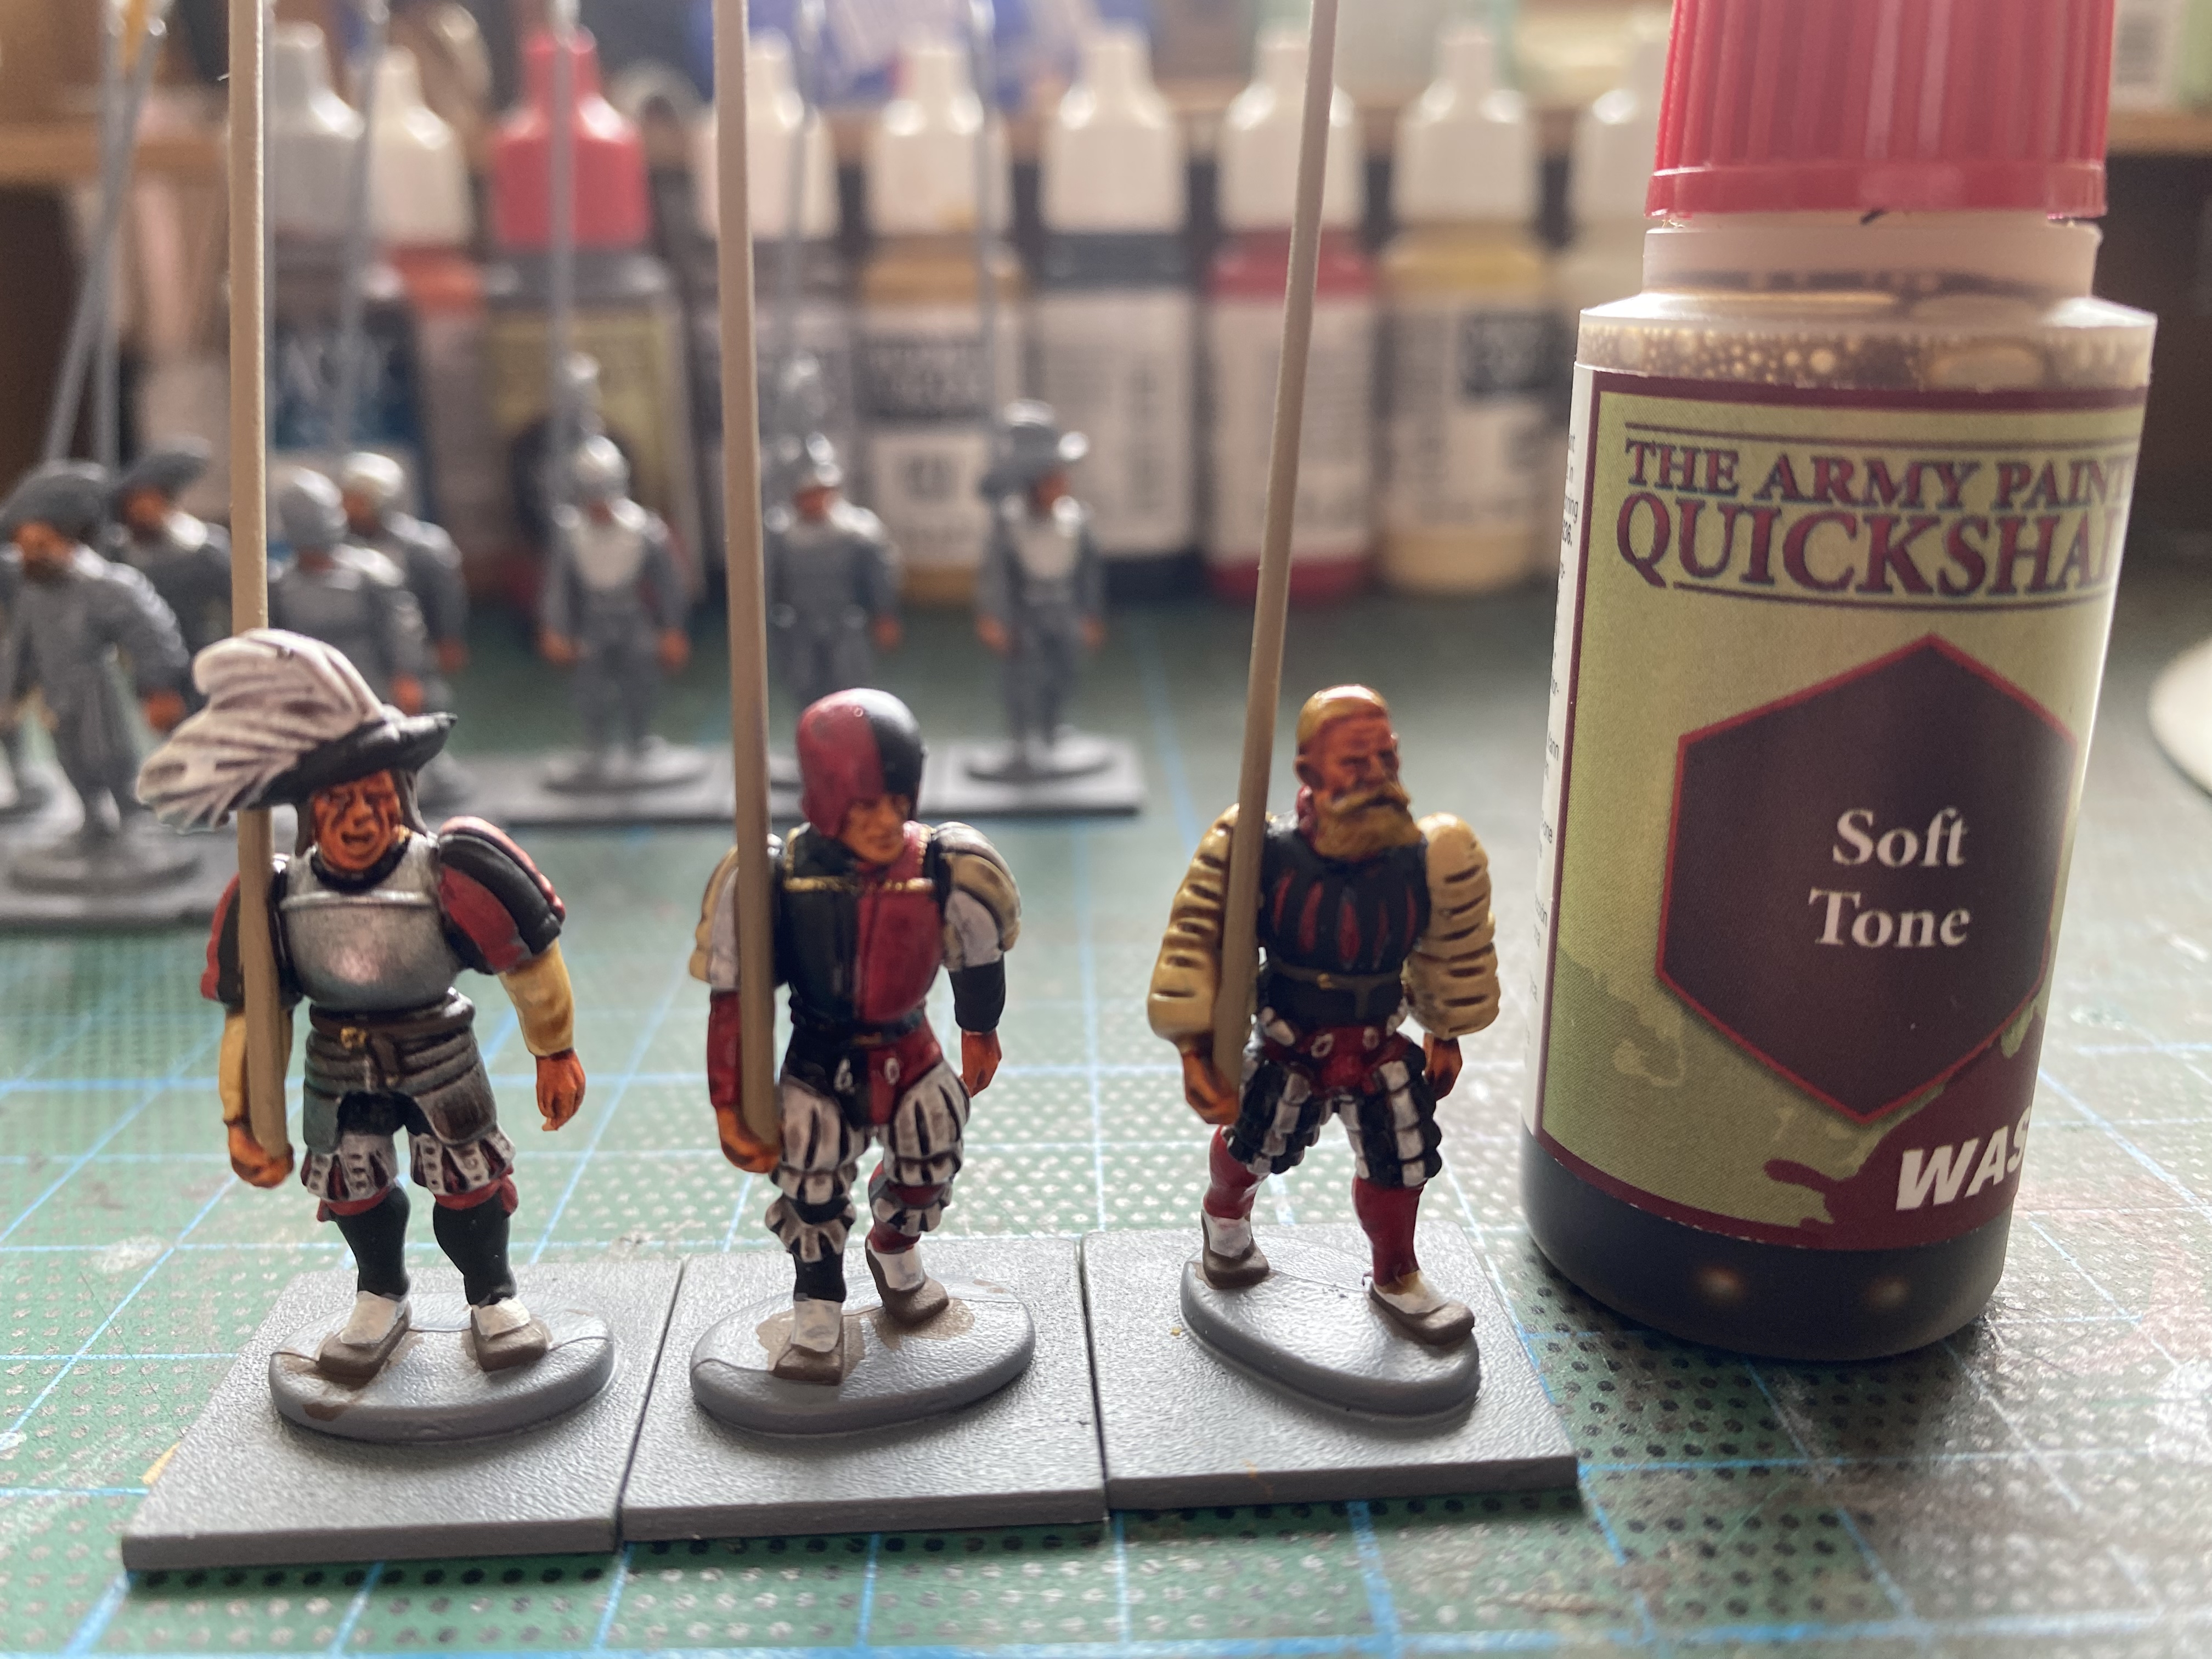
The beige and hair is washed with soft tone.

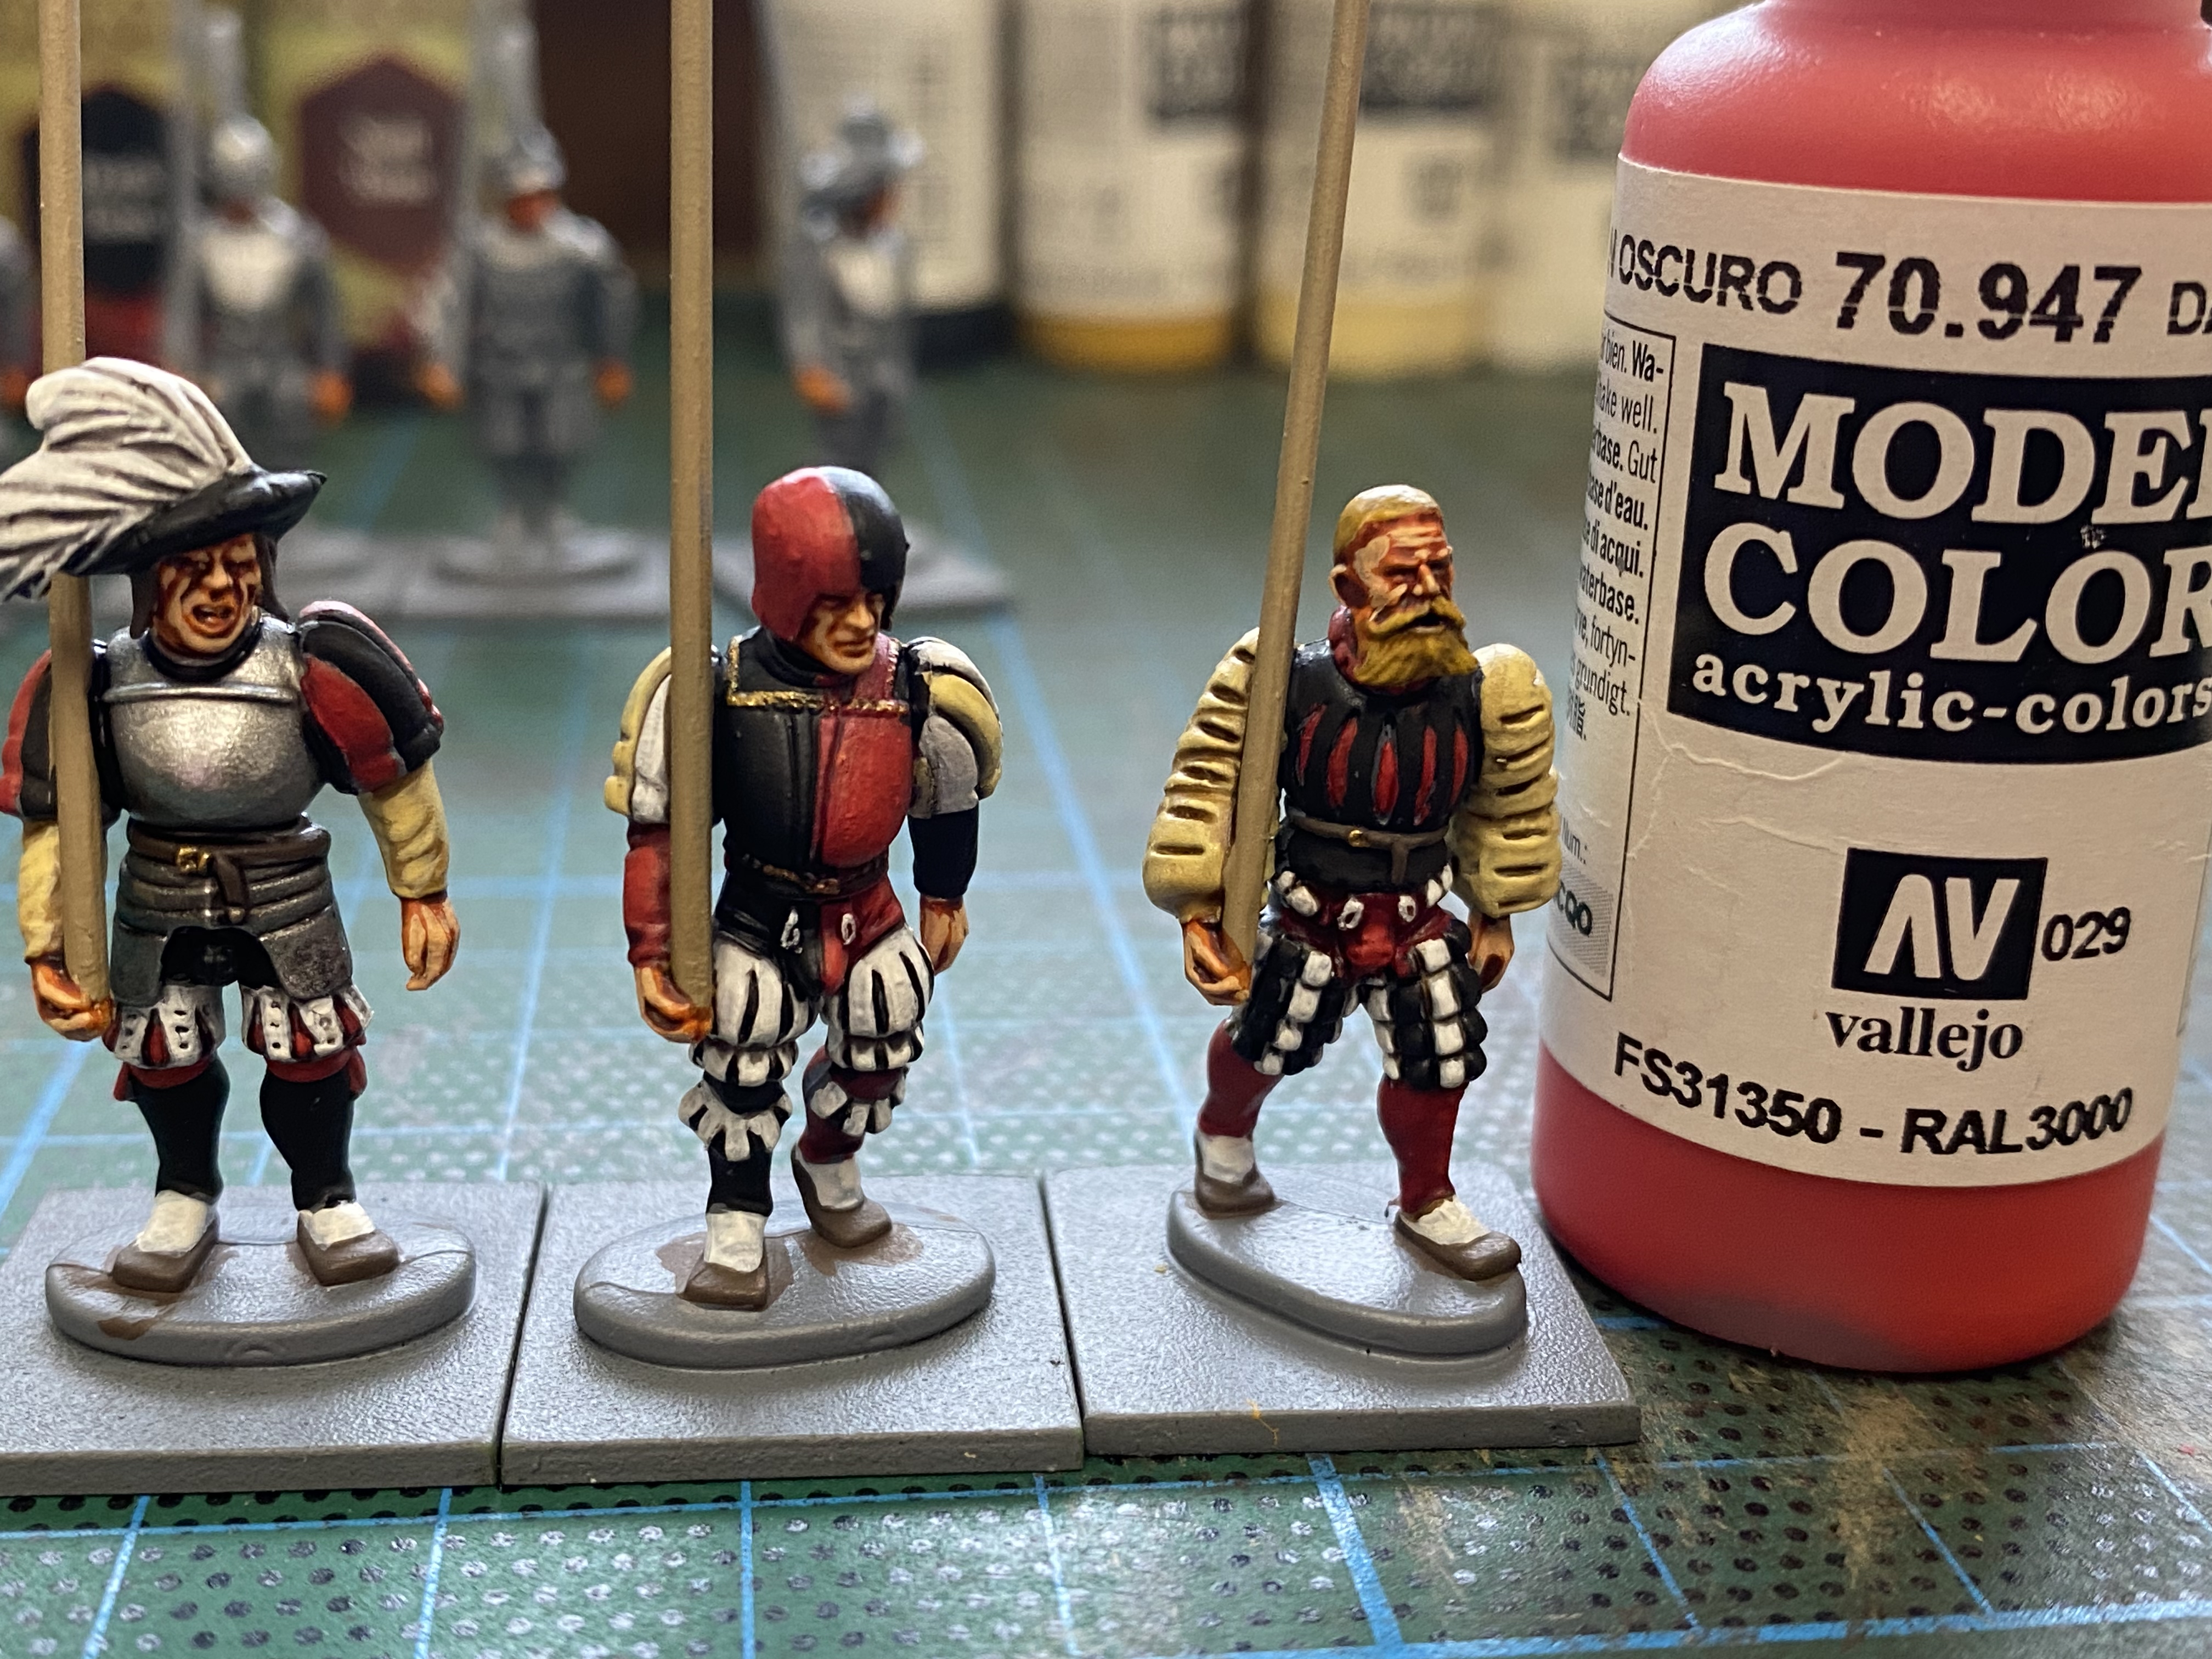
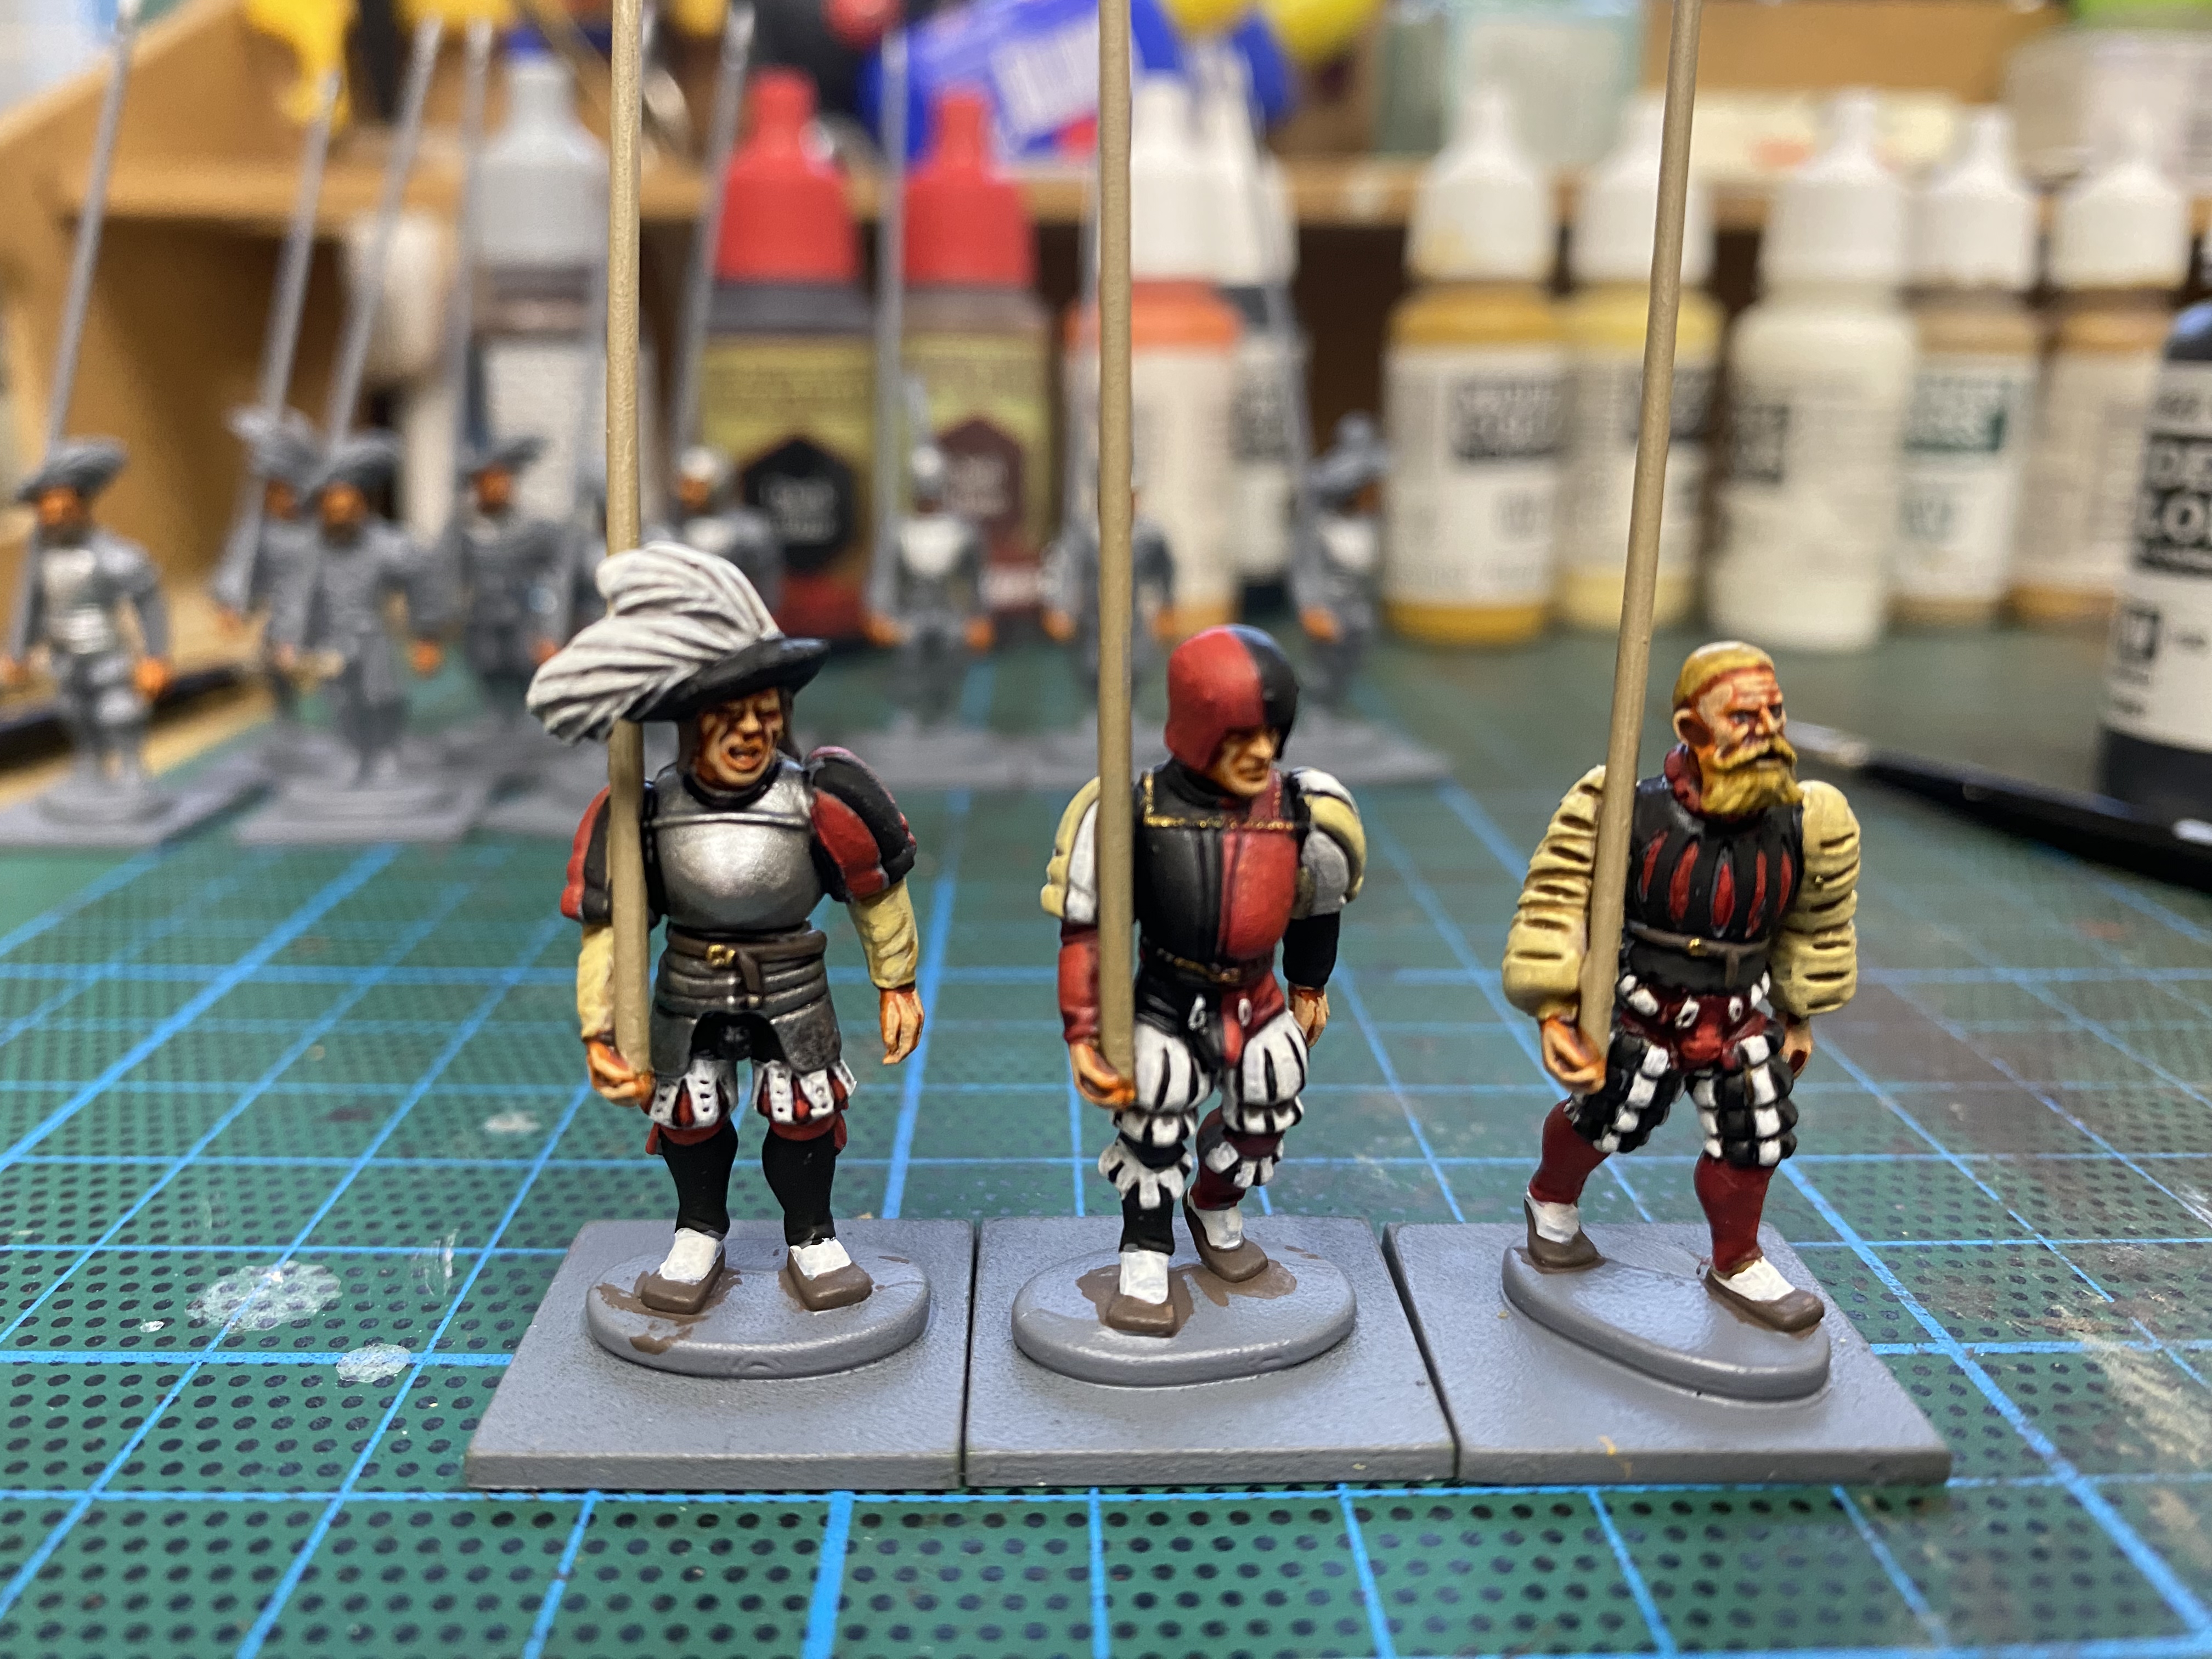
The next stage is to re paint over the washes with the original colours ( including the flesh) where needed, leaving the wash in the recesses as shading. This gives the colours that nice bright look that I like. If you prefer a more weathered look you could ignore this stage. However, it doesn’t take as long as you would think and if you dont retouch everything it doesn’t matter.

I added some detail by painting the belt buckles and the decoration on the armour with gold 70996 and retouched any errors that I’ve spotted.

I’ve started the basing process. I just spread vallejo dark earth texture paste 26218 and added some fine ballast for extra texture. I’ve covered my basing process in many previous blogs. It’s now just a question of painting, dry brushing, and adding some scatter and tufts.

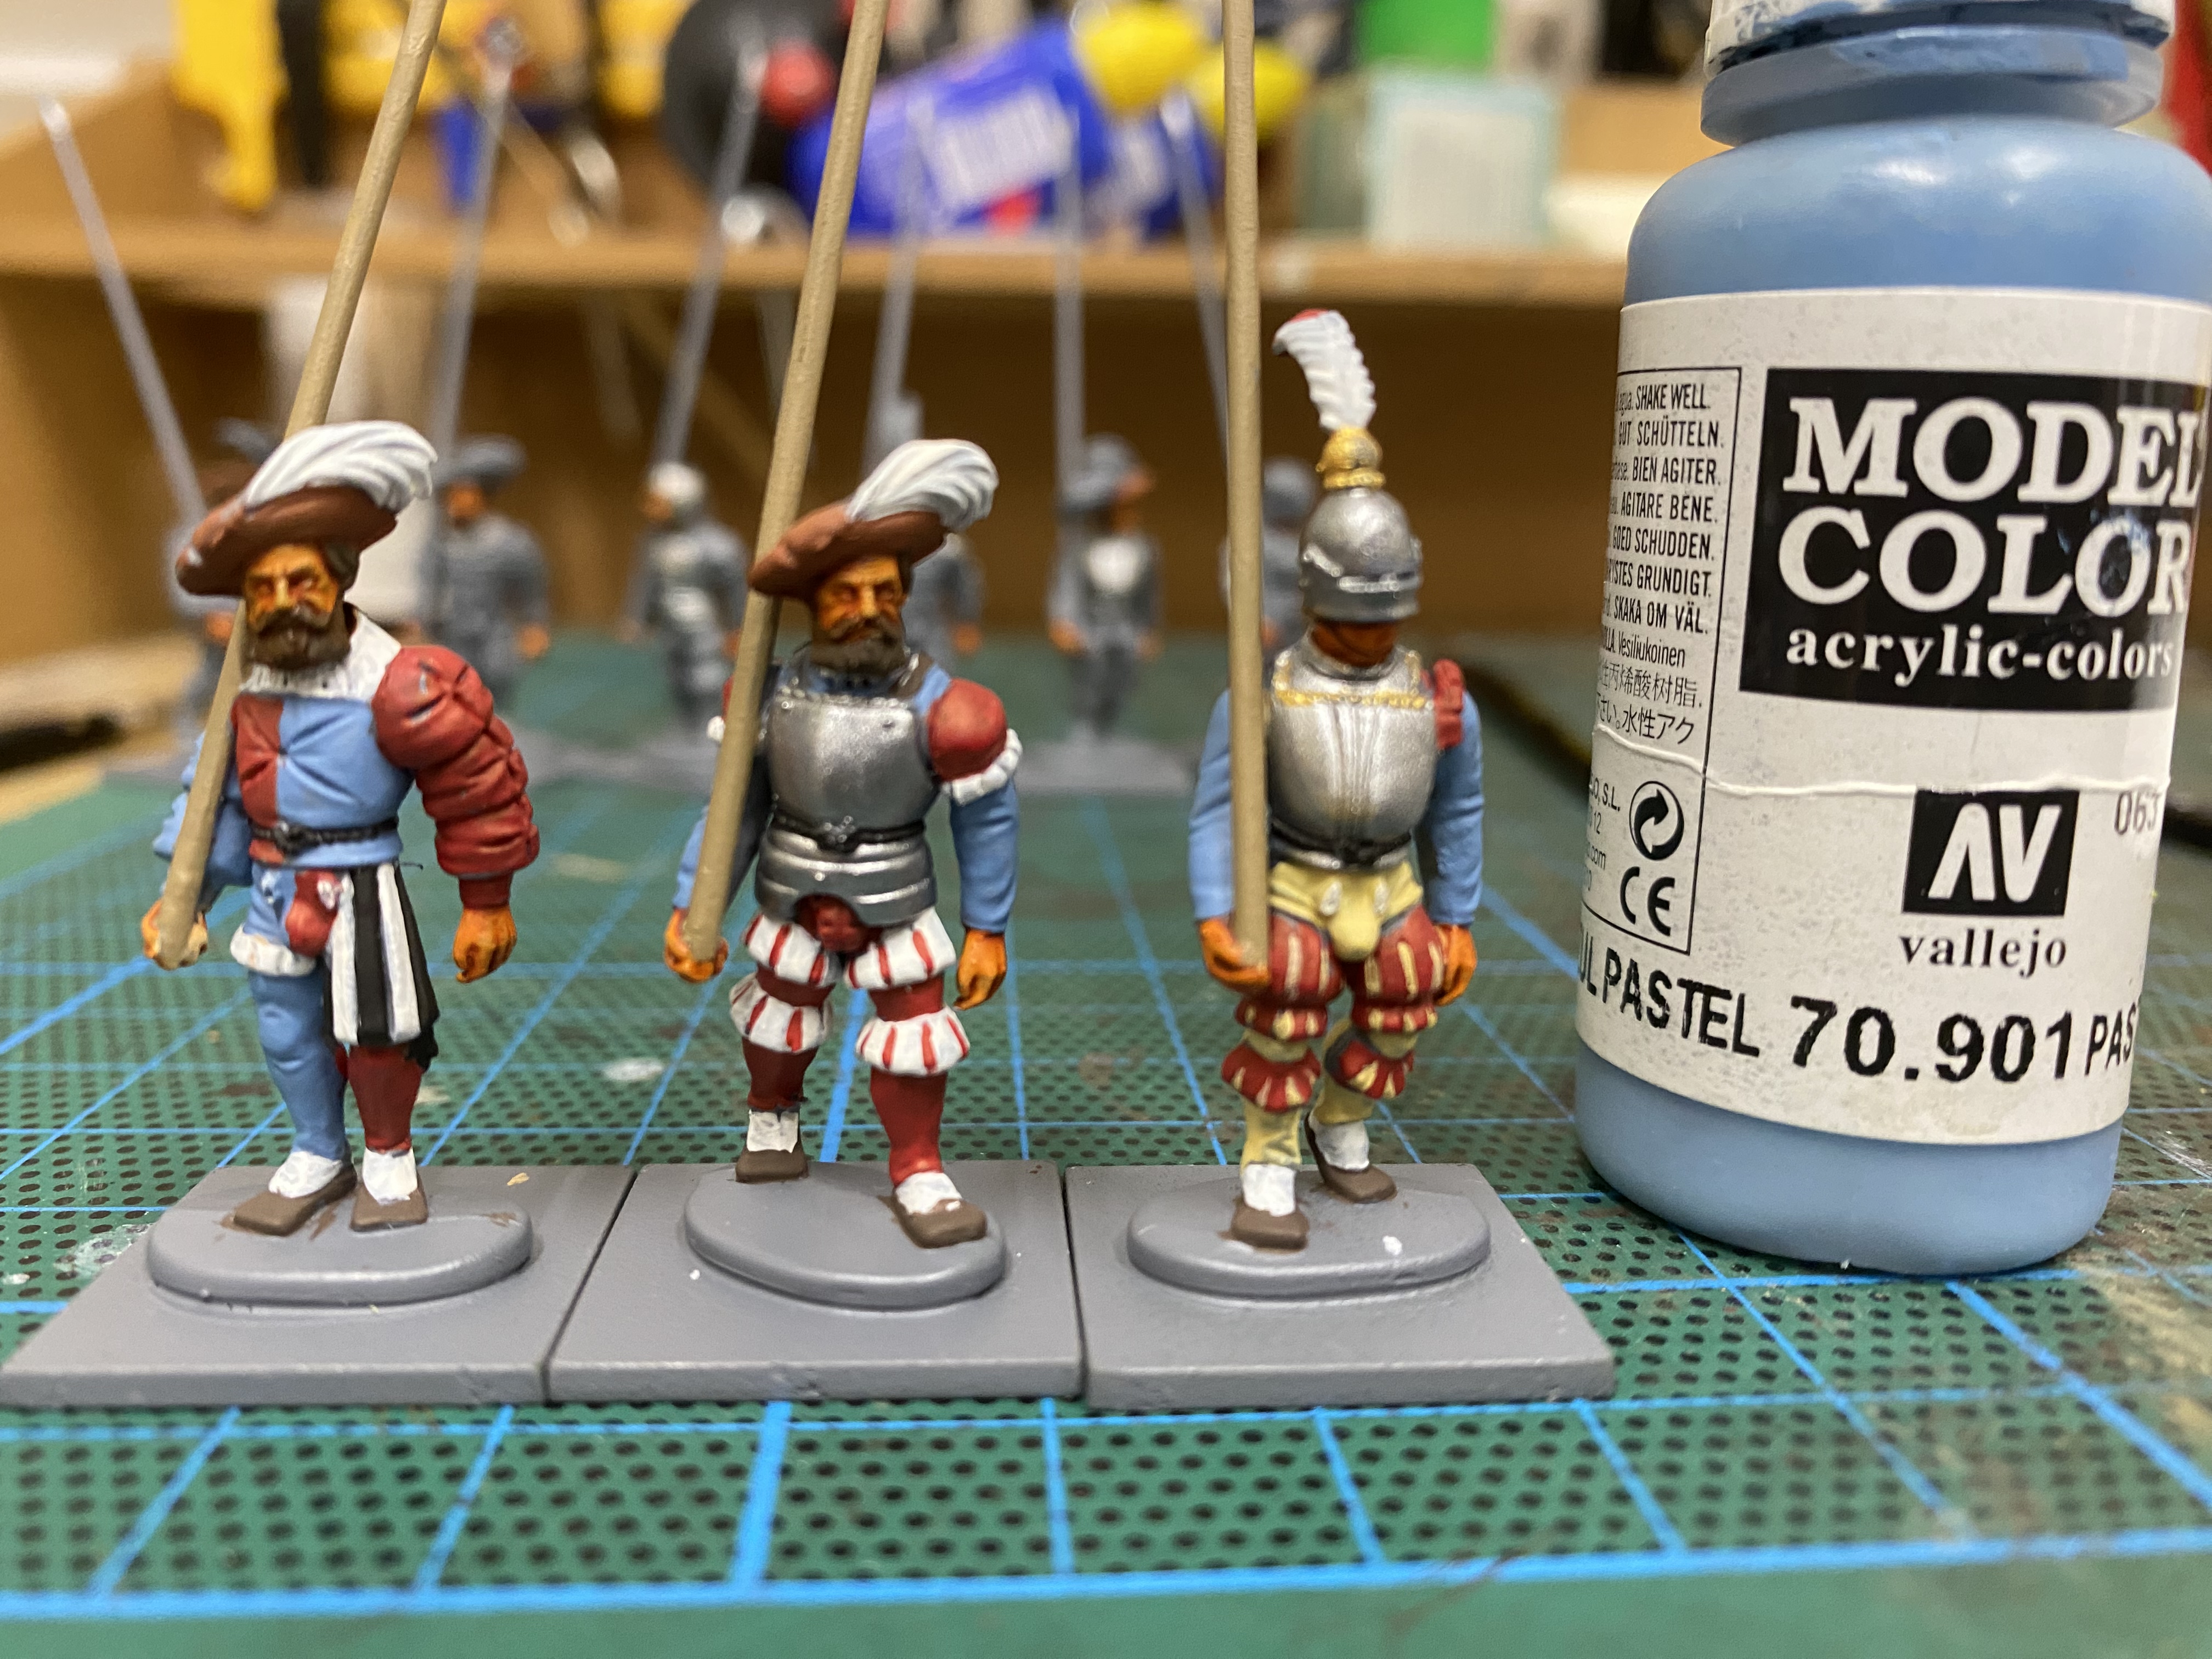
The next three figures are painted using the same process but I’ve used 70901 Pastel Blue instead of Black and the floppy hats are painted with red leather 70818 and varying the hair colour. By changing up the colours in this way, you get a variety of finishes.

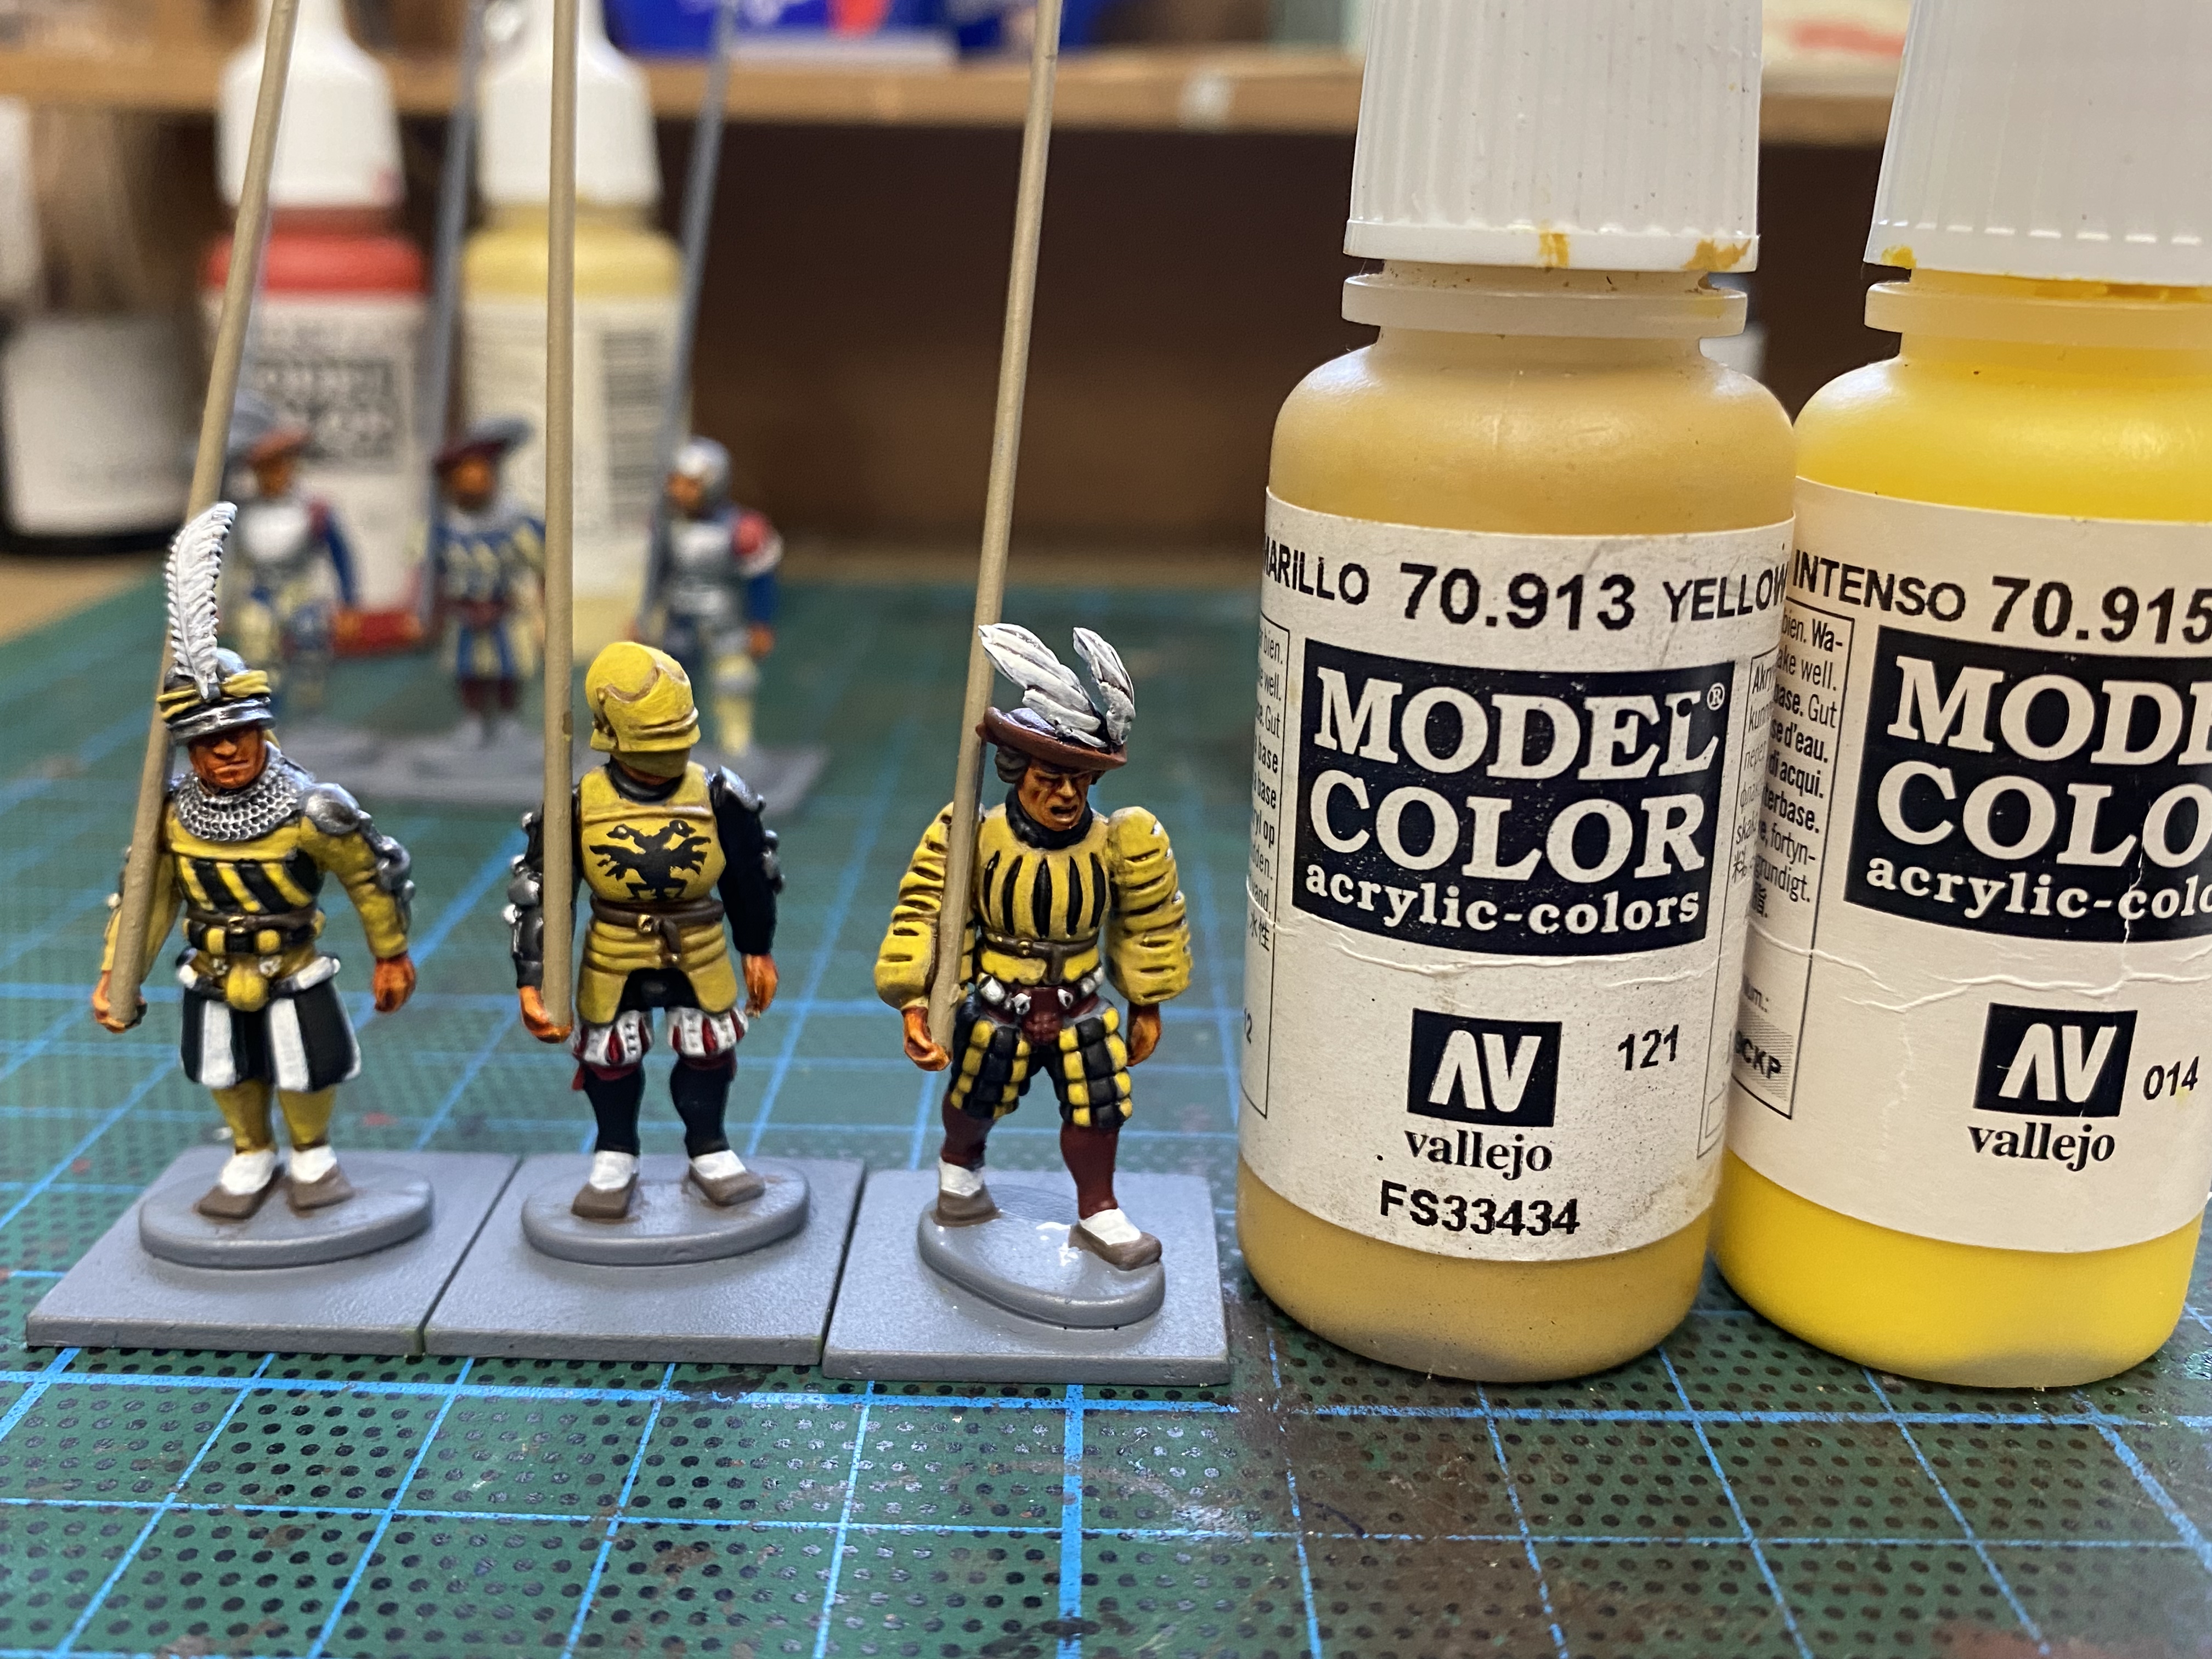
With these three figures I used a very simple yellow, Black and white scheme. the yellow was first painted as Yellow ochre 70913, shaded with Soft tone and then repainted withy yellow ochre before being highlighted with 70915 deep yellow. The imperial eagle is hand painted. It looks a bit rough up close but from a reasonable distance will pass!

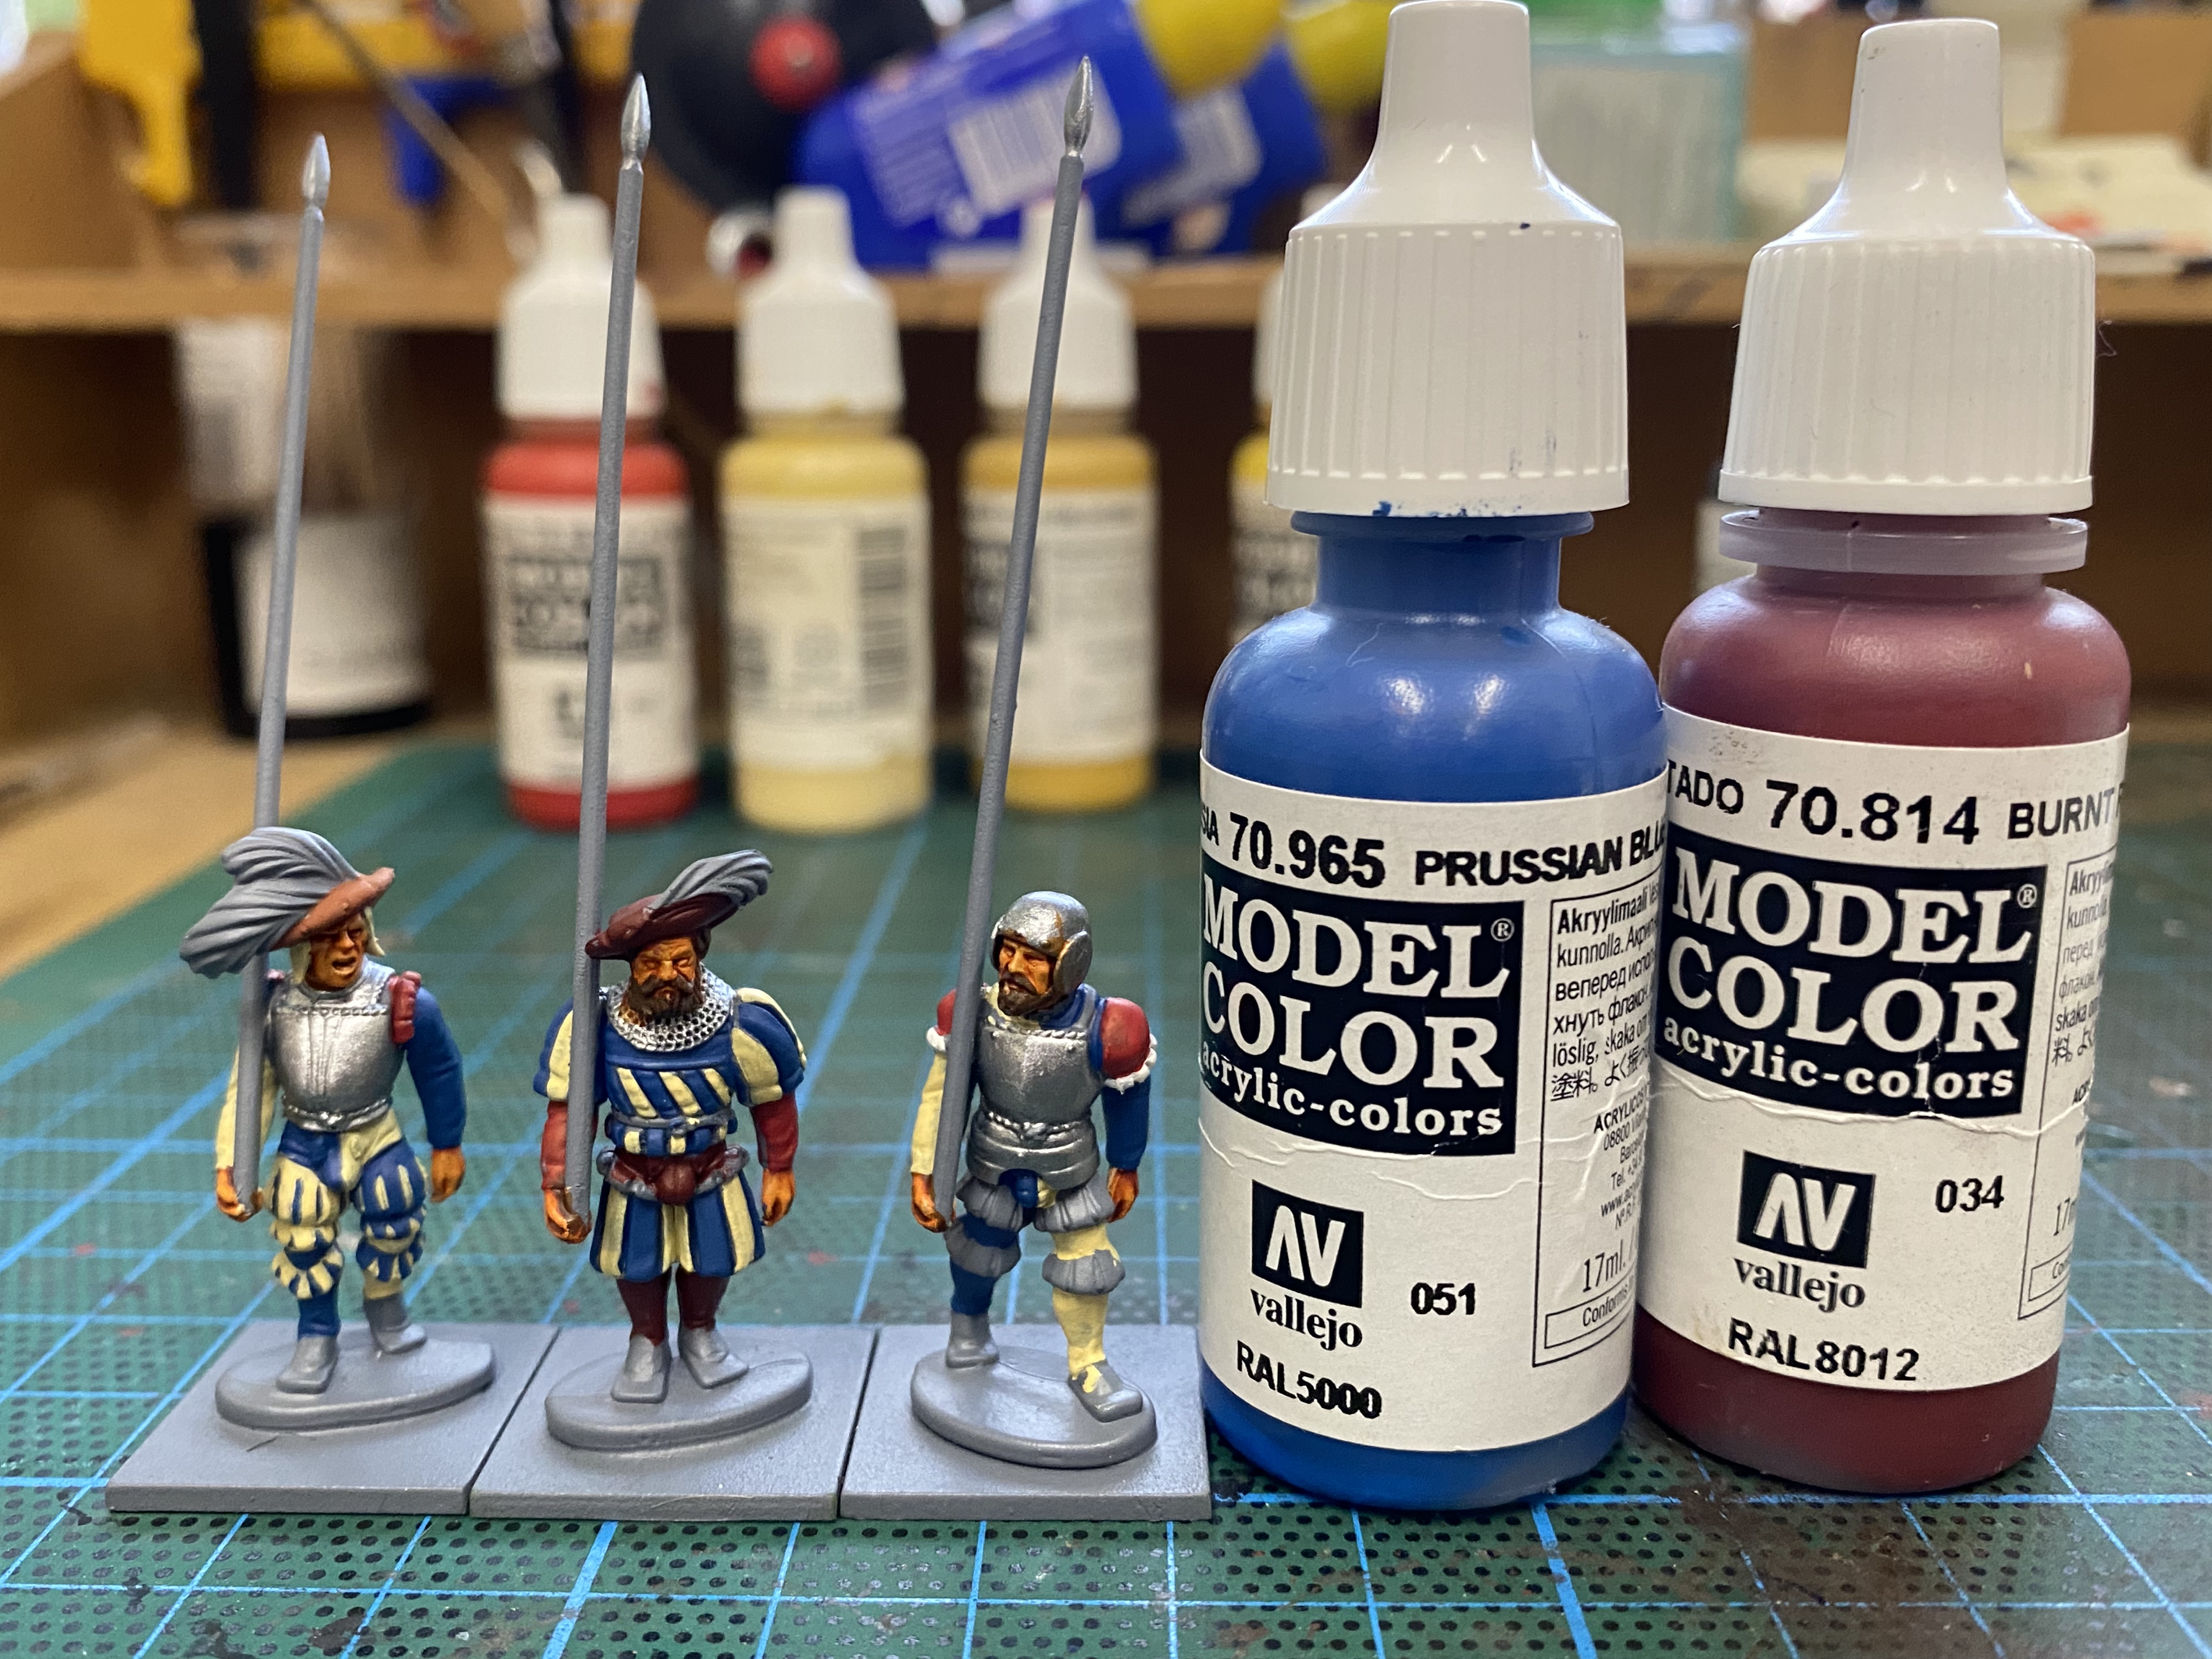
Another colour combo in progress. this time 70965 Prussian Blue with 70814 Burnt red and beige and white as background colours. There’s a multitude of choice when it comes to colour combo’s but I think that by limiting the colours for each batch, it makes painting faster and easier but the end result is still very colourful and varied.

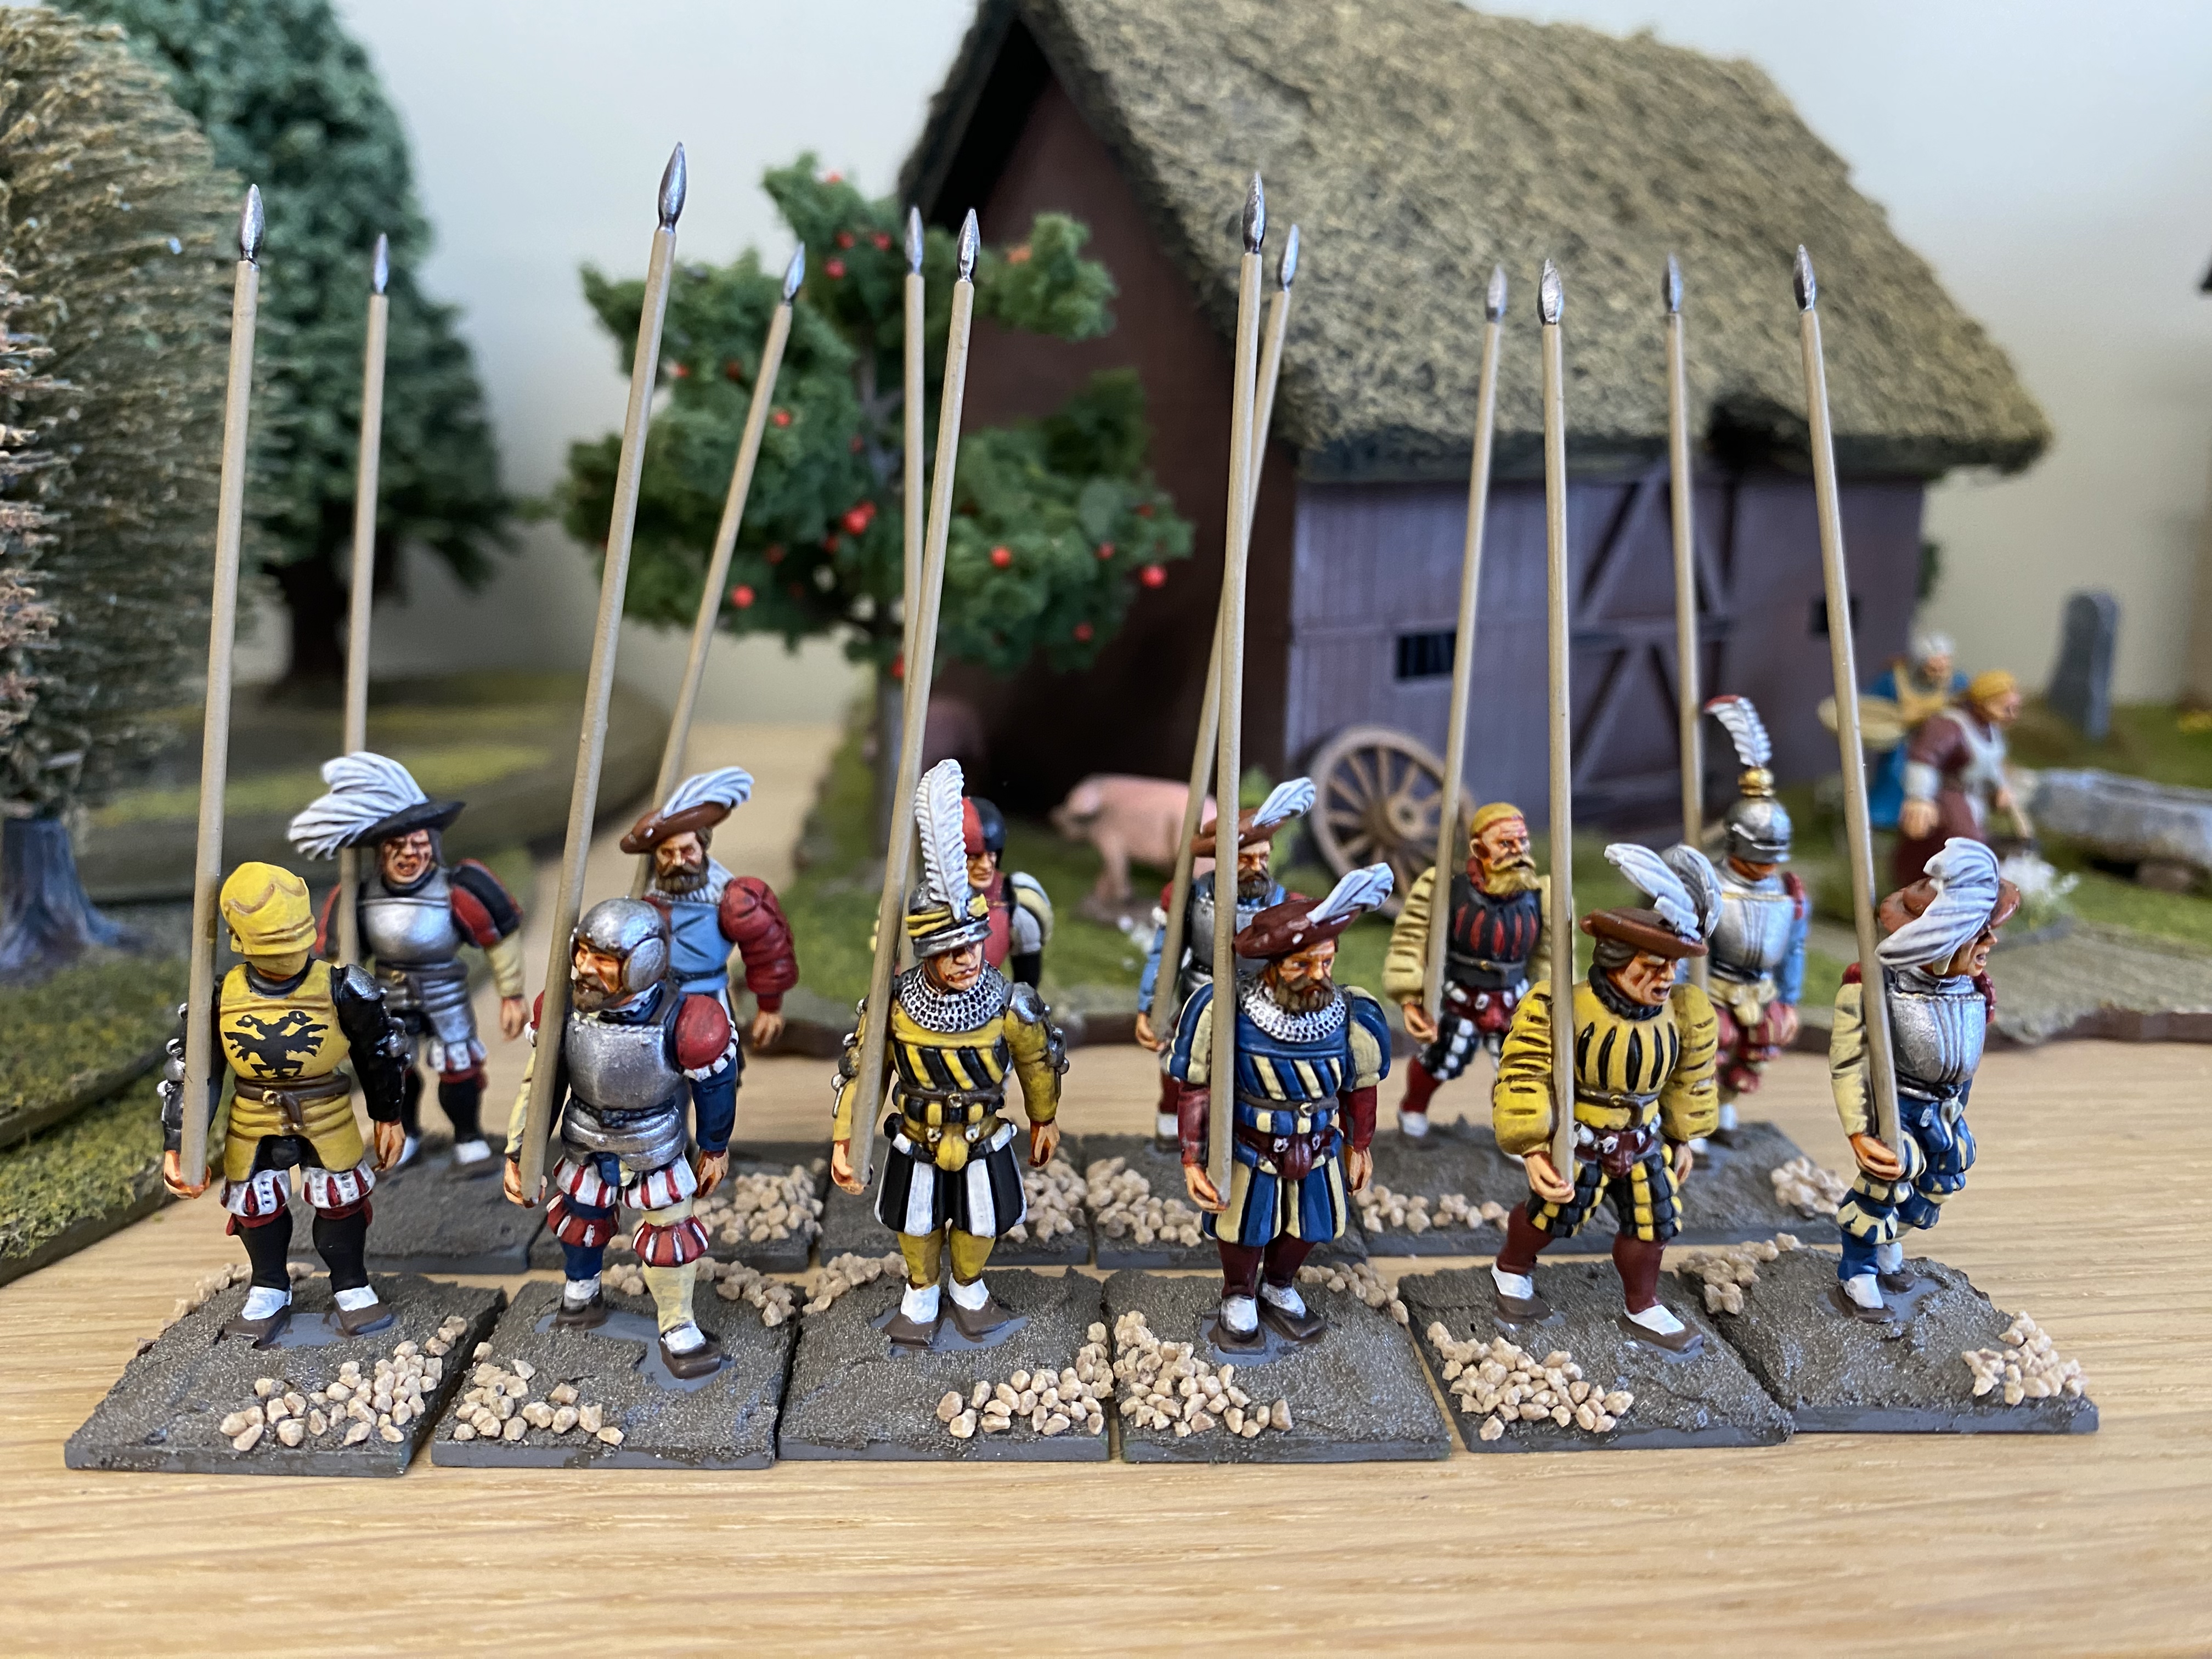
Here is the finished block of twelve prior to final basing. I hope that this is useful to anyone starting out or thinking of painting a Landsknecht force. It’s not a fast project but they do look nice, if I say so myself!

THE COMMERCIAL BIT

I hope that you all enjoy your hobby as much as I do – our web site will have much of what you need! Click here to see our shop.

ARCANE SCENERY