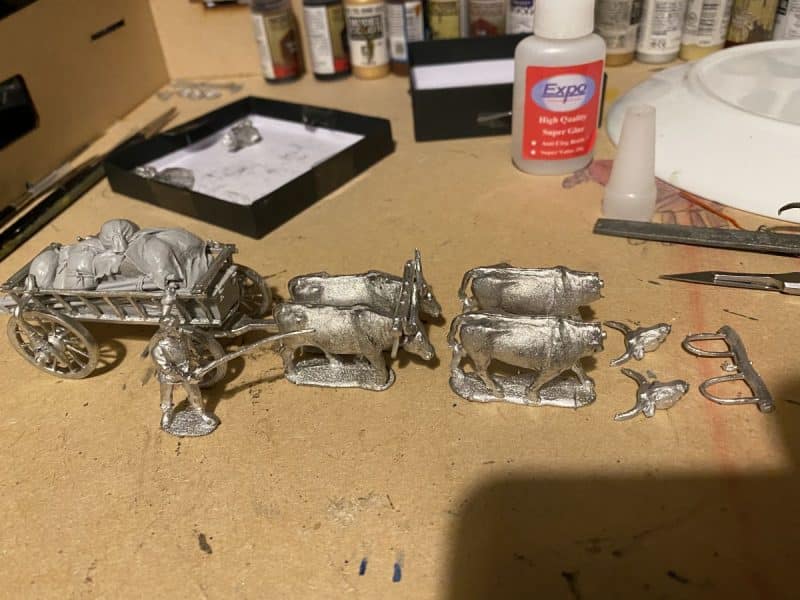
Mystery at Carisbrooke Castle

Well it’s a good title for a crime thriller but a bit misleading for my blog. However, there is a bit of a minor mystery to be solved and any help from the wargaming community would be welcome. My Brother, Pete, lives on the Isle of Wight and has a couple of allotments just down the road from Carisbrooke Castle. The google earth picture below shows the position of the allotments in relationship to the castle. The distance is about half a mile ‘as the crow flies’.
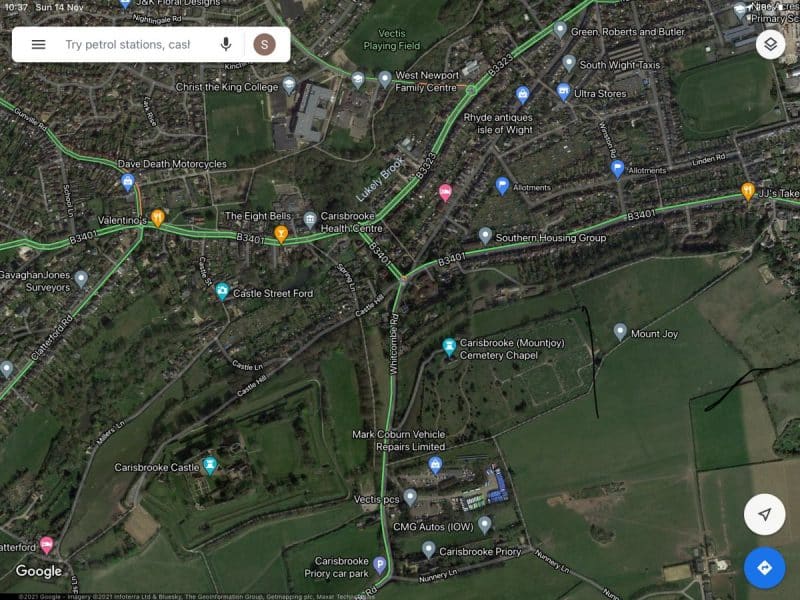
The Castle is in the bottom left quarter of the picture. The allotments are marked with a blue flag in the top right quarter, just above the Southern Housing group.
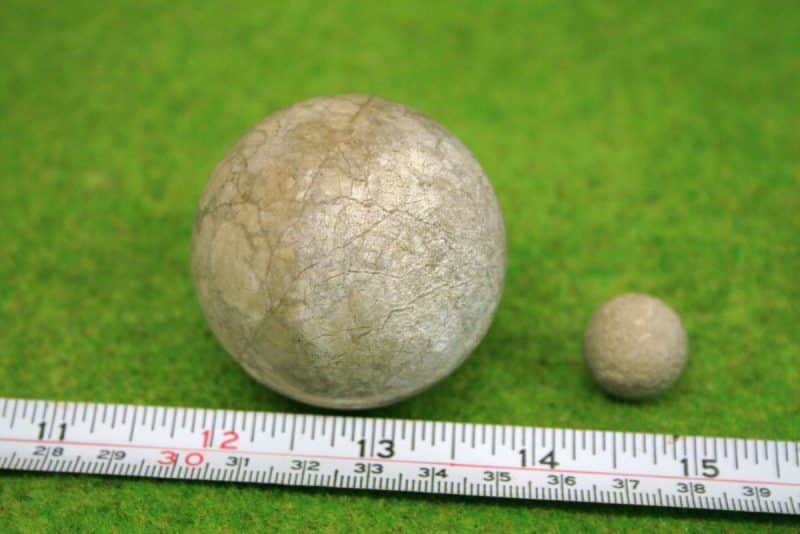
Cannon Ball and Musket ball

Whilst digging on the allotments he has found a number of what we presume are cannon balls or gun stones of various sizes. The most commonly found size were the larger of the two in the picture – these have also been dug up on adjoining allotments.
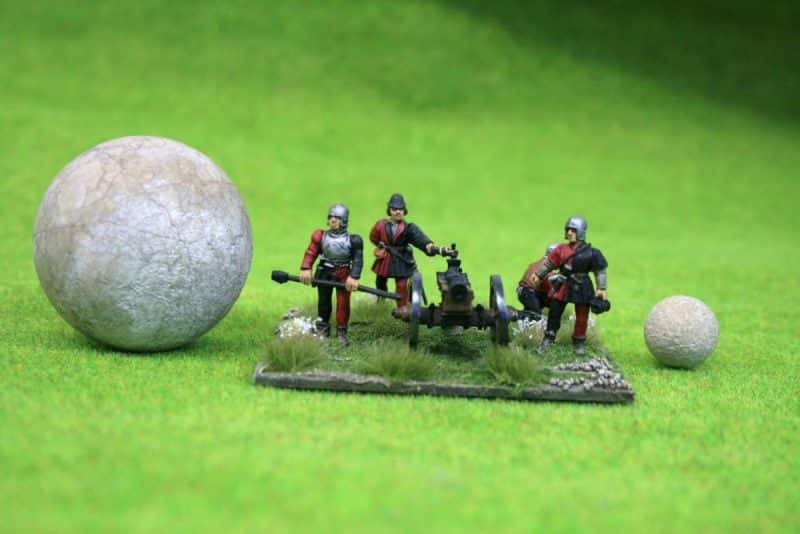
Size comparison with my WOTR artilllery piece – figures are 28mm perry’s!

It looks as though the ball has been fired as there is a noticeable roughness on one side, compared to the almost perfect sphere of the rest of the ball.
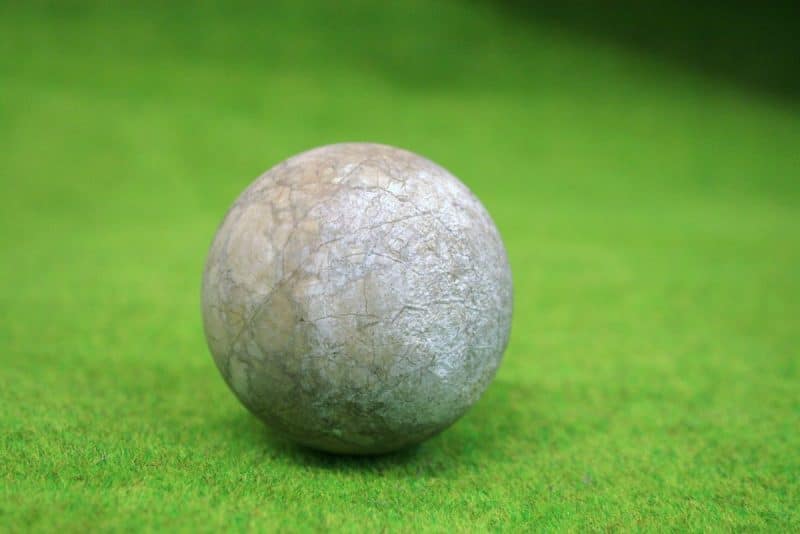
Cannon ball with ‘firing’ side to the right

So the question is what are they? There are some clues and our casual research has revealed that the last action near to the castle was the siege of 1377 when the French besieged the castle. According to local legend, an archer, Peter de Heynoe, shot and killed the French comander with a single shot from his bow. I think that it is unlikely that these cannon shot date from that period though.

A more likely explanation is that George Carey, persuaded Queen Elizabeth 1 and the local citizens to pay for the creation of a modern artillery emplacement at Carisbrooke that was completed in 1602. The concern was that the Spanish would attempt some sort of landing or invasion Although never required in anger, it seems likely that some test firing would have been made.

As well as the cannon balls or gun stones, a number of fragments of clay pipes, including intact bowls have been recovered on the allotments. These look to be 17th century – unfortunately , I do not have pictures.

Finally, the allotments are sited on the position of an old quarry. Is it possible that the stones were being produced here for use else where? It could be that this was an old storage area. However, the indication that the stones have been fired, seems to make storage not quite so likely.

If you do have any information, please contact me through the Arcane Scenery shop page. Unfortunately, I have had to turn comments off on the blog due to the high number of spam message etc.

THE COMMERCIAL BIT

I hope that you all enjoy your hobby as much as I do – remember that our web site will have much of what you need! Click here to see our shop:

ARCANE SCENERY

The contact details are here:

CONTACT US

Happy Modelling!
Ox Cart – Final touches

The final part of the project was to paint the ‘crew’ and base everything. Painting the figures was fairly straight forward – as they are supposed to be civilians, there was no need to worry about whether the figures would be in livery or not! I did check pinterest and Google images for pictures of medieval clothing and the general impression that I had from these sources was that the clothing would be mainly muted colours.

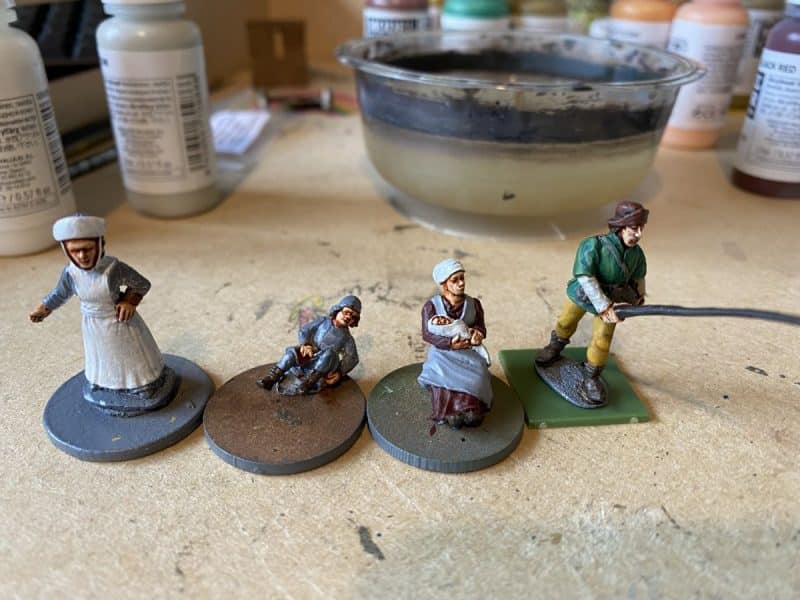
Passengers block painting in prgress.

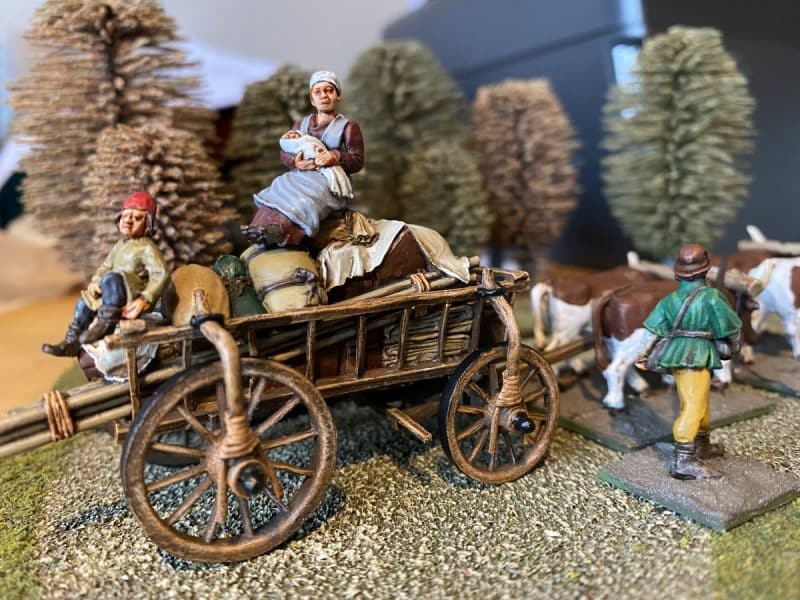
So the driver was painted in Gold brown 70877 for his leggings, and deep green 70970 for his jacket. The finished figure was actually brighter than I intended but he looks OK and adds some colour to the diorama. The female figure (the driver or drover’s wife?) was painted with a light grey 70990 apron over a burnt red 70814 dress. The baby and her hat were painted white to add interest and to show the baby off. The little lad was painted with black grey 70862 leggings and a khaki 70988 smock. I gave him a bright red hat to make him stand out against the luggage!

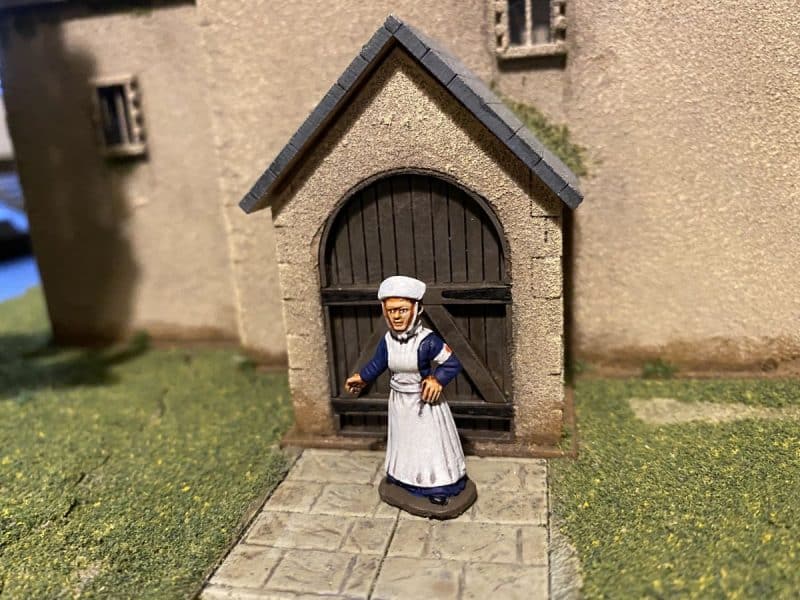
Edith Cavell – the free figure from Partizan 2021

You may have noticed that there is a WW1 nurse in the picture above. It is the Edith Cavell figure that was being given out at Partizan this year. It made sense to paint her at the same time as the passengers, as I would be using similar colours. She is not included in the final diorama but here’s a picture of the finished model that I have added to my collection!

All aboard!

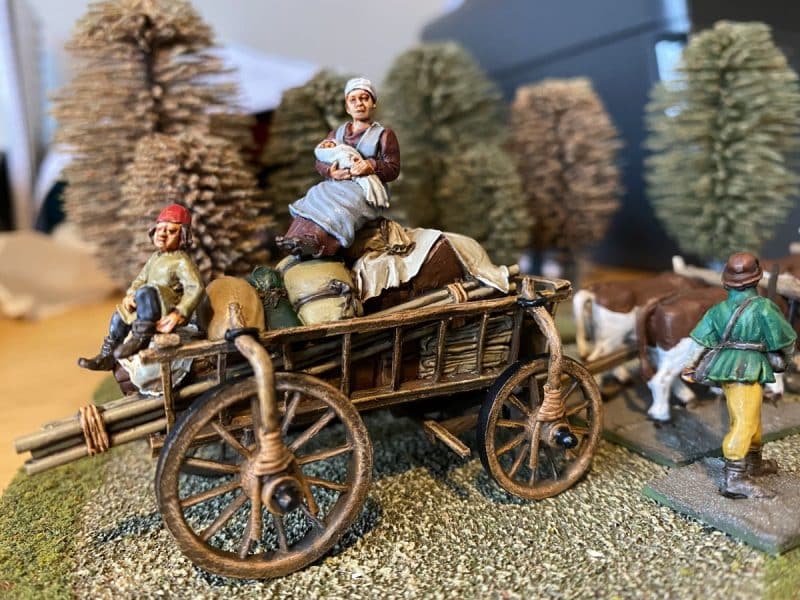
Once the figures were completed, they were based ( in the case of the drover) or added to the cart. The lady with the baby looks as though she’s is in a precarious position, perched right up on top. I’m sure that the Health and safety executive would not be pleased! However, this is where she is designed to go and from an artistic perspective, looks good!

Sabot base under construction
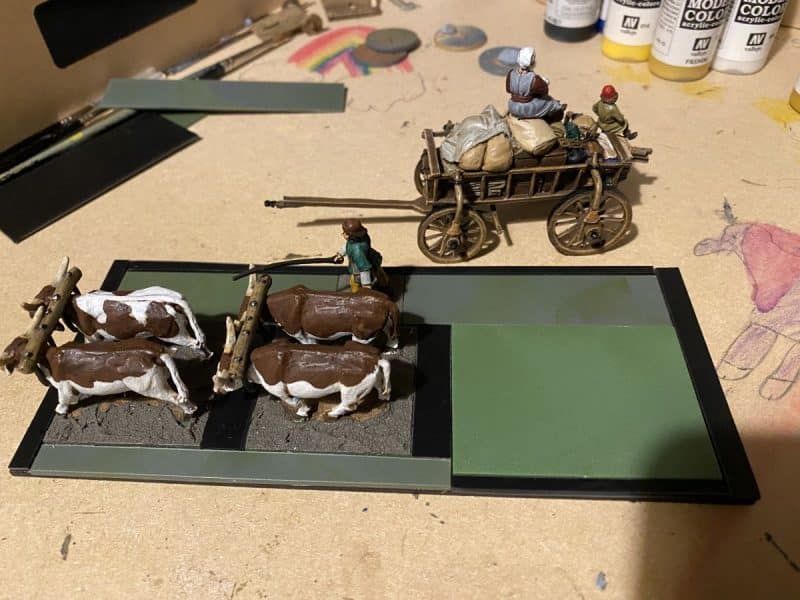
Test fitting everything.

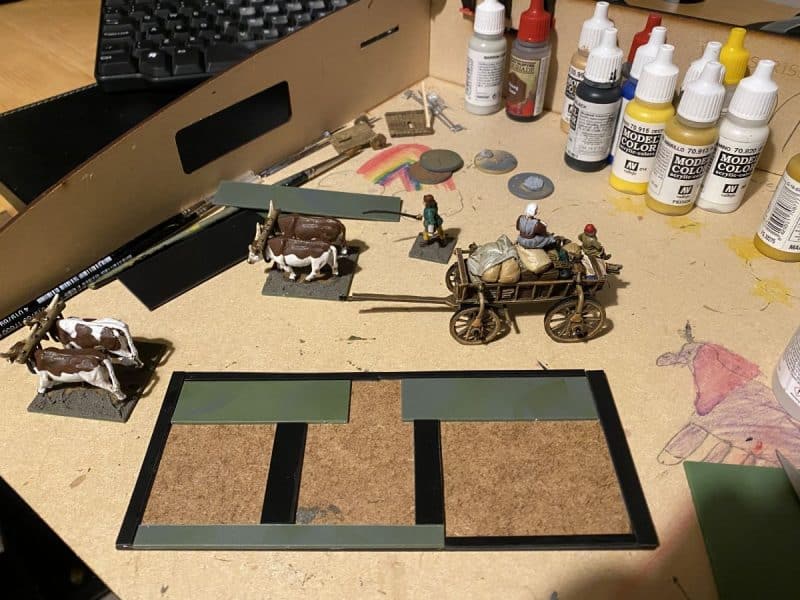
The next stage was to construct the base. For some reason, I have a tendency to go for ‘sabot’ style basing for my dioramas and vignettes. It allows me easier access to paint the bases and should I wish to change things in future ( I have no idea why I would want to….) I can do so. I used a piece of MDF for the base – I think it was part of a discarded movement tray that I had in my ‘bit’s’ box. It was then a question of using Plasticacrd and some spare renedra bases to block in the spaces around the wagon, Oxen and drover. The picures show how I did this.

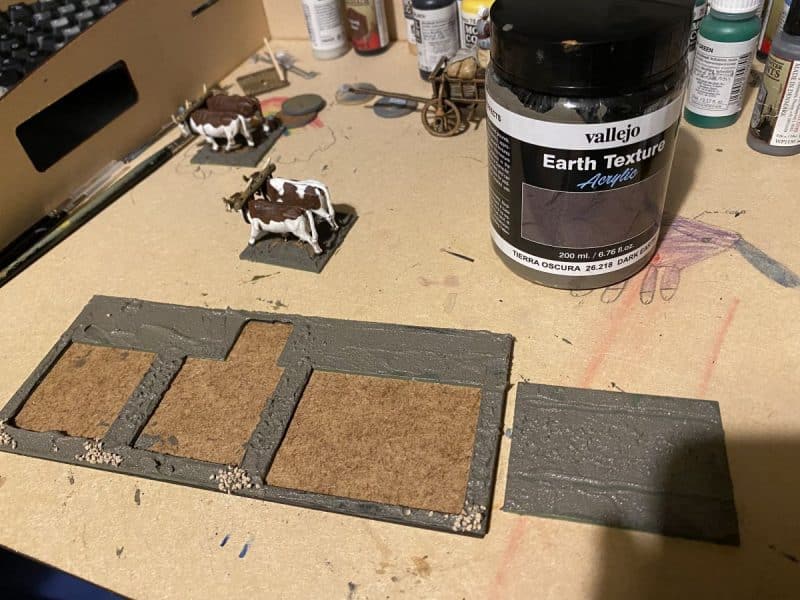
Texture paste added

Once this is done, I covered the whole lot in Vallejo Dark Earth texture paste. I also added some ballast for some extra texture on the edges. I used my sculpting tools to stipple up the earth where the oxen would have walked, and created the cart wheel marks in the cart base.

Painted and dry brushed

When dry, everything was painted with my choice of emulsion ‘Delhi Bazaar’ and then dry brushed with Iraqi Sand. I was going for a dry look to the base rather than a muddy winter or autumn finish.

Green Turf added

I then added some green scatter from the woodland scenics range, a blended green Turf.

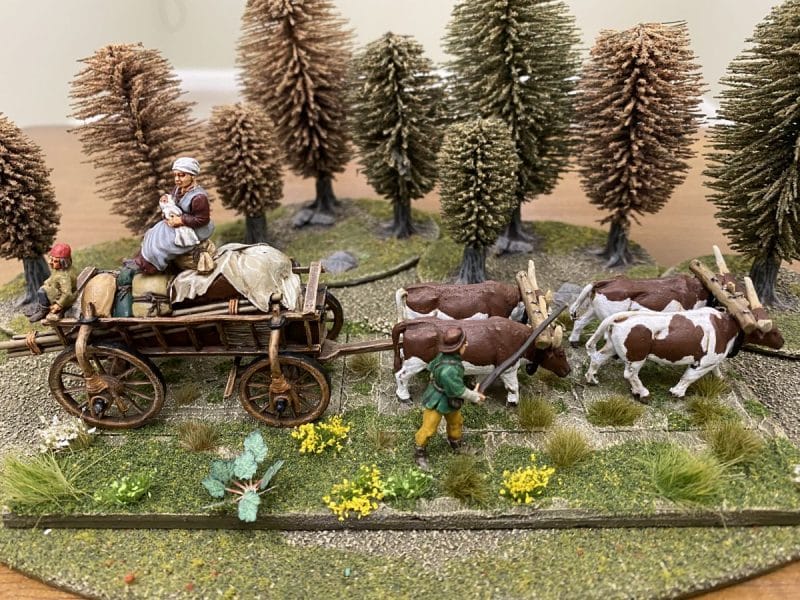
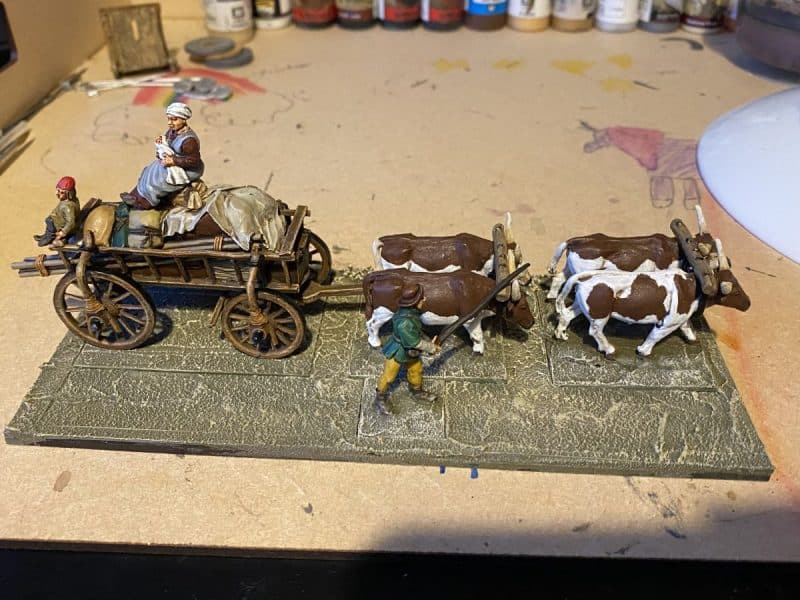
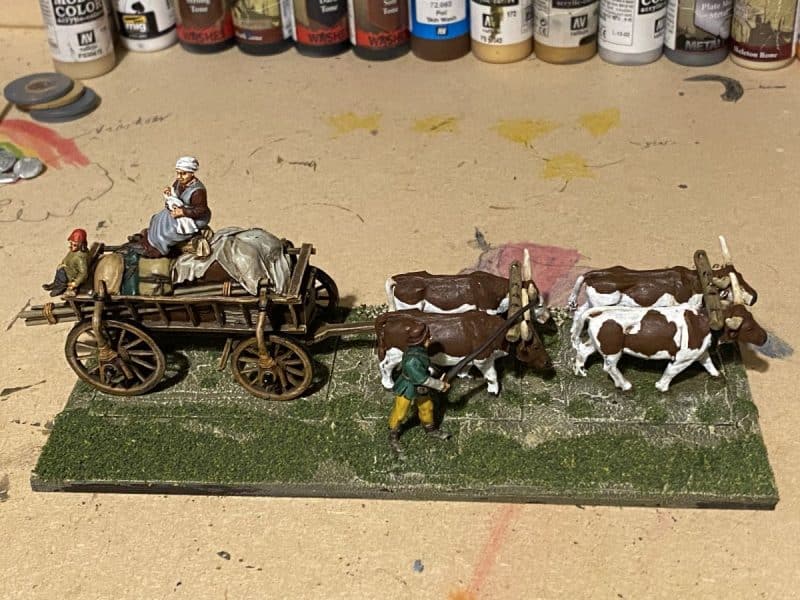
The finished diorama – oops! I need to touch up the sides…

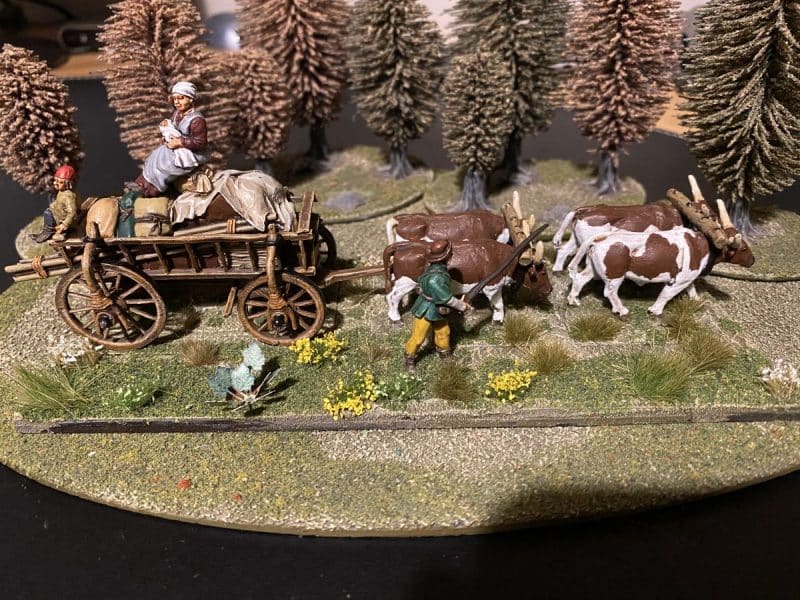
The final touch was to add a variety of tufts and flowers. My friends say that I use too many flowers on my bases but I like the colour that they add! I think that it adds to the rural look!

The final result with the edge of the base touched up!
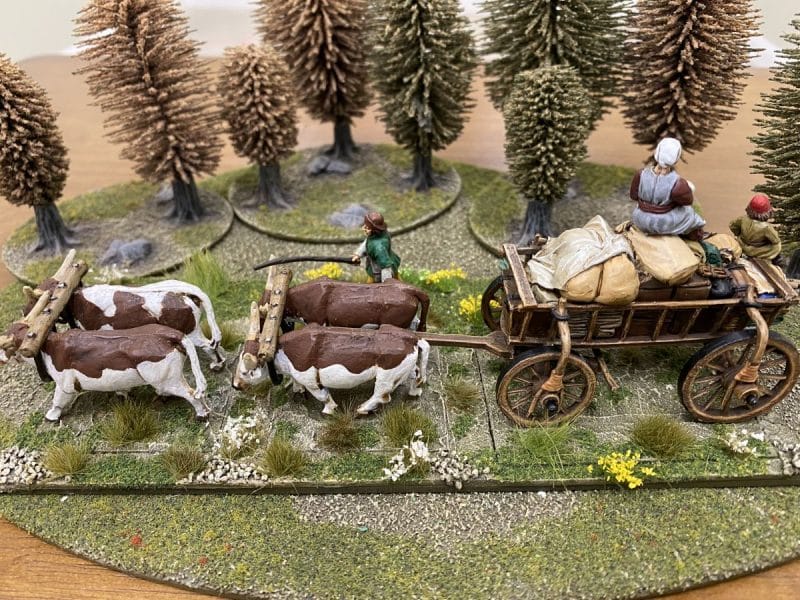
The view from the other side!

So the Ox wagon is compete and added to my collection. There is just one more thing that I will add. I need a length of chain to connect the front oxen team to the wagon but unfortunately, I am O/S of the size that I want and more annoyingly, I’m sure that I have some buried out in the shed somewhere! For now though, I’m calling this done and it’s on to the next project!

THE COMMERCIAL BIT

I hope that you all enjoy your hobby as much as I do – remember that our web site will have much of what you need! Click here to see our shop:

ARCANE SCENERY

To see our range of Vallejo paints click the link below. To go straight to a colour, type the paint number into the search bar:

VALLEJO PAINTS

To see our selection of MDF and Renedra bases click here:

BASES AND MOVEMENT TRAYS

To go straight to the adhesives and fillers section. Click here:

Glue. Fillers and Paints

To see our selection of tools, click here:

Tools and Modelling accessories

Happy Modelling!
Painting the Ox Cart

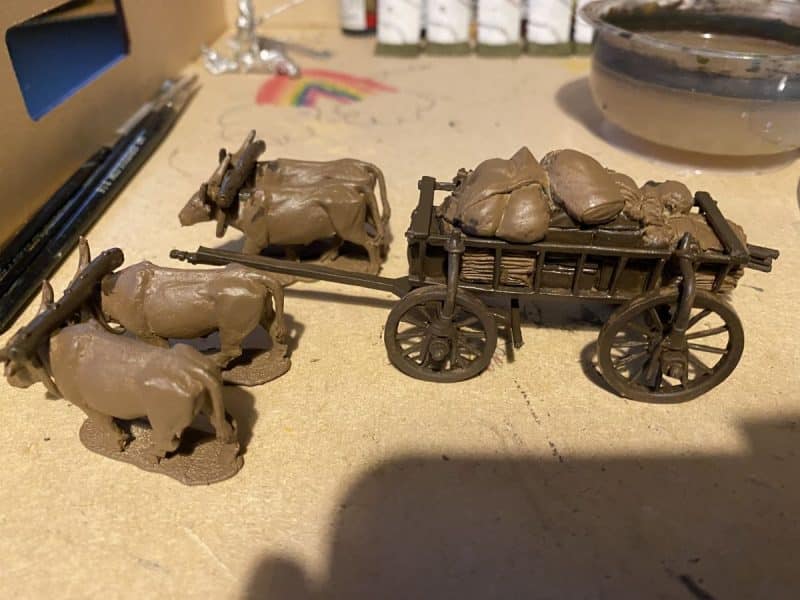
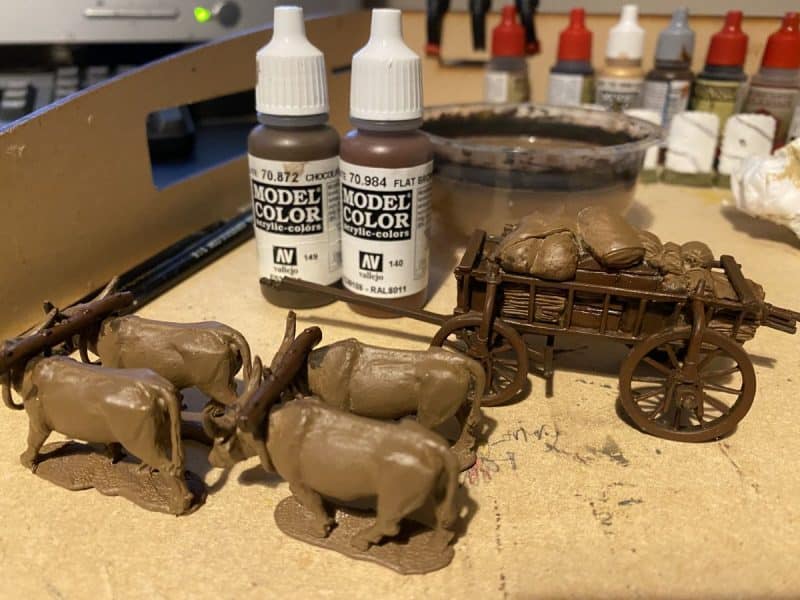
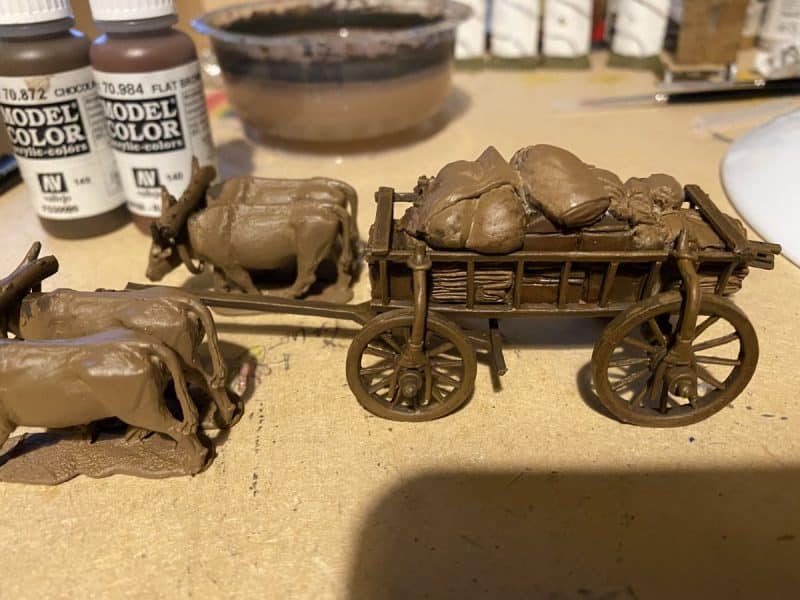
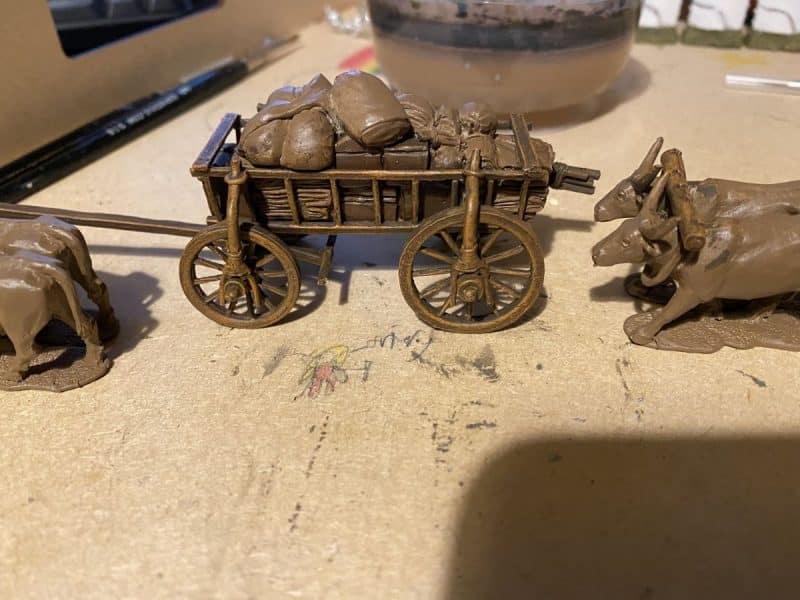
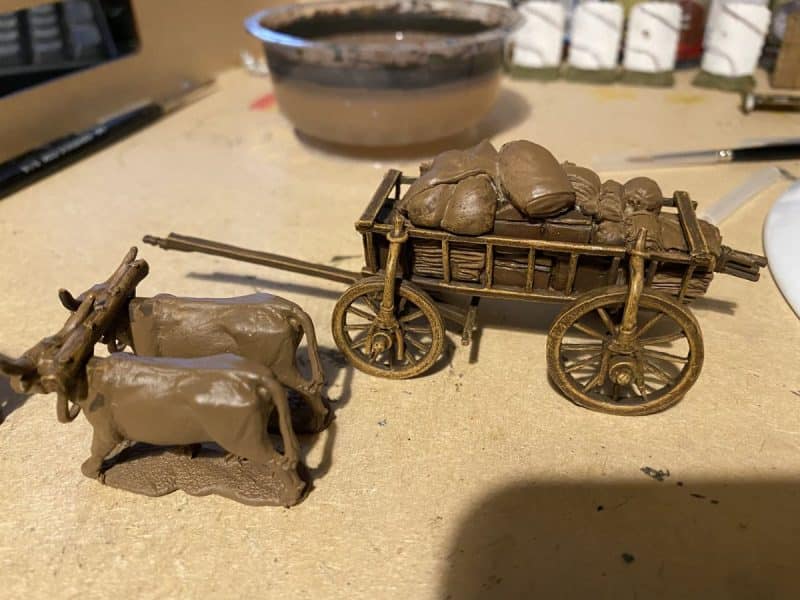
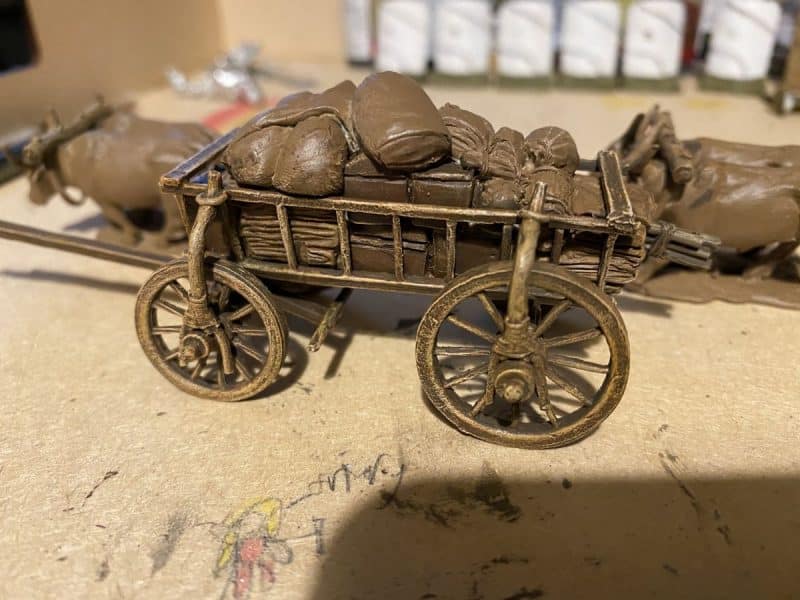
In my last blog, I showed you how I assembled the Ox cart. Now, on to the painting. I primed everything with Army Painter Leather Brown to give a good base for the paint. I then followed my usual procedure for painting wooden carts. With hind sight this was a bit of overkill for this opened frame cart but the results are acceptable. I started by painting the cart and Oxen Yoke Vallejo Chocolate Brown 70872.

First coat – 70872 Chocolate Brown.

I also picked out some of the wooden pieces of luggage in the cart load with the same colour. Next, I used Flat Brown 70894 to ‘wet brush’ over the same parts. A wet brush technique is like a dry brush technique but there’s more paint on the brush and it’s a bit heavier. The idea is to leave some of the darker brown in the shadows.

Flat Brown coat – again, the luggage is also coated

The next stage is to use a heavy dry brush of Flat Earth 70983 to lighten the wooden frame. This time, I’m not going so heavy with either the paint or the brush. I’m trying not to cover all of the previous coats.

Flat Earth dry brushed on. I’ve tried to avoid the luggage, to keep these a darker colour.

The next colour that I dry brushed on was Orange Brown 70981. This is a lighter dry brush than the other coats and the focus is now the high spots on the wagon, wheels and frame. I tried to avoid the luggage, although any mistakes and over brushing ( as you can see on the sacks) will be corrected when I paint the luggage.

Orange Brown starts to give the ‘wood’ some texture.

Once the Orange brown is done, yet another dry brush is layered on. This time, I used yellow ochre 70913 and I am aiming at the high spots and edges. Incidentally, I’m not waiting for the different highlights to dry. I just layer them on one after the other and I think that this helps to blend them.

Golden Brown layered on and we are nearly done!

You could stop there but there is one final dry brush, this time using 70815 basic skin tone. It seems like the wrong colour to use but as a very careful edge highlight, it works. I have learnt this technique from the ‘Painting War’ Holy War issue. It very effective on on larger areas of wood. Here’s a link to a previous blog where I use this technique for the first time to paint a trebuchet:

TREBUCHET

Flat flesh top highlights – not essential, you could stop at Golden brown if you are happy with this effect

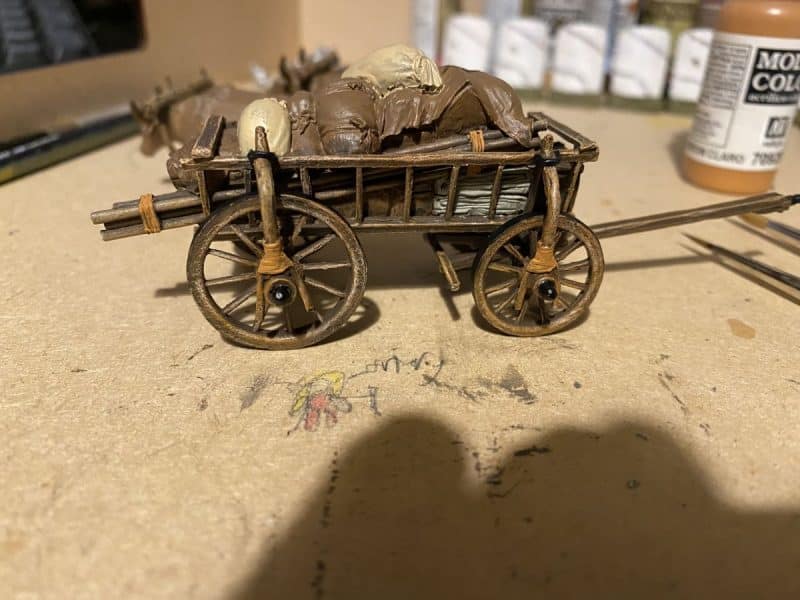
The next task is to paint the luggage and detail the wagon. All the iron work on the wagon and luggage was painted in 70950 Black. I may go back and paint the wheel rims in gun metal as I think that the paint would quickly wear off. The Bindings were painted in Light Brown 70929 and later painted with Iraqi Sand ‘stripes to give a bit of detail.

Iron work and bindings done!

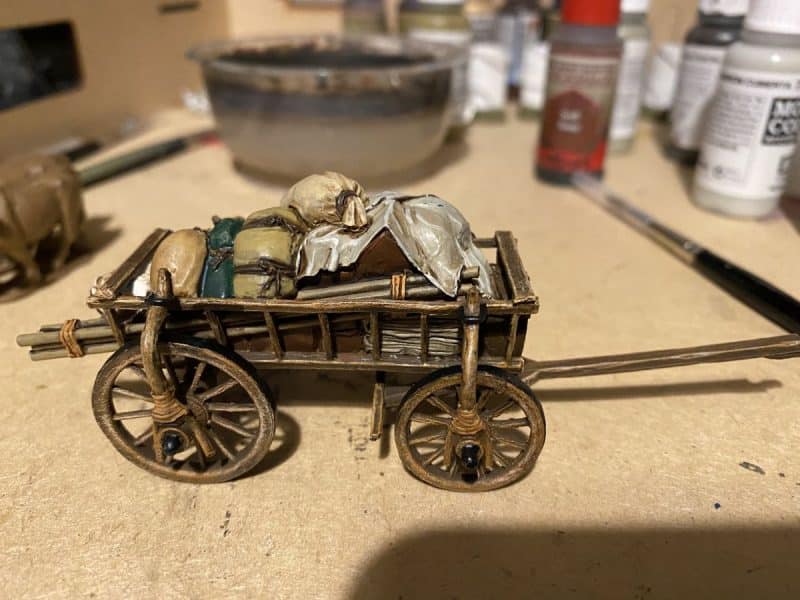
When it came to the luggage, I use a variety of colours, Stone grey 70884, Iraqi sand 70819, Kahki 70988, Black 70950, Deep green 70970, Off white 70820, and my new favourite colour, Deck Tan 70986! Once the colours were blocked on, I gave everything a wash with Army Painter Soft Tone. Once this was dry, I went back over every thing with the original colour, carefully leaving some of the shadows created by the ink, to add the highlights. The top Highlights were done with the original colours but with a bit of Iraqi sand added to lighten the original colour, I find that Iraqi sand can be less ‘harsh’ than adding white. Deck Tan is also very useful for this. One final thought. As I was struggling to paint the details on the luggage at the sides of the cart, if did occur to me that it might have been easier to paint it separately and add it to the completed wagon.

Luggage with first highlights added

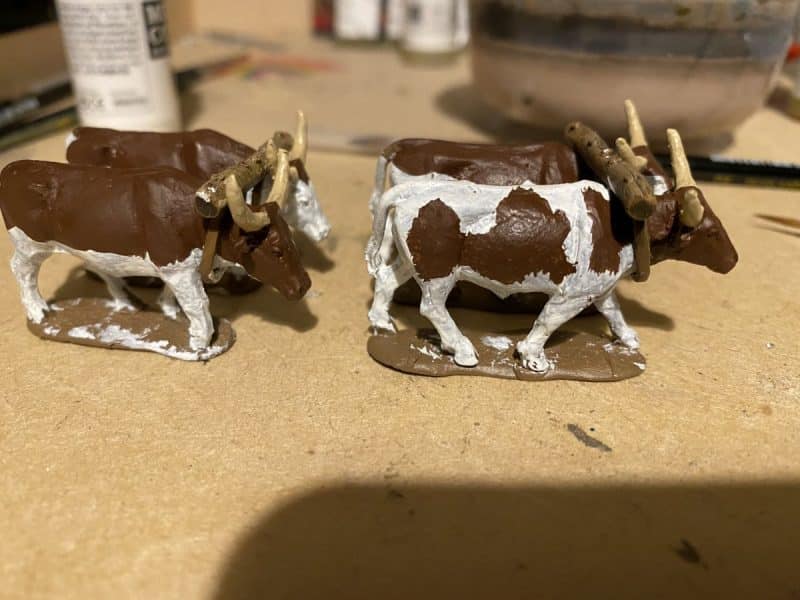
Onto the Oxen. I am no expert on painting Oxen. I did google a few pictures but decided to just copy the picture on the Perry web site as I liked the effect. I painted them with Off White, Vallejo 70820 and then picked out the pattern in Flat brown 70984. After a good liberal coating of soft tone, I repainted the white bits and used the flat brown to highlight the brown areas, although it’s not particularly noticeable. Eyes and noses were painted in matt black and the horns in Iraqi sand. I highlighted the horns with off white and used a black grey 70862 to blend the noses!

Oxen block painted before adding soft tone

I then based the Oxen in pairs on 40mm x 40mm renedra bases. I had left them unbased up until now as it allowed me easier access to the insides of the Oxen teams. This did lead to a bit of chipping as I moved the animals around. So once based up, I touched up any errors and finished off the yokes with black and Army Painter plate mail for the top off the bolts.

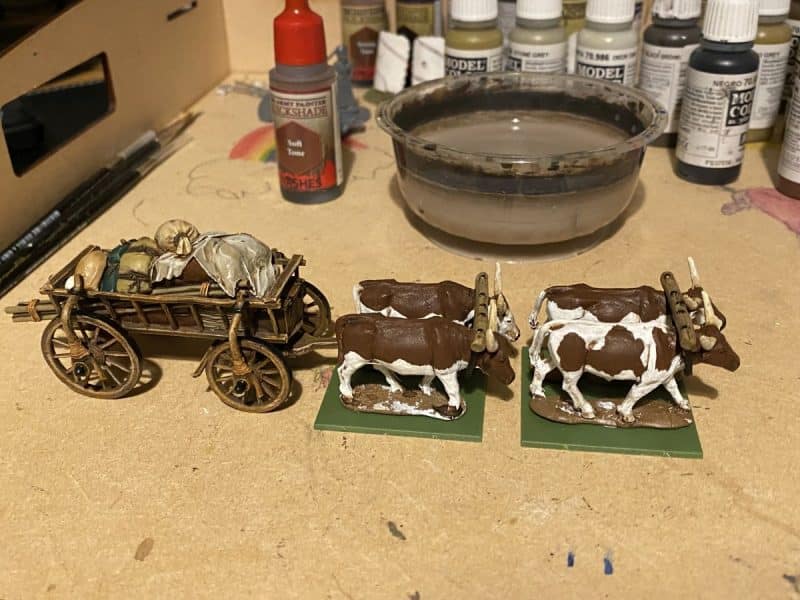
Oxen based, shaded and completed

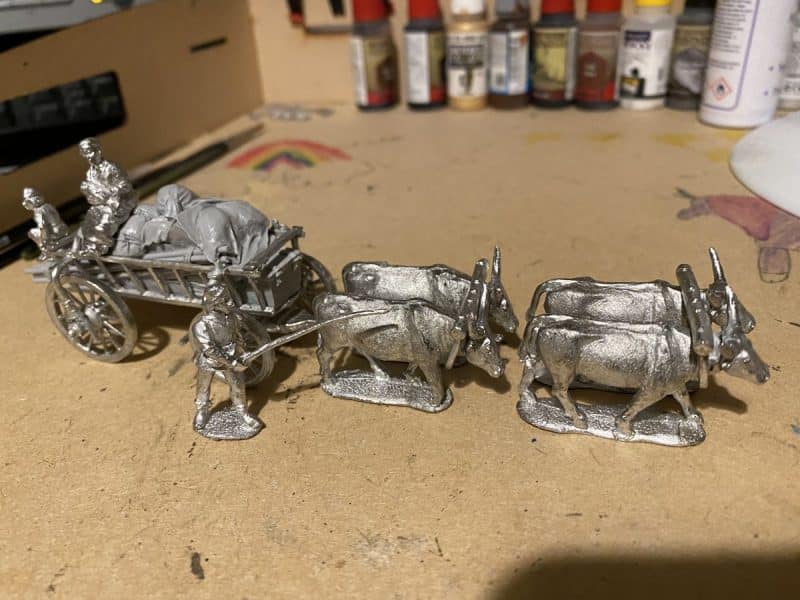
So that’s it for the wagon and Oxen team. The next task is to complete the passengers and base the set. I’ll show you how in the next blog but here’s a teaser of progress so far!

Its, nearly there! Just the basing to complete

THE COMMERCIAL BIT

I hope that you all enjoy your hobby as much as I do – remember that our web site will have much of what you need! Click here to see our shop:

ARCANE SCENERY

To see our range of Vallejo paints click the link below. To go straight to a colour, type the paint number into the search bar:

VALLEJO PAINTS

To go straight to the adhesives and fillers section. Click here:

Glue. Fillers and Paints

To see our selection of tools, click here:

Tools and Modelling accessories

Happy Modelling!
Medieval Ox Cart

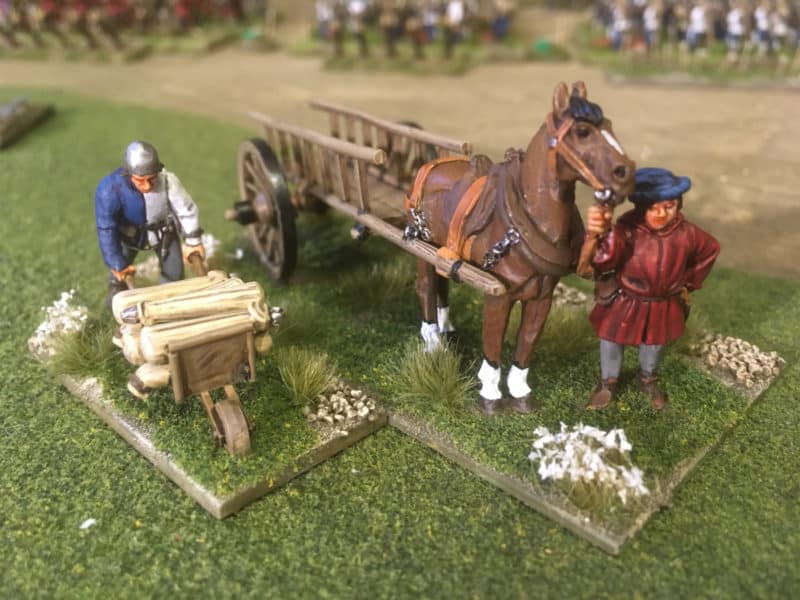
My latest project is a Medieval Ox cart from Perry Miniatures. I seem to have a growing collection of wagons and although they are of little use in most wargames, they do look nice on the table as scenery pieces. They also look nice in the figure cabinet as part of my collection, so I seem to keep adding to my baggage train! As an aside, I must get around to writing a scenario or two involving either rescuing or raiding a baggage train. It would at least add some variety to our games.

Wagon and Arrow barrow from my collection

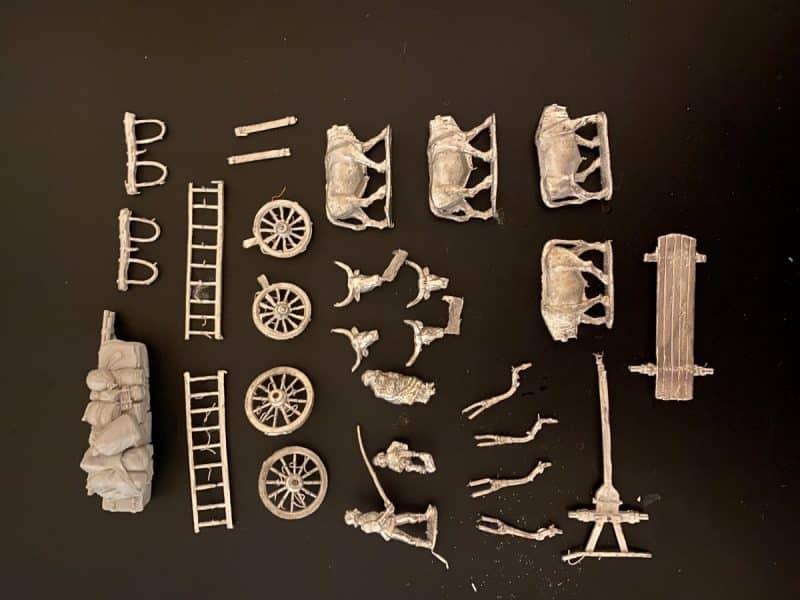
I am a great fan of the Perry Miniature sculpts – there are other company’s out there with some fantastic ranges but I like the style and proportions of the Perry’s figures. The Perry’s have also been involved in Medieval re-enactment, so they know their stuff when it comes to the period. There is just two minor grumps that I have with their products. Firstly, the casting quality is not always as good as it could be., particularly with their horses and wagons. It took me a couple of evenings to clean up the parts for the Ox wagon – the wheels were a particular challenge. The other issue is that there is no assembly instructions with these kits and I think that they are complicated enough to warrant some sort of guide. If not supplied with the kit itself, a bit more information on the web site would help.

There are plenty of parts in the Ox cart kit!

So here’s how I went about assembling the wagon. I hope that it is useful. The first place to start is of course, the clean up. I used a couple of differently shaped needle files and a Scalpel with an old blade for scraping the mold lines. For assembly, I use Expo Thick Super glue. I find it ideal for assembling metal miniatures. It’s thickness gives the glue some ‘fill ability’ on the joints so they don’t have to be perfect to stick together. Also the slower set time allows me to make sure that everything is lined up before the glue sets. The set time is about 10- 12 seconds, depending on the size of the bond. You can speed things up by using an accelerant. Despite being careful, I usually end up sticking parts to my fingers and usually get enough glue on my finger tips to stop me logging into my iPhone…

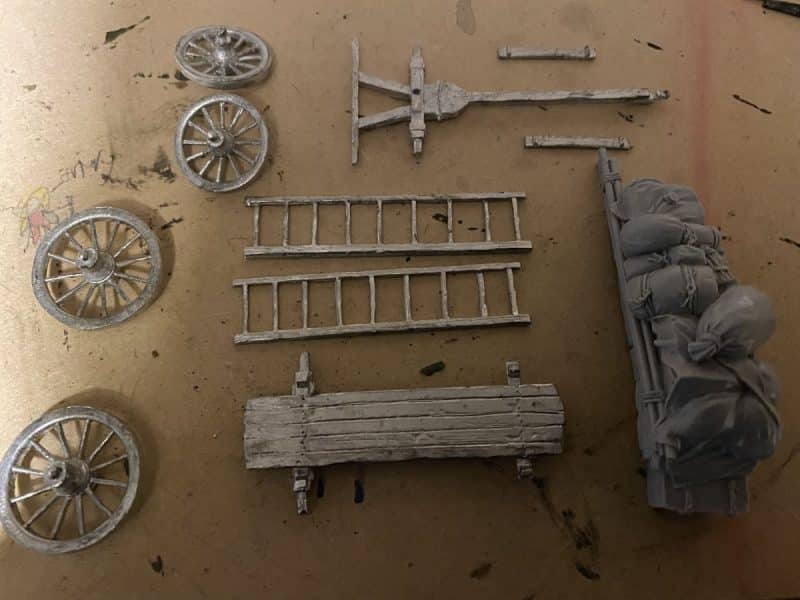
The Cart components after clean up.

One other thing, I always wash resin pieces in hot soapy water before assembly. Resin seems to be particularly likely to have a residue of the mold release agent on it, which will cause problems when painting. The picture above shows the main components for the wagon all cleaned up and ready to assemble.

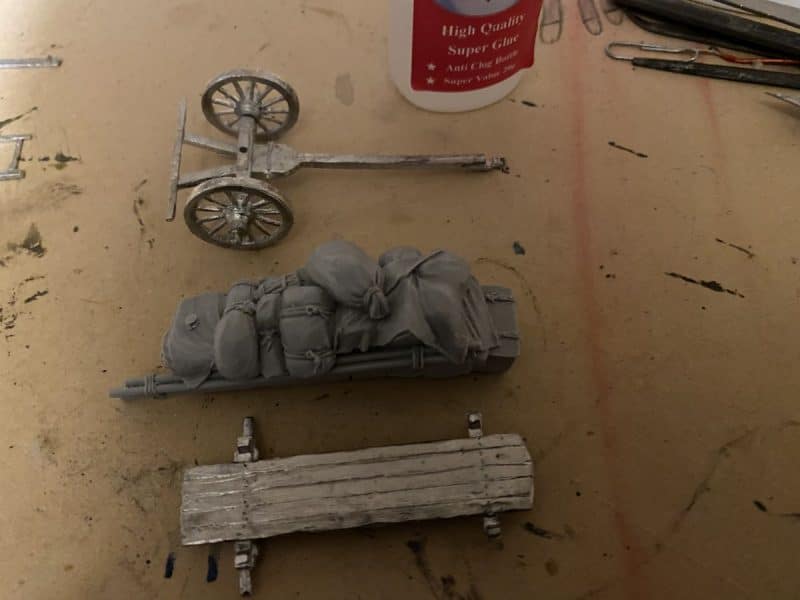
Front wheels assembled. Load ready to glue to wagon base

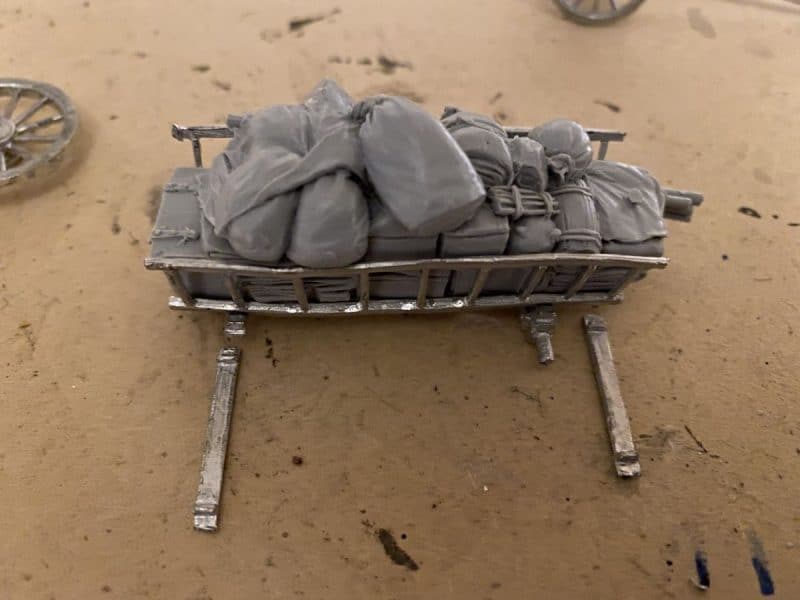
The small wheels fit onto the front assembly. The Wagon load is fixed to the wagon bed. Note that the front of the wagon bed is the rounded bit and the rear of the load has the poles sticking out.

The sides look a bit wonky! They will straighten out once the top components are added.

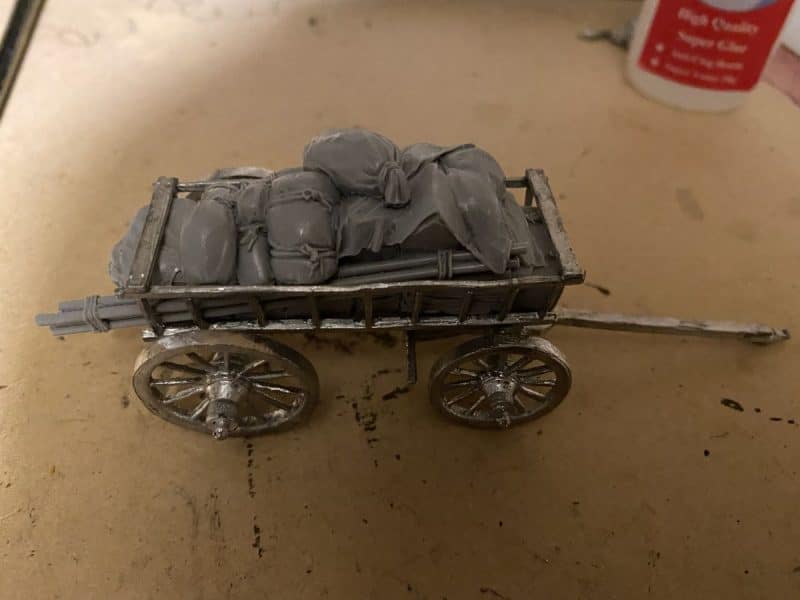
Next, attach the sides to the wagon bed. They locate into the cut outs above the axle and may need a bit of filing to get them to fit. The two pieces in front of the assembly are the top connectors – they hold the railing sides together at the top.

Basic Wagon assembled

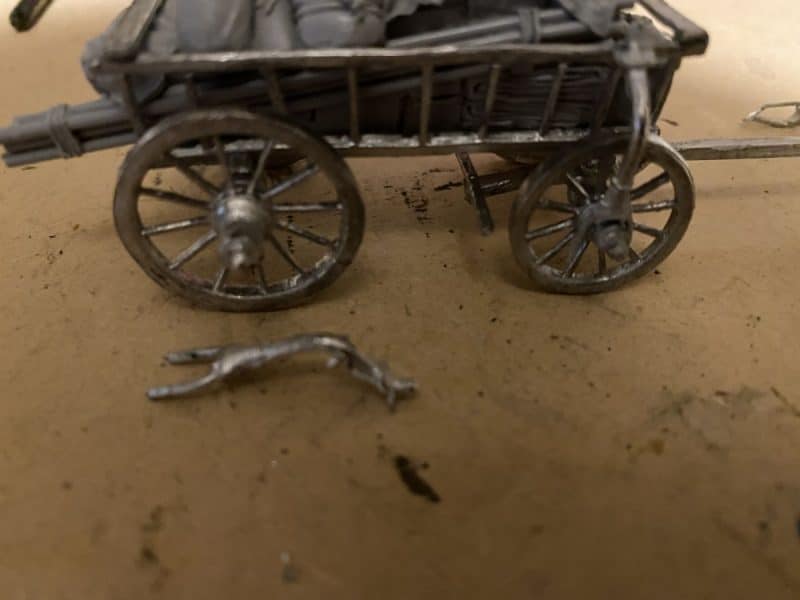
Here’s the wagon with the wheels on and the top connectors in place. The next part of the assembly is to fix the ‘elbow’ reinforcements to the wheels ( I made that term up – I’ve no idea what they are actually called!). They will need a bit of careful bending to go around the wheels and attach to the railing of the cart. It’s important that the joints are cleaned up and I cannot stress how important it is that you test fit everything before getting out the glue! It was during this part of the assembly that I stuck myself to the cart a couple of times! Those joints are difficult!

Elbow joints….?

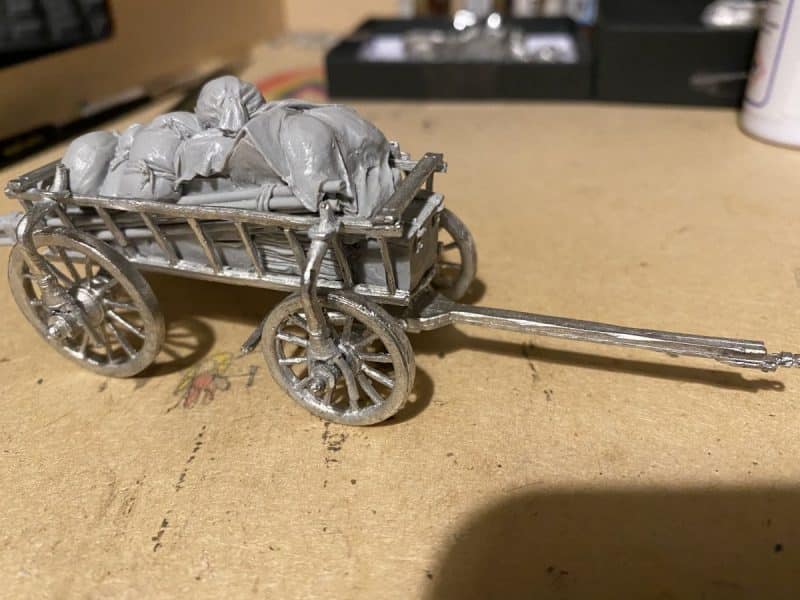
With the elbow joints in place, the cart assembly is complete. What ever those things are that connect to the axles, they do make the cart look more substantial so I think it is worth persevering to add them.

The completed cart.

The next part of the assembly is to make the draft oxen. After cleaning up the pieces, you will need to glue the heads on the Oxen at the same time as placing the yolk over the animals neck. I haven’t glued the yolk into place, it will stay there without the need for glue and the movement will allow me to prime and paint the animals later.

The forward ox team awaits their heads!

Once the Oxen are assembled, I cleaned up the ‘crew’ and you can see the finished wagon below ready for priming. I’ll cover the painting process in my next blog – all being well!

Wagon ready to roll!

One final note, You get two types of Oxen – heads up or heads down. I decided to pair them. With hindsight, it might have been better to have one’ heads up’ with one ‘heads down’ as their horns tend to clash the way I have assembled them!

THE COMMERCIAL BIT

I hope that you all enjoy your hobby as much as I do – remember that our web site will have much of what you need! Click here to see our shop:

ARCANE SCENERY

To go straight to the adhesives and fillers section. Click here:

Glue. Fillers and Paints

To see our selection of tools, click here:

Tools and Modelling accessories

Happy Modelling!