Landsknechts!

Wargames Illustrated issue 383, September 2019, came with a free sprue of Landsknechts. At the time, I had a quick look at the figures, decided that it was unlikely that I would ever paint them and they were tossed onto my ‘leadpile’. Fast forward to April 2021 and I was looking for my next batch of figures to paint and I ‘rediscovered’ them. As you will know, I am currently working on my War of the Roses army and although these these troops were not really around at the time, I thought I might get away with using them!.
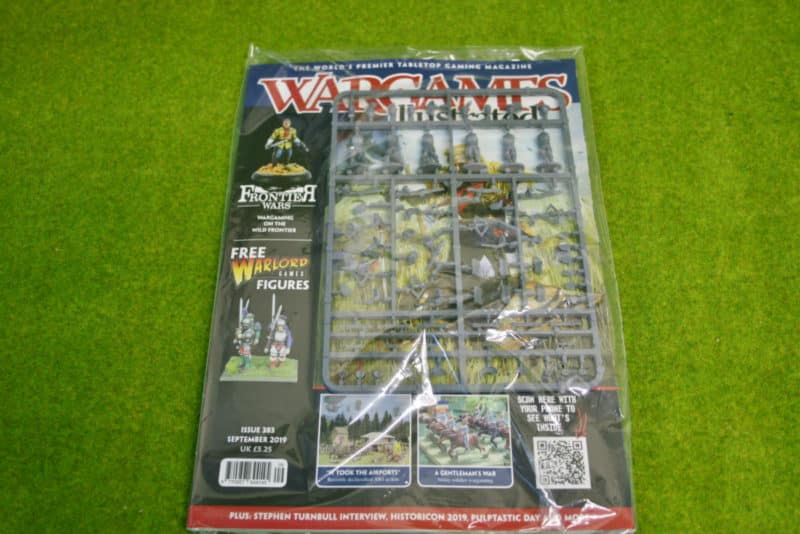
WI issue 383 with free Landsknechts

The nearest that I could get to Landsknechts appearing in England were the German and Swiss mercenary force under the command of Martin Schwartz, who fought at the battle of Stokes Field in 1487. According the the Wikipedia article, the German mercenaries were equipped with the latest handguns. By chance, my sprue of six Landsknechts were missile troops with the option of either hand guns or cross bows. That was good enough for me, I would complete the troops as a group Handgunner skirmishers and they could make a colourful, albeit, unlikely addition to my War Of The Roses collection and ‘Never Mind The Bill Hooks’ Army.
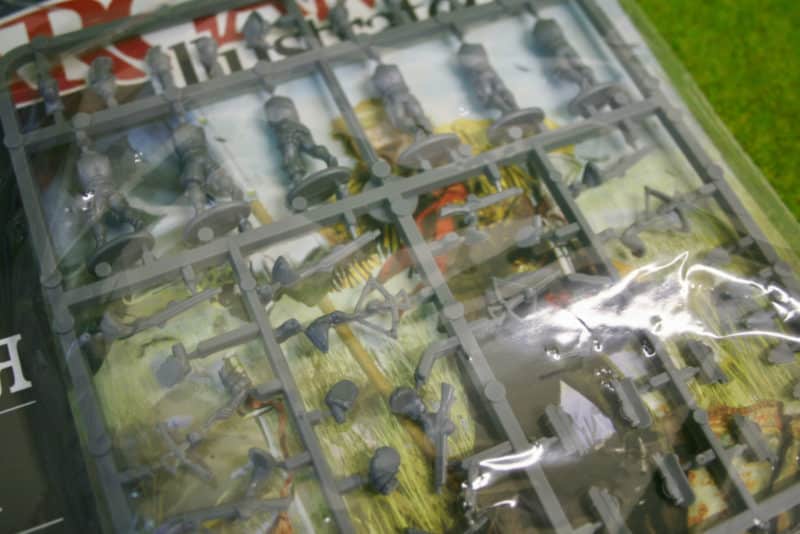
Close up of the sprues

I cleaned the figures up, assembled and primed them and then thought about how I would go about painting them. I am definitely getting lazy in my old age, when it comes to research. In the past I would have looked at countless references and articles to get an idea as to how to paint these troops. As it was, I used an earlier guide to painting Landsknechts in War Games Illustrated 129, written by Michael Perry. I also checked out a you tube video by Pete the wargamer and of course, used the painted figures on the Warlord site as my references.
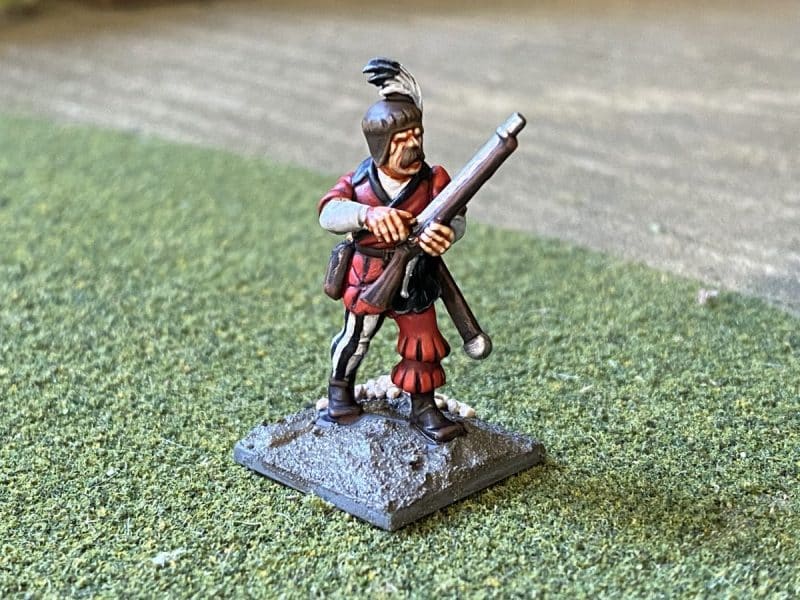
Landsknecht Hand gunner number 1

Initially, I started with one of the simpler figures to paint and went for a straight forward red black and white scheme. Based on this test figure, I decided that a batch paint job was never going to work. Although I intended to keep things simple, even where the figures shared the same colour – on the guns, shoes, belts, sword scabards etc, the complexity of the colours on the rest of the figure made it difficult to paint these areas as a batch. So apart from the flesh, each figure was painted separately.
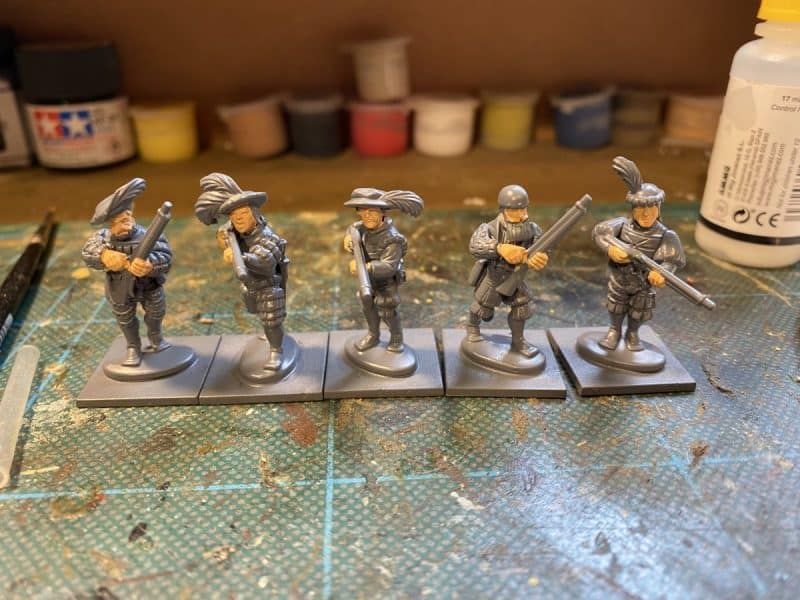
The next five primes and flesh blocked in

As I painted each figure, I became a little more adventurous with the colours. As always, yellow is a very difficult colour to paint as it just doesn’t cover well. I had the same problem with orange. In fairness, I think that my priming coat of grey was not such a good idea. White would have worked better. Still it was good fun in choosing the colour combinations. I particularly liked the purple and orange. I can’t remember the last time that I used either of these colours on wargames figures!
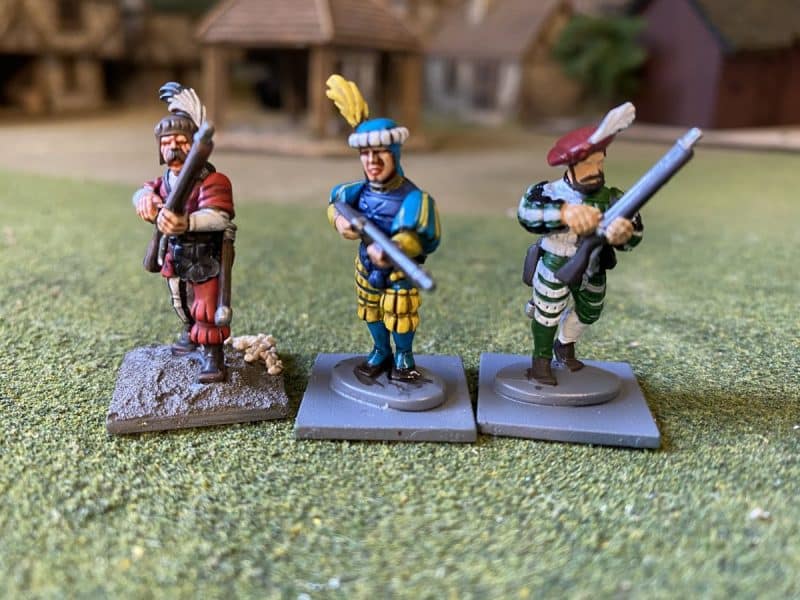
The next two under way

I was able to base the group as a batch and followed my usual basing procedure using Vallejo Dark Earth textured paste to blend the figures onto the base, added some ballast and then painted and highlighted with brown emulsion and Iraqi sand. I finished the basing with some woodland scenics coarse scatter and some gamers grass tufts. I couldn’t resist adding a few flowers to the bases – as if the figures weren’t bright enough!
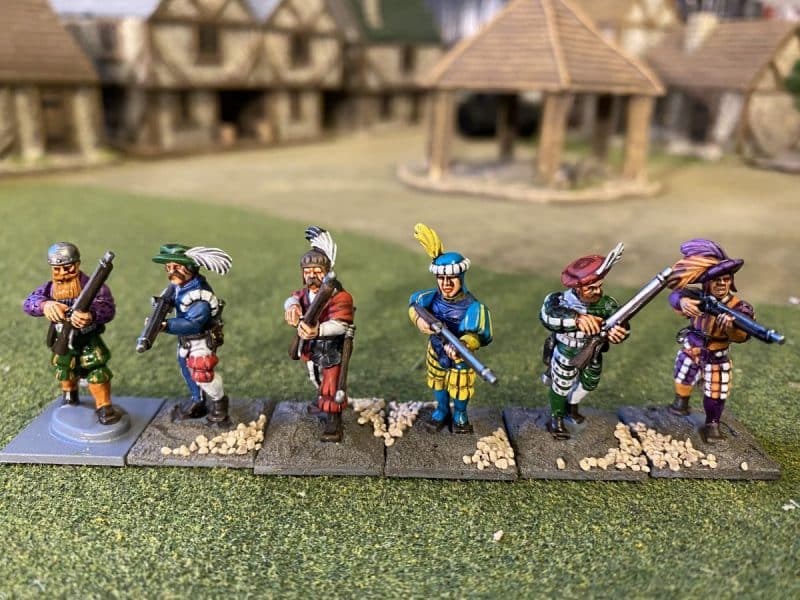
Almost co0mplete – basing in progress

I have no doubt that when these figures appear on the table that my gaming buddies will take great delight in targeting them and they will no doubt finish the game looking like the German mercenaries at Stokes Field. To quote Jean Molinet, historian to the Burgundian court, writing c1490

“…when it came to the joining in battle (they) could not withstand the shooting of the English archers, especially the Germans, who were only half-armed; and although they displayed great bravery, as much, indeed, as their small number and substance allowed, they were routed and defeated, shot through and full of arrows like hedgehogs.”
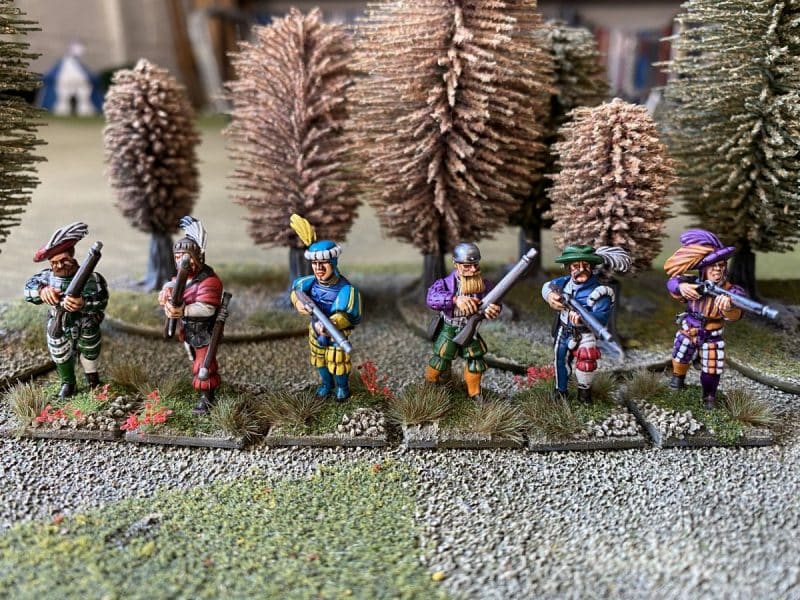
Completed Landsknechts

I dont think that I will be painting any more Landsknechts but that might change when Bill Hooks volume two is released. Both the Swiss and Burgundian armies will be covered, along with the Italian wars at the time, so I may yet be tempted!

THE COMMERCIAL BIT

Almost all of the paints, miniatures, bases, basing materials and anything that you are likely to need for your hobby are available from my shop here:

ARCANE SCENERY

Perry’s WOTR plastic range are here, including some nice army deals!

PERRY MINIATURES

You can see the range of Renedra Accessories here:

Renadra Scenic Accessories

You can find all the Vallejo Model colour paints here. If you don’t want to browse, just enter the paint number into the shop search bar;

VALLEJO PAINTS

Happy Modelling!

Basing the Bombard

In my last blog I had painted the crew and the actual bombard. It was now a question of basing the models so that they will be ready for battle. I had already planned to use a Sarrissa terrain tile for this purpose. The idea being that should I decide to add to the siege or gun line, the Sarissa tile system would enable this. I also thought that the thicker base would give the Bombard a bit of elevation in respect of my normal troops.

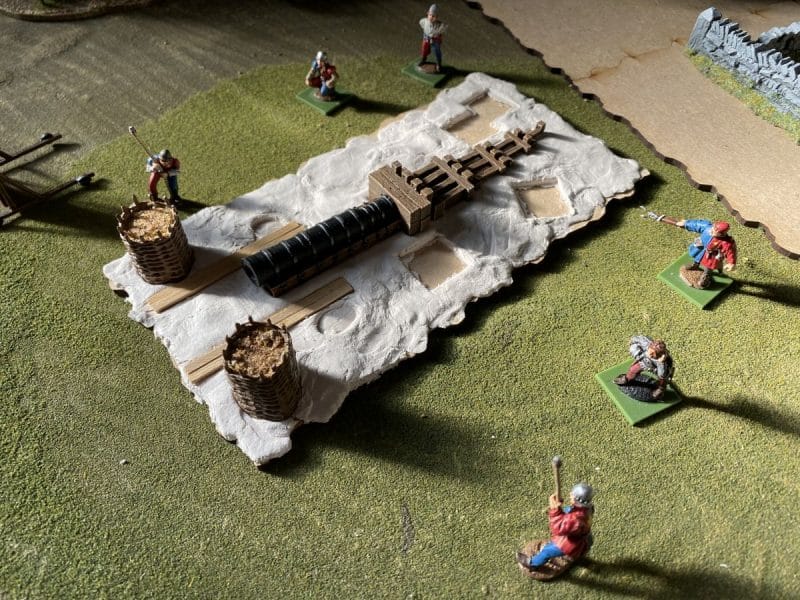
I usually use Milliput for making the ground works on my bases but I had a pack of airdrying Daz clay that I found in my scenery materials stash and I decided to give this a try. I’ve not used this material before for this purpose but I have seen it used in many tutorials and my gaming buddy, Peter Harris uses it to great effect and has created some fantastic effects with it. So without any hesitation or preparation, I slapped it onto the Terrain tile. I then pressed the Bombard into it, carefully making sure that I had lined it up along the centre of the base. The next step was to place the figures onto the base and to cut out ‘sabot’ cavities for the ones that I wanted to remove. I also pressed the Gabions and boards for the mantlet into place.

Base in progress – Daz clay ground work completed and stuck to the terrain tile!

So far so good…except that when the Daz dried, it pulled away from the tile and came free. The tile had also warped. This surprised me as I had thought that MDF was pretty warp resistant. I suspect that when using milliput on MDF, there is no problem because there is no shrinkage and of course, no water. Once the tile dried out, the warpage disappeared and I simply glued the now dry airclay terrain piece back onto the tile with PVA glue. Problem solved – for now. In future, I will prime the MDF first!

Base with Vallejo texture paste.

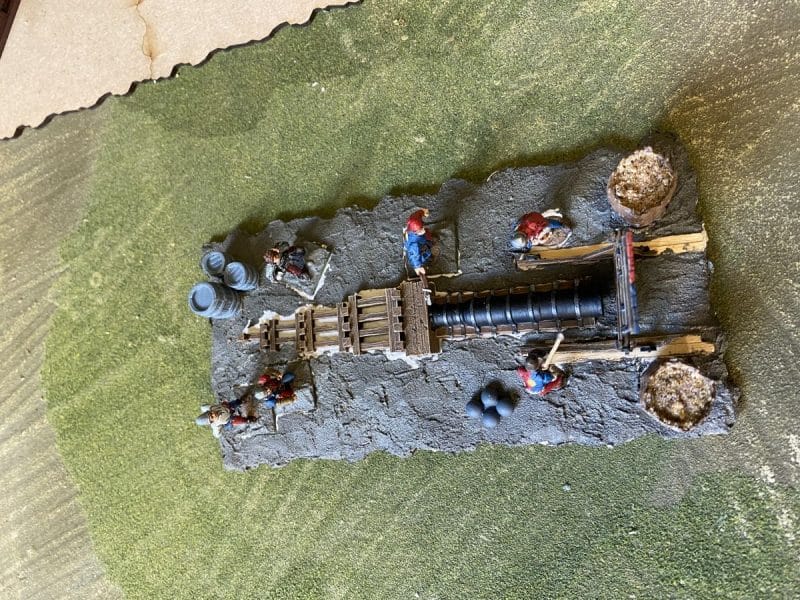
I had not glued the bombard into place, so it was easy to get on with the next stage of the ground work. I used Vallejo Dark Earth Texture paste to cover the clay to give the base some texture and to blend everything into place. I had also filled the gabions with sand using a big blob of PVA to hold the sand in place. As the texture paste was drying, I placed the cannon balls onto the base and also placed some renedra barrels to leave an indent. It was at this stage that I noticed that the bombard was not quite centrally aligned on the base…When I had glued the clay back on to the base, I had obviously not quite centred it. My inner OCD now chipped in and I started to think about re making it all. However, I decide that I could live with it being slightly off centre and it would be OK. Phew!

Is that gun off centre? It’s staying put now!!!

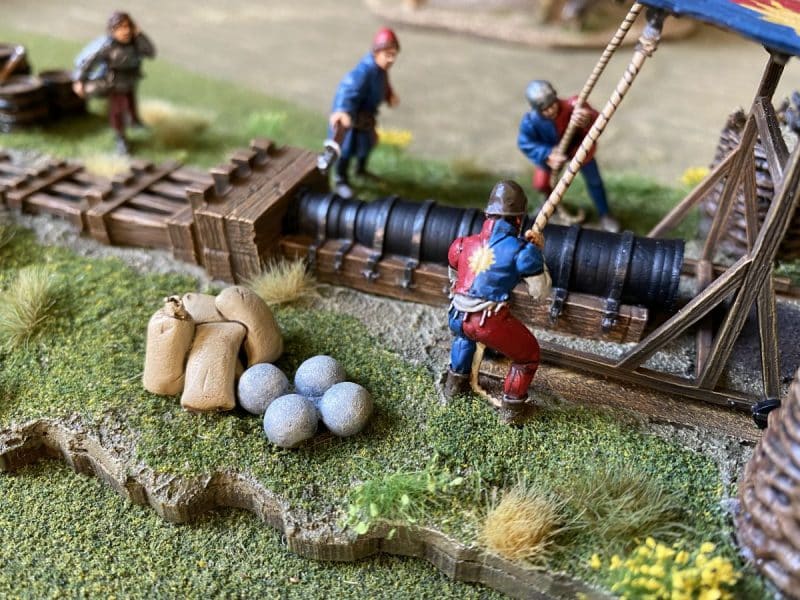
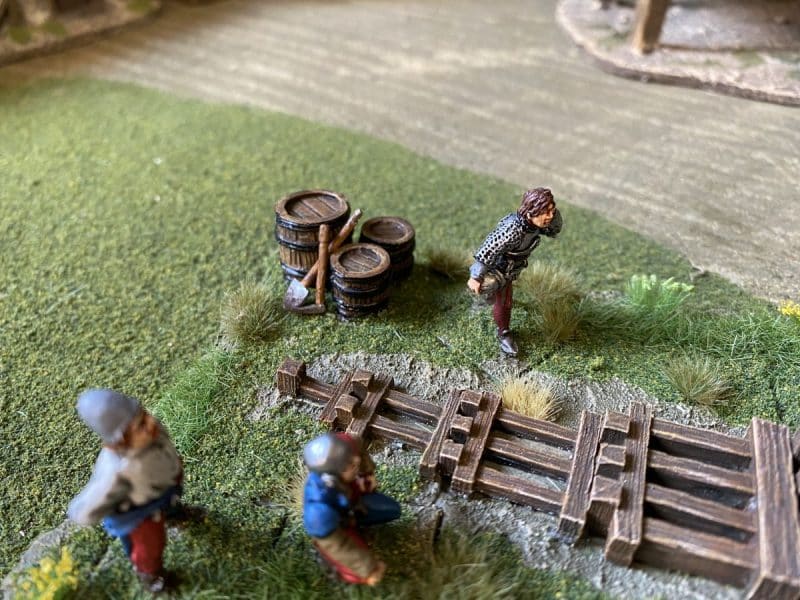
The next step was to start to paint the items that I would be adding to the base. I painted the cannon balls in grey rather than black. I’m not sure if guns of this size used granite ‘gun stones’ but I thought that it was likely that stone would be used rather than cast iron. As an aside, my Brother has an allotment on the Isle of Wight in the shadow of Carrisbroke Castle and he regularly finds small ‘Gun stones’ that were either quarried nearby or test fired from the Castle. The renedra barrels were painted using the same colours and methods as the woodwork on the bombard. I also added some sacks to the base. I have a stash of these that I have made from Milliput. Whenever, I have some spare milliput left over from a project, I use it to make these sacks. I’m too frugal to throw anything away and they are very simple and quick to make!

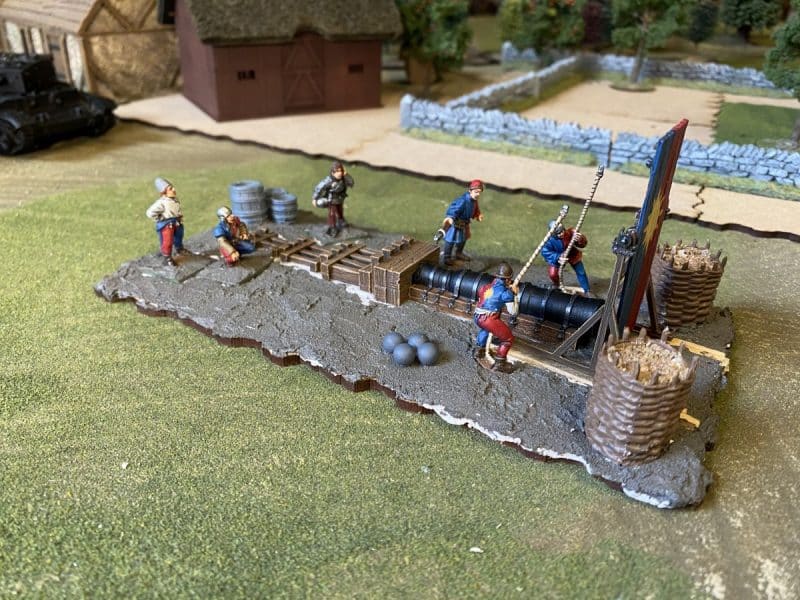
The model is taking shape – ground work done.

You can also see that I had painted the Textured earth paste using an emulsion paint, ‘Delhi Bazaar’, highlighted with Iraqi Sand. I’ve also started to add the first layer of vegetation, Woodland Scenics Blended green turf.

Static grass and tufts added
Sacks and Gunstones – I’m not sure that health and safety will approve…

Once the base was coated with the turf scatter, I added some Static grass. this gave me the chance to test my ‘Static King’ applicator from woodlands scenics that I had been given as a Christmas present. The results were OK, but it’s fair to say that I need more practice. I spent more time snagging my fingers with the rather fierce crocodile clip and giving myself a buzz of static than I did in getting the grass to stand up! The good news is that what hair I have, is now slightly straighter than before! The static grass added another layer of texture and I finished of the base with an assortment of tufts and a few flowers to add some interest.

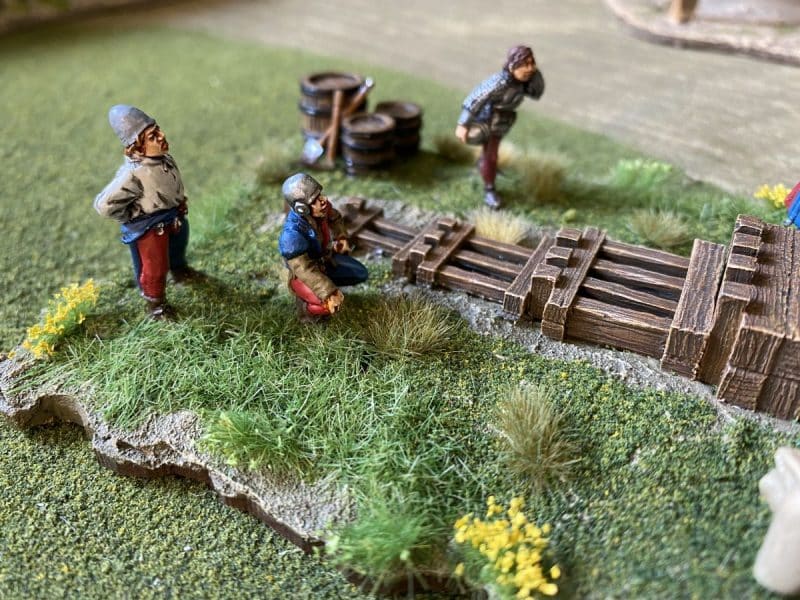
Tools and Barrels

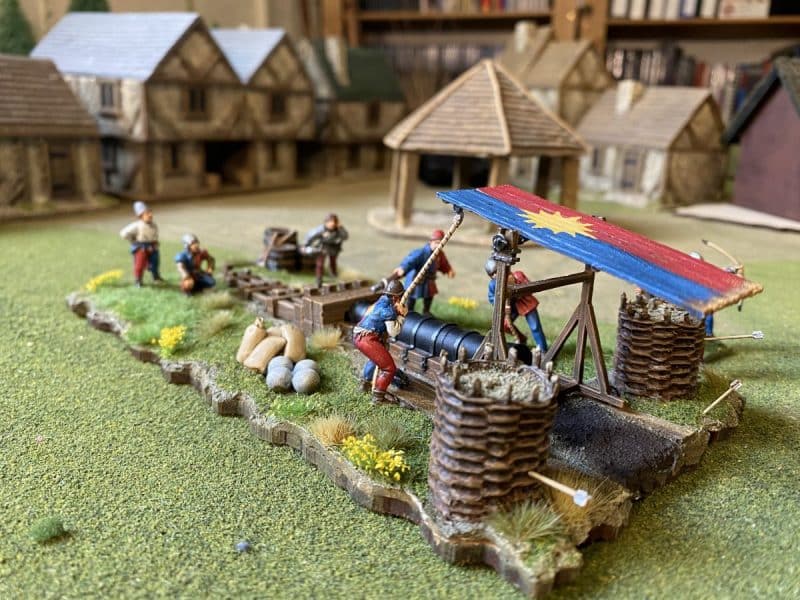
I also thought that it would be fun to add some arrows to the Gabions, to make it look as though the enemy were nearby. I made these from scratch using thin Evergreen plastic rod (30/000) and some scrap 10/000 plasticard for the flights. Finally, I added some weathering powders to the bottom of the mantlet and added some black weathering powder to the front of the gun to represent the powder and smoke that would have come from firing the gun.

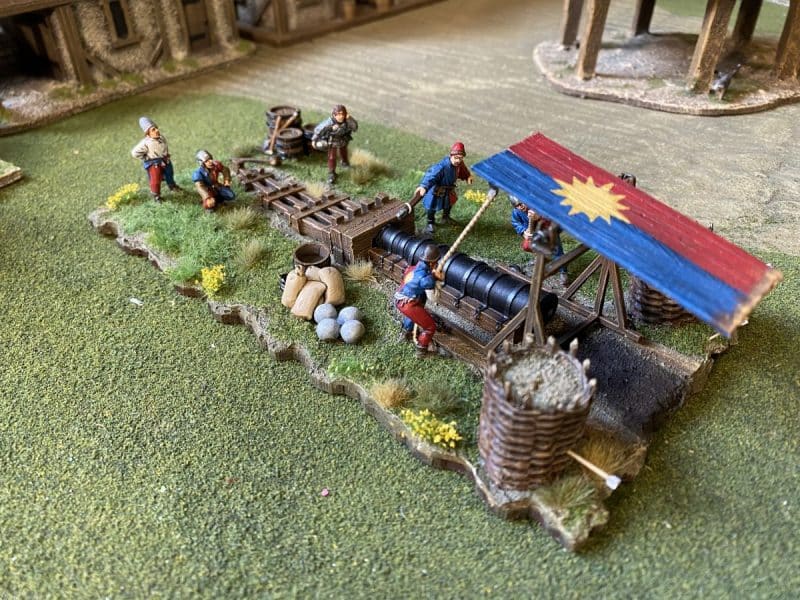
The completed base

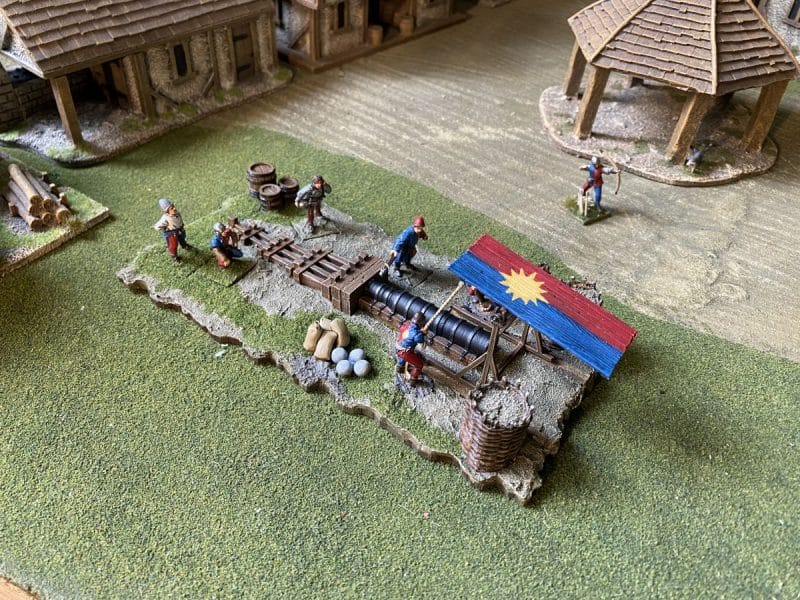
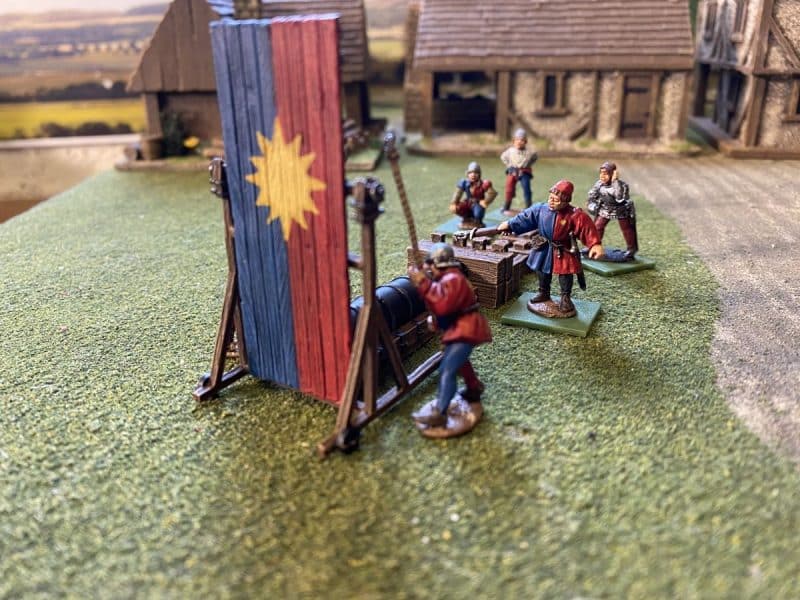
So my Bombard is now ready for the table. There are a couple more details that I will add. I have a bucket and open cask of water to add, as well as a sledge hammer and rammer on the work bench in the final stages of painting. Andy Callan has suggested that I christen the gun ‘Little John’, so Little John will be making his debut in a battle soon!

The Completed model, the the extra barrels and tools added

THE COMMERCIAL BIT

Almost all of the paints, miniatures, bases, basing materials and anything that you are likely to need for your hobby are available from my shop here:

ARCANE SCENERY

Perry’s WOTR plastic range are here, including some nice army deals!

PERRY MINIATURES

You can see the range of Renedra Accessories here:

Renadra Scenic Accessories

The Sarissa Terrain Tiles can be seen here:

TERRAIN TILES

You can find all the Vallejo Model colour paints here. If you don’t want to browse, just enter the paint number into the shop search bar;

VALLEJO PAINTS

Happy Modelling!

Bombard in Progress

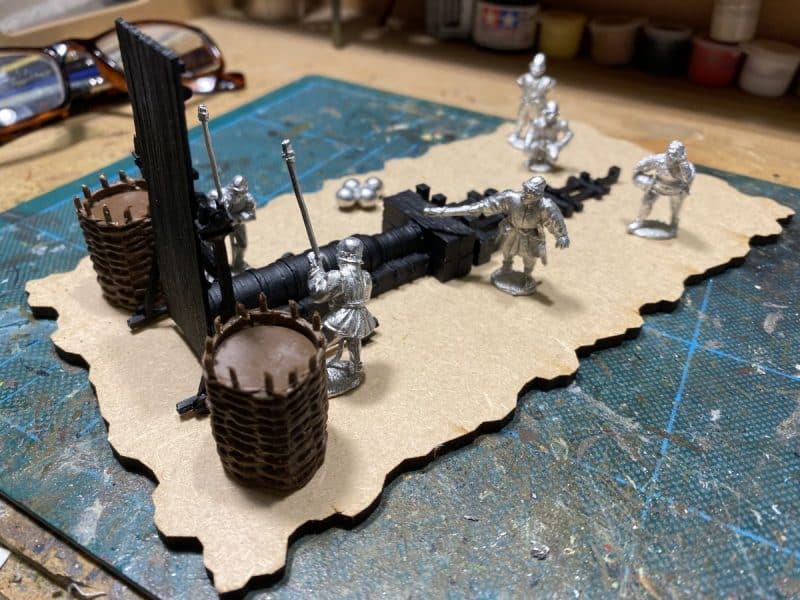
I continue to add to my War of the Roses army and the latest project is a Medieval Bombard from Perry’s. It’s a big old beast at nearly 140mm long and so basing it was always going to be a challenge. I have decided to use one of the Sarissa terrain tiles for the purpose. Although it is a bit on the thick side, the irregular edge will help it blend in to the wargames table. I also have vague ideas of adding siege works to either side of the bombard at some stage in the future. The terrain tiles will work well, should I actually do this!

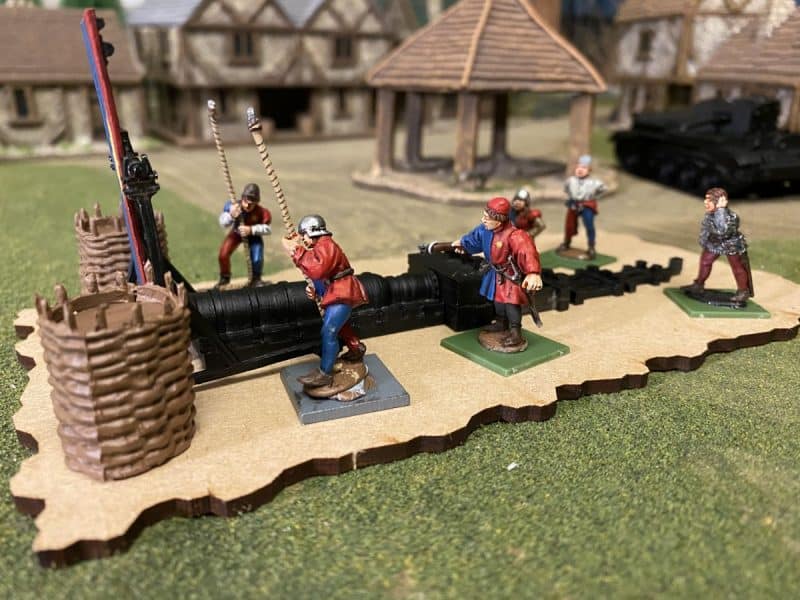
Planning the bombard layout view 1

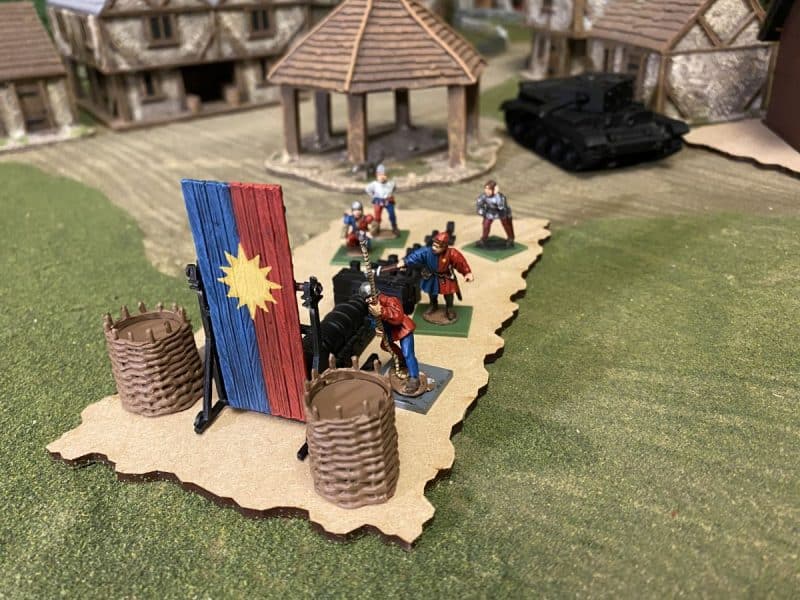
I decided that I would paint the crew in Edward IV ‘s retinue colours. I thought that only a King would have the finances and resources to bring such a large piece to a battle or seige. Just to be clear, I haven’t done any specific research on this! I just fancied the colours and thought that having a ‘sun in splendor’ motif on the manlet would look cool! Oh! and the fact that I could probably paint the sigil free hand, given my painting abilities…

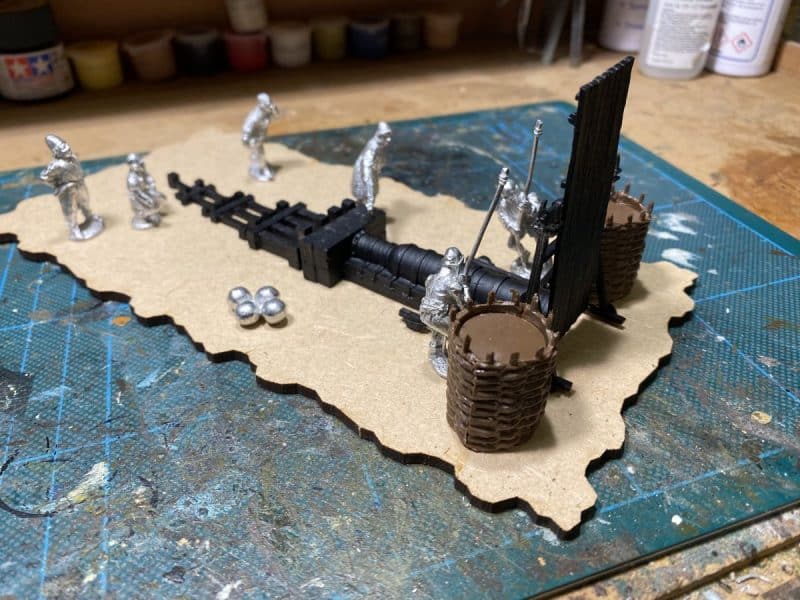
Planning the Bombard Layout view 2

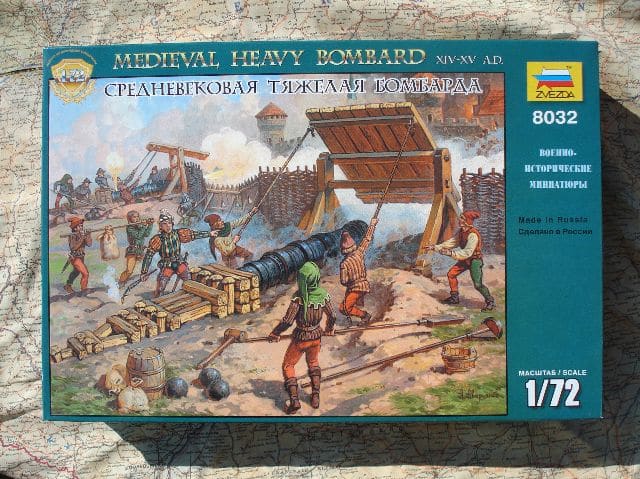
The only reference picture that caught my eye was the art work for the Zvezda version of the bombard. I’m not sure how accurate this is but there were a few details that I thought that I would add to my model. The first thing that I noticed was that the bombard was mounted on an earth work slope rather than flat on the ground as most of the other models that I had seen. After much thought and debate with friends, I decided that I would go with a fairly flat piece of ground. The Bombard in the Zvezda model was clearly being used in seige work and I wanted my model to be used in a set piece battle. I did like the idea of adding some extra protection for the crew in the form of some Gabions. I also liked the idea of the ‘special tools’ used to load the guns and of course the sacks and barrels lying around so I had it mind to add these.

Cover Art for the Zvezda Bombard

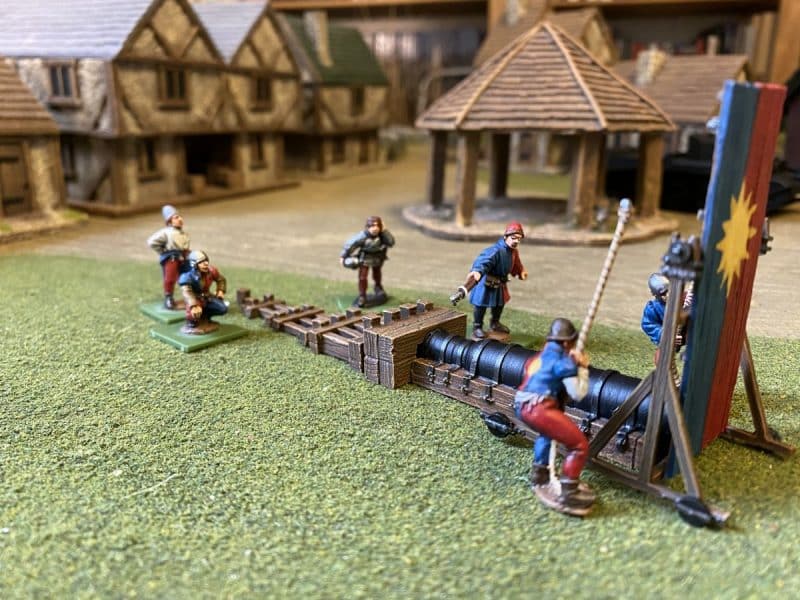
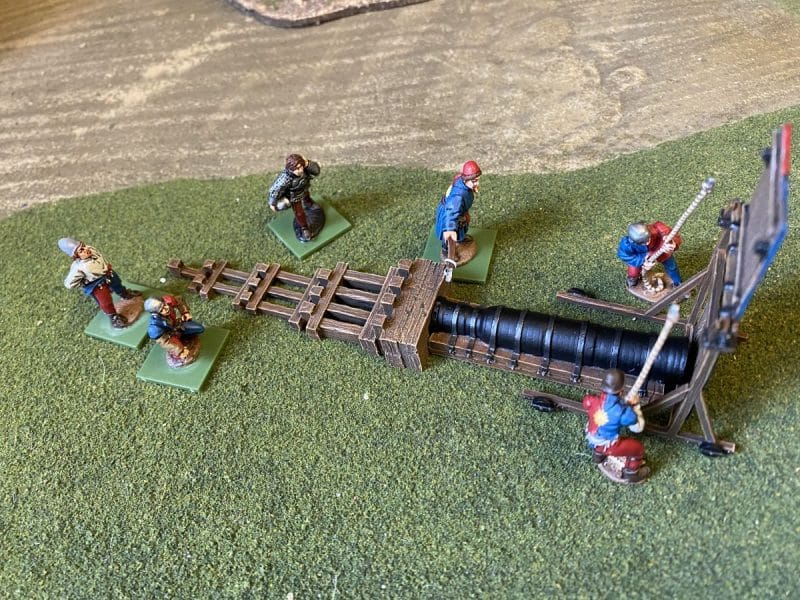
I also noticed that the Mantlet has small wheels allowing the crew to push it forward to facilitate access to the gun barrel for cleaning and loading. So I would add some timbers for the mantlet to run on. The last consideration was whether to make the crew removeable to facilitate game play in Never Mind the Billhooks. The two guys pulling down the Mantlet would have to be fixed but I would make ‘sabot’ bases for the rest of the crew to allow them to be removed if casualties.

Crew painted and ready for basing
View of the painted mantlet

Andy Callan has come up with some instant rules for using the Bombard:

“Huge Bombards fire only straight ahead (no arc of fire) and only on alternate turns but both 5s and 6s are kills. 15 pts inc. crew. Only 3 crew count towards firing dice.”

I think that this early version may be altered to take into account the protection that the crew have and that although only three crew count for dice, there are more to absorb wounds!

Bombard and Crew painted
Top down view of Bombard and crew before basing

As regards the painting details, the crew were painted in my usual style but I have used Army painter inks rather than the quick shade that I sometime resort to. As regards the Gun and wooden block work, I followed a ‘recipe’ that I have used before for siege engines. You can find the detail in another of my blog articles here:

https://arcanesceneryandmodels.co.uk/trebuchet/

The pictures through out this article show my progress so far. I hope that over the Easter break I will have this model finished and I’ll publish a follow up with a bit more information on how I went about making and painting the base and accessories.

Get ready to fire!

THE COMMERCIAL BIT

Almost all of the paints, miniatures, bases, basing materials and anything that you are likely to need for your hobby are available from my shop here:

ARCANE SCENERY

Perry’s WOTR plastic range are here, including some nice army deals!

PERRY MINIATURES

You can find all the Vallejo Model colour paints here. If you don’t want to browse, just enter the paint number into the shop search bar;

VALLEJO PAINTS

Happy Modelling!