I have been thinking about building a War of The Roses Army for some time now. I have a Lion Rampant Retinue that would serve as the core of the army. I just need to expand it so that I could field a much larger force and perhaps try a new wargaming rules set. It is a bit of a distraction from my Napoleonic project but sometimes a change is required to prevent painting fatigue and I was feeling the need to try something different.
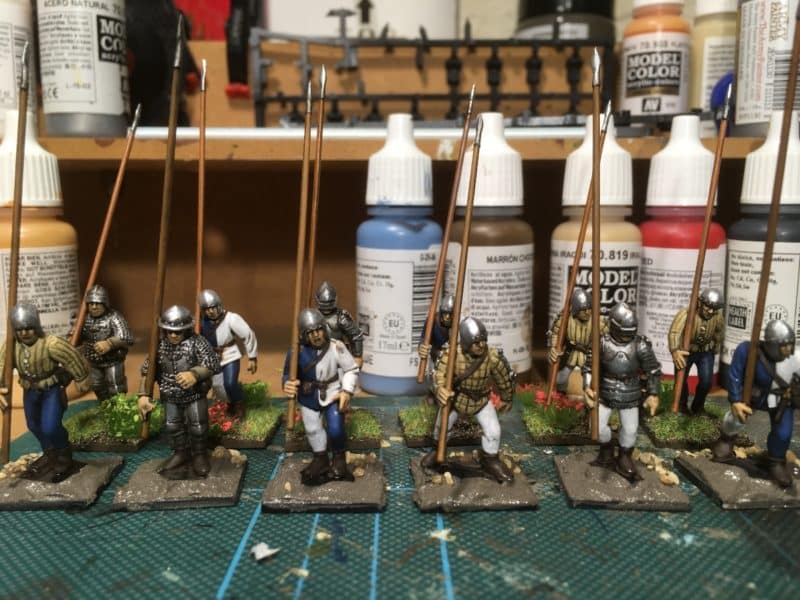
Pike men on the work bench close to being finished.
I’ve also had six assembled and undercoated Pike men on my modelling board for well over a year. They were left over from my Lion Rampant Retinue and were not needed at the time and so not finished. I had also recently bought a lovely Trebuchet that perhaps would form a nice centre piece or objective for a Lion Rampant game. The final piece in the push, was that following our recent display game at The Bingham Napoleonic Days, Andy Callan offered to revise our Napoleonic rules to make them suitable for WOTR.
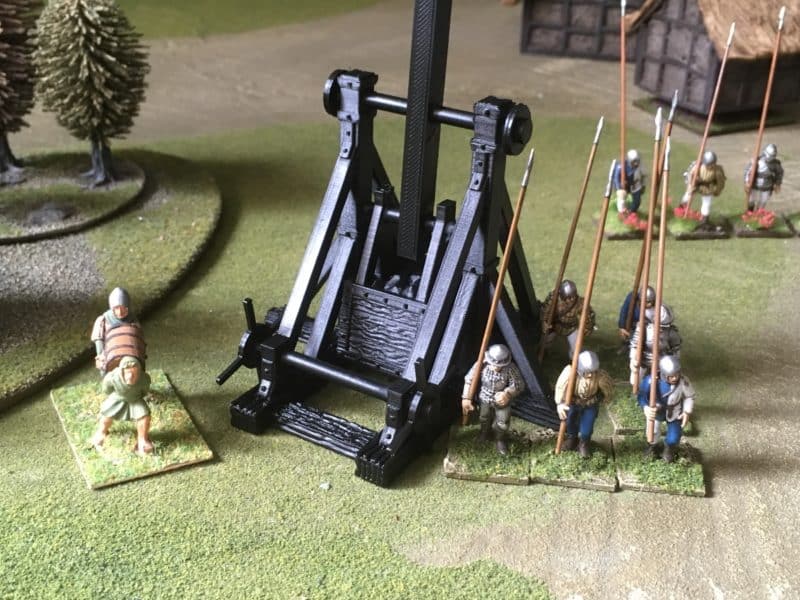
The Trebuchet is also primed and ready to be painted.
So, with all this in mind, the first job was to finish the pikemen and then decide what to add to the army. I decided that I needed to expand the core of the army – the men at arms. The Perry’s make a lovely set of English Foot Knights for the period. A box of these would give me 36 Foot knights in heavy armour, as well as a couple of Command figures. I also thought that they would be nice and straight forward to paint. I had no intention of doing any really serious research on colour schemes. The box art of the Perry’s set, Pinterest and the couple of books that I have on Medieval Warfare would do for now. I just wanted to get on with the figures and as I have commented in the past, too much analysis leads to paralysis!
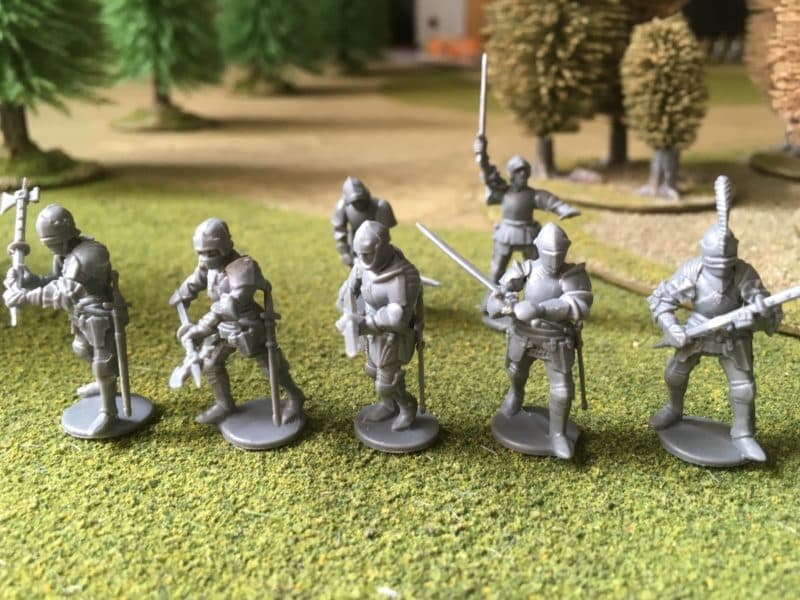
Foot Knights assembled
As four of the torso’s on each sprue of the Foot knights are modelled in full armour, research on colour schemes, could wait. I would leave the Foot Knights with Tabards for last and get on with painting! Assembling the Knights was fairly straight forward, although a bit fiddley. I could have done with a bit more guidance in the instructions but on studying them closely and looking at the box art, I soon had the hang of it and assembled my first six figures. There is little flash or mould lines to remove and to be honest I wasn’t sure that some of the mould lines were actually edges to armour plate!
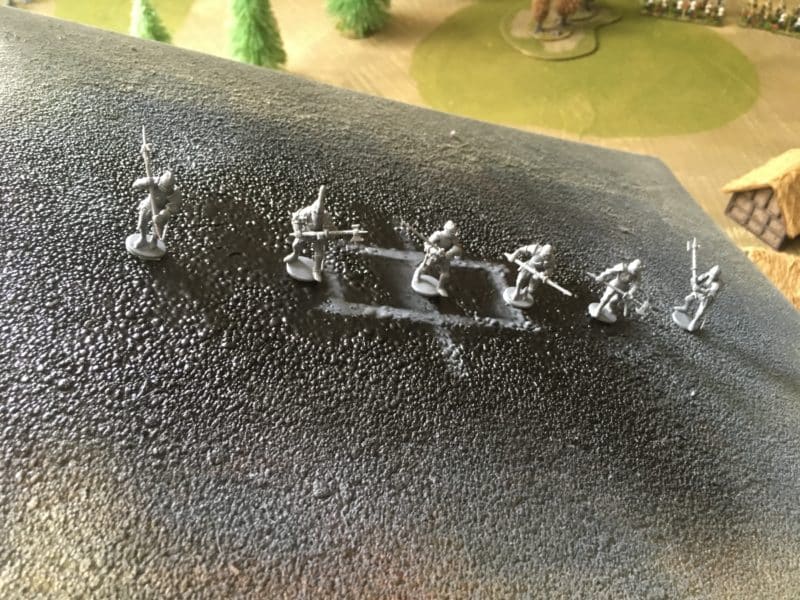
Knights ready for priming
I then blu-tacked the figures to my spray board ( an old piece of Hardboard). The picture shows how you can tilt the board and the figures stay in place whilst you spray! This means that you can get to all the places on the figures, even underneath.
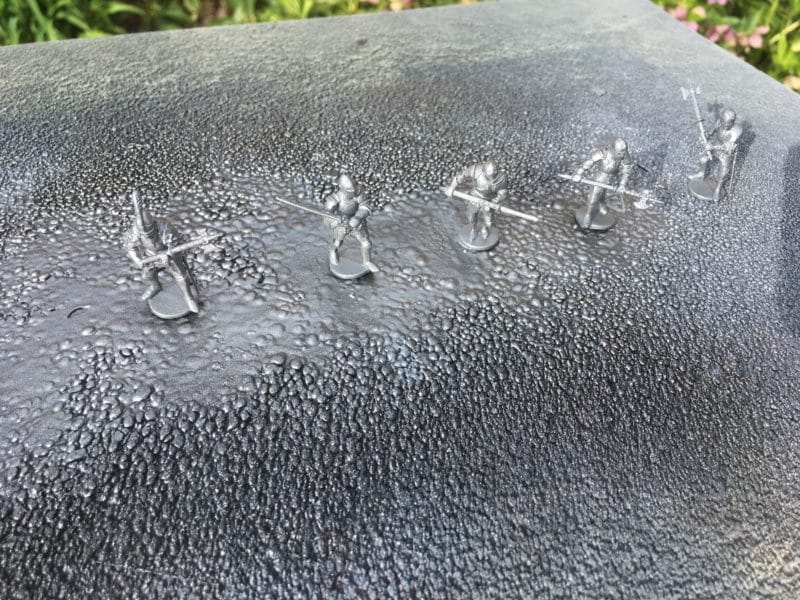
Primed! Army Painter plate mail primer.
To prime the figures I used Army Painter Plate Mail sprate. Any good silver primer will do the job but the Army painter range all works well together, so I prefer to use it. Once primed, the figures are taken off of the spray board and mounted on temporary bases. Blu-tack is used – it is fine for both metal and plastic figures and I have been using the same ‘lump’ for some years now – so is good value for money!
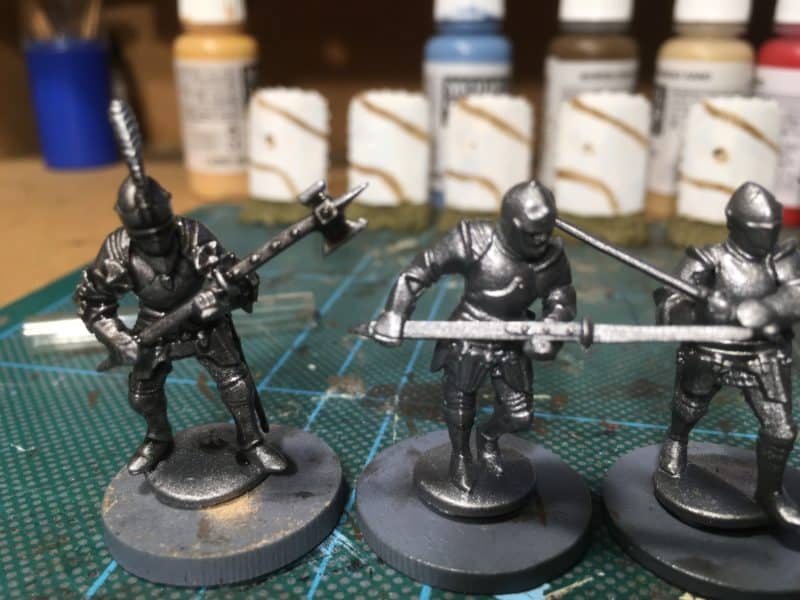
The foot knights on their temporary bases.
I then gave the figures a good wash with Army Painter Dark Tone Ink. The picture above shows the contrast achieved, with the figure on the left being inked.
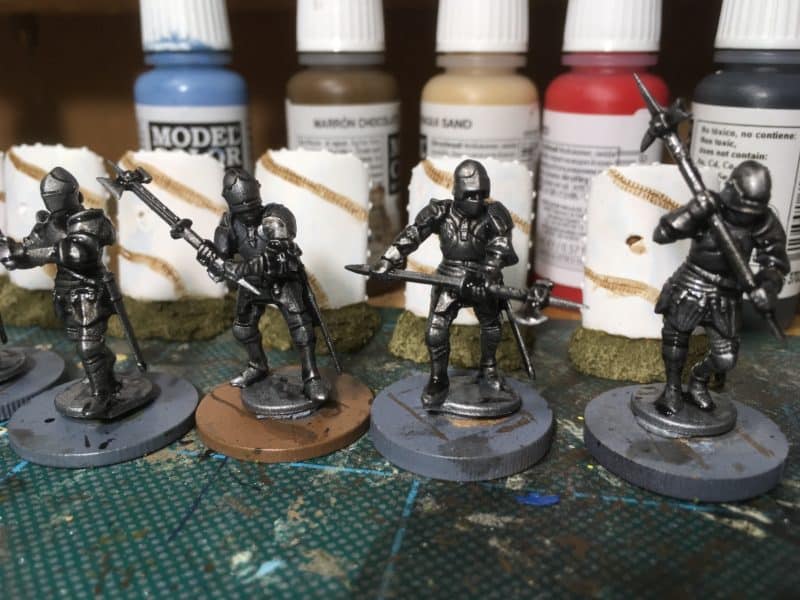
Foot Knights after washing with Dark Tone Ink.
Once the dark Tone ink is dry, the next stage is to dry brush with Army Painter Plate mail paint. It matches the original primer and starts to highlight the figures, bringing out the detail.
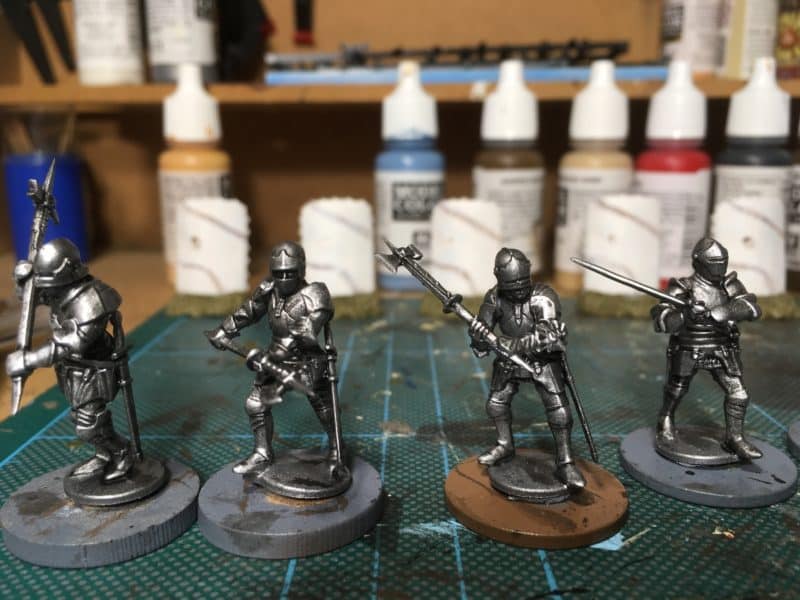
First Plate Mail dry brush coat.
The next stage is to dry brush the figures with silver. In this case I switched to Vallejo Silver as it was what I had on the work bench. The Army painter version would work just as well.
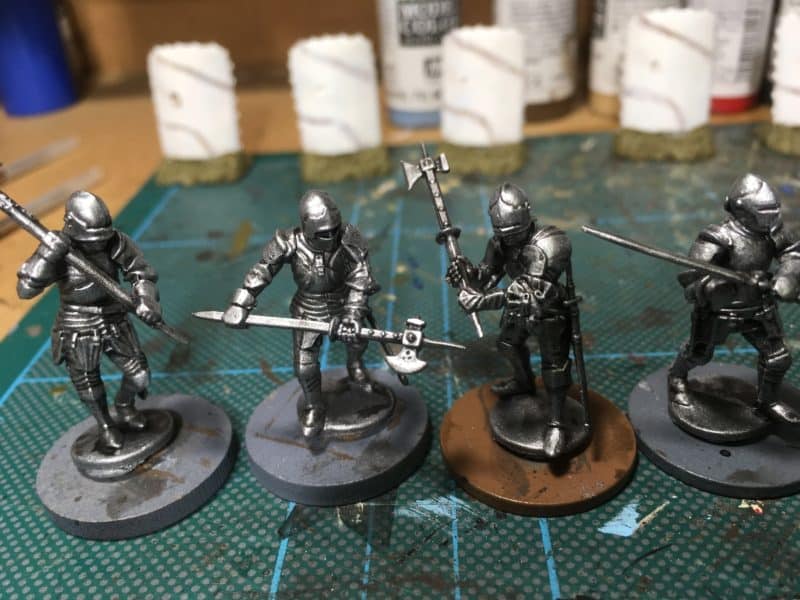
Silver Dry Brush added
I tend to use a very light dry bush for the silver but repeated it a couple of times. I think this actually helps to ‘polish’ the top areas as the paint dries.
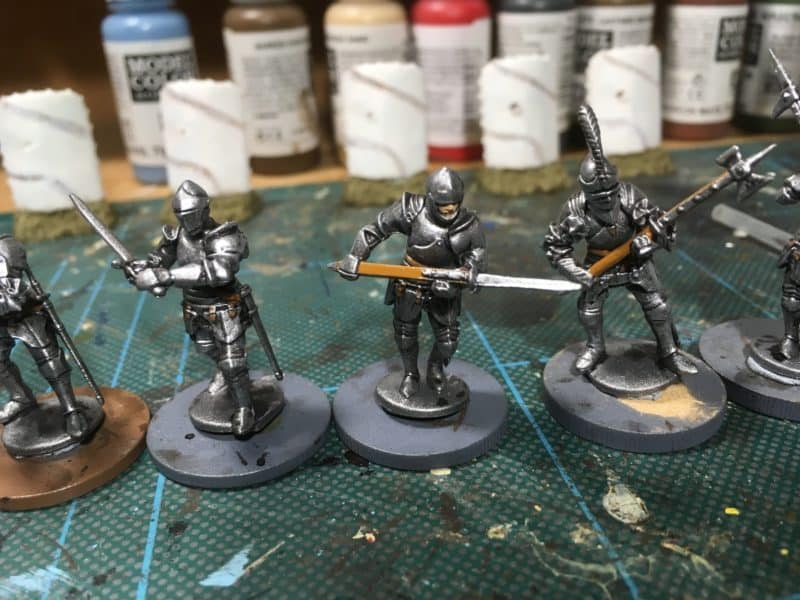
Time to start picking out the detail.
I then picked out the detail using vallejo ‘New Wood’ for the weapon shafts, Flat earth for the leather strapping, Leather brown and saddle brown for the scabards and other leather wear. I also picked out the flesh and used off white for the trousers (hose) that show at the back of the legs. Finally, the swords and scabbards were detailed with Brass and black where appropriate. As a final touch, I washed some of the areas ( Faces and leather straps) with soft tone ink and touched up any obvious errors that I could see and the figures were ready for basing.
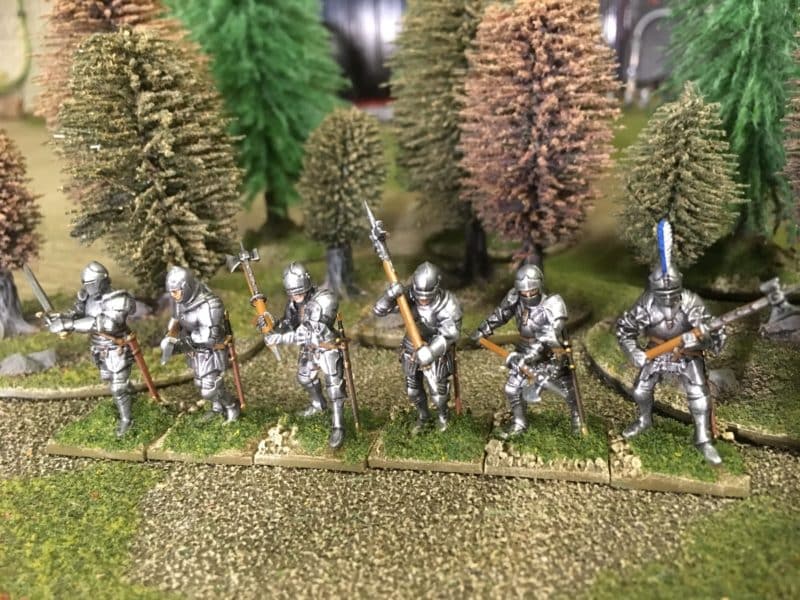
Foot knights ready for action!
With six Foot Knights and the Pikemen added to my Lion Rampant retinue, my army is starting to take shape. I’ve sent off for a book on WOTR colours, so when it comes to painting the figures with tabards, I will have a better idea of how to approach the subject. With 18 more Foot Knights in full Harness to complete, I’ll have time for a bit of research!
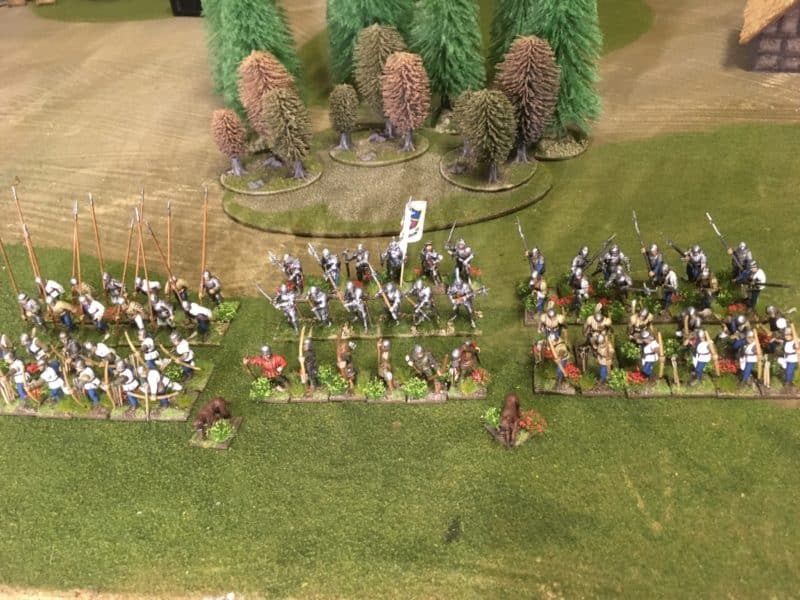
The Retinue gathers.
THE COMMERCIAL BIT
As always, most of the models, paint, basing and tools that I use come from my shop:
At the time of writing, we still send out post free to most worldwide locations. Here are some direct links to just some of the categories that we have.
PERRY MINIATURES MEDIEVAL RANGE
Here is a link to my Pinterest reference board for WOTR – I’m still adding to it!
Of course, if you have a facebook account, you can follow me here by ‘liking’ my page. I regularly post pictures of what I am working on and you can see what is new in the shop.
Happy Modelling!
