In my last blog, I showed you how I assembled the Ox cart. Now, on to the painting. I primed everything with Army Painter Leather Brown to give a good base for the paint. I then followed my usual procedure for painting wooden carts. With hind sight this was a bit of overkill for this opened frame cart but the results are acceptable. I started by painting the cart and Oxen Yoke Vallejo Chocolate Brown 70872.
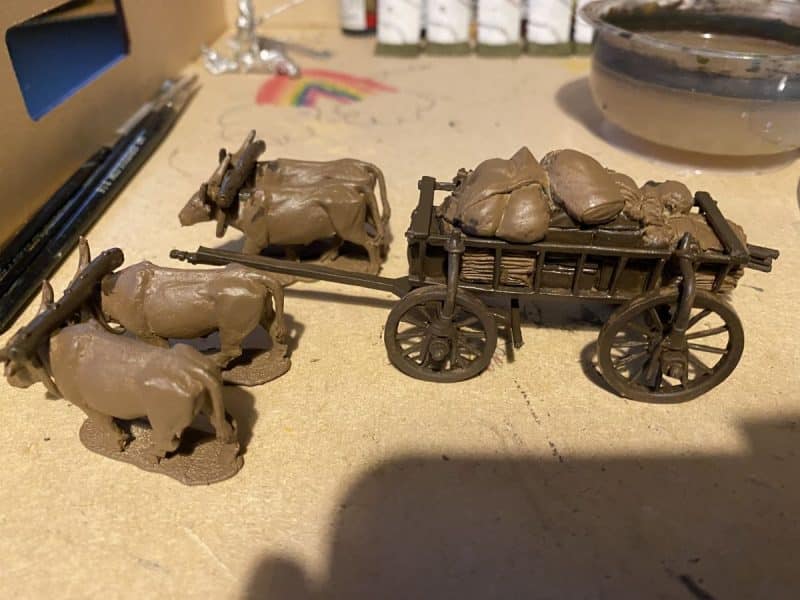
I also picked out some of the wooden pieces of luggage in the cart load with the same colour. Next, I used Flat Brown 70894 to ‘wet brush’ over the same parts. A wet brush technique is like a dry brush technique but there’s more paint on the brush and it’s a bit heavier. The idea is to leave some of the darker brown in the shadows.
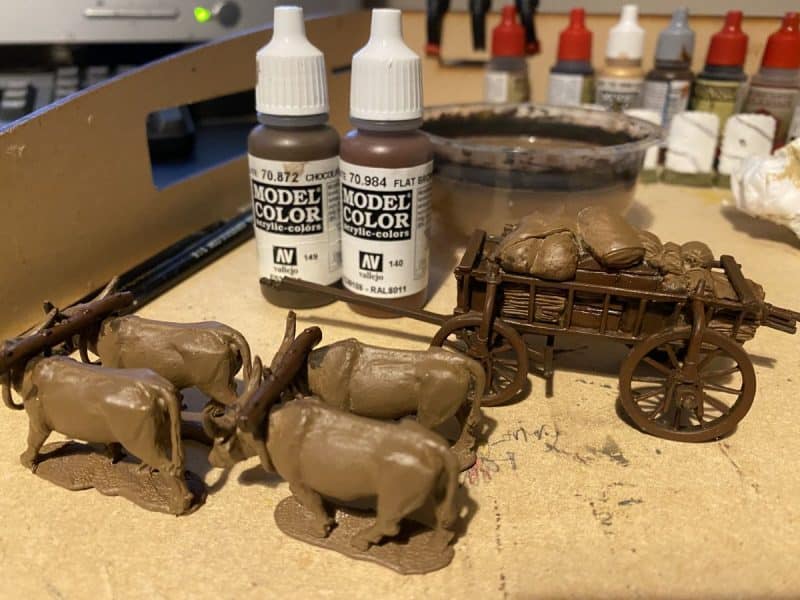
The next stage is to use a heavy dry brush of Flat Earth 70983 to lighten the wooden frame. This time, I’m not going so heavy with either the paint or the brush. I’m trying not to cover all of the previous coats.
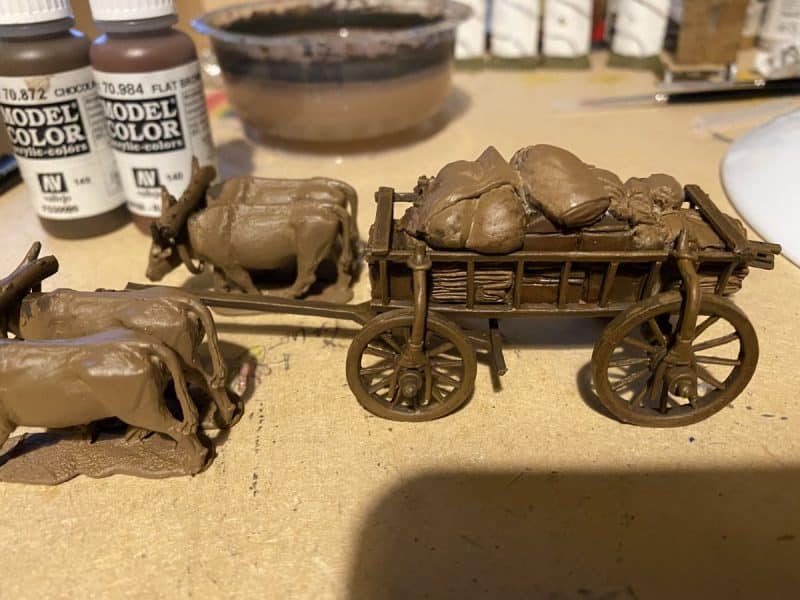
The next colour that I dry brushed on was Orange Brown 70981. This is a lighter dry brush than the other coats and the focus is now the high spots on the wagon, wheels and frame. I tried to avoid the luggage, although any mistakes and over brushing ( as you can see on the sacks) will be corrected when I paint the luggage.
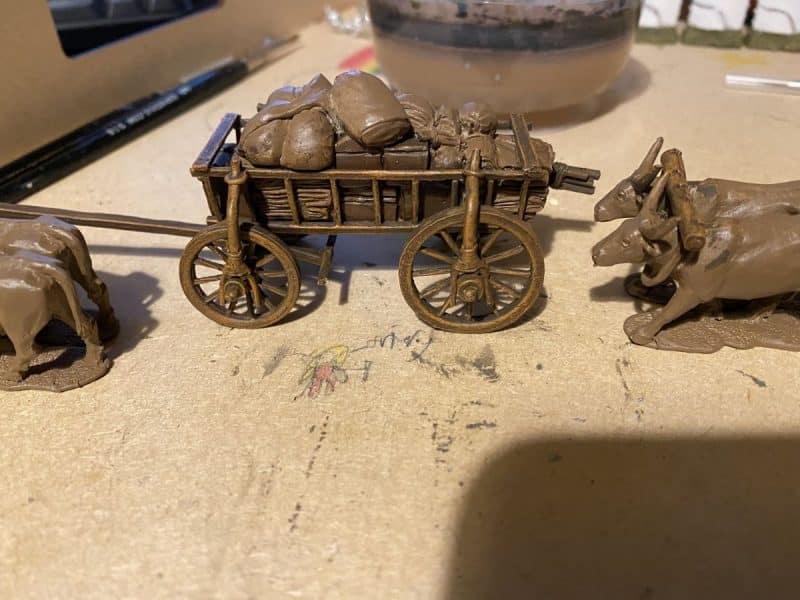
Once the Orange brown is done, yet another dry brush is layered on. This time, I used yellow ochre 70913 and I am aiming at the high spots and edges. Incidentally, I’m not waiting for the different highlights to dry. I just layer them on one after the other and I think that this helps to blend them.
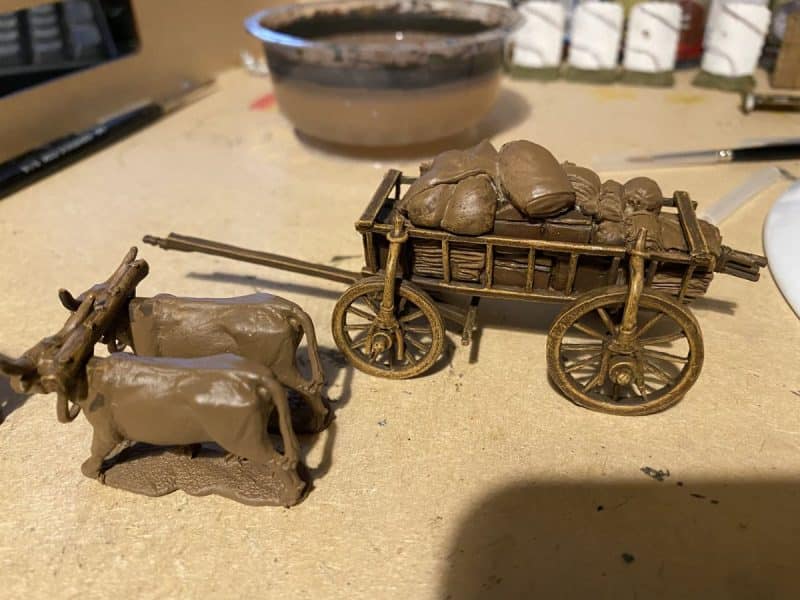
You could stop there but there is one final dry brush, this time using 70815 basic skin tone. It seems like the wrong colour to use but as a very careful edge highlight, it works. I have learnt this technique from the ‘Painting War’ Holy War issue. It very effective on on larger areas of wood. Here’s a link to a previous blog where I use this technique for the first time to paint a trebuchet:
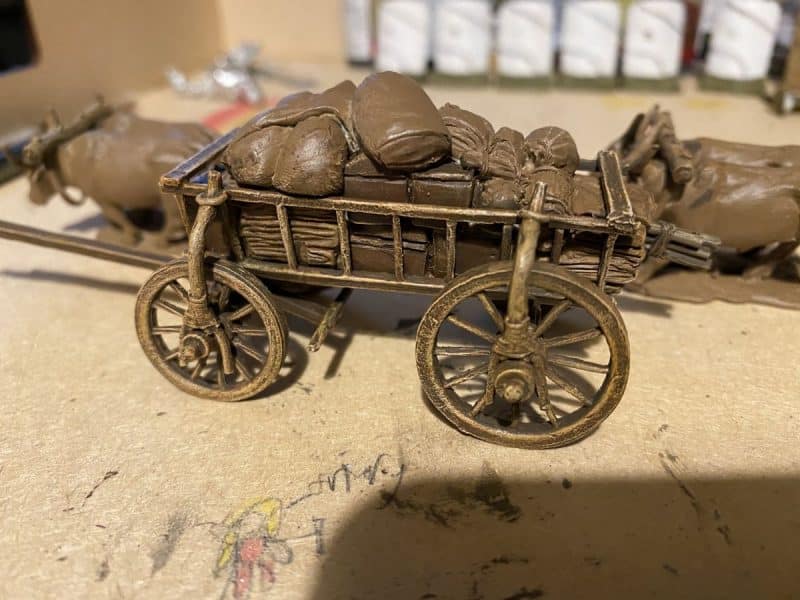
The next task is to paint the luggage and detail the wagon. All the iron work on the wagon and luggage was painted in 70950 Black. I may go back and paint the wheel rims in gun metal as I think that the paint would quickly wear off. The Bindings were painted in Light Brown 70929 and later painted with Iraqi Sand ‘stripes to give a bit of detail.
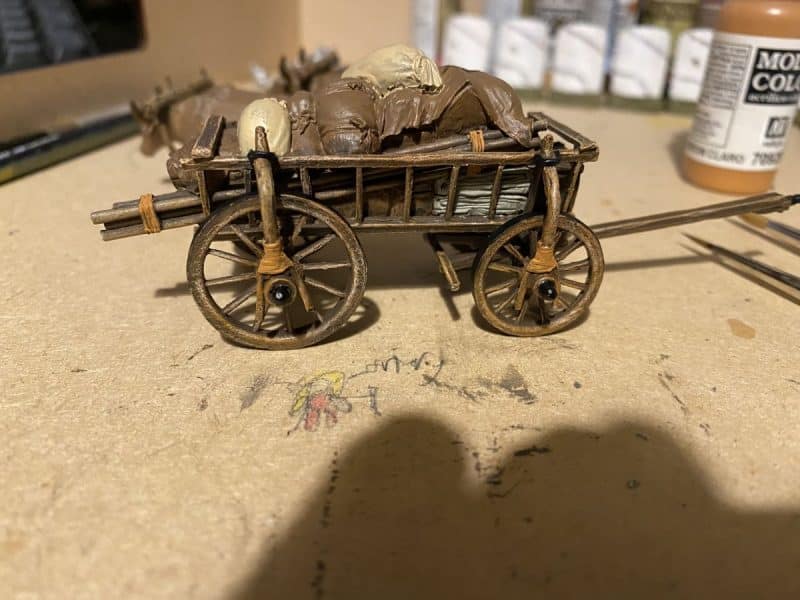
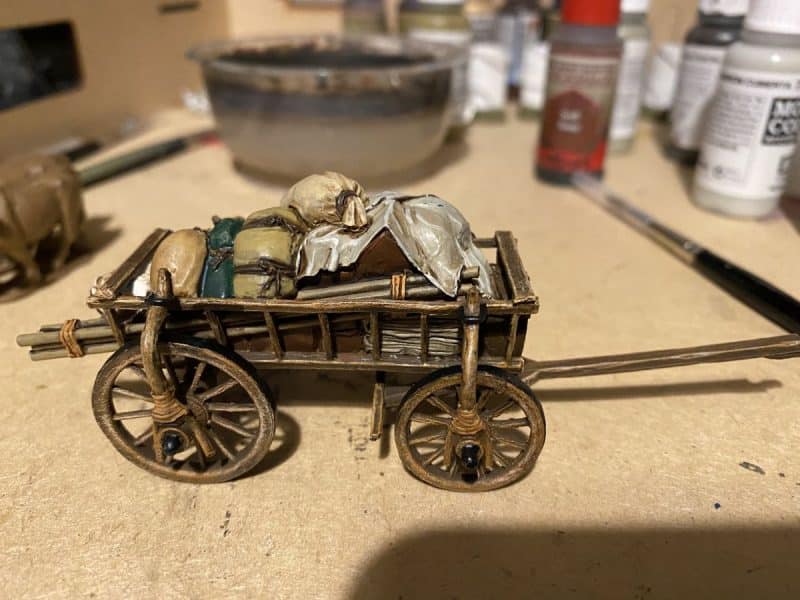
When it came to the luggage, I use a variety of colours, Stone grey 70884, Iraqi sand 70819, Kahki 70988, Black 70950, Deep green 70970, Off white 70820, and my new favourite colour, Deck Tan 70986! Once the colours were blocked on, I gave everything a wash with Army Painter Soft Tone. Once this was dry, I went back over every thing with the original colour, carefully leaving some of the shadows created by the ink, to add the highlights. The top Highlights were done with the original colours but with a bit of Iraqi sand added to lighten the original colour, I find that Iraqi sand can be less ‘harsh’ than adding white. Deck Tan is also very useful for this. One final thought. As I was struggling to paint the details on the luggage at the sides of the cart, if did occur to me that it might have been easier to paint it separately and add it to the completed wagon.
Onto the Oxen. I am no expert on painting Oxen. I did google a few pictures but decided to just copy the picture on the Perry web site as I liked the effect. I painted them with Off White, Vallejo 70820 and then picked out the pattern in Flat brown 70984. After a good liberal coating of soft tone, I repainted the white bits and used the flat brown to highlight the brown areas, although it’s not particularly noticeable. Eyes and noses were painted in matt black and the horns in Iraqi sand. I highlighted the horns with off white and used a black grey 70862 to blend the noses!
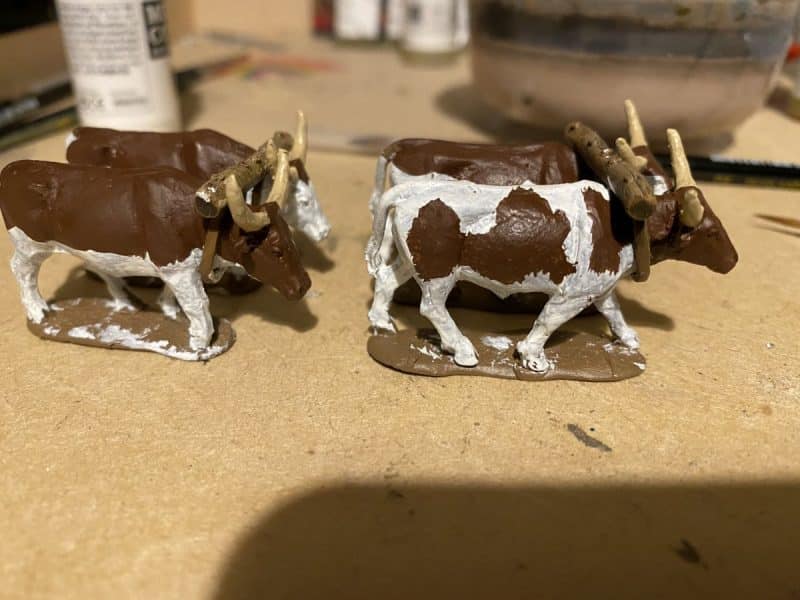
I then based the Oxen in pairs on 40mm x 40mm renedra bases. I had left them unbased up until now as it allowed me easier access to the insides of the Oxen teams. This did lead to a bit of chipping as I moved the animals around. So once based up, I touched up any errors and finished off the yokes with black and Army Painter plate mail for the top off the bolts.
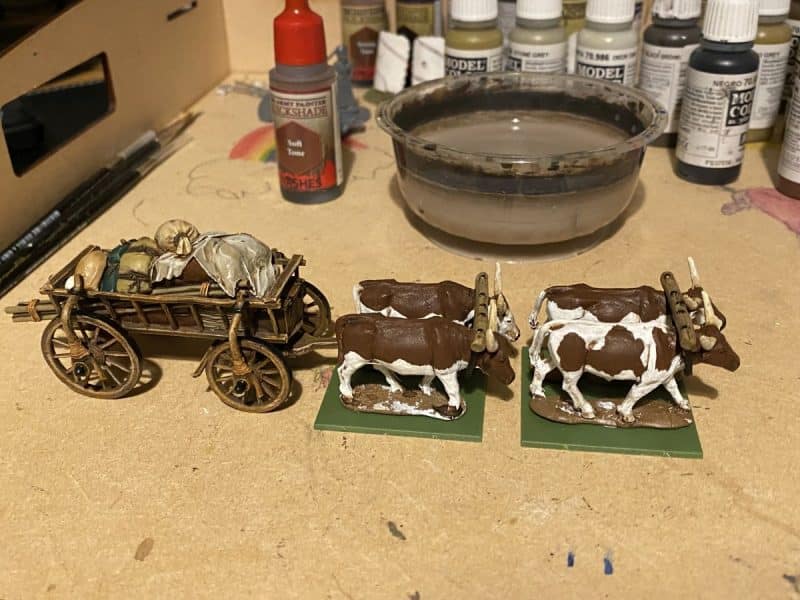
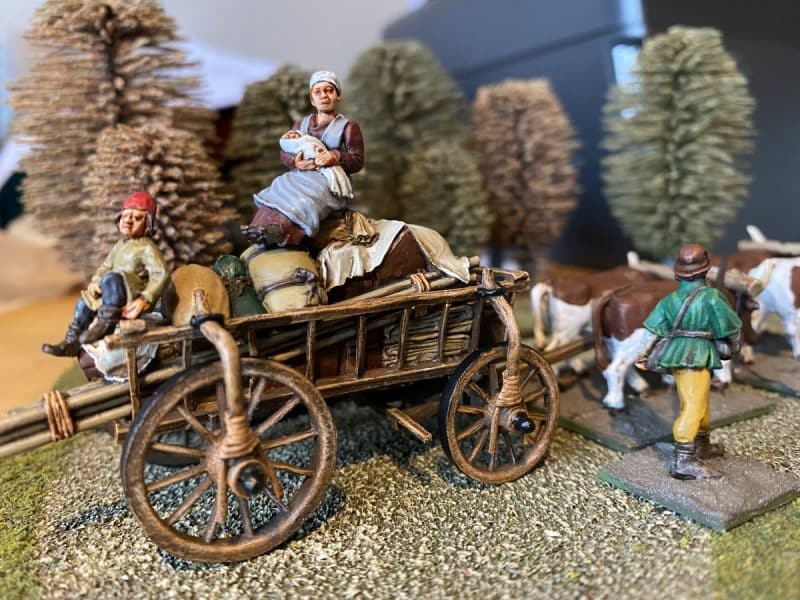
So that’s it for the wagon and Oxen team. The next task is to complete the passengers and base the set. I’ll show you how in the next blog but here’s a teaser of progress so far!
THE COMMERCIAL BIT
I hope that you all enjoy your hobby as much as I do – remember that our web site will have much of what you need! Click here to see our shop:
To see our range of Vallejo paints click the link below. To go straight to a colour, type the paint number into the search bar:
To go straight to the adhesives and fillers section. Click here:
To see our selection of tools, click here:
Tools and Modelling accessories
Happy Modelling!
