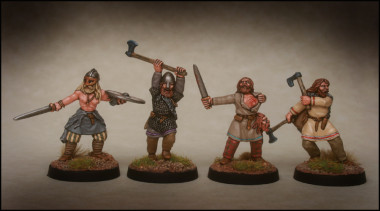
Shieldwall Berserkers Group
I’m very lucky to work in the wargaming industry, albeit on the peripheral of things as a retailer, but as a result I get to see some superb work by the master painters. I have a few favourites, some of whom may be familiar to you, Kevin Dallimore, Paul Cubins, Matt Parkes, Dave Woodward and Andrés Amián Fernández are just a few that spring to mind. I can only aspire to achieve the results that these guys produce. I do however, use them as inspiration and do my best to follow some of their techniques to improve the look of my figures.
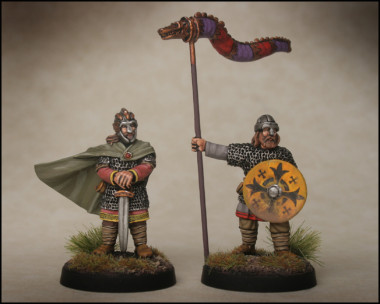
Alfred the Great – Footsore
I can now add another name to the list of my favourite painters, Charles Baynon. Charles has been painting some figures for the Footsore web site and I was very impressed with his use of muted colours on his dark age figures that looked both authentic yet still allowed the figure to catch your eye. I asked Charles if he would mind painting some of the Lucid Eye figures for our web store and he kindly obliged. The results were superb and it was in these figures that I could see what had really impressed me with his painting. It was his portrayal of the face and flesh. How did he do this! Well, the simple way to find out was to ask him and Charles has kindly supplied his ‘flesh recipe’ below and allowed me to share it with you.
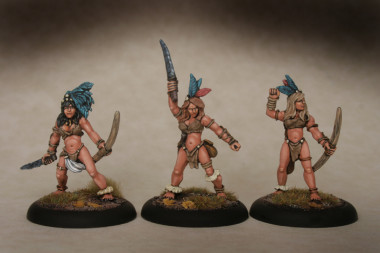
Lucid Eye Amazons Set 2
Painting Flesh The Charles Baynon Way!
“The ‘recipe’ for flesh it is pretty straightforward. I always undercoat figures black and then paint the eyes first. Having narrowed the eyes to a suitably thin sliver, I then paint around all the rest of the visible flesh with tan brown undercoat ( Foundry tan shade). The next step is to paint the bottom eyelids. This I do with Vallejo Basic Skintone. Although it is labelled ‘basic’ it is very light and makes a good highlight. The next step is to paint the rest with the base skintone. For this I use Army Painter Tanned Flesh. First I dot the tip of the nose then place two dots either side of the tip. The trick is to leave a very narrow line of the tan undercoat showing through to define these dots. After painting the bridge of the nose I paint the cheeks (being careful to leave a very thin line of the undercoat showing to separate the cheeks from the bottom eyelid) then I paint the top eyelids and forehead, leaving a very narrow line above each eye to serve as eyebrows.
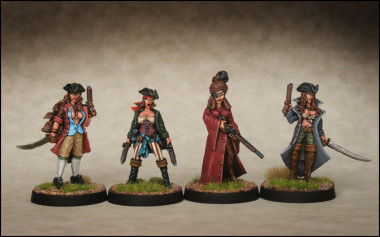
Black Scorpion Pirate Women Group
You may have gathered that it is easier to paint ‘up’ to a line than actually paint a narrow line, so it is the undercoat that serves as the lines on the face. I then highlight areas of the face with Army Painter Barbarian Flesh, namely the tip and bridge of the nose, cheekbones, forehead above each eye and, very occasionally, the chin and jawline. The Barbarian Flesh then has increasing amounts of white added to it and I further apply it to areas of the greatest highlights ie. nose, cheekbones and just above the eyebrows. Once I am happy with the result the last part of the face I paint is the bottom lip with Foundry Terracotta Light.
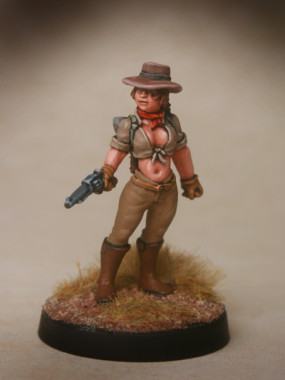
Lucid Eye Female Explorer
I use the same basic recipe for hands, the lightest highlights being the knuckles and fingernails.
For women and larger areas of flesh I tend to use a more subtle colour mix. On women’s faces I often don’t have the undercoat lines to show the wrinkles! I also dispense with the lighter Barbarian Flesh. Instead I just use Tanned Flesh and then build up the highlights by adding successive layers with more and more white added. This gives a much smoother appearance and is more flattering. It is also the technique I prefer to use if painting large areas of bare flesh eg. a Greek javelinman in short tunic etc.
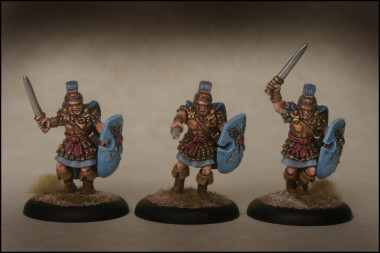
Lucid Eye Atlantean Sword Trio
One last thing, part of the smoothness of tone is also due to the number of times I spray varnish the figure at intervals during the painting process. I found that it was far too easy to, say, rub off the carefully painted knuckles when handling the figure. So I probably spray the figure when I have painted the flesh and then maybe another couple of times after I have completed another particular stage. Just thin coats of varnish are required. I use Army Painter Anti-Shine for this, it protects the figure but, unfortunately, it is not dead matt. The very last coat is the liquid version applied with a small brush. This really does dry to a true matt finish.”
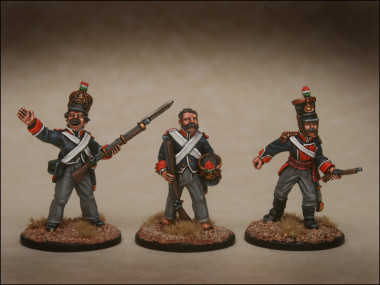
Artizan Mexican Command
I’ve illustrated this article with just a few of the figures that Charles has painted. In my last blog post I mentioned that I was trying to develop two styles of painting. My ‘batch painting’ technique for the rank and file and a more careful traditional highlight & shaded style for my Commanders, Vignettes and Characters. If I can get to anywhere near the standard set by Charles, I will be delighted. I now have some guide lines that may help. I hope that you have enjoyed looking at Charles Baynons work. Should you wish to purchase figures painted to this high standard, Charles sells his figures under the handle of cwb21 on ebay and you can see his latest figures for sale here.
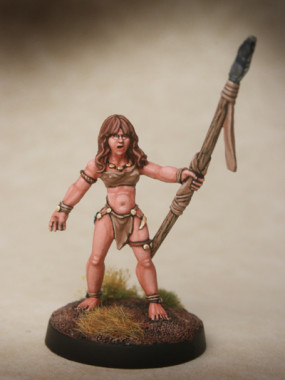
Lucid Eye Harranna of Avisha
