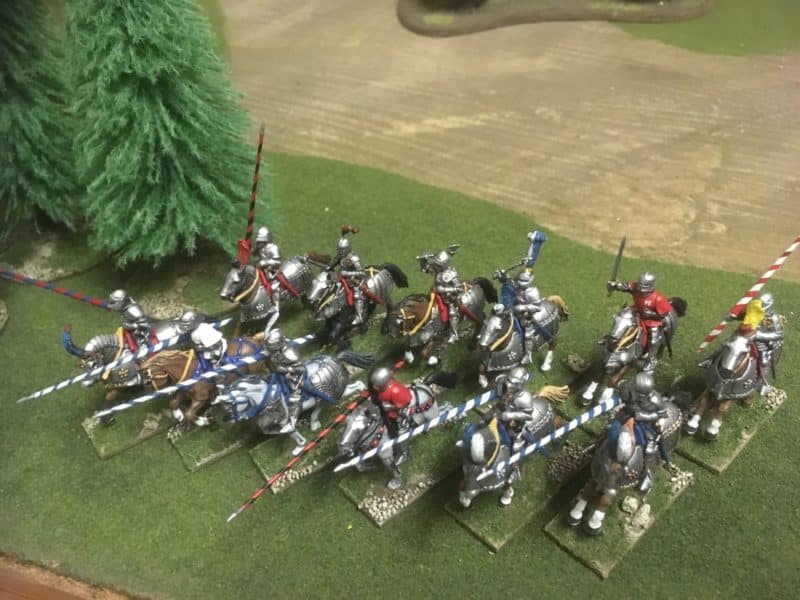
It’s been nearly three weeks since my last blog but I have been busy with all sorts of projects. As far as my War of the Roses project goes, The heavy cavalry are now complete – I have 12 ready for action. I have also built 12 Crossbowmen, 6 Handgunners and 10 more pikemen as well as painting 12 Pavises for the crossbowmen. I’ll write an update on this project in a future blog along with a report on the playtesting of ‘Nevermind the Billhooks’ – the WOTR rules set that Andy C. is developing.
Likewise, my Napoleonic project continues, with the next 12 highlanders, representing the Black watch, primed and the batch paint is underway. I use any ‘spare’ time to add colour to these until I get to the tricky tartan bit, when they will get my full attention!
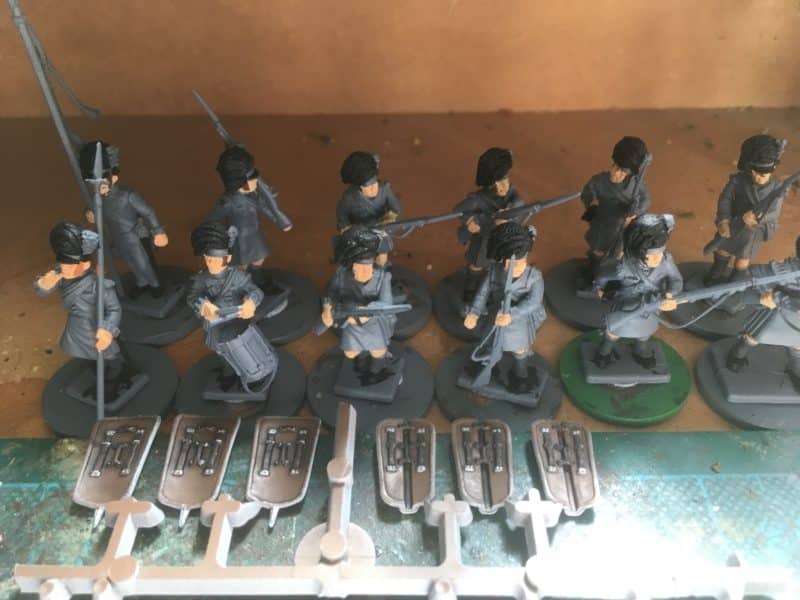
Batch paint on Black watch with pavises in the foreground
I have been distracted by the latest addition to the DeeZee range. Not so much a new item as a re working of an old one. The mold on the Charging Rhino DZ8 was beginning to burn out, so we took the opportunity to re do the master and put the model into resin. I dont think that it’s a secret that we have a very good working relationship with the folks at Footsore and the master Resin Caster, Vince, was happy to take this on as a project. I was delighted with the results and the detail of the model shows much better in resin than it did in metal.
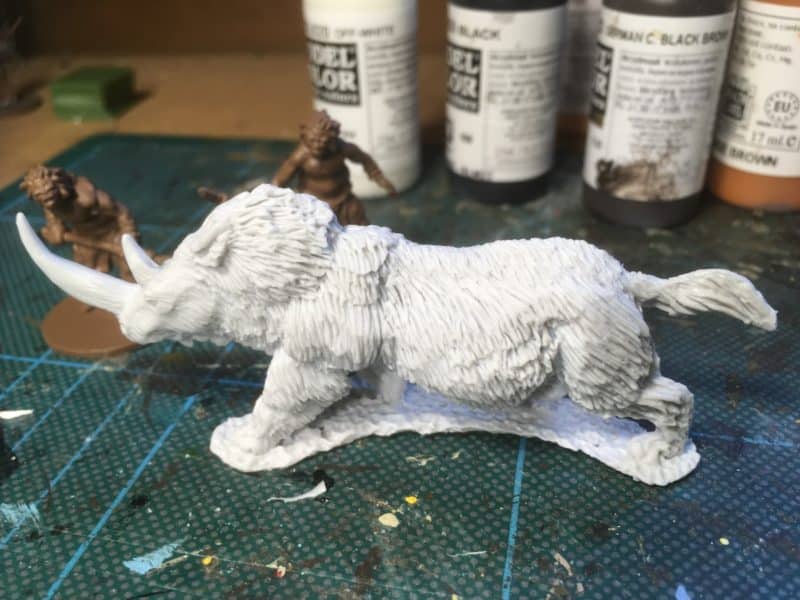
DZ08 Woolly Rhino Charging – now in resin
This coincided with the production of the first ‘shots’ of the new range of DeeZee cavemen that we have commissioned. They are being sculpted for us by the very talented Matt Lupus, of Knuckle Bone miniatures. So I had a good reason to ‘park’ both the WOTR and Napoleonic projects and move further back into history to paint some cavemen and a Woolly Rhino!
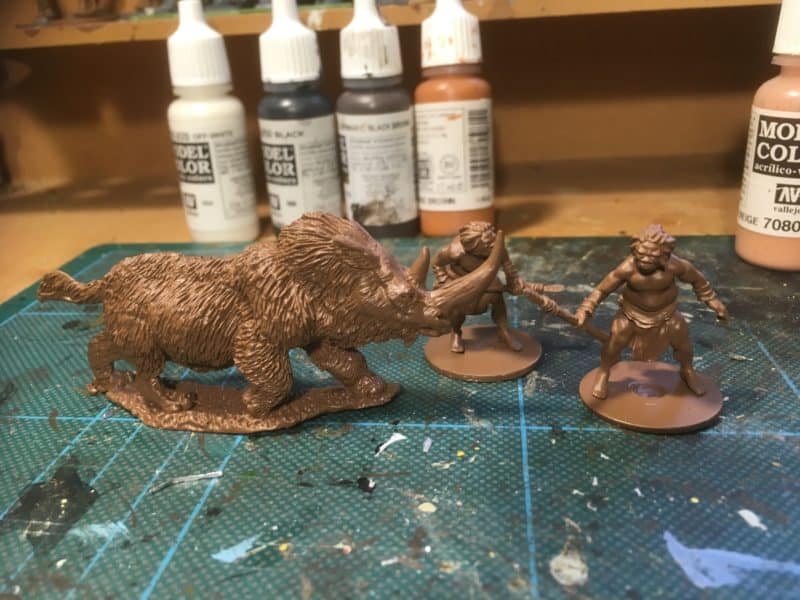
Cavemen and Whooly Rhino primed in Leather brown and ready to paint!
I will write a future blog explaining what we are doing with the cavemen – for now, I’ll just say that there will be 10 cavemen in the initial release and of course if they sell well, we will add to the range. It’s a new venture for us and once the figures are available for production, I will be pleased to show them off in full! For now, I’ll focus on the Rhino and tease you with them in the pictures as I was working on them at the same time as the Rhino!
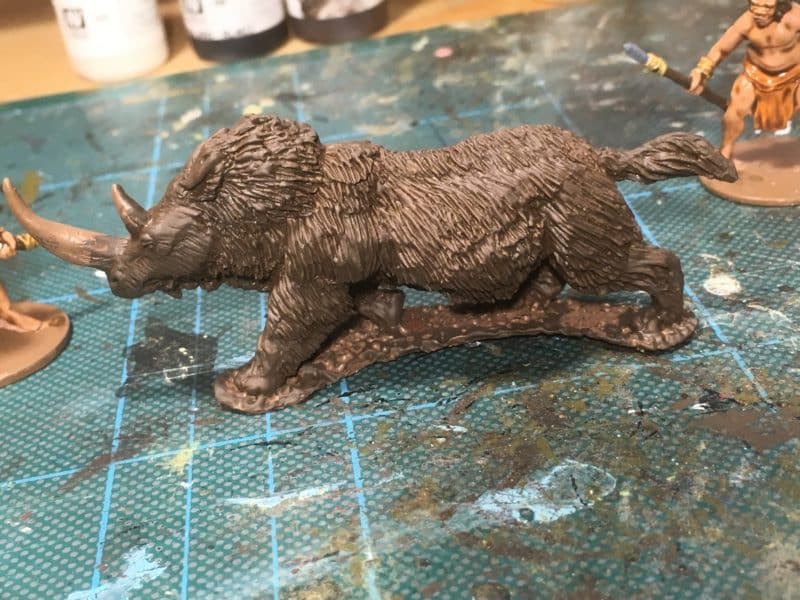
Fur now painted Chocolate Brown.
Once the Rhino had been primed with Army Painter Leather Brown, I painted the fur with Vallejo Chocolate Brown 70872.
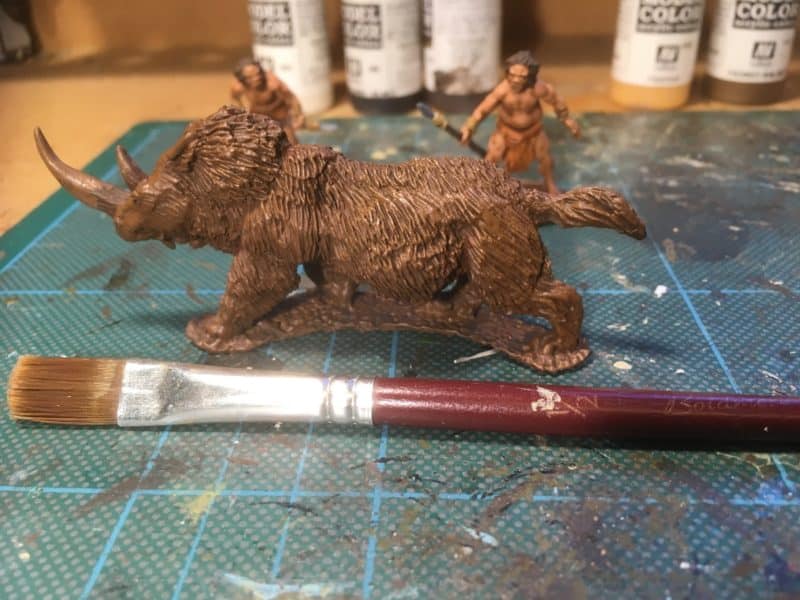
Flat Brown Dry Brush
Using a large flat brush, I then gave the Rhino fur a heavy dry brush in Flat Brown 70984.
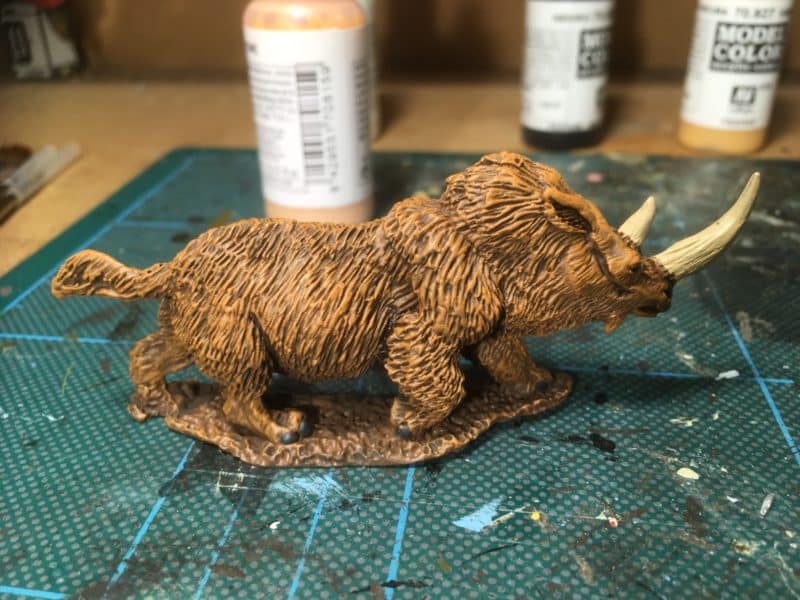
Fur Highlighted by dry brushing.
The picture above shows the rhino with his fur highlighted again with Flat Earth 70983, then Orange Brown 70981 and finally a light dry brush with Orange Brown lightened with Green Ochre 70914. I used the same large flat brush for all the dry brush coats. The toe nails were then picked out with Black Grey 70862 and the Horn painted with Iraqui sand 70819. I added some ink to the inner ear and around the legs to give these areas more definition. Incidentally, the horn should probably be the same or a similar dark colour to the Rhino fur as it is not really bone but I wanted the horns to stand out on the model!
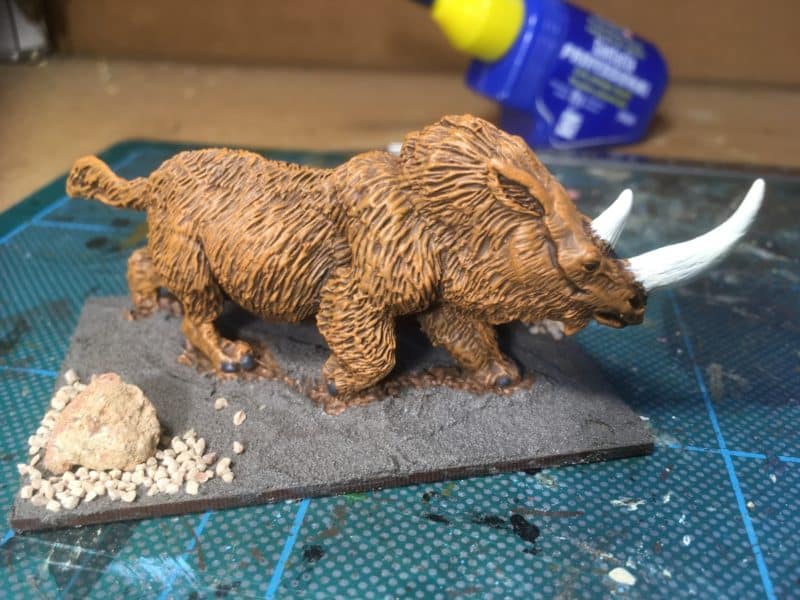
Basing The Woolly Rhino
I gave the horn a brush over with Ivory 70918 and painted the eyes black 70850. The rhino was then mounted on a Sarissa MDF base and using Vallejo Dark Earth Texture paste, blended in. The large ‘rocks’ are small stones from the garden, the smaller grit is ballast from the Woodlands scenic range.
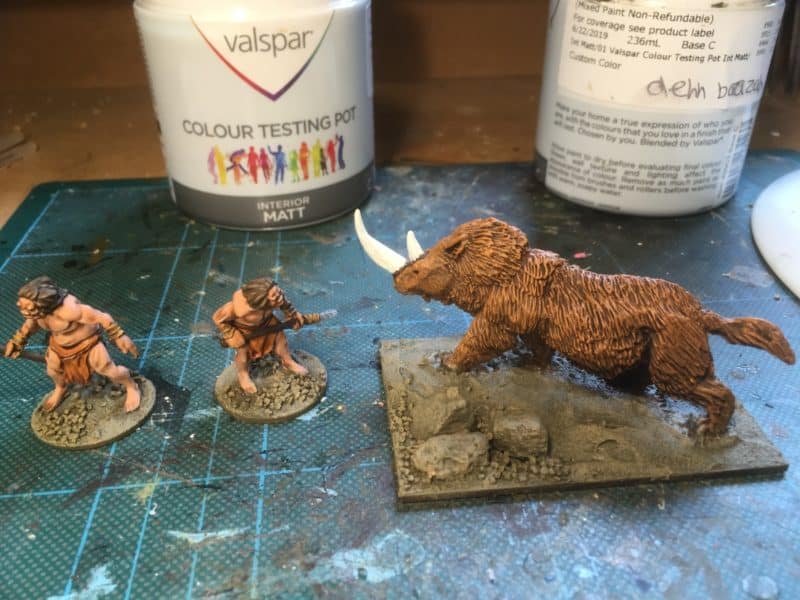
Base painted with Emulsion.
I used my tried and trusted basing routine to finish off. The base was painted with Matt Emulsion – Dehli Baazar and highlighted with dry brush coats mixed with Iraqui sand. I’ve covered how and why I use Emulsion paints for basing in a previous blog here:
It was then just a case of adding some Woodlands Scenics green scatter to the base ( I had decided on a Spring time look rather than Winter!).
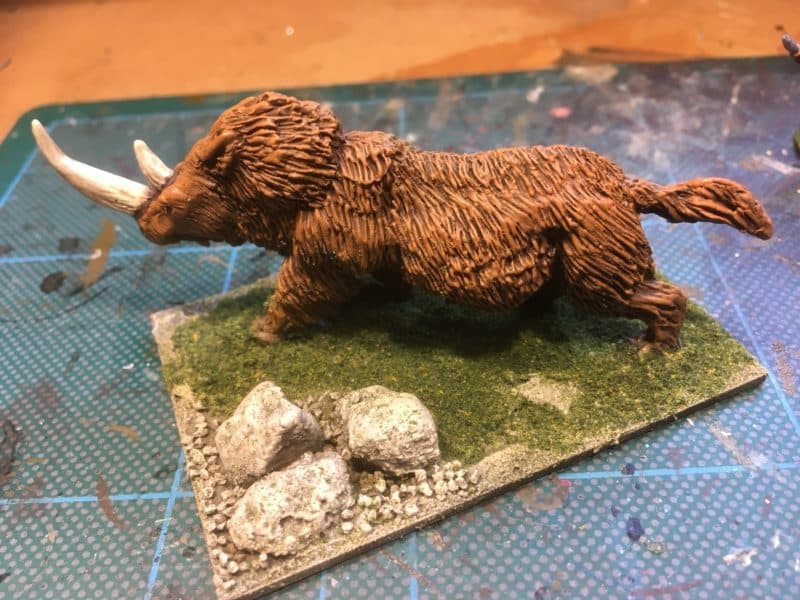
Grass added to the base
I had also toned down the brightness of the horn by painting with Army Painter Soft Tone – this also brought out the detail at the base of the horn.
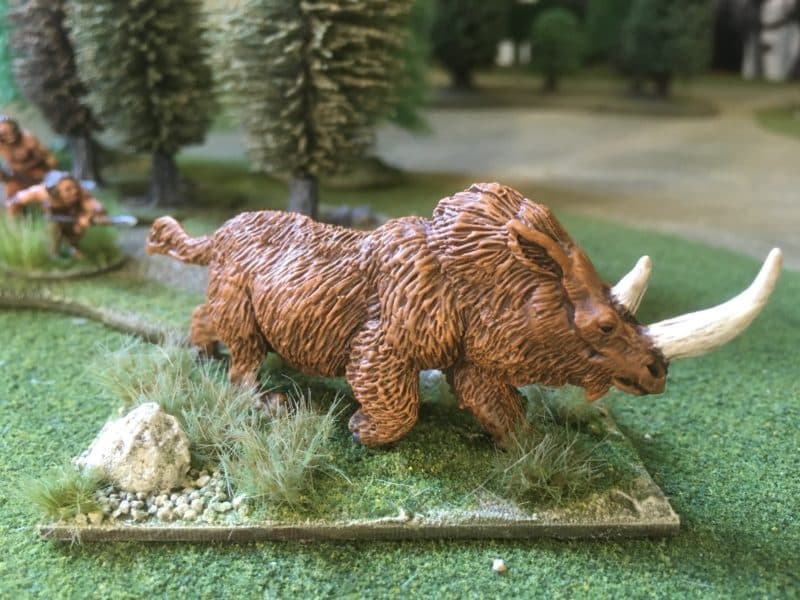
Gamers Grass Tufts added to base.
Finally, I added a mixture of Gamers Grass tufts to the base to finish things off. I’m quite pleased at how he looks and also how straight forward the Rhino was to paint.
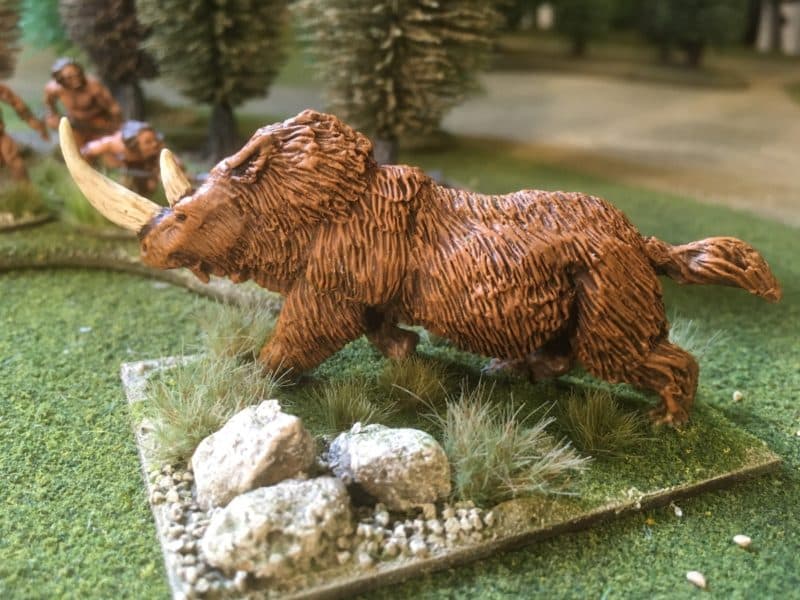
Woolly Rhino completed and based.
As for the cavemen…all being well, I expect to have them in production for late September – watch this space for more details. In the meantime, they are off to catch their dinner!
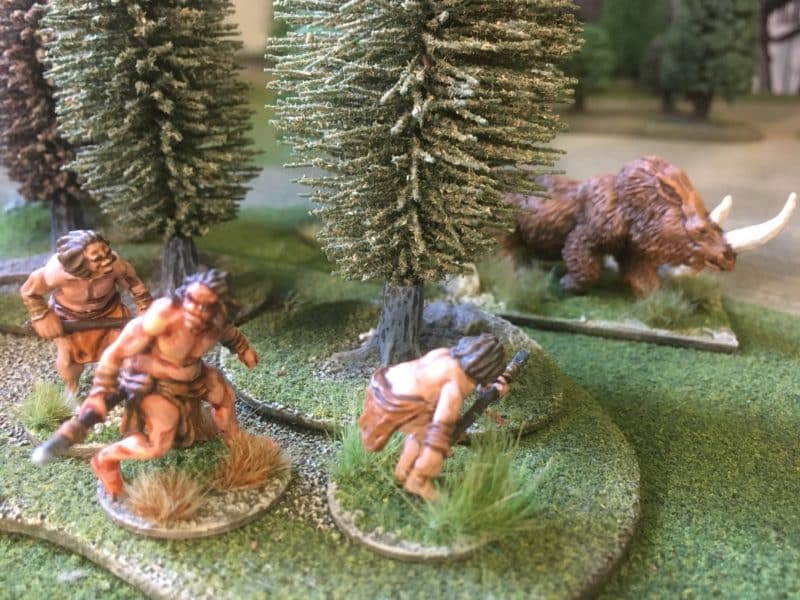
Here comes dinner!
THE COMMERCIAL BIT
Deezee miniatures, including of course, the Woolly Rhino, are available post free from my shop here:
We carry a huge range of Vallejo – to find individual paints, tyope the number into the search bar:
You can buy Sarissa bases here:
We have a huge range of basing materials but check out Woodland Scenics here:
and Gamers Grass here:
Happy Modelling!
