Wars Of the Roses Part 2 – Stokes Field

After the light hearted look at history at Warwick castle, my next outing was to Stokes Field, just South of Newark and only ten minutes up the A46 from my house! It was here that the last battle of the War of the Roses was fought, on 16th June 1487 some 2 years after Henry Tudors earlier victory at Bosworth Field. The occasion was the 530th anniversary of the battle and the event was hosted by Foundry Miniatures, who are themselves based at East Stoke village. The battle is somewhat of a footnote to the Wars of the Roses but was a major engagement, possibly involving more participants than Bosworth. The casualty count was certainly higher, due to the fierce, drawn out close combat and the ensuing rout where most of the Yorkist elite were slain. If you are unfamiliar with the battle, it is worth checking out the Wikipedia article here:

THE BATTLE OF STOKES FIELD

The Battlefield tour was led by Mike Ingram, an extremely knowledgeable and affable guide. Mike explained the background to the battle, who was involved and why. I was particularly impressed that Mike was happy to give more than one possible version of what had happened and why this should be. Events that occurred 530 years ago are never going to be completely documented and so I quite like the uncertainty being made clear.

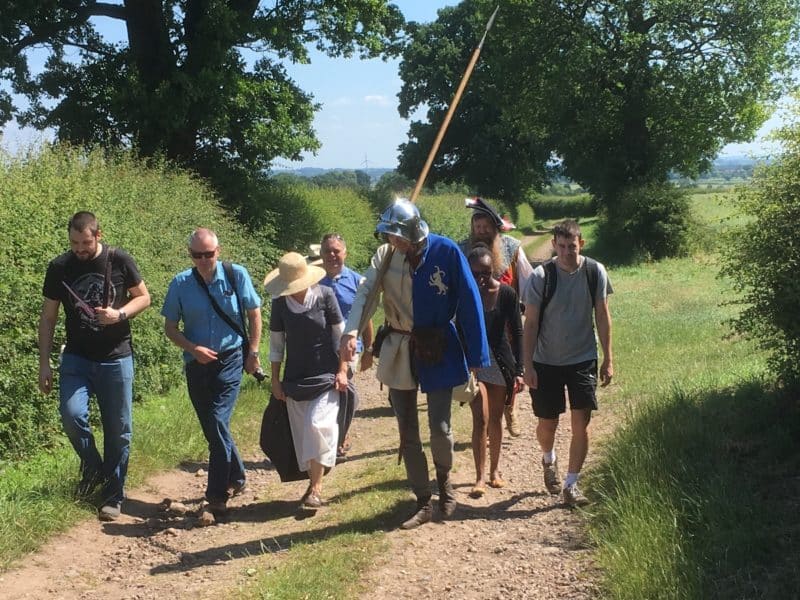
The march to Stokes Field

The march to Stokes Field

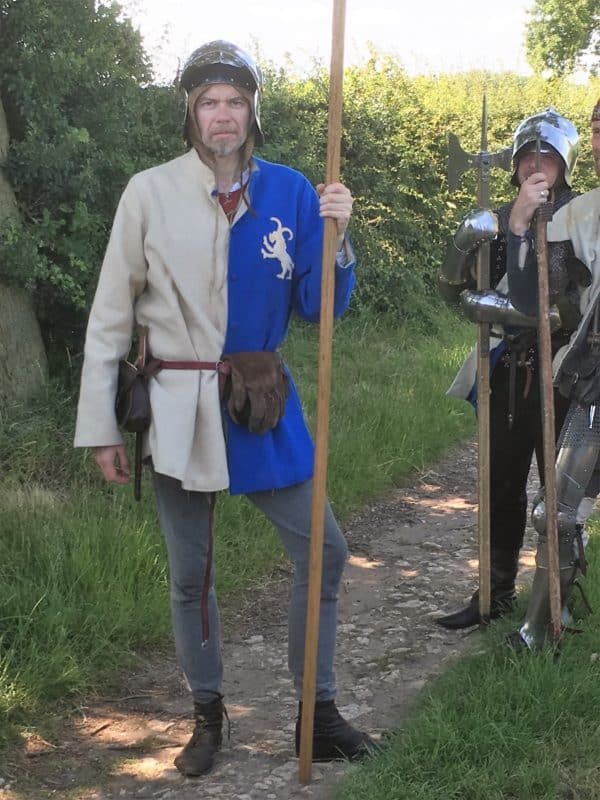
And so on a very hot Saturday, we set off to walk the Stokes Field battlefield, accompanied by some of the reenactors. It was sweltering just wearing jeans and a T-shirt. Quite how the guys in armour coped I’m not sure but they marched with us! Much of the battlefield is now on privately owned land so I felt privileged to be able to get access to the site. In fairness, you can understand the farmers reluctance to having Joe public trampling his crops but it is a shame that the site is not more accessible to the casual visitor.

That said, there isn’t a great deal to see other than the beautiful countryside. You really needed a guide to help you imagine how the battle was fought

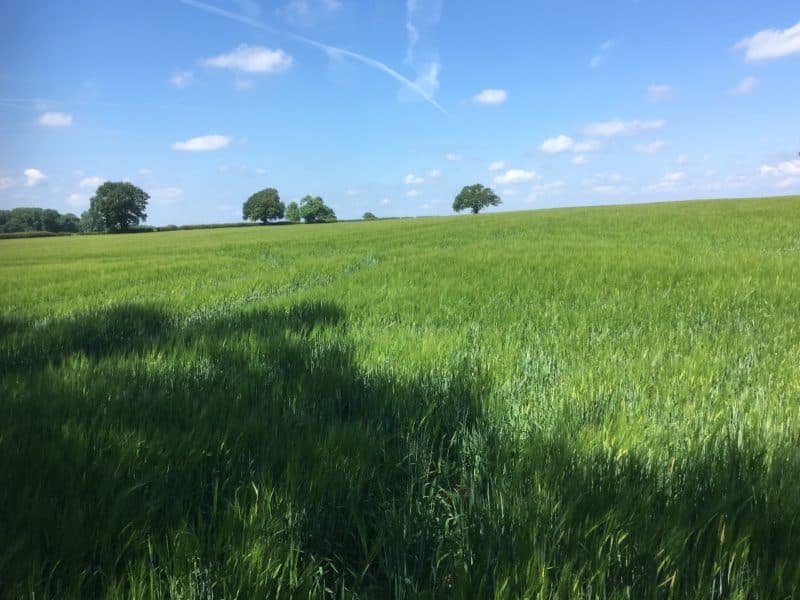
Stokes Field - The Kings men are coming over that hill!

Stokes Field – The Kings men are coming over that hill!

Hold the high ground boys

Hold the high ground boys – That’s the old A46 fosse way to the left of the picture.

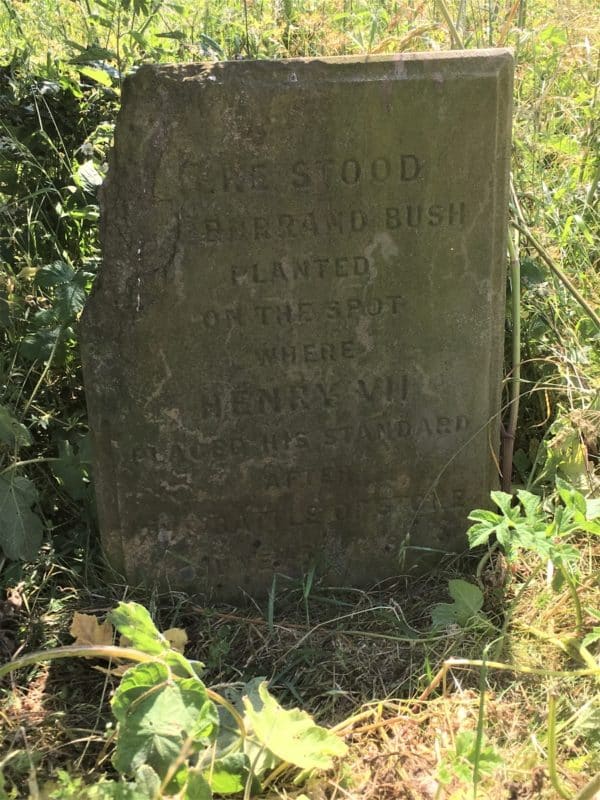
Having reached the top of the battlefield and surveyed the landscape, we walked back down the hill in the direction of the defeated Rebel army. Our first port of call was the stone that marked  where Henry VII planted his standard after the battle.

The stone that marks the place that Henry VII placed his standard.

The stone that marks the place that Henry VII placed his standard.

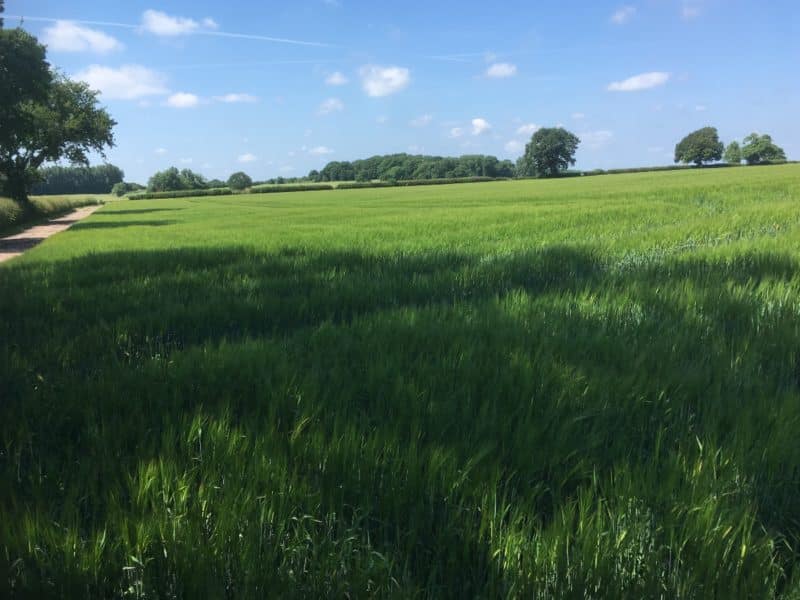
It was over this field that the rout and pursuit of the rebels took place as they tried to retreat back to the ford over the Trent.

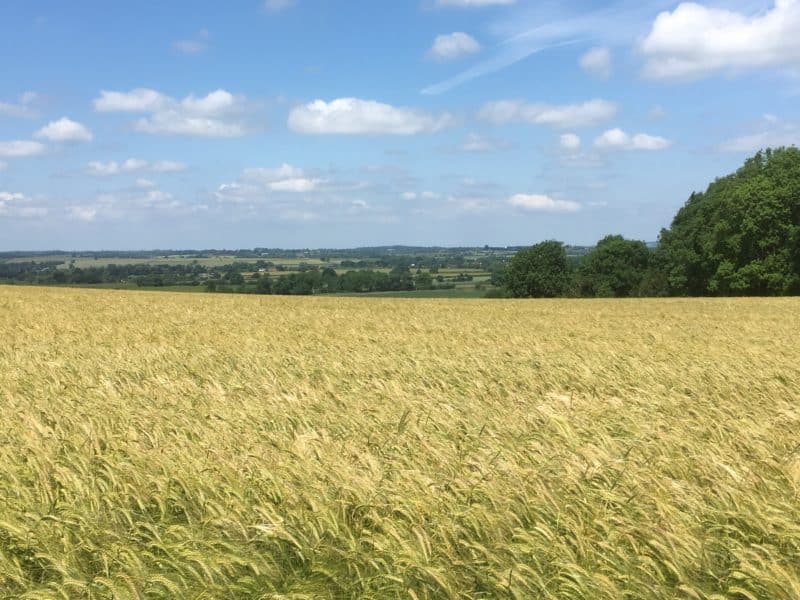
The view towards the Trent

The view towards the Trent – no rebels , just barley.

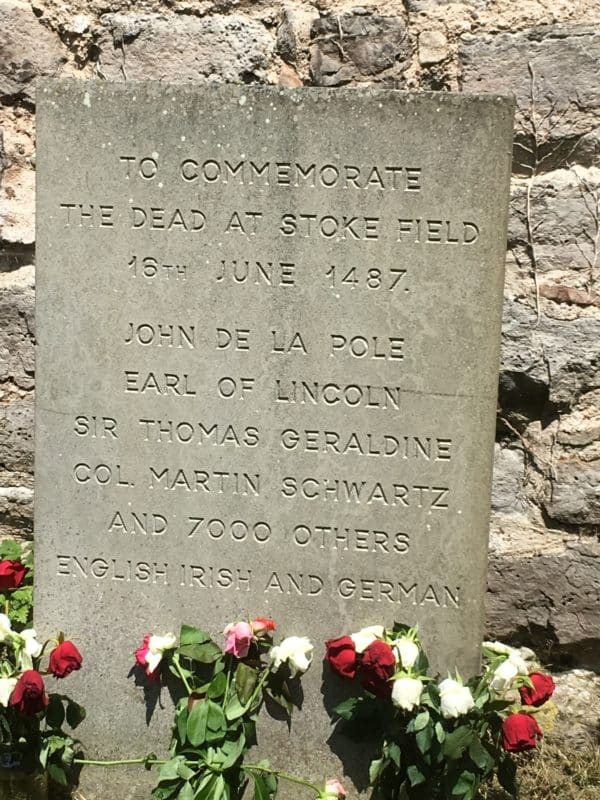
We made our way back to the Church at East stoke were the following memorial can be found.

Memorial stone at East stoke Church

Memorial stone at East stoke Church

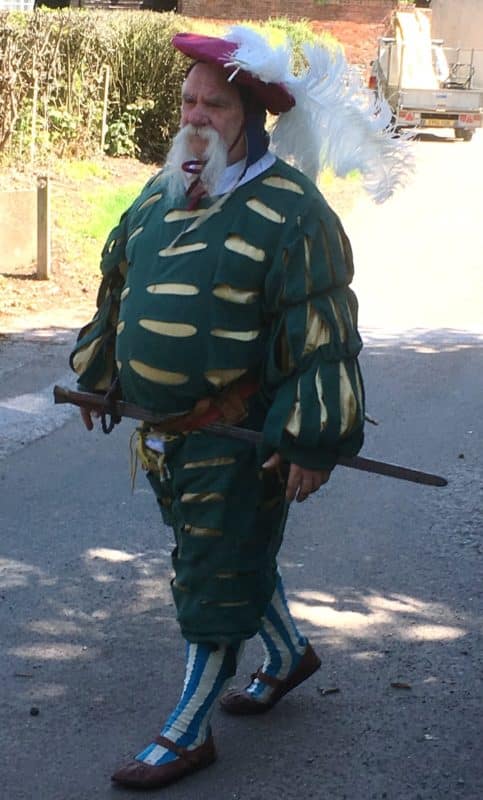
As you can see from the inscription, the rebel force comprised of a large contingent of both Irish fighters and German Landsknecht mercenaries as well as the English rebels. They must have made an interesting bunch on which to base a wargaming army. The Irish were very lightly armed in the main, referred to as Kerns, and would have looked somewhat like a Dark ages army. They suffered terribly at the battle from the concentrated archery of the Lancastrian  army. The Landsknechts would have cut a colourful sight, in their distinctive costumes. Although armed with pikes and the latest handguns, they too found it difficult to combat the trained archers that they were facing. Indeed, it is said that their bodies were ‘filled with arrows like hedgehogs’. Gunpowder had yet to dominate the battlefield.

Landesnecht re enactor

Landsknecht re enactor

The English Contingient

The English Contingent

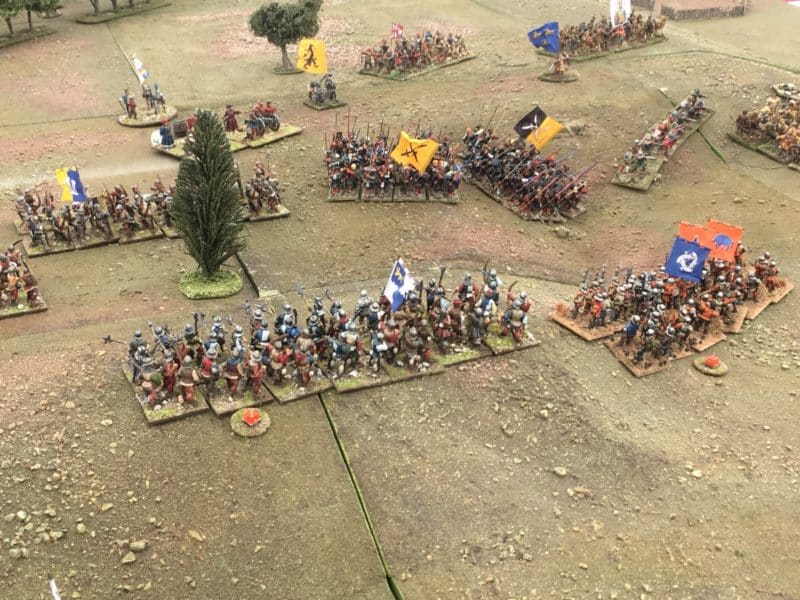
From East Stoke Church it was a short walk to inspect the ‘Red Gutter’, a cutting that leads down towards the River Trent, where hundreds of rebels stumbled into it and were slaughtered. From there it was back to Foundry HQ for well deserved refreshments. This also gave us an opportunity to take a look at the wargame that had been put on by the ‘Like a Stone Wall’ club.

The Battle of Stoke field

The Battle of Stoke field

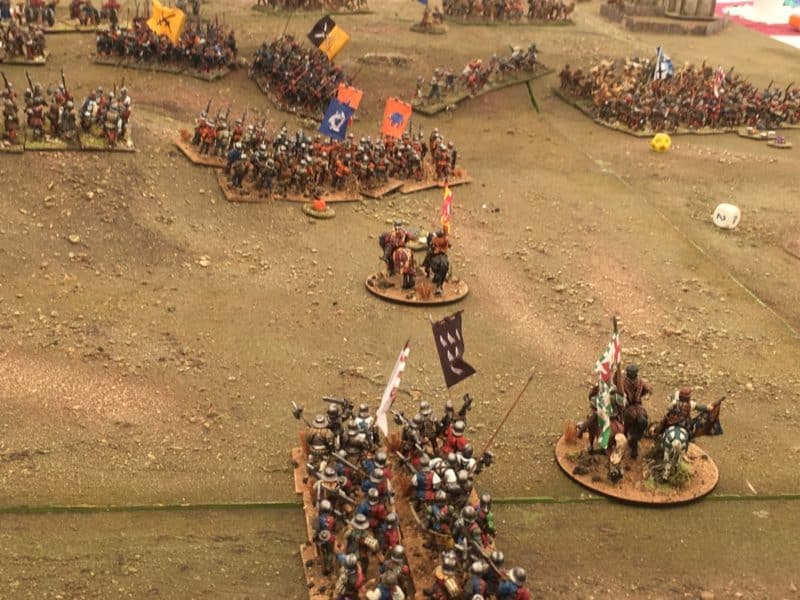
Another view of the action.

Another view of the action.

We were also able to wander amongst the Reenactors encampment, once again, I found them to be very generous with their time and expertise. Unfortunately, I had run out of charge on my phone so I have no more pictures to show you. A quick walk around the stands at Foundry HQ and it was time to go. I now feel enthused to get on with my War of the Roses Army, so perhaps in between the next Napoleonic unit I’ll paint a few more pikemen.

If you would like to visit the battlefield, you are able to walk around the East Stoke Church and wander down to see the ‘Red Gutter’ and of course, I am sure that the guys at Foundry will be pleased to see you, the shop is open Monday to Saturday, details are here:

WARGAMES FOUNDRY 

You wont be able to get to the ridges on which the battle started but you will certainly get the ‘feel’ of the battlefield from the lanes below. I’ve put links to the local TV and Newspaper  coverage of the event that might be of interest – it might take a time to load but is worth the wait. I hope that you find the two blogs have been useful – perhaps they will inspire you to have a go at this fascinating period in history.

NOTTS TV NEWS COVERAGE

THE LOCAL PAPER REPORT – NEWARK ADVERTISER


Wars of the Roses Part 1 – Warwick Castle

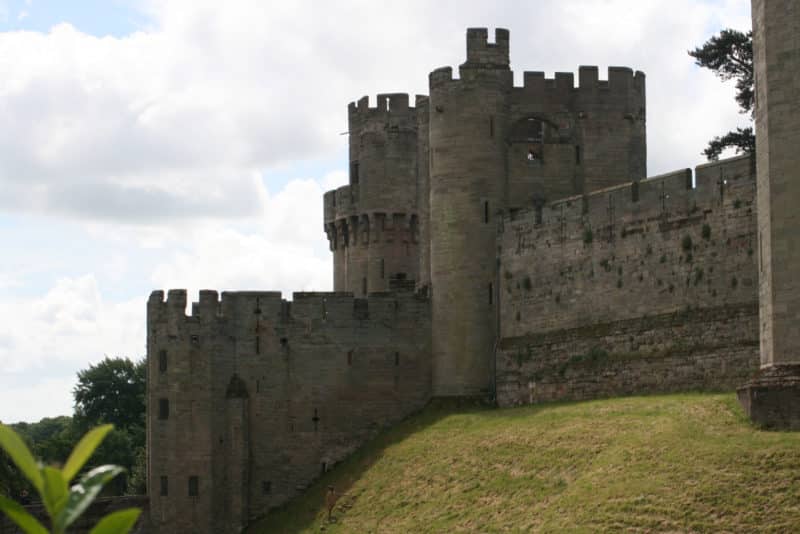
It’s been a busy June, with my weekends being taken up with one event after another. I’m not complaining, far from it, I know how fortunate that I am in being able to get the these events, so in an attempt to document my recent exploits, I’ve written this weeks blog in two seperate posts.  The first event that I attended was a visit to Warwick castle. This was a birthday treat from my wife, who had spotted the event and booked the tickets back in February. Warwick castle is certainly an imposing venue and looks just as you would expect a castle to look, if you know what I mean! There’s plenty to inspire a wargamer here.
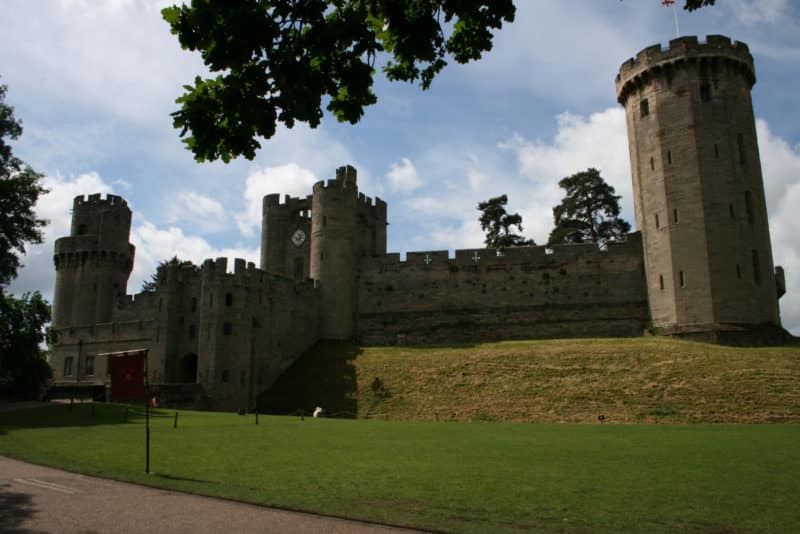
Approach to Warwick Castle

Approach to Warwick Castle

Warwick Castle gate house

Warwick Castle gate house

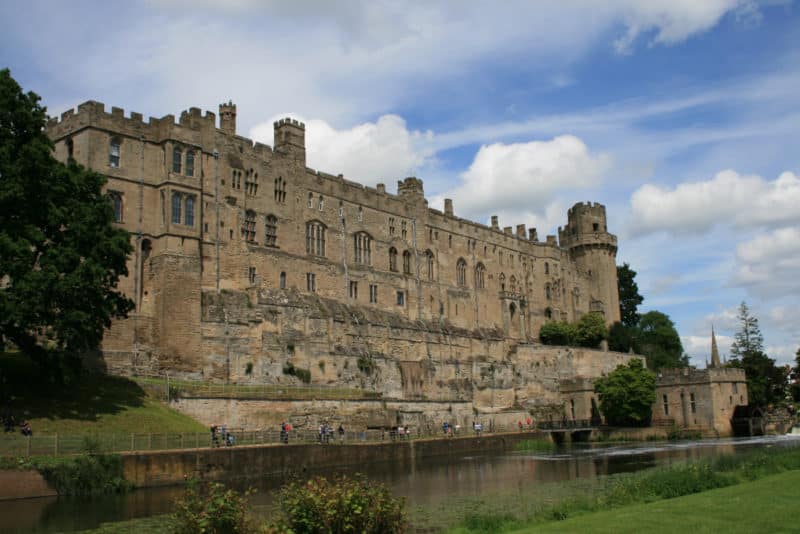
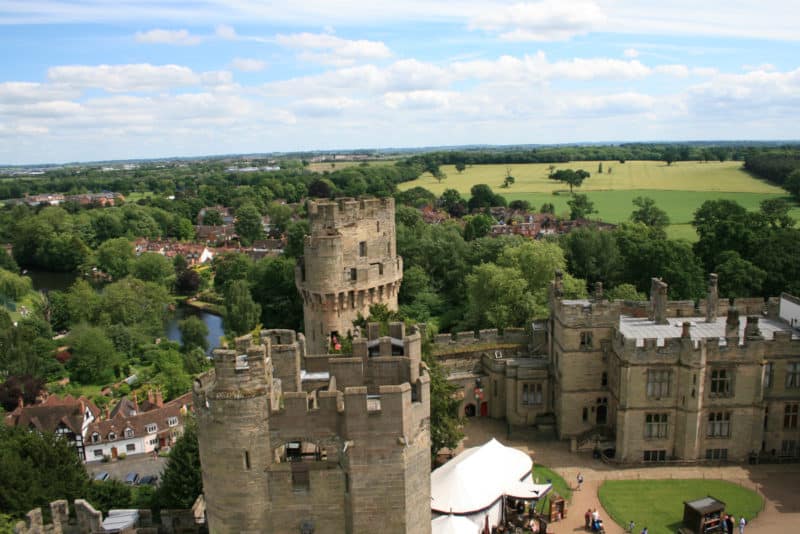
The rear of the Castle

The rear of the Castle

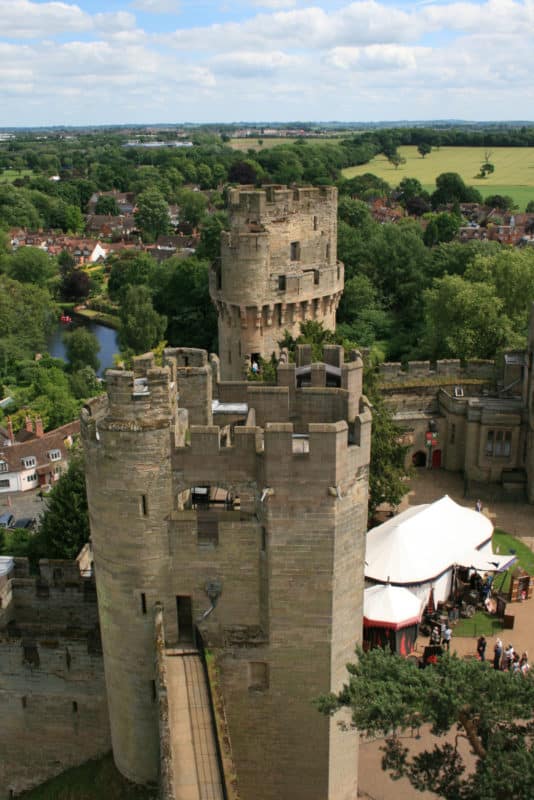
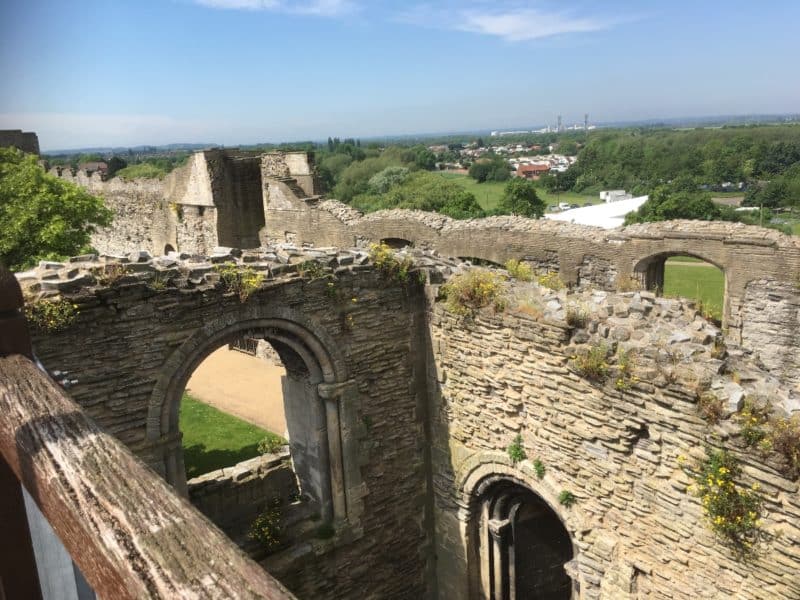
As you can see, it is an imposing structure and a trip to visit the castle is a great day out. The tour around the battlements  is at times a challenge for someone as unfit as I am these days but well worth the effort. The views of the surrounding countryside are amazing.

How many stairs did I just climb?

How many stairs did I just climb?

Lovely view of the countryside

Lovely view of the countryside

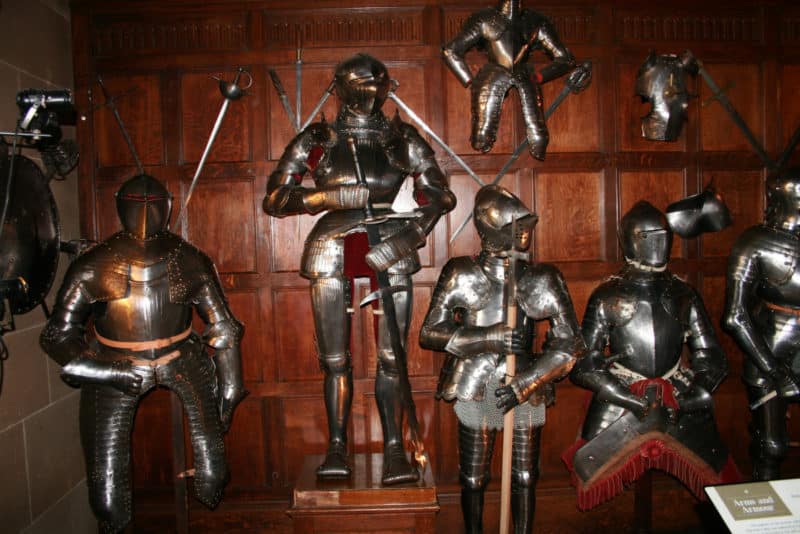
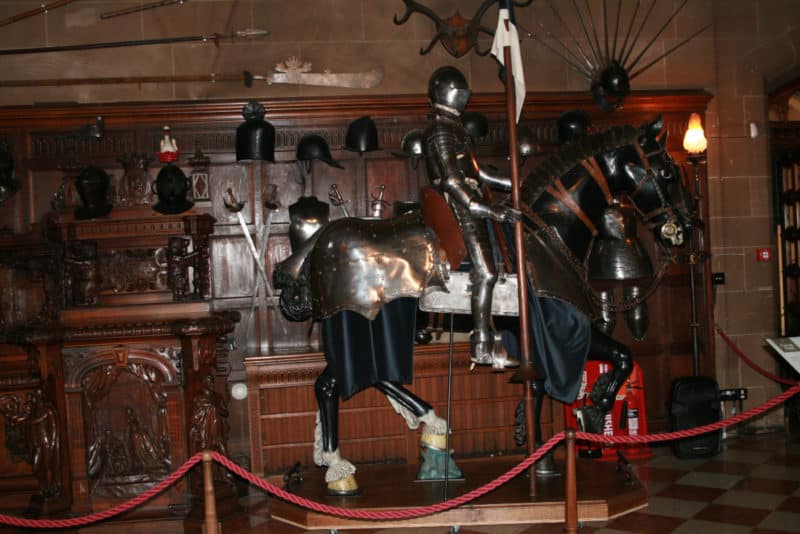
The main exhibition in the Castle is a recreation of a Royal weekend visit to the stately home at the turn of the century. It’s very well done, with a light touch as regards to the history but plenty to see and keep you involved. Of particular interest to me were the Armoury exhibits.

Armour on display in the Great Hall

Armour on display in the Great Hall

More Armour.

More Armour.

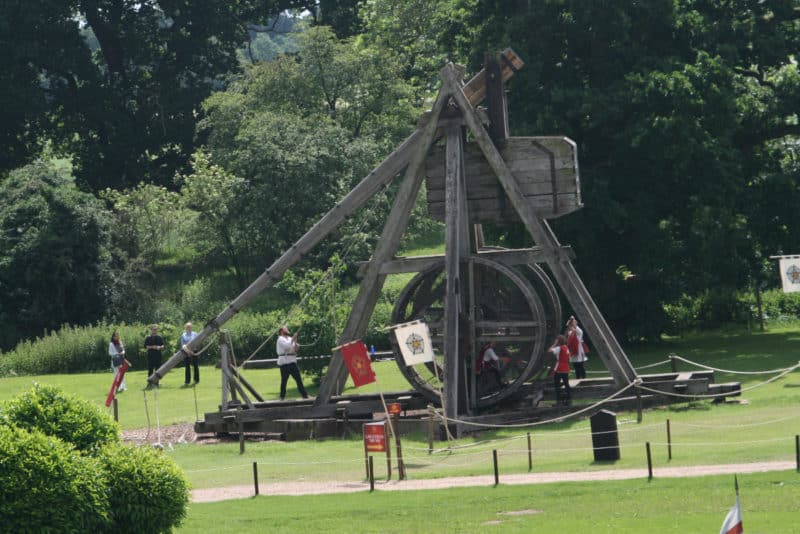
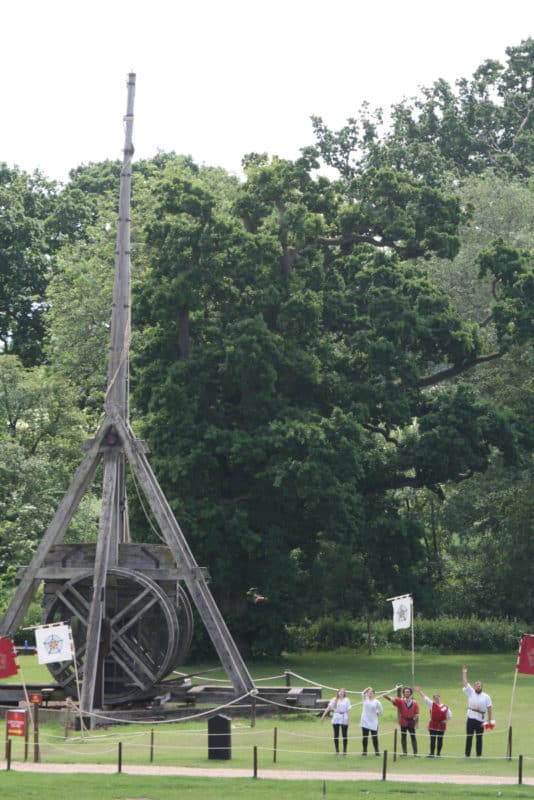
As a bonus though, the castle owners were running a ‘War of the Roses’ event, which although a bit fast and loose with the history, was superbly done and very entertaining.  The castle is now run by the same group that run Alton Towers and Madame Tussauds’ and so is a little prone to over commercialization. That aside, there’s plenty to keep you busy without having to fork out for extras and the venue has created a number of set piece events to entertain the guests. For example, outside is the mighty trebuchet which is demonstrated every couple of hours with a ‘live’ firing. It’s all done in good humour and full audience participation – the video gives you some idea of the action.

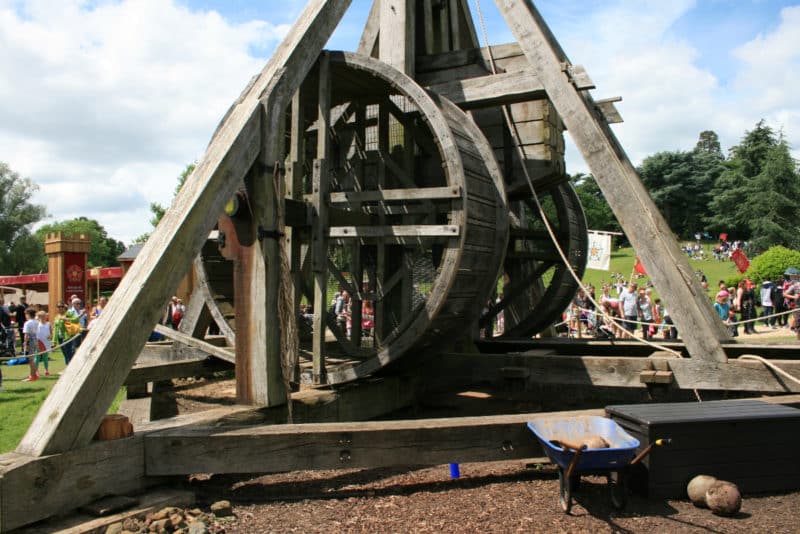
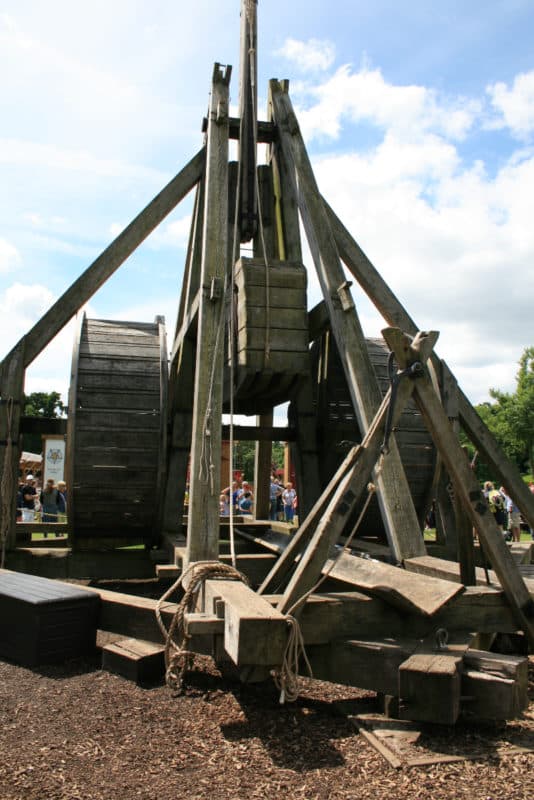
Once the trebuchet had been fired, we were able to inspect it – here are some closer shots.

Preparing to fire!
Preparing to fire!

Look closely and you can see the crew running in the side wheels ‘hamster style’ to hoist down the firing arm.

Good job team!

Good job team!

The winding gear

The winding gear – look at the size of the shot!

load ammo here!

load ammo here!

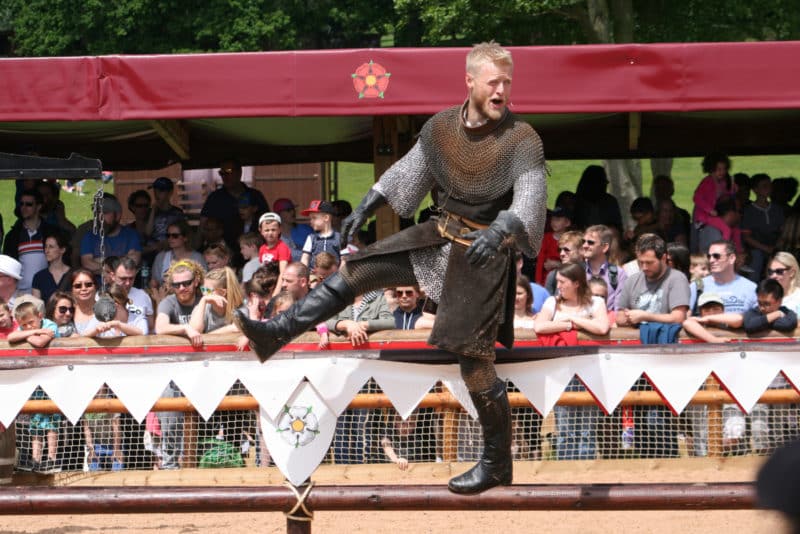
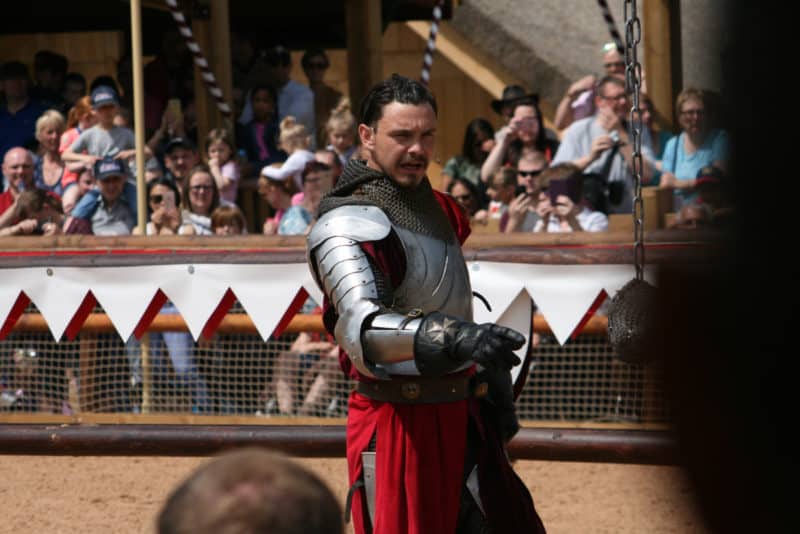
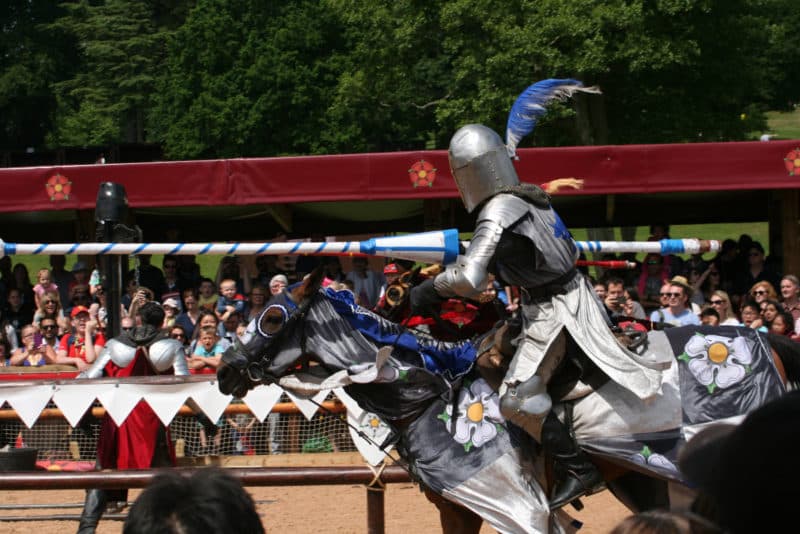
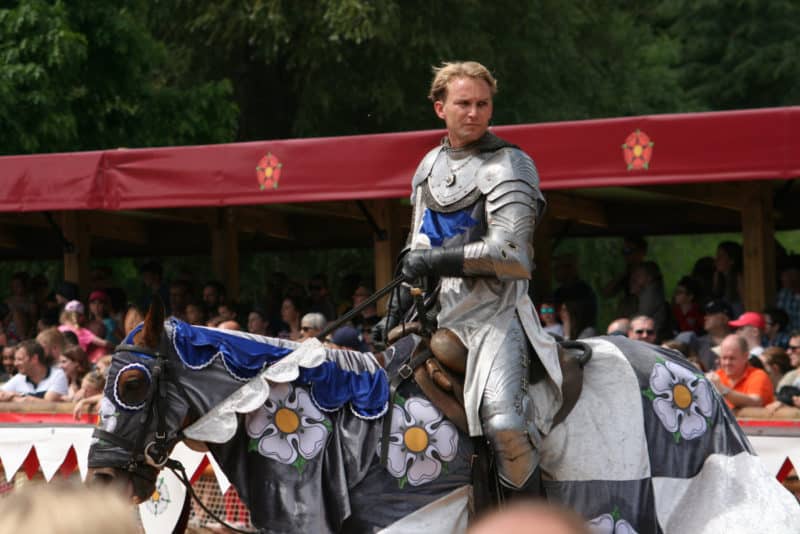
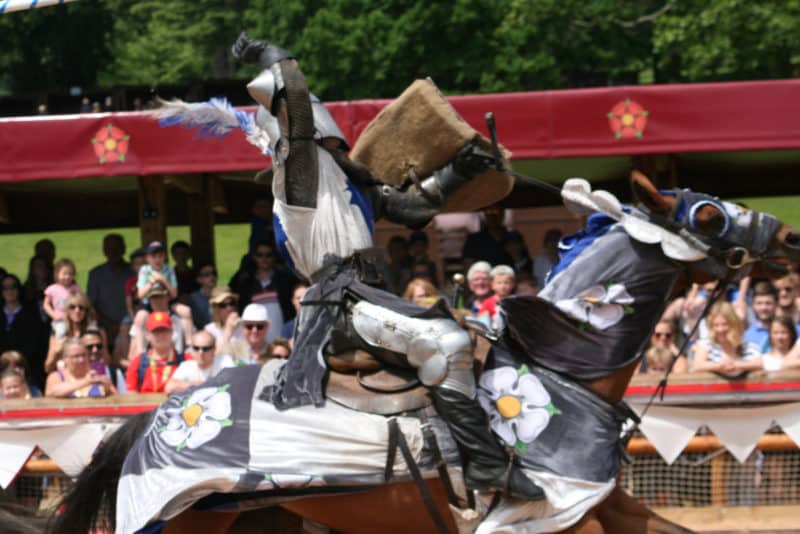
The highlight of the live events was the re-enactment of the War of the Roses. Essentially this was a jousting match with a bit of acting and audience participation but great fun to watch. Once again, here is the event in pictures.

Eric Dier look alike provides the warm up for the Yorkists!

Eric Dier look alike provides the warm up for the Yorkists!

Henry Tudor takes charge!

Henry Tudor takes charge!

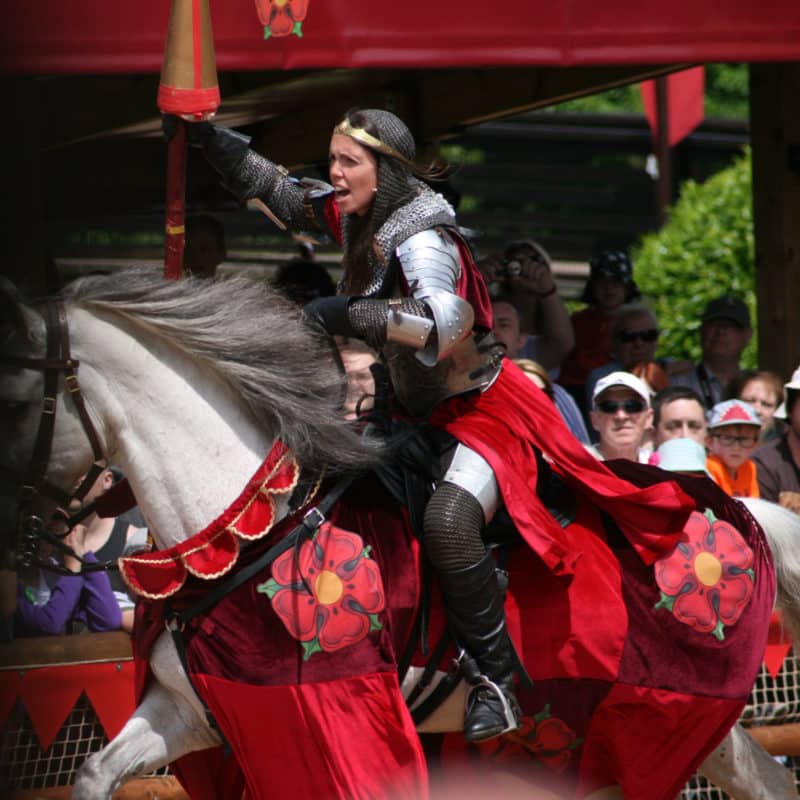
Margaret of Anjou take to the field

Margaret of Anjou takes to the field

Hurrah for Edward of York!

Hurrah for Edward of York!

Things are not going to well for Richard.

Things are not going to well for Richard.

Richard unhorsed!

Richard unhorsed!

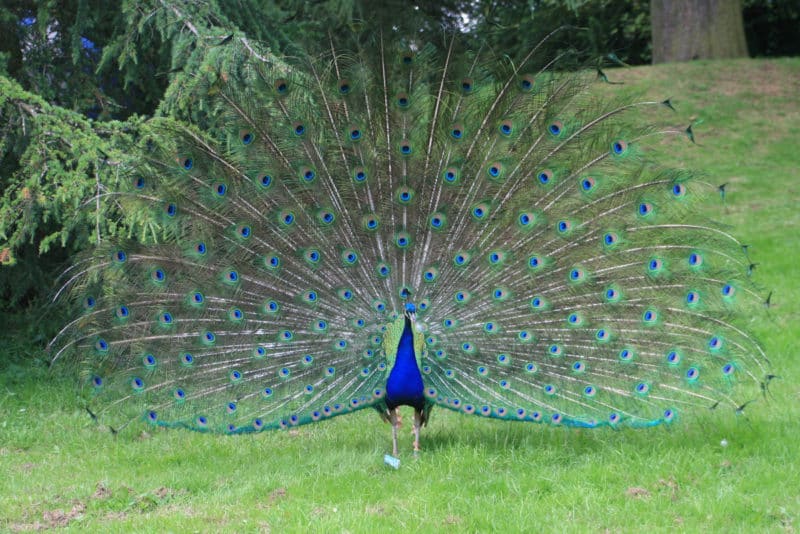
If the costumes lacked some historical authenticity, it was easily overlooked as the spectacle of live knights in combat is pretty amazing to watch. It certainly fired up my imagination and interest in this period. We spent a full day at the castle from opening amost up until closing time and still did not see everything. Finally, although unrelated to wargaming, it is worth reporting that the grounds of the castle were immaculate. There is a rather lovely tea house tucked away in the Orangery overlooking the gardens and it was here that we rested with a coffee and cake and were also entertained by the peacocks.

Beautiful plumage!

Beautiful plumage!

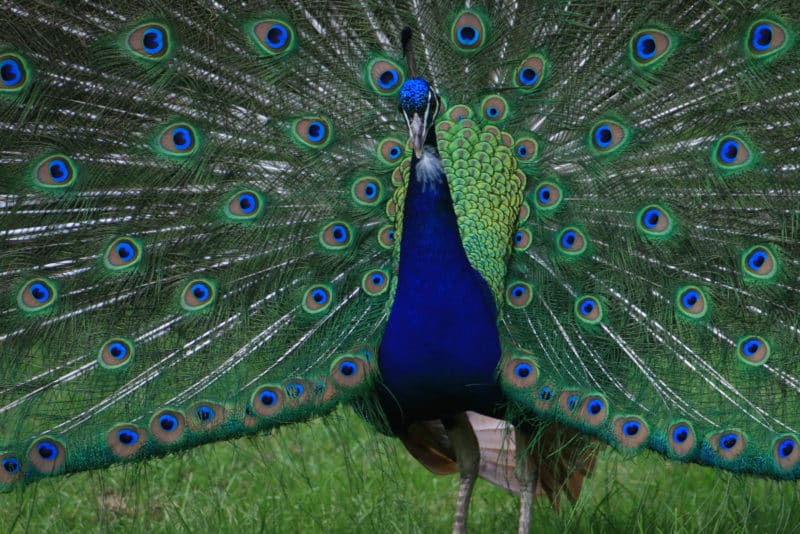
Peacock close up

Peacock close up

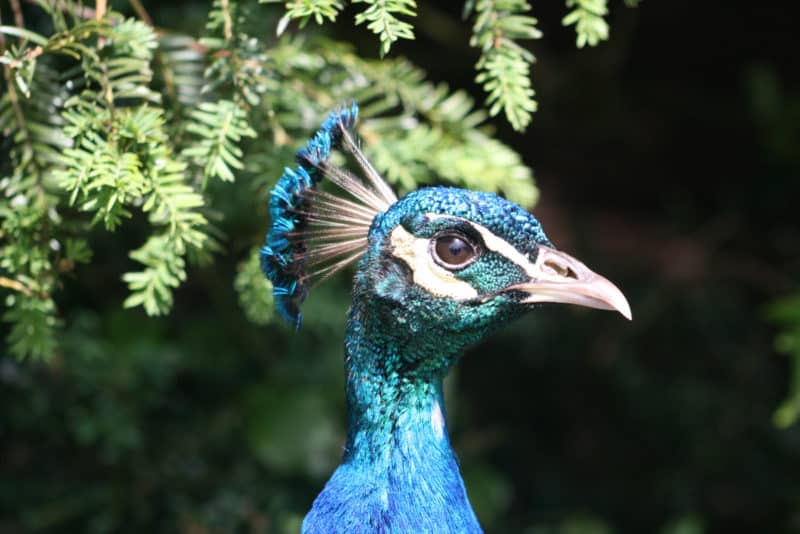
Closer!

Closer!

If you would like to visit Warwick Castle or find out more, here is the link to their site.

WARWICK CASTLE


The joys of sprue stretching

I’ve been gradually finishing off my Test of Honour war band and adding bits and pieces to them to get them to a ‘finished ‘state. This is the first time that I’ve played a game with unpainted figures. Usually, when trying a game, I either borrow a friends figures or wait until I have at least a painted unit of my own. Test of Honour was slightly different. It burst onto the gaming scene so quickly that most of my gaming buddies were in the same boat and as the game involved Samurai, nobody seemed to have any older figures in their collection that they could dust off and bring out to play. The upshot was that I was keen to get figures painted and on the table with out spending too much time planning the overall look of the army. I had quickly settled on a colour scheme for the figures but hadn’t really thought about basing other than to sprinkle some scatter over the painted bases. To make matters worse, I just picked up the nearest tub of scatter that I found, which with hindsight is a tad brighter than I would normally use.

Samurai band with Mons added

Samurai band with Mons added

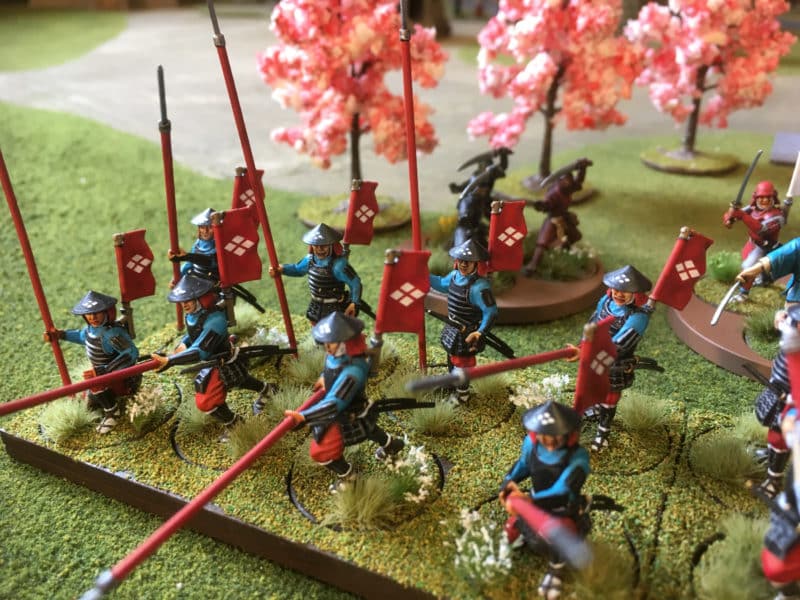
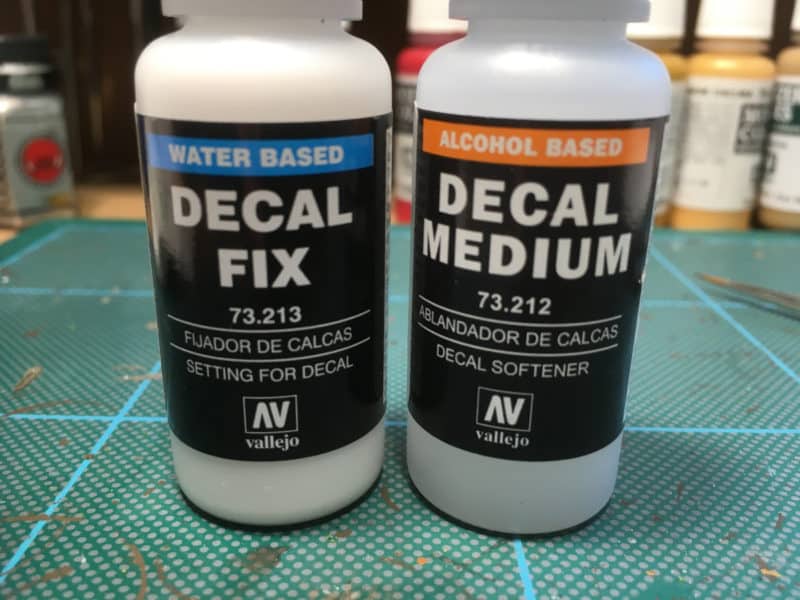
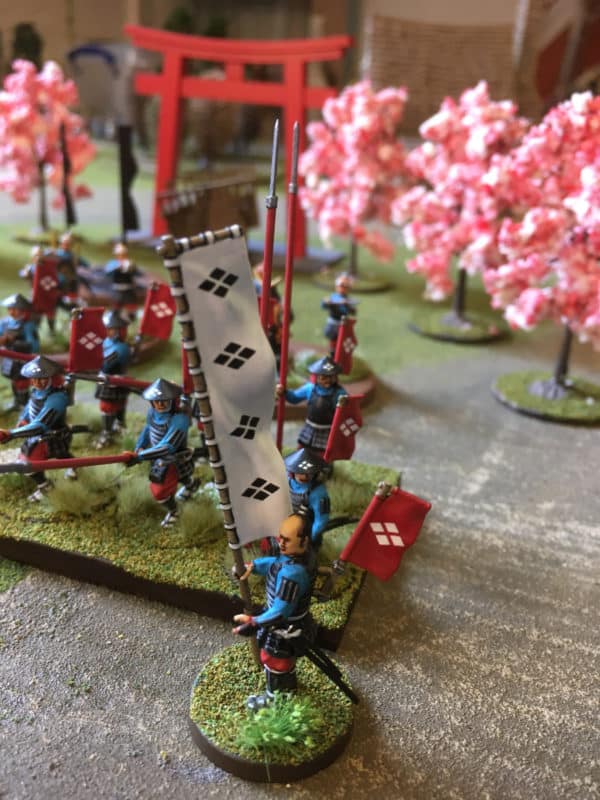
So in between gaming and other painting projects , I’ve gradually been adding detail to my warband. The first task was to add some decals to the flags and hats to show the clan mon. After a false start, I found a nice straight forward clan mon that I could use – the Takeda mon.  Even better, the supplier, Veni, Vidi, Vici printed the decals in white. The first batch that I ordered from another supplier required me to repaint the background on the figures to get a white clan motif, a faff too far for me. The mon on the flags are actually 15mm scale but fit quite nicely. I used Vallejo Decal Medium and Decal fix to ensure that they confirmed to the uneven surface. It’s a straight forward job. Just paint the decal medium over the flag, soak the decal in water for a few seconds, carefully apply the decal using a fine brush to help and use a paper towel to carefully soak up any excess water. I then gave the decal another coat of decal medium. When relatively dry, I then applied the decal fix. If it sounds complicated, it isn’t when you get into the swing of it. To get the smaller clan mon for the hats, I used a scalpel to cut original decal into four diamonds. I then applied the diamond to the hat using the same process with the decal medium & fix. Once dry, I then painted two lines to divide the diamond into the four sections. Again, it sounds tricky but didn’t actually take too long.

Vallejo Decal Fix and Decal Medium

Vallejo Decal Fix and Decal Medium

The picture below shows some of the figures with the decals added to the hats before I had painted the dividing lines and should help you to understand how straight forward, if some what fiddly the process is.

Decal fixing in progress!

Decal fixing in progress!

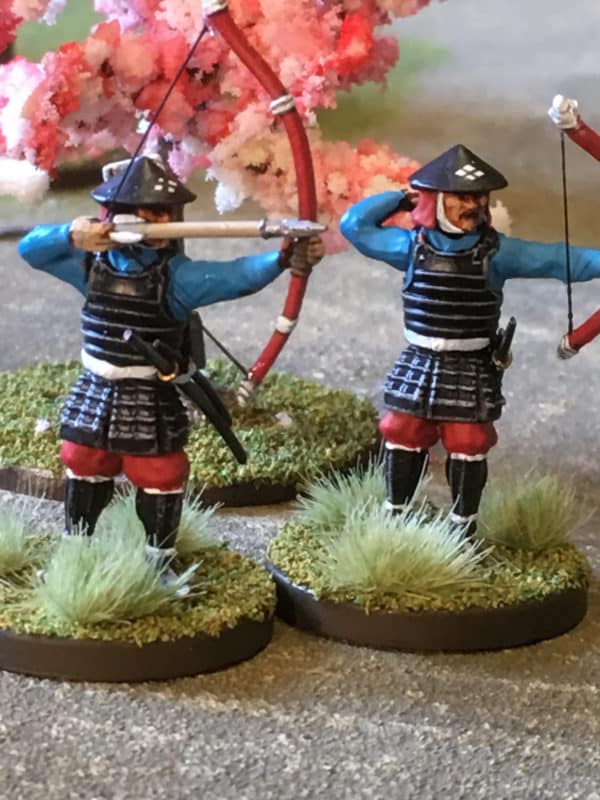
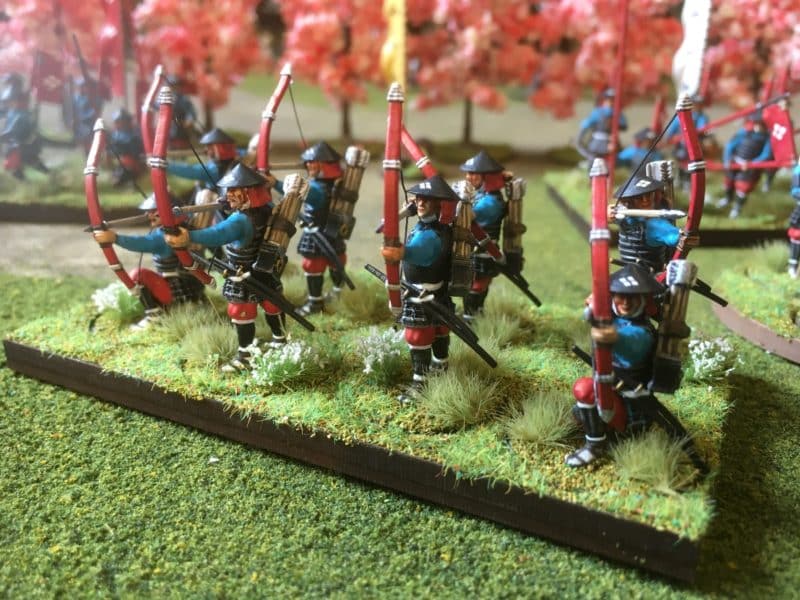
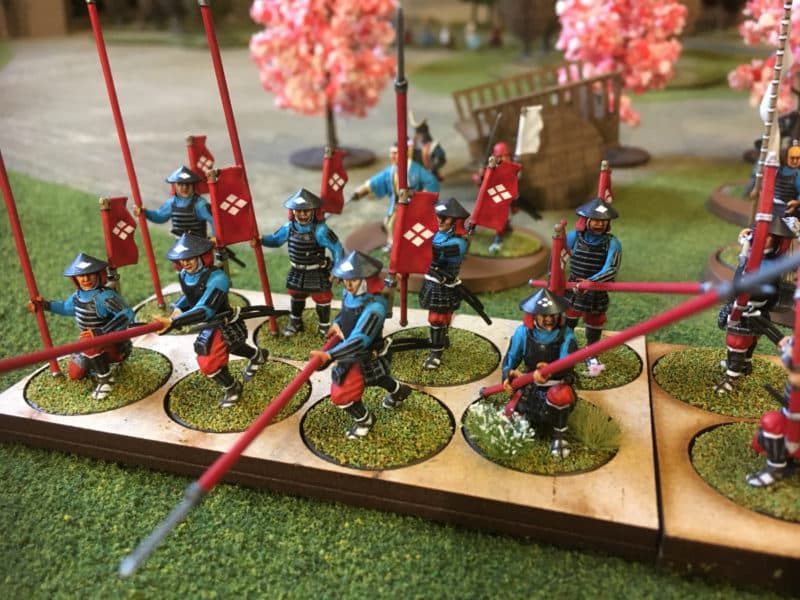
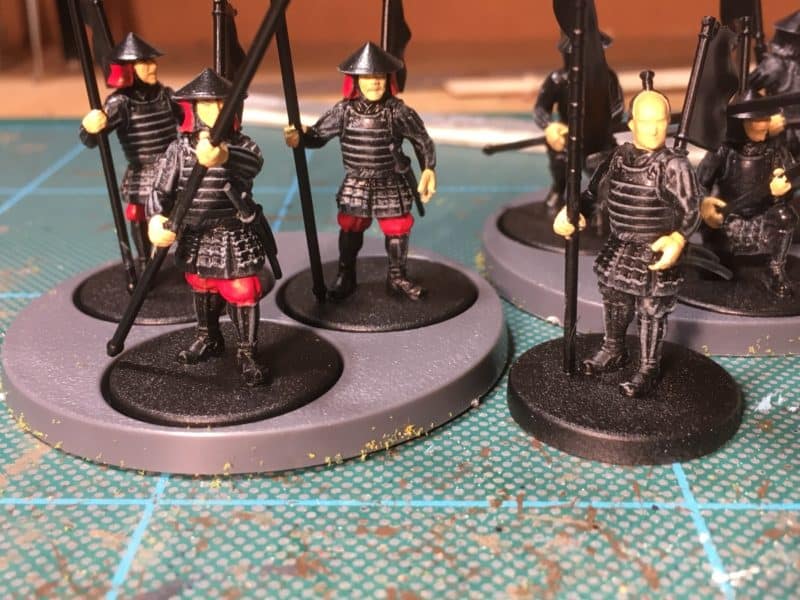
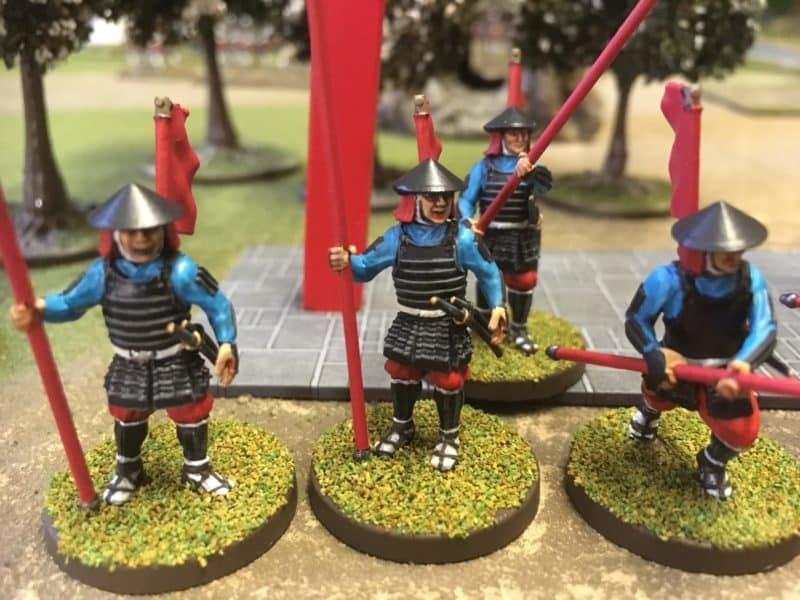
The next job that needed doing was to improve the basing. I did consider scraping the scatter off and starting again. I hadn’t used my favorite method of basing, using Vallejo paste, as the figures are attached directly to the plastic base and I was concerned that I would cover the feet of the men in mud. I decide to work with what I had and the obvious solution was to apply some Gamers Grass light green tufts and some Noch white flowers. I also decided to transport and store my archers and spearmen in movement trays, so I also added some scatter to these.

Movement tray and bases with detail added

Movement tray and bases with detail added

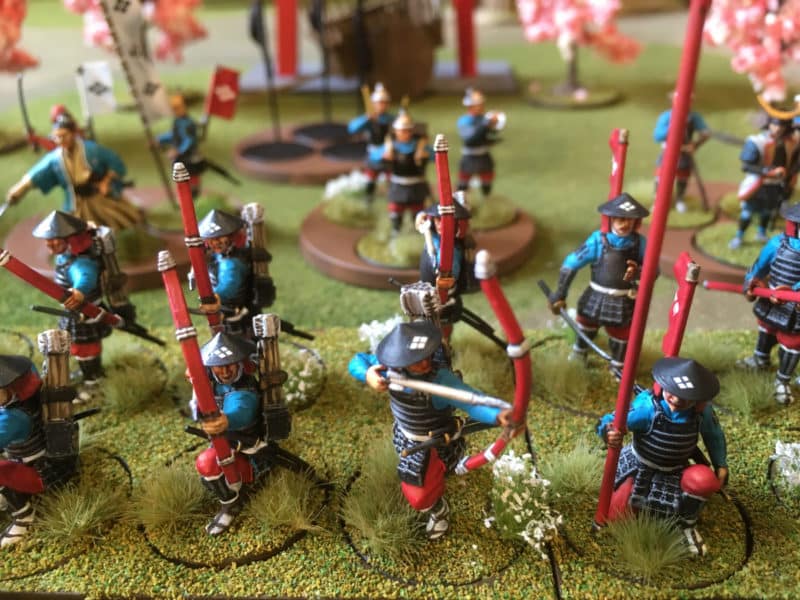
The figures are starting to look more as I had imagined them to be when I first started the project. As far as basing goes, I’m nearly there but I think that looking at the pictures, I will add a few patches of static grass just to give another layer of texture. I had also intended to add bowstrings to the bows. To do this I decided to use stretched sprue. When I mentioned this at the club, I was met with a few blank looks. It seems that this dark art has been lost in recent years – it was a technique that I used when rigging my Airfix World War One biplanes many years ago. It is a simple as this.

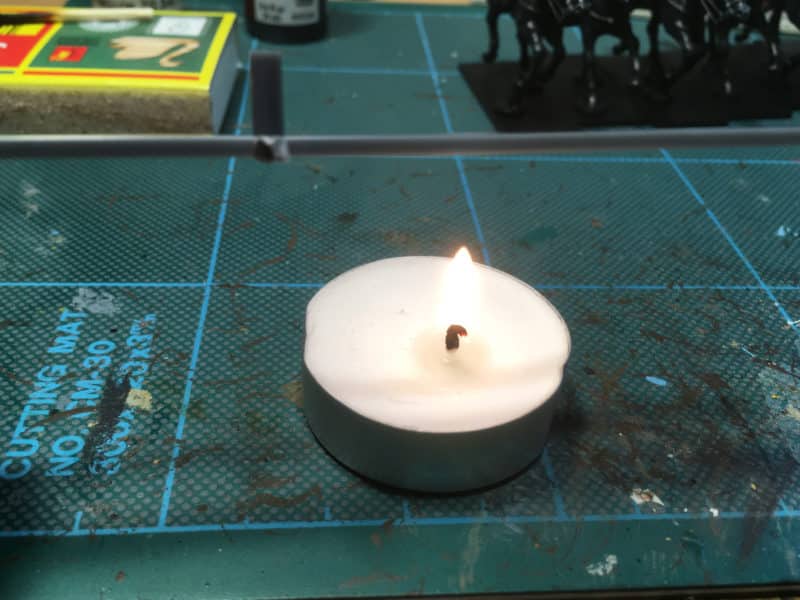
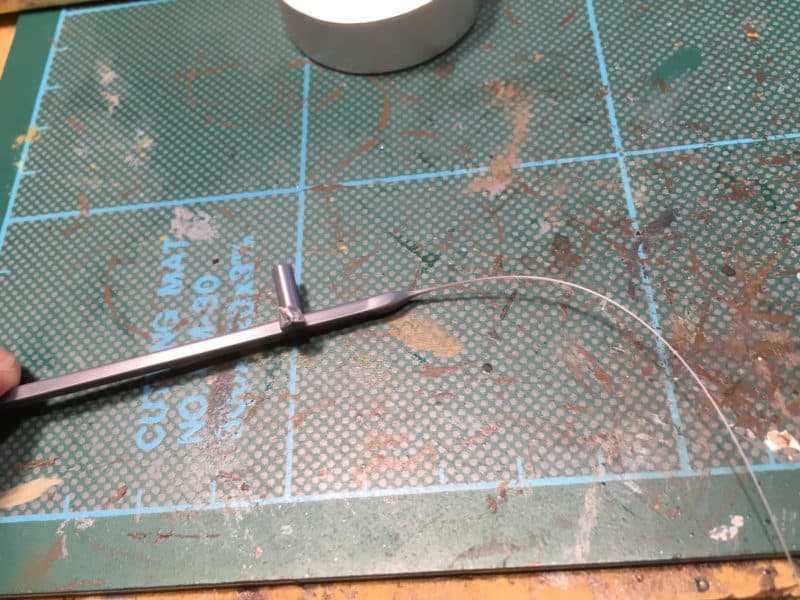
First you need a tea light or small candle and a piece of scrap plastic sprue. A piece of the frame that your Samurai came on is fine. Hold the sprue just above the candle, rotating it to gently warm it until it starts to melt. If it catches fire you are too close…so be careful!

Gently warm your sprue!

Gently warm your sprue!

Once you see that the sprue is beginning to soften, take it away from the heat and pull it gently apart. The sprue will naturally stretch and as it goes cold, hardening off into a thread.

sprue stretched ready for use

sprue stretched ready for use

As with everything, practice makes perfect but the sprue is free, so it doesn’t matter if you get it wrong a couple of times. Just be careful with the hot sprue, if you touch it when it is still melting it will stick to you and burn – I can show you my scars. You can then cut the stretched sprue to the desired length and attach it to the bow. With hindsight, I should have done this before I had painted my troops as I had to use superglue, rather than polystyrene glue. So I actually managed to glue the bowman to my fingers a couple of times. Fortunately as I was on my own in the garage, nobody heard the tirade of bad language….

Bow strings attached

Bow strings attached

I am gradually getting to where I would like to be with my Samurai warband. I now have enough figures to play a reasonably sized game and I have most of the characters that I need.

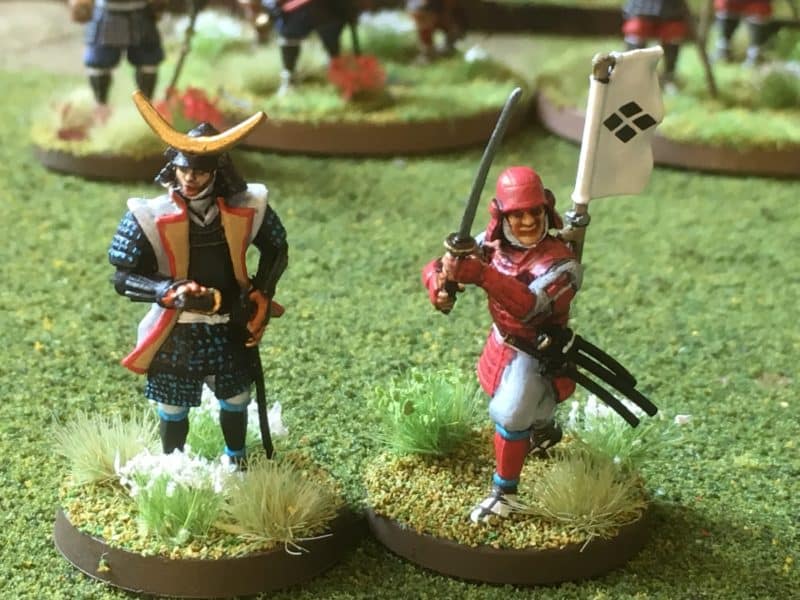
Takeda Clan Bannerman

Takeda Clan Bannerman

I think that I will be revisiting the warband over the next couple of weeks but basing aside, I’m just about there with this batch of figures. The next part of the project is to complete four more samurai and paint the beautiful Geisha spy figure. Not forgetting the objective markers and some more scenery…it’s going to be a busy summer!

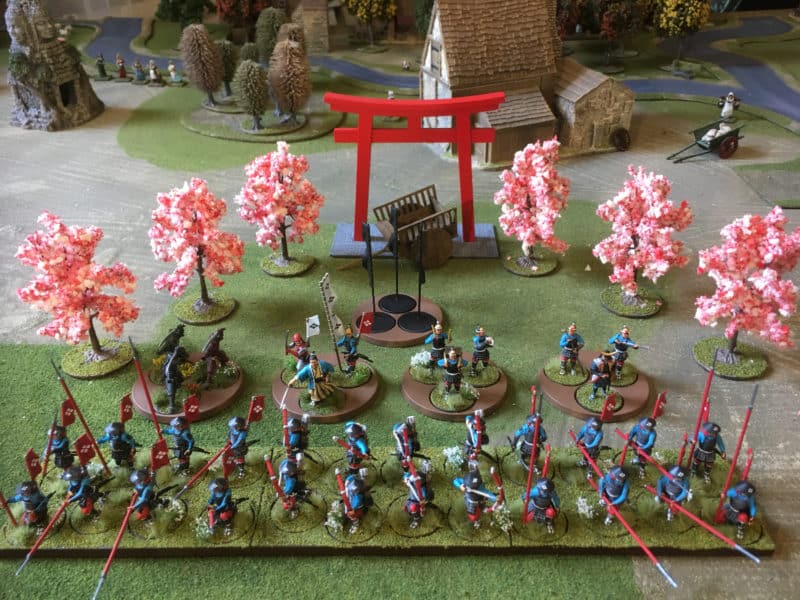
The warband takes shape

The warband takes shape

Most of the products that I use are available post free at the time of writing, in the Arcane Scenery shop. A good place to start is the Samurai section here:

SAMURAI

You can find plenty of basing products here:

Scatter, Static grass and bases

Vallejo Decal Medium

Vallejo Decal Fix

We don’t sell the decals but you can get them here – service was excellent.

Veni, Vidi, Vici


New British Heavy Cavalry from Warlord!

OK, the title is a bit of a tease. I don’t have any painted examples to show you other than the ones currently posted on the Warlord Games site but I do have some of the sprues! I have been asked to write a step by step painting painting guide for a forth coming issue of Wargames Illustrated so I have been given early access to the sprues as part of the project.

I’m not in a position to do a full review, as I don’t have the full boxed set and I have yet to start my research but here are my first impressions. Actually, I would further qualify that statement by saying I’m not the most objective when it comes to reviewing. I either like something or I don’t and I don’t get too hung up on the miniscule detail. If I don’t like something, then I don’t review it…so I guess by now you will know that I do very much like the look of these new additions to the Warlord Range.

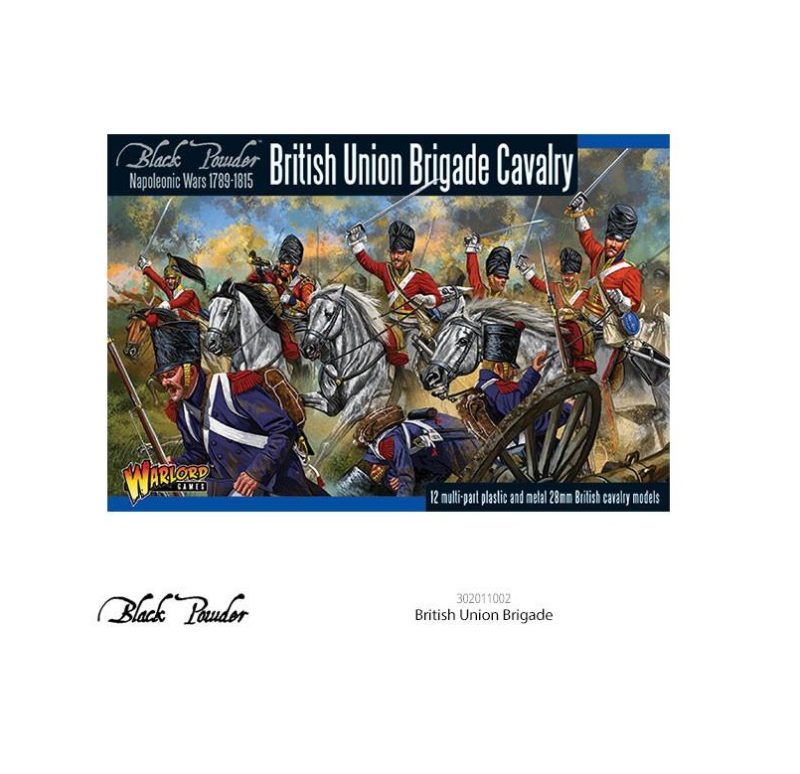
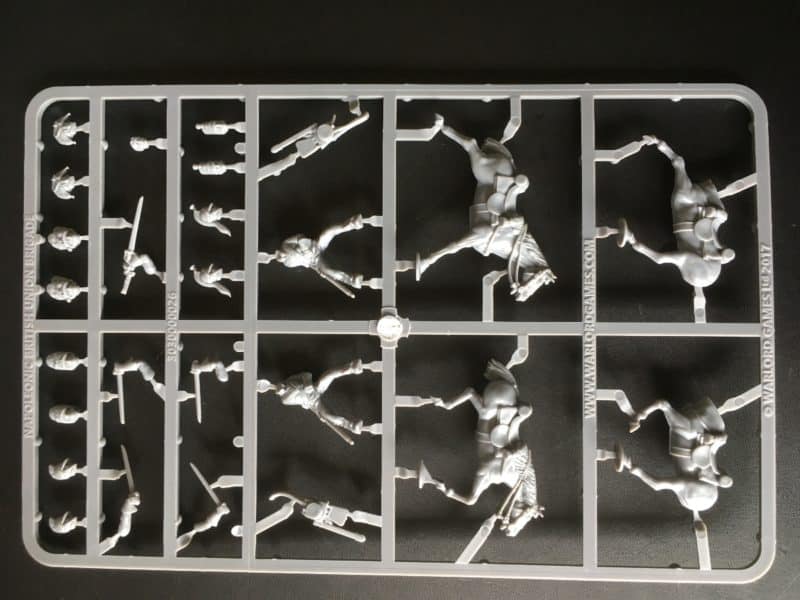
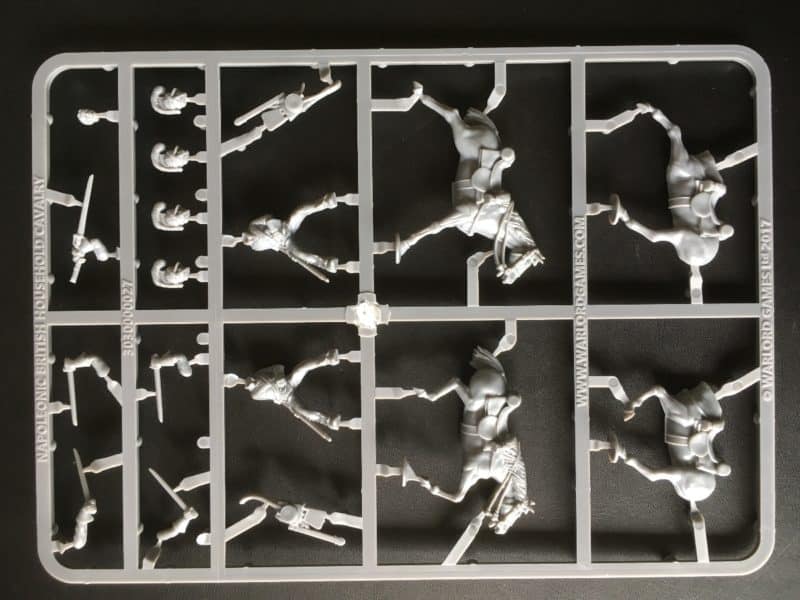
For £20 you will get a nice box of 12 plastic Cavalry figures ( 6 sprues), plus a metal Officer figure and a metal Buglers arm or in the Union box a metal bugler, so 13 or 14 figures in all in the set. I guess that for most of us, that will mean that we will have one or two bonus spare plastic figures as wargamers will tend to build their units for Black powder in 12’s. Also included in the box will be a leaflet explaining how the British heavy cavalry were organised and some basic painting hints to supplement the box art. I think that this is very good value. I particularly like the effort that Warlord Games have gone to in terms of the packaging and information leaflets that are enclosed with their sets. It is yet another example of how this company is making historical wargaming more accessible to the new entrant.

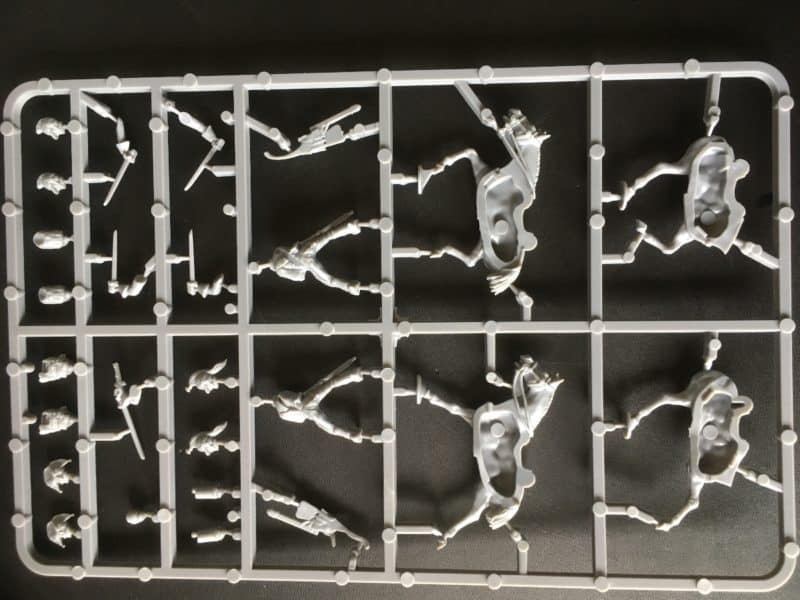
Union Brigade Sprue

Union Brigade Sprue Front

Union Brigade Sprue rear

Union Brigade Sprue Rear

The pictures above show the front and rear of the Union Brigade sprues. You will be able to use this set to make the following regiments: 1st Royal Dragoons; 6th (Inniskilling) and of course the iconic 2nd Royal North British or Scots Greys. The Horses are well posed and in full gallop and they look like the big horses that were used in the heavy cavalry regiments. I’m not sure but it looks to me as though you can mix and match the four halves of the horses to get a variety of poses but I have yet to put this to the test. The horses tails are ‘docked’ which is generally correct for British cavalry – it is said that officers often left their horses with full tails as they looked nicer on parade but lets not worry about that now…

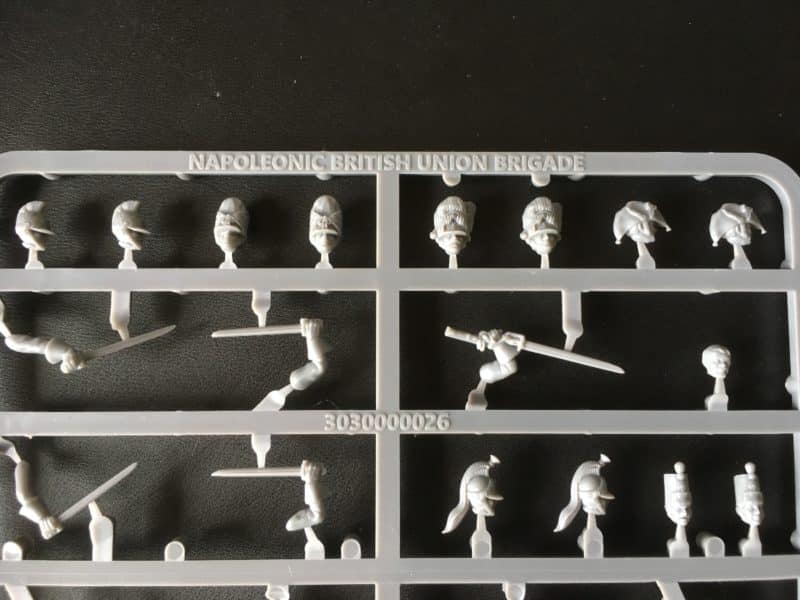
Union brigade heads

Union brigade heads

The cavalry men themselves look well molded and very well posed. When combined with the choice of the five sword arms supplied, you should be able to model some nice action poses. I like the arm holding the sword ‘at point’ and the arm with the pistol is a nice touch. There are six choices for the heads. Bearskins both with covers and without are supplied. For those that would like a ‘correct’ Waterloo look, the covered bearskins are the ones to use. For others, the chance to use the uncovered Bear skin headwear will make a nice change and the models will look even prettier on the wargames table! You also have the standard Heavy Dragoon helmet from 1815, an oil cloth covered version as well as the bicorne for the Penninsular Campaign. There are also Watering caps supplied that will unlock further conversion options – mounted 95th Rifle officer perhaps?

The parts all look well molded with little or no flash apparent and no sink holes to fill. I also like the way that the water bottle and sabretache fit onto the body as a separate piece. First of all, it is clear how it should fit and secondly the join should be nice and solid. I think that painting these as a separate item and attaching them later will be a good option and should simplify the painting process.

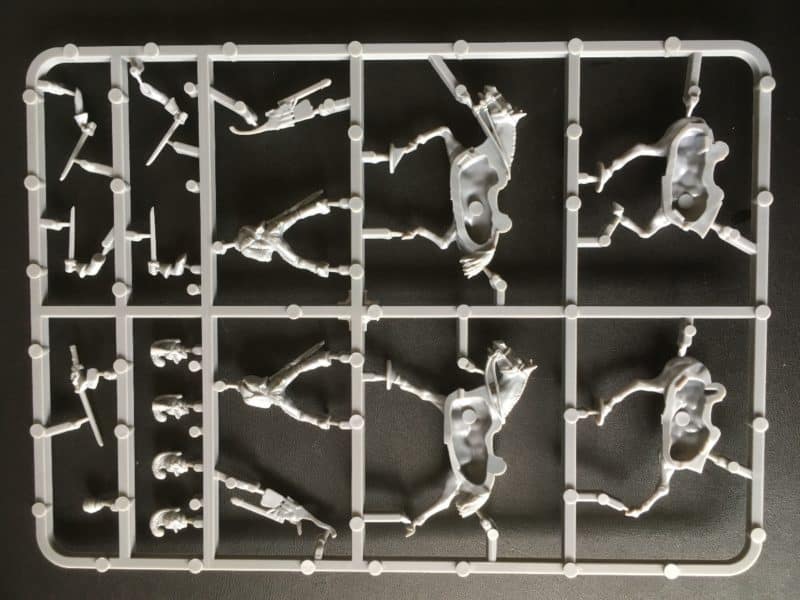
The House hold Cavalry sprue is very similar but has less in the way of headware options.

Household Brigade Sprue rear

Household Brigade Sprue rear

Household Brigade Sprues Front

Household Brigade Sprues Front

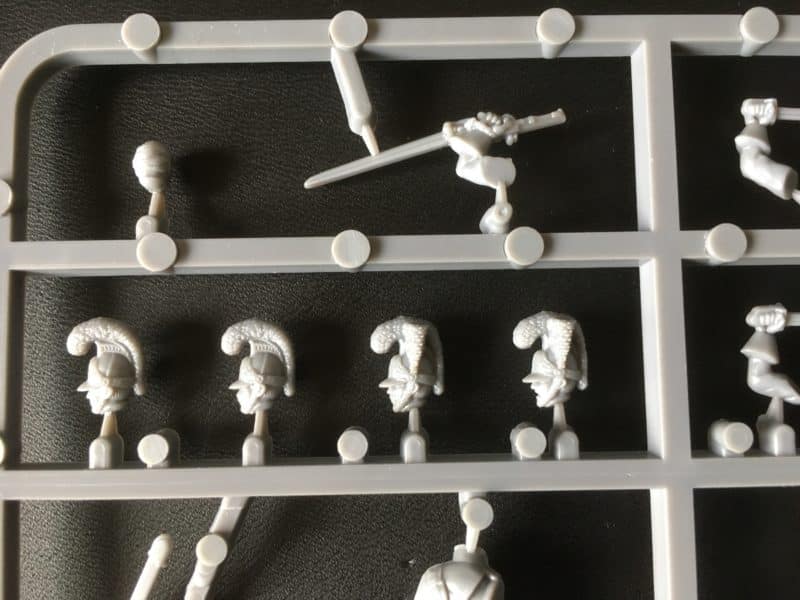
As you can see, the horses and riders are identical to the Union brigade sprues, it is just the headwear that is different. The heads come either with plumes – used in the main for officers & trumpeters or without, for the troops. It’s also worth pointing out that there is a bare head with a bandage – just in case you would like to model the regiment either after the battle or perhaps as one of the ‘riding wounded’ from Quatre Bras!

Household brigade heads

Household brigade heads

The box will let you model the main Household regiments, the 1st or 2nd Lifeguards, Royal Horse guards ( the Blues). To model the 4th regiment in the Household brigade ( at Waterloo), the 1st Dragoon Guards, you will need to use the Union brigade box to get the helmets with the ‘horse tails’.

I think that these sets are a fantastic addition to the range of plastics that are now available. My next project will be a ‘batch paint’ of 24 of these, representing the 1st and 2nd Lifeguards. They should go nicely with my existing ‘Blues’ and no doubt, the next project will be another 24 from the Union Brigade to go with my Scots Greys. It will be nice to have a representation of the British Heavy Cavalry Brigade at Waterloo and having them in plastic will mean that I wont need a fork lift to transport them! Now whether I ever get them all onto a wargames table at the same time will be another story…

The official release date for these sets is 17th June. Unusually for Arcane Scenery we will take pre-orders for these sets as we are close enough to release not to delay dispatch by too long! If you would like to order your sets just click on the links below and as usual we send our orders post free to most worldwide locations. As soon as we have them – we’ll send them …..CHARGE!

BRITISH UNION BRIGADE CAVALRY POST FREE!

BRITISH HOUSEHOLD BRIGADE CAVALRY POST FREE!


Vikings land in Newark!

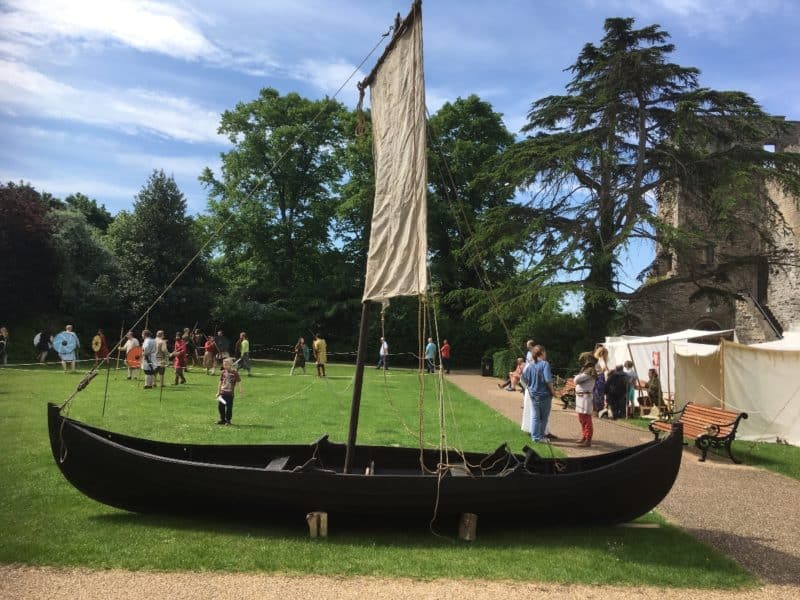
Small 'coastal' Viking ship

Small ‘coastal’ Viking ship

The bank holiday weekend was pretty much booked up with Family stuff but I did manage to sneak away on the Saturday and wander down to Newark Castle whilst Mrs Wood was having her hair done. To be fair, I had also been to the Barbers to get a smart new haircut, but 5 minutes is about as much time as  even the most careful of barbers can spend on my diminishing patch, so I had time to kill. I digress, having some free time I noticed that there was a Viking reactment taking place at Newark castle and as entrance was free it seemed a shame not to pop in.

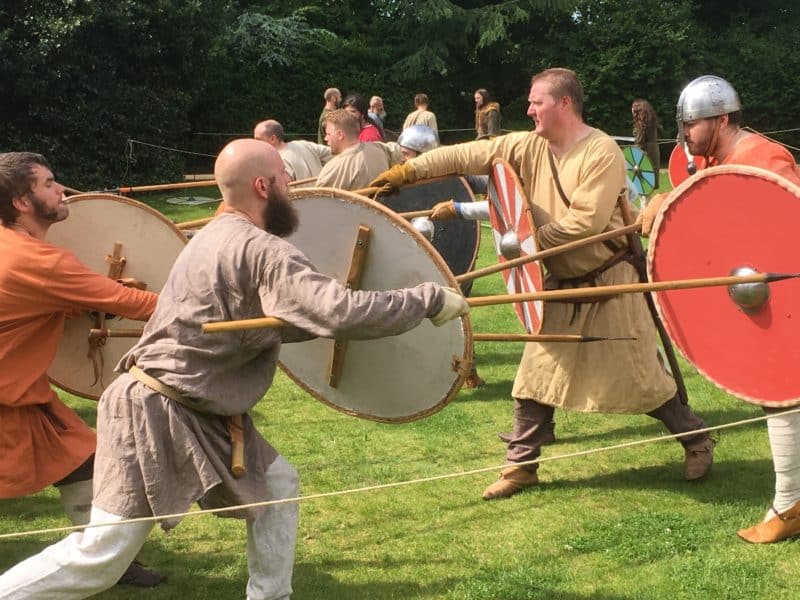
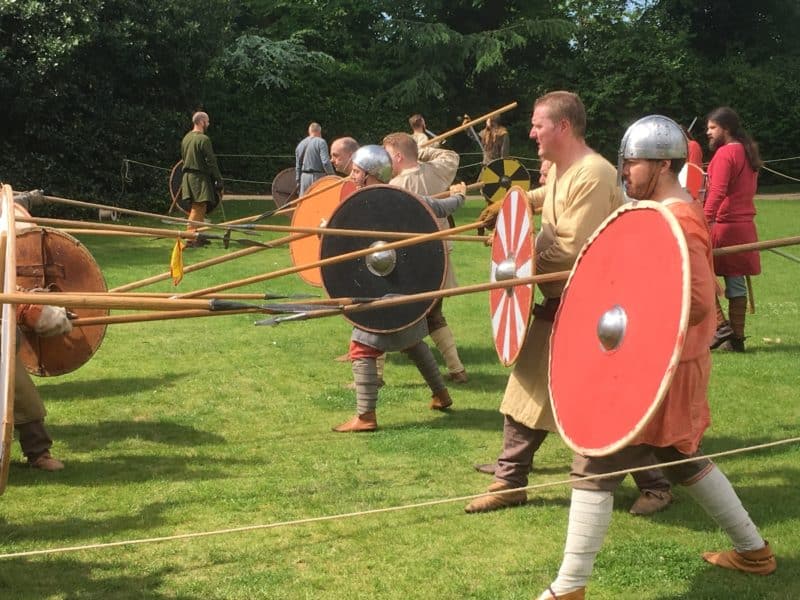
Viking Combat! Shield wall!

Viking Combat! Shield wall!

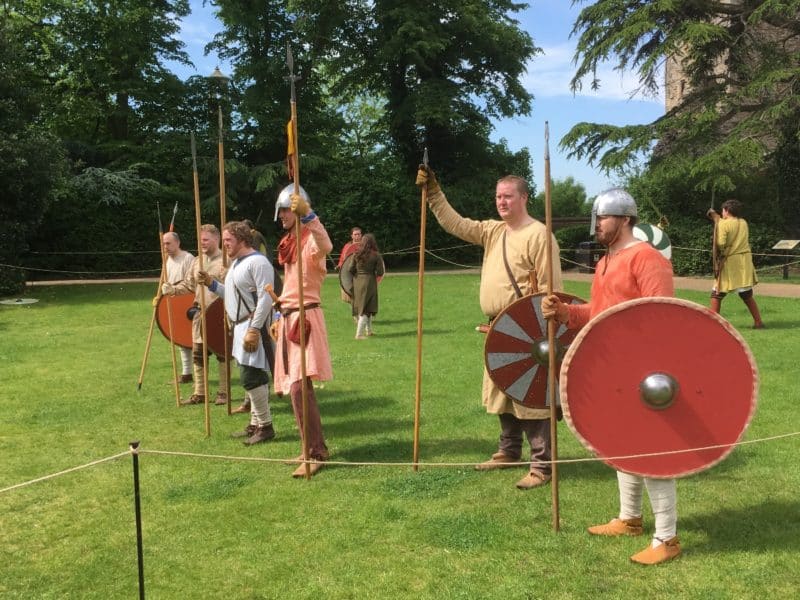
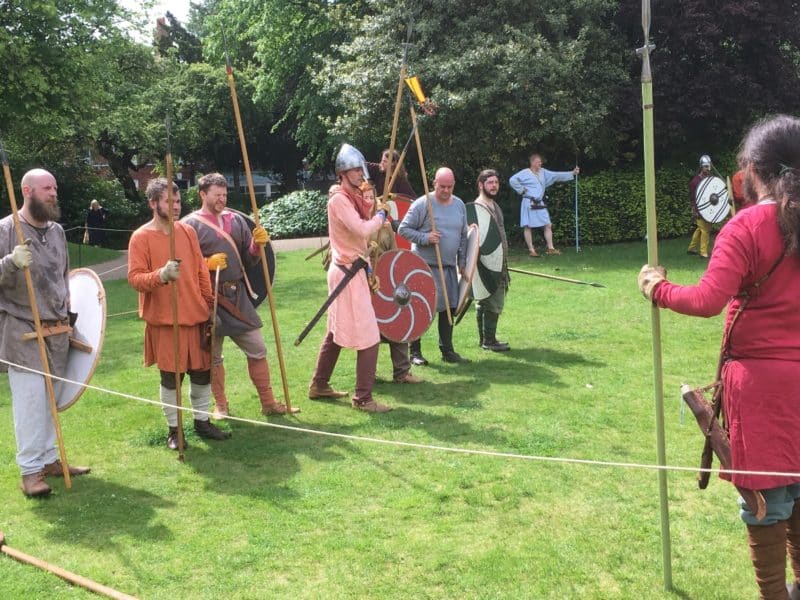
I think that reenactors share a similar strand of DNA to us wargamers but have perhaps taken it one step further. I must say that it does hold a slight appeal to me but only the bit where you sit around in the sunshine, having a beer and chomp on a lump of charred beef whilst chatting to your mates. I cant be doing with running around hitting people, or even worse being hit by some one younger and faster than me, it’s too much like hard work. I do, however, admire the work that these enthusiasts put into their hobby and they are a great source of information. Not only is their equipment and clothing extremely well researched but they know a thing or two about the tactics, weaponry and are there to ‘bring history alive’.

Camp life.

Camp life.

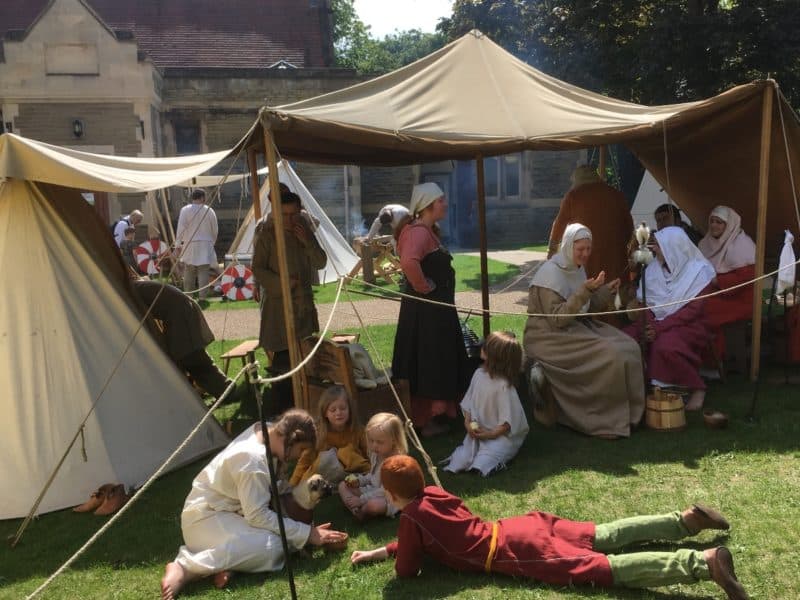
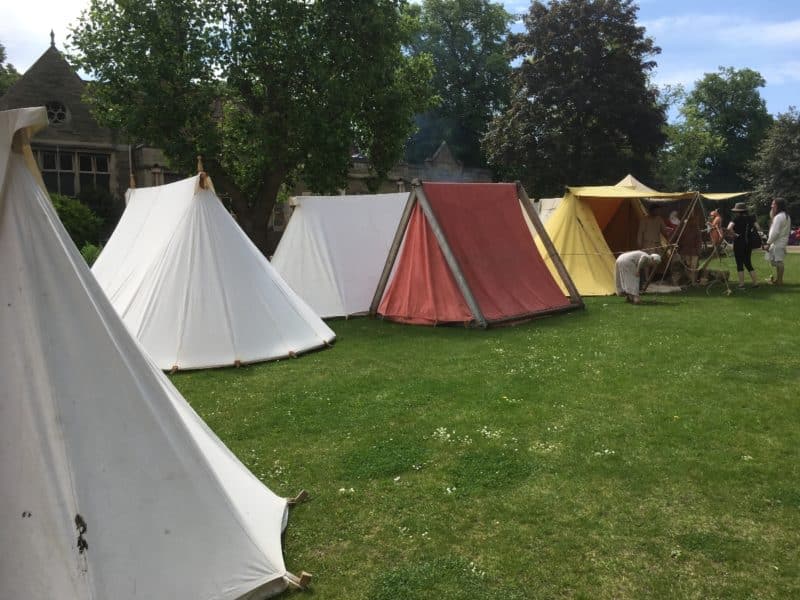
Like all enthusiasts, reenactor’s are generally a friendly bunch and only too happy to share their knowledge – you just have to ask. As I was wandering around a few things caught my eye (no, I wasn’t doing a Harold impersonation…). First of all the tents that made up the encampment all generally followed a similar pattern. It was interesting to see how an encampment might of looked. Renedra make a Saxon tent set and it was good to see that the style looked about right.

Renedra tents in full scale!

Renedra tents in full scale!

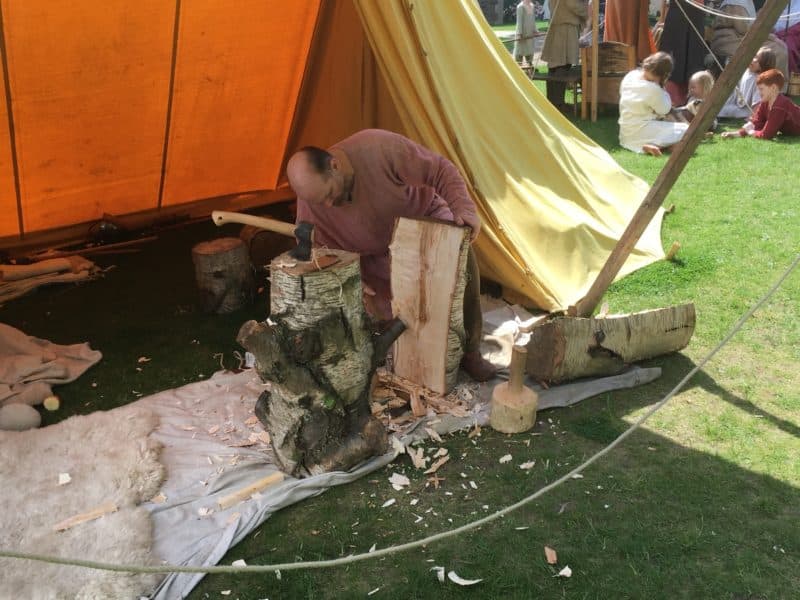
It was also interesting watching some of the craftsmen at work.

Craftsman at work

Craftsman at work

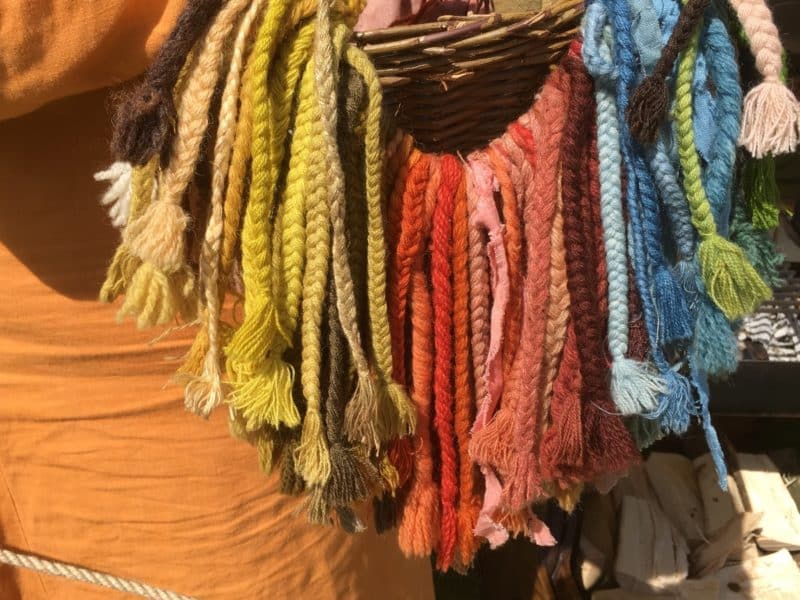
I was intrigued by the ladies who were making and dyeing cloth for the costumes. They were in the process of dyeing some cloth with a ‘stew’ of Madder root and so I had quite a chat about the colours used. I had already noticed that in ‘real life’ the clothing tended to be in more pastel shades than I painted my figures. Also there was a preponderance of orange/red clothing. The ladies were happy to show me a sampler of the sort of natural dyes that they were able to produce and that they thought were fairly likely to be accurate samples of what would have been used on tunics at the time.

Dye Samples

Dye Samples

As they explained, the dyes weren’t as colourfast as today and would certainly fade so although my tendency to chose bright colours for my wargames figures look OK on the wargames table, I think that my next Saga Warband might just have a more muted look. And Orange will definitely be on the colour pallet!

I should point out that the reenactors were both Saxon and Viking, so if in my blog I have got them a bit confused, I apologise. Here is a few more pictures of the Warriors going through their battle drill.

Stand ready...

Stand ready…

steady..

steady..

Close!

Close!

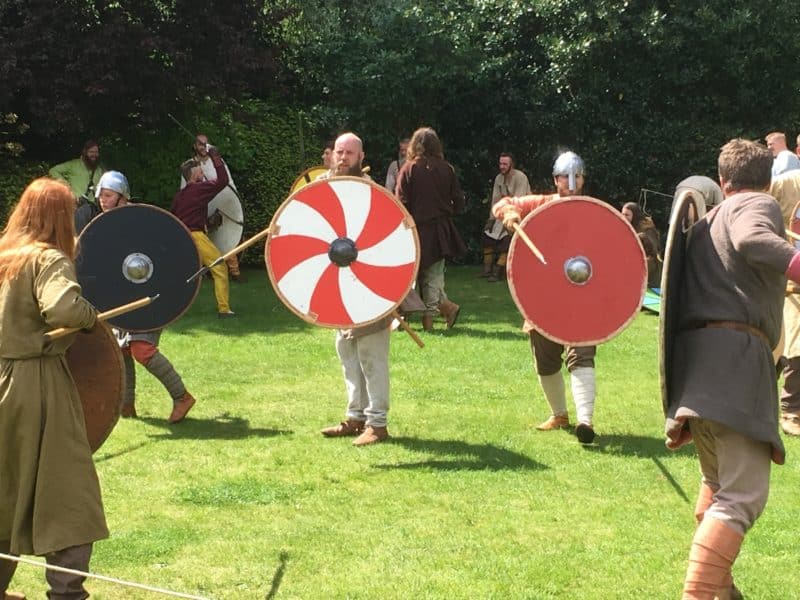
Shield design

Shield design

A final thought, I had always thought that the shield rims were beaten metal – these looked more like leather.

To sum up, a diverting and educational couple of hours. The tower to Newark castle battlements was also open and once again, entry was free, so for the first time I was able to climb to the top:

King of the Castle!

King of the Castle!

Next weekend I am off to Warwick Castle for a War of the Roses weekend. I will get back to my painting and modelling but I thought that I might as well enjoy the good weather whilst it’s here!


Ahoy there matie!

Arcane scenery at Partizan

Arcane scenery at Partizan

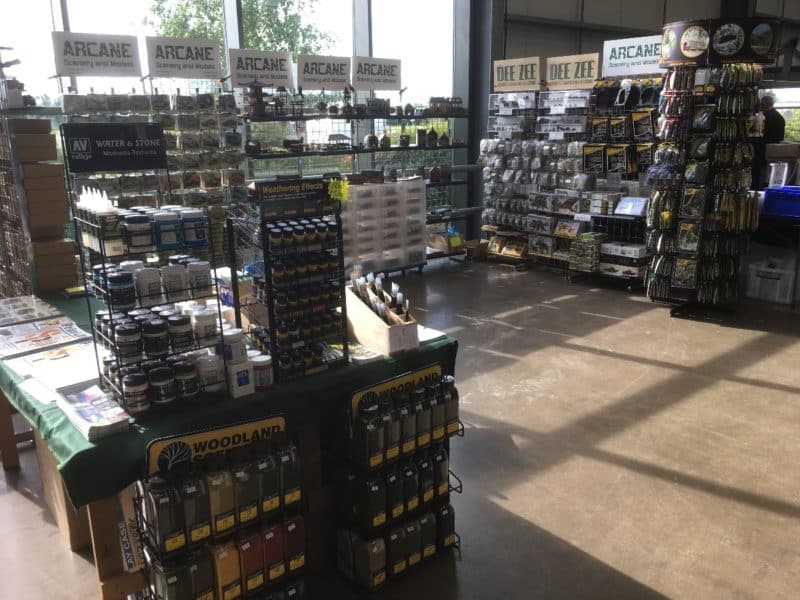
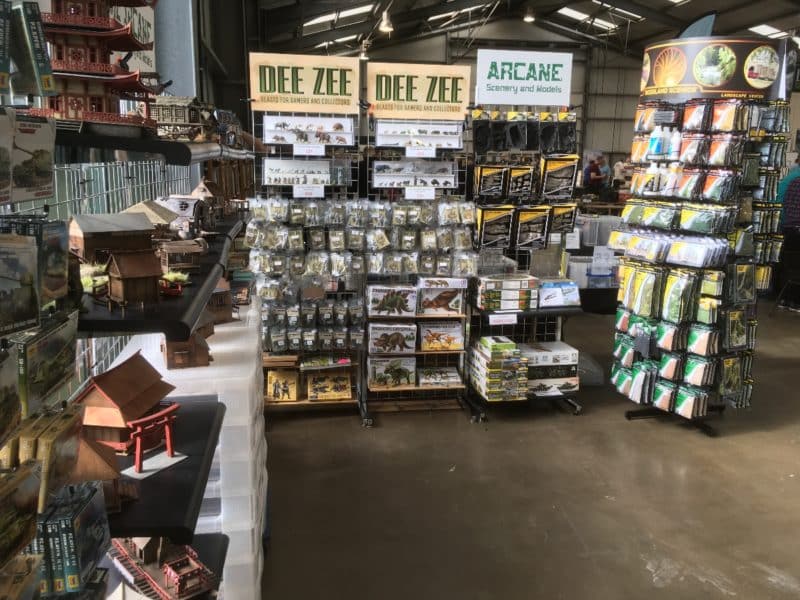
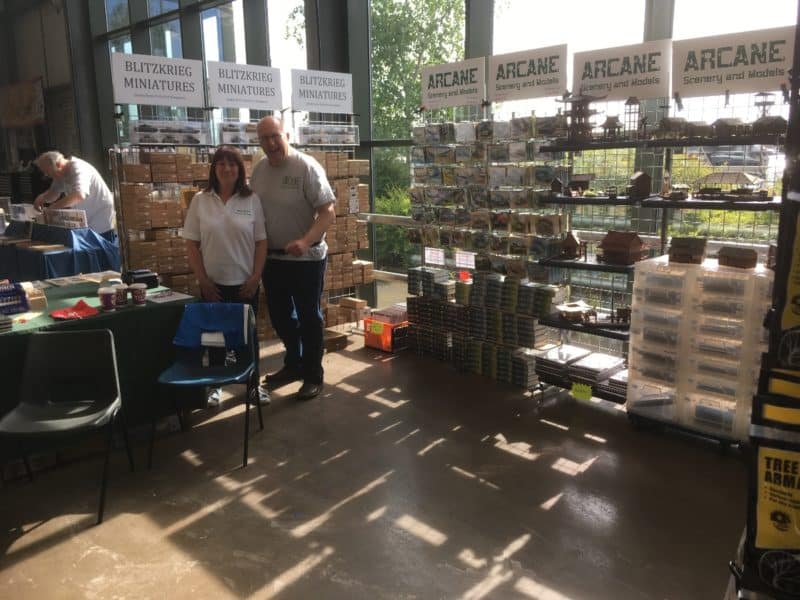
To be truthful, my modelling and painting progress has been curtailed over the last week or so. The weekend was entirely spent preparing and attending the Partizan show at Newark. Normally, this in itself would be the subject of my blog. However, we were so busy that the only time that I left my stand was to go to the toilet – I’m sure that this is too much information – but the upshot is that I have no pictures of the many great games that were on show. As you can see, I do have some pictures of our stand so you can get an idea of how we looked!

Deezee and the new Woodland Scenics range

Deezee and the new Woodland Scenics range

Our Aprentice Pete Harris with Julie. Meanwhile in the background, Duncan is laying out Trent Miniatures!

Our Aprentice Pete Harris with Julie. Meanwhile in the background, Duncan is laying out Trent Miniatures!

I would like to repeat comments that I have made in previous blogs and on social media. Partizan is my favourite show of the wargames circuit, both as a trader and on the rare occasions when I venture out from the stand, as a customer and enthusiast. The new Venue is superb. Well lit, plenty of space and a decent cafeteria and seating area for refreshments. The show team led by Laurence Baldwin, could not be more friendly and helpful. The show is neatly split into four sections; Traders, Historical Societies, Demonstration games ( look but please don’t touch) and Participation Games (get stuck in).

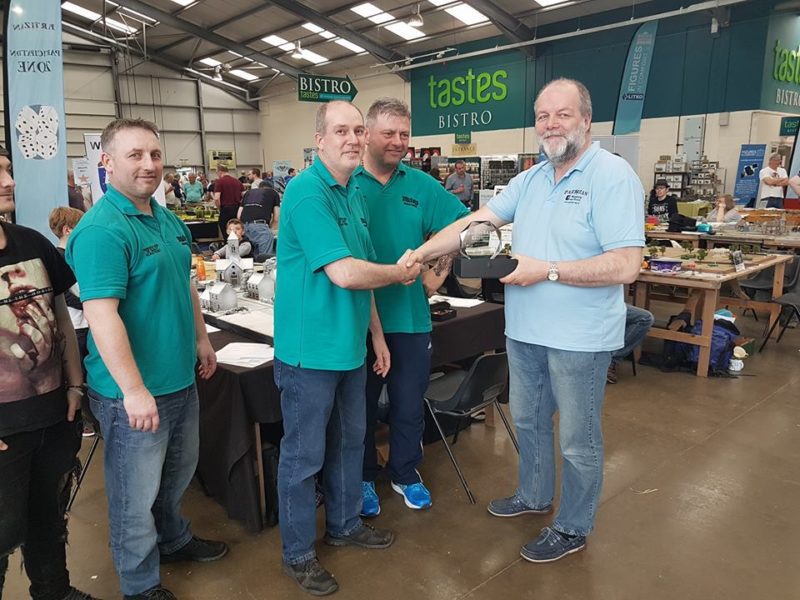
The Blitzkrieg team, Jake, Gav, Paul & Phil receive their award from Show organiser Laurence. Photo courtesy of Wargames Soldiers & Strategy.

The Blitzkrieg team, Jake, Gav, Paul & Phil receive their award from Show organiser Laurence. Photo courtesy of Wargames Soldiers & Strategy.

I was delighted for our colleagues at Blitzkrieg Games as they were awarded the prize for the best Participation game. And well deserved it was too. Their table was constantly in use and the highlight of the day was a fiercely contested battle between  Father & Son that drew in onlookers through the sheer enthusiasm of the game. A fantastic advert for our hobby. Well done to Paul, Gav, Phil and Jake for creating such an open and inviting game. Watch out for Partizan 2. In the meantime if you would like to see pictures of the day, follow this link across to the official facebook page:

Partizan Wargaming and History Show

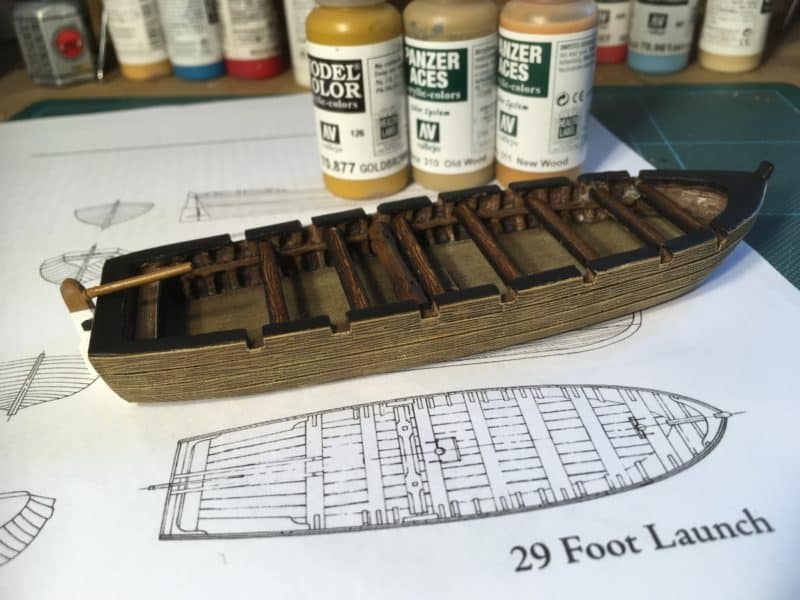
So what is the nautical title of my blog all about then? Well, once I had recovered from the exertions at Partizan, I did find time to start some modelling. I had blagged a ‘first cast’ of the new Trent Miniatures ships boat that Duncan is about to launch  (Yes, the pun was intended).  I still have ambitions to create a Napoleonic Marine landing force, primarily for use in some future Caribbean campaign and when I saw the new release on the Trent stand, next door to ours, I couldn’t help but get yet another boat for my force.

As yet there is no crew available but they will come in time. The boat is also without oars or a mast, again they will be added, either as part of the model or as a separate accessory pack. In the meantime, I just wanted to get one painted. Here’s my progress so far.

The new Ships Boat from Trent

The new Ships Boat from Trent

I have gone for a fairly basic paint job. Once I had washed the resin cast, I primed the boat with Army painter Leather brown and when dry, gave the whole boat two liberal coats of Dark tone ink to bring out the grain and detail on the planking. It was then a case of dry brushing with various mixes of Vallejo Golden Brown, New Wood and Old Wood and finishing the details in black, as you can see. Unusually for me, I didn’t really think through how I intend to finish the boat. I was just too eager to get some paint on! So I am now debating with myself as to whether I should add a mast and sail and make it a supply ship (which is my favourite option) or whether to buy or convert a crew and have it as yet another landing party.
I also have vague ideas of converting it to a rocket launching ship. The fact is, I now have the basic hull finished and I can now experiment over the coming bank holiday, weather, Family barbeques and gardening duty permitting…

You Need Personality

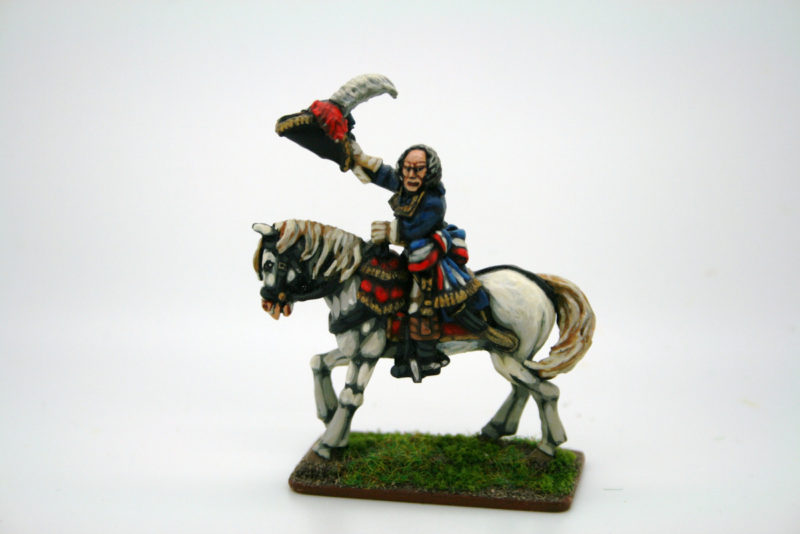
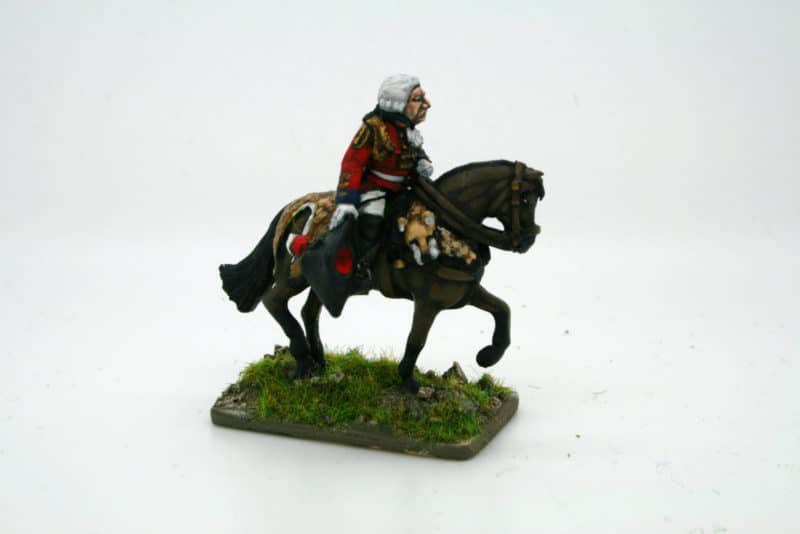
To paraphrase the song by Lloyd Price ( it was released in 1959 so I’ll forgive you if you dont know it….) you need Personality in your army to really make it interesting! Which is just one reason why we are such fans of Trent Miniatures here at Arcane scenery. As well as producing the usual range of Rank and File troops for the Napoleonic Period, Trent have gone to great lengths to ensure that there are figures representing some of the lesser known characters of the time. If you are building an army you will of course want Generals and Leaders and whilst most manufacturers will produce generic officers, not many of them stray beyond the ‘Big Names’ Napoleon, Ney, Wellington, Picton etc
Trent Miniatures produce quite a collection of Characters from the Revolutionary period and from quite separate theatres. So if you are looking for something a bit different, have a look through the Trent Range. If it’s British Characters, how about Sir John Moore, Sir David Dundass, Stapleton Cotton or even the Grand old Duke of York himself!

The Grand Old Duke of York!

The Grand Old Duke of York!

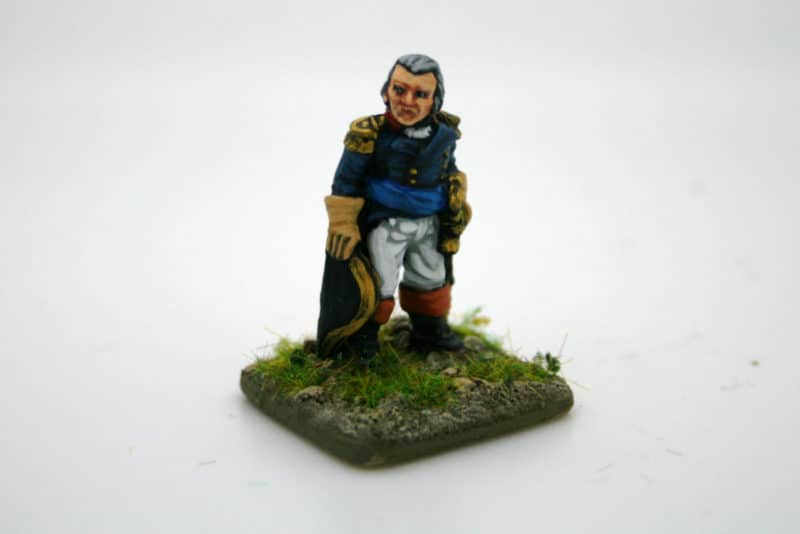
The Irish have plenty of choice too. There’s Joseph Holt, Michel Dwyer, Robert Emmet and the main man, Wolf Tone:

General Wolf Tone

General Wolf Tone

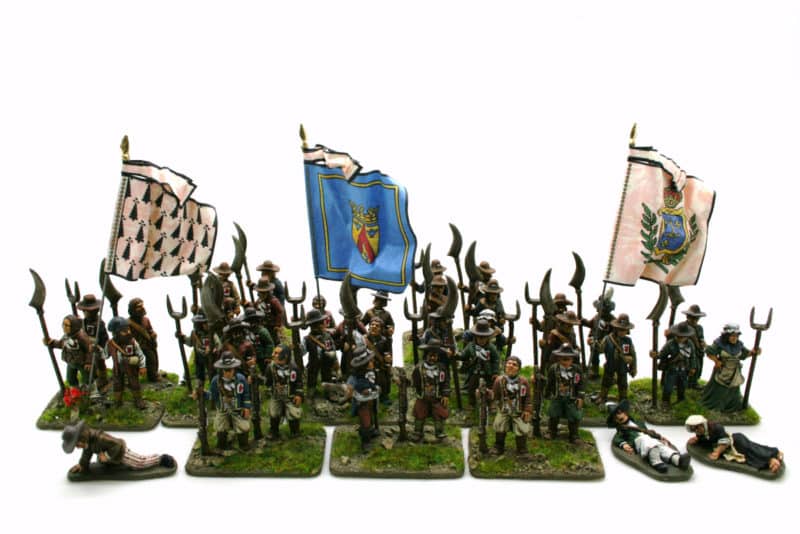
The French Revolution also had a counter revolution by Royalists in the Vendee and Britanny. The leaders included  de la Rochejaquelin, de la Tremouille, d’Eblee, Marquis deLescure, Francois Charette & Jaques Cathelineau, all available as personality packs from Trent.

A gathering of Chouans!

A gathering of Chouans!

The picture above shows Chouans with the flags of (from right to left) Brittany, The Prince de Talmont  (Antoine Phillipe de la Tremouille), and the standard of Charette (Francois Athanase charette de la Contrie). The flags are produced by Flag Dude, should you wish to obtain them.

The French have their own Generals to sort out the rebels across the Empire. You can choose from General Brune, General Humbert, Joachim Murat and yes, there is a Napoleon as he was as First Consul.

General Brune is just one of the French Generals available

General Brune is just one of the French Generals available

Other personalities include Tousaint L’Overture from Haiti, Andreas Hofer Hofer, fighting in the Tyrol; Pasquale Paoli, rebeling on Corsica and even Tecumseh, the Shawnee leader who fought from the American war of Independence through to the 1812 War in the USA.

The Hofer gang taking cover in the tyrol

The Hofer gang taking cover in the tyrol

Back to the European theatre, there are a couple of Polish Generals to collect, General Antoni Kosinki and General Jan Henryk Dabrowski.

pol04 dob

The joy of all of these models is that the personalities tell their own story. A quick search on Wikipedia will reveal details of the careers of these characters and help to bring to life the detail of the Revolutionary wars. This is often a good way to discover the background to a particular conflict.

Many wargamers have to deal with the dreaded collectors bug that strikes from time to time! These characters wont help cure this affliction but they are nice to collect and paint simply to add to your collection. I cant ever see myself painting a Polish Napoleonic army but I am tempted to have a go at painting Kosinki or Dabrowski as a display figure for my cabinet. I find that sometimes a break from churning out units and armies to just paint one character figures is a good way of getting your painting mojo back, if ever you are feeling a bit jaded at the thought of yet another battalion of redcoats or blue coats!

Pascale Paoli would make an interesting Guerrilla leader on the Peninsular.

Pascale Paoli would make an interesting Guerrilla leader on the Peninsular.

To view the full Trent Miniatures collection, follow this link:

TRENT MINIATURES

At the time of writing, they are all available post free from Arcane scenery – if you are not familiar with the range, you may just be surprised at how many useful items they have!


Jonas Jones Rides again!

The last time Jonas Jones wrote for the blog was back in 2011! But he’s back again, armed with his Jewellers saw, pin vice and super glue showing you how to make the best of the United Irish Command pack from the Trent Miniatures range. Now, without revealing Jonas ‘s true identity, it is fair to say that he is an enthusiast of the Trent Range and loves nothing more than to carry out simple conversions on the figures, if nothing else than to prove that you can do as much with metals as you can with plastics.

So in his own style and words, here is his ‘take’ on the United Irish (rebel) Command pack from the Trent Miniatures range:

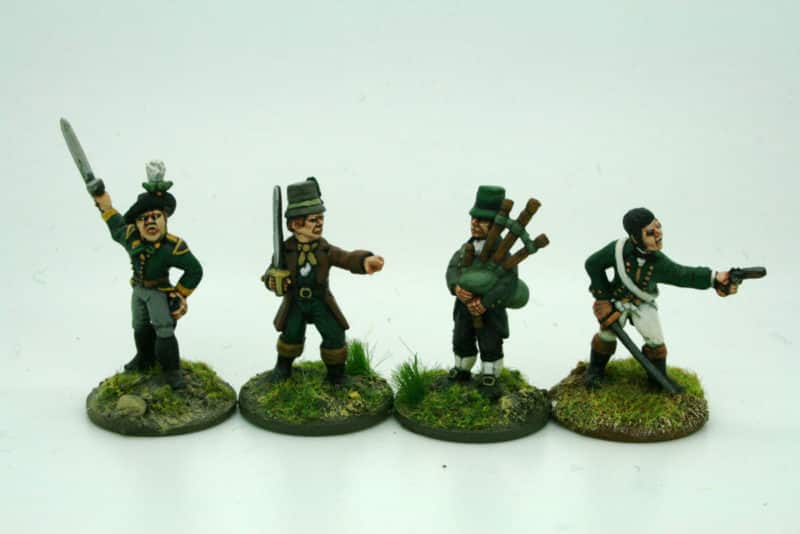
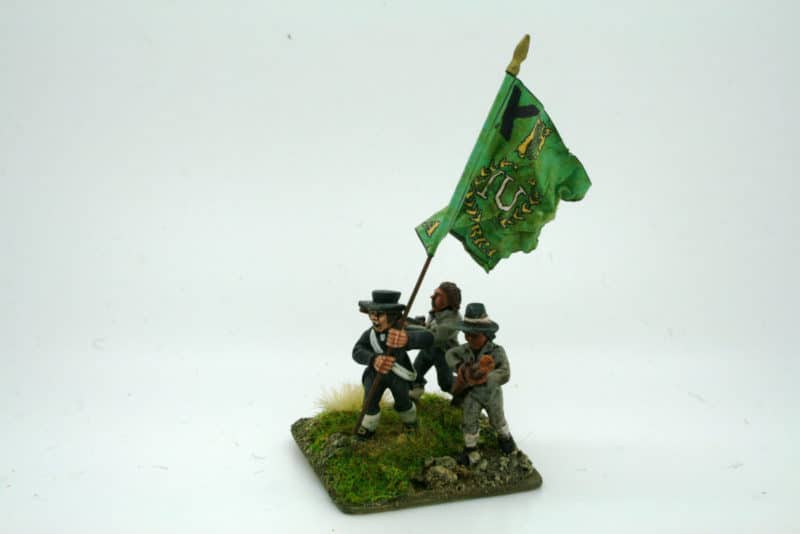
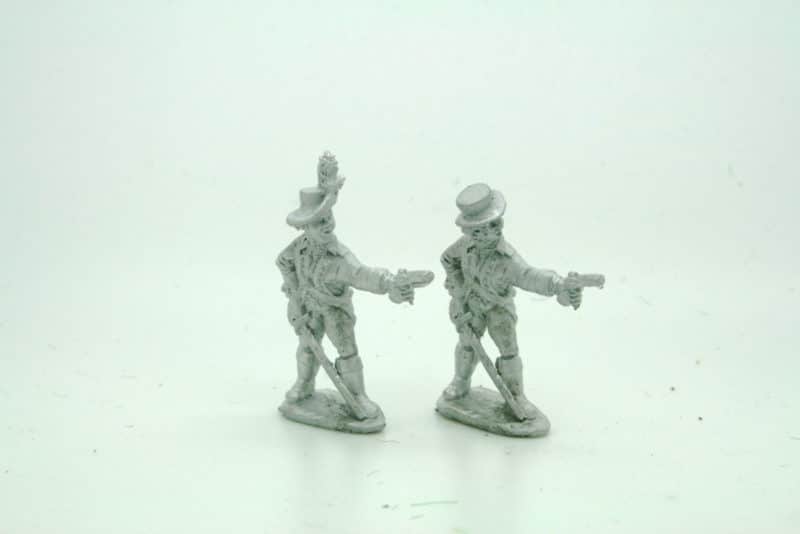
‘ Ir98/03, the United Irish (Rebel) Command pack contains four figures from five basic poses, supplied at random. Instead of one of the four poses shown in the main photo, you might get a standard bearer (That’s him leading a couple of Gunsmen in the next photo. You will need a pin vice to drill a hole through his hands, which takes just a few seconds, time that you will get back with interest by never having to stick the flag back in ‘cos it’s come out for the umpteenth time!)

IR98/03 Irish Command

IR98/03 Irish Command

Don’t panic if you don’t get a standard bearer , because of course almost any pikeman can be ‘converted’ to a standard bearer simply by giving him a standard instead of a pike! Incidentally, the standard shown is supplied by Flag Dude, one of several designs that he does for the Great Irish Rebellion.

irish standard

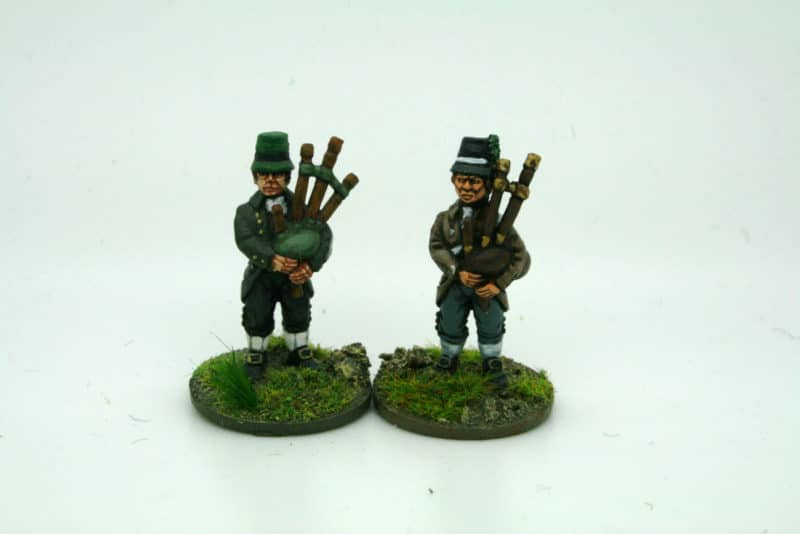
Two of the figures shown – the officer pointing and the bagpiper – come with separate heads, which are easily fixed on using superglue, and give more scope for variety. Also the guy firing his pistol has three different head variants. also supplied at random. (There’s the other two in the photo of the unpainted castings.)

Officer Variants

Officer Variants

Now, re that bagpiper. We’re pretty sure that knowledgeable chaps and chapesses like our readers will know that Irish bagpipes have two drones, whilst Scottish bagpipes have three. Given the large Scottish immigration into Northern Ireland (Ulster) we feel fairly sure that both types would have been kicking around in the Emerald Isle. So we’ve opted to give our castings three drones on the grounds that it’s much easier to snip off one drone to “Irish – ise” ( remember when they are smiling) your bagpipes than it would be to add a third drone to a two -droned casting. The photo showing the two side by side should help you to differentiate your ‘Och aye the noo’ from your ‘Begoora’….

Bagpiper variants

Bagpiper variants

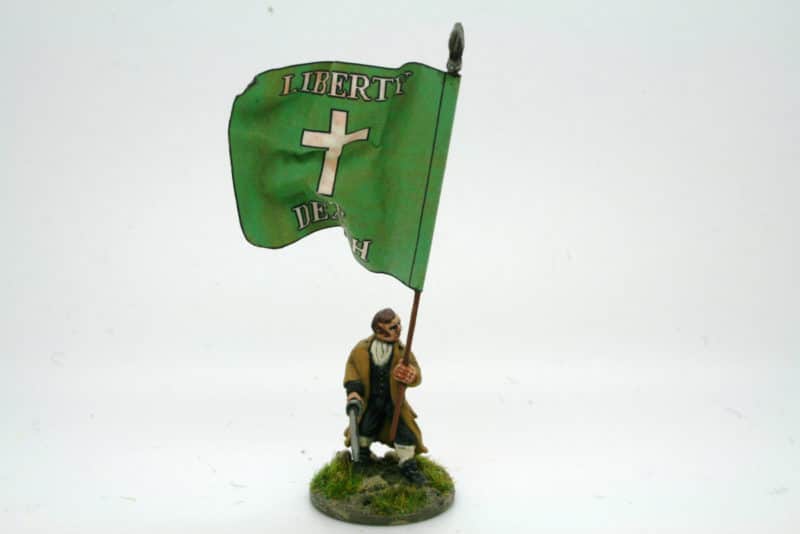
Finally, here is a picture of Father Michael Murphy carrying the very flag (Flag Dude again!) that he was carrying when cut down by canister shot at the Battle of Arklow. Trent miniatures don’t actually make a Father Michael Figure. This is a conversion of one of the pike men from pack Ir98/15. He’s had his arm removed with a fine saw. It only takes four or five seconds but if you are pushed for time, you could simply snip it off with some Flush Cut cutters in two seconds! The arm has been replaced by the sword arm from the mounted Officer (Ir98/19) who comes with a selection of four separate right arms, giving you three spares for your bits box and scope for lots of simple but exciting conversions. All you need is the aforementioned saw/cutter and pin vice & drill. Oh! and a dash of imagination and patience!’

Father Michael Murphy

Father Michael Murphy

I hope that this short article from Jonas will inspire you to look at again at the Trent Range and perhaps other metals. The next time you are about to ask ‘does anybody out there make this figure or that figure?’ perhaps the simple answer is to pick up your saw and pin vice and make it yourself. It’s surprising just what you can achieve!

If you would like to see the Trent Miniatures Range, Click here:

TRENT MINIATURES RANGE

You can read more from Jonas and see his other conversions here:

OFF WITH HIS HEAD PART ONE

OFF WITH HIS HEAD PART TWO

For all the tools that you will need, click here:

EXPO TOOLS

And finally for Super glue and fillers:

GLUES AND FILLERS


Painting the Warband

An early May Bank holiday is usually an opportunity to get some painting done as the weather is generally pretty poor. This was not to be the case though. What with gardening, ‘Granddading’, and DIY, I barely managed to get to the painting desk. I have made some progress, though, and my warband is gradually taking shape. I’ve mentioned previously that I have not done any real research into Japanese Samurai other than to look at lots of pictures of other peoples models, casually flicking through my one Samurai book and putting together a Pinterest board of various Samurai images. You can see my board here:

SAMURAI PINTEREST BOARD

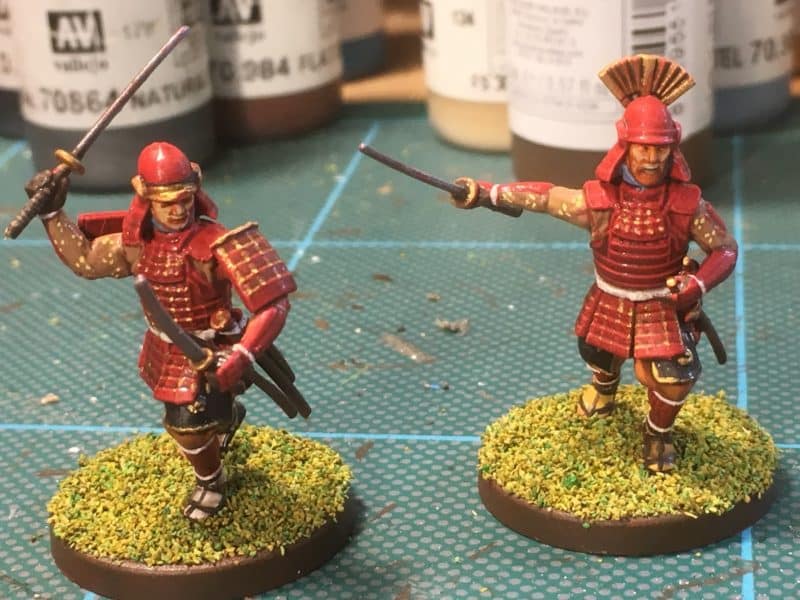
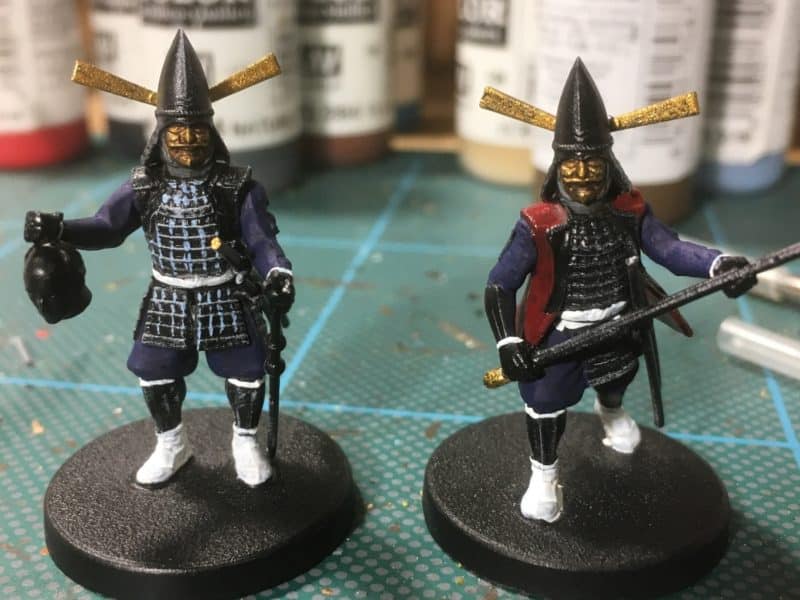
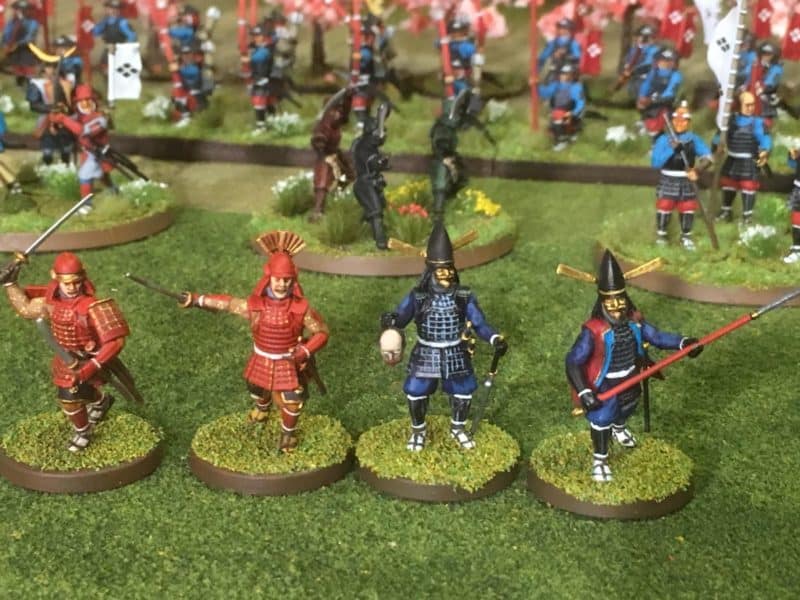
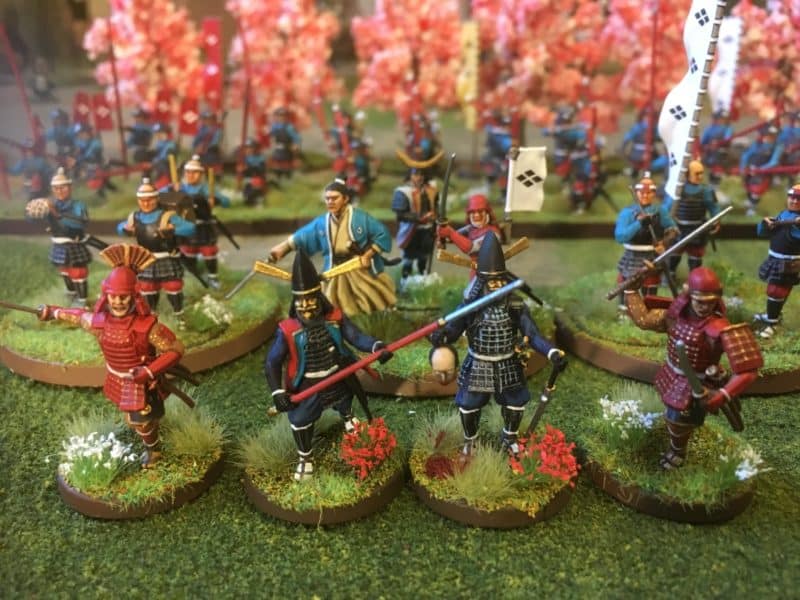
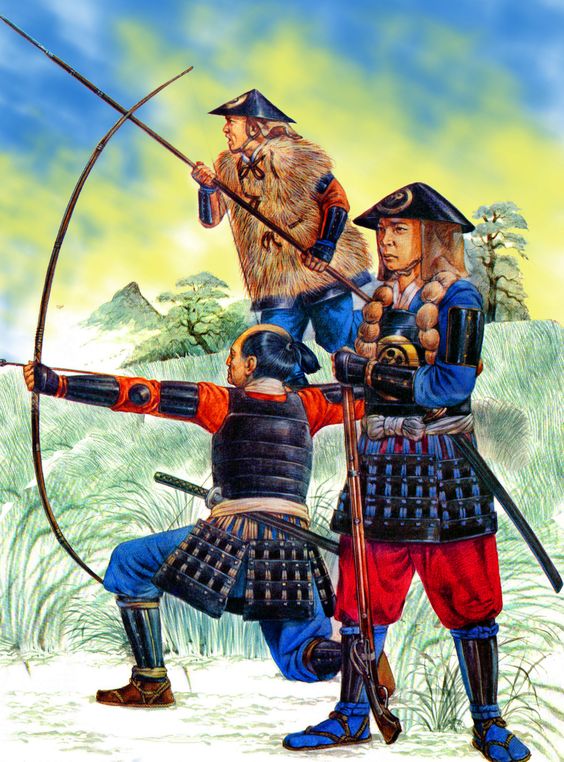
There was one colour scheme that caught my eye, the blue and red Ashigaru looked pretty good and so I based my colour scheme on this with a few tweaks.

My warband inspiration!

My warband inspiration!

The picture also helped to clarify how the various armour plates and bits of clothing were supposed to look. There are slight differences between the bowman and the musketman but I now had the general idea as to how they should look. As usual, I would take a few liberties, or as I prefer to think, ‘artistic licence’ when it came to painting the figures – usually to simplify the painting process. I also like my models to look a bit on the ‘bright side’ for the gaming table.

So, having assembled the figures I gave them a priming coat of Army painter black spray. I then used a size 6 brush to drybrush the figures all over. The main purpose of this was to bring out the detail on the figures so that I could see what needed painting and where. The secondary purpose was that the armour was then highlighted and the detail brought to life.

Painting the warband

Painting the warband

This was the first batch that I did – you can see that I have also painted the flesh and trousers. I used Vallejo 70992 neutral grey to dry brush these guys.

The bowmen, dry brushed and ready for painting.

The bowmen, dry brushed and ready for painting.

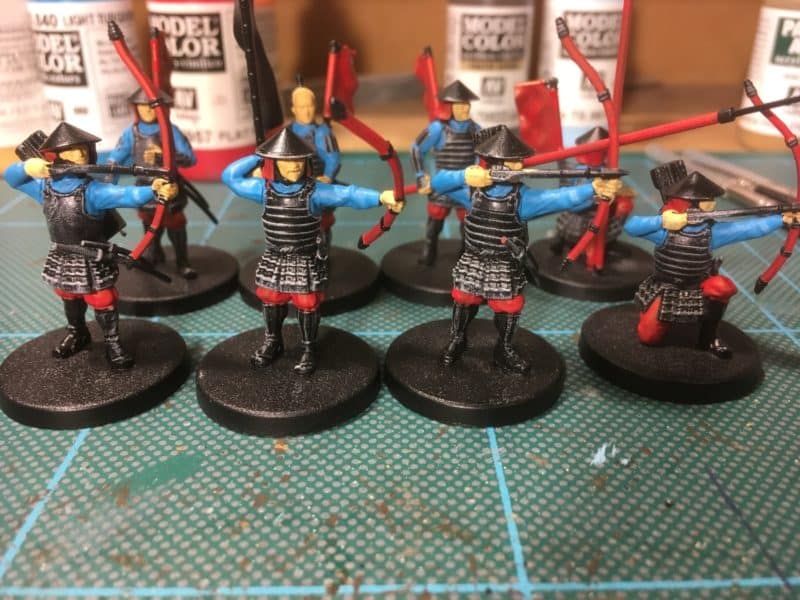
The bowmen have been given the same drybrush treatment but this time, I used a lighter grey 70870 medium sea grey to up the contrast. I think that a light blue would also work well and I might try this on the next batch! I painted the flesh with 70927 Dark Flesh, the shirts with 70840 Light Turquoise and the trousers and weapons (spears & bows) with 70957 flat red.

Ashigaru Bowmen with detail added

Ashigaru Bowmen with detail added

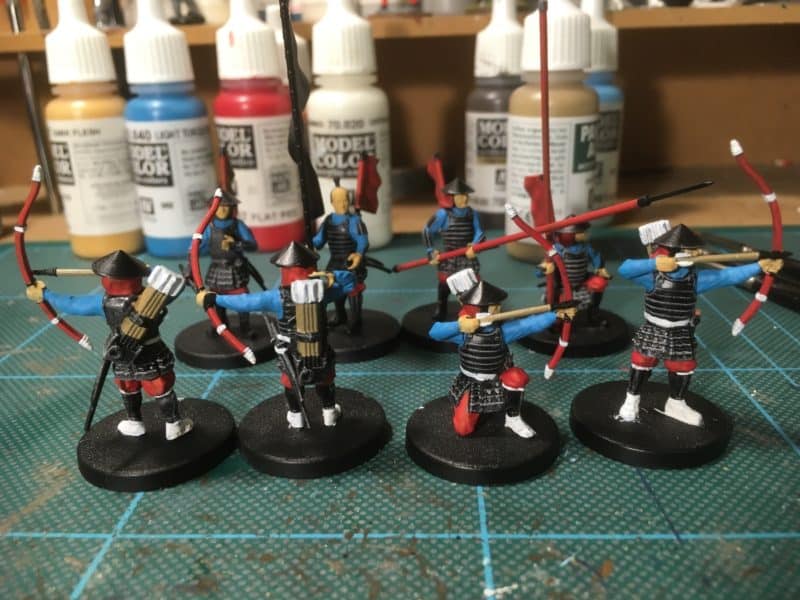
I then painted the ‘socks’, face scarf, ties on the legs, detail on the bows and arrow feathers in off white 70820 and the arrow shafts in 310 old wood. At this stage most of the block painting is done. However, to give a bit of definition to some areas, I have given the faces a coat of skin wash 72093 and used both army painter strong tone and Dark tone ink . The initial effect is to make things look worse.

Ink washes applied

Ink washes applied

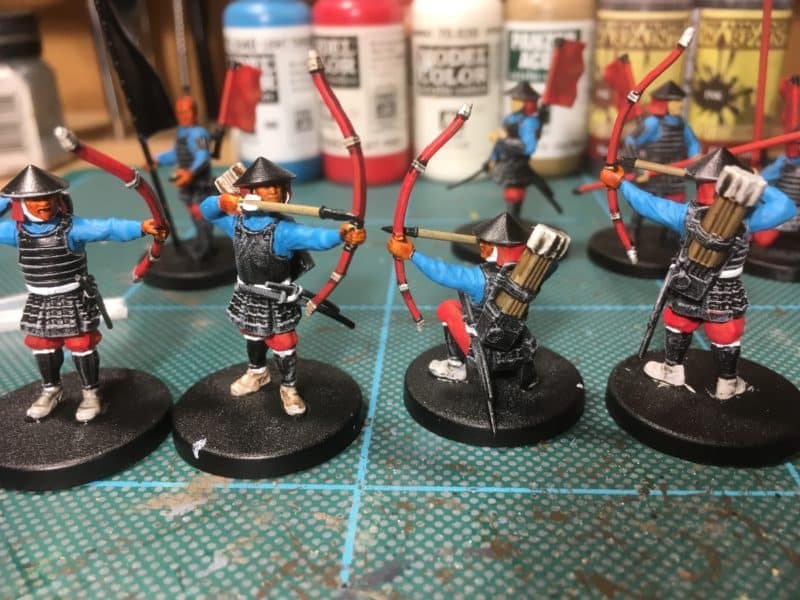
The ink does help to define the shadows and the next job will be to carefully repaint the same colours but to leave the ink shadows in the recesses. It might sound like a bit of a faff but it does work. That is as far as I have got with the bowmen and obviously I need to finish these off but here are the Spearmen that I have completed.

2017-04-26 20.01.30

You can see that by carefully repainting the raised areas on the faces, you get a bit more character with the figures. I have also painted the sandals using 70822 black brown and added some detail to the weapons using Steel 70864 and brass 70801. I’ve also painted the hats 70862 black grey for no other reason than I wanted them to look slightly different to the armour. I’ve used 70817 scarlet and 70961 sky blue to add some highlights to the tunic and trousers. The basing is very rough at the moment. I will be adding some grass tufts and probably some flowers to make them a bit more interesting!

So that is how my warband is shaping up so far. There is still some way to go to have them completed. It doesn’t help that I tend to fuss and go back over models that I thought that I had finished as I learn how to paint the models and review the pictures that I have taken. It is also a different process to the one that I use to paint my Napoleonics. With these small skirmish warbands I like to try and have a go at painting using inks & highlights rather than resorting to quickshade.  I think that it is worth the effort though, I hope that they will be well used in battle over the coming months!

If you would like to purchase the Vallejo & Army Painter colours that I have used, you can find them in my shop here:

VALLEJO PAINTS

ARMY PAINTER PAINTS

SAMURAI RANGE

At the time of writing, with the exception of aerosols, all items are available post free to most worldwide locations.


Tori Gate

No, it’s not a headline from the Sun Newspaper regarding a scandal in the Conservative party but the first piece of scenery that I have made for Test of Honour. A very straight forward and easy piece to finish, it is the simple Tori Temple Gate from the Sarissa Precision range.

Japan-TORI-TEMPLE-GATE-SAMURAI-JAPANESE-28mm-Laser-cut-MDF-scale-Building-B002-181361053102Made from Laser cut MDF, assembly is very simple using PVA glue. Painting is just as straight forward. There seem to be a lot of questions as to how easy is it to paint MDF. The answer is very easy. I just use the same paints (Vallejo) that I use on my miniatures, unless I am painting a large area. In which case, match pots of emulsion from B&Q (other DIY superstores are available) also work very well.

Completed Tori Temple Gate

Completed Tori Temple Gate

So, once I had assembled the gate, I sanded down any obvious mis matches on the pieces to get a smooth surface.  I left the main gate separate from the base and just sprayed it with Army Painter red. The first coat will bring out any imperfections and it is easy to remove these with another sand over with fine wet & dry paper. Once this was done I just resprayed it a couple more times to build the colour and that was that. I’m not sure if it’s the right shade of red but it will do for me!

As for the base, this was just as easy. I took a fairly large brush and simply dry brushed it, with out priming, in a Dark Grey. I think that I gave it a couple of coats to cover the wood. This technique ensures that the laser etched detail is not covered. I then repeated the dry brushing with a Medium grey and then again with a lighter grey until I was happy with the effect. I picked out the etched cement between the flag stones using a small brush and a watered down pale grey to get the effect shown above. It was a simple but laborious job to follow the pattern.

Tori gate & warriors

Tori gate & warriors

So with my first piece of scenery made the next job was to sort out a playing surface. Of course I could use one of my other mats but I have a cunning plan for Test Of Honour. I think that it is an ideal club night game and my intention is to put together a ‘Pick up Set’ where by I can just grab a couple of boxes of Scenery and figures and head off to the club knowing that everything is there, ready to play. The solution to a playing surface can be found at Aldi at the moment if you are quick! For just £6.99 you can get a 1 metre by 2 Metre green Awning mat. Cut it in half and you have two ideal sized mats for Test of Honour, so if you ‘go halves’ with a mate, you pay just £3.50! Here’s mine:

Aldi Mat

Aldi Mat

OK, it’s not as glamourous as a Cigar Box mat but then at the price…If you look on the Test of Honour Face book page , I’ll post some pictures of how it looks with scenery and figures on it later. If you follow this link, you can see details of the mat online:

ALDI GRASS CARPET

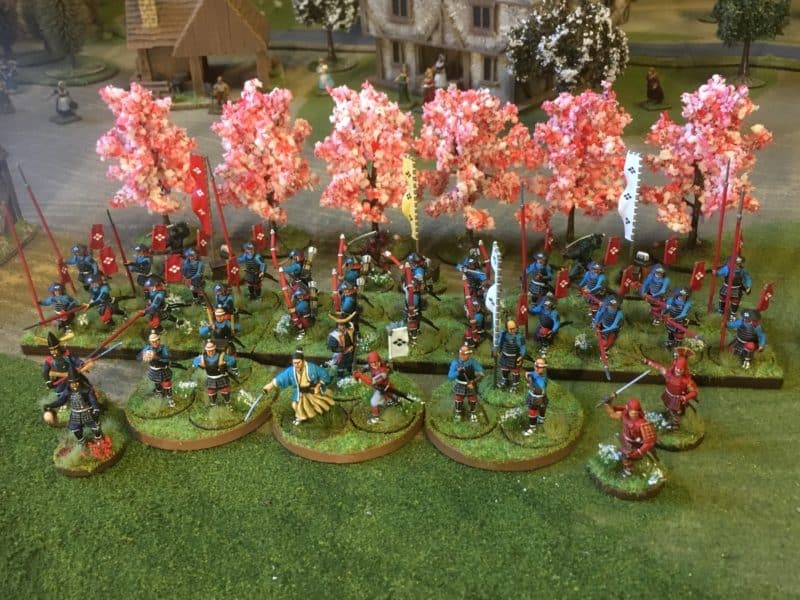
You will also notice from the pictures I have some trees in Blossom. The story behind these is that I picked up a job lot of trees that were being discontinued by a supplier two years ago to sell on the stand at Salute – just £1.99 for a pack of two. Nobody wanted trees in Blossom and these were left over after the show. I decided that they would look nice on my table and here we are two years later and I cant get Blossom trees at such a price to sell for love or money…. They still look nice on my table though!

So if my playing surface and scenery box is taking shape, how am I doing with the figures. As usual for me, painting is slow but I am getting there. I now have six spearmen done.

My war band takes shape.

My war band takes shape.

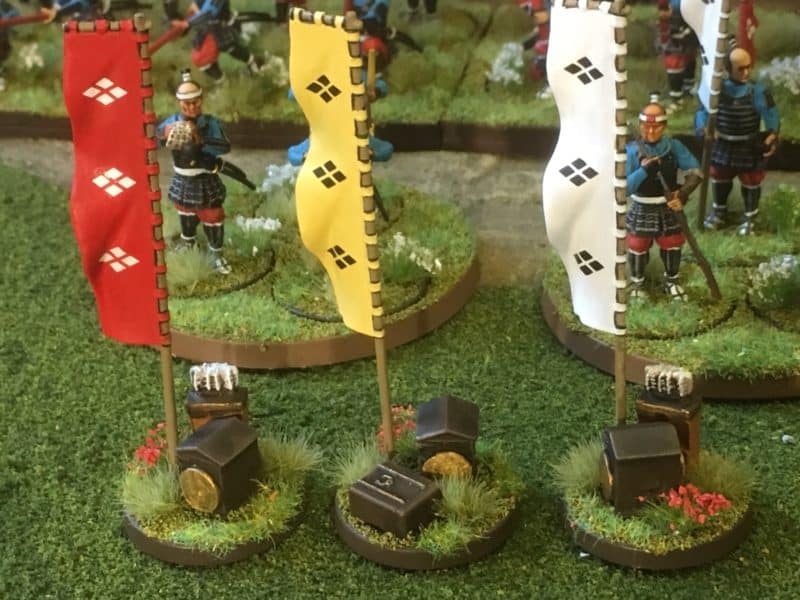
The basing isn’t really finished – I need to add some grass tufts or even better flowers but I haven’t quite decided on the final scheme. I am also waiting on some decals to add onto the back banners.  They are ready for tonight’s game though. Next up, the archers and I will give a bit more information on how I went about painting my war band.

Close up of Spearmen - I'm not sure why they look so happy.

Close up of Spearmen – I’m not sure why they look so happy.

In the meantime, you can see the range of Samurai items that we have in stock, including the superb Sarissa Japanese buildings range, here:

SAMURAI RANGE

Sarissa also make a really nice range of Far East buildings that are also very suitable for more rural settings:

FAR EAST RANGE

If it is paints that you are after:

VALLEJO PAINTS

Turning Japanese!

Well, it turns out that have I succumbed to my urge for something different and my Easter present to myself was a copy of the new Test of Honour game. I am not an ‘early adopter’ by any means and get far more pleasure from deferring a purchase than actually making one! However, I had played a couple of games and had really enjoyed the simplicity of the game mechanics. The fact that I had a great deal of fun playing the game also helped – I don’t remember laughing so much in a wargame but that may have had more to do with the poor Japanese movie impersonations that were being carried out as each Samurai moved…

My first game - unpainted figures!

My first game – unpainted figures!

I had also been slightly put off by the chatter on some social media pages by the apparent problems with the Wargames Factory/Warlord plastic figures. Having seen the completed figures for myself, I thought that they looked pretty good and the painted ones that I had seen had convinced me that I could work with the figures in the set. So I grabbed a box whilst I still could and spent some of my spare time over Easter building and painting Samurai.

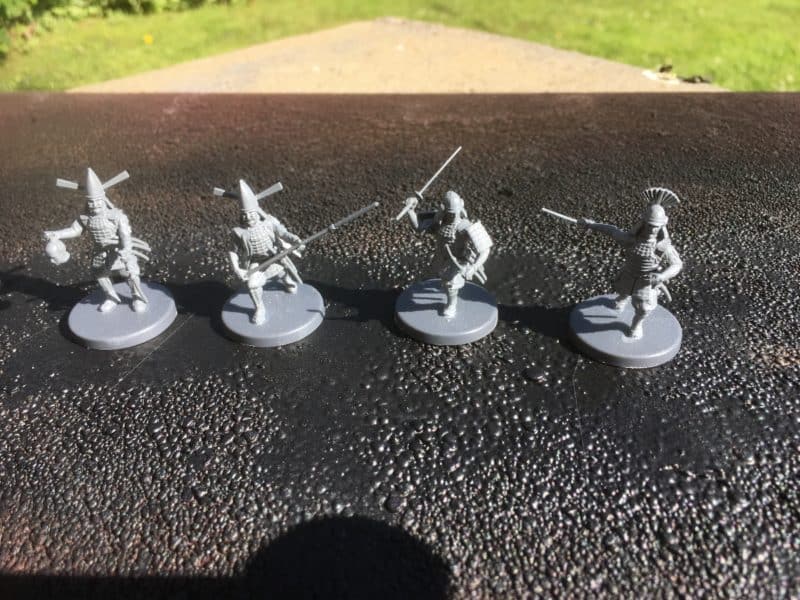
I wont do a full unboxing review – there are plenty on You tube and other forums but here are my general thoughts. First of all, I think you get a good deal for your money. In effect, you have a complete game for £35, including, albeit 2D, card board scenery. As well as all of the cards, tokens, rules, and markers that you will need to play, you also have the sprues & parts to make 35 Samurai and Ashigaru miniatures. All you need to supply is a Tape measure and a 3 foot playing surface. You do have to assemble those plastic figures though…

Ashigaru Archers Assembled!

Ashigaru Archers Assembled!

So first things first, yes the figures are plastic! If you don’t like plastic figures then jog on son, you’re in the wrong aisle! Metal figures are available from other suppliers and may just cost a tad more than those figures included in the game. Are they complicated to put together? I don’t think so, you’re not going to be building the Battleship Yamato. Each figure has about 7-8 pieces and there are some clear assembly sheets included in the game. You just need to take some time to look at them.

Are they fiddly to put together? Hell! Yes! I lost count of the number of heads that I dropped and even with my small fingers, the parts are a challenge to handle. Don’t even try to rush the assembly, you will get into a mess. Here’s my best advise on how to proceed.

Spearmen assembled and undercoated

Spearmen assembled and undercoated

First of all, you need to be seated comfortably, at a decent work station with a nice cup of tea and plenty of time – don’t rush!

Study the assembly sheets and match them up with the correct sprues – Spearmen, Archers and Samurai.

You need a good sharp pair of clippers, A good scalpel and a sanding sheet, whether it’s an emery board or something similar, what ever suits your budget!

For assembly, use a good polystyrene glue – I prefer the Revell Contacta glue with a needle applicator. Don’t use super glue – it may be faster but the beauty of polystyrene glue is that you will have some working time to position those fiddly parts. Because the glue melts the surfaces you will get a bit of ‘Fill’ to hide the joints and actually the bond will be better than superglue once the glue has dried. Here’s a tip, when you put the glue onto a piece, don’t immediately slap it onto the model. Wait a few moments to let the glue start to melt the plastic and then put the part into position. It will stick into place but you will still have some working time to position it to your preference.

Start with one of the simpler models. Either a spearman or bowman using the one piece torso. Once you get the hang of assembly and become familiar with the pieces you can be more ambitious and start to try different poses and combinations.

I found that the best assembly method was to stick a pair of legs together. Then attach these to a base. From there it was easier to handle the model and build the figure from the waist up.

Once you have built a few of the models, you will find that it becomes easier & faster as you become familiar with the process. The real joy of plastics though is that you will be able to customise and convert your models to make a really unique warband.

the warband takes shape

the warband takes shape

It took me about a couple of hours to assemble my first 12 models. In fairness, I was taking my time and as I became familiar with the different pieces I started to change the poses and think about conversions.

I also wanted to start to paint the models. Once again, they look to be a challenge but I am going to opt for a simple approach. For a start I don’t intend to spend too much time on research. I have one book on Samurai in my home library ( The Book of the Samurai by Stephen Turnbull)  that I have been flicking through and the rest of my information has come from the Test Of Honour Face Book Group. If you haven’t joined , then it is worth it just for the pinned post at the top of the page which has some fantastic links to resources.

TEST OF HONOUR FACE BOOK PAGE

For me the process of painting will be just to produce some gaming figures and not to get too involved in historical accuracy. If I really get bitten by the Samurai bug, I may revisit that statement but for now, my intention is to produce a couple of small warbands that I can use at the club to take a break from my Napoleonic Games. So at the moment, my ambition goes as far as painting the 35 figures in the box and perhaps building a few nice scenery pieces.

Painting the warband

Painting the warband

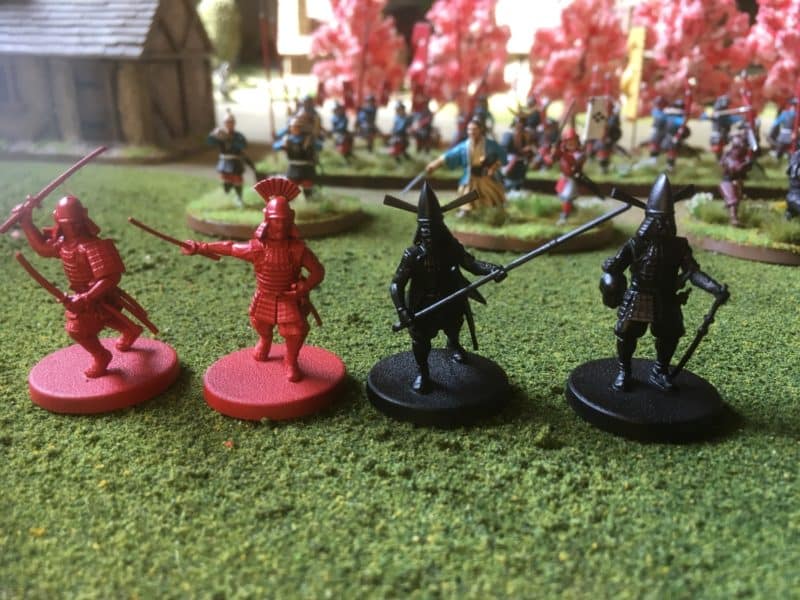
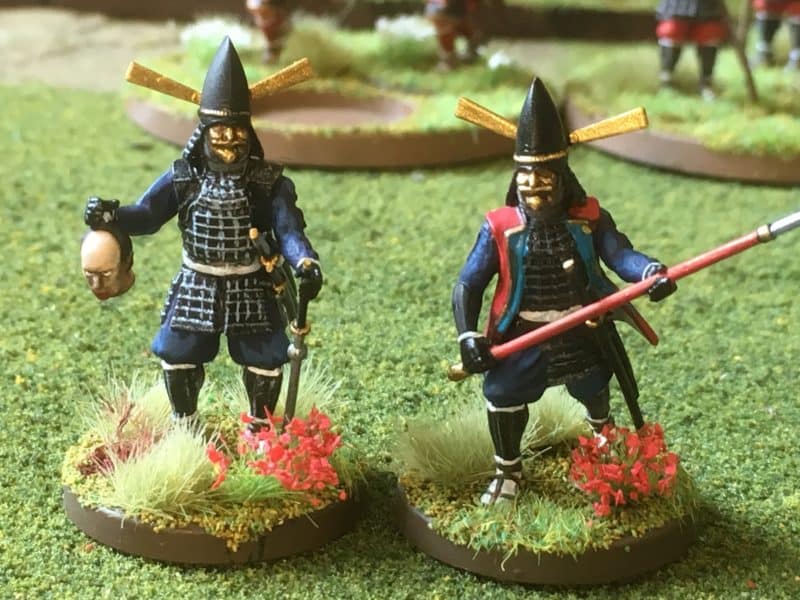
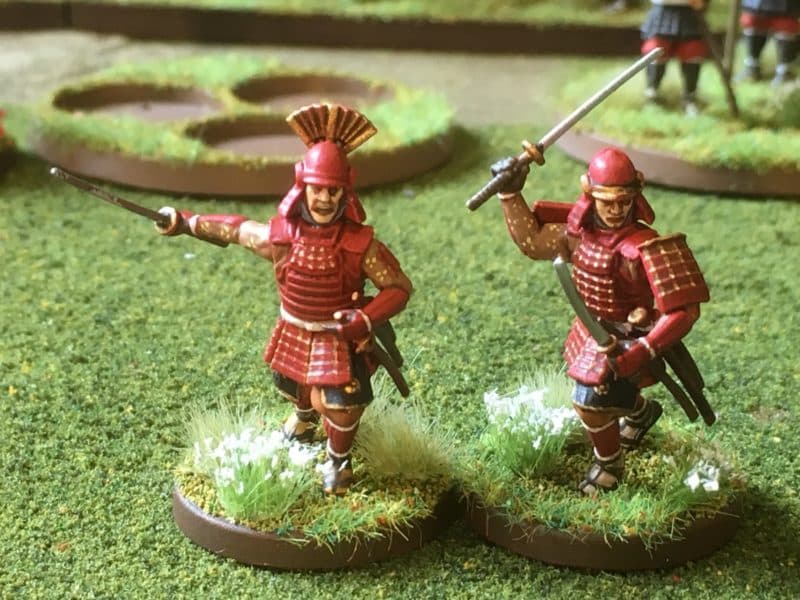
You can see my progress so far. I’ll use these test models to see how I get on and to figure out the best way for me to paint the models as a batch. At the moment I have simply primed them with Army painter black, dry brushed them with neutral grey, Faces and hands are dark Flesh and red for the Trousers(?). There’s a way to go yet so I’ll return to these in a future blog. In the meantime, I’ll finish this entry with a picture of the limited Edition Samurai that came with the set. I really enjoyed painting him and his ninja mates….

Banzai!

Banzai! The limited edition Samurai takes on some North Star Ninja’s!

You can see our current stock of Samurai and the Test of Honour range in our shop Here:

SAMURAI

If you need tools, click here:

TOOLS

You can get glue here:

Adhesive and Glue

At the time of writing, most of our products are available post free to most worldwide locations!

Basing the 28th North Gloucestershires

Ready to base!

Ready to base!

If you have been following the series of blog posts, you will know that from the outset, the aim has been to produce a unit for the Black Powder rules set. So deciding how to base the figures is now a straight forward task. I prefer to base my figures on Renedra plastic 40mm by 40mm bases, four figures to a base. This gives each figure a 20mm ‘frontage’. Other basing configurations can be used – the Perry’s use six figures on a 45mm by 40mm base, each figure having a 15mm frontage. To be fair, this looks more realistic, with your troops standing shoulder to shoulder. However, it would involve painting more figures per battalion and by now, you will know that I prefer to take the easier option.

The other point that I would make concerning basing is that by using a consistent 20mm per figure approach, you can get around the need for multiple basing by using movement trays. In the early days of my change to Napoleonics from Scifi gaming, I based figures individually on 20mm square bases to use them in Sharpe Practice skirmish games. It was easy enough to then change these into battalions by putting them into movement trays when I started to play Black powder.

Ready for basing Sir!

Ready for basing Sir!

I now base in fours and you can see from the picture above the start of the process. I take the Renedra 40mmm square base and cover it in Vallejo 26218 Darth Earth paste.

Splot! put figure on the base!

Splot! put figure on the base!

Then just push the figure into the paste. I don’t even glue the figures, there’s enough adhesion in the paste to hold them solidly in place when the paste dries. It even is good for metal figures. In the unlikely event that I decided to rebase my collection, it would be a simple task to gently pull the figures from the bases.

Four on a base

Four on a base

As each figure is placed on the base, I use a sculpting tool ( it could be a cocktail stick!) to bring the paste up over the figures base to blend them into the groundwork. You could at this stage, add some other detail to the bases – small rocks, logs etc – on this occasion I’ve kept it simple.

Whilst the bases were drying, I went back to the Grenadier company. I should confess – My OCD had got the better of me and I decided to change the badges on the back of the shakos. They are still slightly oversize but by using a smaller strip of evergreen, I managed to cut some slightly smaller diamonds. It was then a case of using a scalpel to slice off the larger ones and to replace & repaint the badges & any damage to the shakos. I also have decided that I would paint 28 figures for the Battalion. I thought that a full base of four grenadiers (the guys with all white plumes) would look better than just two on their own as they would have the French backpacks. I then would have four figures in the Light company (all green plumes) that I would base seperately to be used  as skirmishers. All of this will be clear when you see the finished unit.

French back packs

French back packs

To make the french back packs it was a simple task to cut the water bottle & cartridge case from a British pack pack and then glue them to the cleaned up French style packs as shown above. I then painted the packs in leather brown with off white patches – everything else was painted as standard. These were then super glued to the Grenadiers and they were finished as per the rest of the unit using the quickshade & rehighlight method described in last weeks blog.

Light company will skirmish!

Light company will skirmish!

The picture above shows the four figures from the light company on their seperate bases. The Vallejo paste has dried and I have painted it first with Vallejo chocolate Brown and then highlighted this with a quick dry brush of the chocolate brown with some Iraqi sand added to lighten the top colour.

Green scatter added to the bases

Green scatter added to the bases

The next stage is to add some green scatter, in this case I have used Woodlands Scenics Green blended turf. I use watered down PVA and apply with a small brush. Then just dunk the base into the scatter, tapping off the excess.

Grenadier Company based

Grenadier Company based

The picture above shows the Grenadier company based but there is one final touch. I like to add some grass tufts to give another layer of detail on the base. I’ve used Gamers grass Dry green tufts and attached them with a dot of super glue.

Rear of Grenadier Company - tufts added

Rear of Grenadier Company – tufts added

The Command Stands

The Command Stands

You will have noticed that the Officers & ensigns have also been painted and added to the unit. The procedure that I use is exactly the same as for the troops but I paint the Drummer & Sapper separately, rather than as part of a batch. The ensigns are carrying flags supplied by GMB, my favourite flag supplier. With the flags and tufts added, the Battalion is now ready to take to the table.

Full battalion in line ready for action!

Full battalion in line ready for action!

The Light Company will skirmish!

The Light Company will skirmish!

So another unit is completed and it’s on to the next project. I tend to have a break between Napoleonics so I’ll be painting something a bit different. However, next week, I’ll just explain how I use movement trays and how to split the battalion into two to facilitate a black powder game on a smaller table.

If you would like to have a go at painting your own unit, as I write, we have an offer in the shop. Buy the black powder rules set and get a box of Warlord figures for free. This also includes free postage. For more details Click here:

Special Offers

You can purchase the other products mentioned using the links below:

RENEDRA BASES

VALLEJO TEXTURES AND PAINTS

ALL BASING PRODUCTS INCLUDING GAMERS GRASS TUFTS

WOODLAND SCENICS