In my last blog I had painted the crew and the actual bombard. It was now a question of basing the models so that they will be ready for battle. I had already planned to use a Sarrissa terrain tile for this purpose. The idea being that should I decide to add to the siege or gun line, the Sarissa tile system would enable this. I also thought that the thicker base would give the Bombard a bit of elevation in respect of my normal troops.
I usually use Milliput for making the ground works on my bases but I had a pack of airdrying Daz clay that I found in my scenery materials stash and I decided to give this a try. I’ve not used this material before for this purpose but I have seen it used in many tutorials and my gaming buddy, Peter Harris uses it to great effect and has created some fantastic effects with it. So without any hesitation or preparation, I slapped it onto the Terrain tile. I then pressed the Bombard into it, carefully making sure that I had lined it up along the centre of the base. The next step was to place the figures onto the base and to cut out ‘sabot’ cavities for the ones that I wanted to remove. I also pressed the Gabions and boards for the mantlet into place.
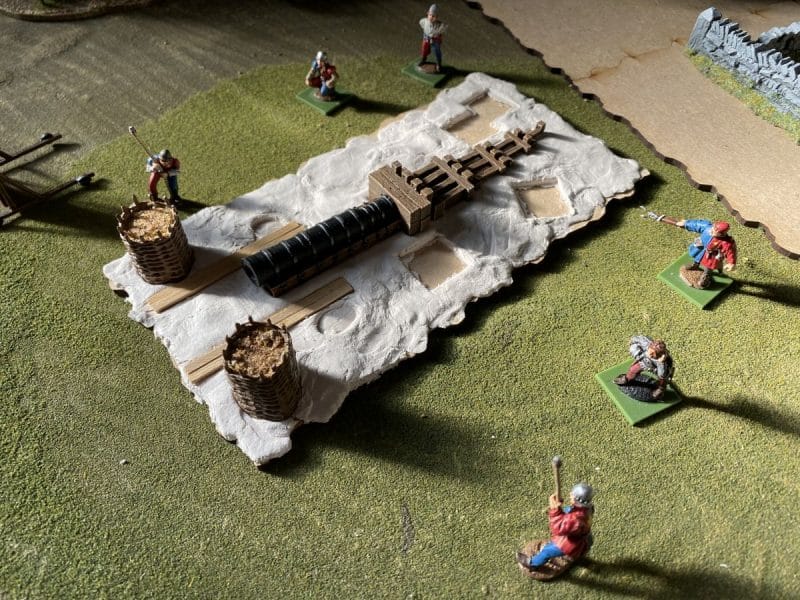
So far so good…except that when the Daz dried, it pulled away from the tile and came free. The tile had also warped. This surprised me as I had thought that MDF was pretty warp resistant. I suspect that when using milliput on MDF, there is no problem because there is no shrinkage and of course, no water. Once the tile dried out, the warpage disappeared and I simply glued the now dry airclay terrain piece back onto the tile with PVA glue. Problem solved – for now. In future, I will prime the MDF first!
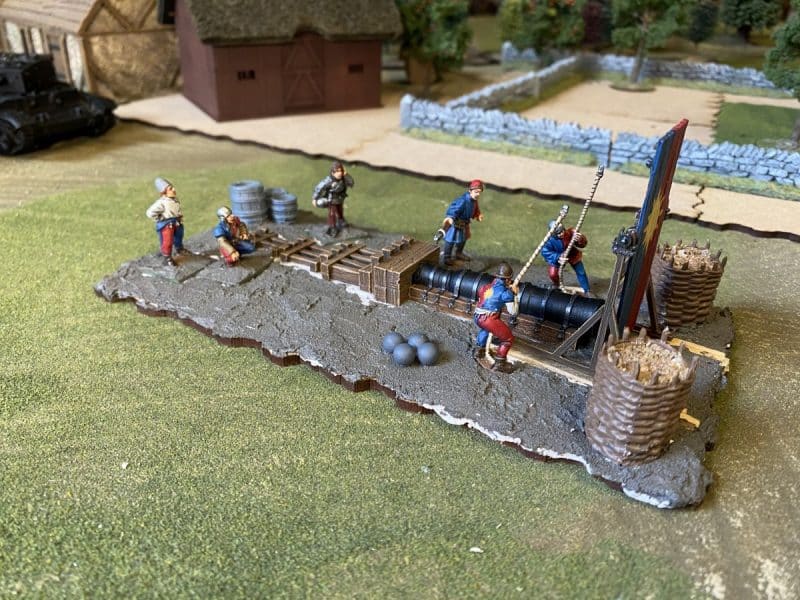
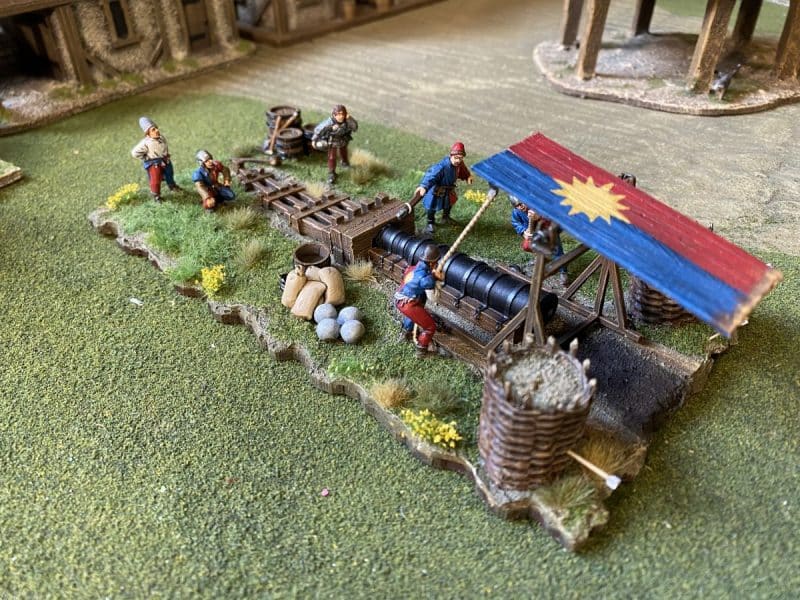
I had not glued the bombard into place, so it was easy to get on with the next stage of the ground work. I used Vallejo Dark Earth Texture paste to cover the clay to give the base some texture and to blend everything into place. I had also filled the gabions with sand using a big blob of PVA to hold the sand in place. As the texture paste was drying, I placed the cannon balls onto the base and also placed some renedra barrels to leave an indent. It was at this stage that I noticed that the bombard was not quite centrally aligned on the base…When I had glued the clay back on to the base, I had obviously not quite centred it. My inner OCD now chipped in and I started to think about re making it all. However, I decide that I could live with it being slightly off centre and it would be OK. Phew!
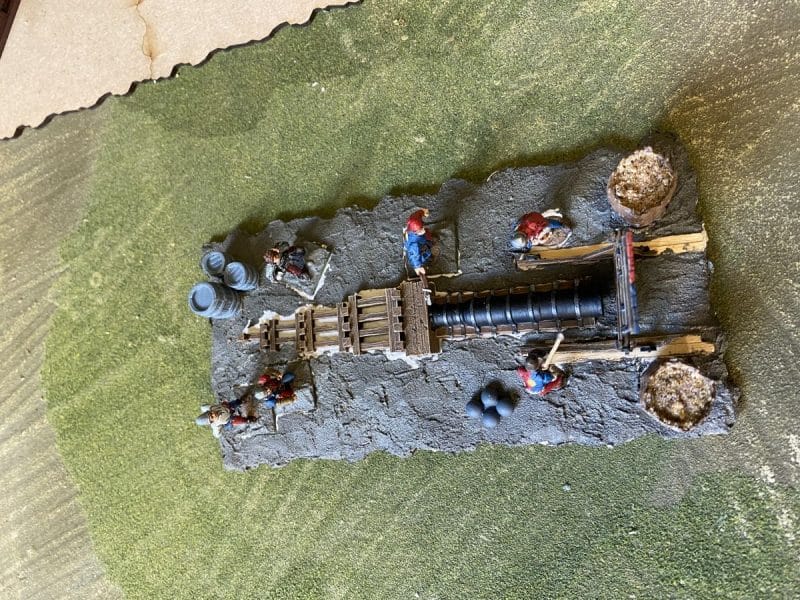
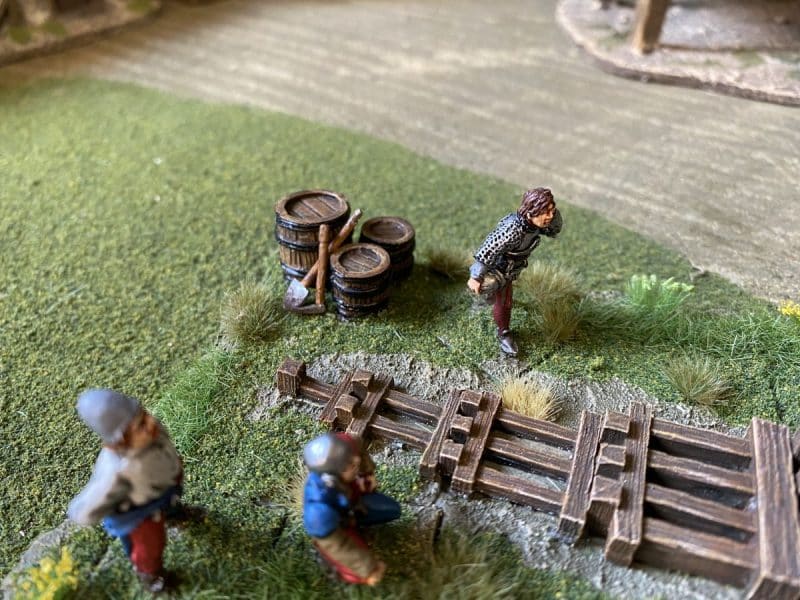
The next step was to start to paint the items that I would be adding to the base. I painted the cannon balls in grey rather than black. I’m not sure if guns of this size used granite ‘gun stones’ but I thought that it was likely that stone would be used rather than cast iron. As an aside, my Brother has an allotment on the Isle of Wight in the shadow of Carrisbroke Castle and he regularly finds small ‘Gun stones’ that were either quarried nearby or test fired from the Castle. The renedra barrels were painted using the same colours and methods as the woodwork on the bombard. I also added some sacks to the base. I have a stash of these that I have made from Milliput. Whenever, I have some spare milliput left over from a project, I use it to make these sacks. I’m too frugal to throw anything away and they are very simple and quick to make!
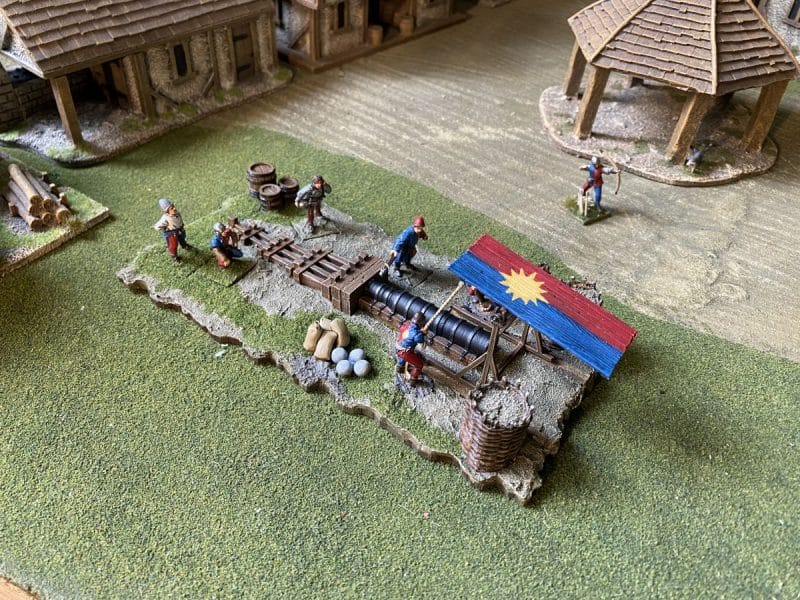
You can also see that I had painted the Textured earth paste using an emulsion paint, ‘Delhi Bazaar’, highlighted with Iraqi Sand. I’ve also started to add the first layer of vegetation, Woodland Scenics Blended green turf.
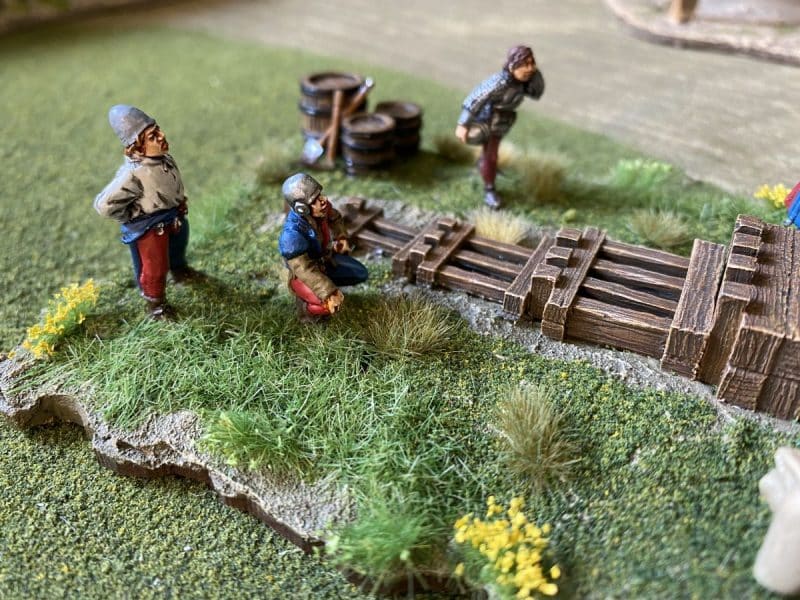
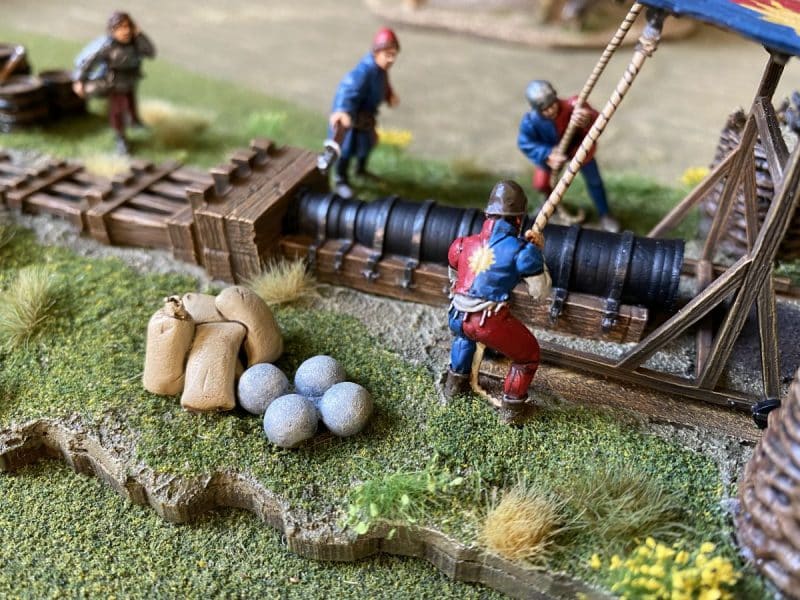
Once the base was coated with the turf scatter, I added some Static grass. this gave me the chance to test my ‘Static King’ applicator from woodlands scenics that I had been given as a Christmas present. The results were OK, but it’s fair to say that I need more practice. I spent more time snagging my fingers with the rather fierce crocodile clip and giving myself a buzz of static than I did in getting the grass to stand up! The good news is that what hair I have, is now slightly straighter than before! The static grass added another layer of texture and I finished of the base with an assortment of tufts and a few flowers to add some interest.
I also thought that it would be fun to add some arrows to the Gabions, to make it look as though the enemy were nearby. I made these from scratch using thin Evergreen plastic rod (30/000) and some scrap 10/000 plasticard for the flights. Finally, I added some weathering powders to the bottom of the mantlet and added some black weathering powder to the front of the gun to represent the powder and smoke that would have come from firing the gun.
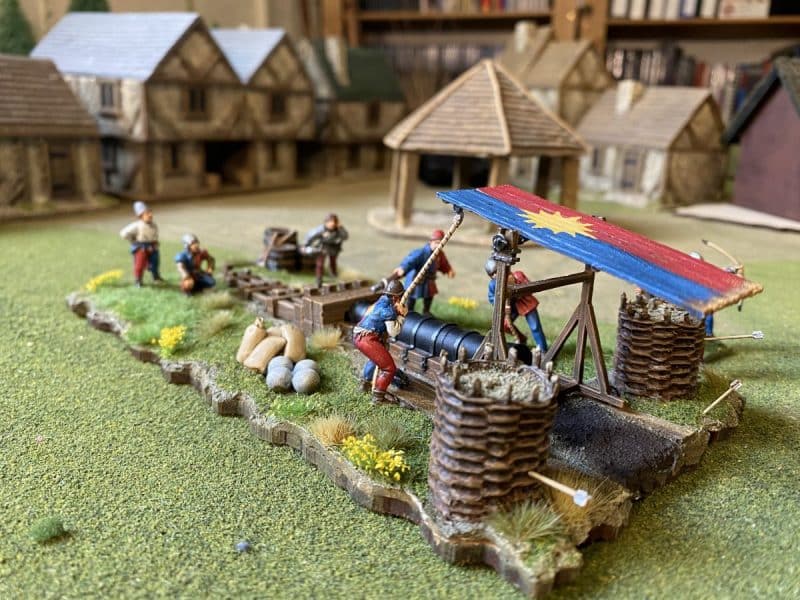
So my Bombard is now ready for the table. There are a couple more details that I will add. I have a bucket and open cask of water to add, as well as a sledge hammer and rammer on the work bench in the final stages of painting. Andy Callan has suggested that I christen the gun ‘Little John’, so Little John will be making his debut in a battle soon!
THE COMMERCIAL BIT
Almost all of the paints, miniatures, bases, basing materials and anything that you are likely to need for your hobby are available from my shop here:
Perry’s WOTR plastic range are here, including some nice army deals!
You can see the range of Renedra Accessories here:
The Sarissa Terrain Tiles can be seen here:
You can find all the Vallejo Model colour paints here. If you don’t want to browse, just enter the paint number into the shop search bar;
Happy Modelling!
