I have been working on completing my War of the Roses army and I wanted to add some crossbowmen and hand gunners to my contingent. Apparently, whilst used for sieges, there is no primary evidence that Crossbowmen actually took to the field of battle during the Wars of the Roses. I am now able to confirm that this is not the case, by providing photographic evidence of crossbowmen at the Battle of Bingham Fields 14.55. Mind you, I did put them back in the storage box at half past three, so it was only a short debut for them…
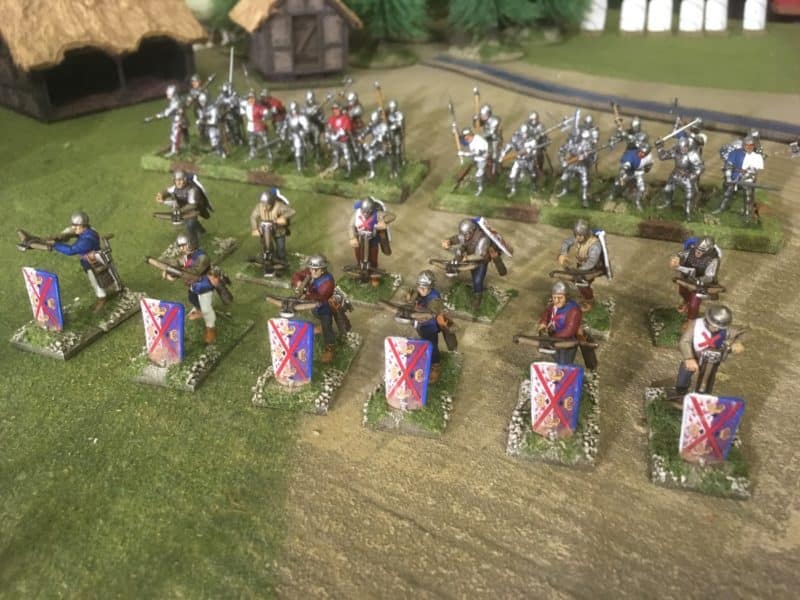
Crossbowmen in action at the Battle of Bingham Fields.
Regardless of whether they did or didn’t actually fight in the main battles of the WOTR, the Perry’s include crossbowmen and hand gunners in the Mercenary Infantry boxed set and illustrate them as Burgundian Mercenaries. It would be a shame not to complete these figures and make them available as small units for my Army. The current set of rules that we are using for our WOTR battles ‘Never mind the Billhooks’ have been written by Andy Callan and are in the process of play testing. The rules allow for small units of Skirmishers that can act independently of the main army to protect the flanks, larger units, provoke your opponent, skulk in cover and generally be a nuisance in the game without ever being a decisive force. Crossbowmen and Handgunners are ideal for this role in the game, (although bowmen and Irish Kern are also permitted) and protecting them with Pavises will also help when facing Archers or other skirmishers.
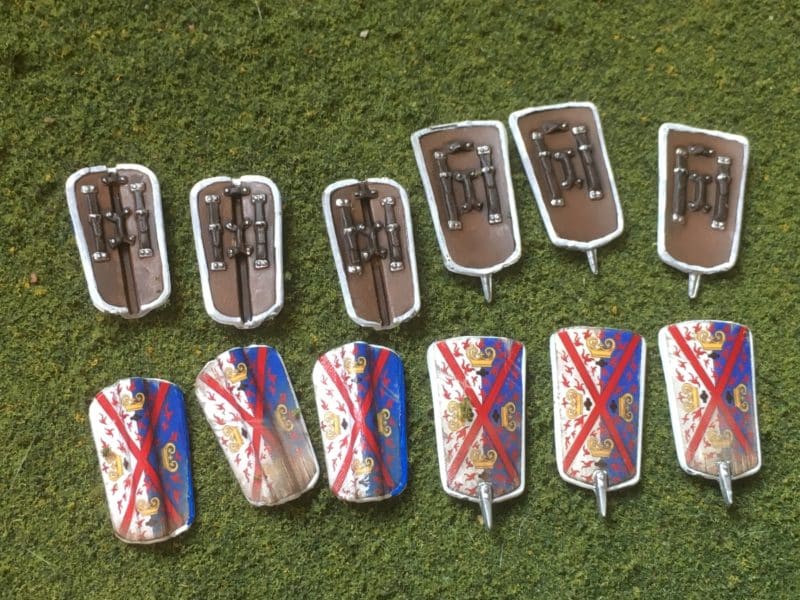
Pavises with LBM decals applied
Here is a quick guide as to how I went about painting these figures, as well as some of the assumptions that I made whilst doing so. As usual, I tend to ‘batch paint’ my figures for my wargames units and so once they were assembled, I undercoated them with Army Painter Leather Brown spray.
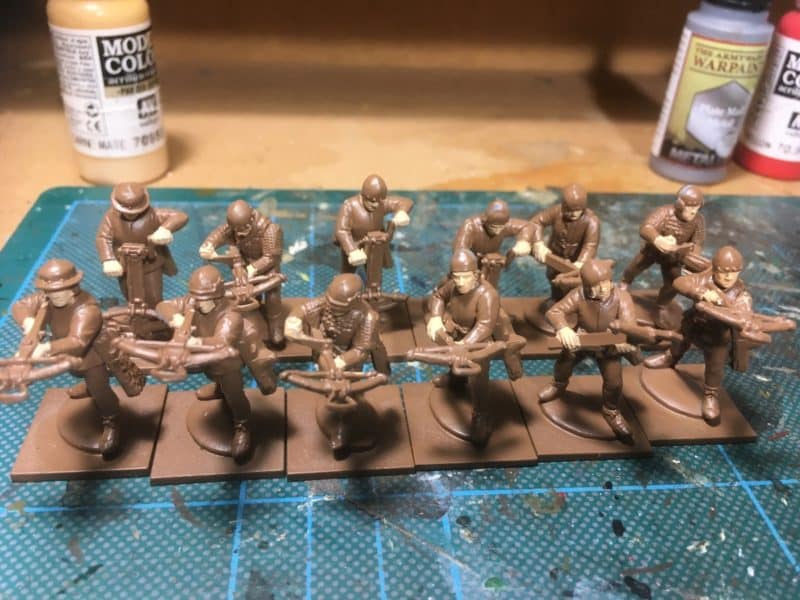
Crossbowmen primed and ready to paint – flesh already done.
The next step was to start the block paint process. I tend to work from the inside out and top to bottom of the figure but this is only to give some structure to my painting. I paint in short ‘bursts’, up to an hour in one sitting, so having a routine allows me to pick up where I left off without having to think too much about the next stage. Whilst painting the helmets in Army Painter plate mail, I realised that it made sense to split the 12 figures into 3 sub groups for painting as they had slightly different clothing.
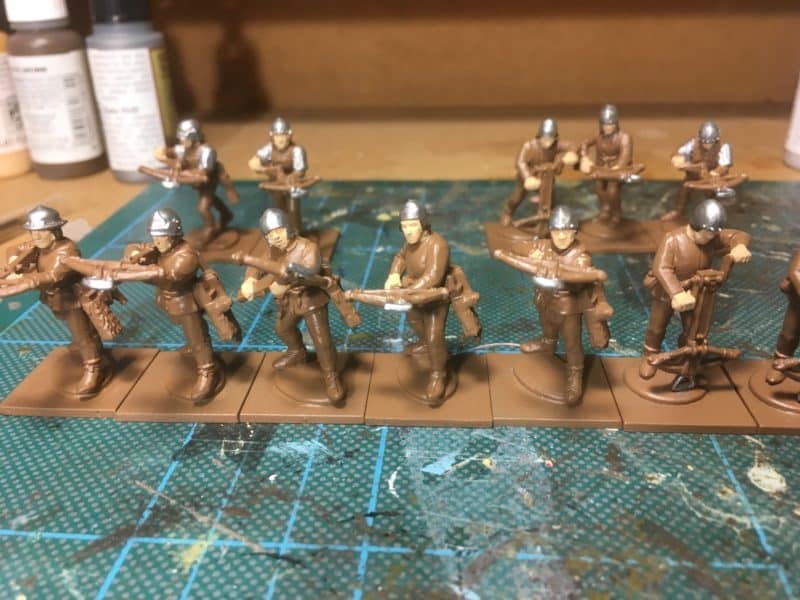
Crossbowmen – plate mail added
When it came to painting the clothing, I used Vallejo 70809 Royal blue and 70820 Off White for the Sur coat or tunics. The Royal blue being a nice bright blue to differentiate the Burgundian’s from the other troops in my retinue. The rest of the clothing was painted with a choice from 70821 German Camouflage Beige, 70814 Burnt Red, 70869, Basalt Grey and 70899 Dark Prussian Blue.
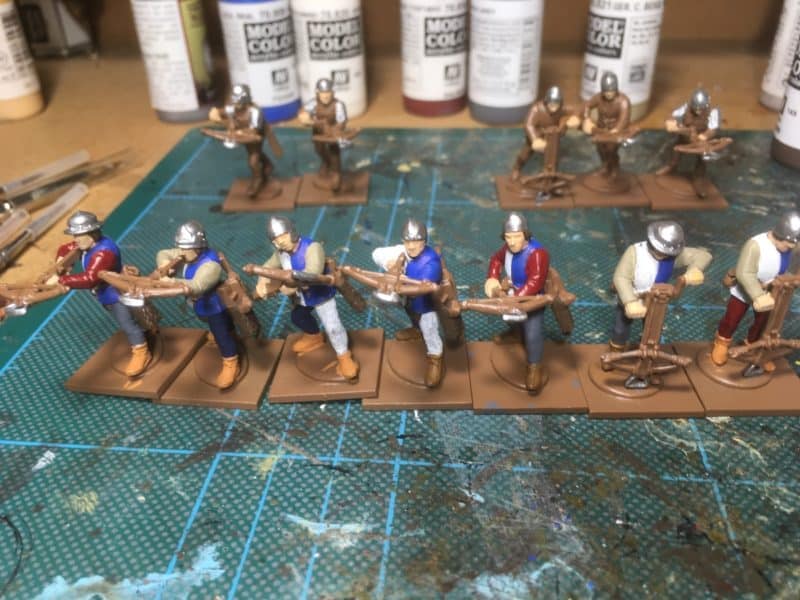
Clothing on Crossbow men block painted.
When it came to the crossbows, I painted these in Vallejo Old wood 310 with the detail picked out in Dark Brown and plate mail for the metal parts. The boots and leather equipment were painted in a variety of browns. I must confess that beyond looking at the box art, I didn’t put too much time into researching ‘uniforms’. I wanted to get these figures done fairly quickly. So much so, that I stopped taking pictures of the step by step process…However, the hand gunners in the next picture will give you an idea as to how the figures look after the block painting is done. Note the crosses on the front and back of the tunic. I had been concerned that my painting wouldn’t be up to this but in the event, it was straight forward enough.
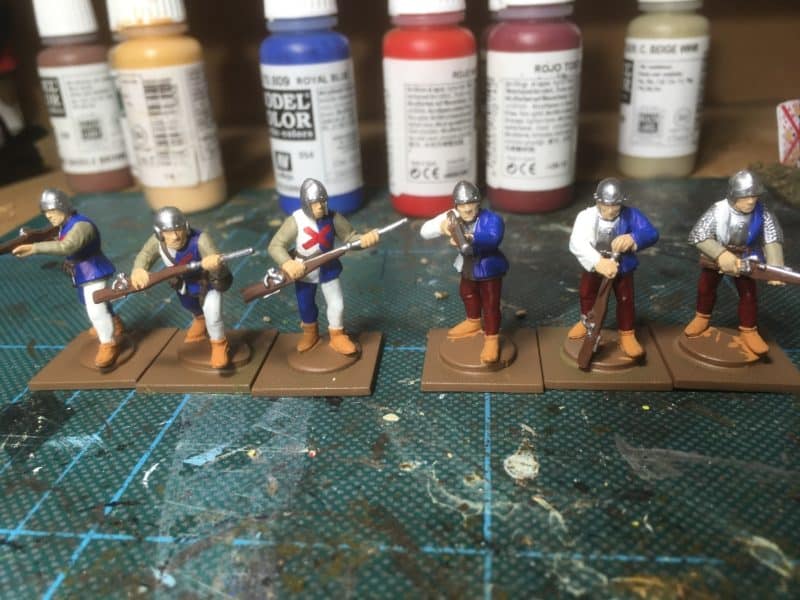
Hand gunners being batch painted.
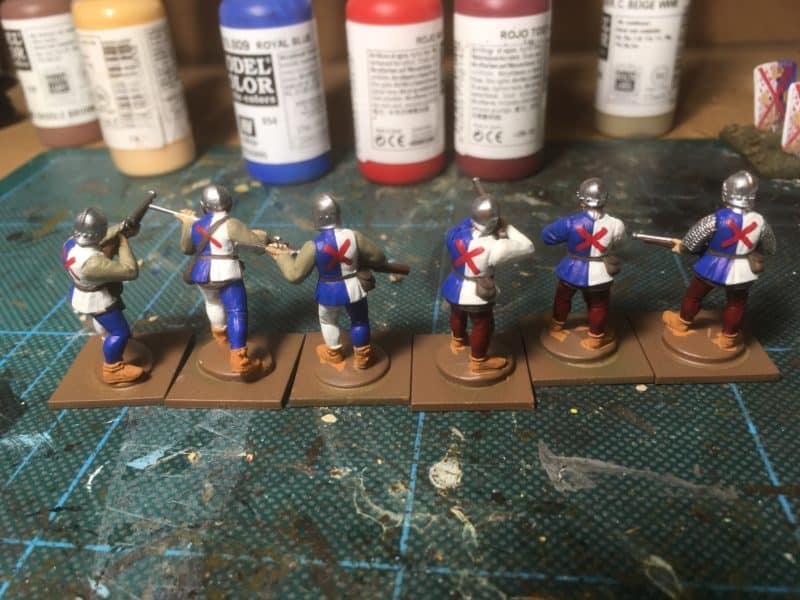
Hand gunners – rear view
The next stage is to paint the figures with Army Painter Quick shade Dark Tone. This stuff is excellent at pulling the colours together, adding shading and bringing out the detail on the figures. I find it superior to inking the figures as it provides a hard varnish that will help to protect the figures when gaming. However, the Quick shade (and ink, for that matter) can ‘dirty’ the figures, particularly the lighter colours. It is a straight forward job to repaint these areas using the shading as a guide, this also has the effect of adding some additional highlighting.
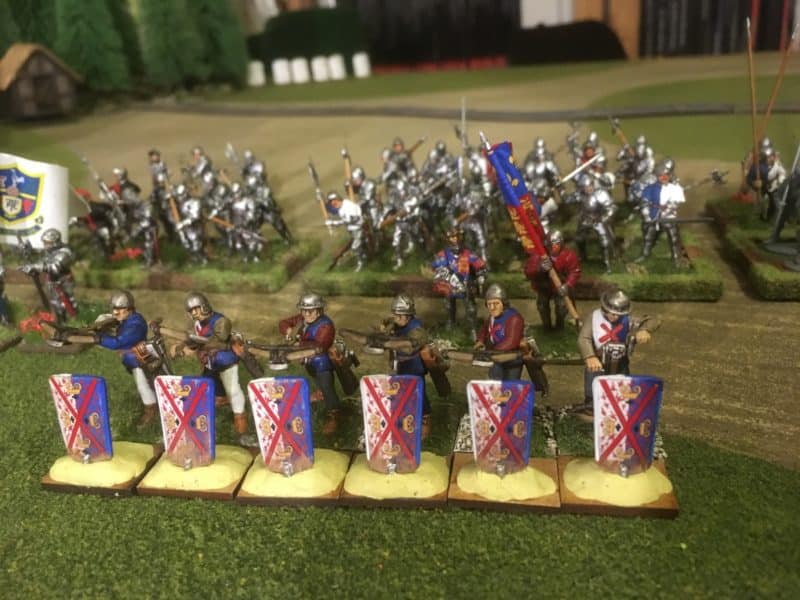
Crossbowmen – you can see that I’ve repainted the whites.
When it came to the pavises, there are two distinct types supplied in the kit. I decided that the one’s with the spikes should be mounted separately on 15mm x 20mm bases so that I could use them for either the crossbowmen or handgunners. The Pavises without spike would be glued straight onto the other six crossbowmen figures (the ones that were loading). I used some milliput to make a mound on each base and stuck the pavises straight into it. You can also see that I have attempted to blend the LBM decals into the pavises by painting around the edges and adding some ‘mud’ to the bases.
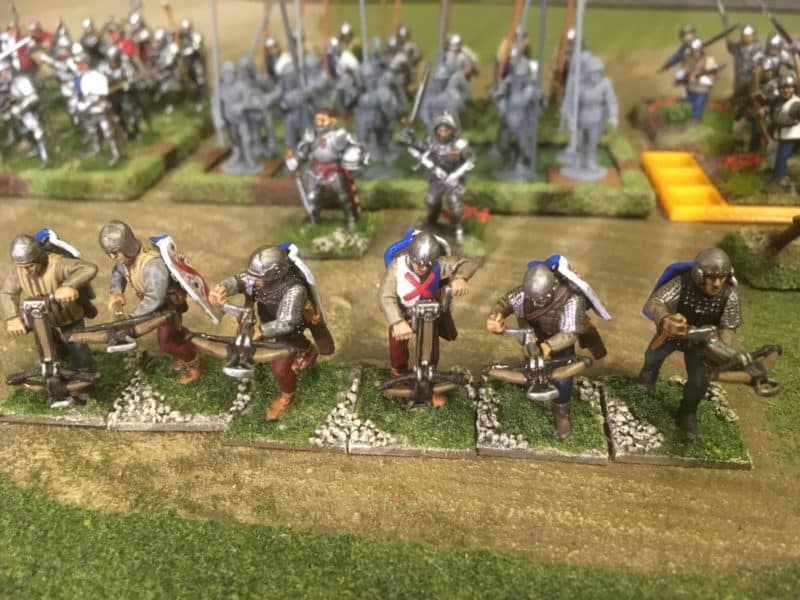
Loaders with pavises
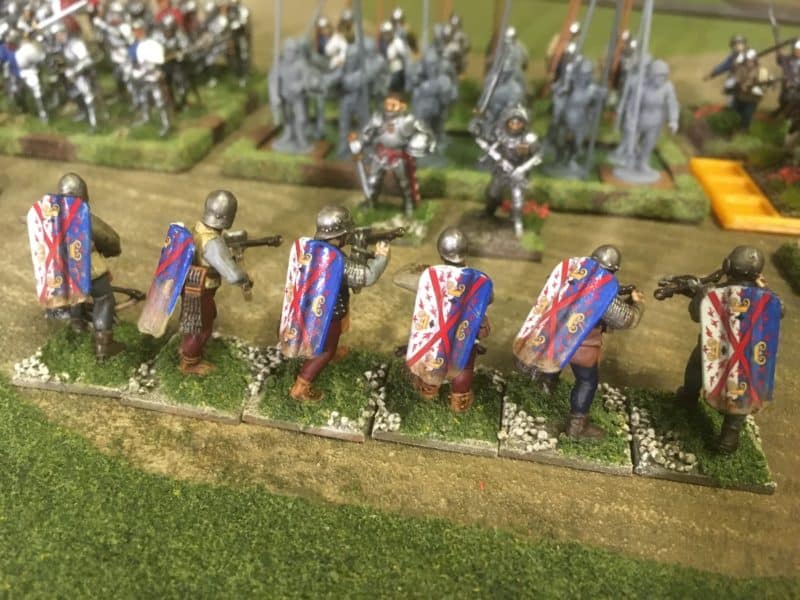
An attackers view of the Crossbowmen!
The pavises were simply glued onto the back of the figures. To make them look more accurate, I really should have provided straps but as I have repeatedly said, these are wargaming figures not museum exhibits. I think that they will pass muster…
I based the figures using my current basing method. Vallejo dark earth paste was placed on the bases with some ballast added to the edges. The bases were then painted and dry brushed to highlight the stones and detail before adding some woodland scenics scatter. Another three units are ready to be added to my army – ‘skirmishers’ fight in units of 6 in our rules. The opening picture to my blog shows the crossbowmen posed in front of part of my army. I’ll let you know how they fight in a future battle report!
THE COMMERCIAL BIT
Almost all of the paints, miniatures, bases, basing materials and anything that you are likely to need for your hobby are available POST FREE from my shop here:
Perry’s WOTR plastic range are here:
Happy Modelling!
