I continue to bit and bob between one project and another. The problem is there are just too many great games and figures out there! Test of Honour, being a case in point. It’s got an addictive quality to it that keeps pulling me back into it’s world. Before it’s release I had no intention of ever building a Samurai or Japanese army. I now find that I have an increasing collection of both figures and scenery. If I’m not expanding my scenery collection, I’m looking at the next set of miniatures to paint. All of this when I am supposed to be finishing my Napoleonic project…
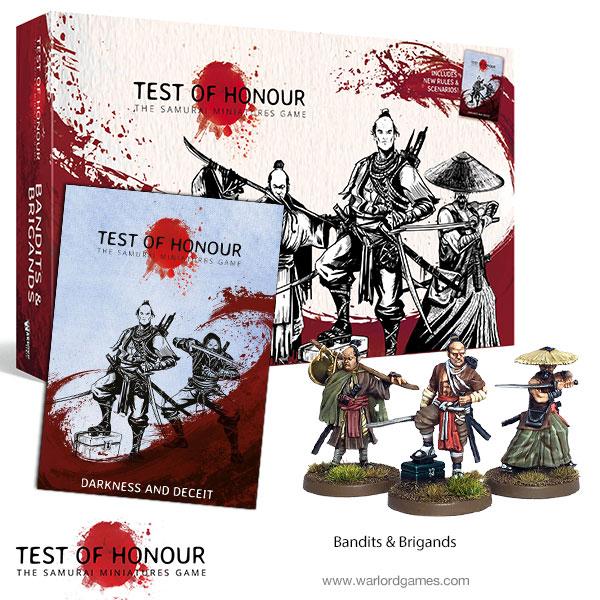
The latest set from Warlord – just too tempting…
The latest release to catch my attention was the Bandits and Brigands set, the first set that is all new metal models from Warlord. I had intended to get some Samurai Cavalry but the figures in the Bandits set are just superb – possibly the best release of the year! No doubt once I get into painting these, I’ll complete a proper review of the box set but for the time being, lets just say that that I am smitten!
The scenario book that comes with the set includes some night fighting scenarios and the possibility of adding Lanterns to my playing board. Of course, Sarissa make a really nice set of lanterns so I decided to start here. It seemed a shame not to install lights in the lanterns but I was looking for a simple solution. That solution was found at my Granddaughters Halloween party – flickering battery operated tea lanterns! So here’s my progress so far.
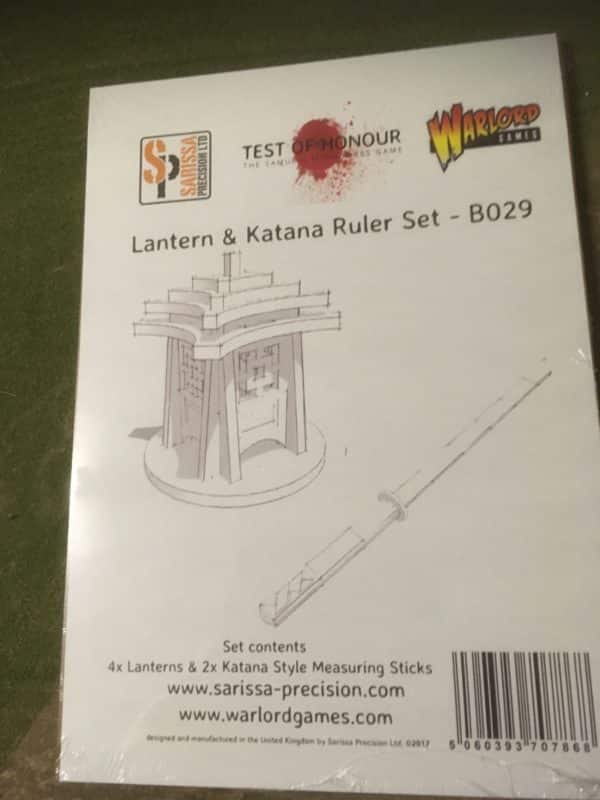
Sarissa Lantern Set
The Sarrisa Lantern set includes four lantern that are very straight forward to put together – regardless, I still suggest that you follow the instruction sheet as it will ensure you don’t make any mistakes!
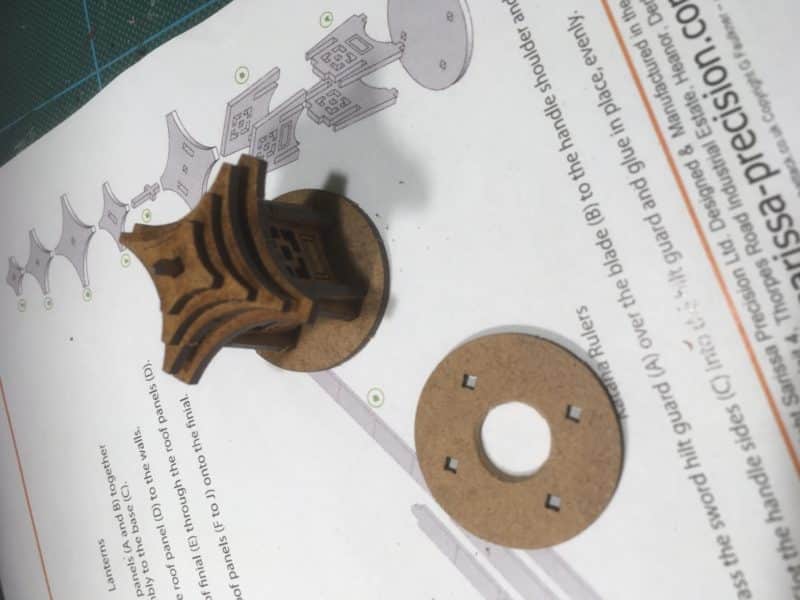
Hole cut into MDF base
The only modification that I needed to make was to cut a hole throught the MDF lantern base as shown. MDF is a fairly soft material, so once I had drilled a pilot hole using a simple hand drill, I used a sharp knife to carve the hole to the size required.
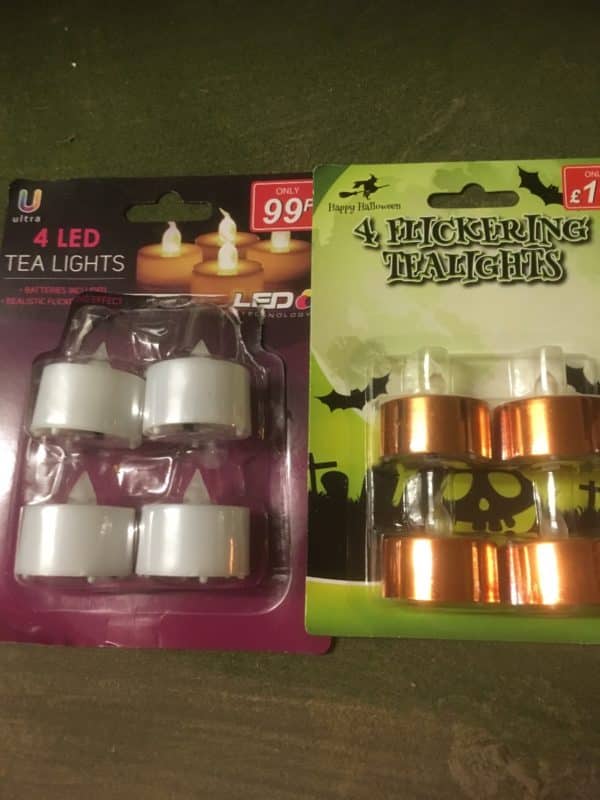
LED Tealights – batteries included
I grabbed a couple of packs of tea lights from the local BM bargain store. The plain ones were just 99p – the posh Halloween ones, twice the price at £1.99 – still a bargain! As it turned out, the cheap ones were the best. My first attempt involved removing the outside of the tea light to see if I could incorprate it into the lantern base.
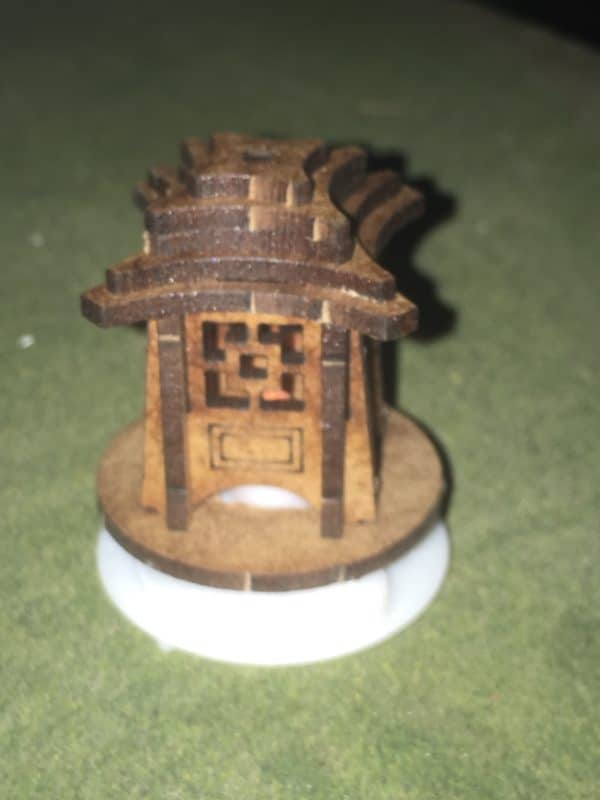
First attempt – base of tea light removed.
It worked OK but I would have needed to built a new cover around the base and the on/off switch wasn’t quite as easy to use. Whilst fiddling around with the cheaper lights, I found that they actually looked good without the modification. They were a perfect fit. I didn’t even have to glue the Lantern to the tea lights – they simply just sat on the top. I guess you could glue them but I now have the option of using them with or without the lights.
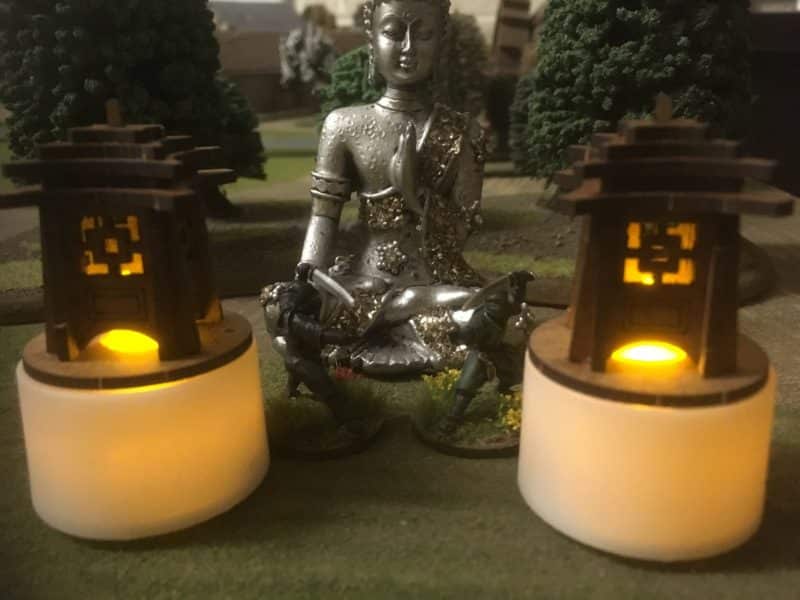
Tea lights added intact!
Although they are standing a bit taller than I first wanted, I thought that the effect was OK and certainly saved time. To cover the tea lights and blend them in, I simply sprayed the whole assembly using a textured spray from B&Q. The MDF takes the spray well as do the tea lights and the result is a stone effect. Just remember to use a piece of masking tape to cover the light bulb when spraying!
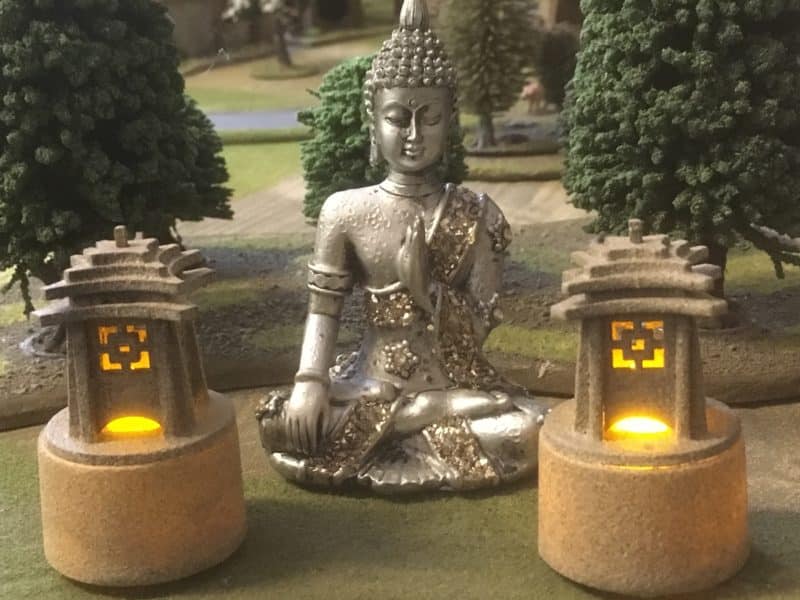
Lanterns sprayed with texture spray.
Just to finish things off, I decided lightly dry brush the lanterns with Vallejo Iraqi Sand 70819 and then to add some ‘moss’. This was simply woodlands scenic green scatter stuck on using a watered down PVA glue mix.
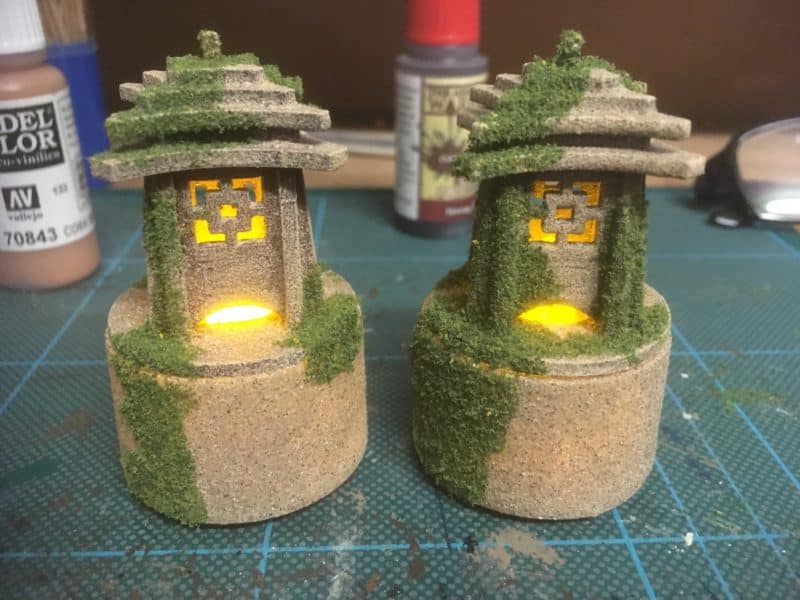
Lanterns with moss added!
As you can see from the final pictures I added a bit more moss for effect. I think that these make a nice addition to my scenery box and I will get on and finish the other two lanterns although I might just be tempted to see if I can make the lower profile versions without too much extra effort!
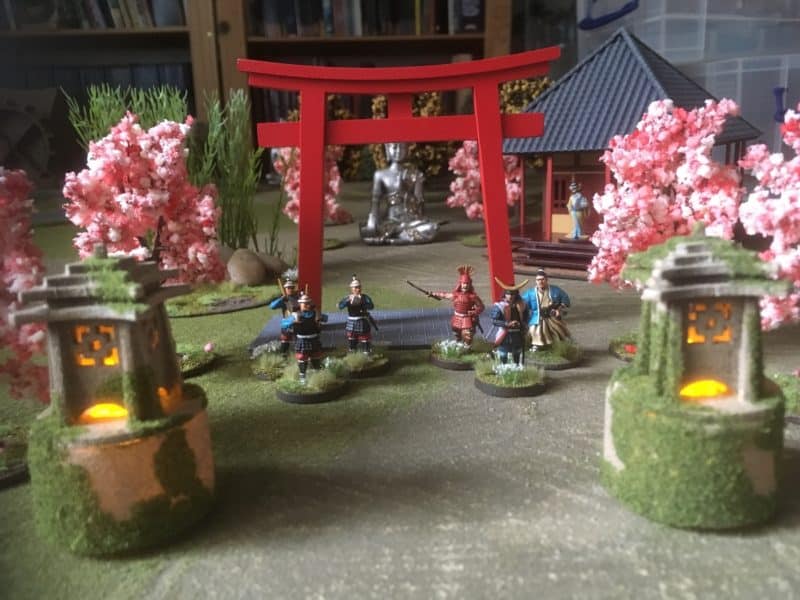
Lanterns on the gaming table
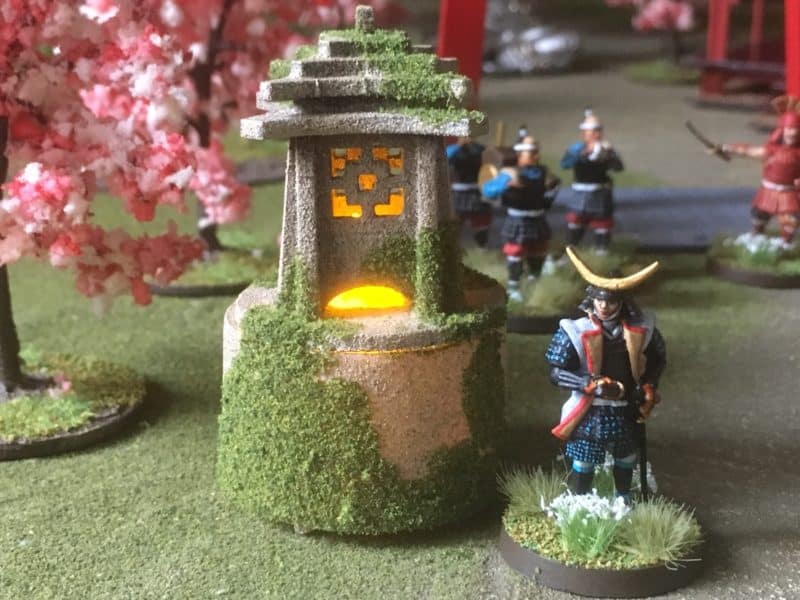
Close up of Lanterns
As usual the links to most of the products used are below – you will have to search out your own tealights & textured spray but a trip to B&M bargains will help! At the time of writing, all products are POST FREE to most worldwide locations.
You can see our range of Test of Honour products and Samurai scenery and accessories here:
SAMURAI
Happy modelling!
