Having now finished my Portuguese Line Infantry Brigade, I thought that I would add some Cazadores to act as skirmishers. Warlord games make quite a nice pack with a separate officer and bugler also available. My Line infantry regiments were the 11th and 23rd, so a quick check showed that it was the 7th Regiment of Cazadores that were often brigaded with them in battle and they certainly fought together at Salamanca. So painting a few Cazadores shouldn’t take too long.
Before, I go any further, I apologise for the incorrect spelling of Cazadores. I can’t get my computer keyboard to produce the Spanish soft ‘C’ symbol!

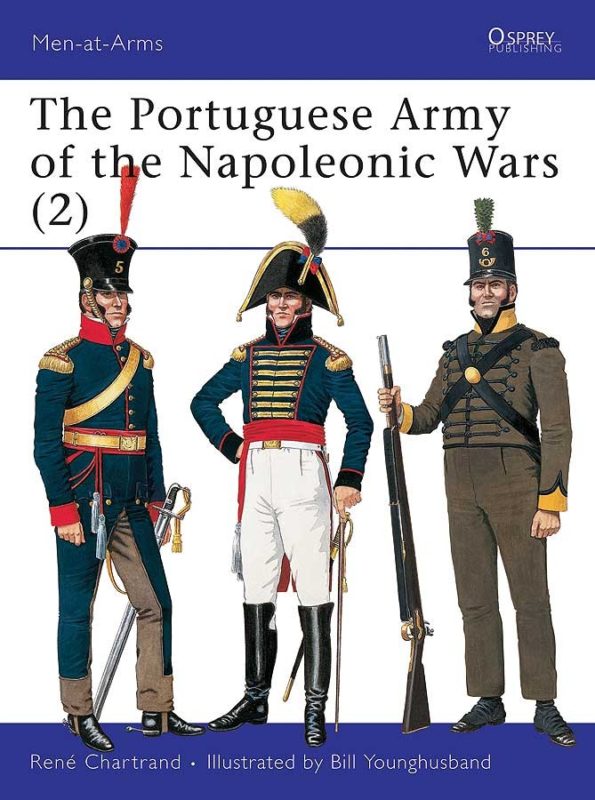
Osprey Portuguese Army part 2
Some quick research using my Osprey ‘Portuguese Army of the Napoleonic Wars part 2’ confirmed that the 7th regiment was formed after July 1811, when the number of Cazadore regiments was doubled. The uniforms were dark brown jacket and trousers with black cords and black buttons. Equipment was as the usual infantry kit except that the belts were black rather than white. Facings varied by regiment. The 7th is shown as having black collars with yellow cuffs. The Picture on the cover of the book is close enough – the 6th regiment shown, having a yellow collar rather than black.

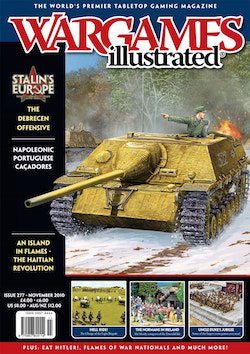
Wargames_Illustrated_277
There is also a very good article in WI issue 277 from November 2010. If you haven’t got this back copy, it is now OOP. However, if you do subscribe to WI, the content is available in the ‘vault’. This article was helpful with the history and structure of the Cazadores Battalions. Of interest to me was that 4 companies in a battalion were armed with Brown Bess Muskets, only one with the deadlier Baker rifle. Furthermore, it was this elite company that had black epaulets and plume as opposed to the other 4 companies that were green.
In truth, I really need to do some more research, and think about how I would depict the troops on the wargames table. The problem was I was itching to get on and paint the figures that I had on the workbench. I decided to clean them up and undercoat them and then paint just one as a test figure. I was also undecided whether to go for a quick paint and dip job or to put some extra work in.

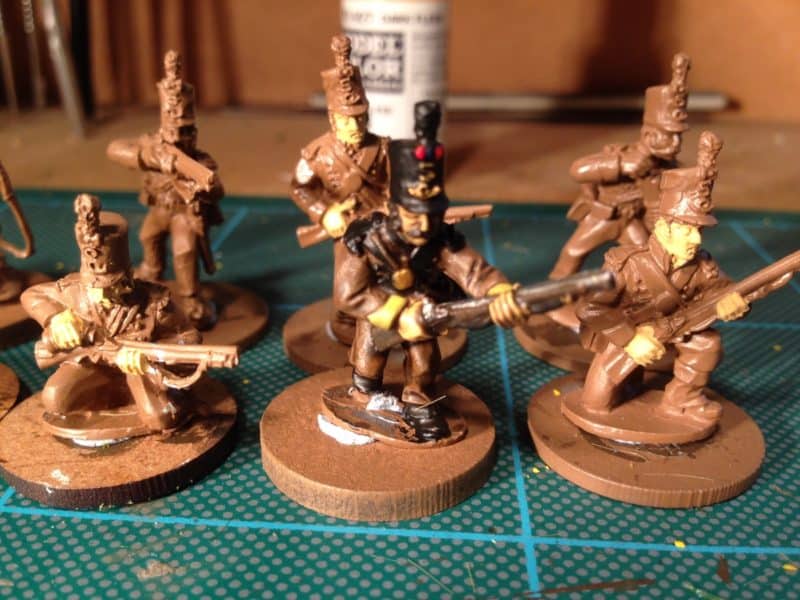
first cazadore painted as a test.
As it was, the quick paint and dip job won for now! I sprayed the unit in Army Painter Leather Brown. I decided to use Vallejo dark flesh for the skin – it’s hot in Portugal! Then it was simply black for the straps etc, Iraqi sand for the food bag, pastel blue for the water bottle and Flat Yellow for the cuffs. I didn’t even bother to repaint the brown undercoat, just retouched it with Flat Earth where I had been careless. The final touches included, brass for the belt plates & other detail, steel for the musket and I used Leather Brown for the water bottle strap and Chocolate Brown for the Musket woodwork.
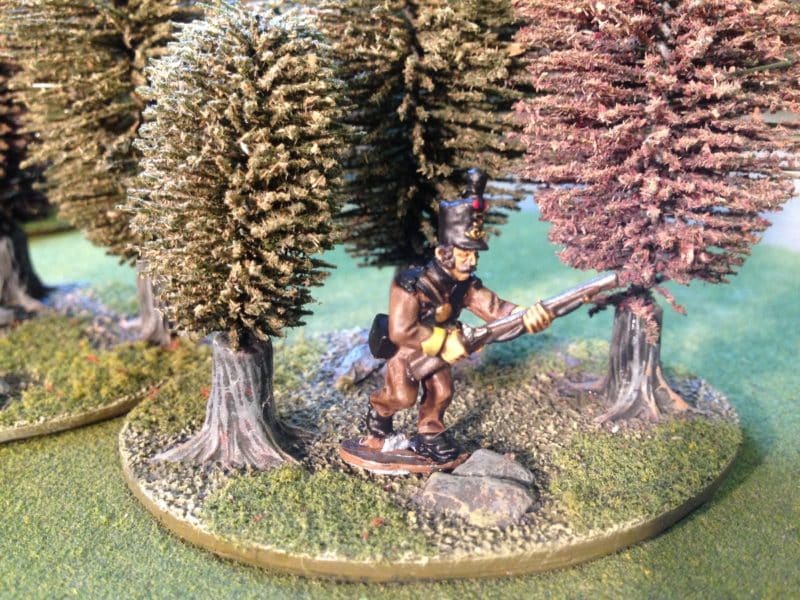
The model was then painted with Army painter Dark tone quick shade and when dry, sprayed with the Army Painter anti shine. To be honest, I’m not sure whether I’m happy with the finish or not. It all looks… well… a bit drab and brown! The picture of the figure in a more scenic setting helps.

Cazadore advances through cover.
There’s a couple of things that I think that I need to look at though. First of all, as the uniform is so drab that the face needs to be painted properly with a bit more attention to bringing out the detail. I also think that the black needs a gentle highlight on the edges of the equipment. The figure also needs another coat of matt spray – I tend to be careful and under use the matt spray as it can be so temperamental. Oh! and another thing – the plate on the front of the helmet should show the Regiment number. It’s been sculpted as a bit of a squiggle. I might just file this off and repaint a 7 in the correct place. The cuffs could do with a clearer black line to represent the piping and the yellow could be brighter. Finally, I think that I have painted the shoulder straps incorrectly in black when they should have been left as brown with black piping…
Perhaps, this wont be a quick job after all.
