Arise King Richard III!

When the remains of King Richard were discovered in a car park in Leicester, (just down the A46 from us), there was a great deal of media attention, as you can imagine. As far as I was concerned, the nicest item that I saw to commemorate the event, was the model by Perry Miniatures. I really liked the thought that had gone into the model and the gentle humour in showing King Richard bursting out of the car park on his steed! I had wanted to get one from the moment it was released but had been obsessed with my Napoleonic collection and so had not added it to my lead pile. With my interest in the War of the Roses, and the new rules set that we had been play testing, I now had an excuse to get the model. I also wanted to paint something for the rules writer, Andy Callan, who has spent hours re-writing and fine tuning the rules set after each of our play tests, having had to put up with yet more ‘feedback’.
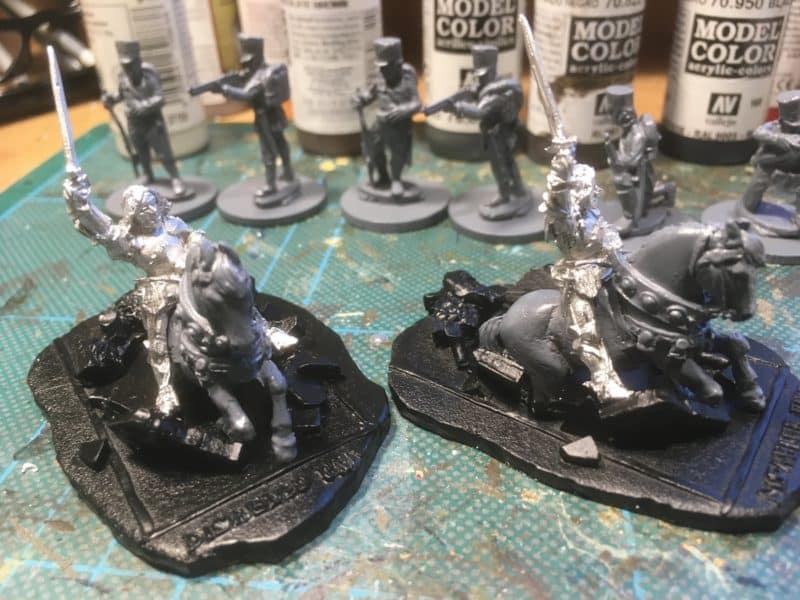
Preparing the models for painting.

Preparing the models for painting.

So rather than one model, I bought two, figuring that it would not take very much longer to paint two of the same model. I had also decided to convert one of the models slightly, so that King Richard was holding a banner rather than his sword, showing off the title of the rules – ‘Never Mind The Billhooks!’. Just to give myself a bit of a challenge, I decided to paint the models ‘properly’ rather than my usual block paint and quick shade method. To start with, I cleaned up and primed the individual pieces, using a black primer for the base, grey for the horse and Plate mail for the figure.
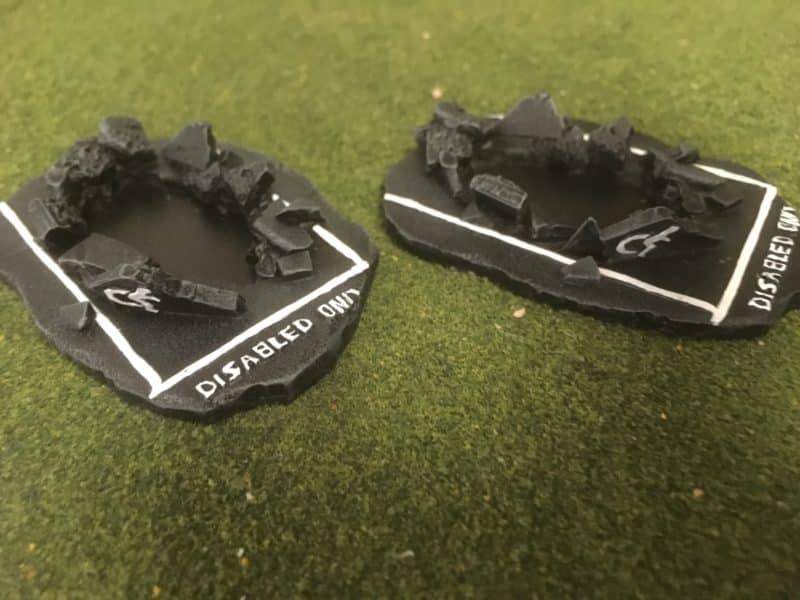
The car park space bases!

The car park space bases!

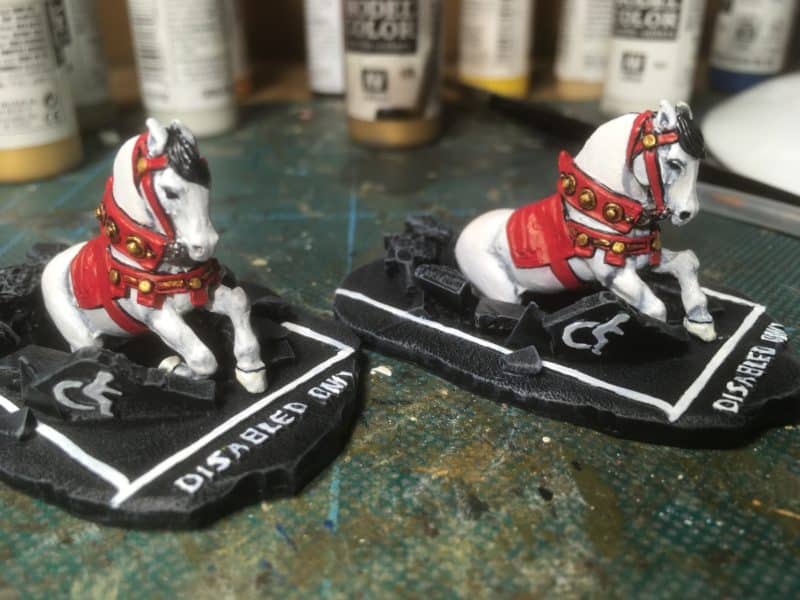
The base was quite straight forward to finish. I simply gave it a dry brush with Vallejo Black grey, 70862 and then followed this with a lighter dry brush of Light grey 70990. It was then just a question of picking out the markings on the car park spot in off white 70820. I could have used yellow – there are two painted models on the Perry web site that I was using as a reference (copying….) – but I preferred the white markings.
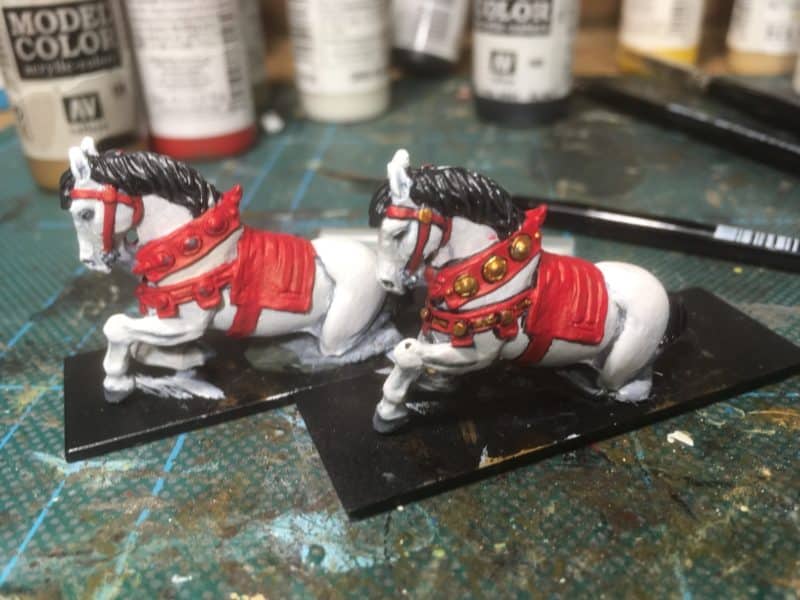
The horses being painted

The horses being painted

The horses were first painted or rather wet/dry brushed with Light grey 70990 and then Silver grey 70883 as the first coats. I wasn’t too worried if the priming coat of uniform grey was left in the deepest of the creases. The wet/dry brush is my best description of the technique that I used, The paint brush wasn’t loaded with paint but neither was it wiped off, as with a usual dry brush. I also made sure that the ‘high points’ on the model were well covered in paint. I then used the same technique to paint the horses with a coat of off white, but this time, using a drier brush to leave the shadows in the darker colour. The horses manes were painted in Black grey 70962 and the horse furniture in flat Red 70957. The decoration on the horse furniture was done using Brass 70801.
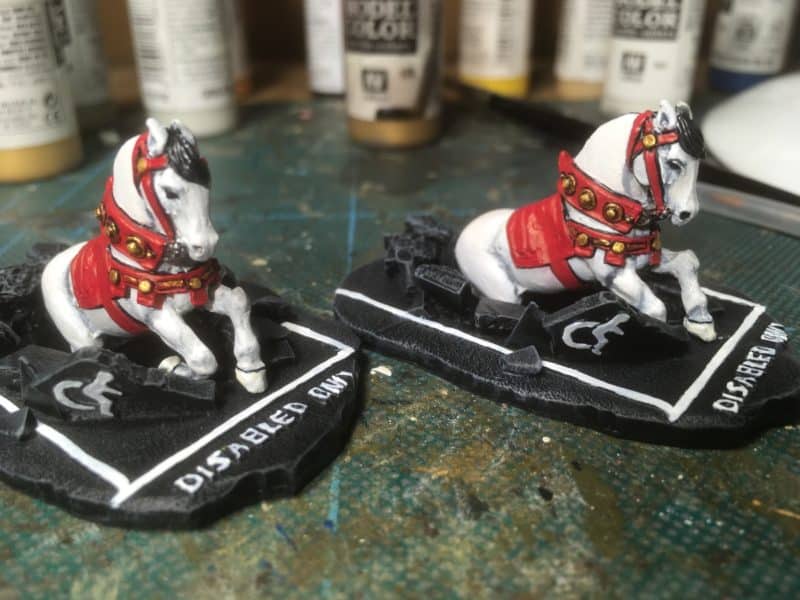
Completed horses on the bases

Completed horses on the bases

I then touched up the details on the horse, using Ivory 70918 for the hooves, Platemail for the bit and hooves, black for the eyes and I lightly dry brushed the mane and tail with a neutral grey to bring out the detail. I then carefully black lined the model to sharpen everything up. I really liked the stark appearance of the Perry’s painted model and so I followed this example. For this reason, I didn’t worry too much about highlighting or shading the red – I like the extreme contrast against the white horse!
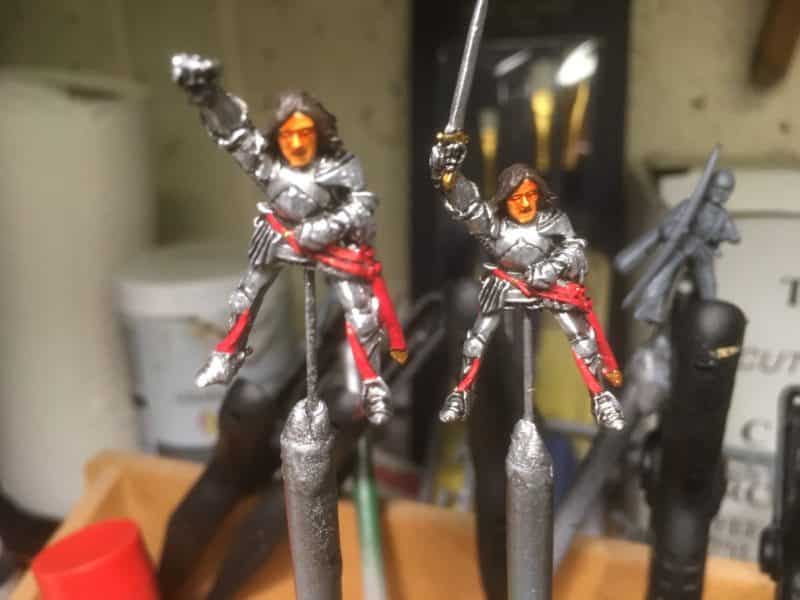
Painting King Richard - highlighting and details to do next!

Painting King Richard – highlighting and details to do next!

It was then onto King Richard. As mentioned, I primed him with army painter plate mail and then gave him a good coat of Dark Tone or Black ink. Once this was dry, I dry brushed him first in Plate mail and then in silver.  At this stage I then started the slight conversion to one of the models and carefully snipped off the sword and then drilled the hand so that I could insert a standard. I also needed to very slightly bend the arm but this was done without a problem. It’s always a good idea to go gently and ease the model in the position that you need – by it’s very nature, the metal will flex if you are careful. The details on the models were then picked out. Red for the belt and leather wear, Flesh 70955 for the face, followed by a skin wash, and then highlighting with another coat of flesh and then light flesh 70928. The hair was Chocolate brown 70872 with a flat brown 70874 hightlight and then a wash of brown ink. The details on the sword were picked out in brass.
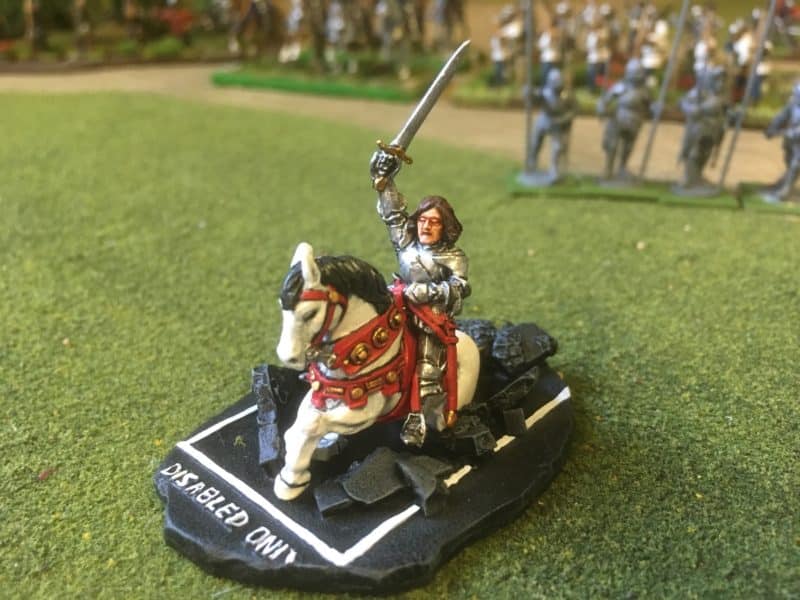
King Richard completed and on his horse!

King Richard completed and on his horse!

The next challenge was to make the standard.  It turned out to be simpler than I thought. I photo copied the standard for King Richard that comes in the Perry Miniatures Foot Knights set and used a Dymo electric printer to print the title. This was cut to size and stuck onto the flag, which in turn was cut out using a fresh scalpel blade. I then used watered down PVA to stick the flag onto a cut down spear and the job was done!
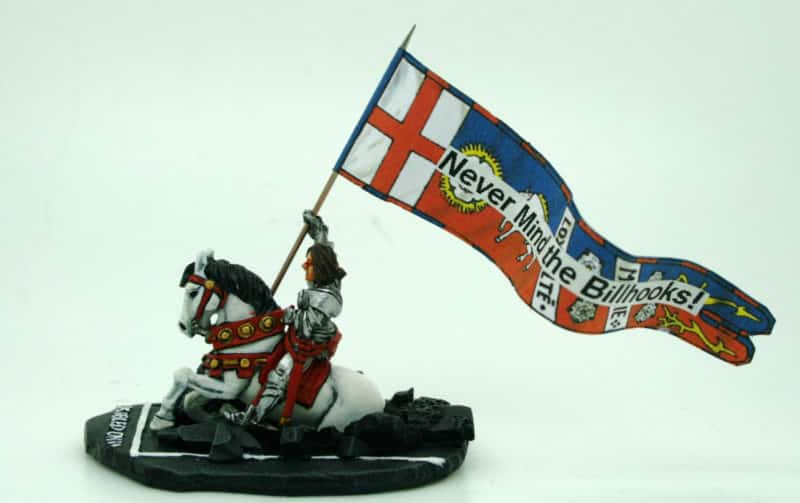
Never mind the Billhooks!
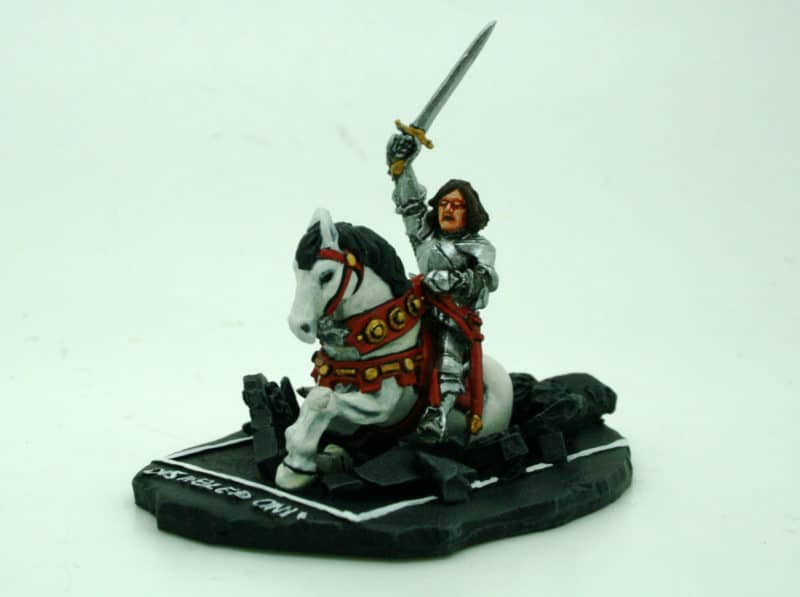
Never mind the Billhooks!

The standard King Richard...without a standard...

The standard King Richard…without a standard…

The finished model with the standard is for Andy and I have the original with the sword for my cabinet. Incidentally, I did make two standards – one was the Billhooks version and the other a normal Royal Standard – I think that the Billhooks version looks best on this model!

I am very excited about the release of the ‘Never mind The Billhooks’ rule set. It will come as a free full colour 24 page supplement with the May issue of Wargames Illustrated. I have now seen the draft rules, and they look great. I can only hope that other Wargamers have the same fun and enjoyment that we have had when they finally get their copies!

THE COMMERCIAL BIT

Almost all of the paints, miniatures, bases, basing materials and anything that you are likely to need for your hobby are available POST FREE from my shop here:

ARCANE SCENERY

Perry’s WOTR plastic range are here  unfortunately, we are unable to supply the metals:

PERRY MINIATURES

You can find all the Vallejo Model colour paints here. If you don’t want to browse, just enter the paint number into the shop search bar;

VALLEJO PAINTS

‘Never mind the Bill Hooks’ will be available as a full colour supplement with the May edition of Wargames Illustrated. If you would like the current issue, click here:

WARGAMES ILLUSTRATED

Happy Modelling!

Prussian Jaeger – Bingham Napoleonic days

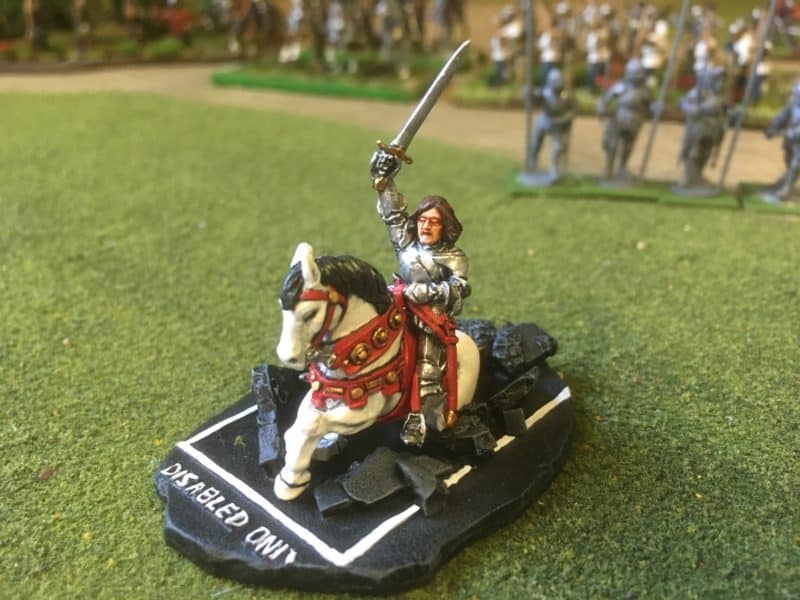
After my diversion with the wolf enclosure last week, it was back to the projects on my work bench. With storm Dennis causing mayhem across the country, it was a good weekend to spend safely indoors painting model soldiers. I had two items that I wanted to complete. The priority was painting a couple of models of Richard III emerging from his tomb under a Leicester car park! I’ve already posted a picture of one the completed models on our Face book page – I’ll detail how I went about painting and converting him in next weeks blog. Here’s a picture of the original version.

Richard Triumphant!

Richard Triumphant!

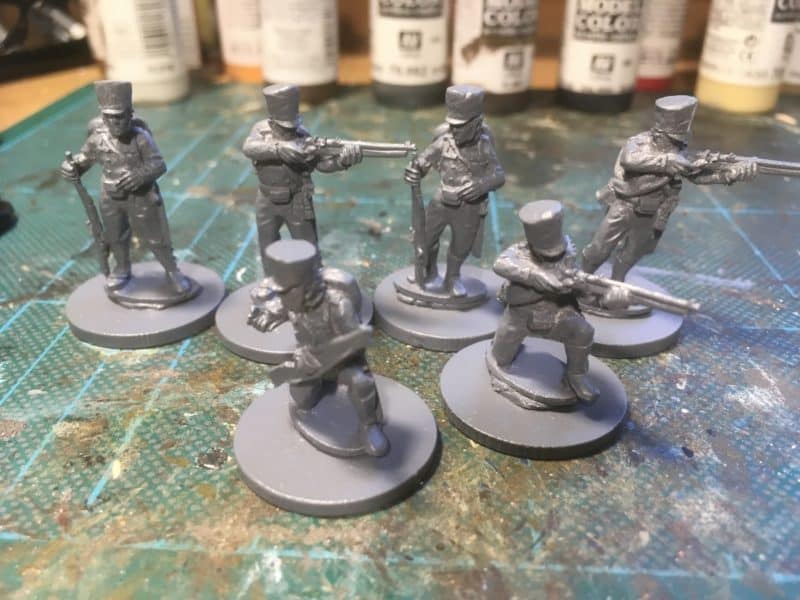
The other project that I wanted to complete was a batch of 6 Warlord games Prussian Jaegers, who would be bolstering my force at our demo game at the Bingham Napoleonic days in March. To be honest, I didn’t really need to paint them but I had a spare pack at work and it would give me an extra unit of Jaegers to use in the game, either as a small unit or as Skirmishers in front of a battalion attack column.

Bingham Napoleonic days

Bingham Napoleonic days

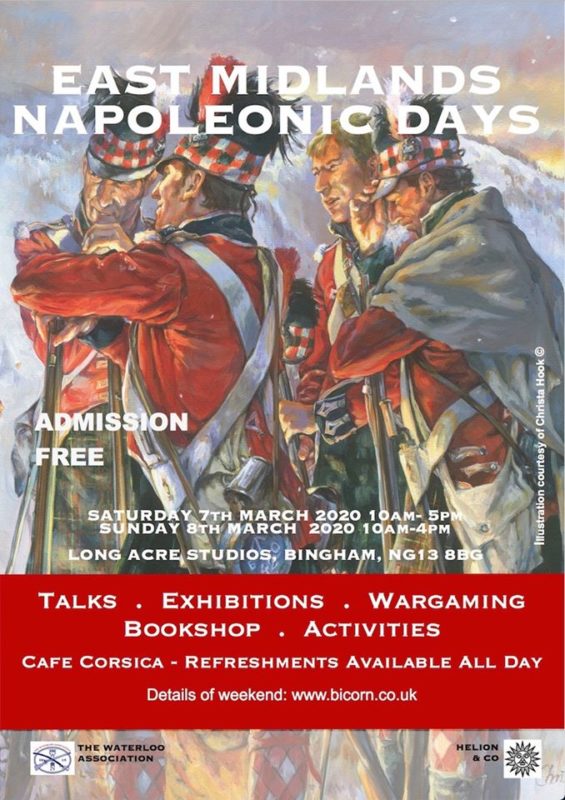
The Bingham Napoleonic days, now in their fourth year, take place on the 6/7 March at Longacre Studios in Bingham. As usual I will be with my gaming buddies, the NG13 gamers and we will be running a series of Demo games based loosely on General Lecourbes campaign against the Austrian army after the battle of Waterloo in 1815. There is a link to the Bicorne site in my Commercial section below giving more details but it’s worth pointing out that if you are at a loose end, entrance to the event, including the lectures, is free. It’s not the biggest show that you are likely to attend – possibly the smallest and definitely the least commercial, but if you fancy a drive out to the Nottinghamshire countryside and a pub meal, it’s a nice way to pass the day.

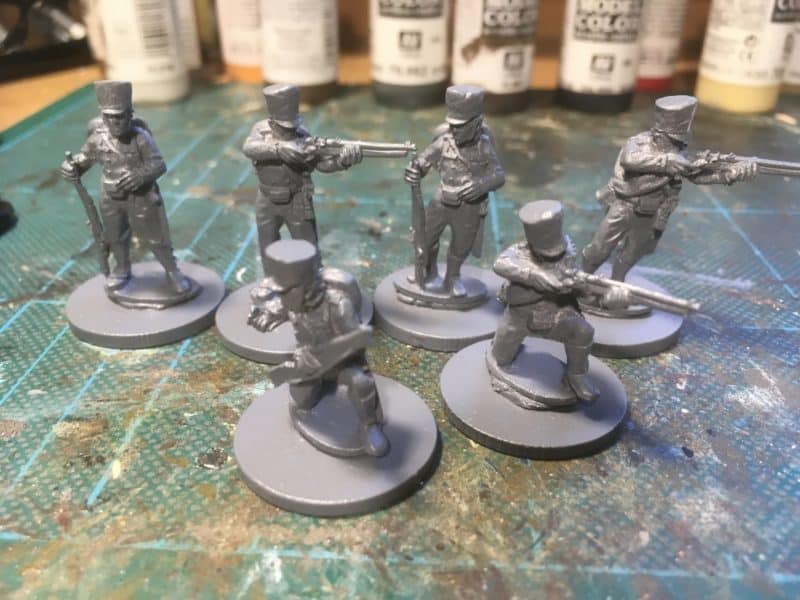
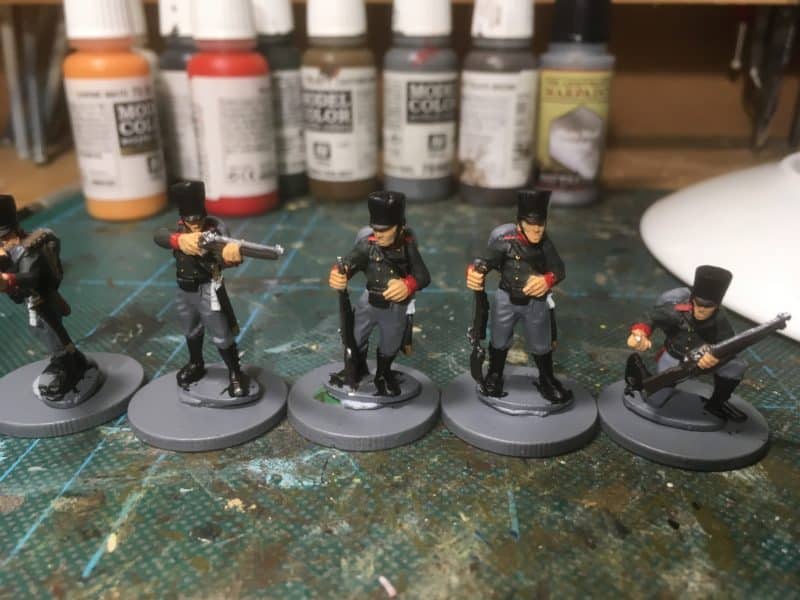
Prussiajn Jaegers - primed and ready for painting

Prussiajn Jaegers – primed and ready for painting

Back to the jaegers – I should point out that the Prussians weren’t involved in the original campaign but we have included them to add some colour to the table and give me an excuse top dust off my Prussian contingent! I followed my usual painting method for churning out units for my Napoleonic army – Prime, block paint, Quick shade and base.

Block paint started - first colours on

Block paint started – first colours on

I’m not going to detail the colours for the simple reason that I was a bit lazy when it came to researching them. I usually spend a bit of time finding the correct colours but on this occasion although I consulted both my Osprey books and the Mont St John web site, Pinterest and of course, the painting sheet that comes with the Perry Miniatures Prussians, the details seemed to be confused. I sort of lost patience in trying to work out the correct facing colours and exact uniform and just decided to copy the painted models on Warlords web site.

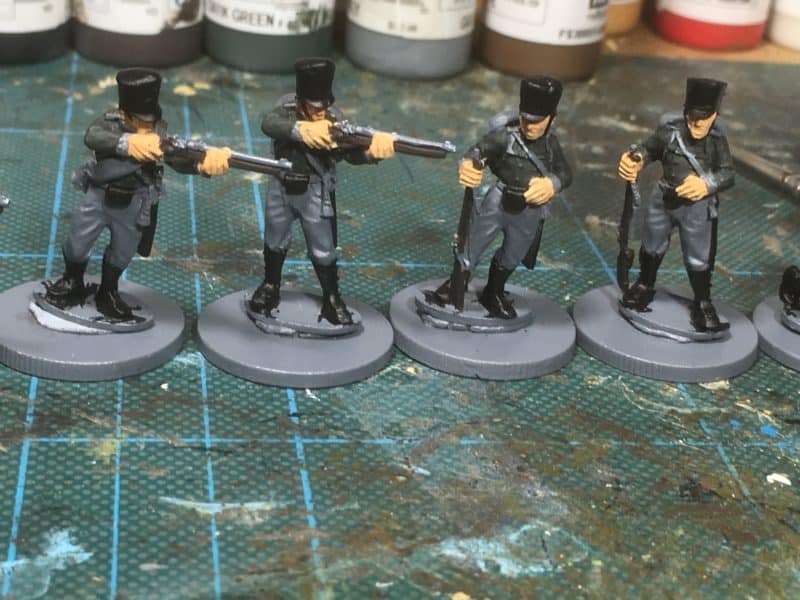
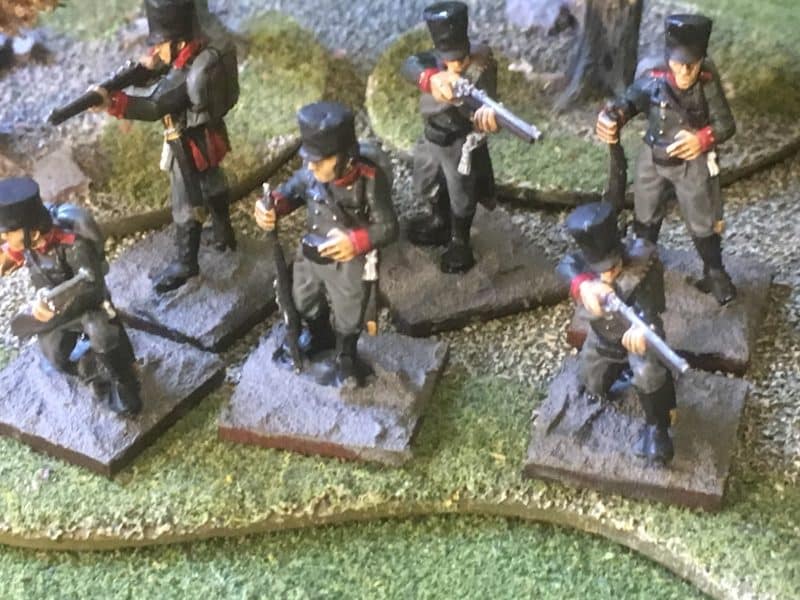
Prussian Jaegers - detail added

Prussian Jaegers – detail added prior to quick shade

This means that they wont technically fit in with my Silesian Prussian regiment but I quite liked the red facings for a change! So they will appear on the wargames table with the Silesians, regardless!

Jaegers based

Jaegers based

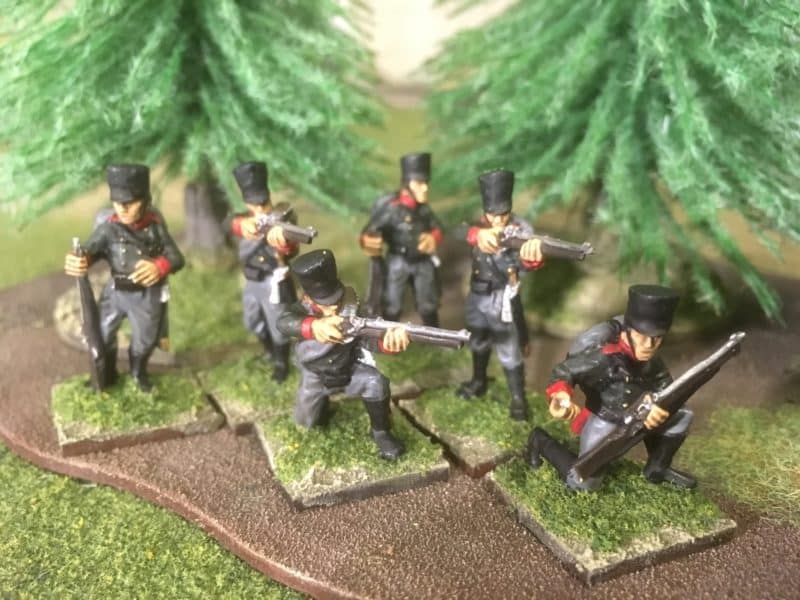
Once they were painted with quick shade and matt varnished, I started the basing process. I spread Vallejo dark earth mud texture paste on to 20mm square MDF bases and ‘plonked’ the figures into the paste, using a sculpting tool ( a cocktail stick would have been fine!) to draw the paste around the figures bases and blend them in. There is no need to glue the figures to the bases, the paste will hold them securely. It was then just a question of tidying up the edges, painting the bases and adding some scatter and tufts and another six figures are ready for the wargames table.

All based up - just waiting for the tufts!

All based up – just waiting for the tufts!

Not the most ‘loved’ of projects that I have done but sometimes it’s nice just to get another unit off the painting bench, even if that means dropping standards a bit!

THE COMMERCIAL BIT

To get full details of the Bingham Napoleonic days, including a list of speakers, click here:

BINGHAM NAPOLEONIC DAYS

If you want to join us for the wargame, we are there on Saturday only but you are welcome to find us out in the back room and have a chat, may be roll some dice and of course discuss why a batch of Jaeger are in the wrong facings!

Almost all of the paints, miniatures, bases, basing materials and anything that you are likely to need for your hobby are available POST FREE from my shop here:

ARCANE SCENERY

Our range of Warlord Napoleonics can be seen here:

WARLORD NAPOLEONOIC RANGE

You can find the Vallejo texture paste here:

VALLEJO DARK EARTH TEXTURE

You can find all the Vallejo Model colour paints here. If you don’t want to browse, just enter the paint number or name into the shop search bar;

VALLEJO PAINTS

Happy modelling!

Cry Wolf! A workbench round up.

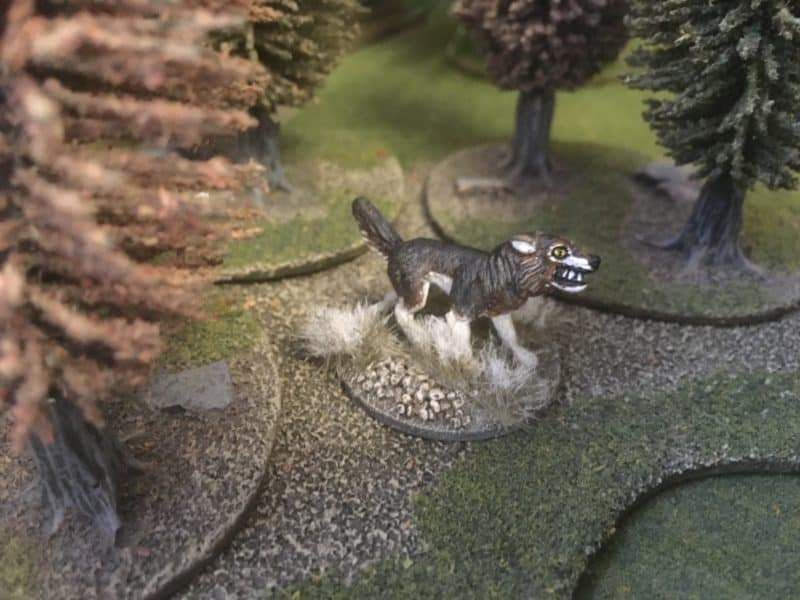
Deezee wolf - test shot.

Deezee wolf – test shot.

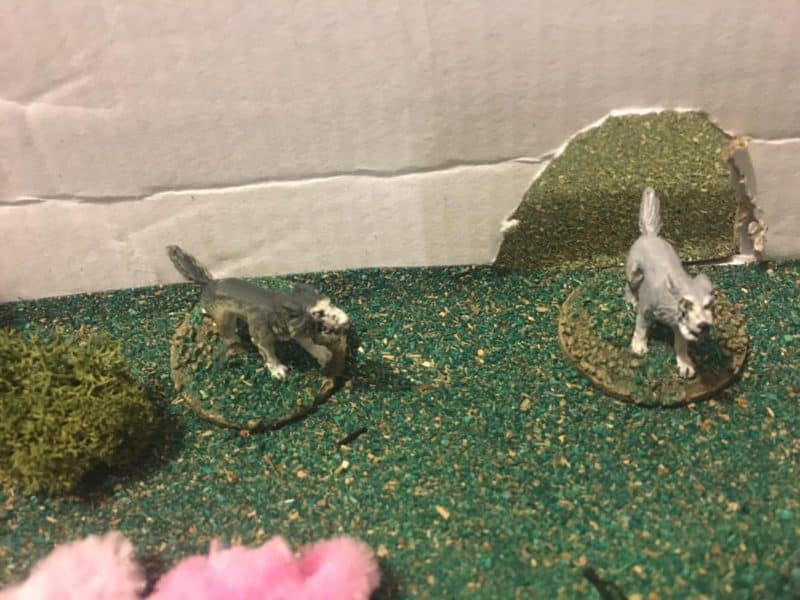
It’s been two weeks since my last blog but I have been busy – it’s just that I haven’t actually finished anything for myself! I was somewhat diverted by a request from my Granddaughter, Emily. We were tickled pink when she phoned up ( she’s not quite seven yet!) to ask me for some help with her school project. She was learning about wolves and had to make a wolf enclosure – did I have a model of a wolf and could I help? Well, Arcane scenery has the DeeZee range of animals and we have a pack of Dire Wolves that would do nicely. As I had not painted one myself, I thought that I better do a test piece before Emily came over to paint her own version. So above is my first attempt at painting a wolf. I also prepared and primed the other 5 in the pack and then based two of them so that Emily could finish them off.

Emily's wolves in their new enclosure.

Emily’s wolves in their new enclosure.

It’s worth pointing out that DeeZee model are not toys and made of metal and not designed for children. However, even at 7, Emily is sensible enough to understand the difference between a model and a toy and will use them as such. When it came to painting the wolves I gave Emily my best brushes and we used ‘proper’ paint. My advise would be that if you would like children to take up the hobby, let them loose with the correct tools for the job and just take the time to explain how to use the tools safely. When it comes to painting, that means how to hold the brush, how to thin the paint and how to clean the brushes in between coats and so on. Mind you, I was told off for licking the brush! It’s a bad habit but the most effective way I know of keeping the point on the brush….

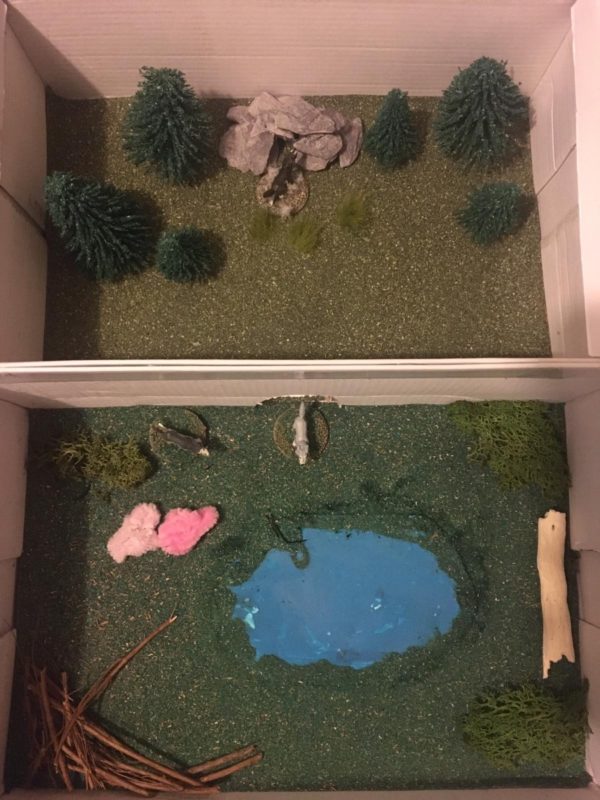
The completed wolf enclosure

The completed wolf enclosure – the pink pipe cleaners are their food!

Once Emily had painted her two wolves, we made a start on the enclosure itself. It was made to Emily’s specifications using two shoe boxes. My job was to wield the hot glue gun and stick stuff together where directed- I would have let her have a go with the glue gun but Nanny said no! Emily did slap on the PVA glue where needed though! Of course, having access to my stash of scenery made the job a bit easier. We were able to line her two shoe boxes with some off cuts of scenic mats that I had and add some Arcane Scenery trees. We built a ‘den’ using some slate and the pond was just a painted piece of foam board. We used arcane scenery scatter to blend it all in. Emily helped herself to some of my Gamers grass tufts and some twigs and lichen and we had more or less finished. The project took most of Sunday but as ‘Storm Ciara’ was beginning to blow outside, it was a Sunday well spent.

Sabot bases under construction

Sabot bases under construction

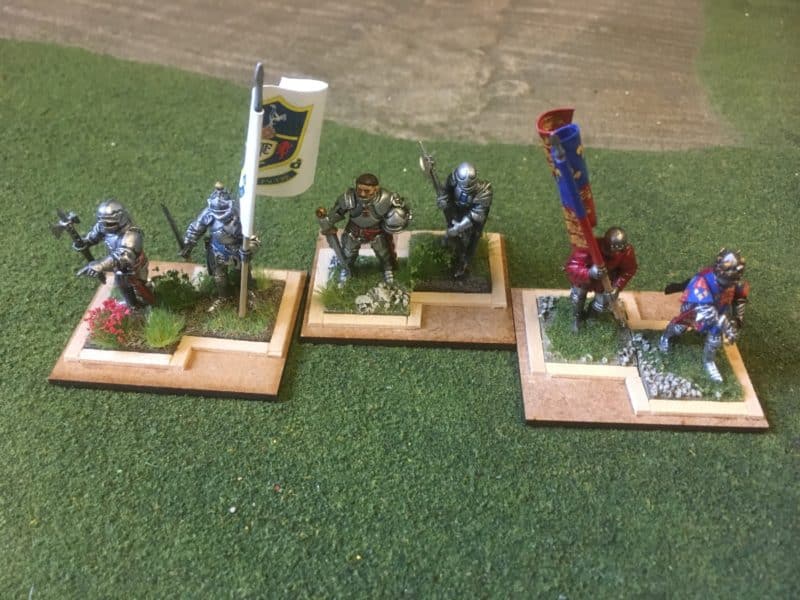
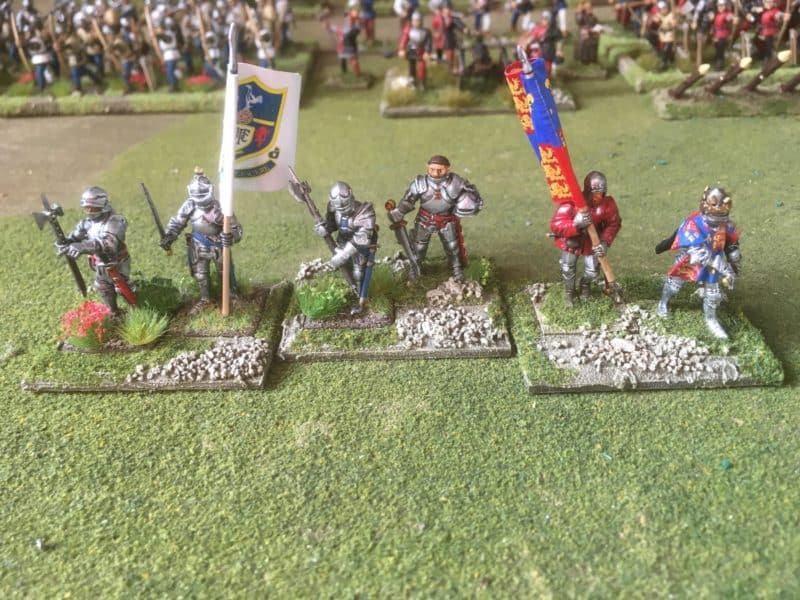
As for my own projects, well, as I have said, I’ve been busy preparing stuff but have finished very little. I have completed some sabot bases for my War of the Roses command figures. I used the same techniques outlined in in my blog article ‘Painting War of The Roses Artillery’.

The completed command bases

The completed command bases

Perrys Light Cavalry

Perrys Light Cavalry

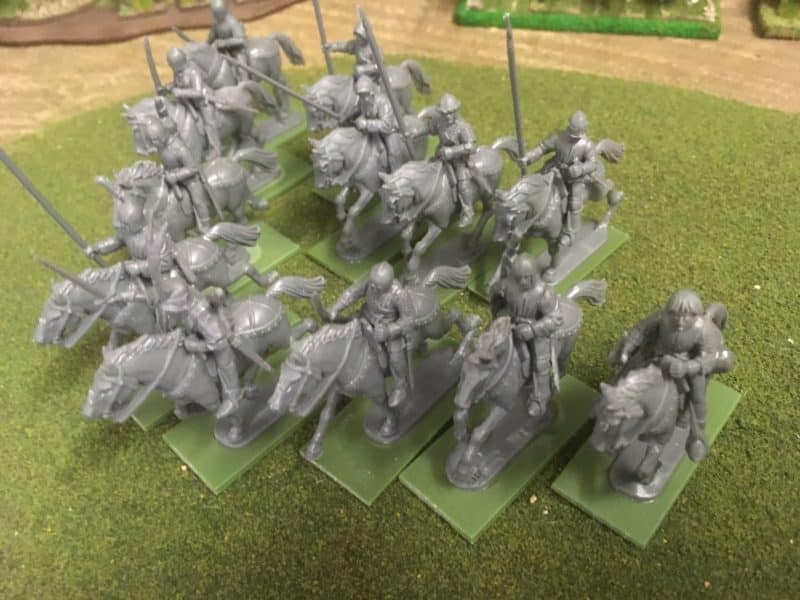
I’ve also assembled and prepared 12 War of the Roses light cavalry. I assembled eight as mounted bowmen (to use as mounted Skirmishers) and the other four as ‘scurrers’  – I could combine these with four of my other heavy horse to make another unit. I’ve got as far as priming six of these light cavalry, but I’ll probably show these in a later blog.

Additional command figures

Additional command figures

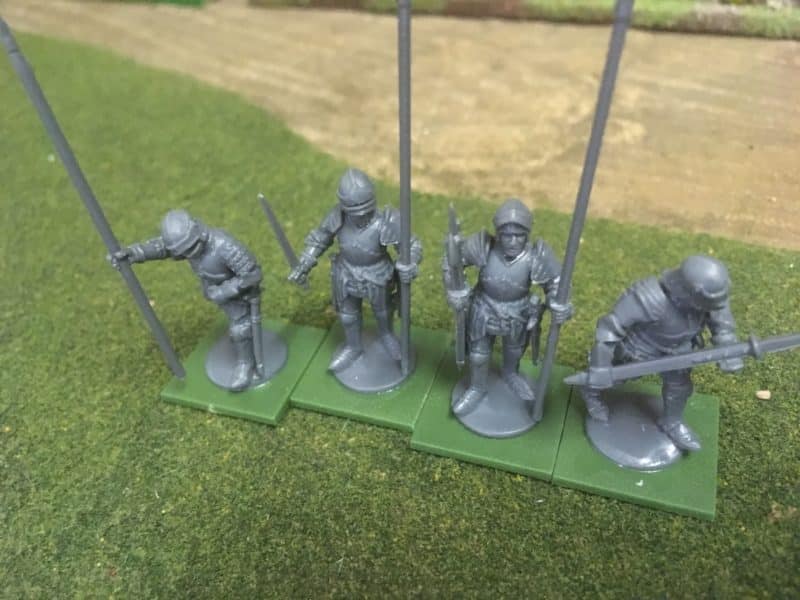
I’ve also assembled four more command figures – three of which will have standards. I don’t need any more commanders for my army; the extras will allow me to divide my force into two, to allow an extra player to play, if needs be.

Prussian Jaegers primed and ready for painting.

Prussian Jaegers primed and ready for painting.

I have a Demo game to prepare for in March. It’s the Bingham Napoleonic days and as usual the NG13 gamers are putting on a display. I actually have enough troops for the demo but decided to add another six Jaeger to my Prussian force. I got as far as priming these before being distracted yet again.

Special project on the go!

Special project on the go!

It was my birthday last Thursday and I had asked for some additional Perry Miniatures to bulk out my War of The Roses force. I had also asked for the special ‘Richard III Commemorative figure’ that they make. Actually, I asked for two as I have an idea for converting one of them as a standard bearer for the new rules set ‘Never Mind the Billhooks’. So these models have found their way to the top of the painting list. Again, I’ll show the finished models with a bit more detail in a future blog, but as you can see, the horses are about done for now. So lots of modelling but nothing quite finished. That’s the way it seems to go in my hobby!

THE COMMERCIAL BIT

Almost all of the paints, miniatures, bases, basing materials and anything that you are likely to need for your hobby are available POST FREE from my shop here:

ARCANE SCENERY

To have a look at the full DeeZee range of Ice Age animals and cavemen, click here:

DEEZEE MINIATURES

Perry’s WOTR plastic range are here:

PERRY MINIATURES

Our range of Warlord Napoleonics can be seen here:

WARLORD NAPOLEONOIC RANGE

You can find all the Vallejo Model colour paints here. If you don’t want to browse, just enter the paint number or name into the shop search bar;

VALLEJO PAINTS

Happy modelling!